Recipes without special vegan ingredients. This means that these recipes do not require anything special. But also no products that are difficult to get. Such as vital wheat gluten, silken tofu or special binding agents.
You can get the ingredients for these recipes in any small supermarket.
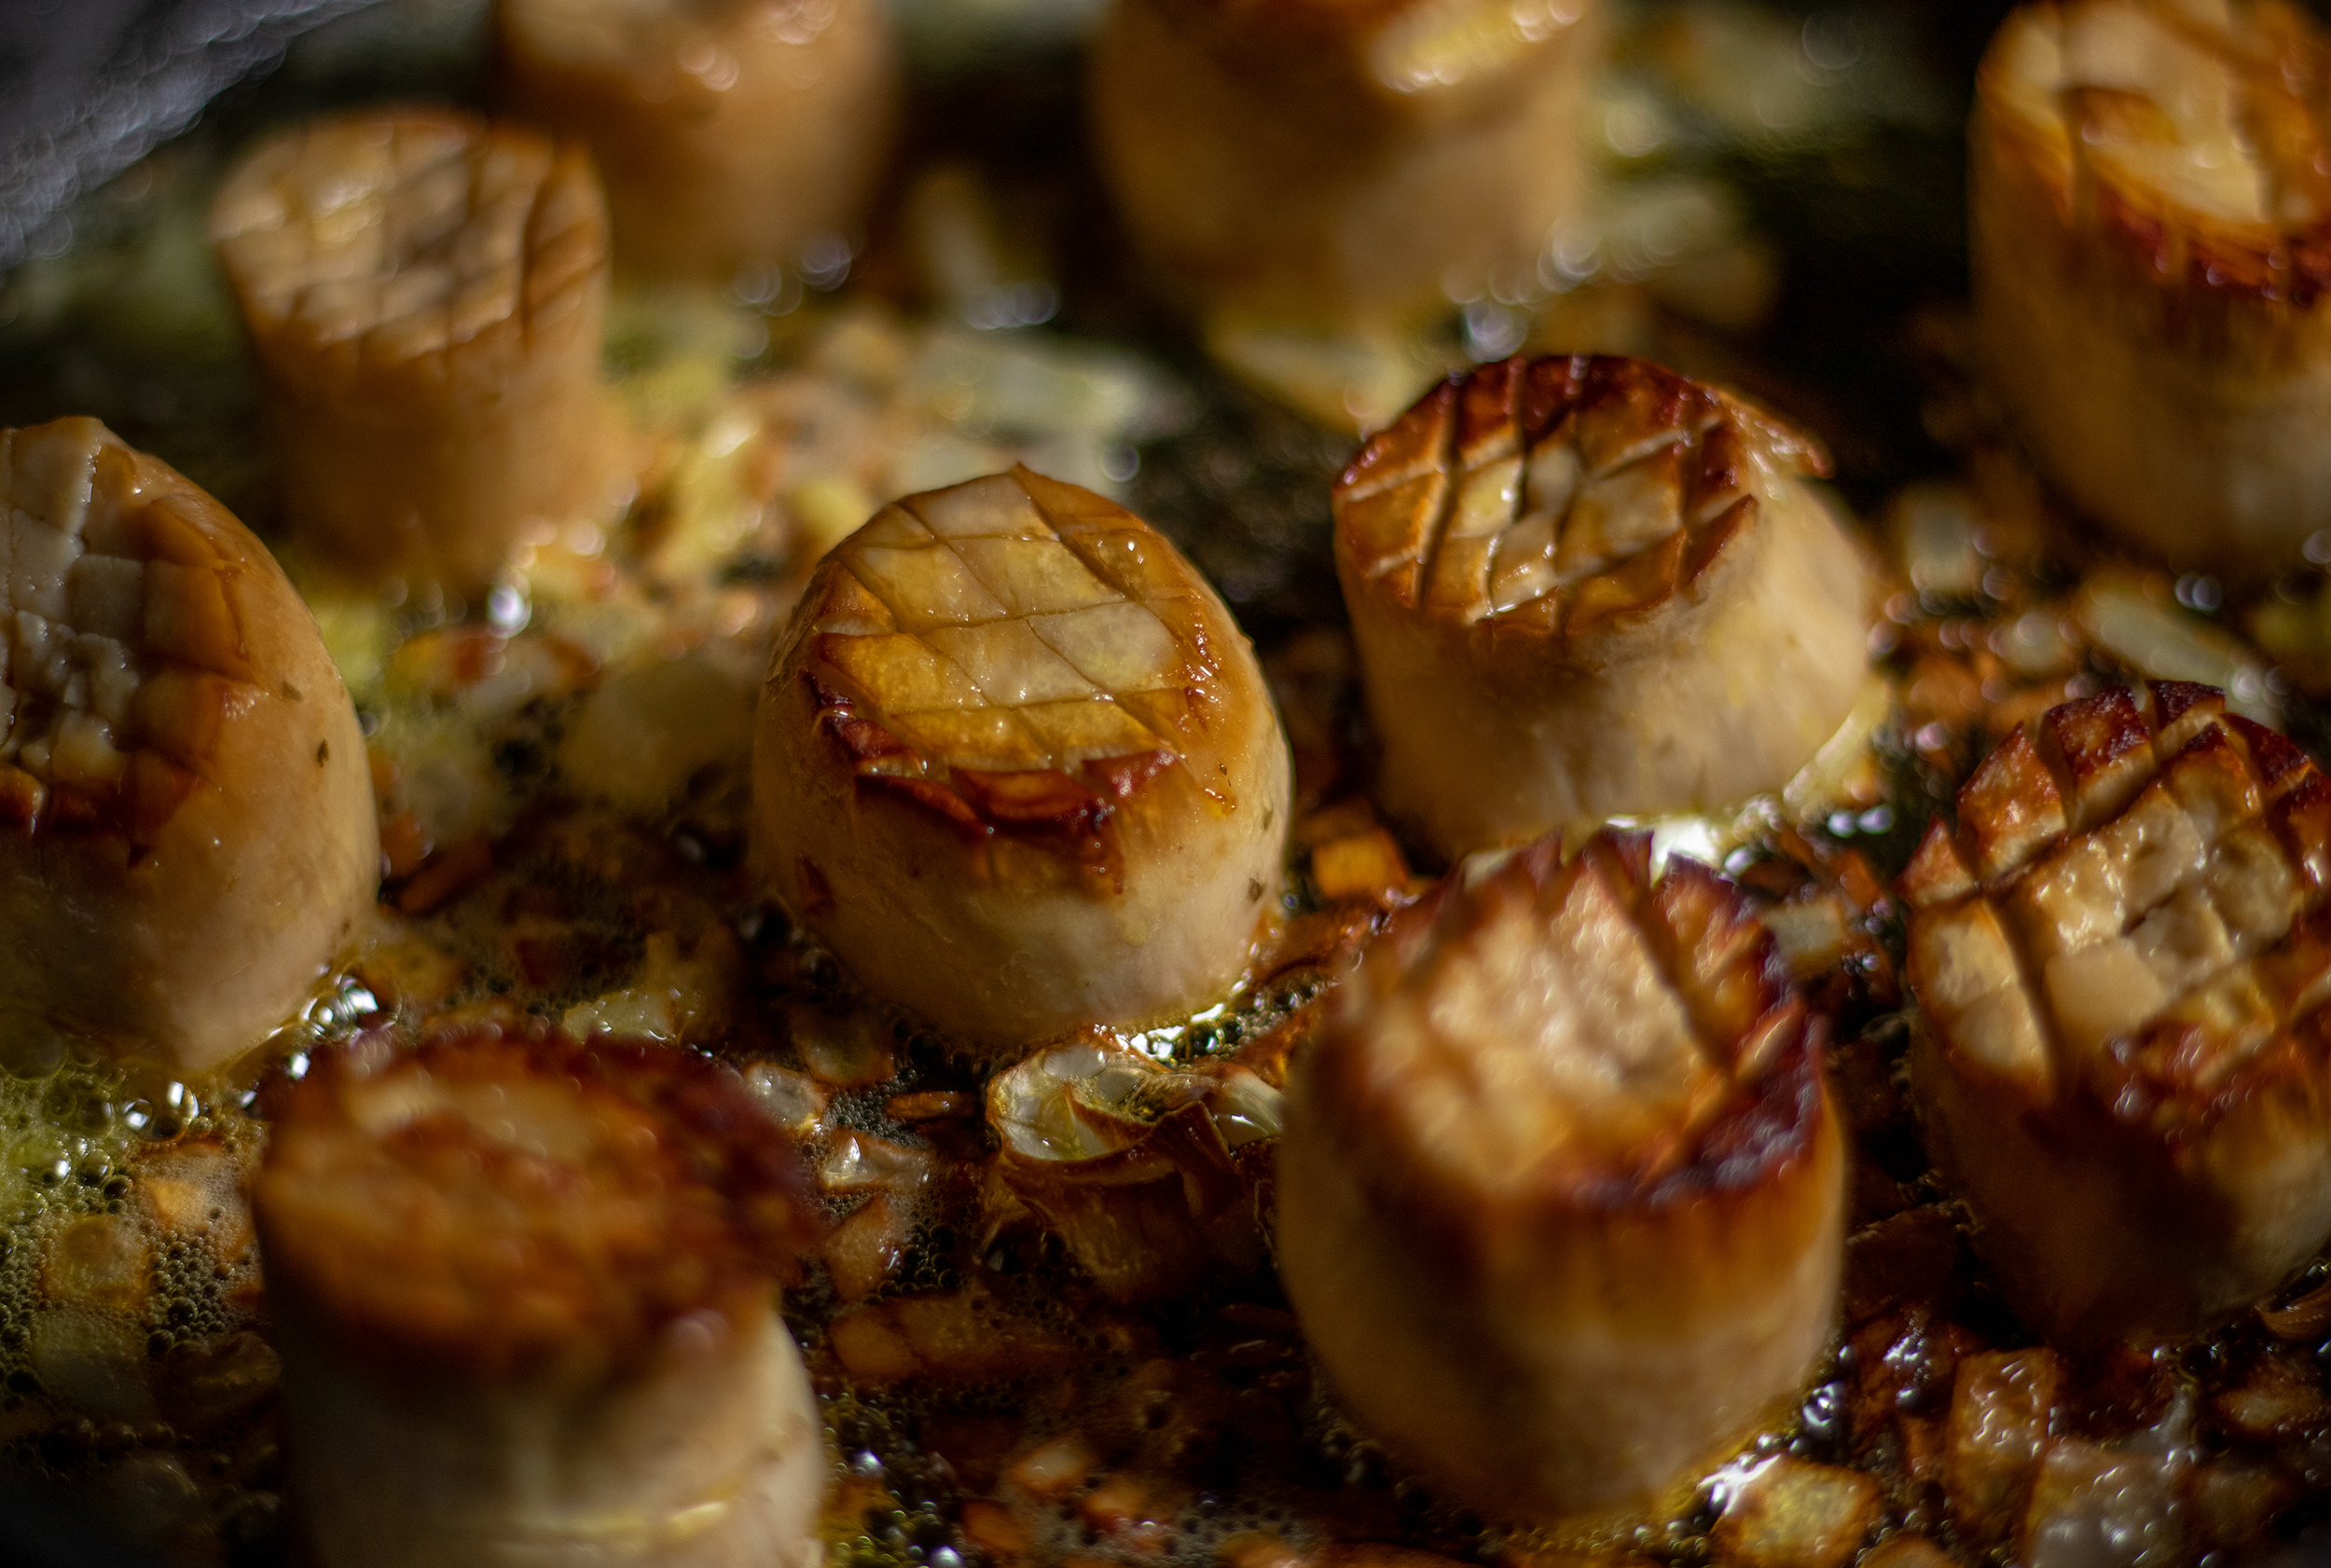
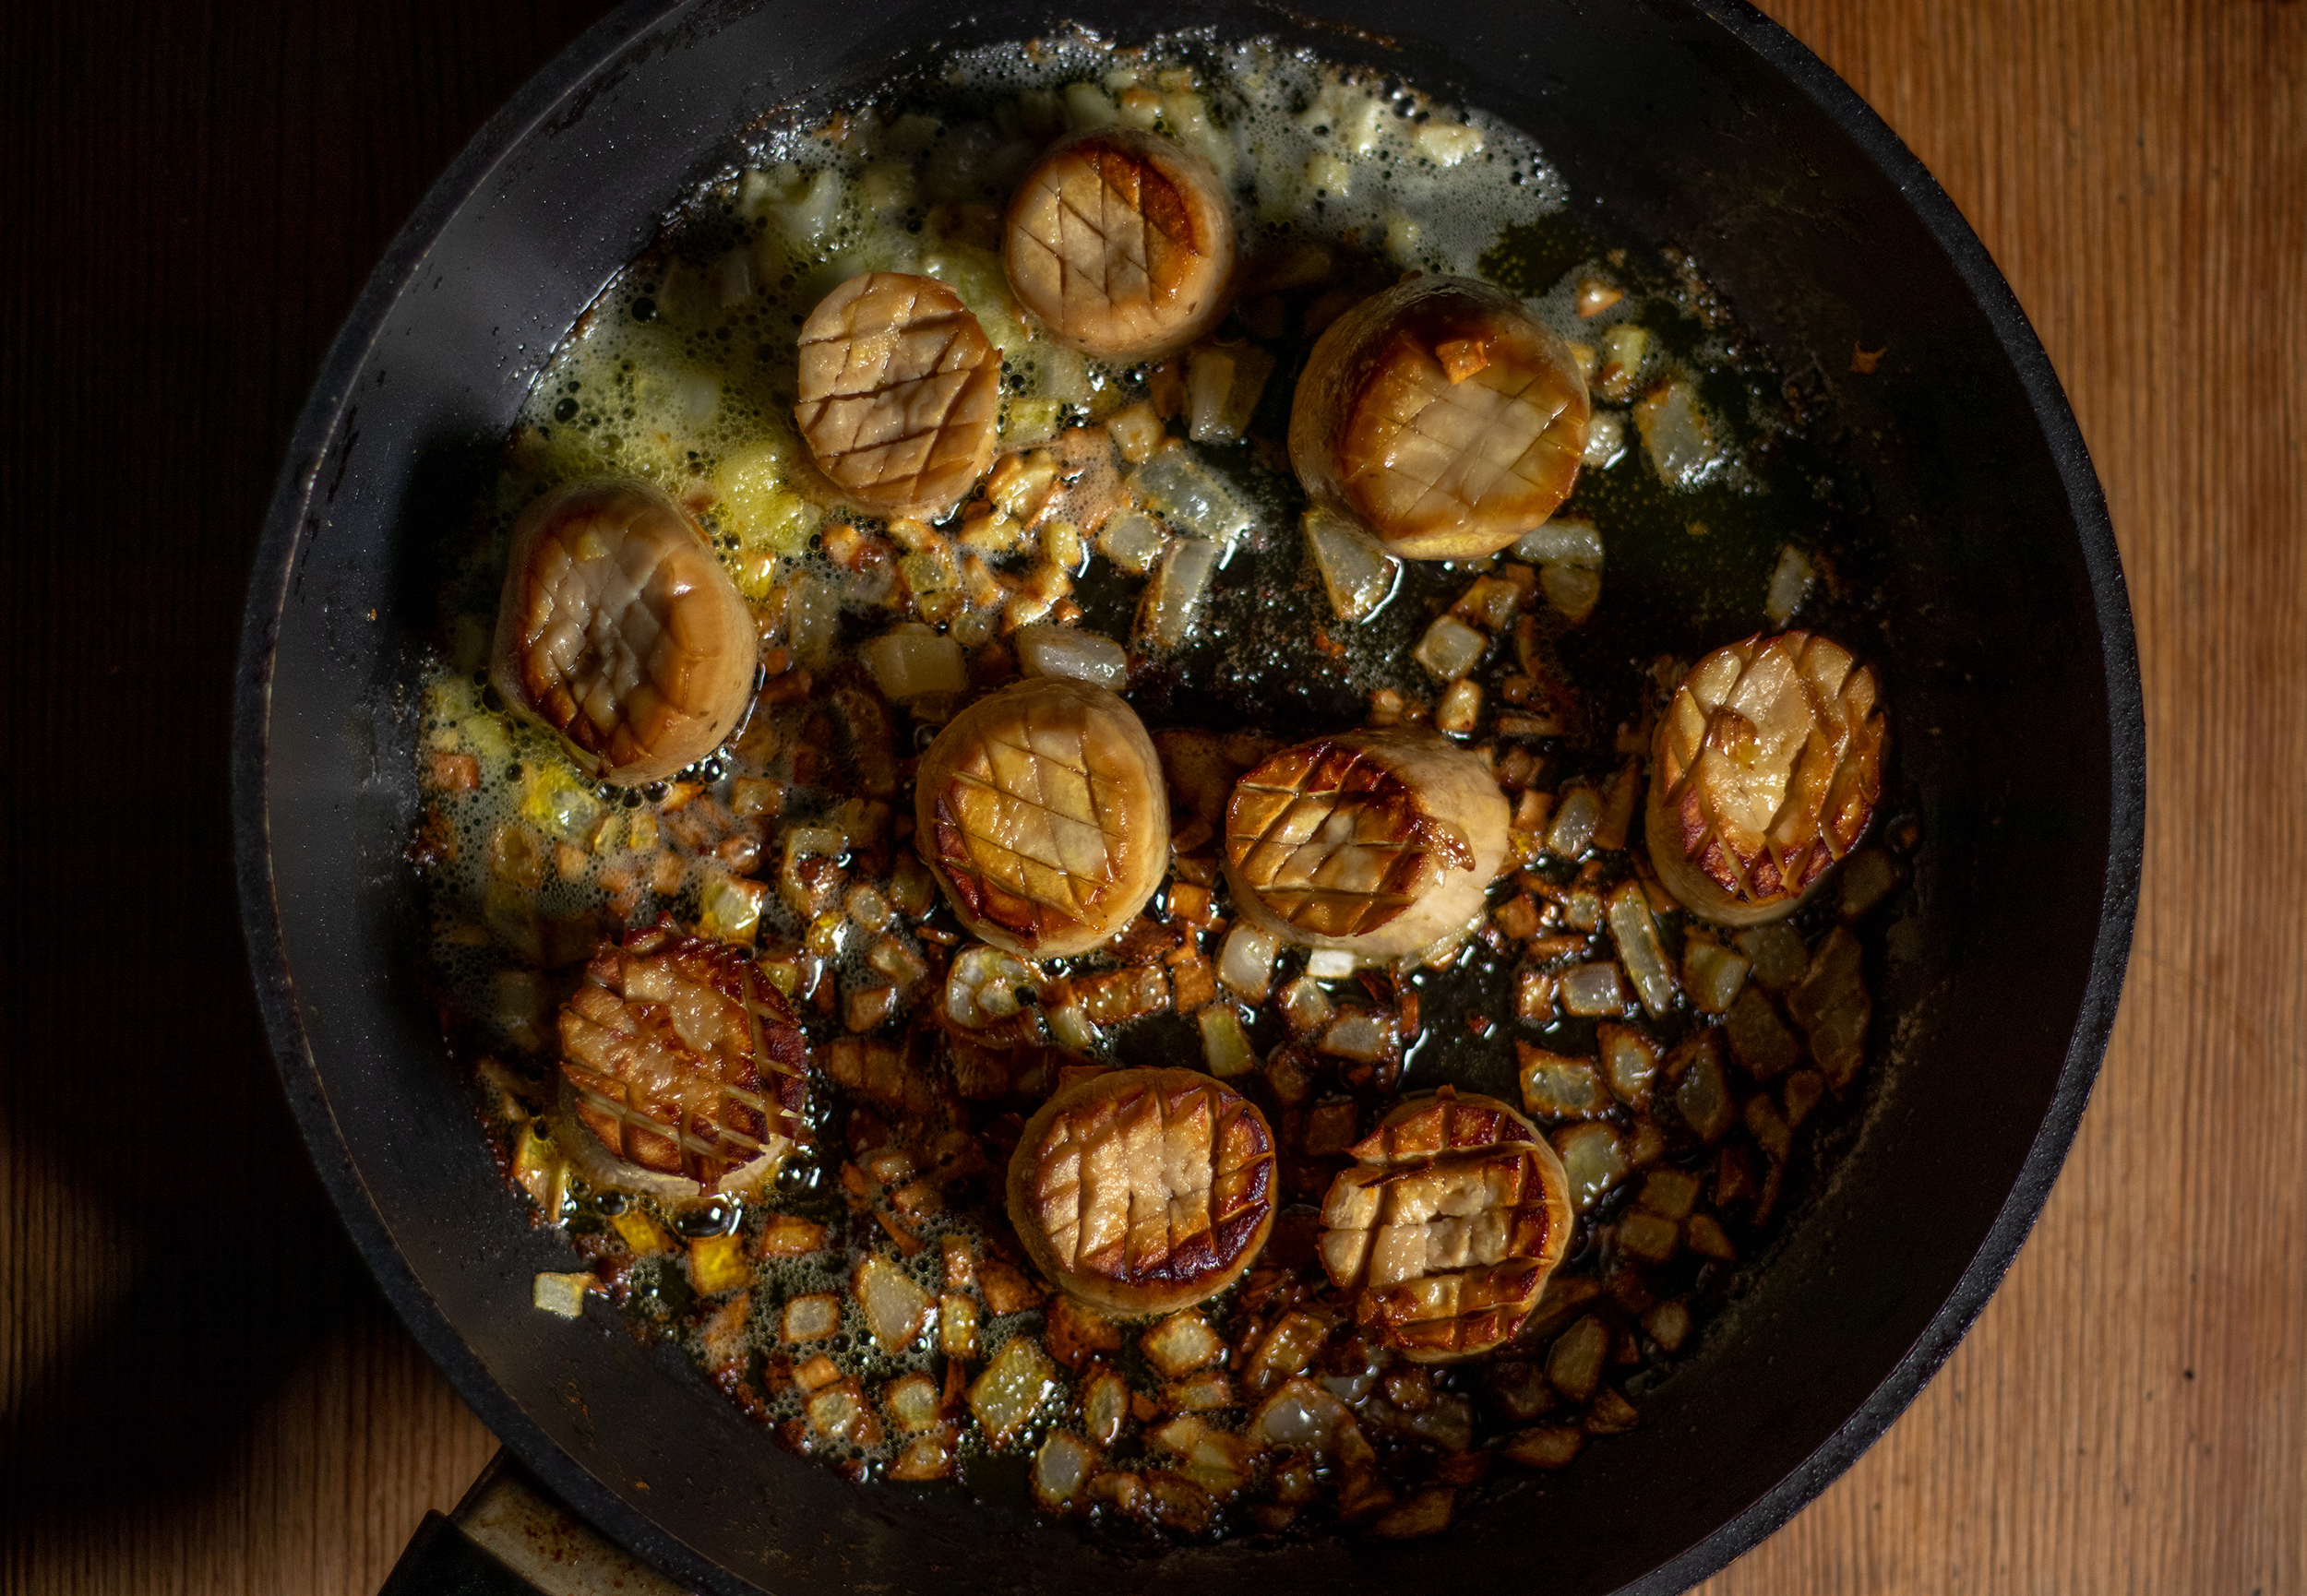
Here’s my ever-popular recipe for vegan scallops made from king oyster mushrooms. Aromatic, flavorful, with a breeze from the sea and a wonderful texture. Perfect for all sorts of dishes!
By adding seaweed and using my special cooking method, I create a result in this recipe that’s almost indistinguishable from real scallops in both taste and texture. Sautéed with onions and garlic, these vegan scallops are wonderfully hearty and not just a visual highlight on the plate.
Vegan scallops – juicy and aromatic, made from king oyster mushrooms
I use my vegan scallops in various recipes
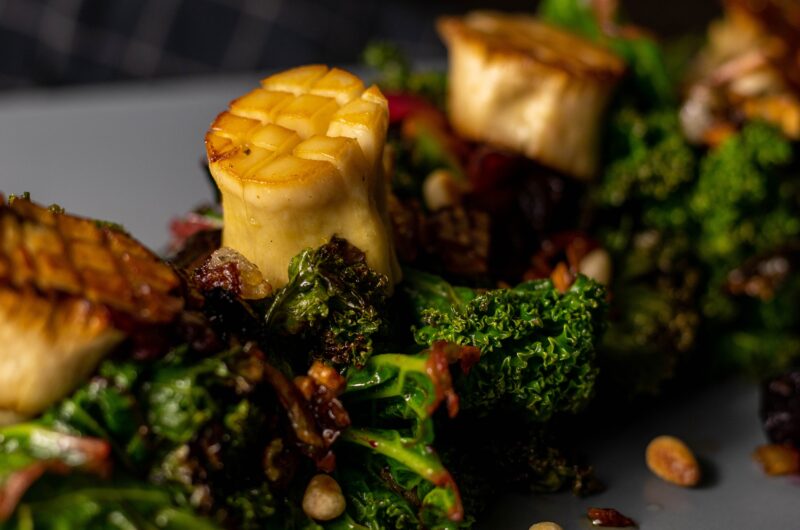
I love combining my vegan scallops with other recipes. For example as a topping for kale salad, I love wrapping scallops in vegan bacon, or as a soup garnish for my sopa de ajo. However, since I’m frequently asked for the recipe for the vegan scallops, I’m publishing it in this recipe.
Vegan seafood flavour from mushrooms. Scallops as a soup garnish for wild garlic and fennel soup.
Plant-based scallops are a wonderful addition to seasonal cuisine.
King oyster mushrooms are related to oyster mushrooms. Oyster mushrooms are among the native winter mushrooms. From November to March, they can be found in nature on dead wood and old trees.
King oyster mushrooms as we know them, however, are a cultivated variety and can be grown year-round. This makes them available all year and they are a perfect complement to seasonal winter cuisine, which often lacks many fresh ingredients.
There are also wild king oyster mushrooms, that are quite common in Southern and Eastern Europe. Wild king oyster mushrooms grow on dead wood like oyster mushrooms and have a much thinner stem than the cultivated variety. The cap is also much broader.
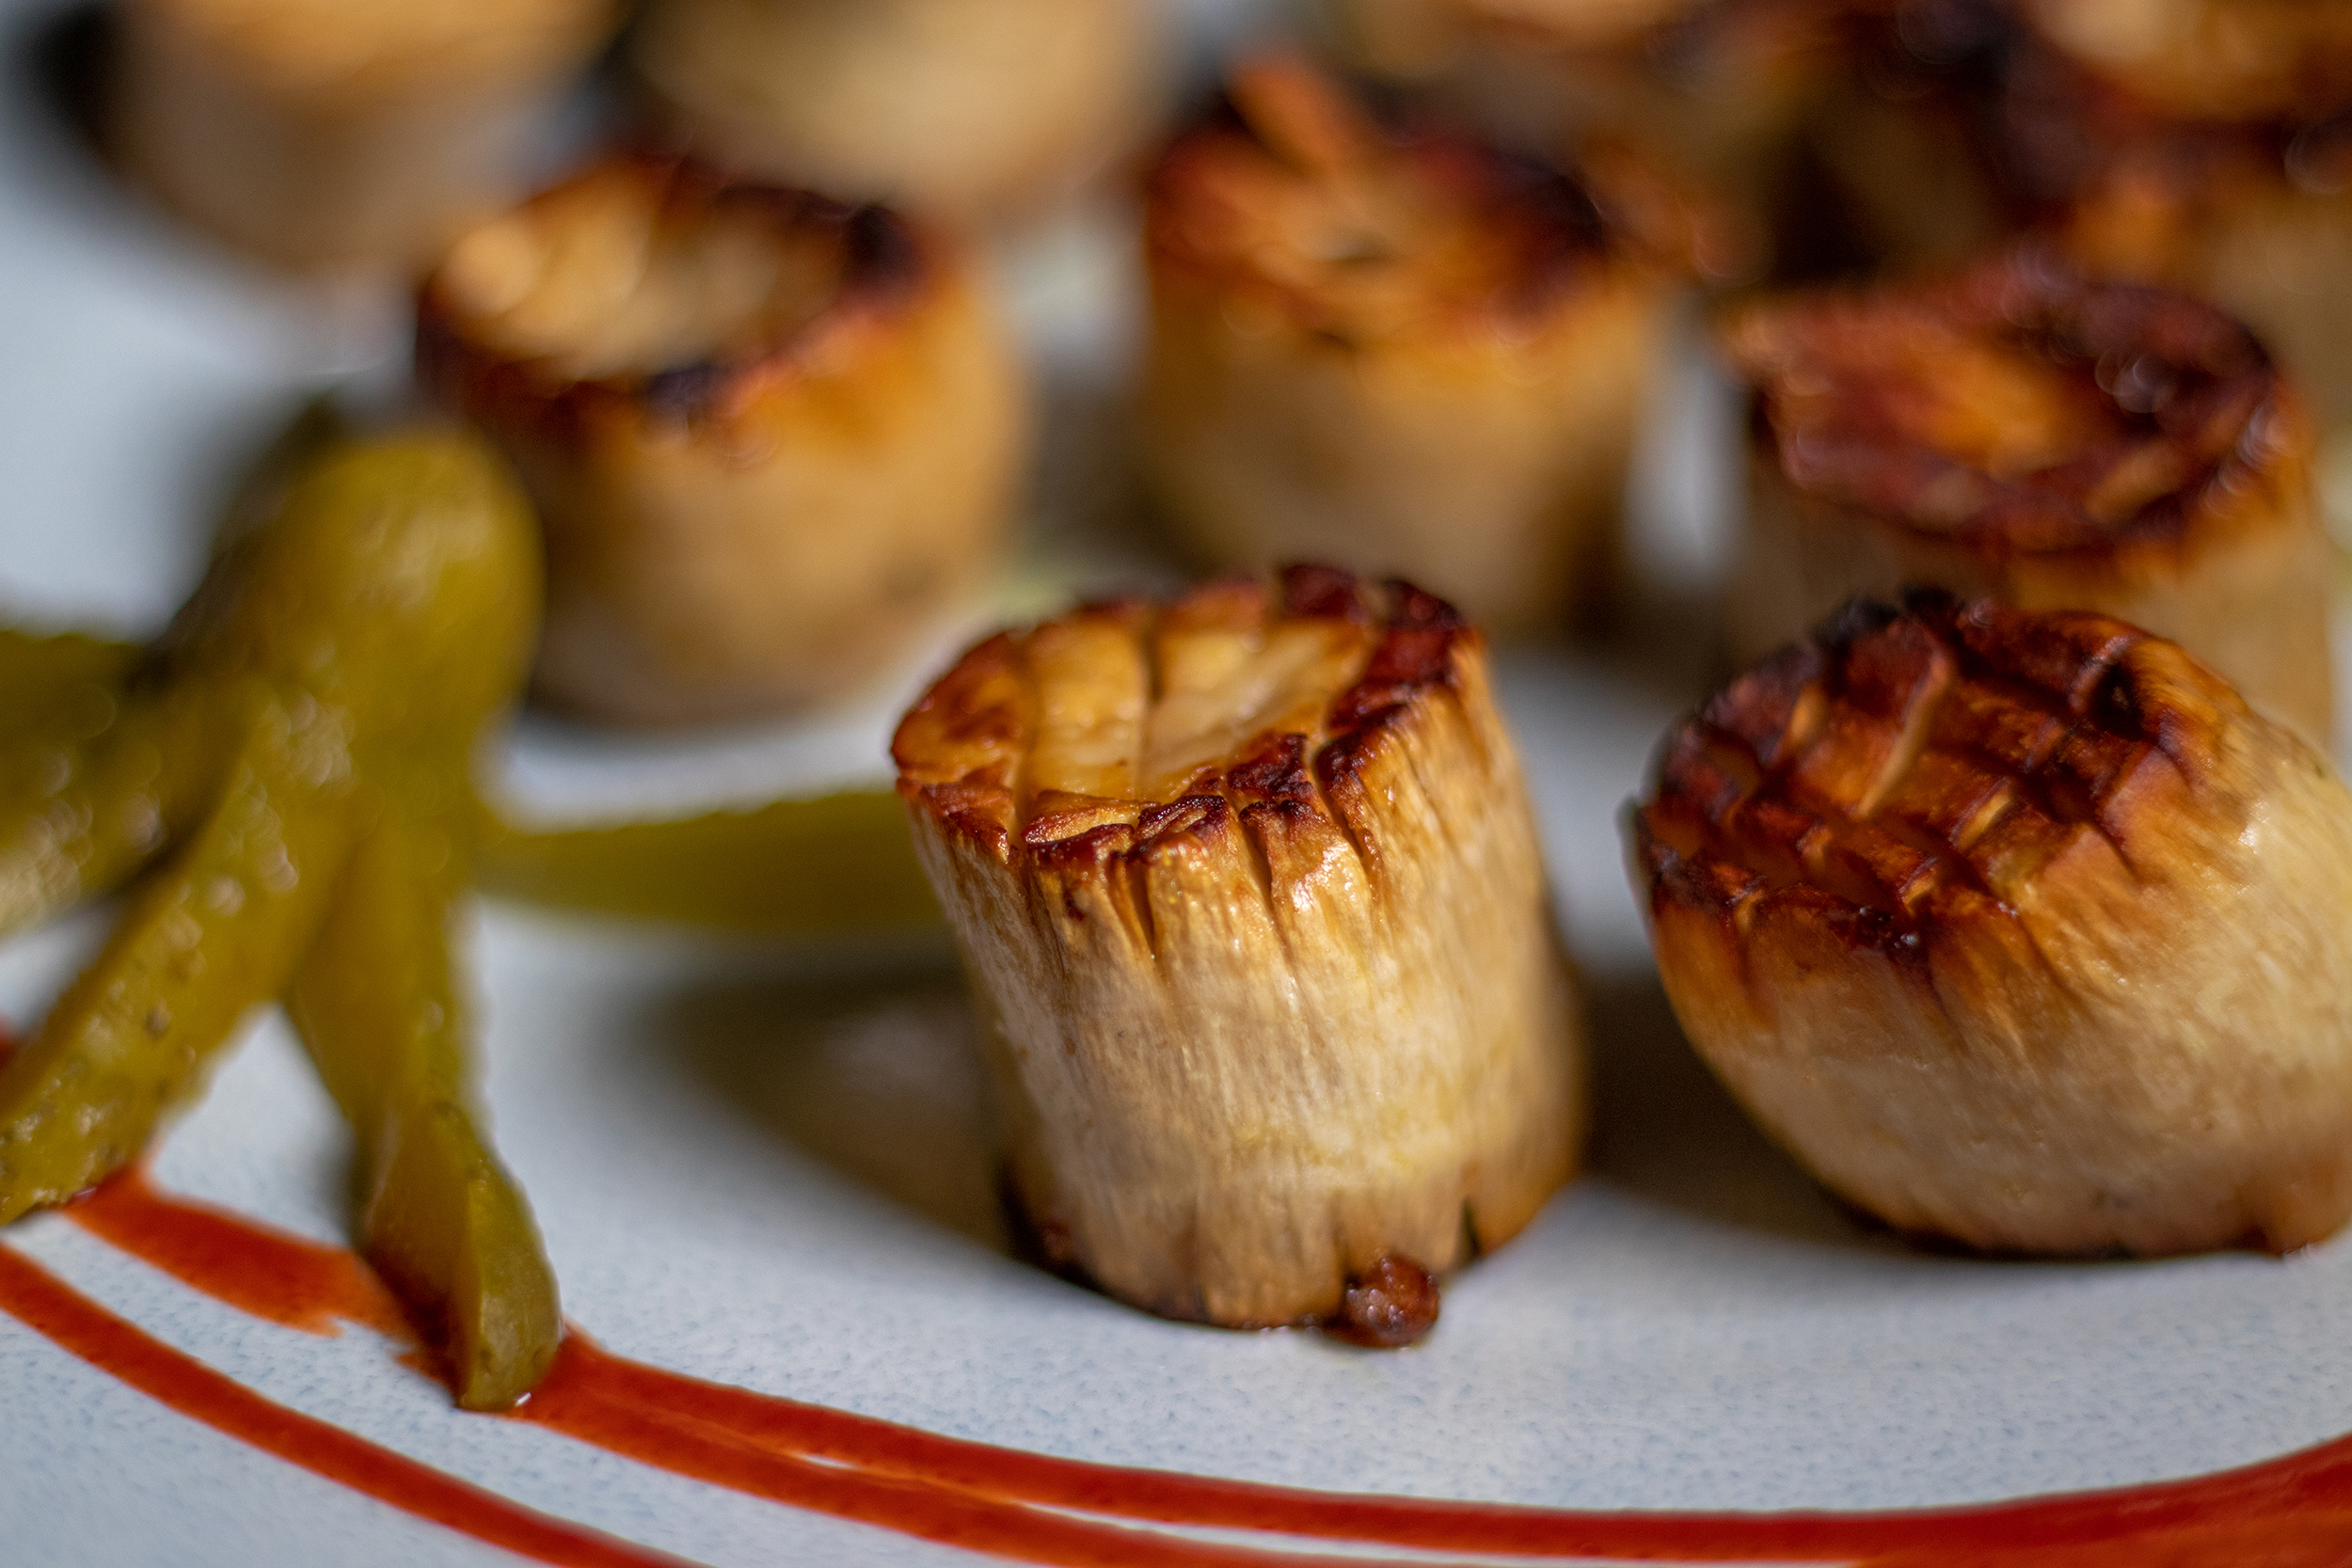
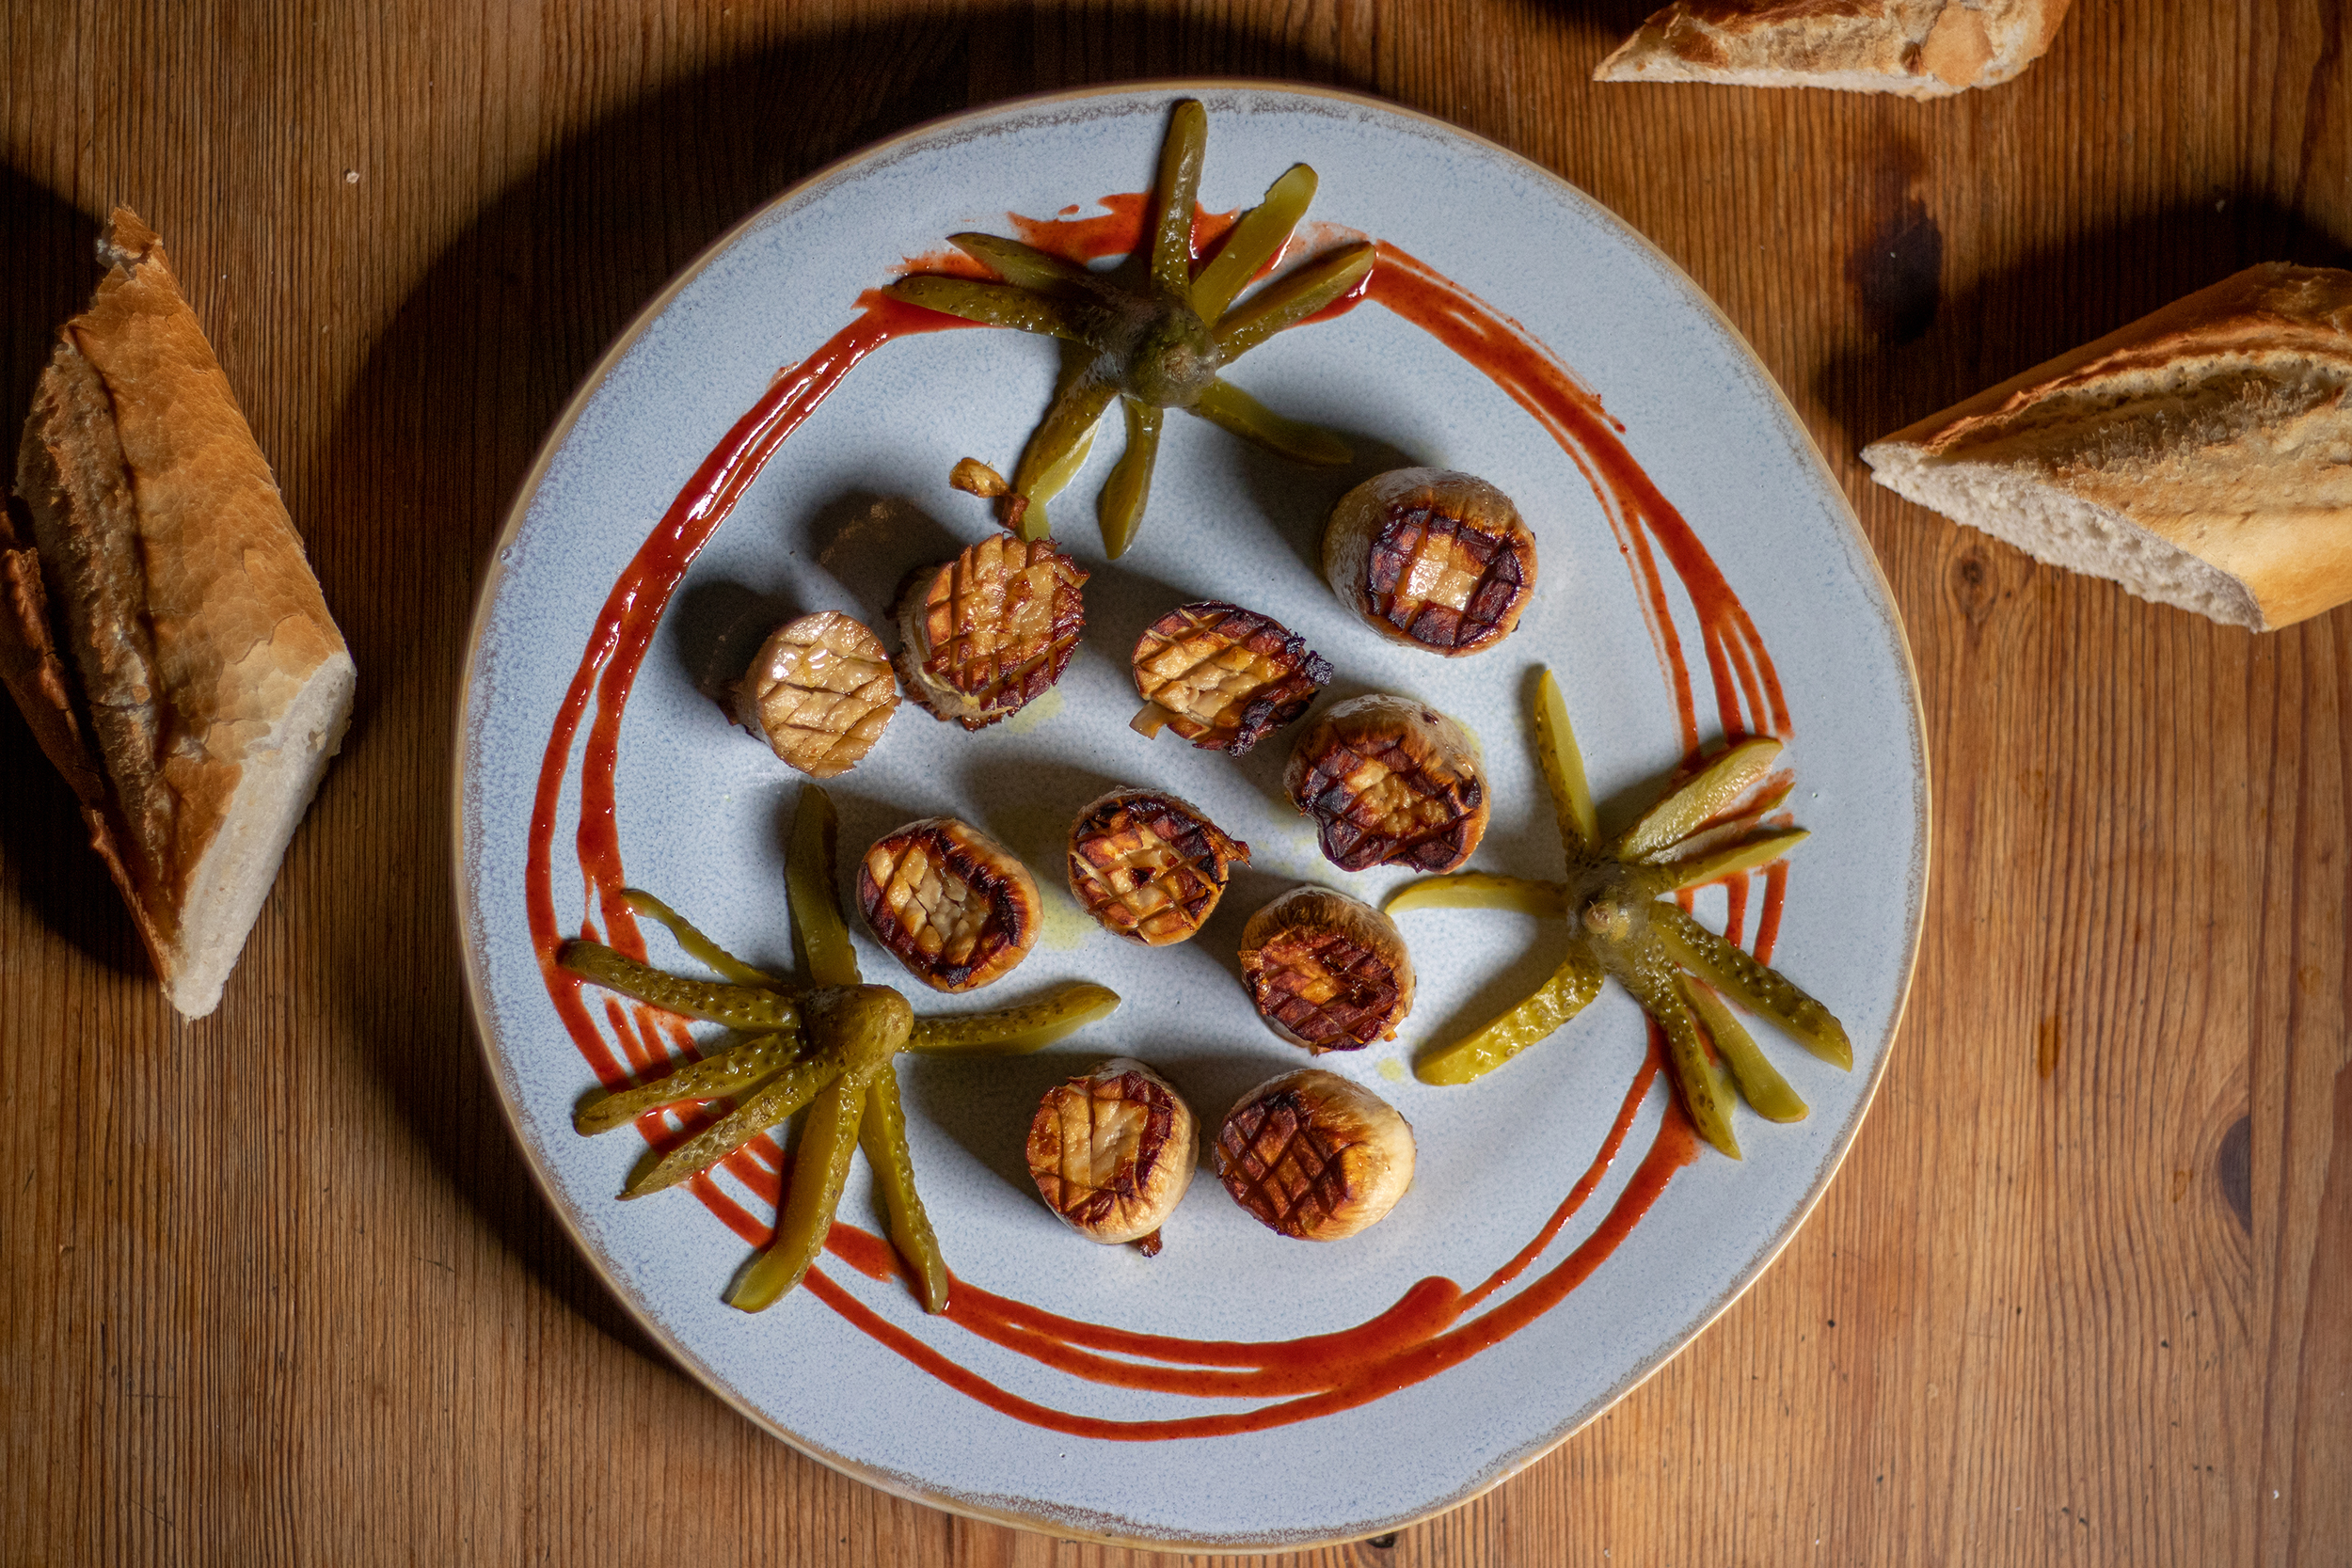
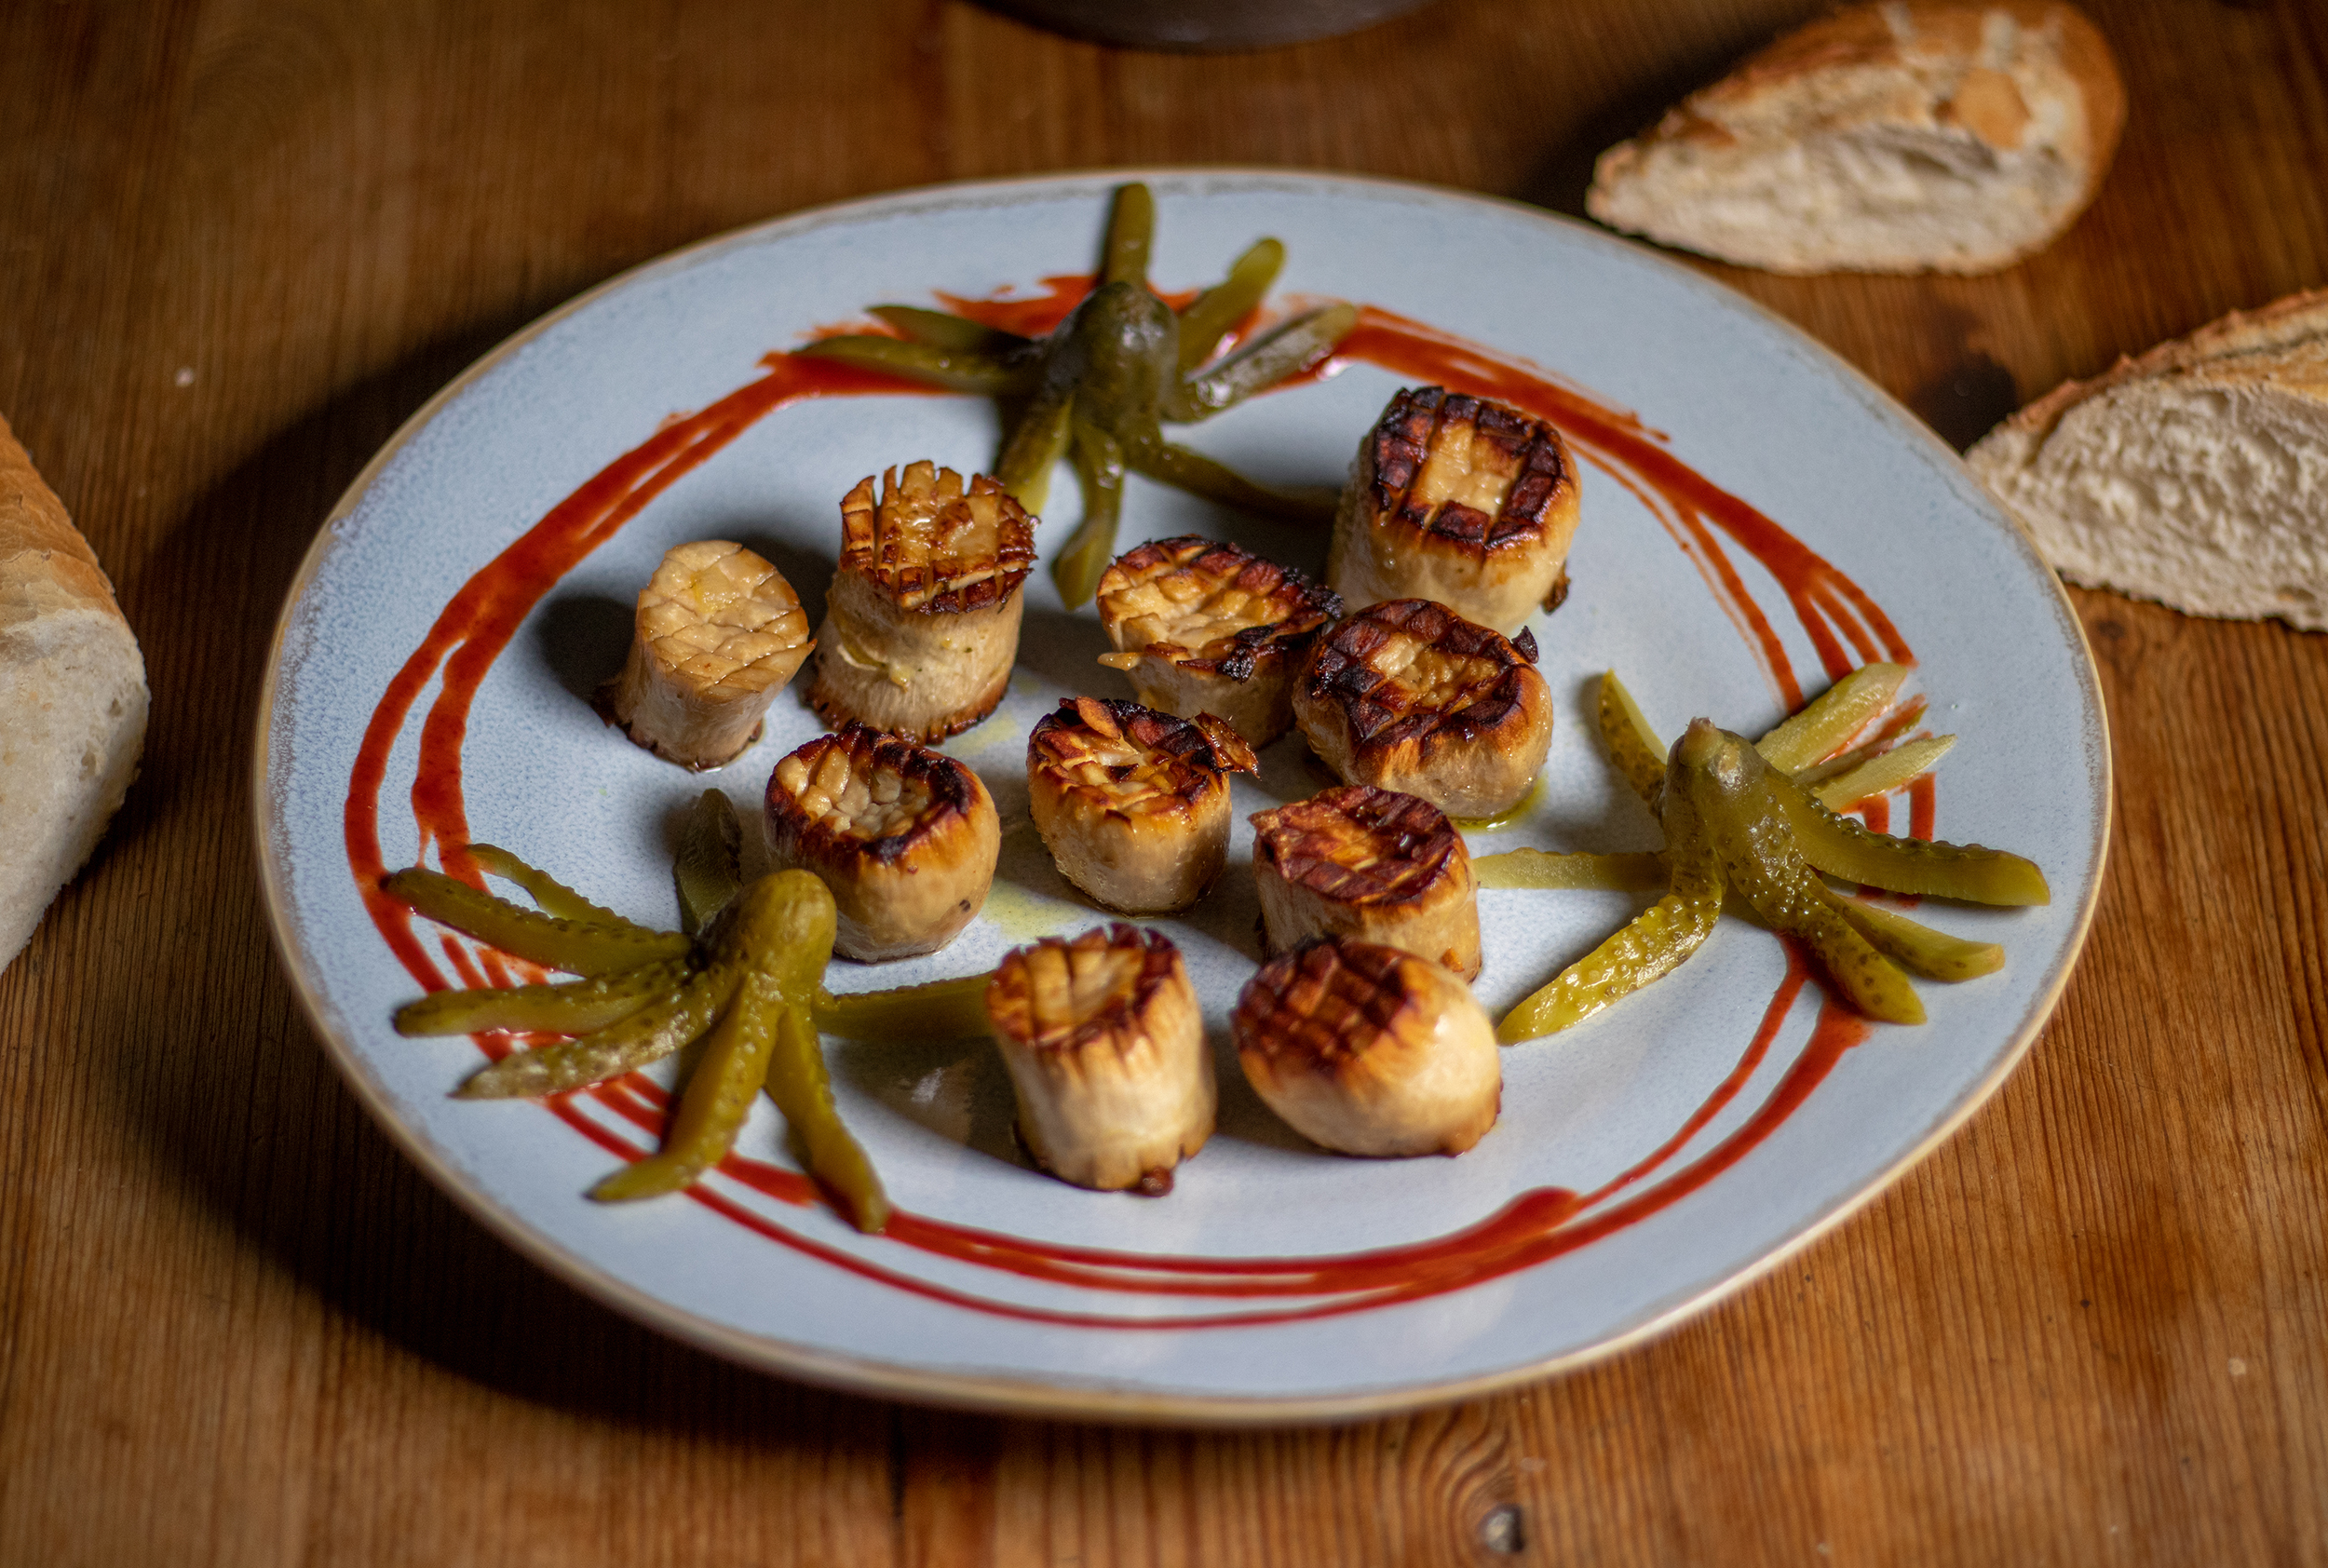
Vegan scallops, here with funny pickled cucumber squids
Why are king oyster mushrooms so healthy?
King oyster mushrooms are very healthy because they contain lots of protein. This is especially interesting for vegans who exercise a lot. Besides their high protein content, king oyster mushrooms also contain many other beneficial nutrients. They contain important minerals: potassium, calcium, and phosphorus. They also contain prebiotics, which stimulate intestinal function and thus contribute to overall health. These beneficial nutrients make king oyster mushrooms not only delicious but also very healthy.
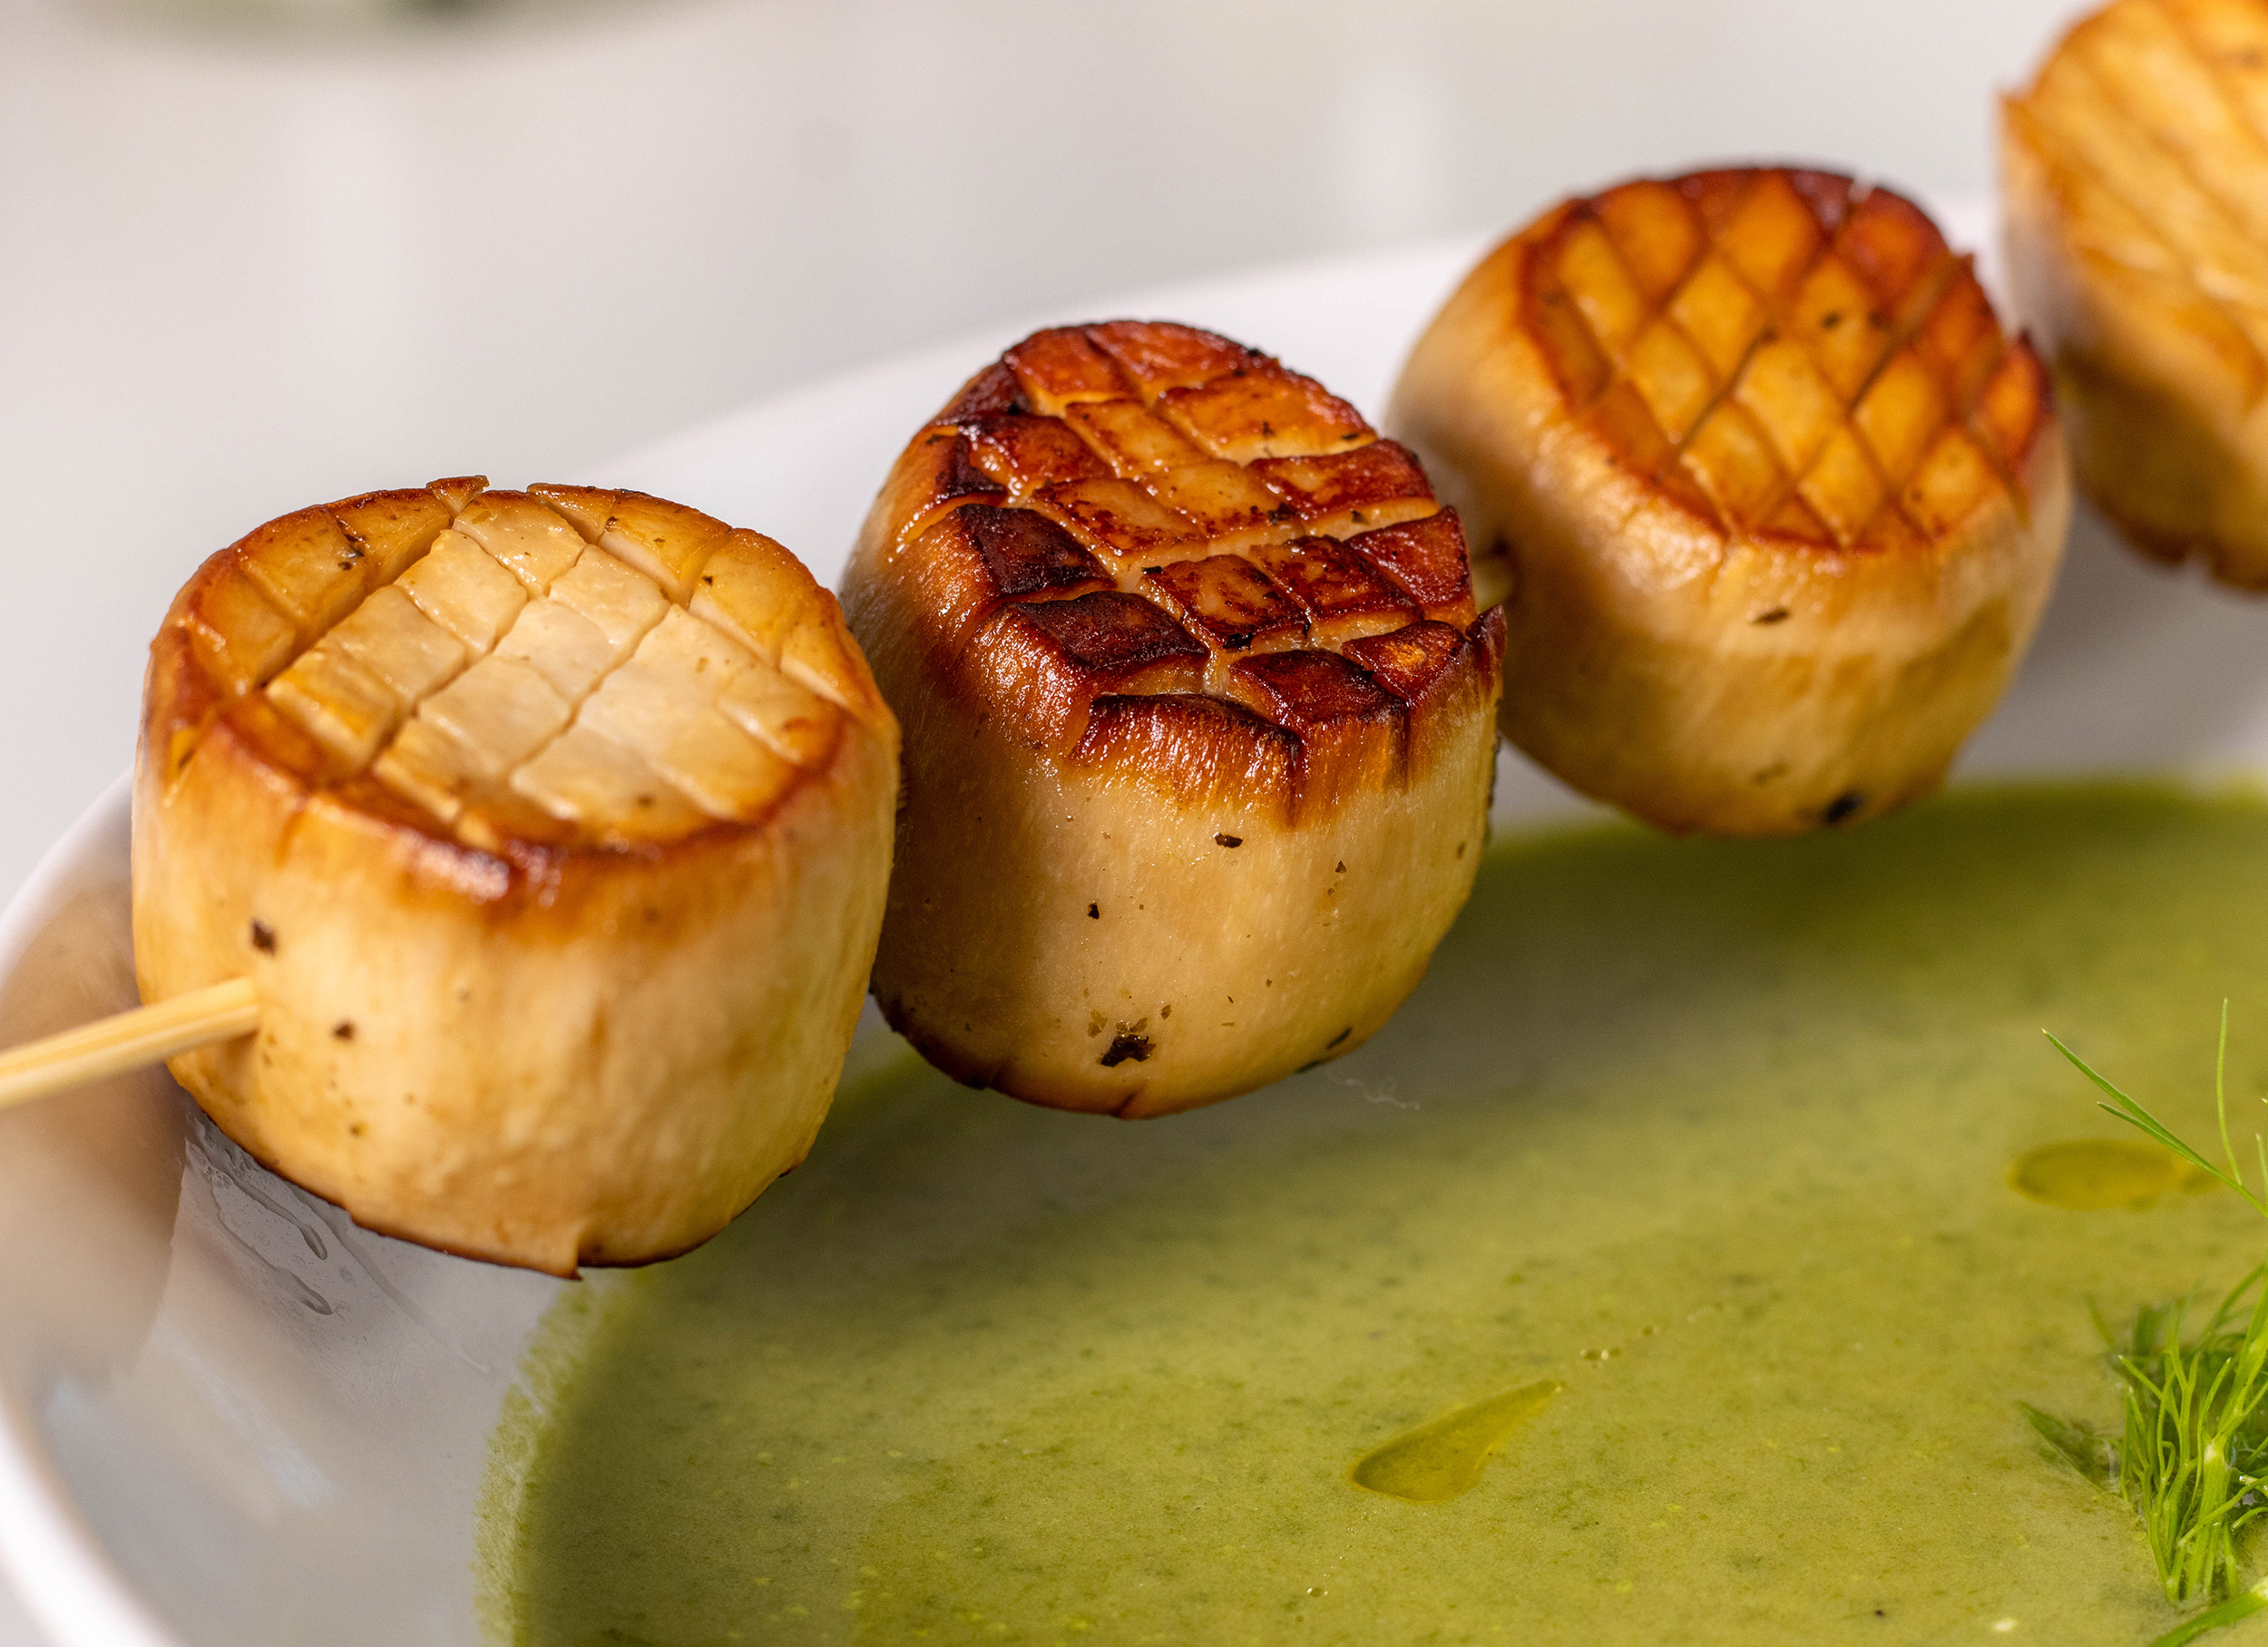
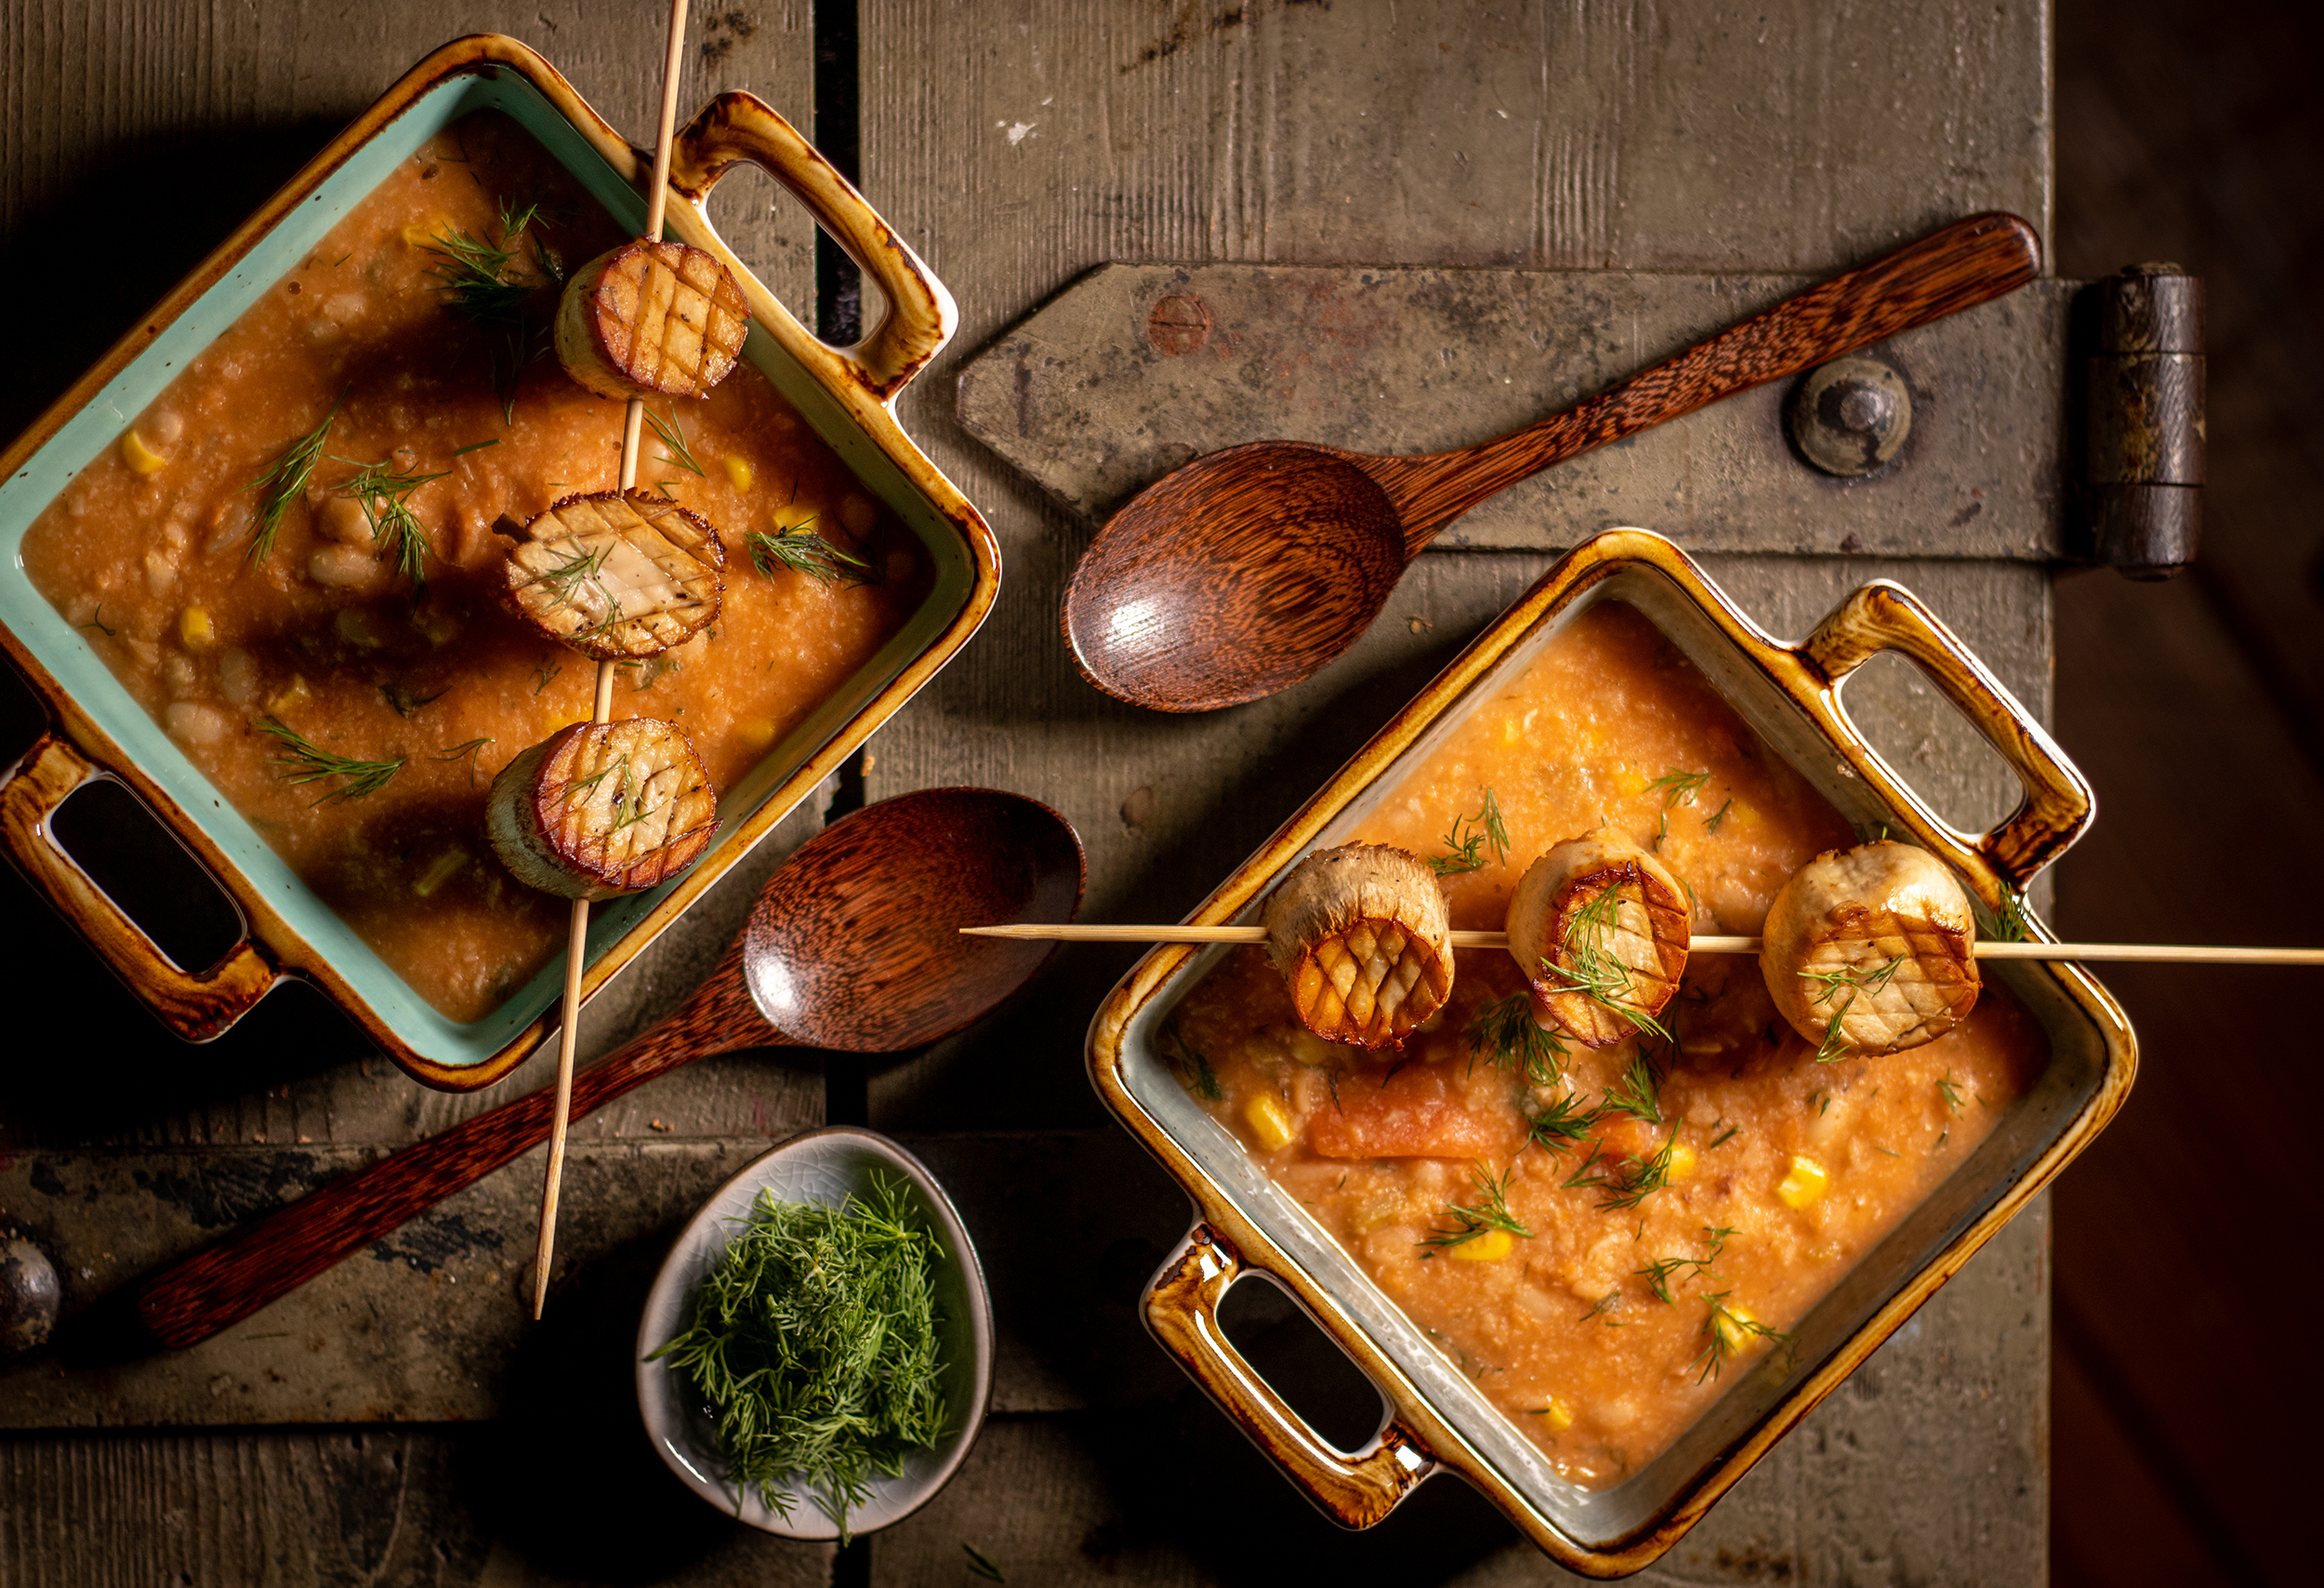
White bean soup with corn and vegan scallops on a skewer
Vegan scallops are perfect for many dishes.
My vegan scallops are a perfect match for a wide variety of dishes. They make a wonderful warm topping for salads. They also add a savory bite as an ingredient or skewer to soups. Served as a fish course with some greens, they enhance a sophisticated vegan menu and are a great side dish for many savory meals.
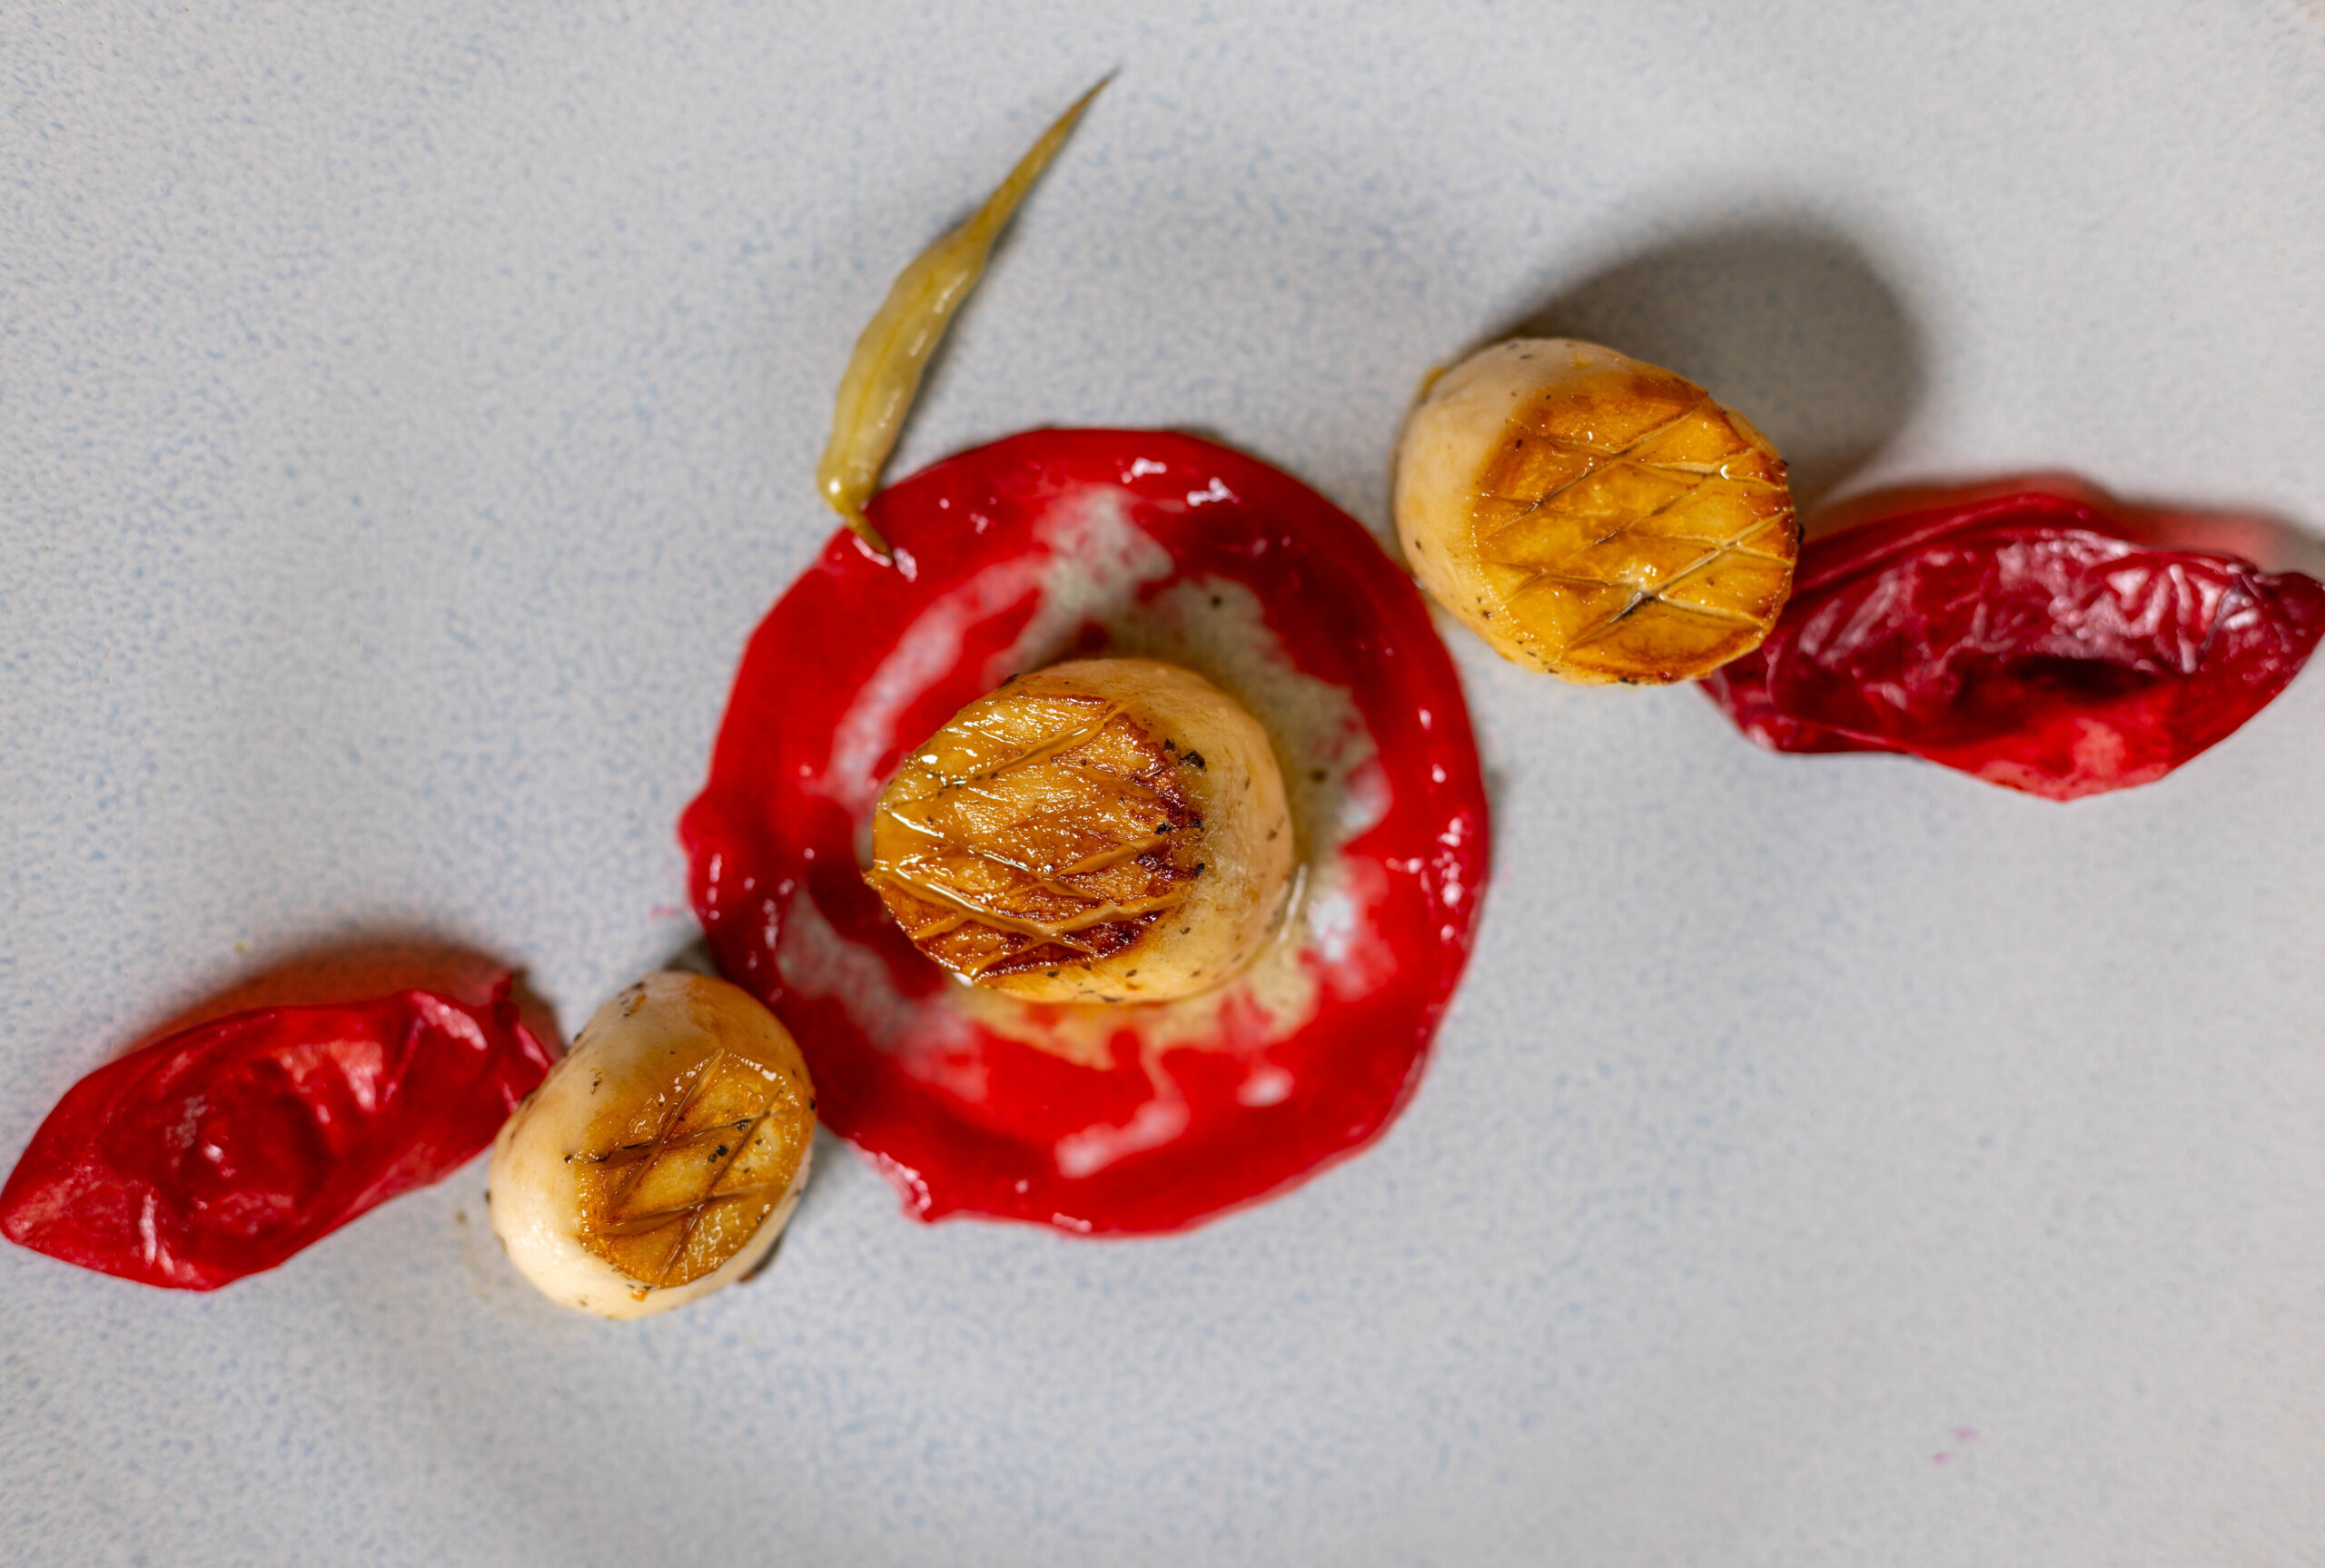
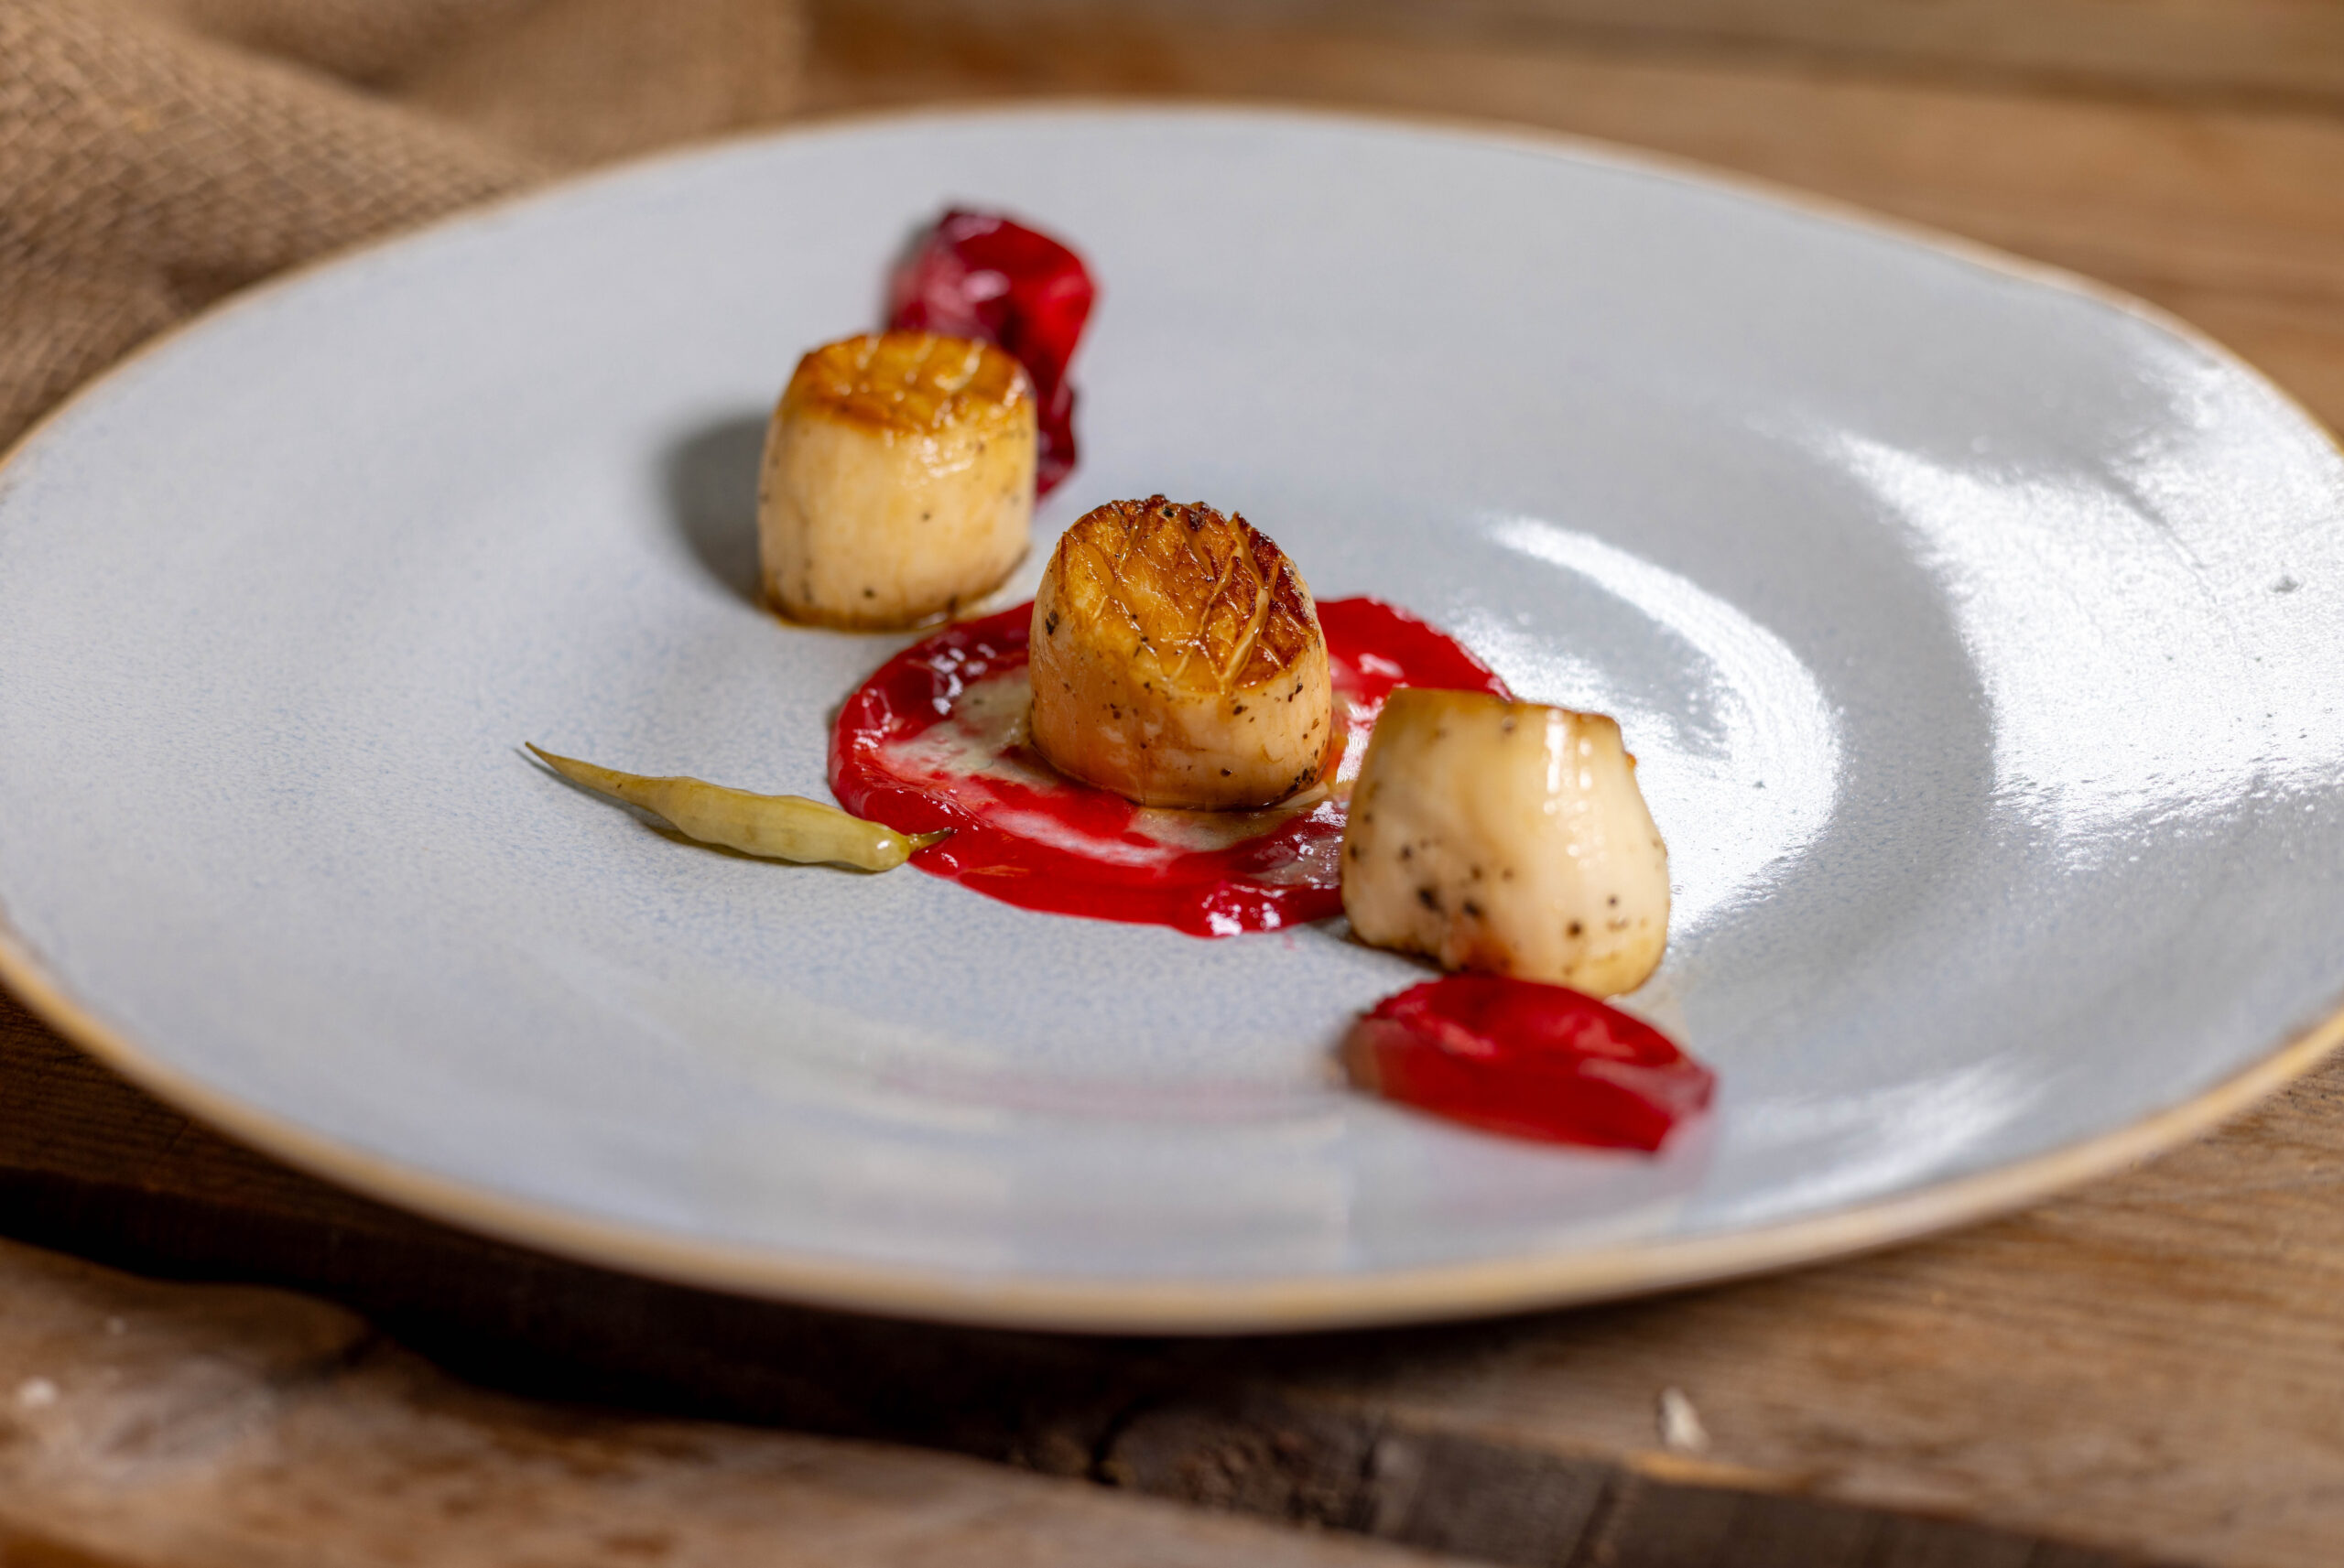
Vegan scallops with pulp from Lacto Fermented Plums, Lacto Plum Chips and Pickled Radish Pods
More Vegan Fish and Seafood Recipes
Looking for more vegan fish and seafood recipes? Then browse my ‘V Fish‘ category right here on Daily Vegan.
Please follow me on Instagram or Facebook. And I’d be delighted if you made my vegan scallops and posted a photo of it, tagging my account. Because I always find it really great and exciting to see how my recipes have been prepared in other kitchens!
Vegan scallops made from regional king oyster mushrooms
Vegan Scallops – Preparation in Pictures
Here I show you step by step with photos how I prepare vegan scallops. Then we’ll move directly to the recipe.
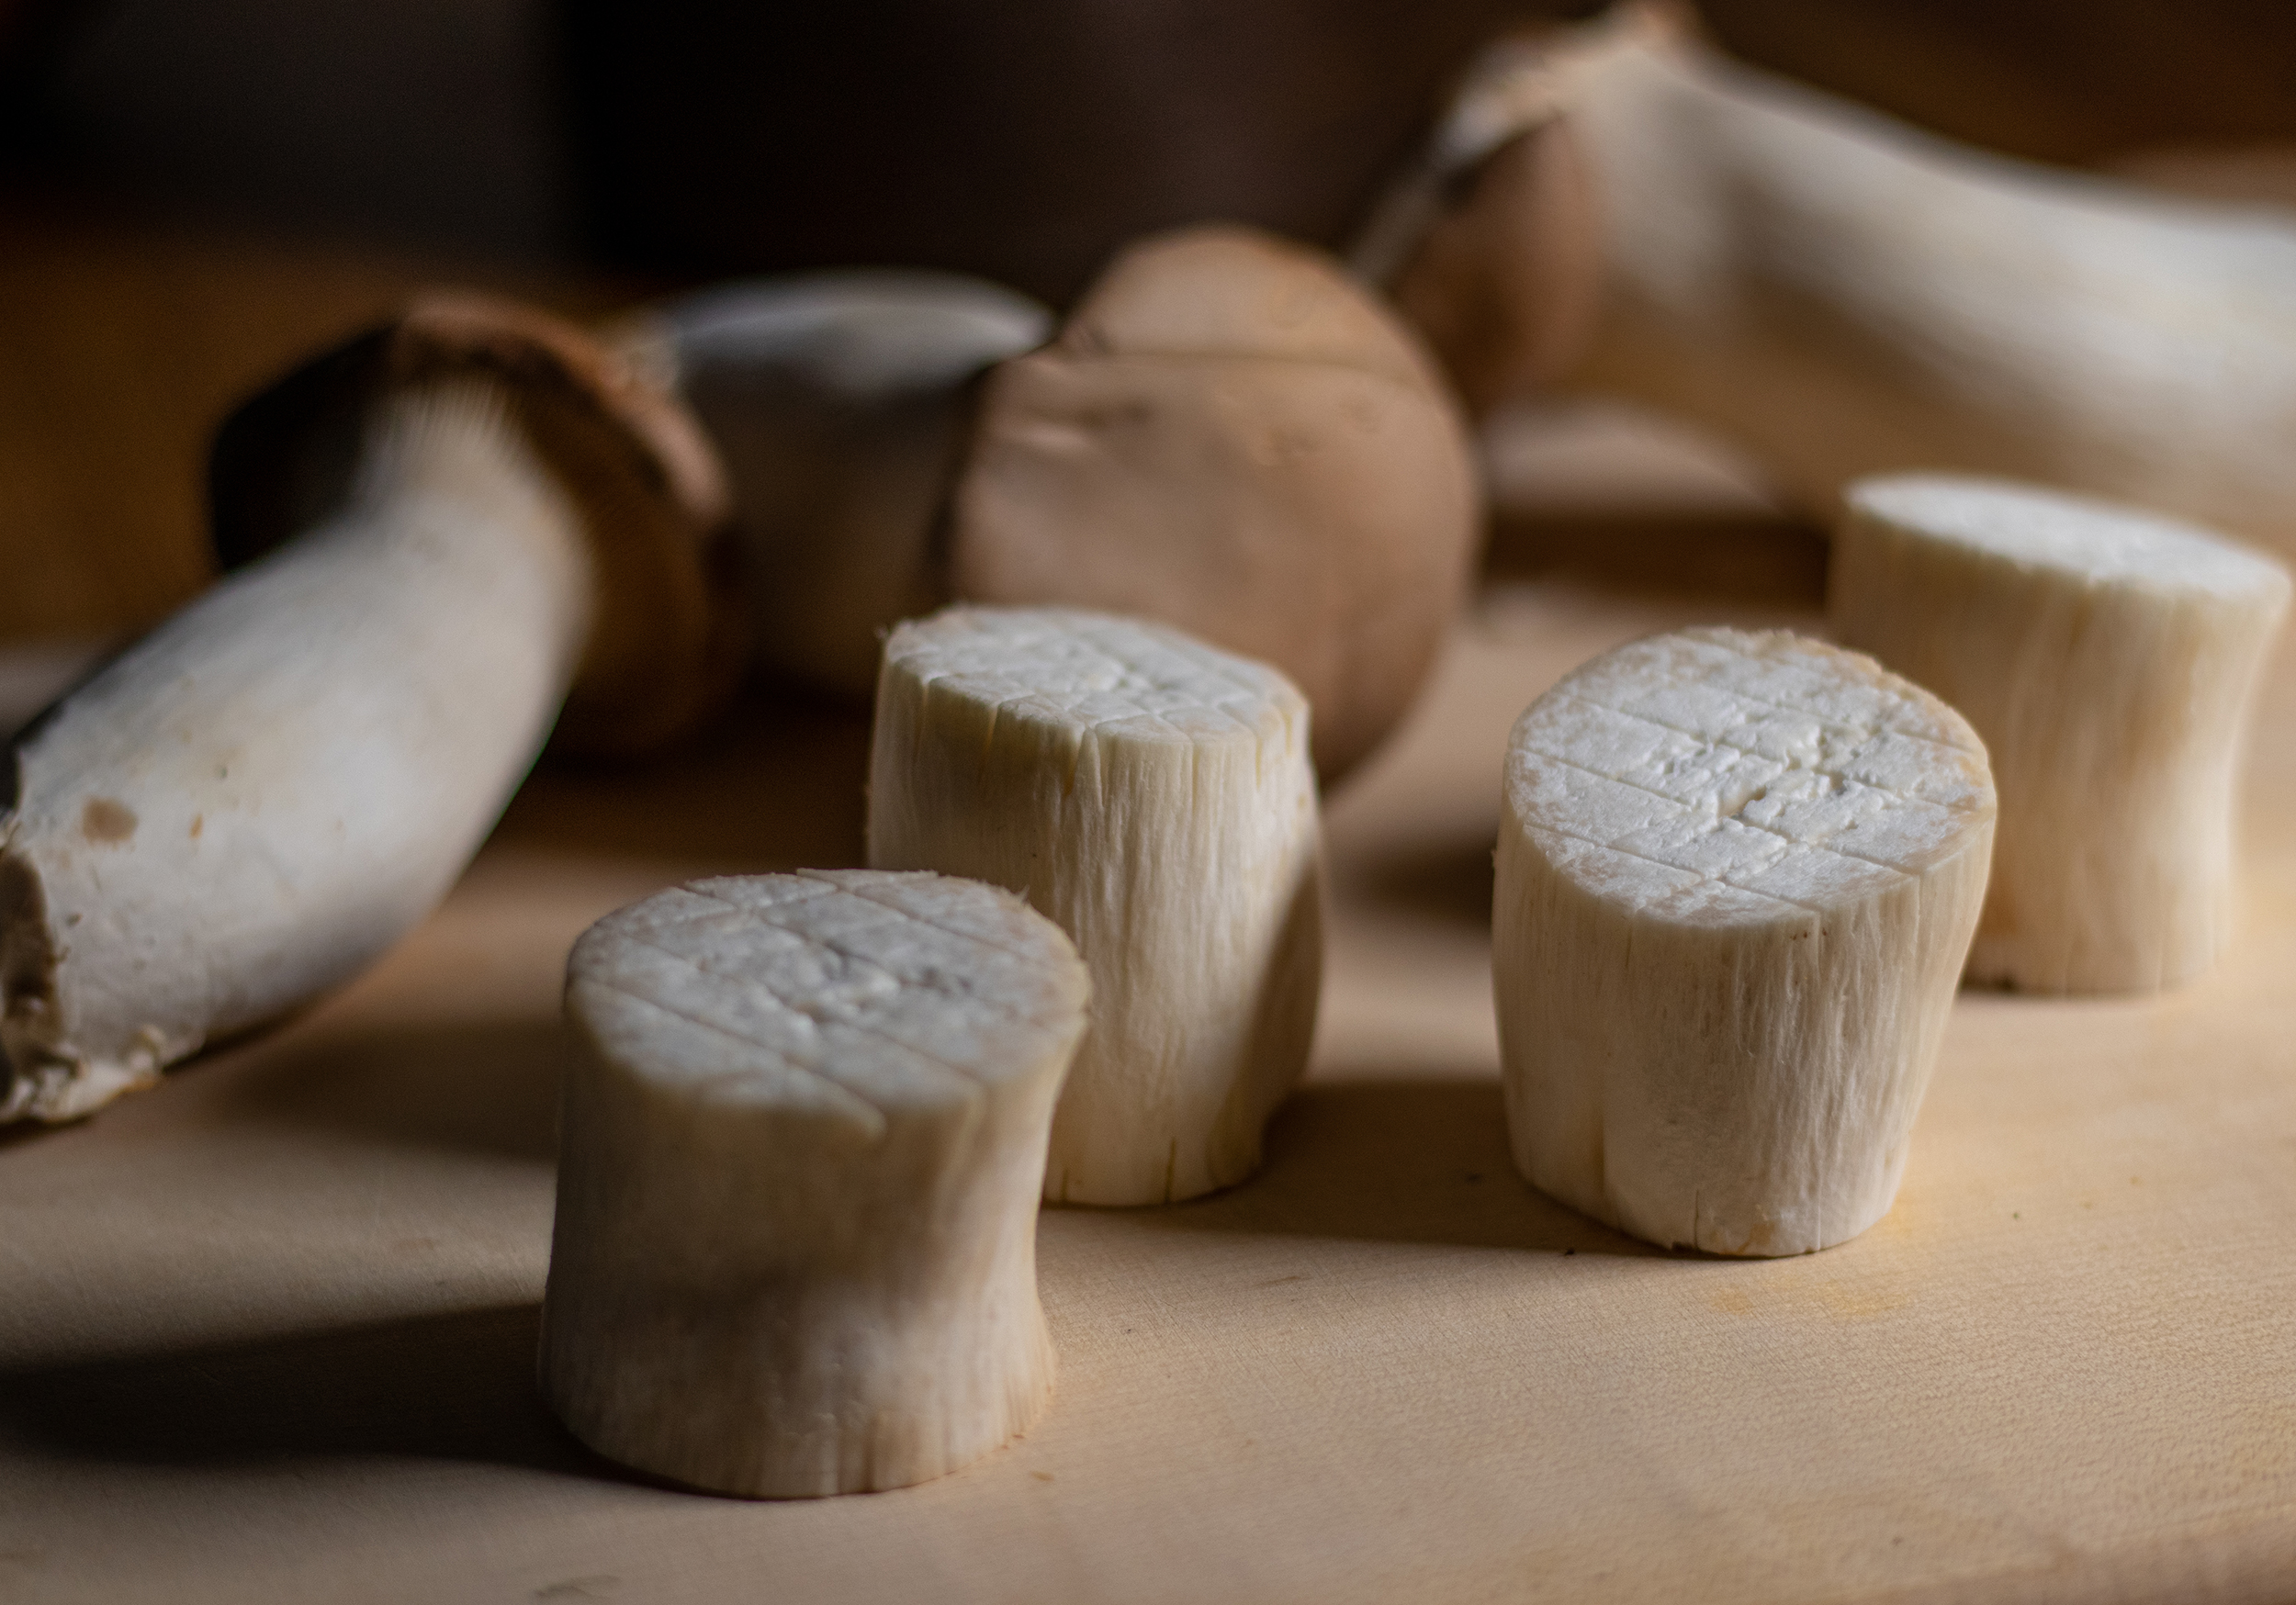
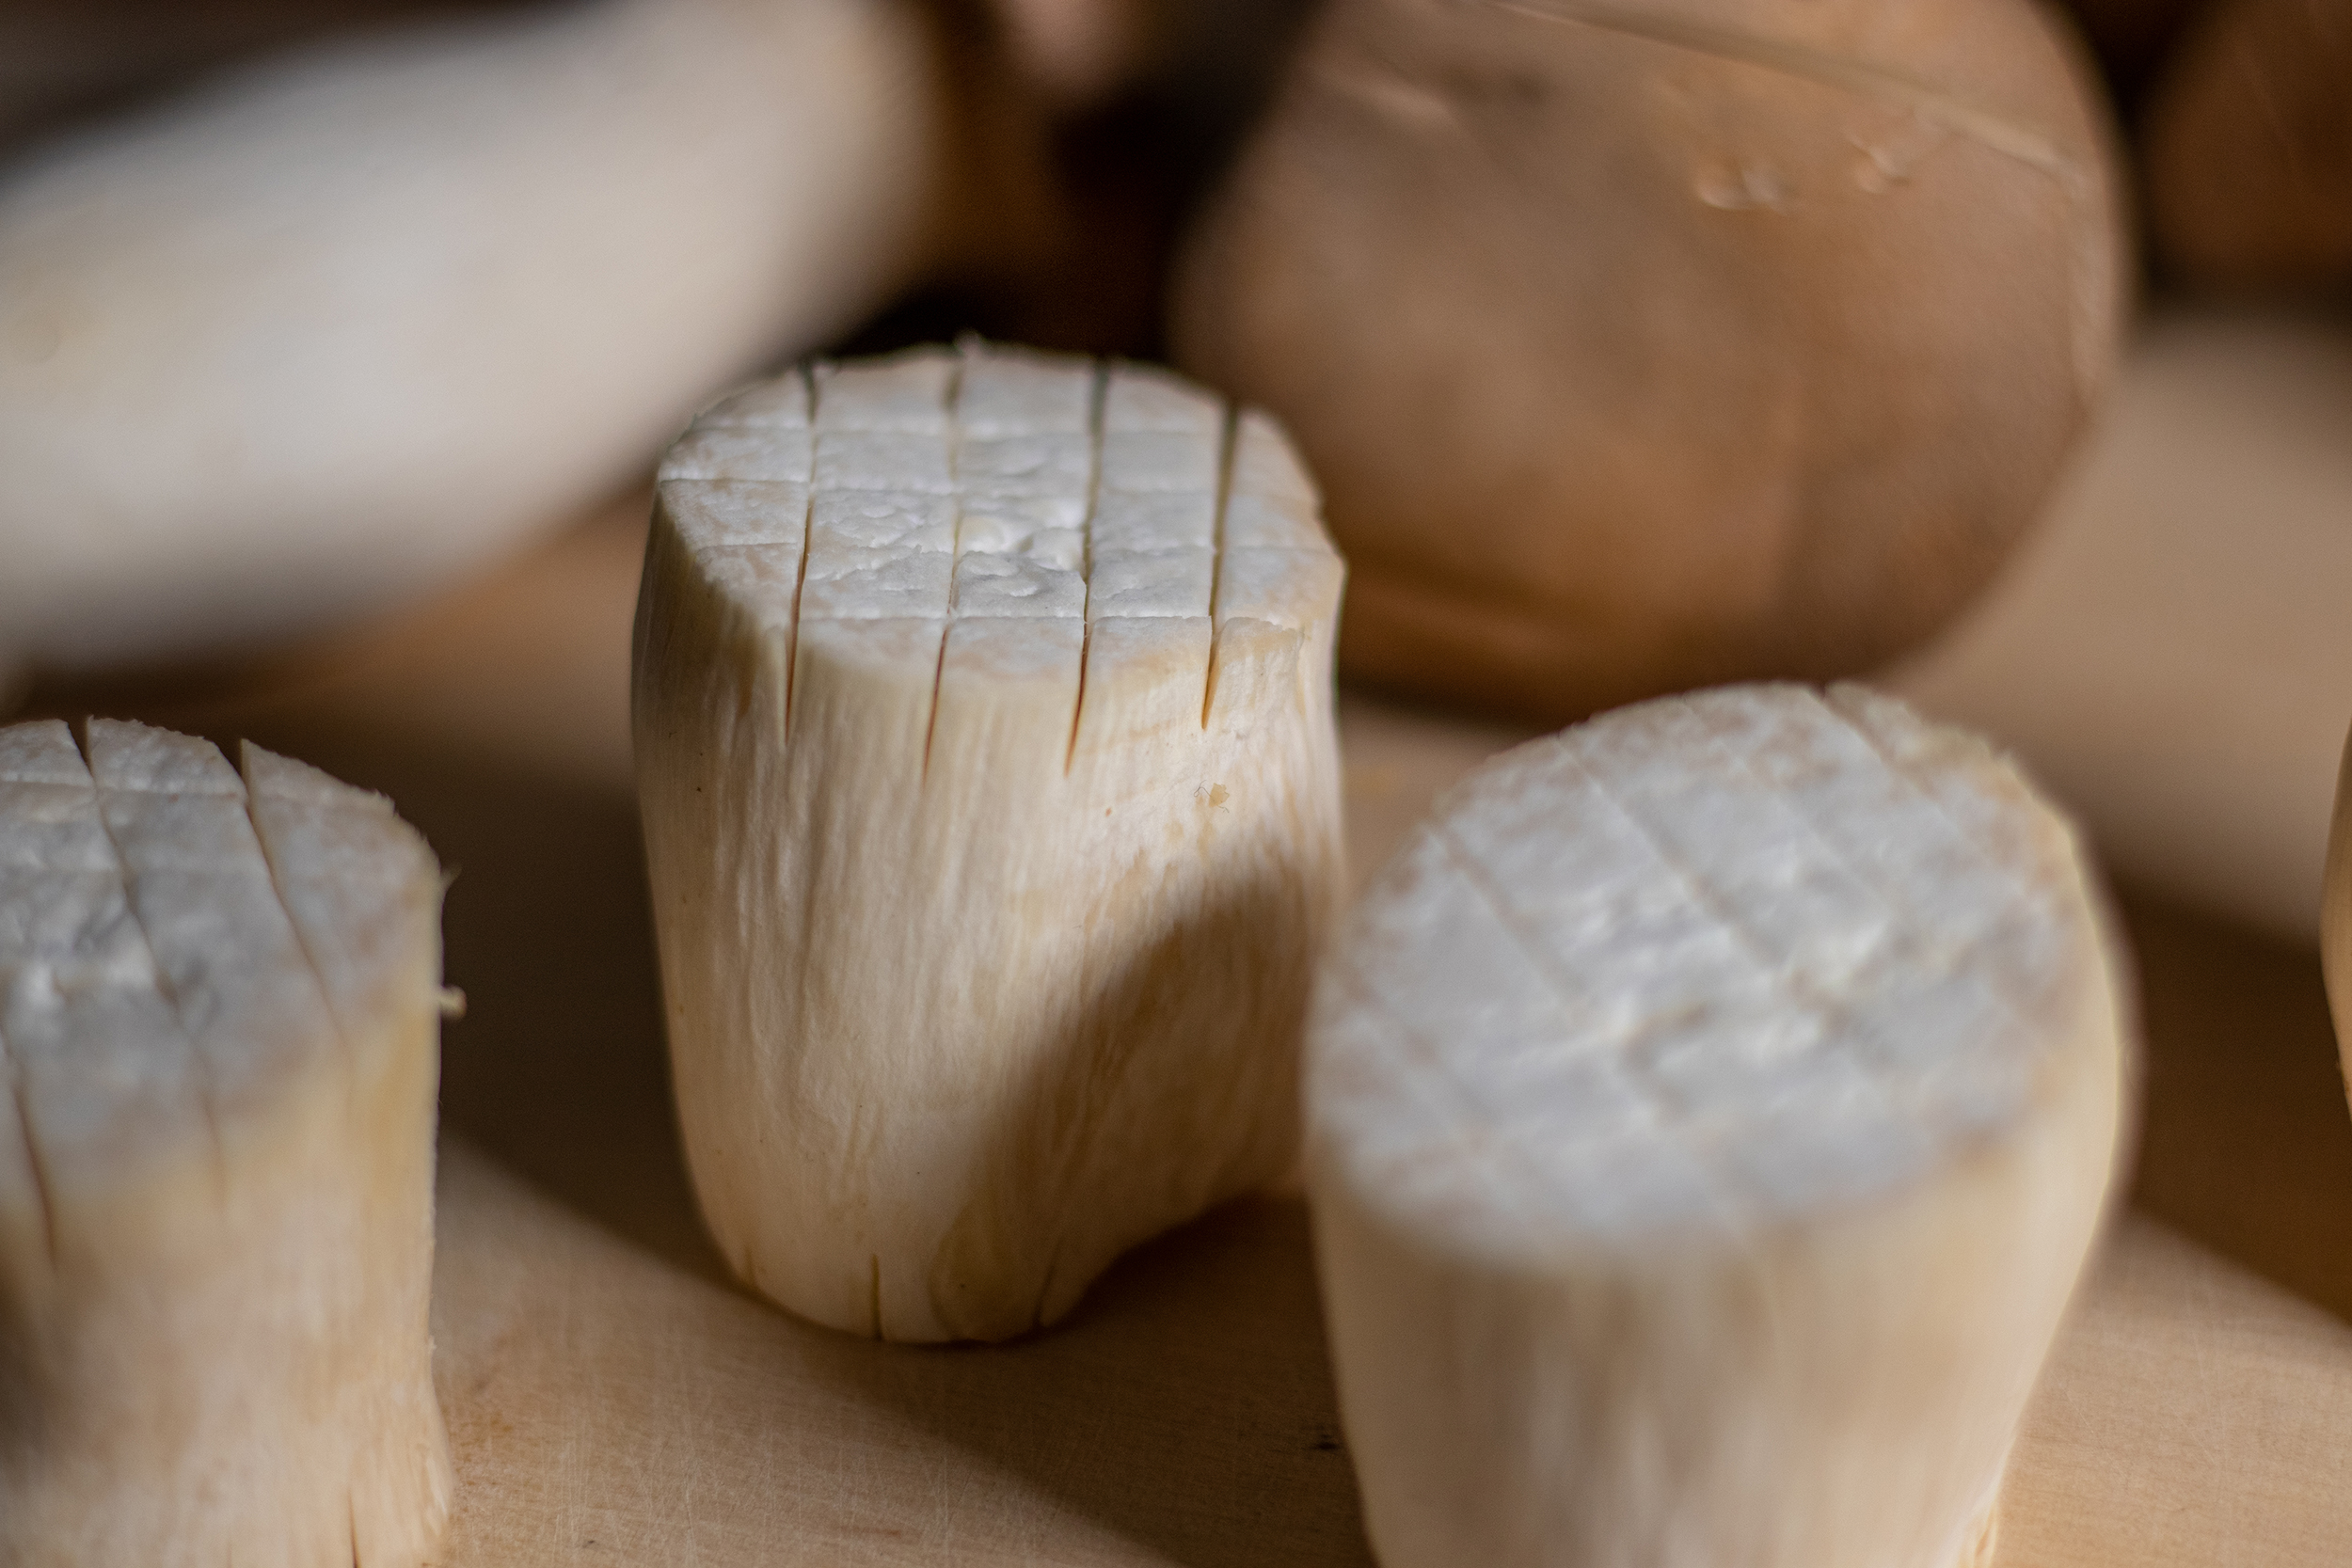
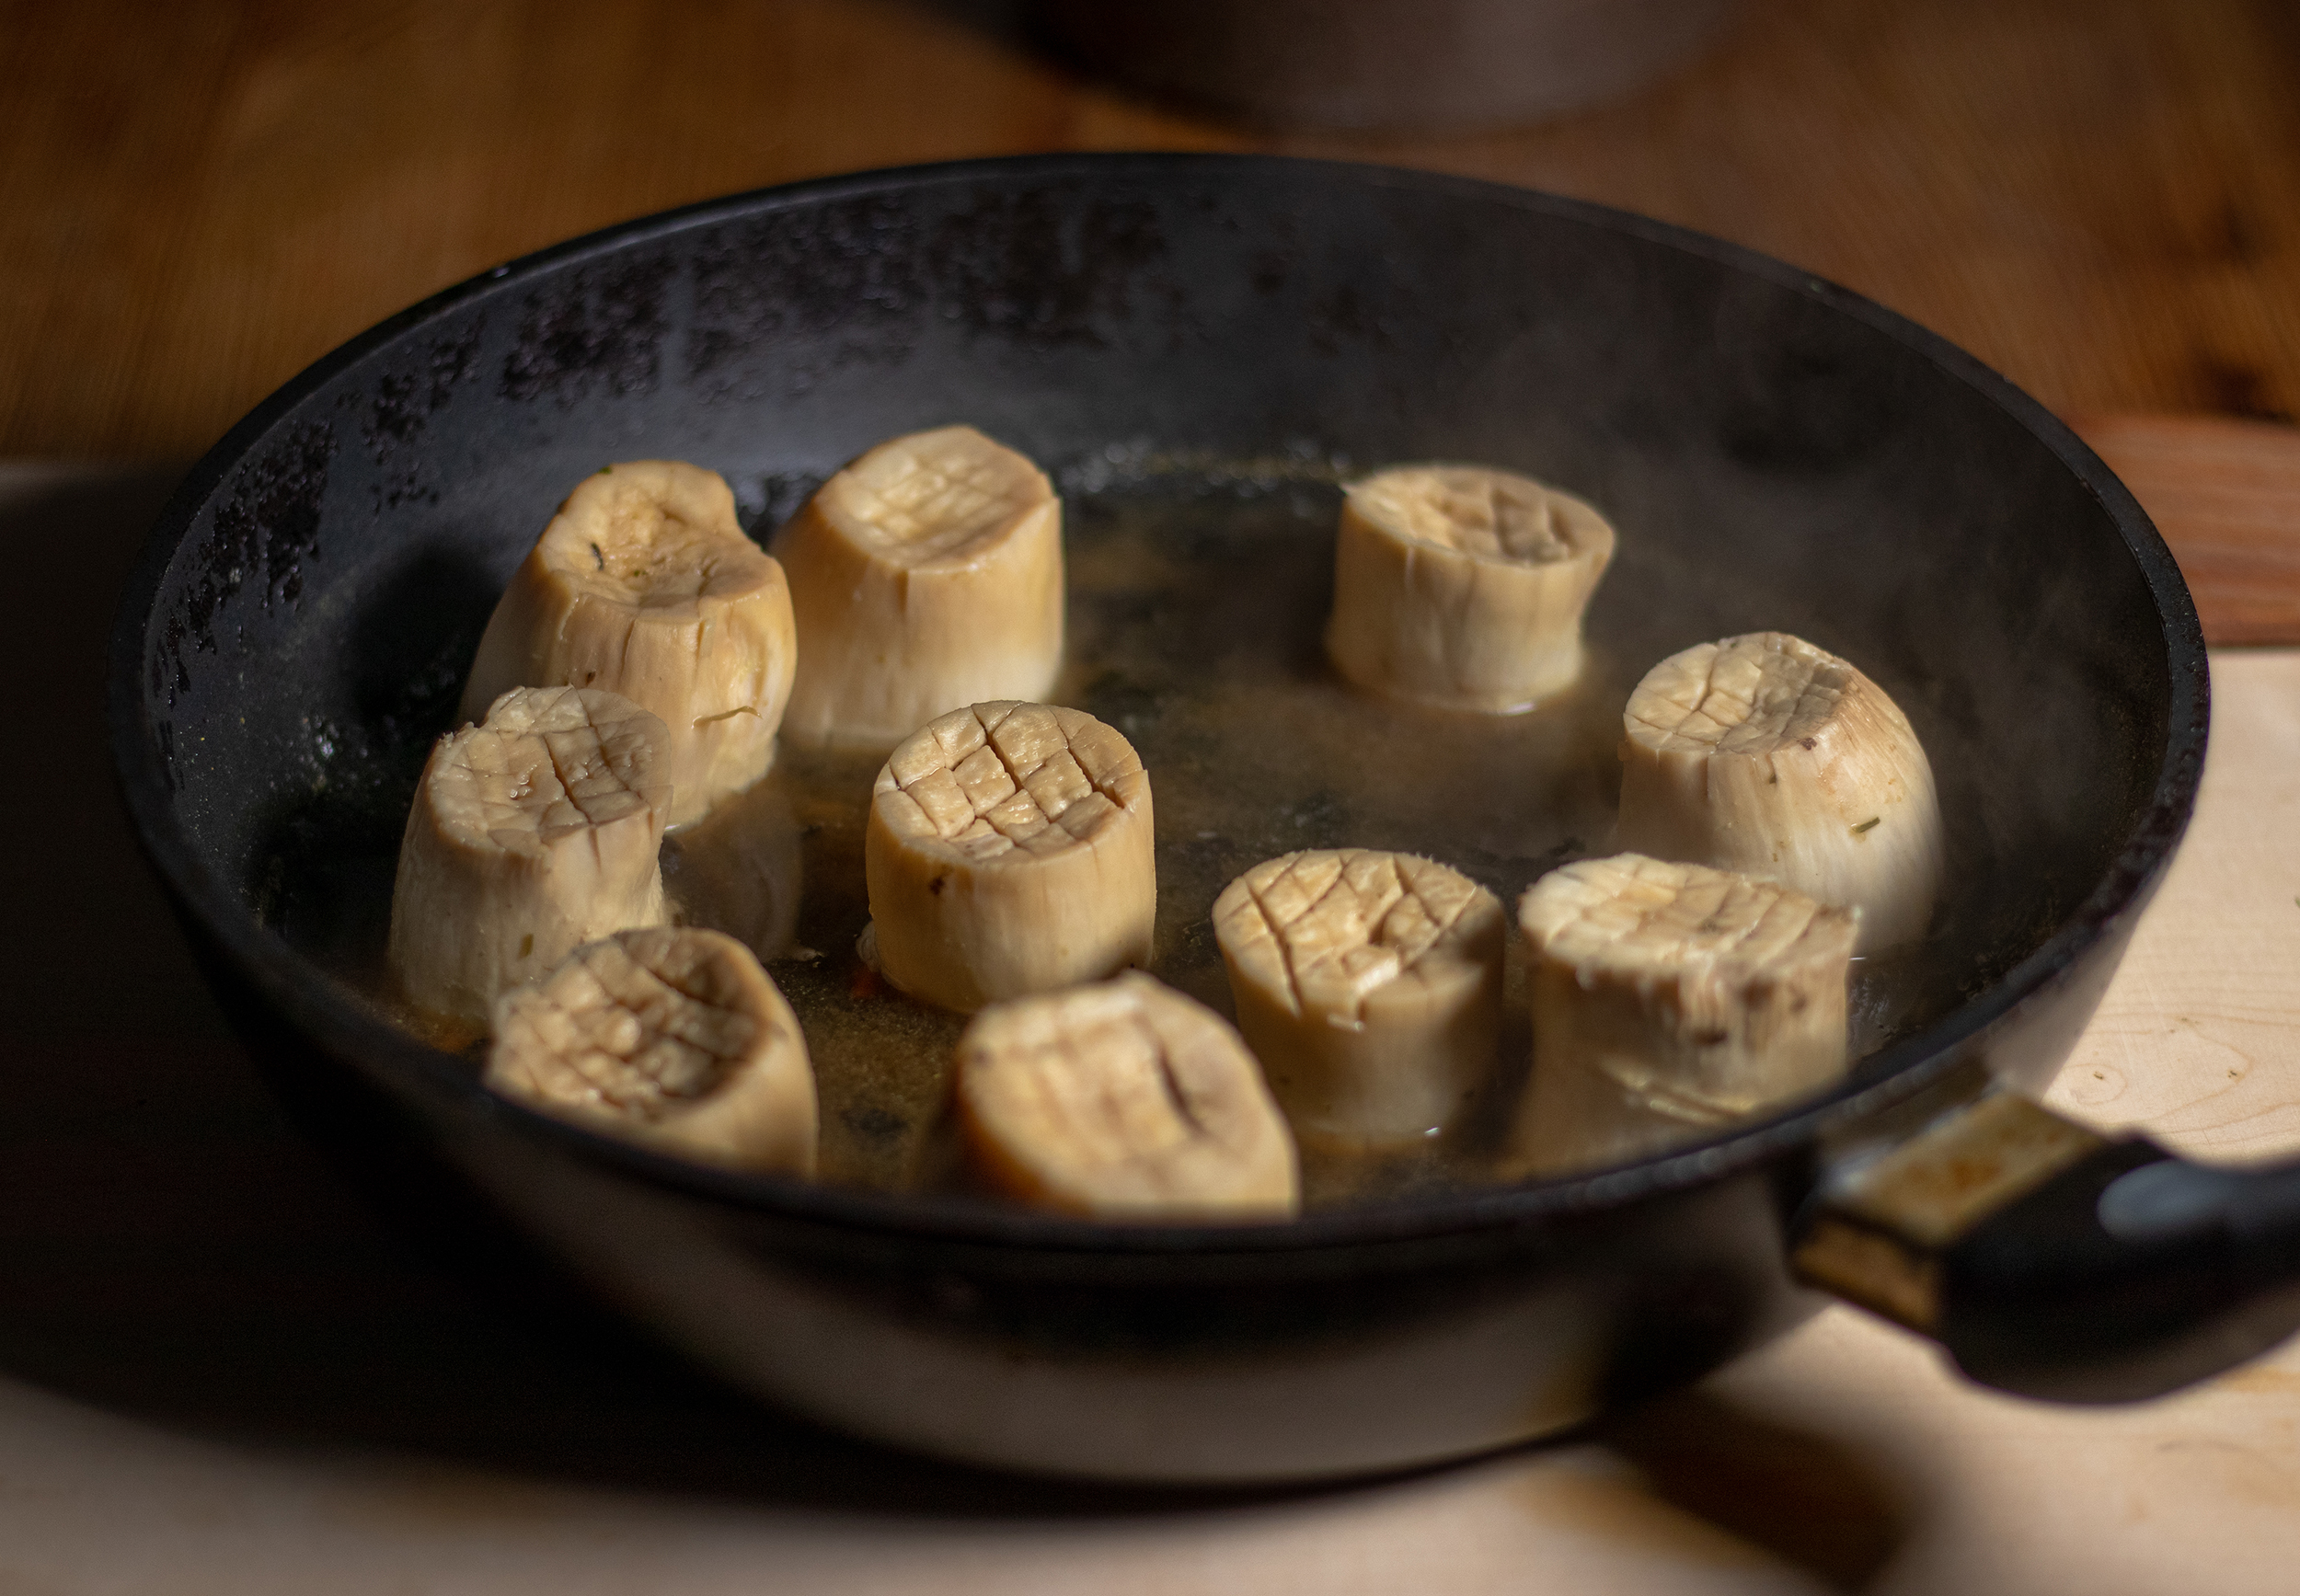
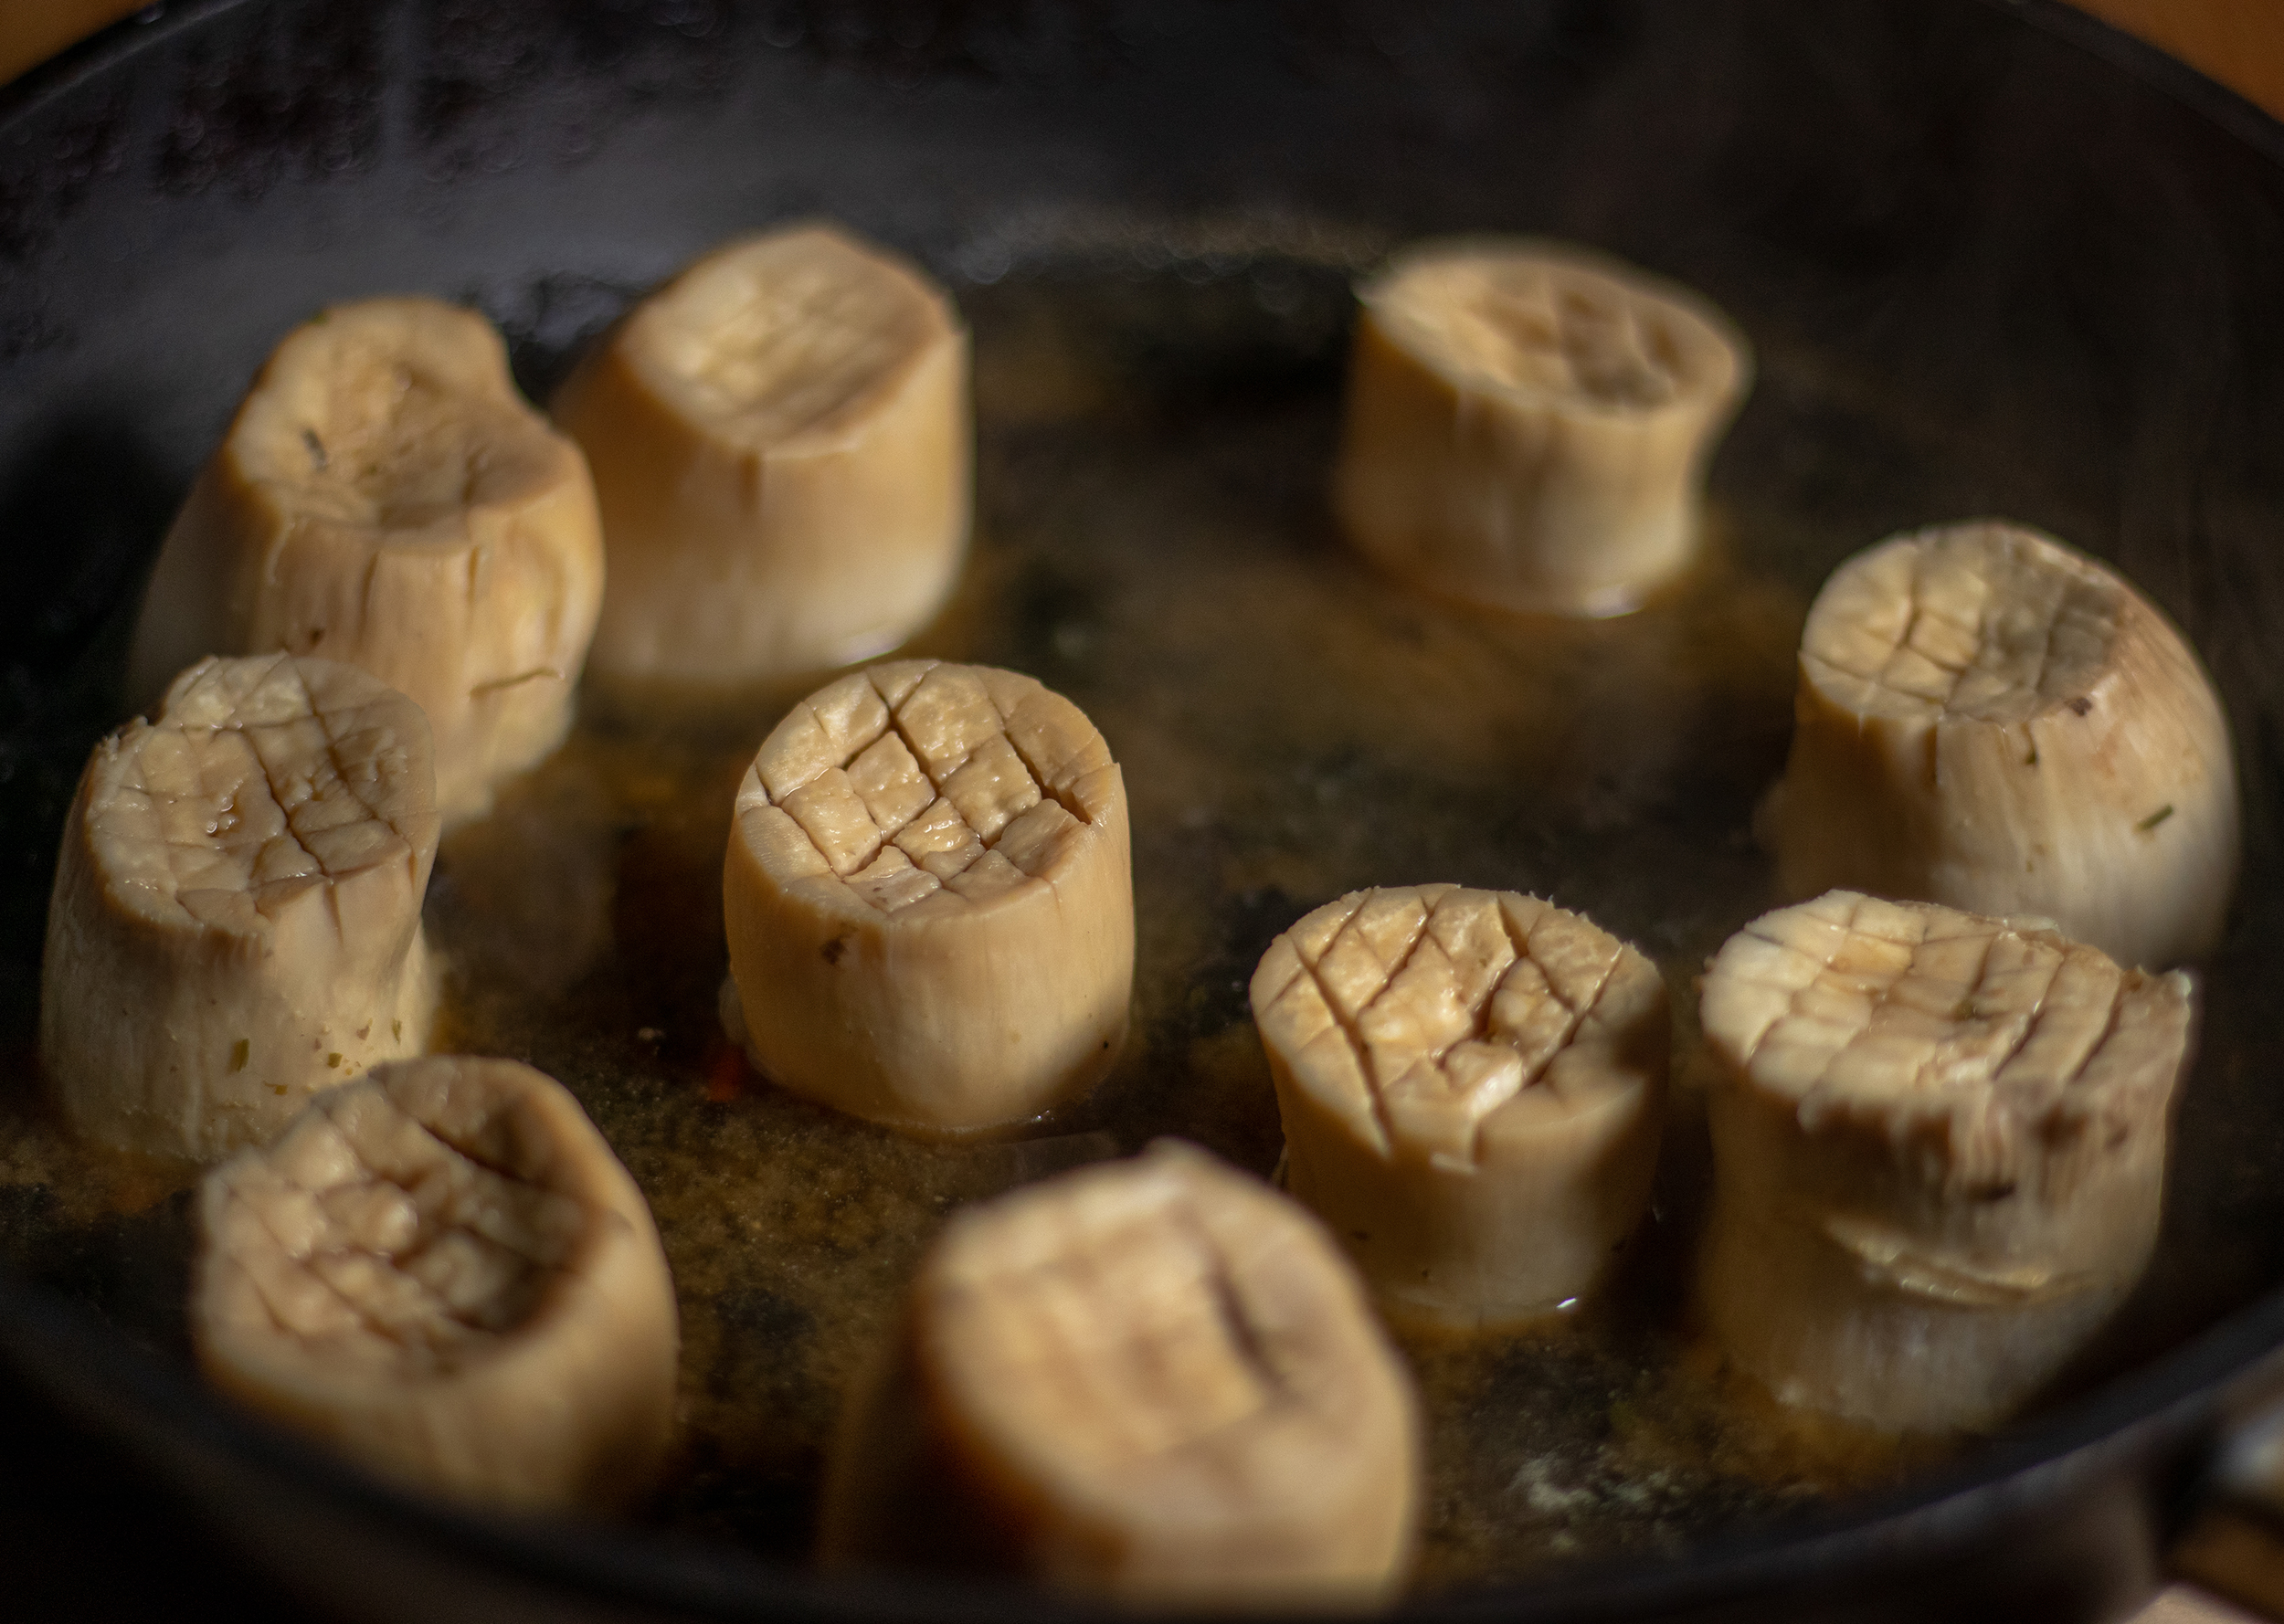
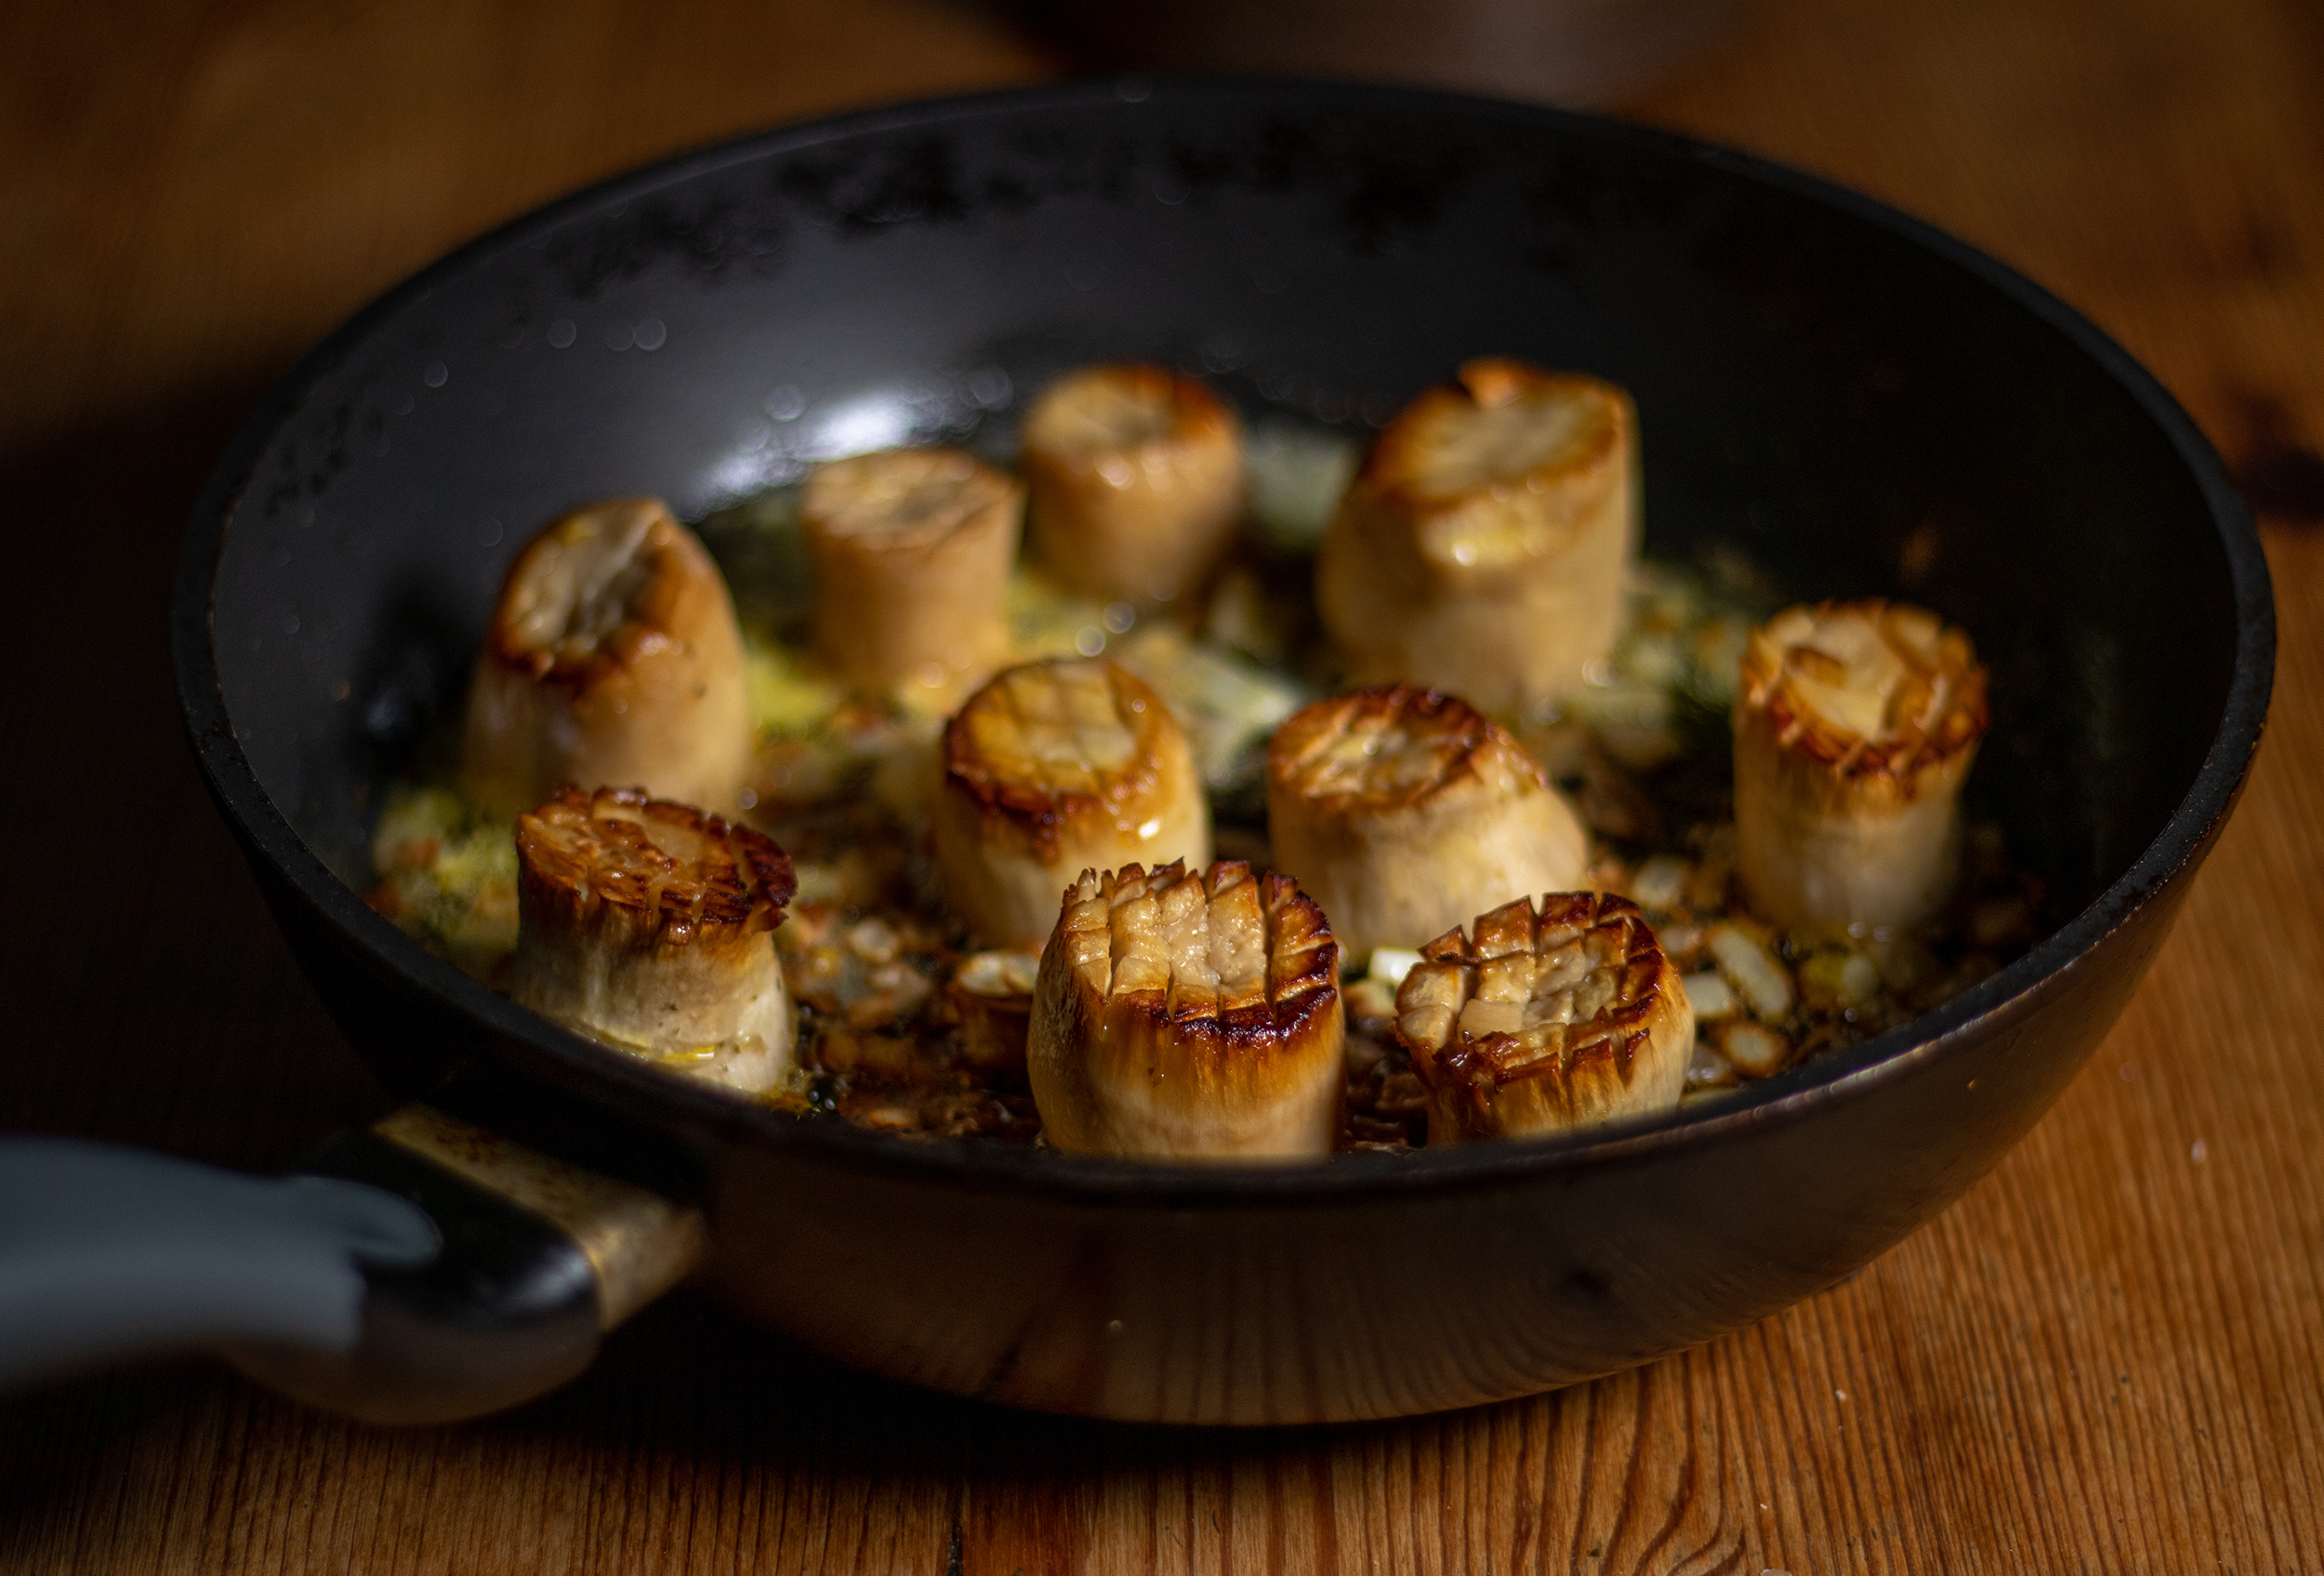
1. How to make vegan scallops from king oyster mushrooms. Cut the king oyster mushrooms into thick slices and score them.2. Make cross-shaped incisions about half a centimeter deep in the thick pieces of king oyster mushrooms.3. The king oyster mushrooms cook in their broth, thereby acquiring the consistency and aroma of the desired mussels.4. Vegan scallops; the mushrooms absorb the aroma of the broth.5. Sear on both sides with garlic and shallot.6. With garlic and onion in a panVegan scallops – perfect flavour for fish dishes
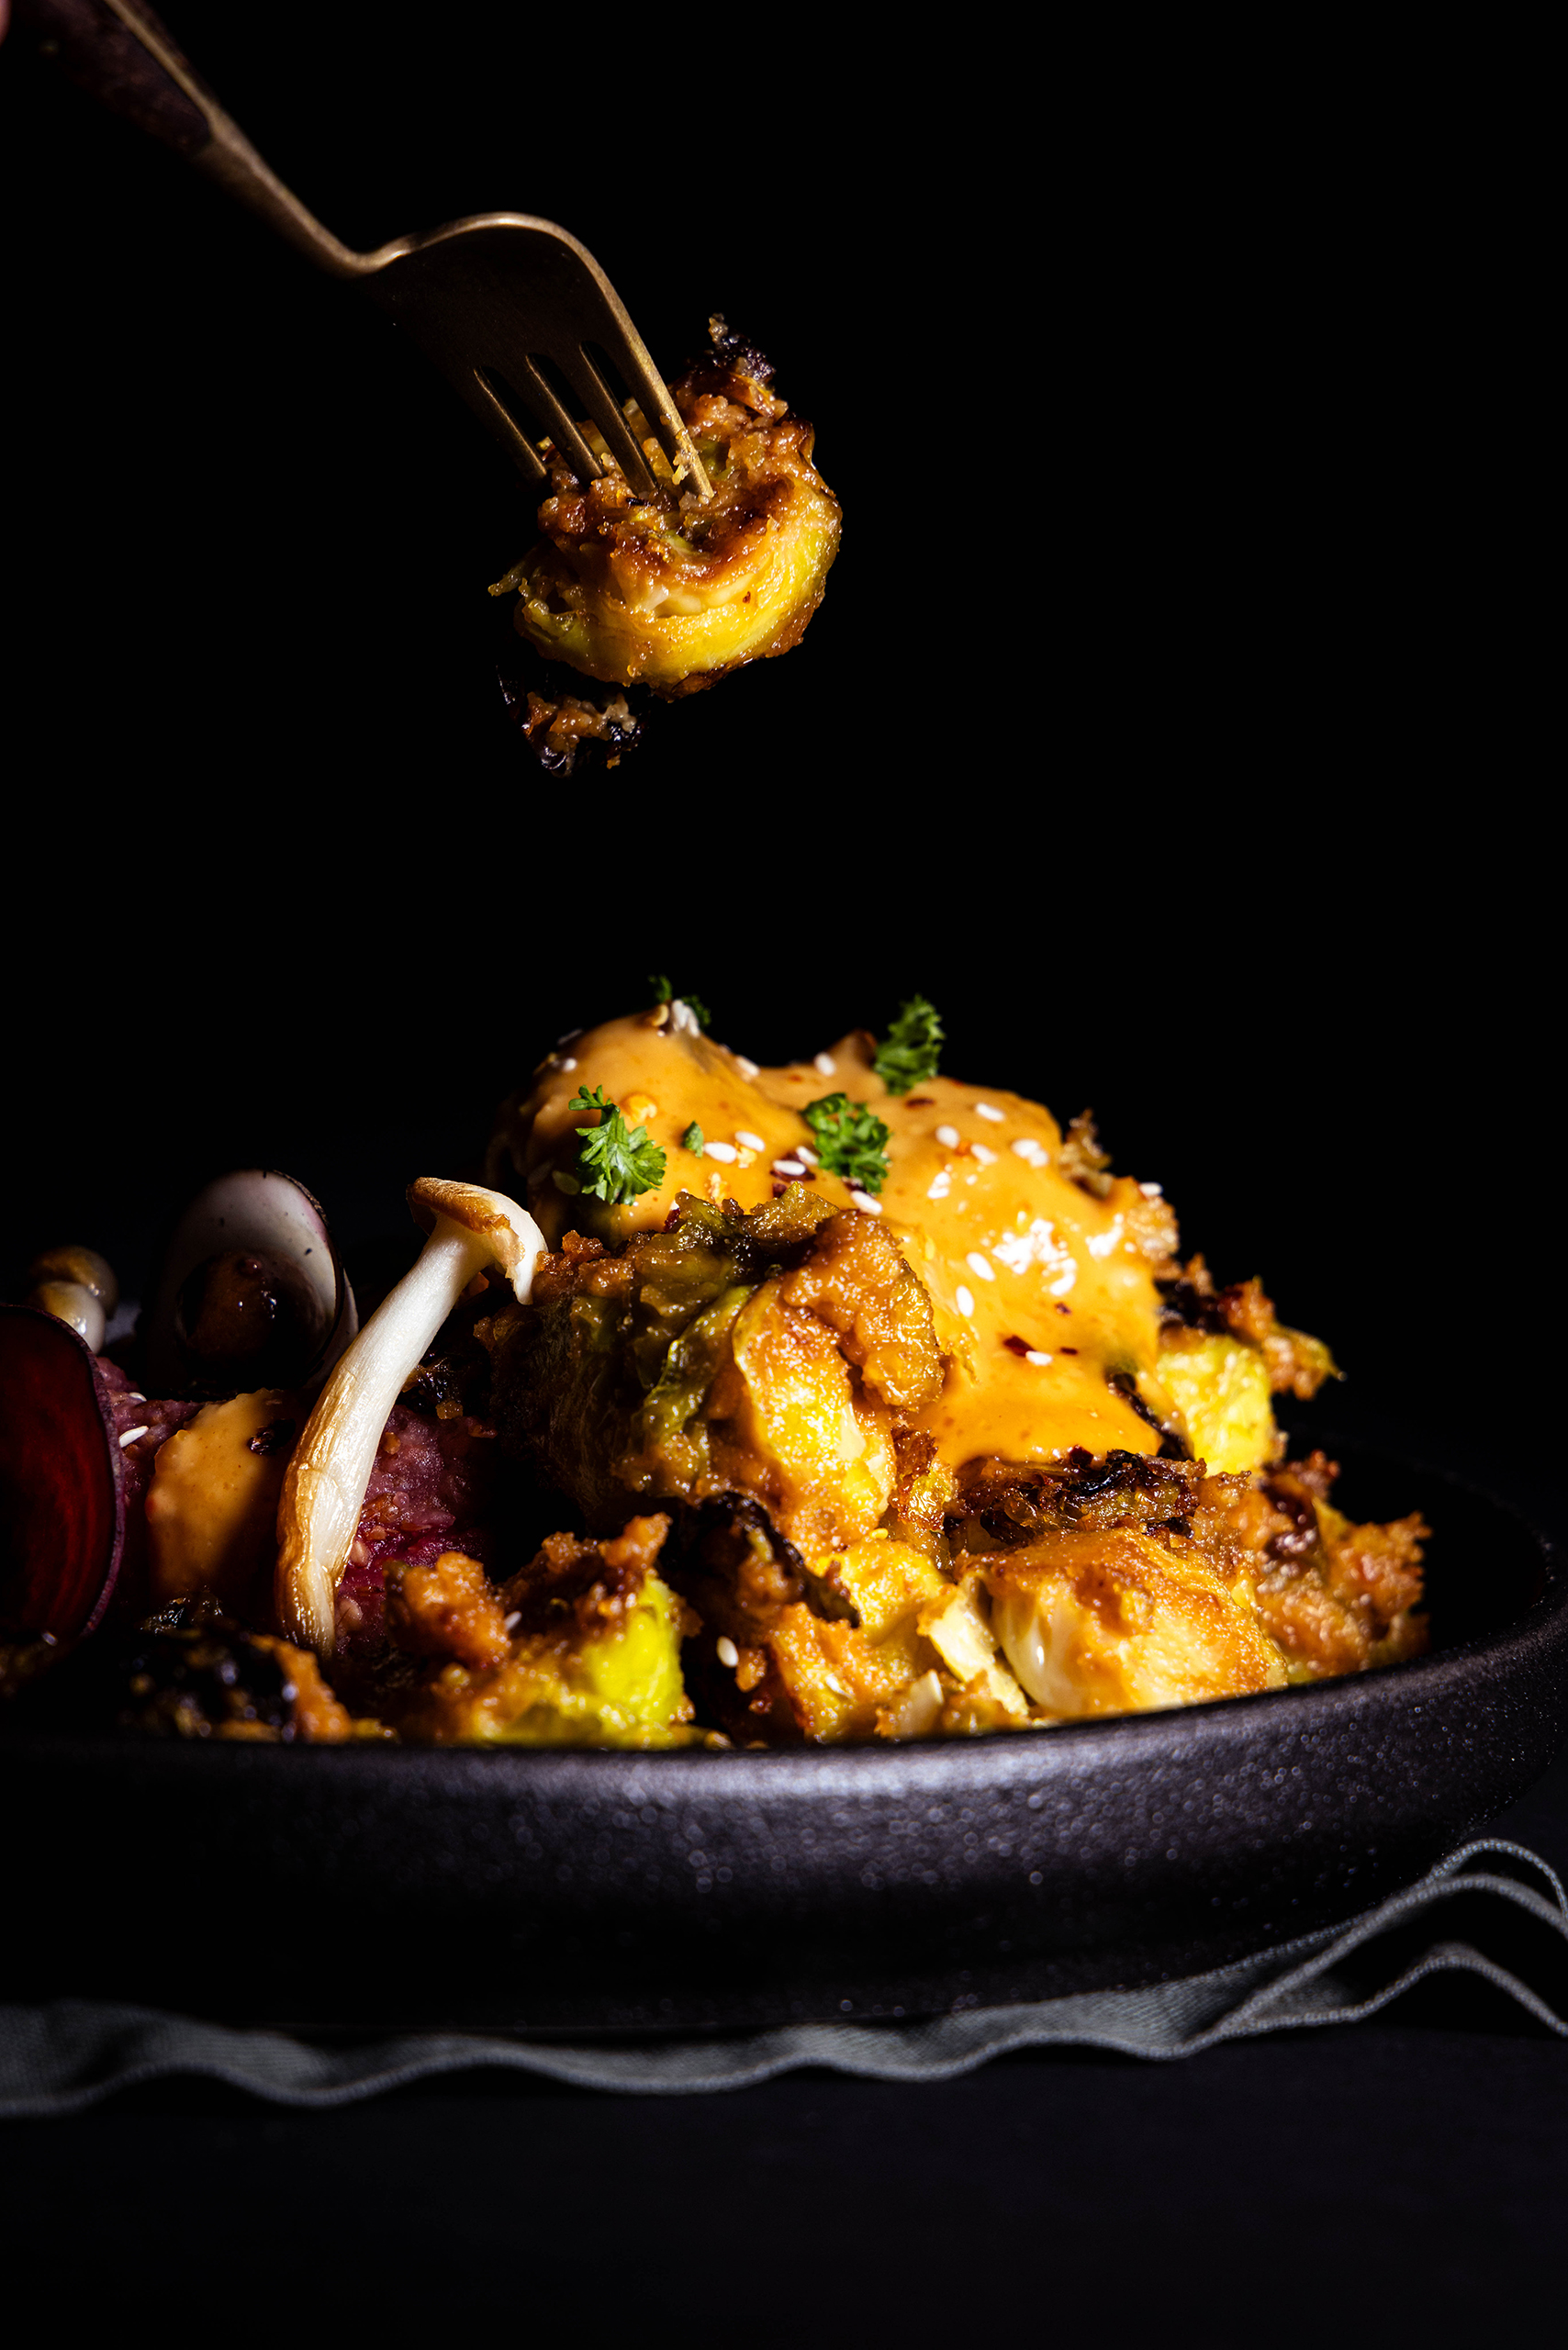
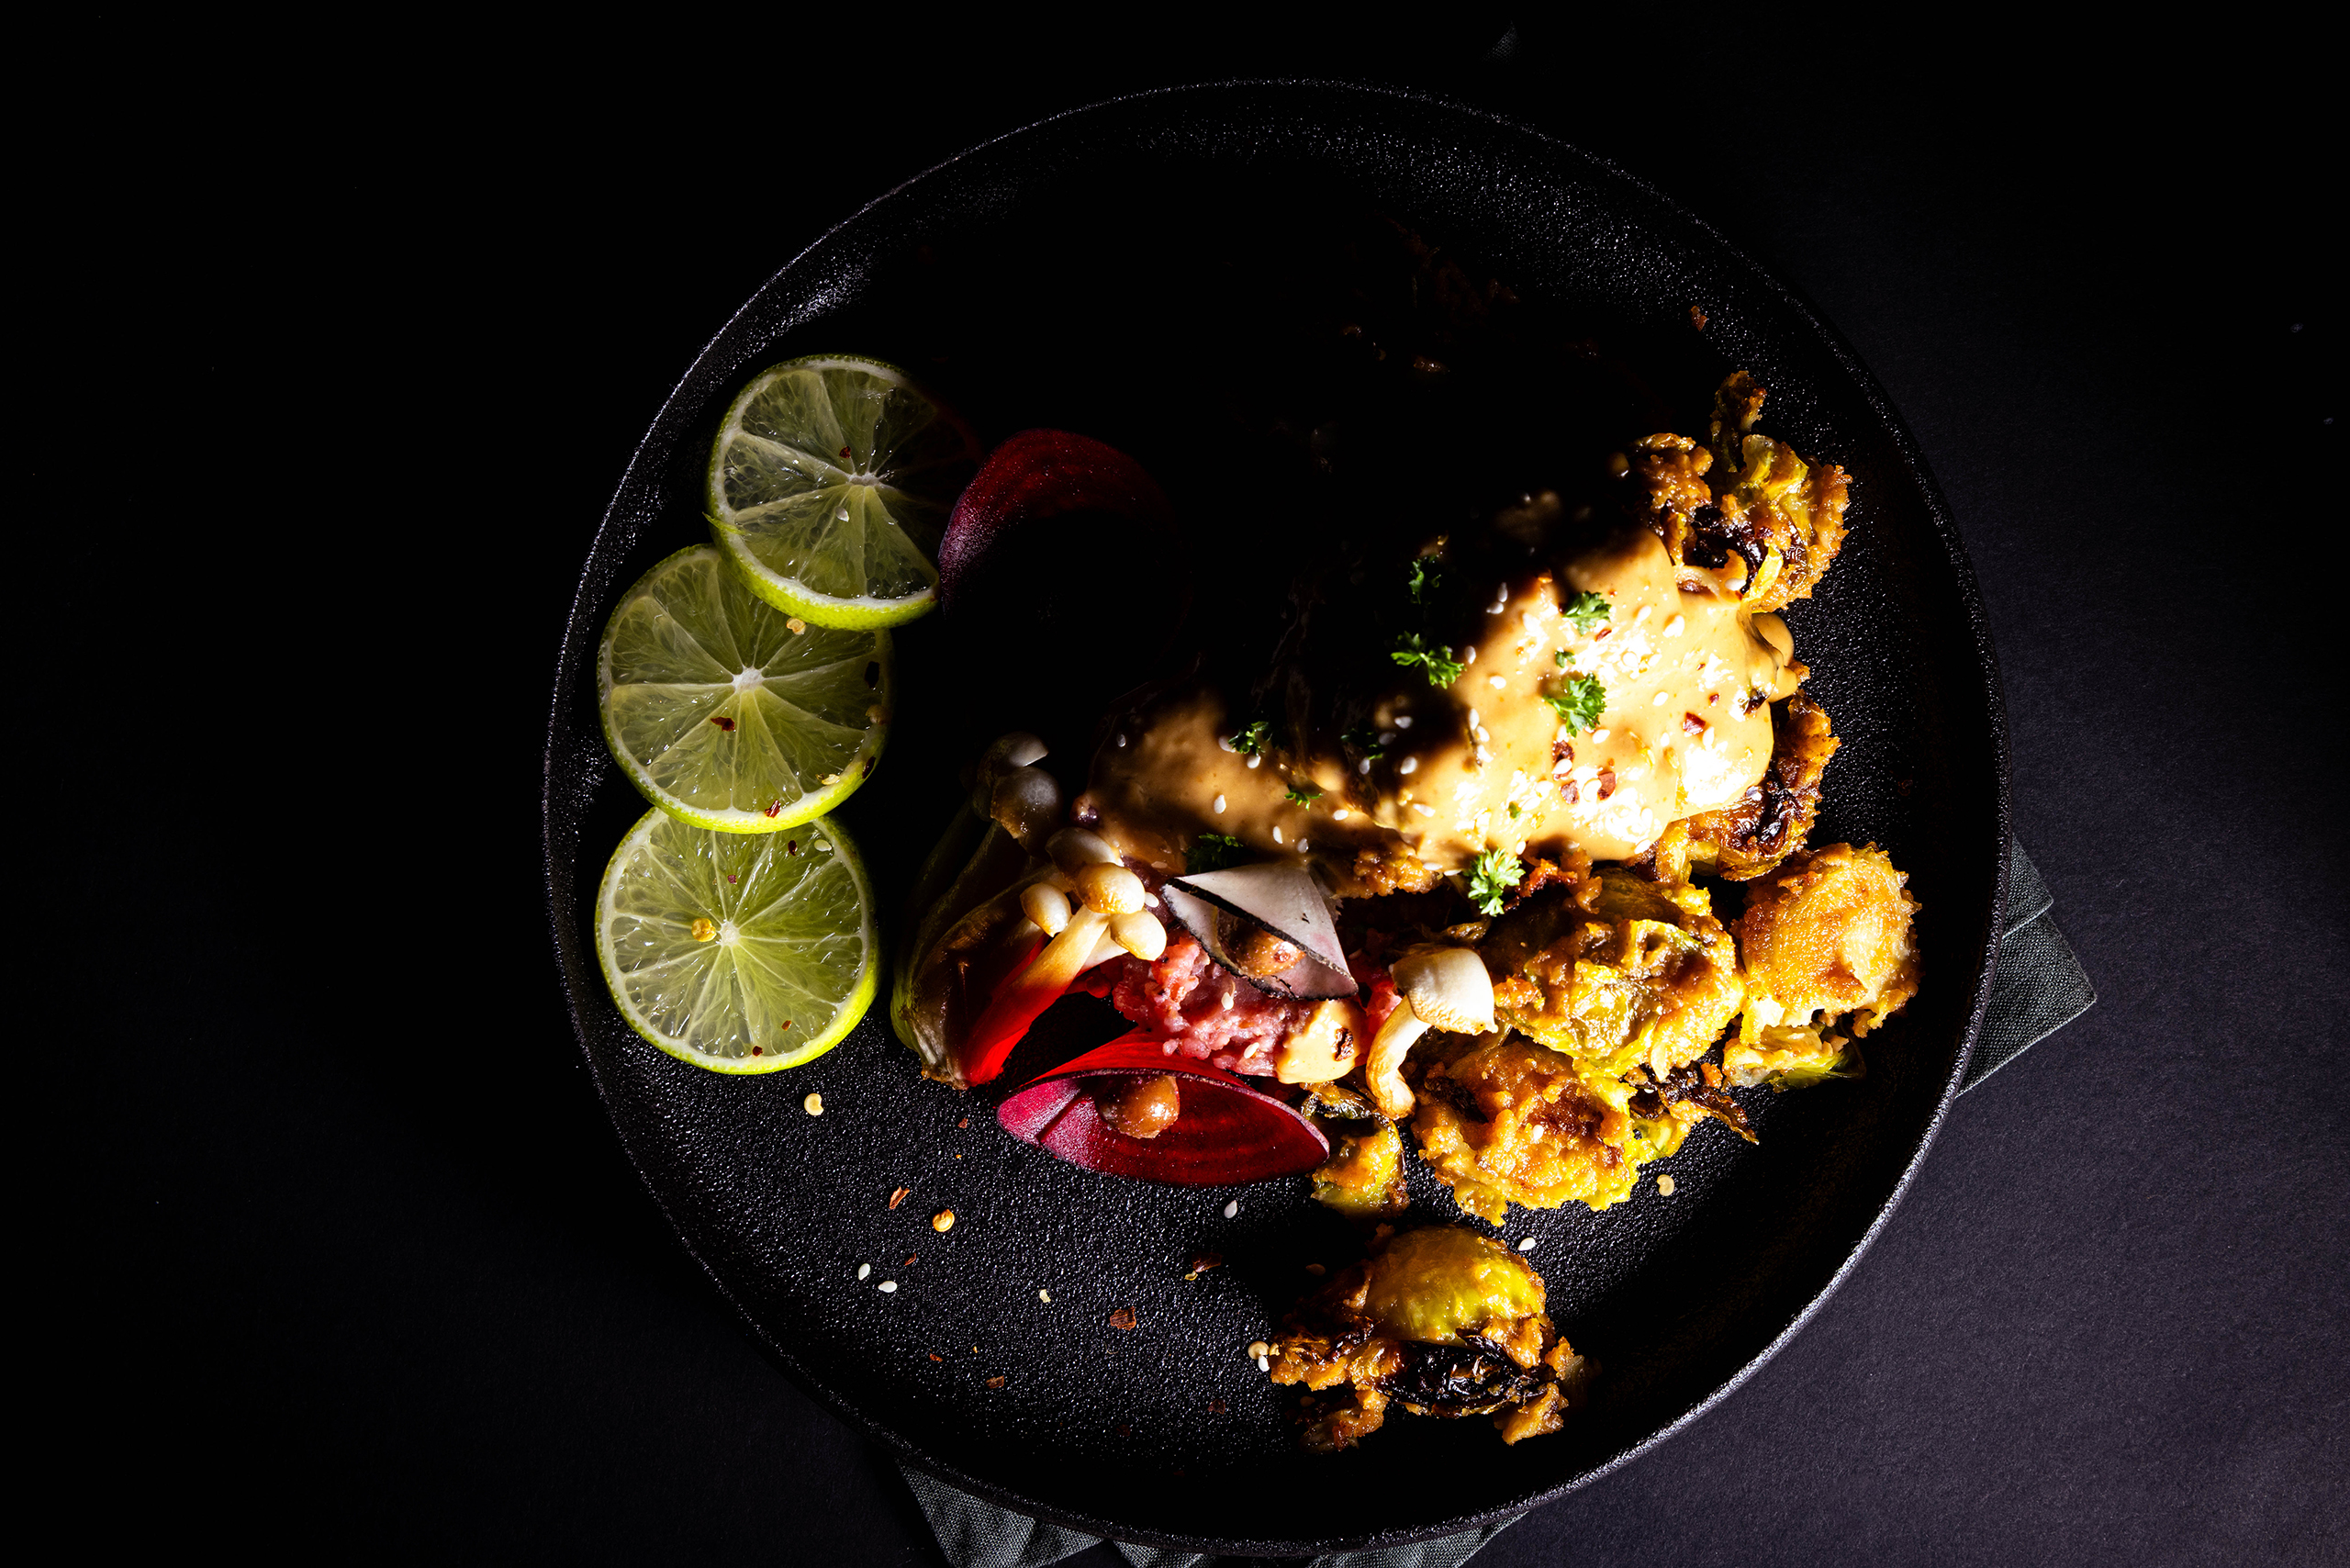
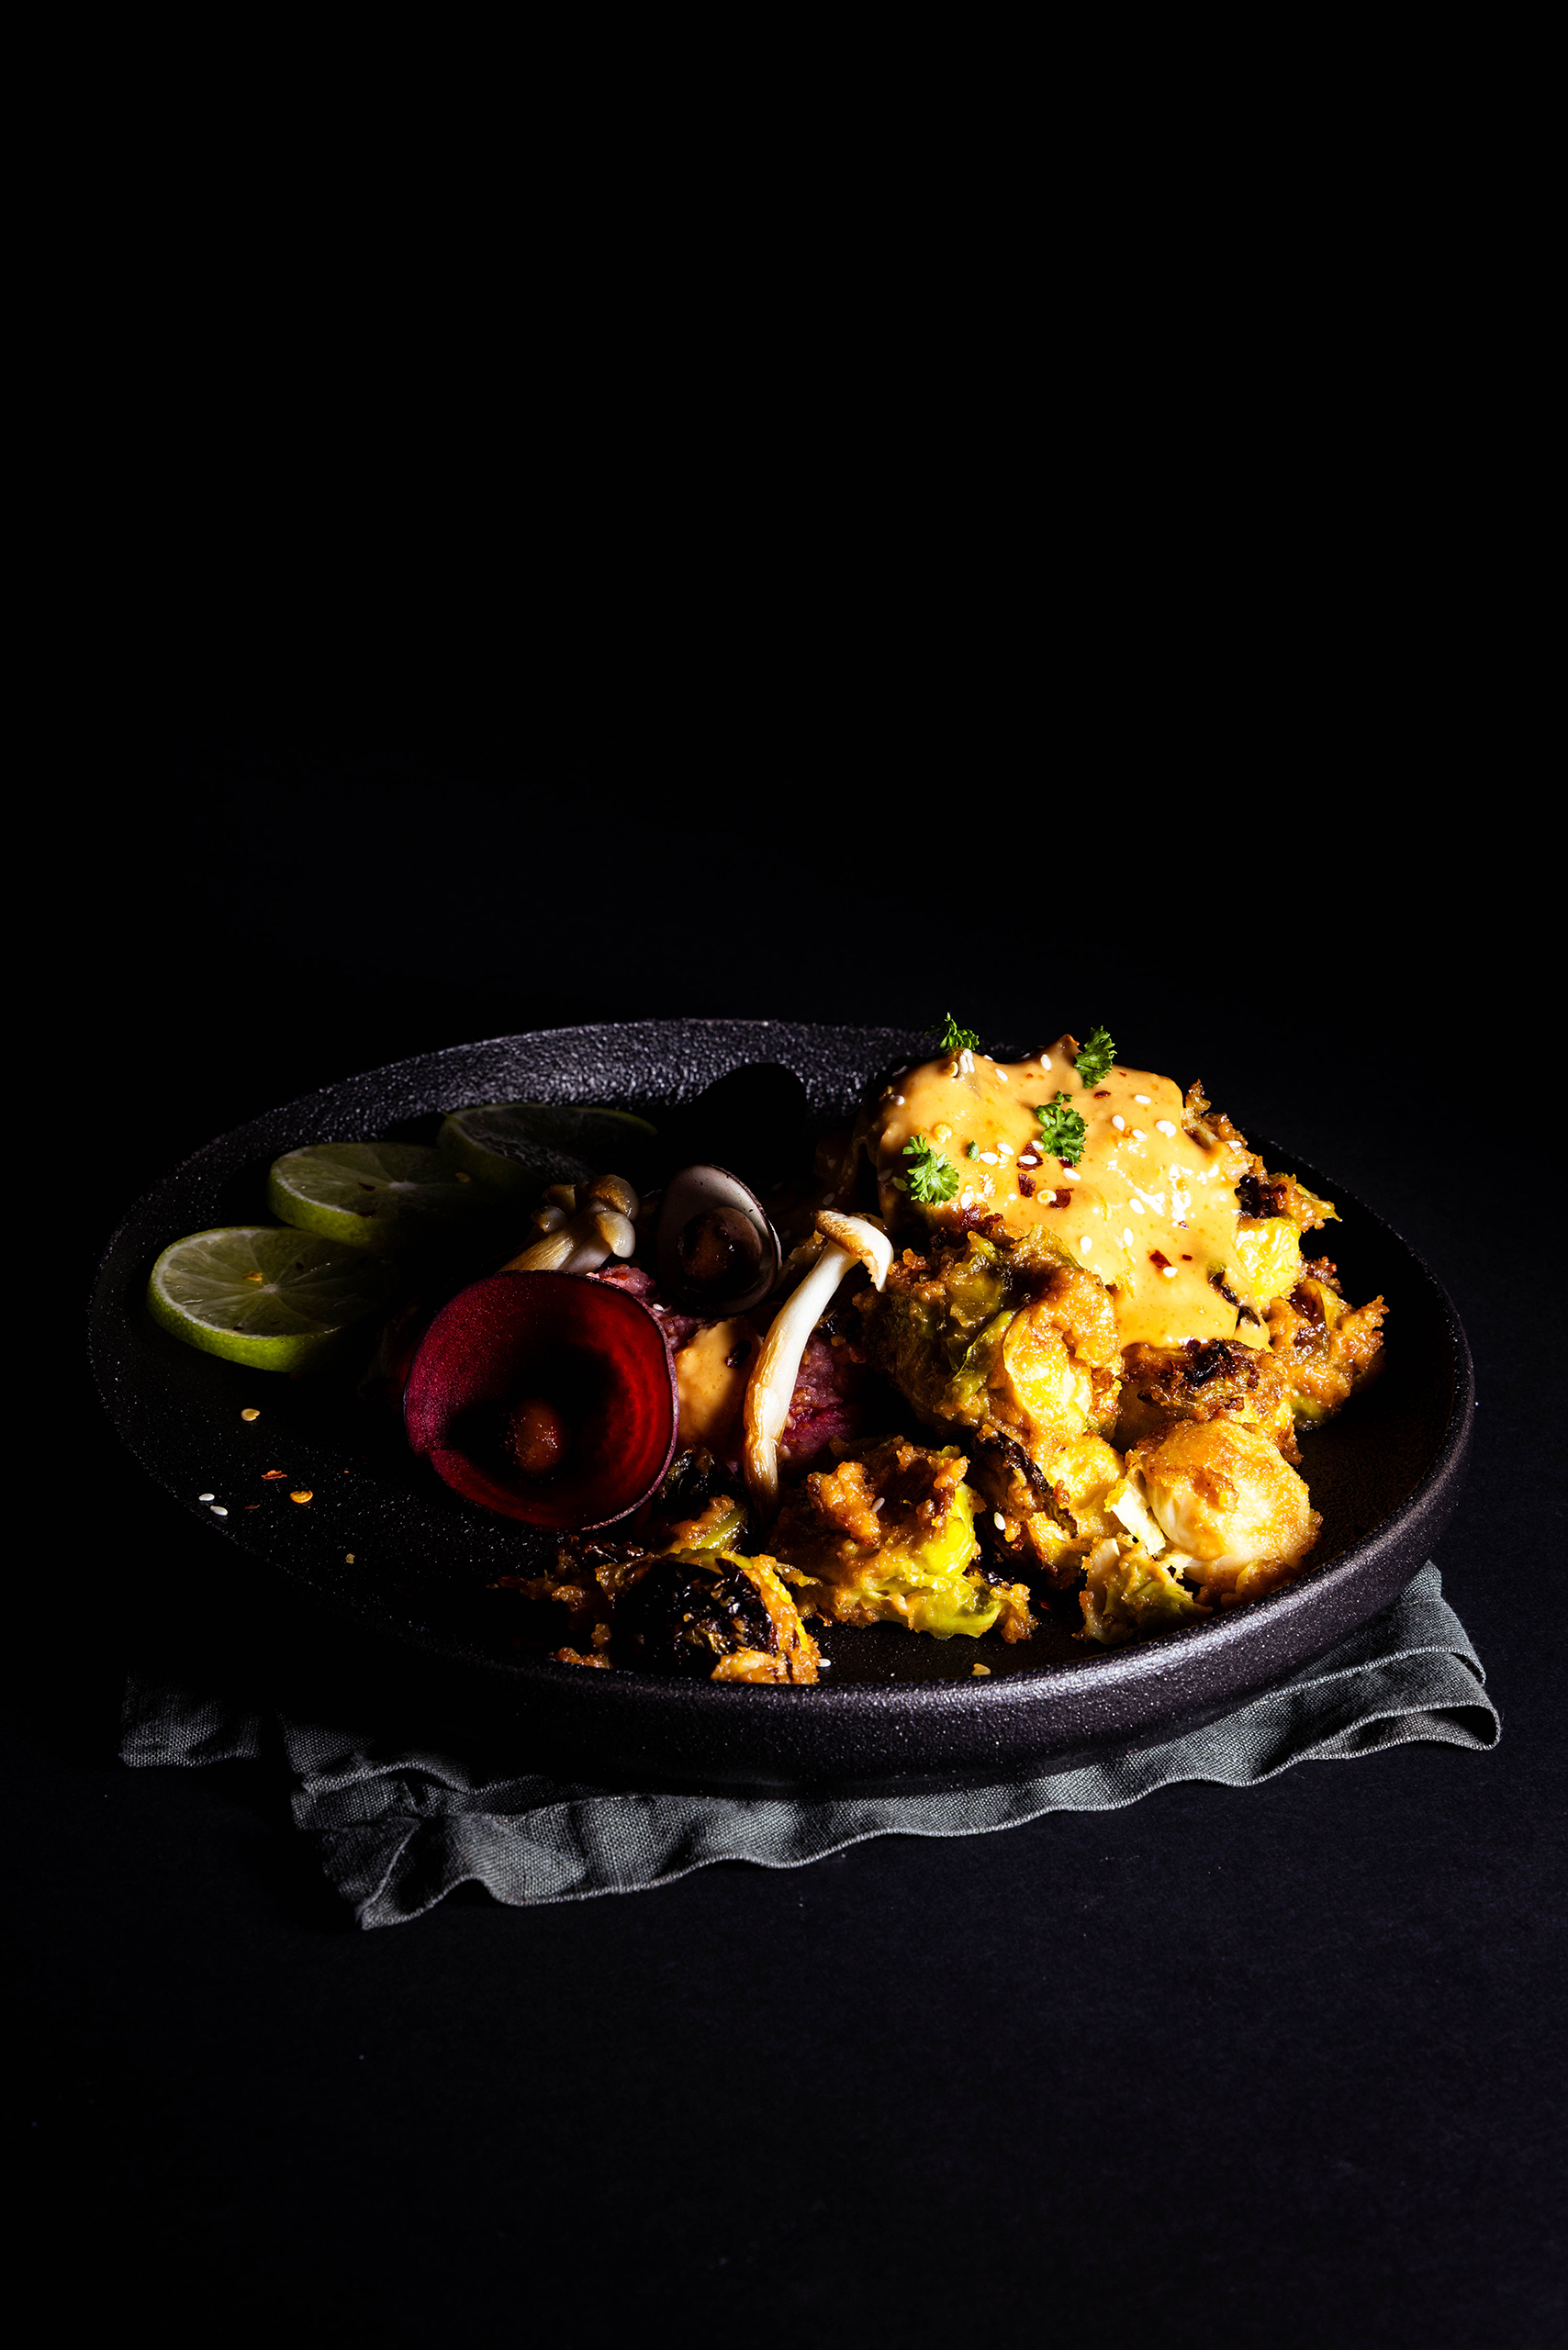
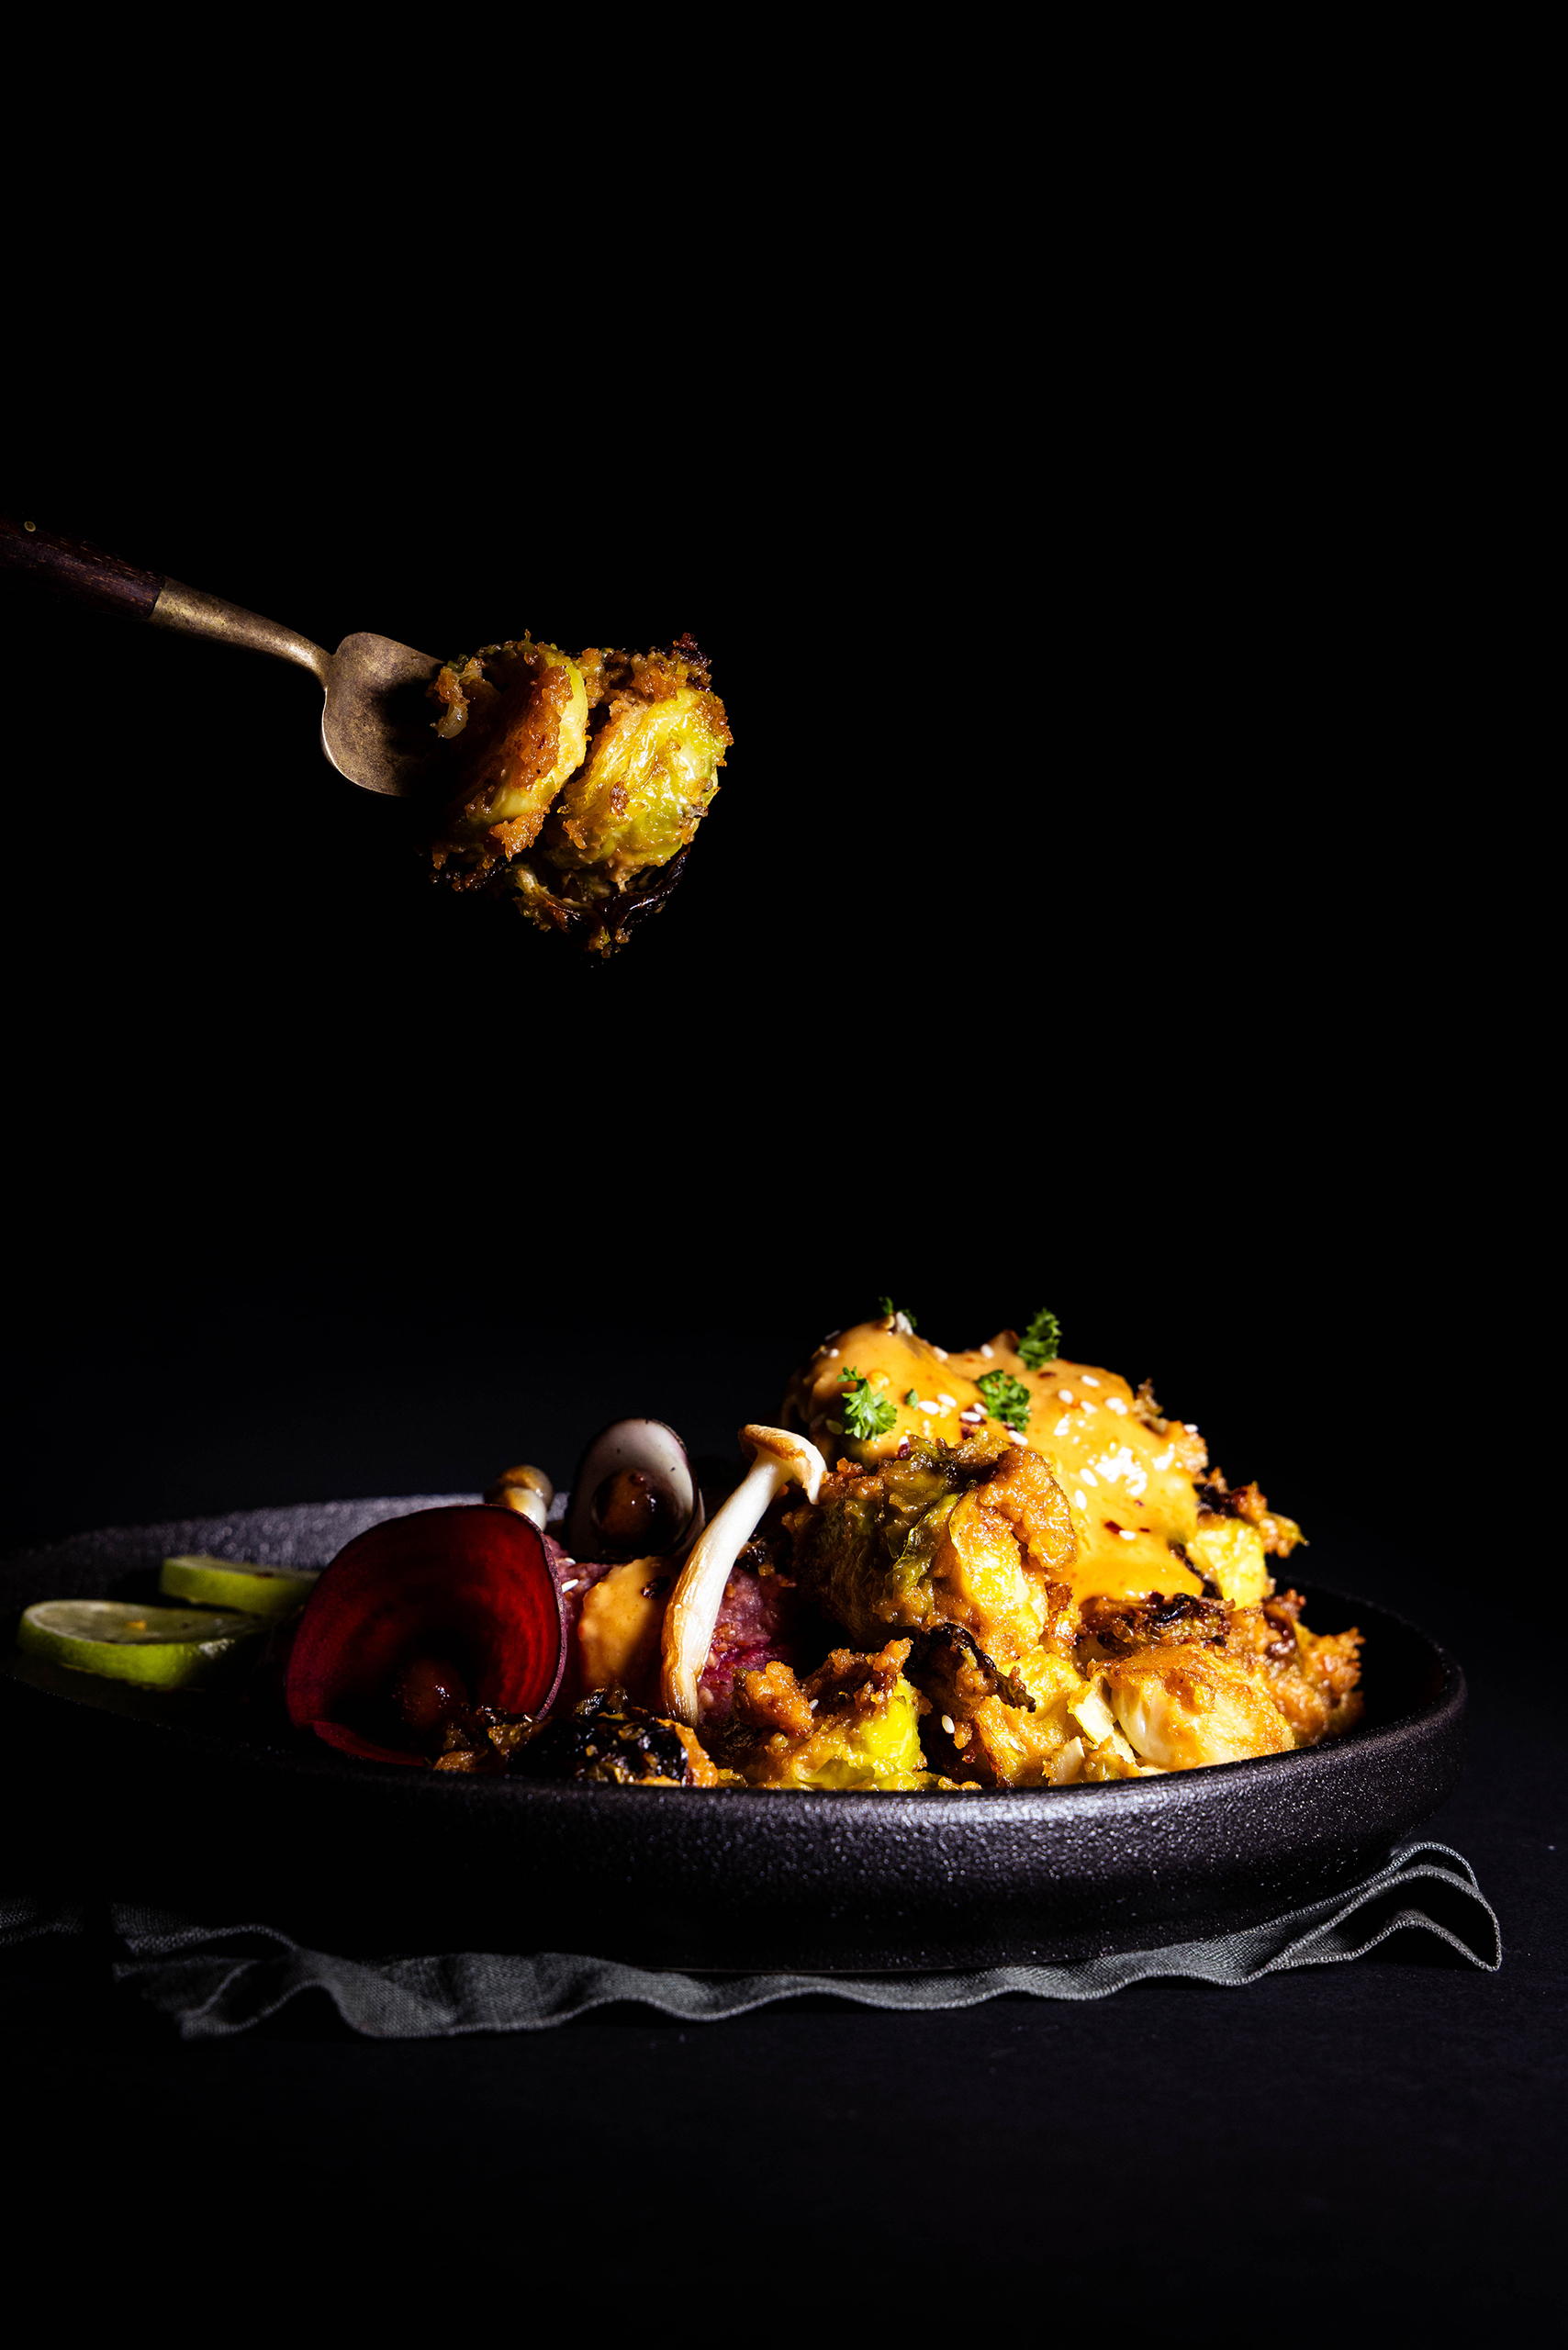
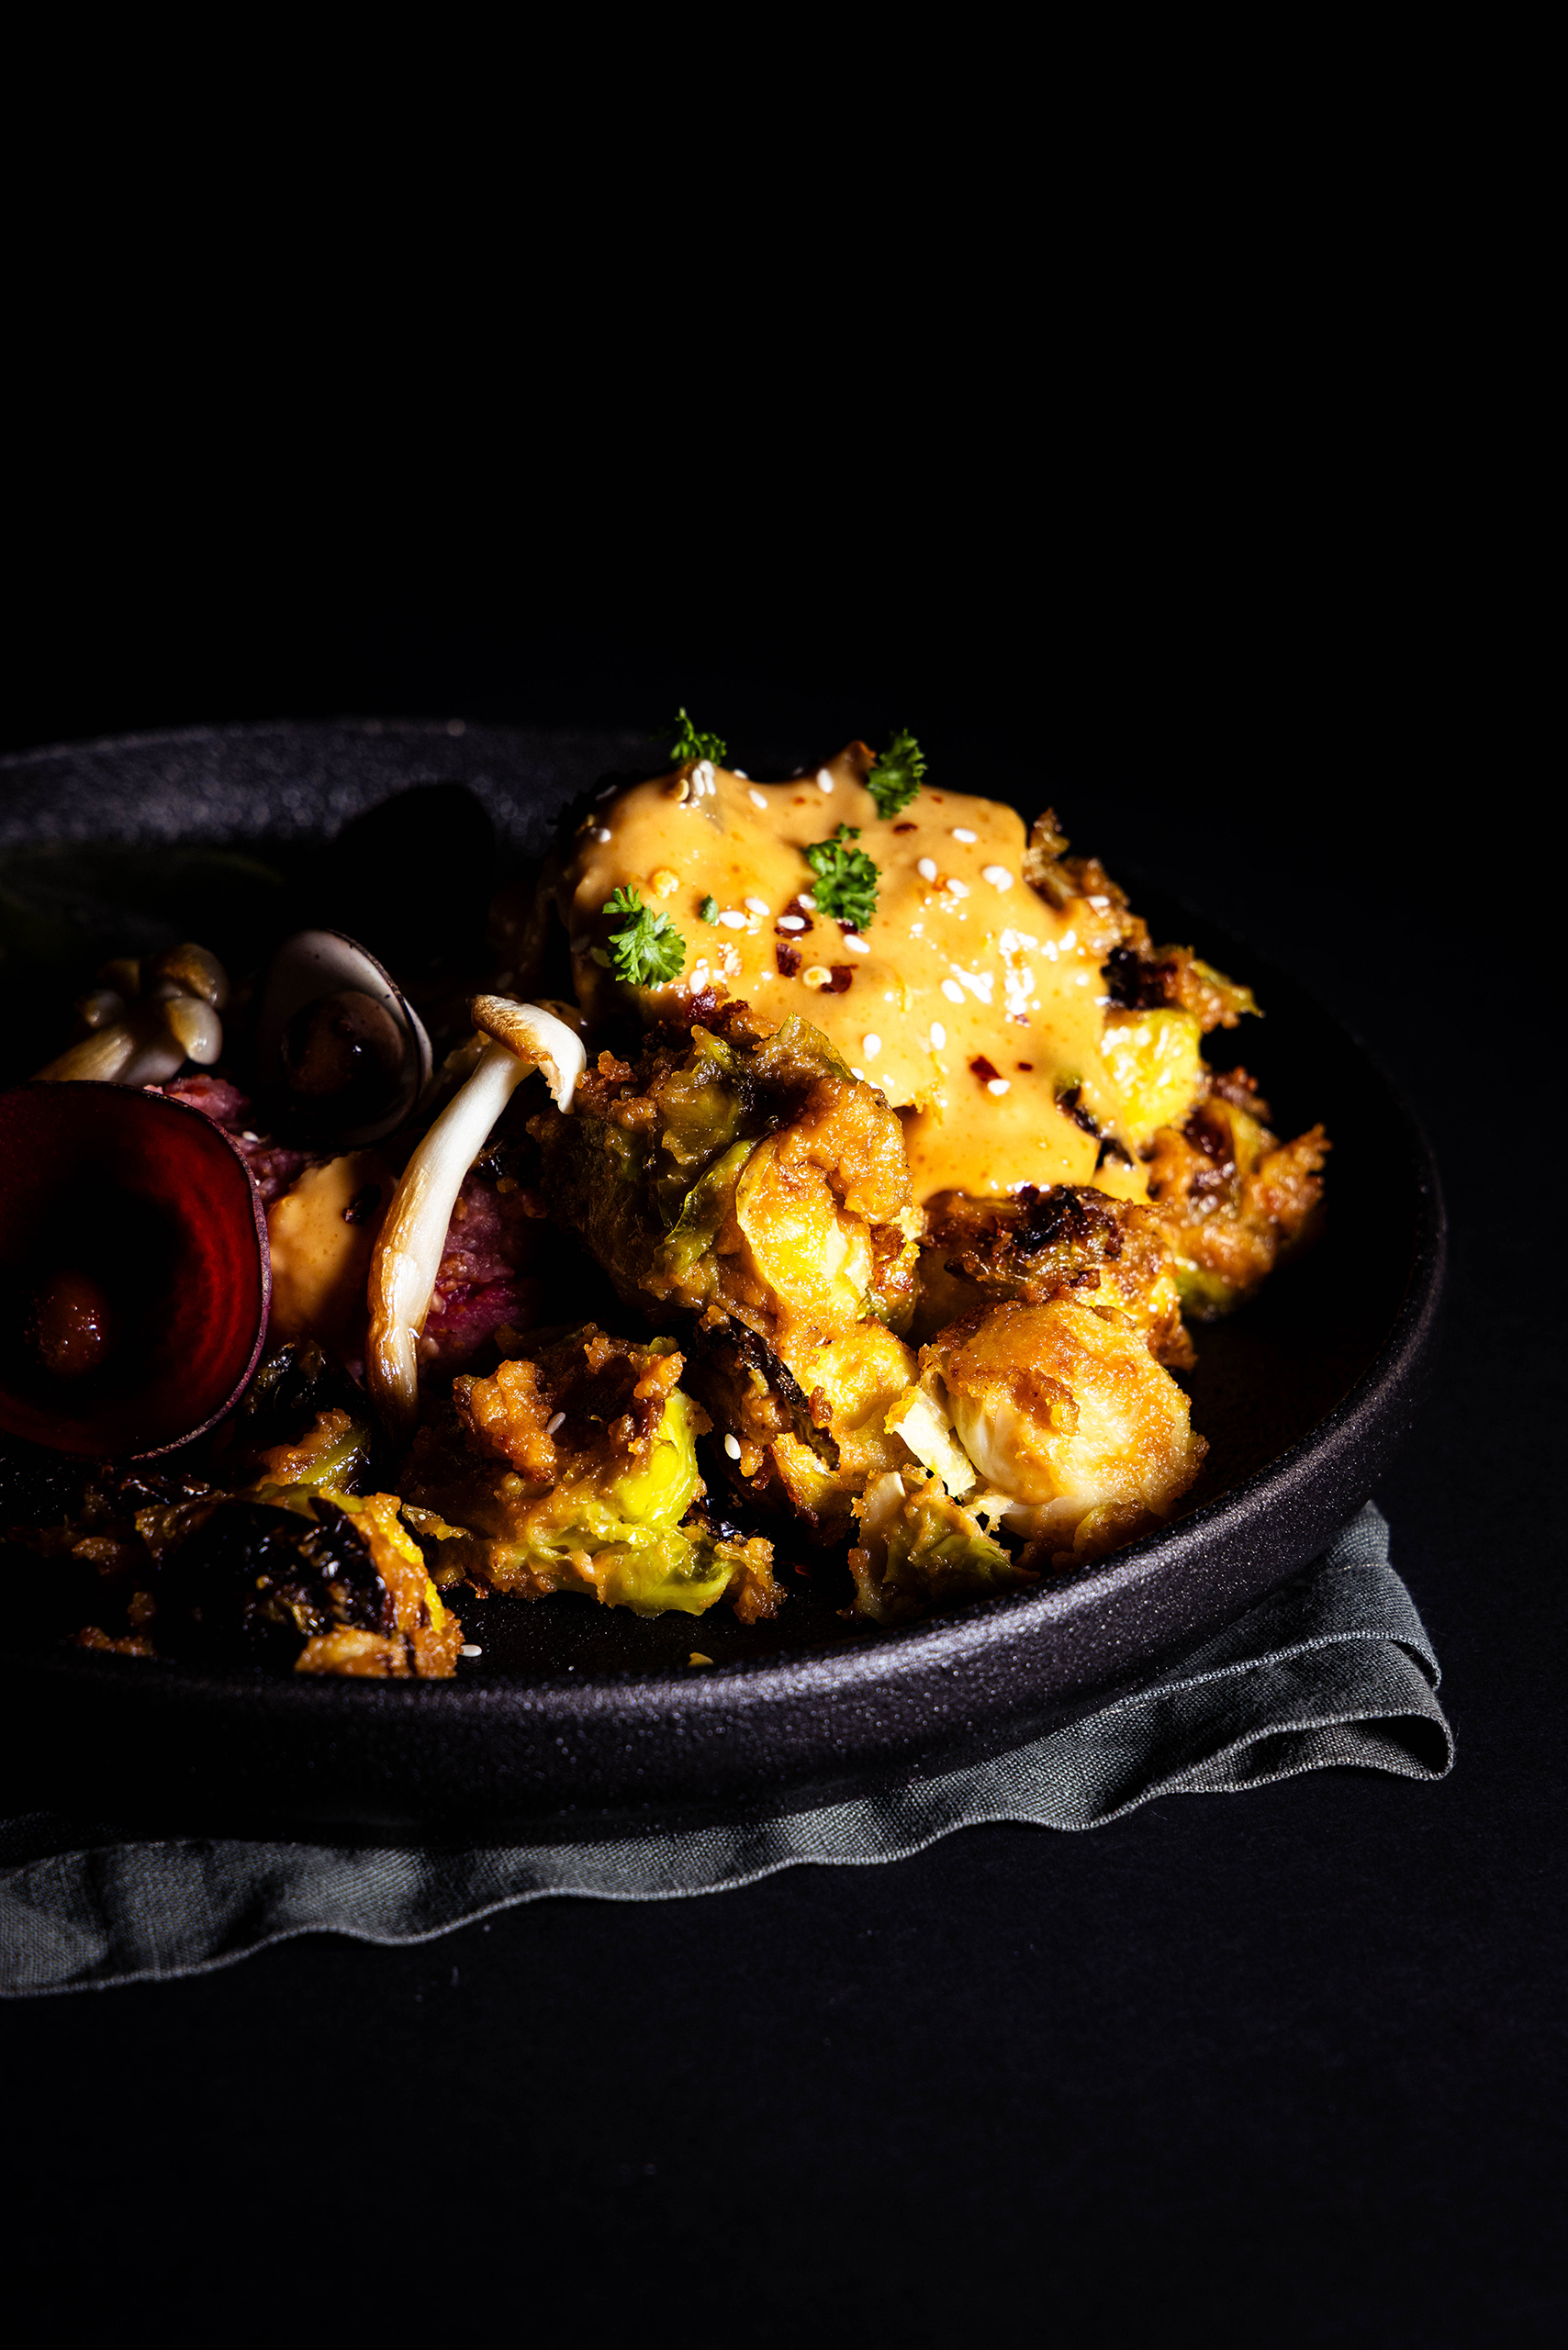
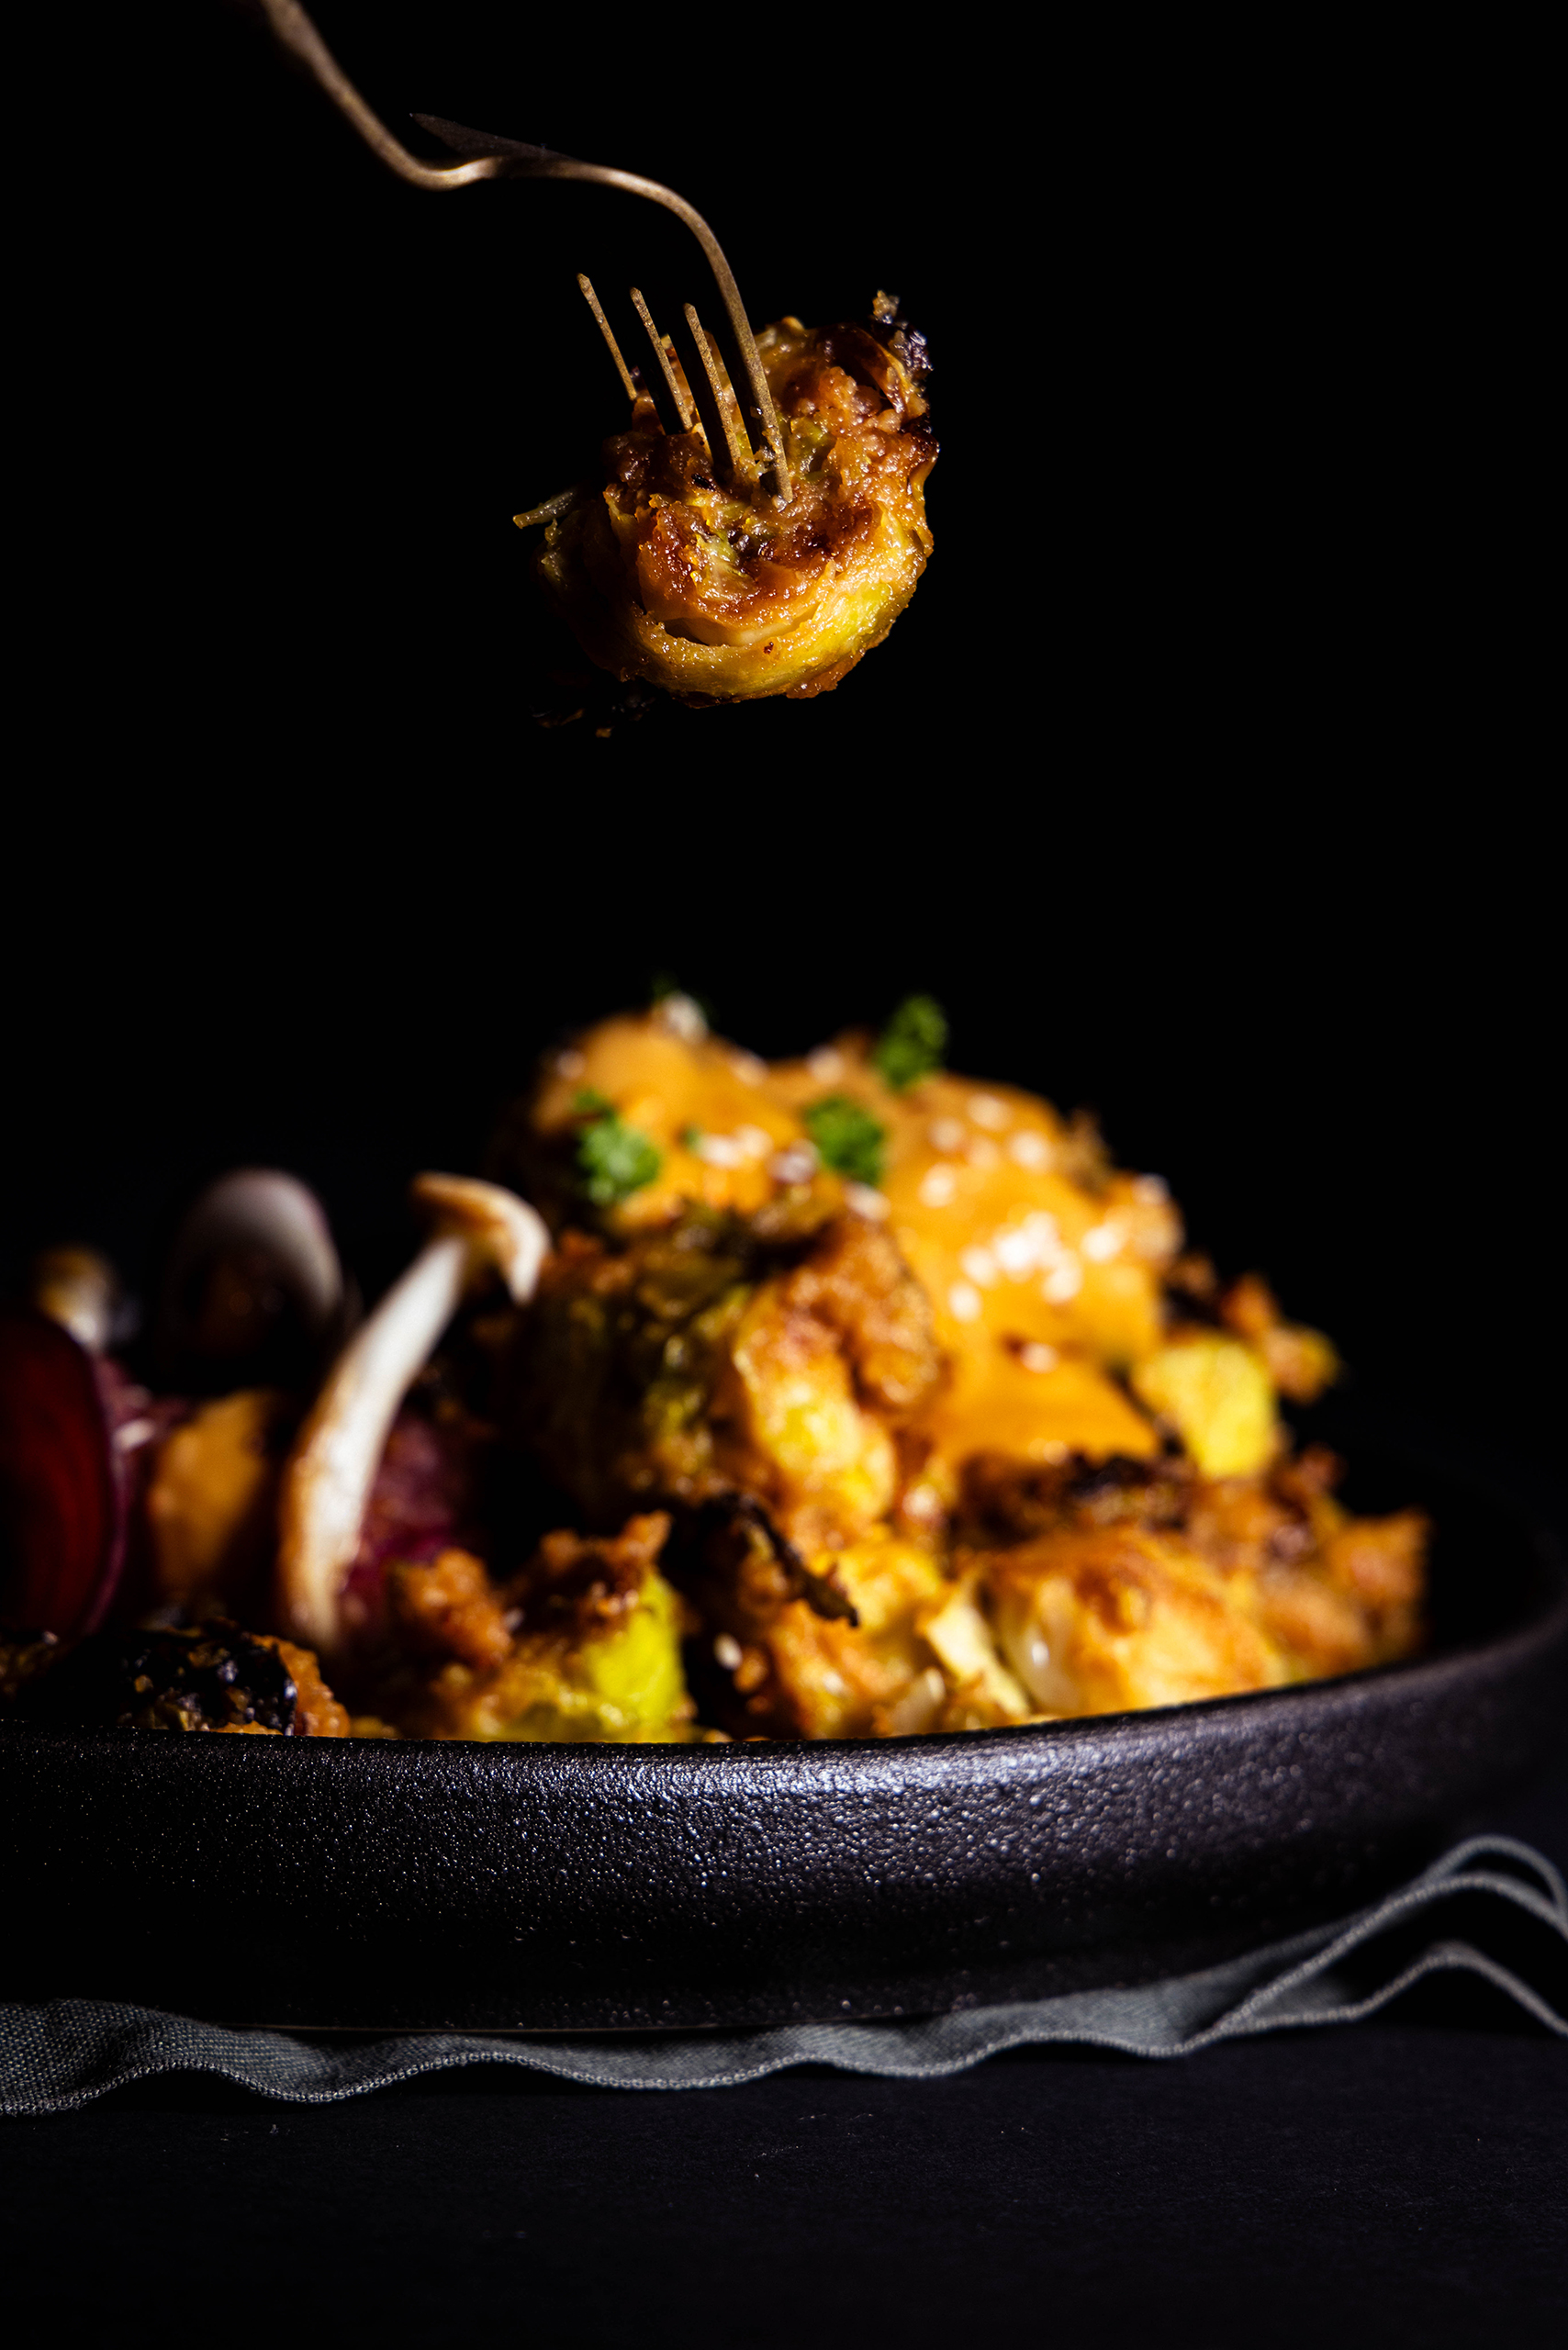
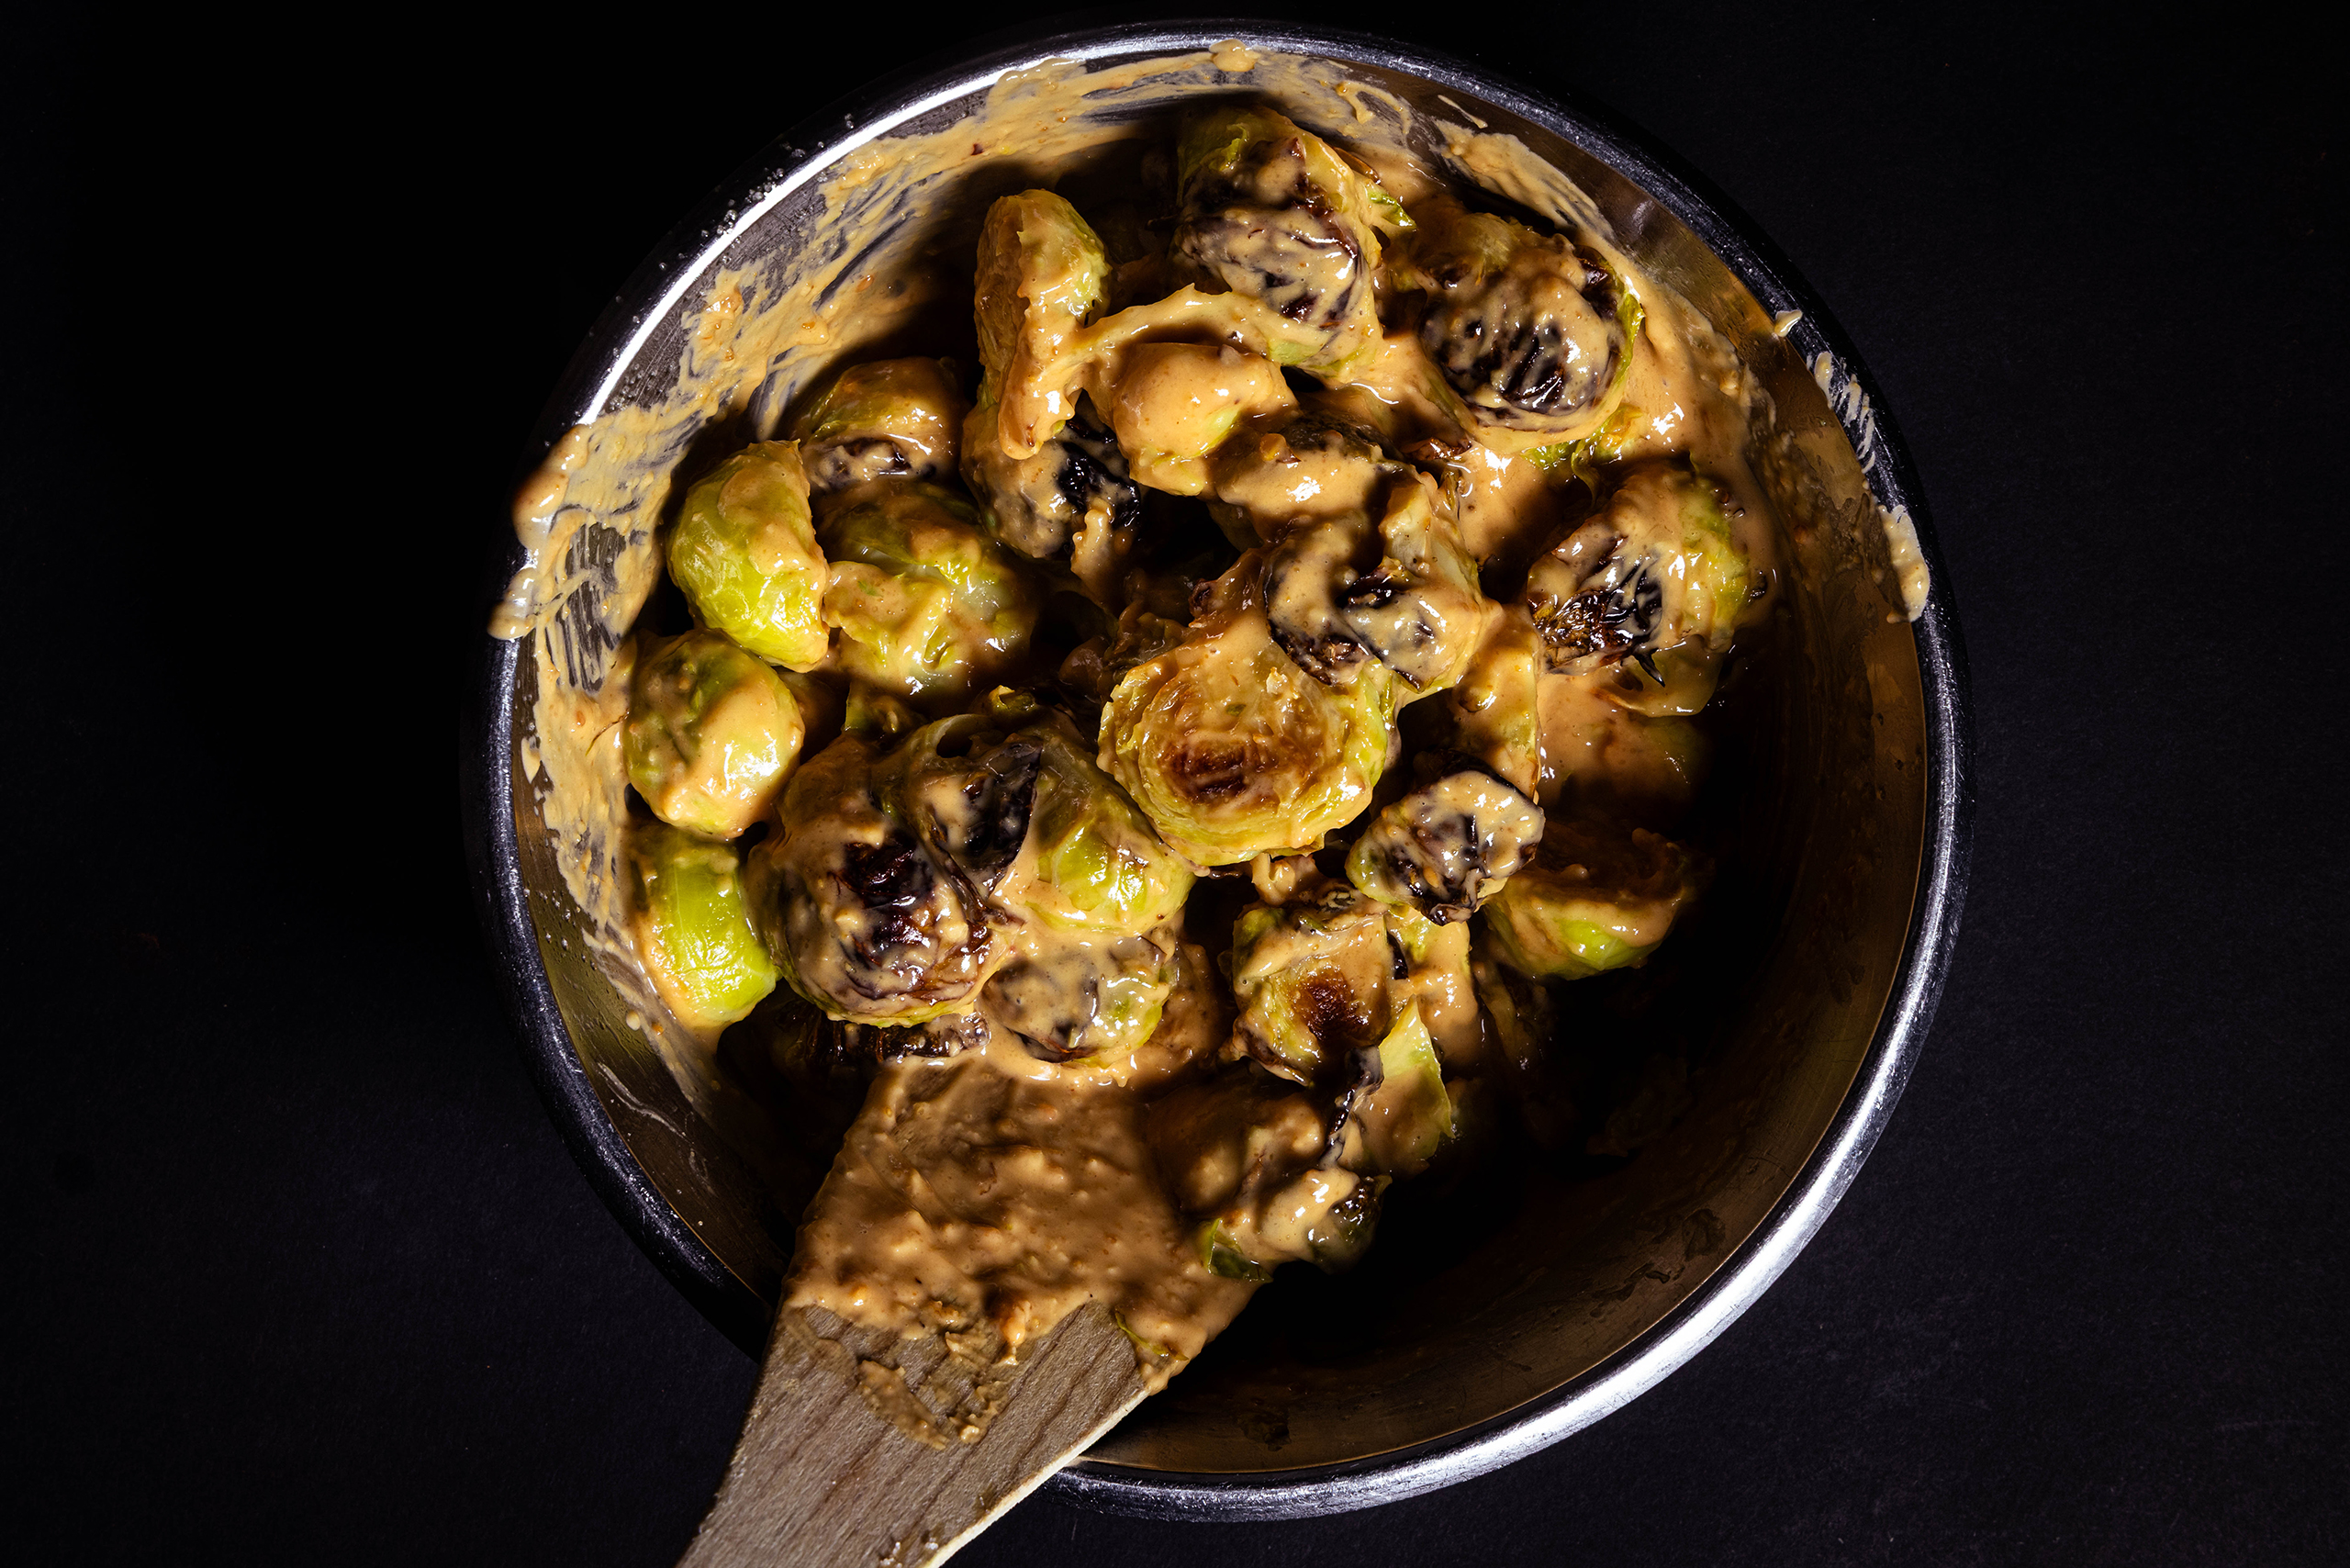
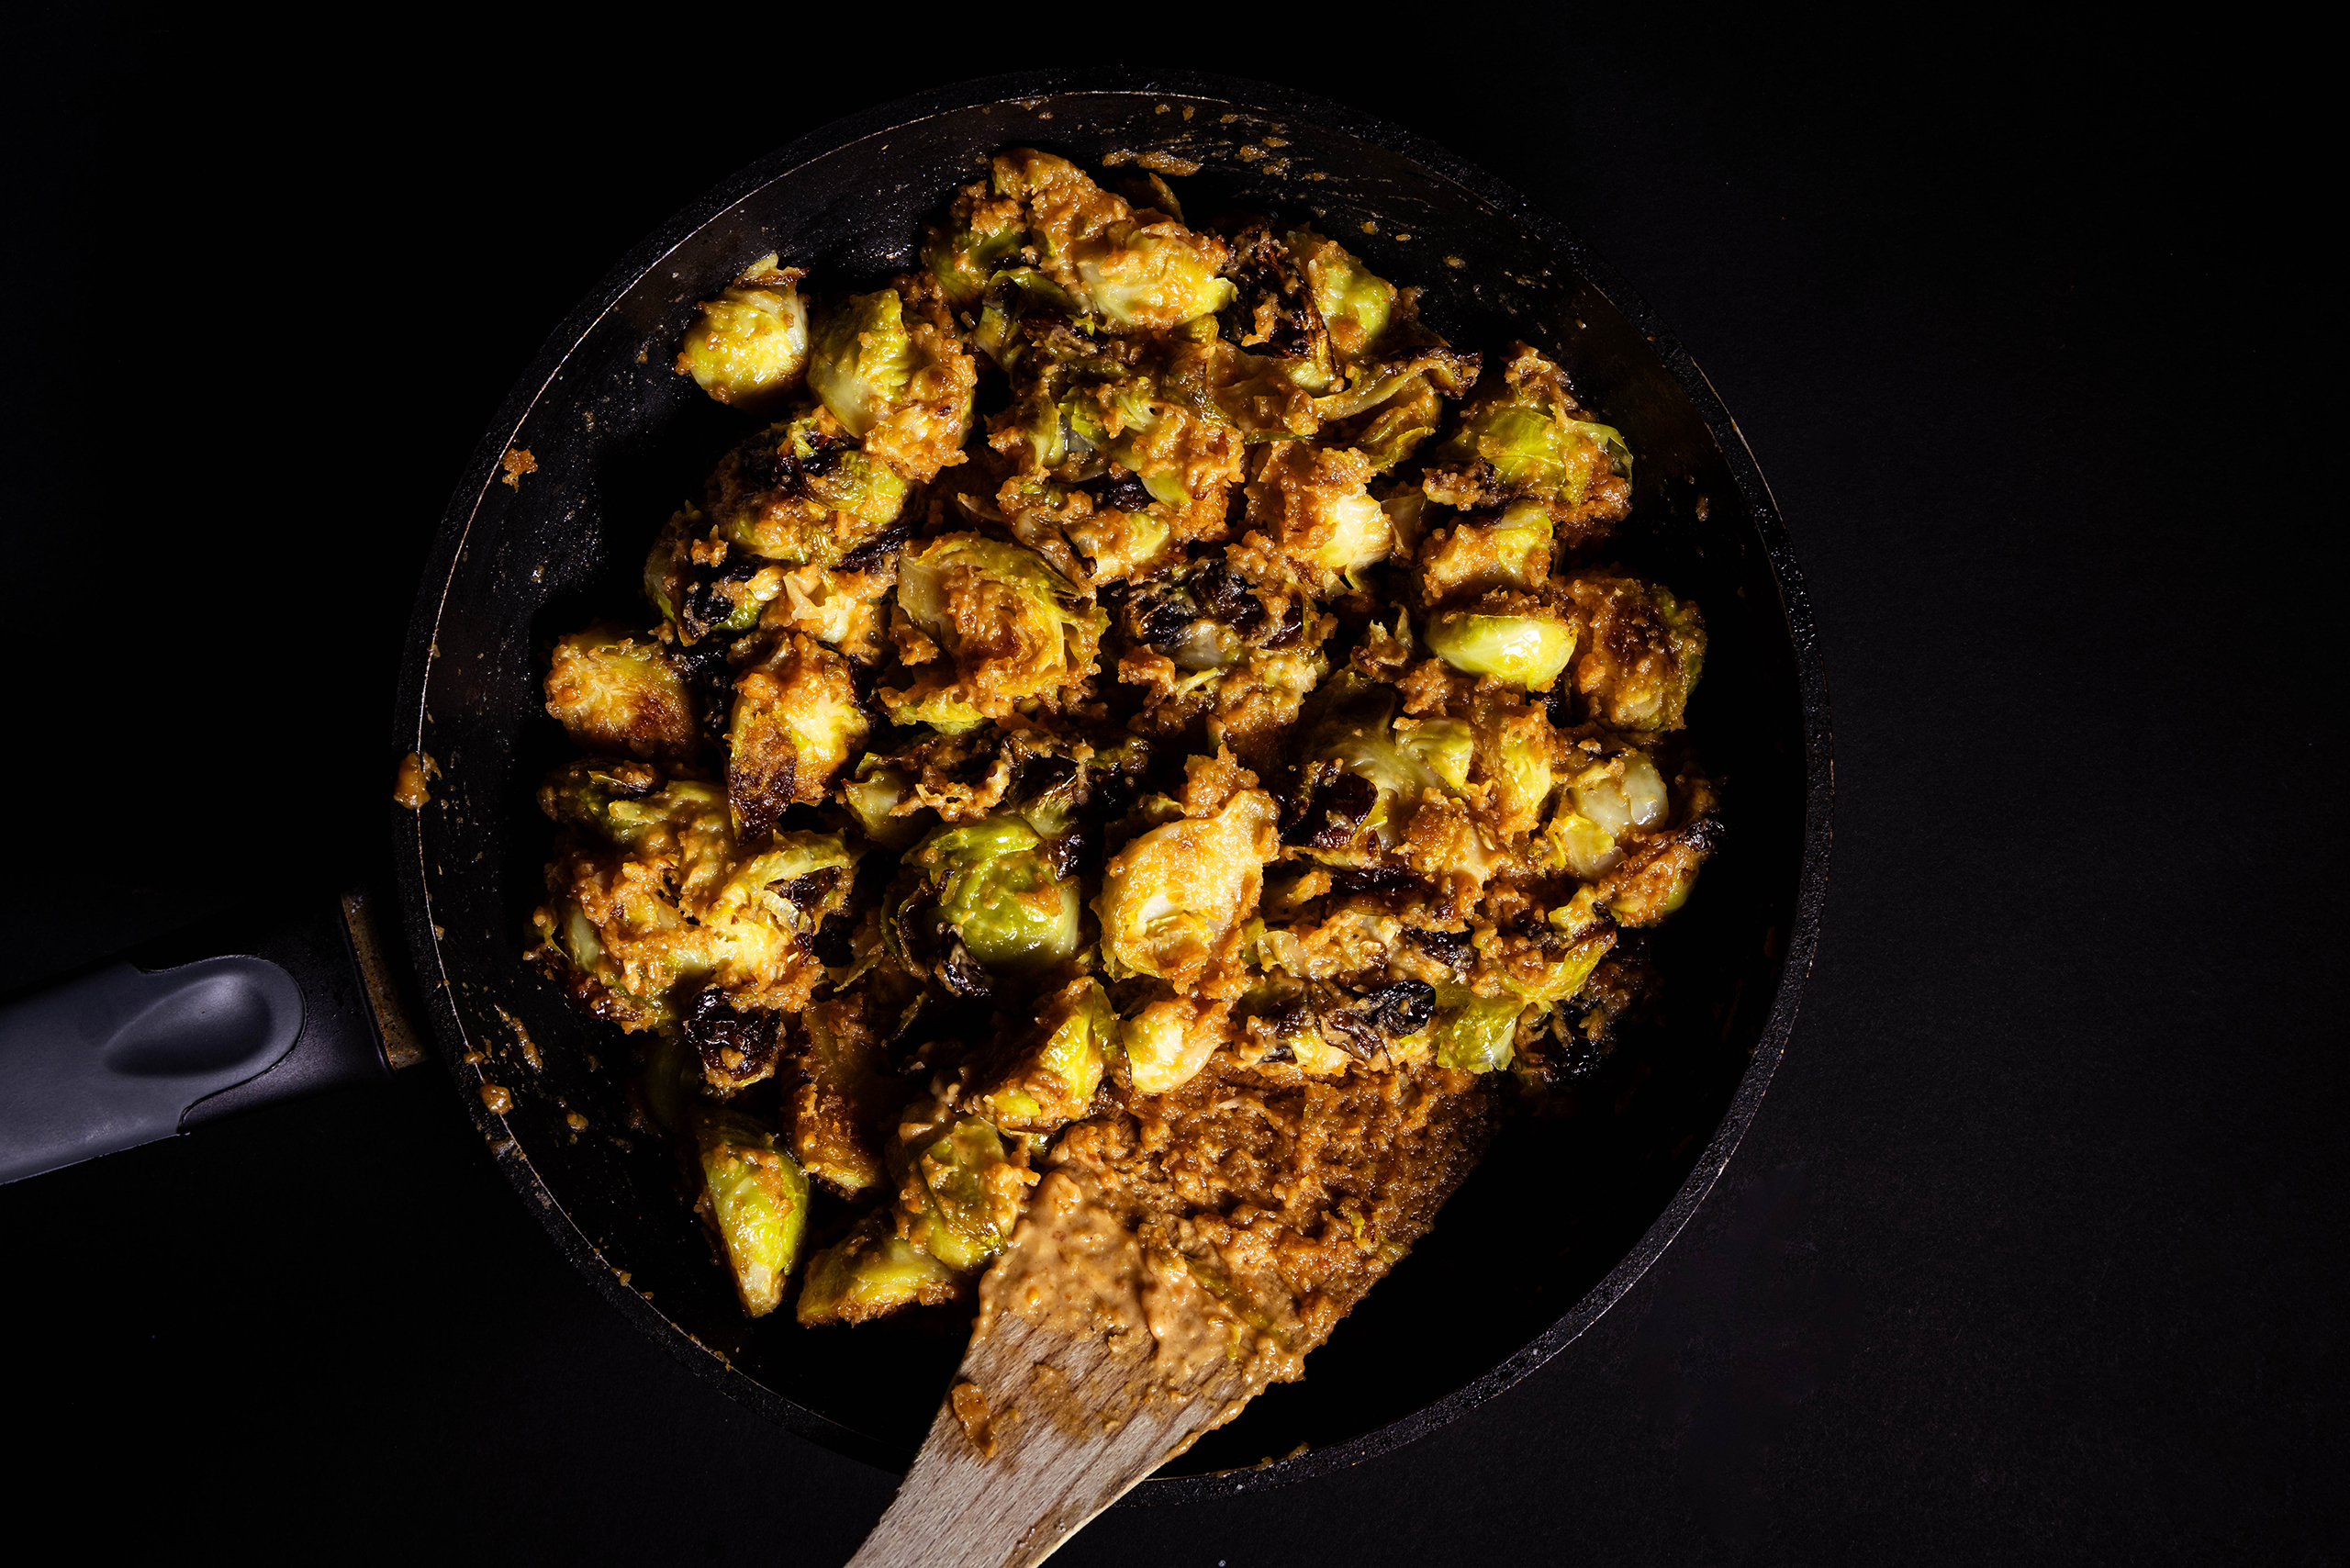
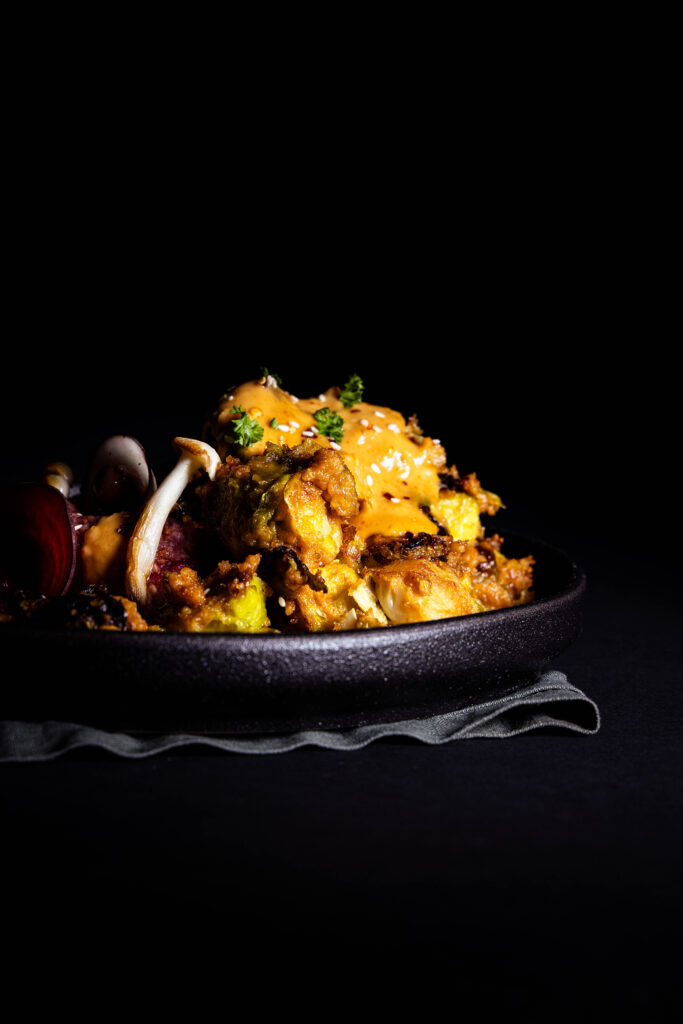
Roasted Brussels sprouts in peanut sauce. Sounds unusual, but I highly recommend it! The slightly bitter, earthy flavours of the Brussels sprouts create a wonderful contrast to the nutty, creamy, and spicy peanut sauce. The result is a harmonious flavour pairing that you wouldn’t expect.
Sometimes I devlope recipe ideas that make me wonder why I didn’t think of them earlier. I could have been enjoying this fantastic combination for much longer! This recipe for Brussels sprouts covered in a creamy, nutty peanut sauce is one of those ideas!
Roasted Brussels sprouts deep-fried in peanut sauce. Sounds unusual, but I highly recommend it!
Brussels sprouts in peanut sauce – a dish that surprises
This is a dish that surprises – in a good way. The small, often underestimated winter vegetable is given a whole new dimension by the creamy, aromatic peanut sauce. Where Brussels sprouts are usually accompanied by hearty accompaniments, here they encounter a warm, slightly unusual flavor that showcases their best qualities. This combination elevates Brussels sprouts to a new level: warm, savory, creamy, and with a touch of freshness.
Peanut Brussels sprouts – a dish that surprises
Brussels sprouts in peanut sauce – perfect as a main component, as a side dish, in bowls and with Asian dishes
This Brussels sprouts recipe is not only incredibly delicious, but also very versatile:
As the main component of a dish, for example, on rice, bulgur, or buckwheat groats.
As a side dish to hearty, savoury meals. The intense peanut sauce adds a fantastic twist to many dishes.
In bowls. A flavorful highlight with rice, salad, raw vegetables, and other bowl components.
With Asian dishes. Satay sauce (peanut sauce) is an important part of some Asian cuisines. It’s especially popular in Singapore. With my Brussels sprouts in satay sauce, you can create amazing fusion dishes.
As a snack. This recipe is so delicious that you can simply enjoy the peanut-roasted Brussels sprouts on their own.
Perfect as a main component with various side dishes.
Do Brussels sprouts lead to disagreement at your table? Try them like this!
Team Brussels Sprouts? Or Team “Keep that away from me!”? If you have both of them at home, try feeding this recipe to the Brussels sprout haters! It’s guaranteed to change a few opinions! And anyone who already likes Brussels sprouts will love this recipe!
Does Brussels sprouts divide opinions at your table? Try them like this!
More vegan recipes with Brussels sprouts
You might also want to try this tasty Brussel sprouts recipe. Right here on Daily Vegan.
Please show me your Brussels sprouts in peanut sauce
Please follow me on Instagram or Facebook. And I’d be delighted if you made my yummy vegan Brussels sprouts in peanut sauce and posted a photo of them, tagging my account. Because I always find it really great and exciting to see how my recipes have been prepared in other kitchens!
Please show me your Brussels sprouts in peanut sauce sometime.
Roasted Brussels Sprouts in Peanut Sauce – Preparation in Photos
In the following pictures, you’ll see step-by-step how I prepare this dish. Then we’ll continue directly with the recipe.
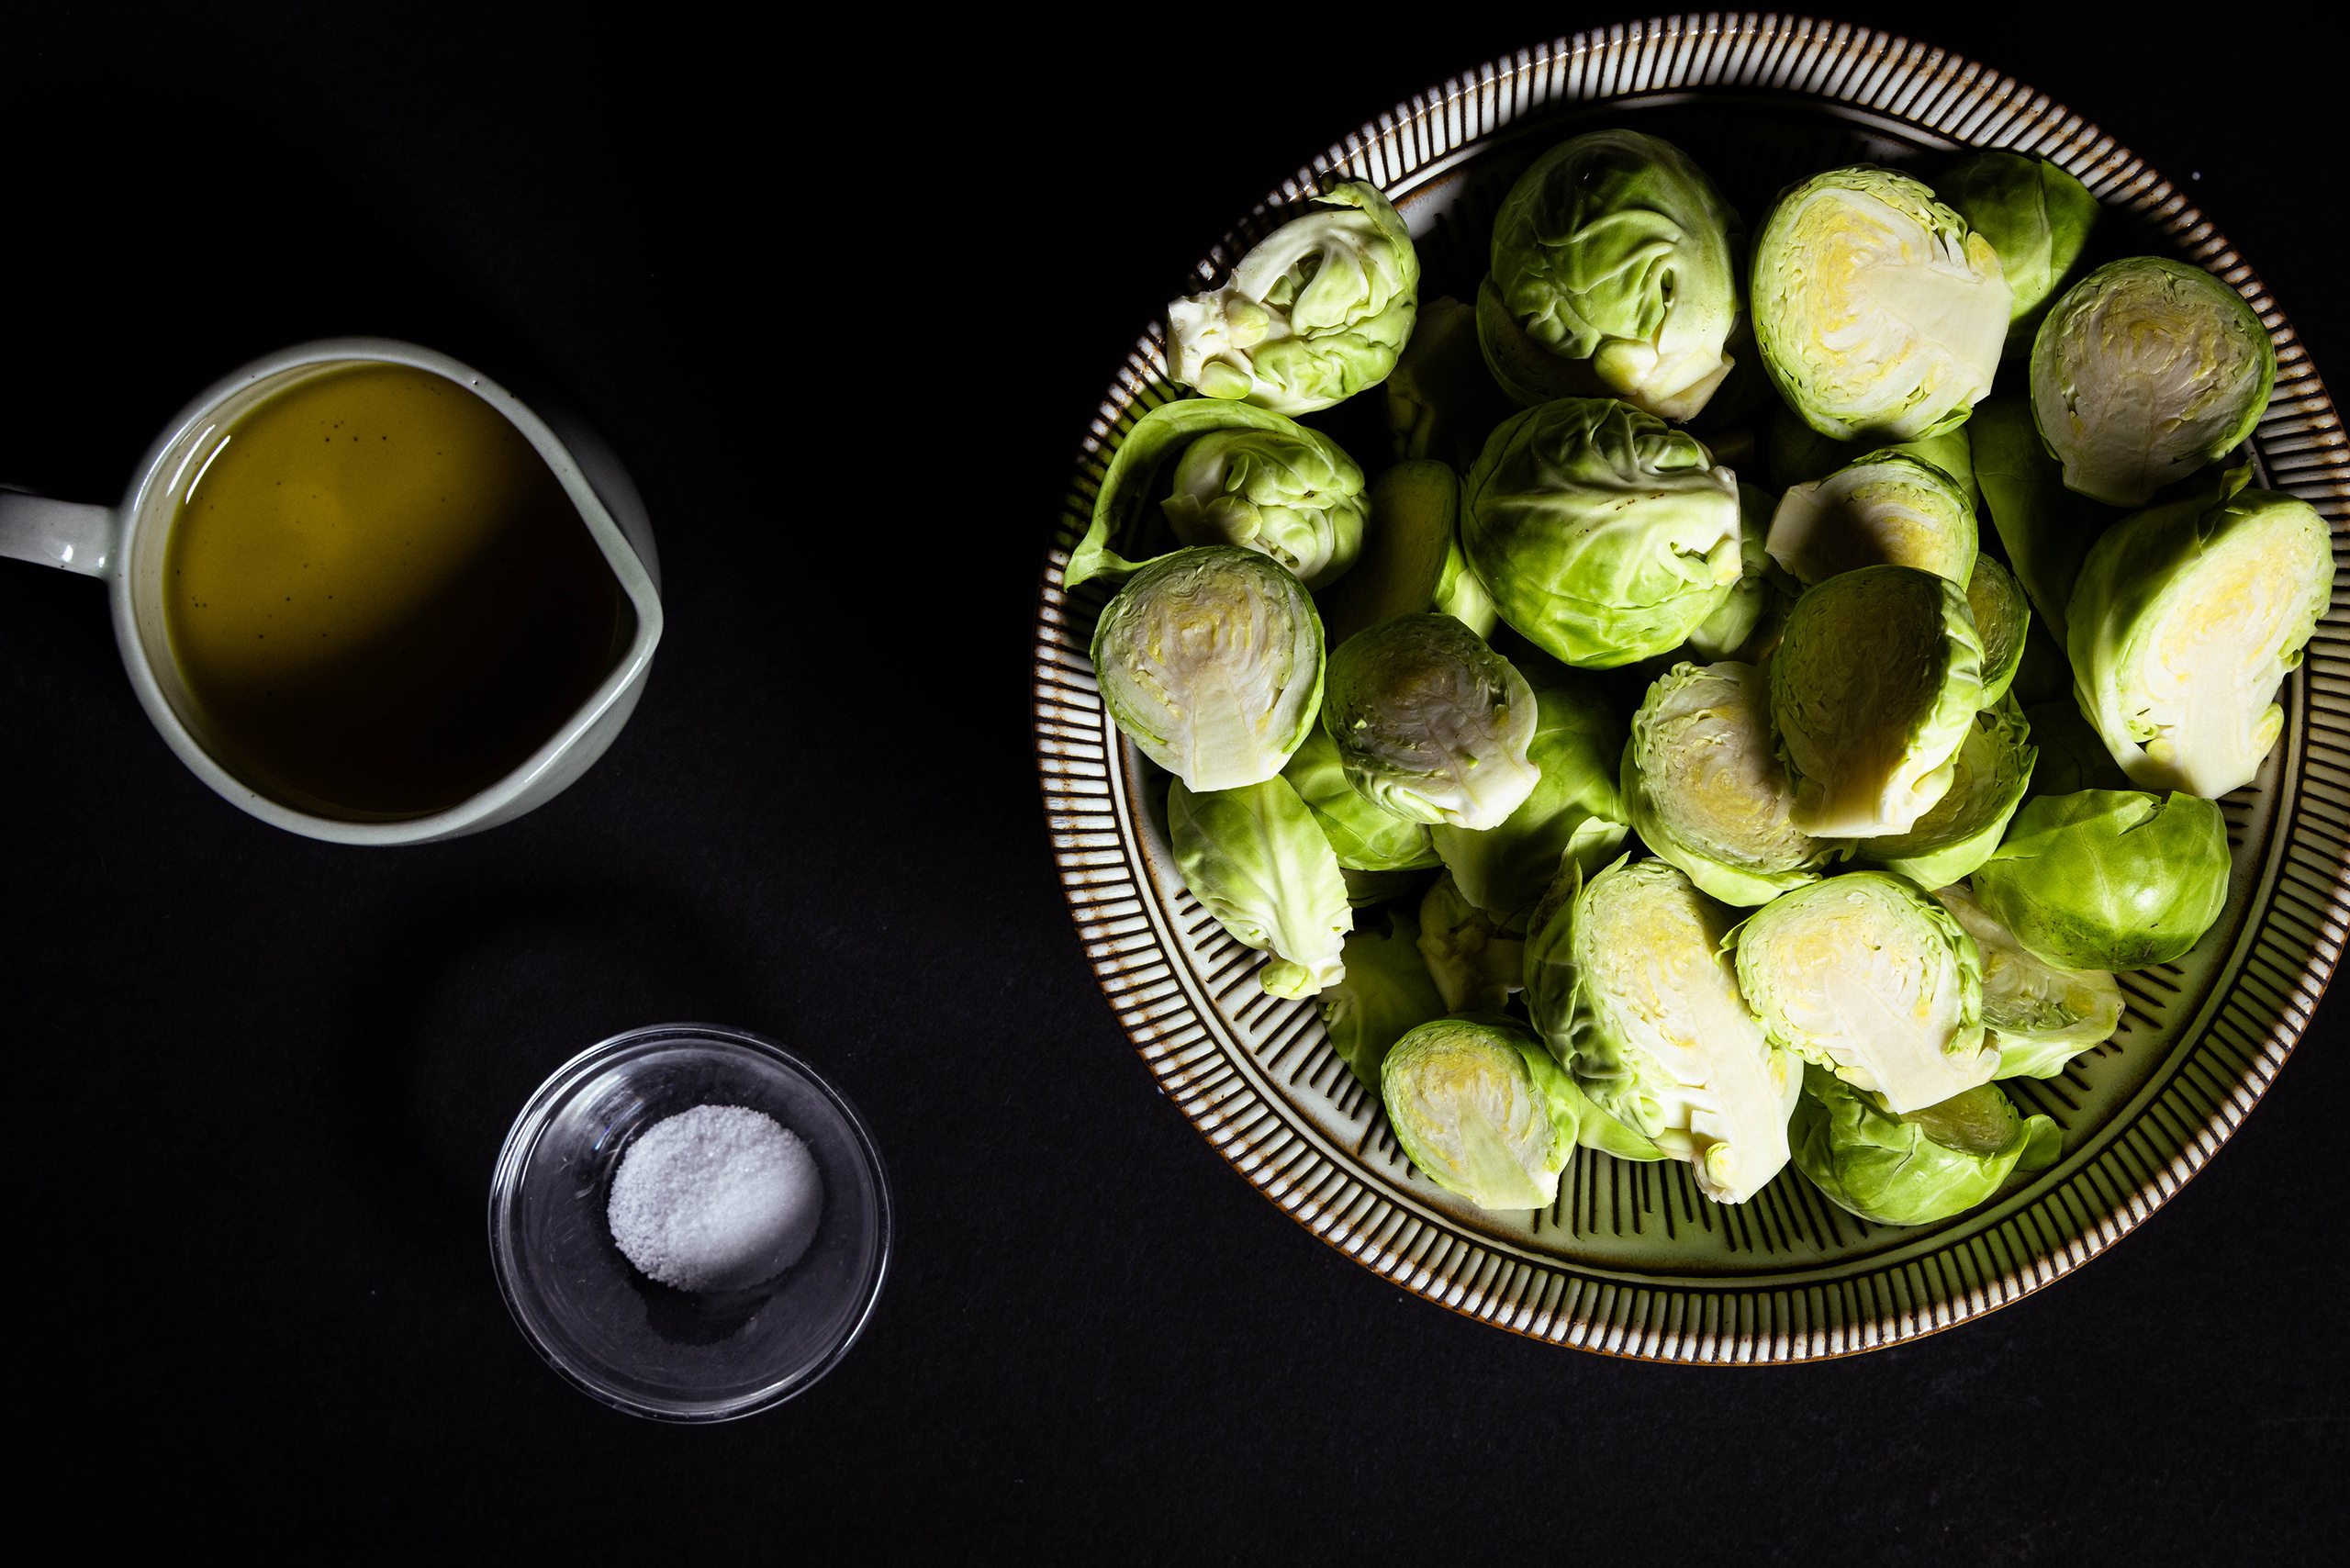
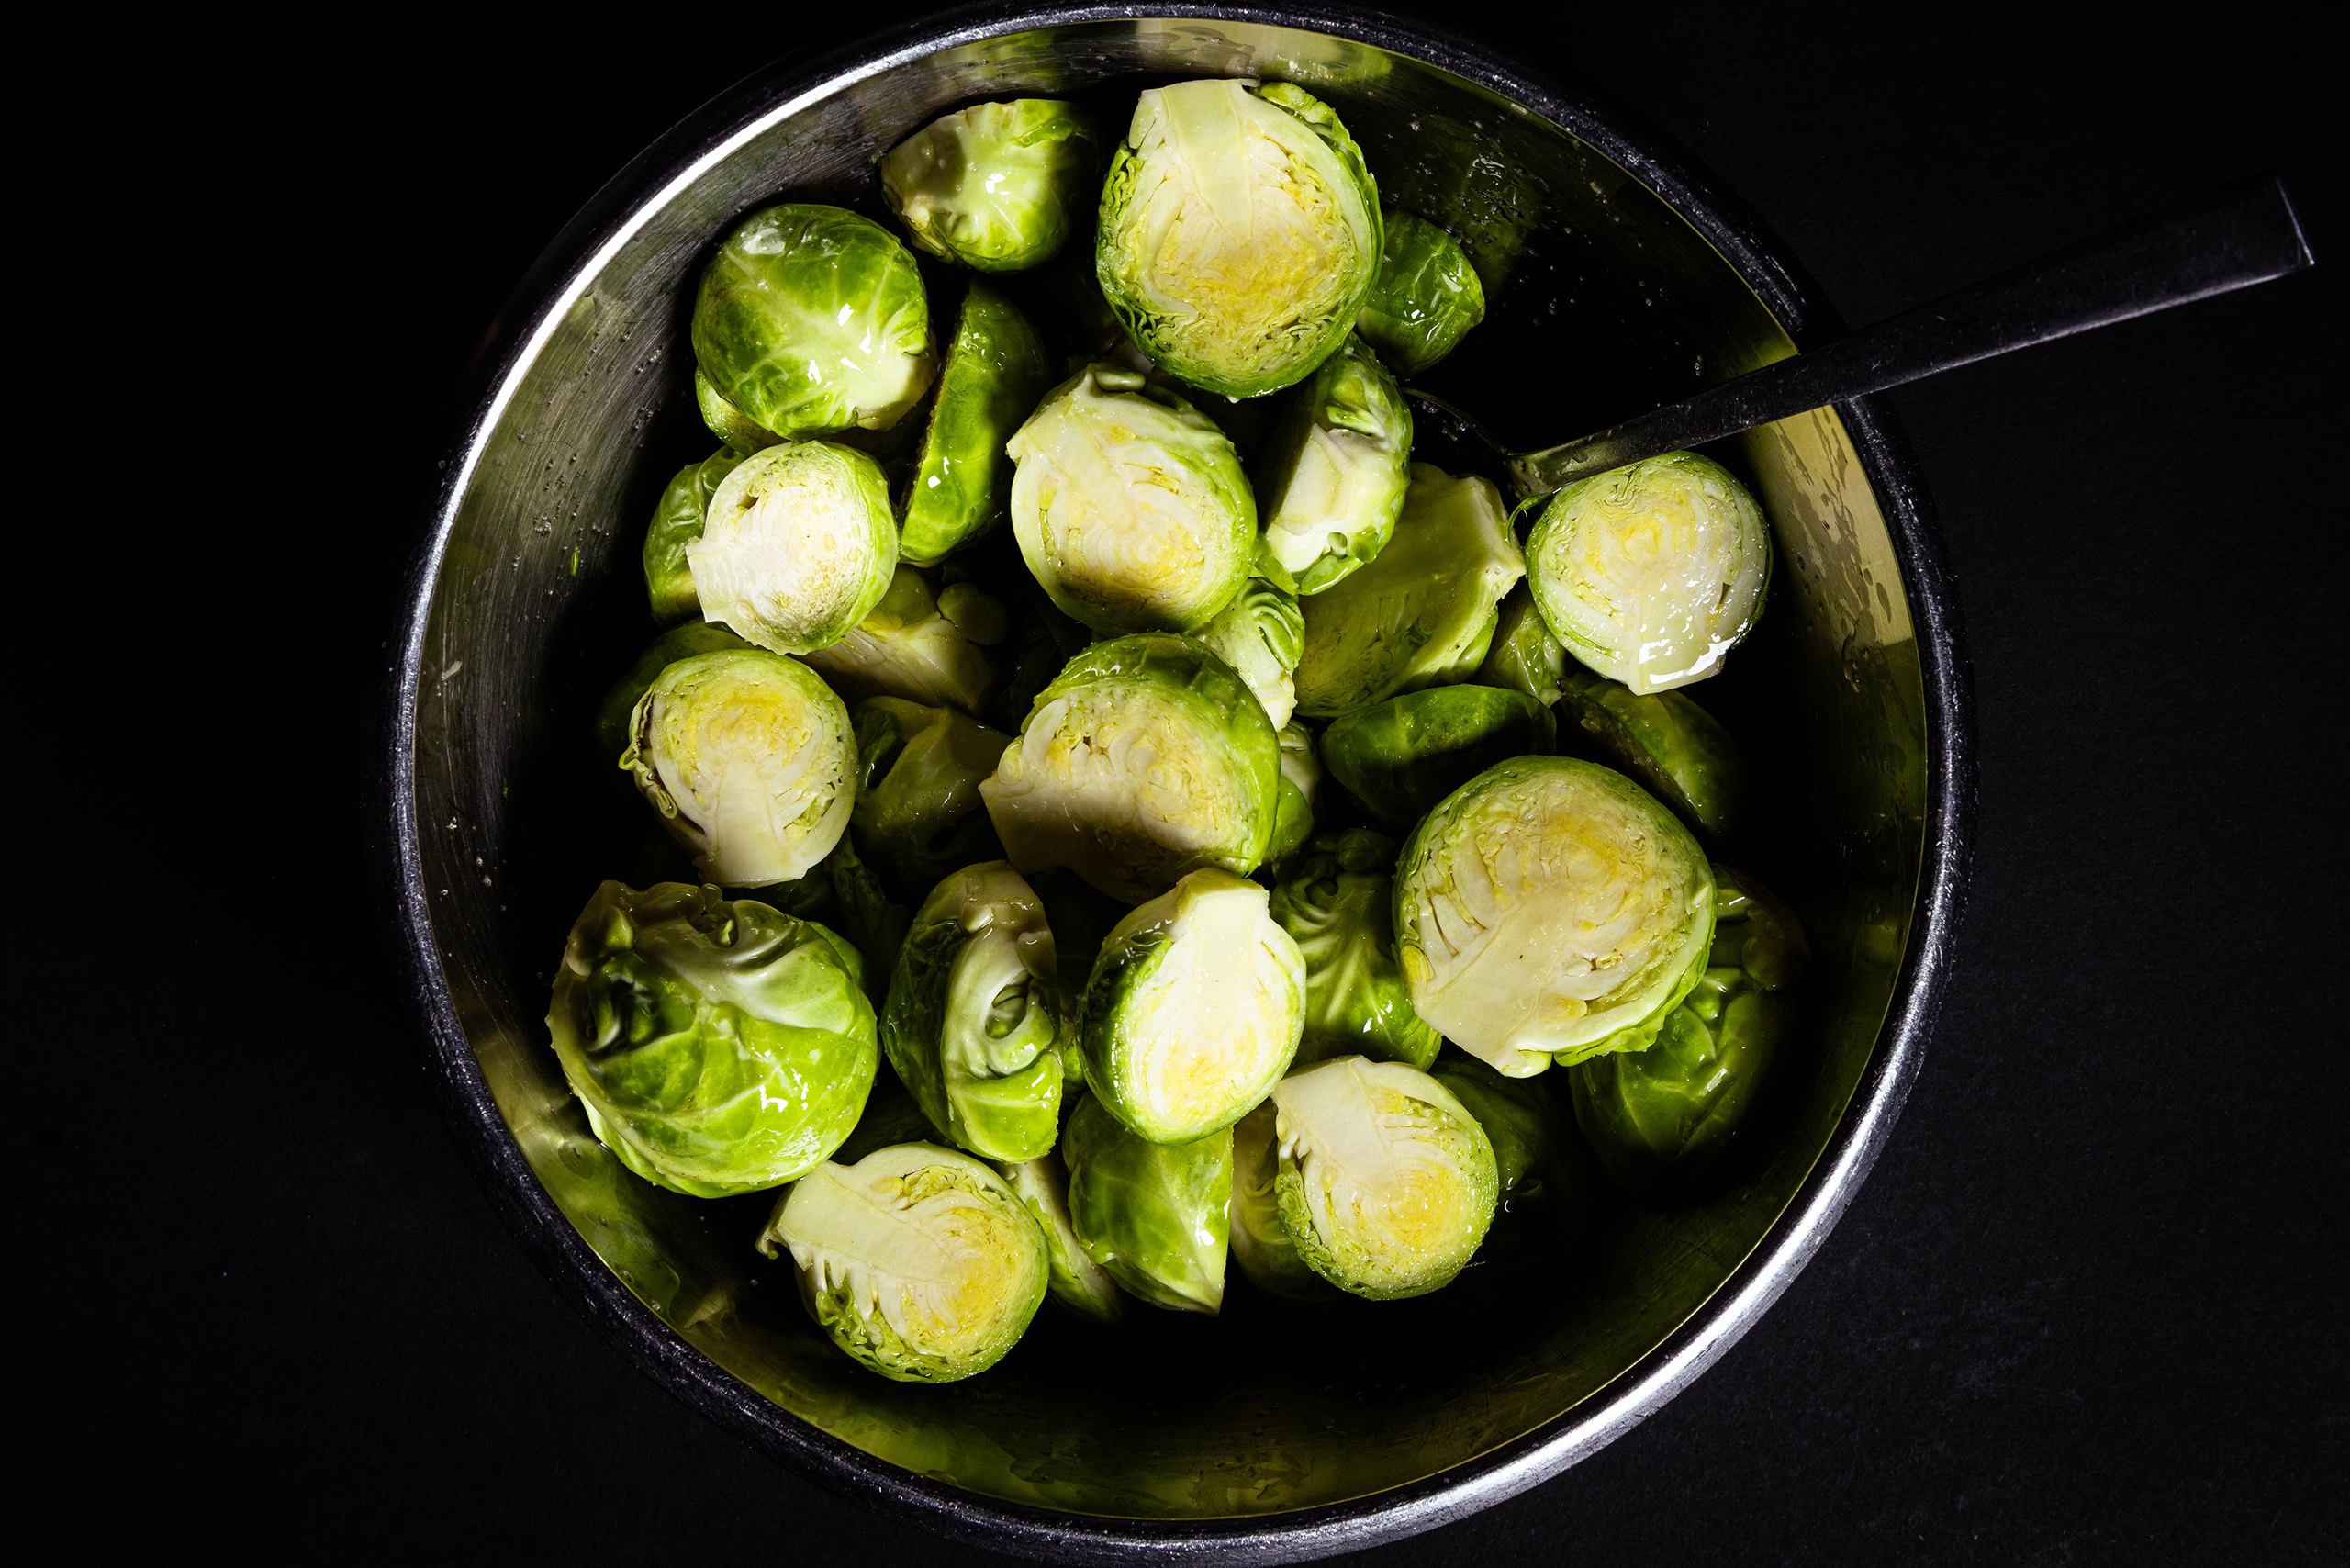
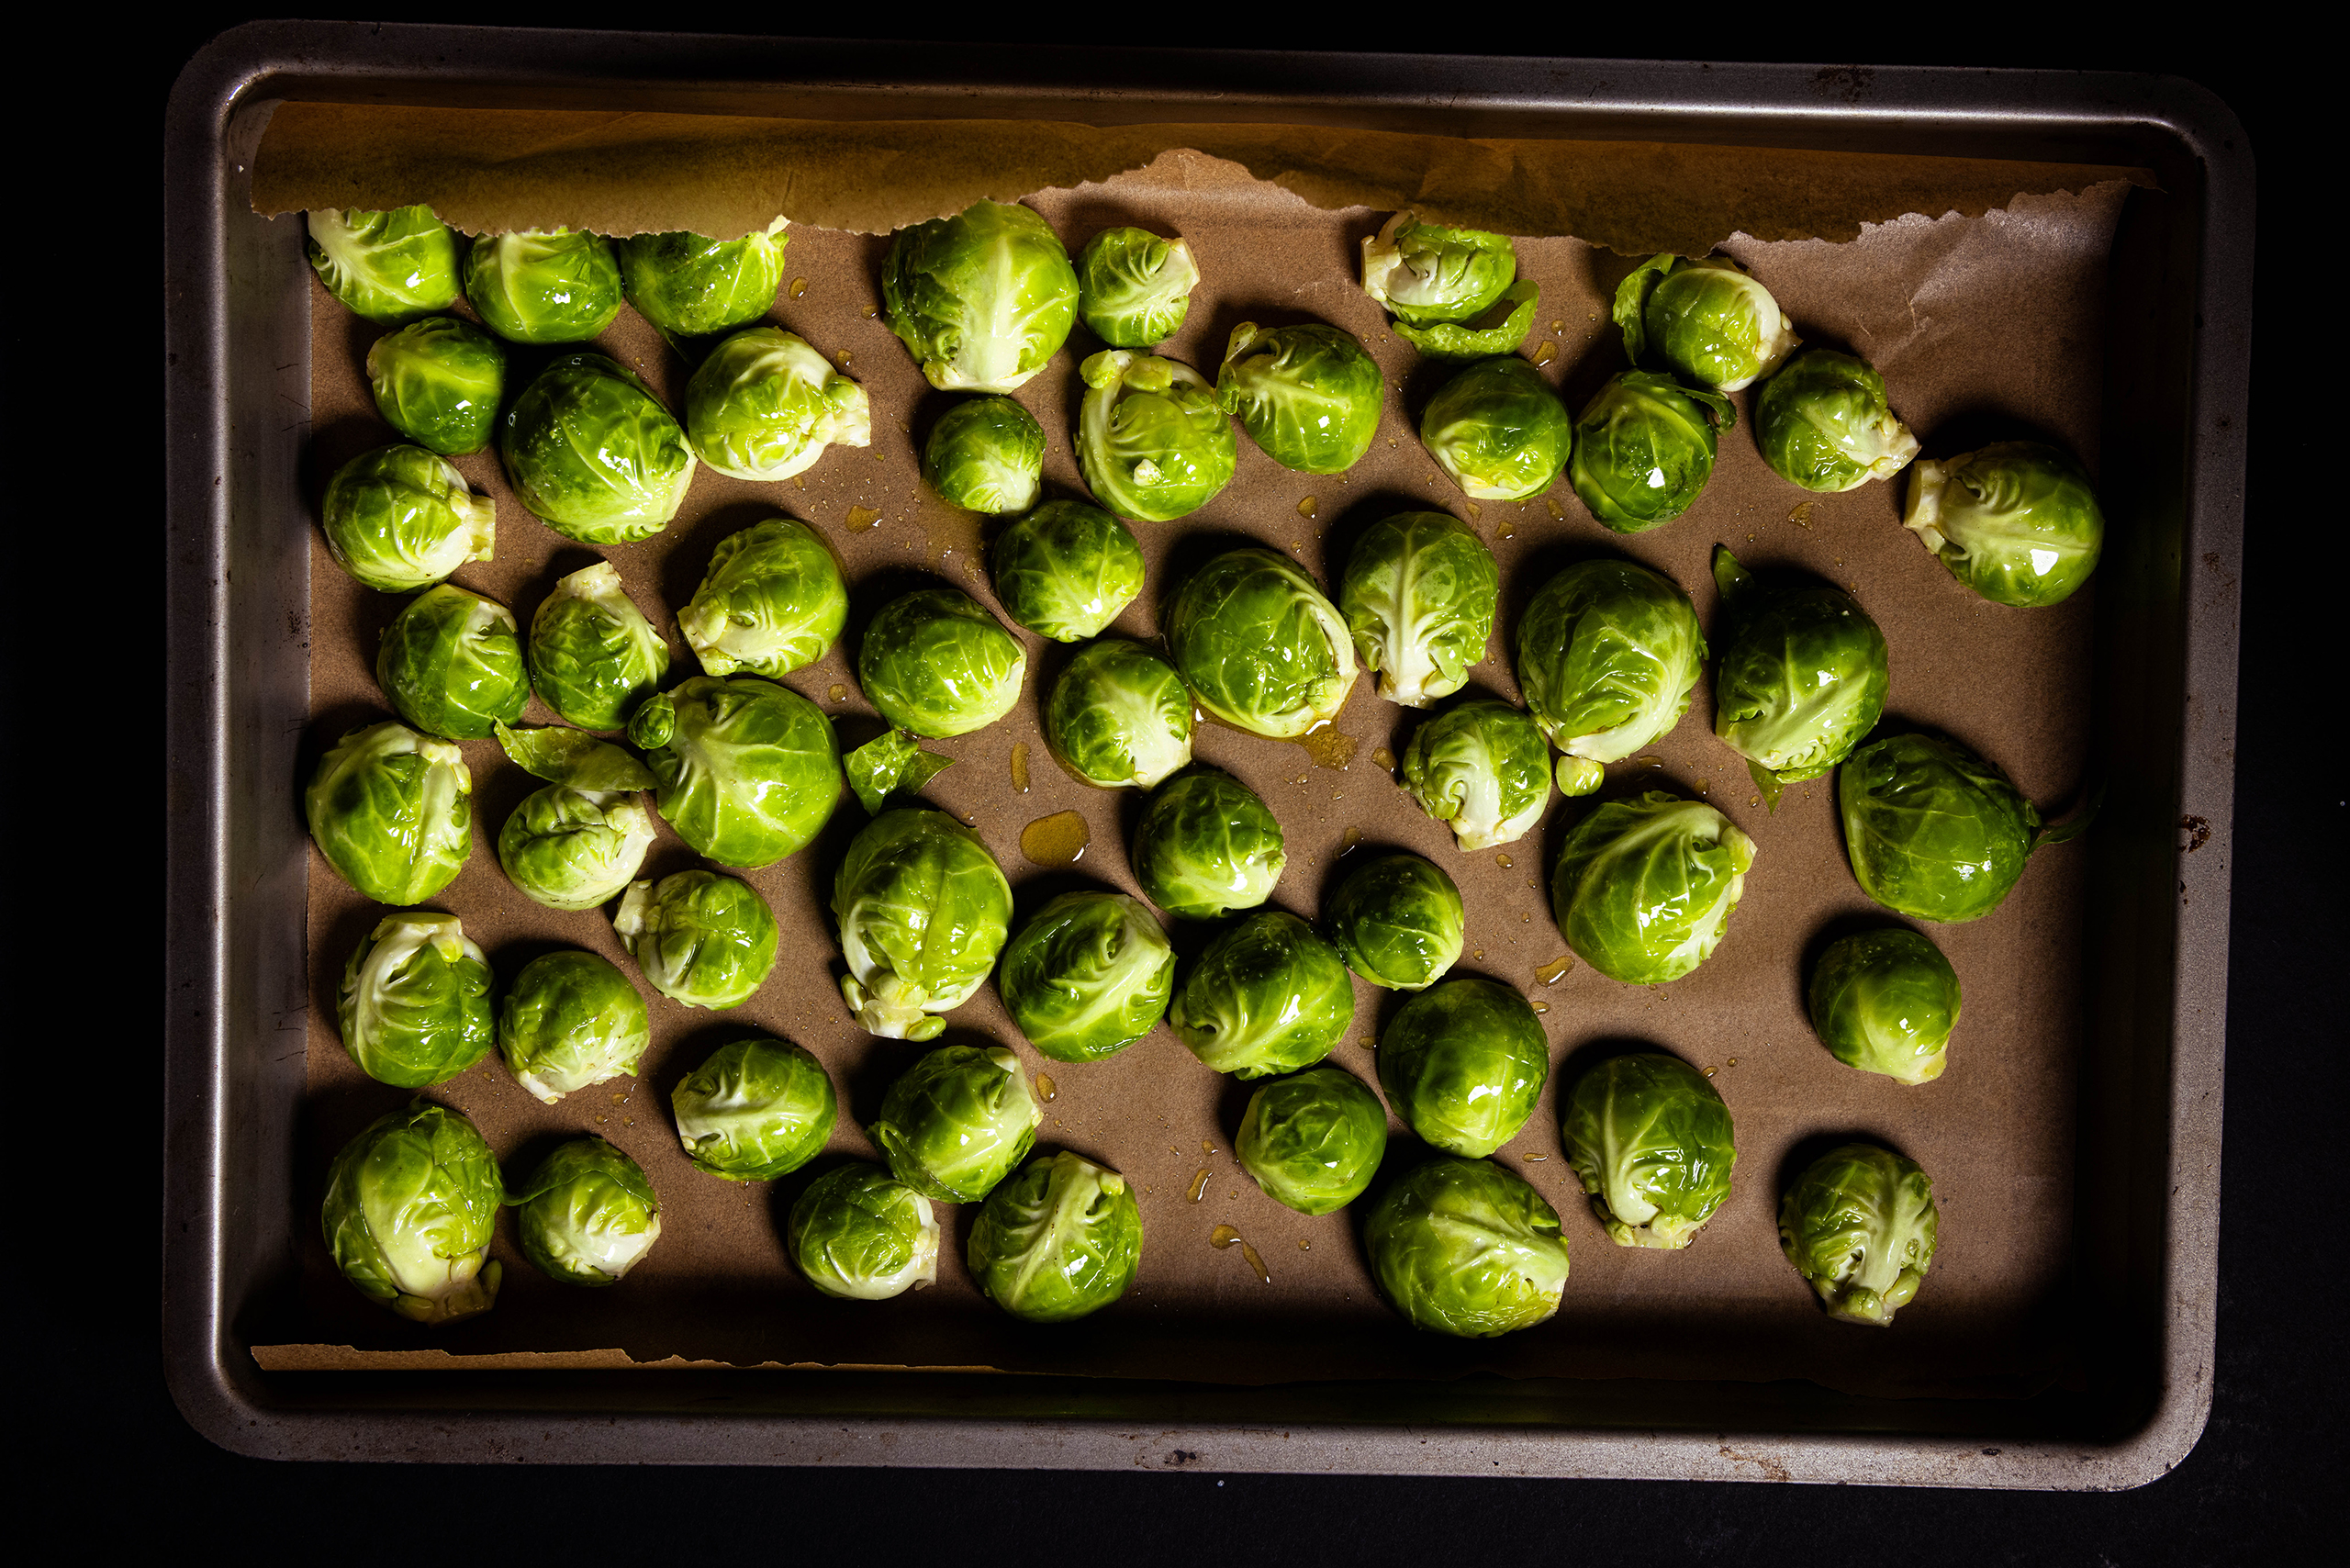
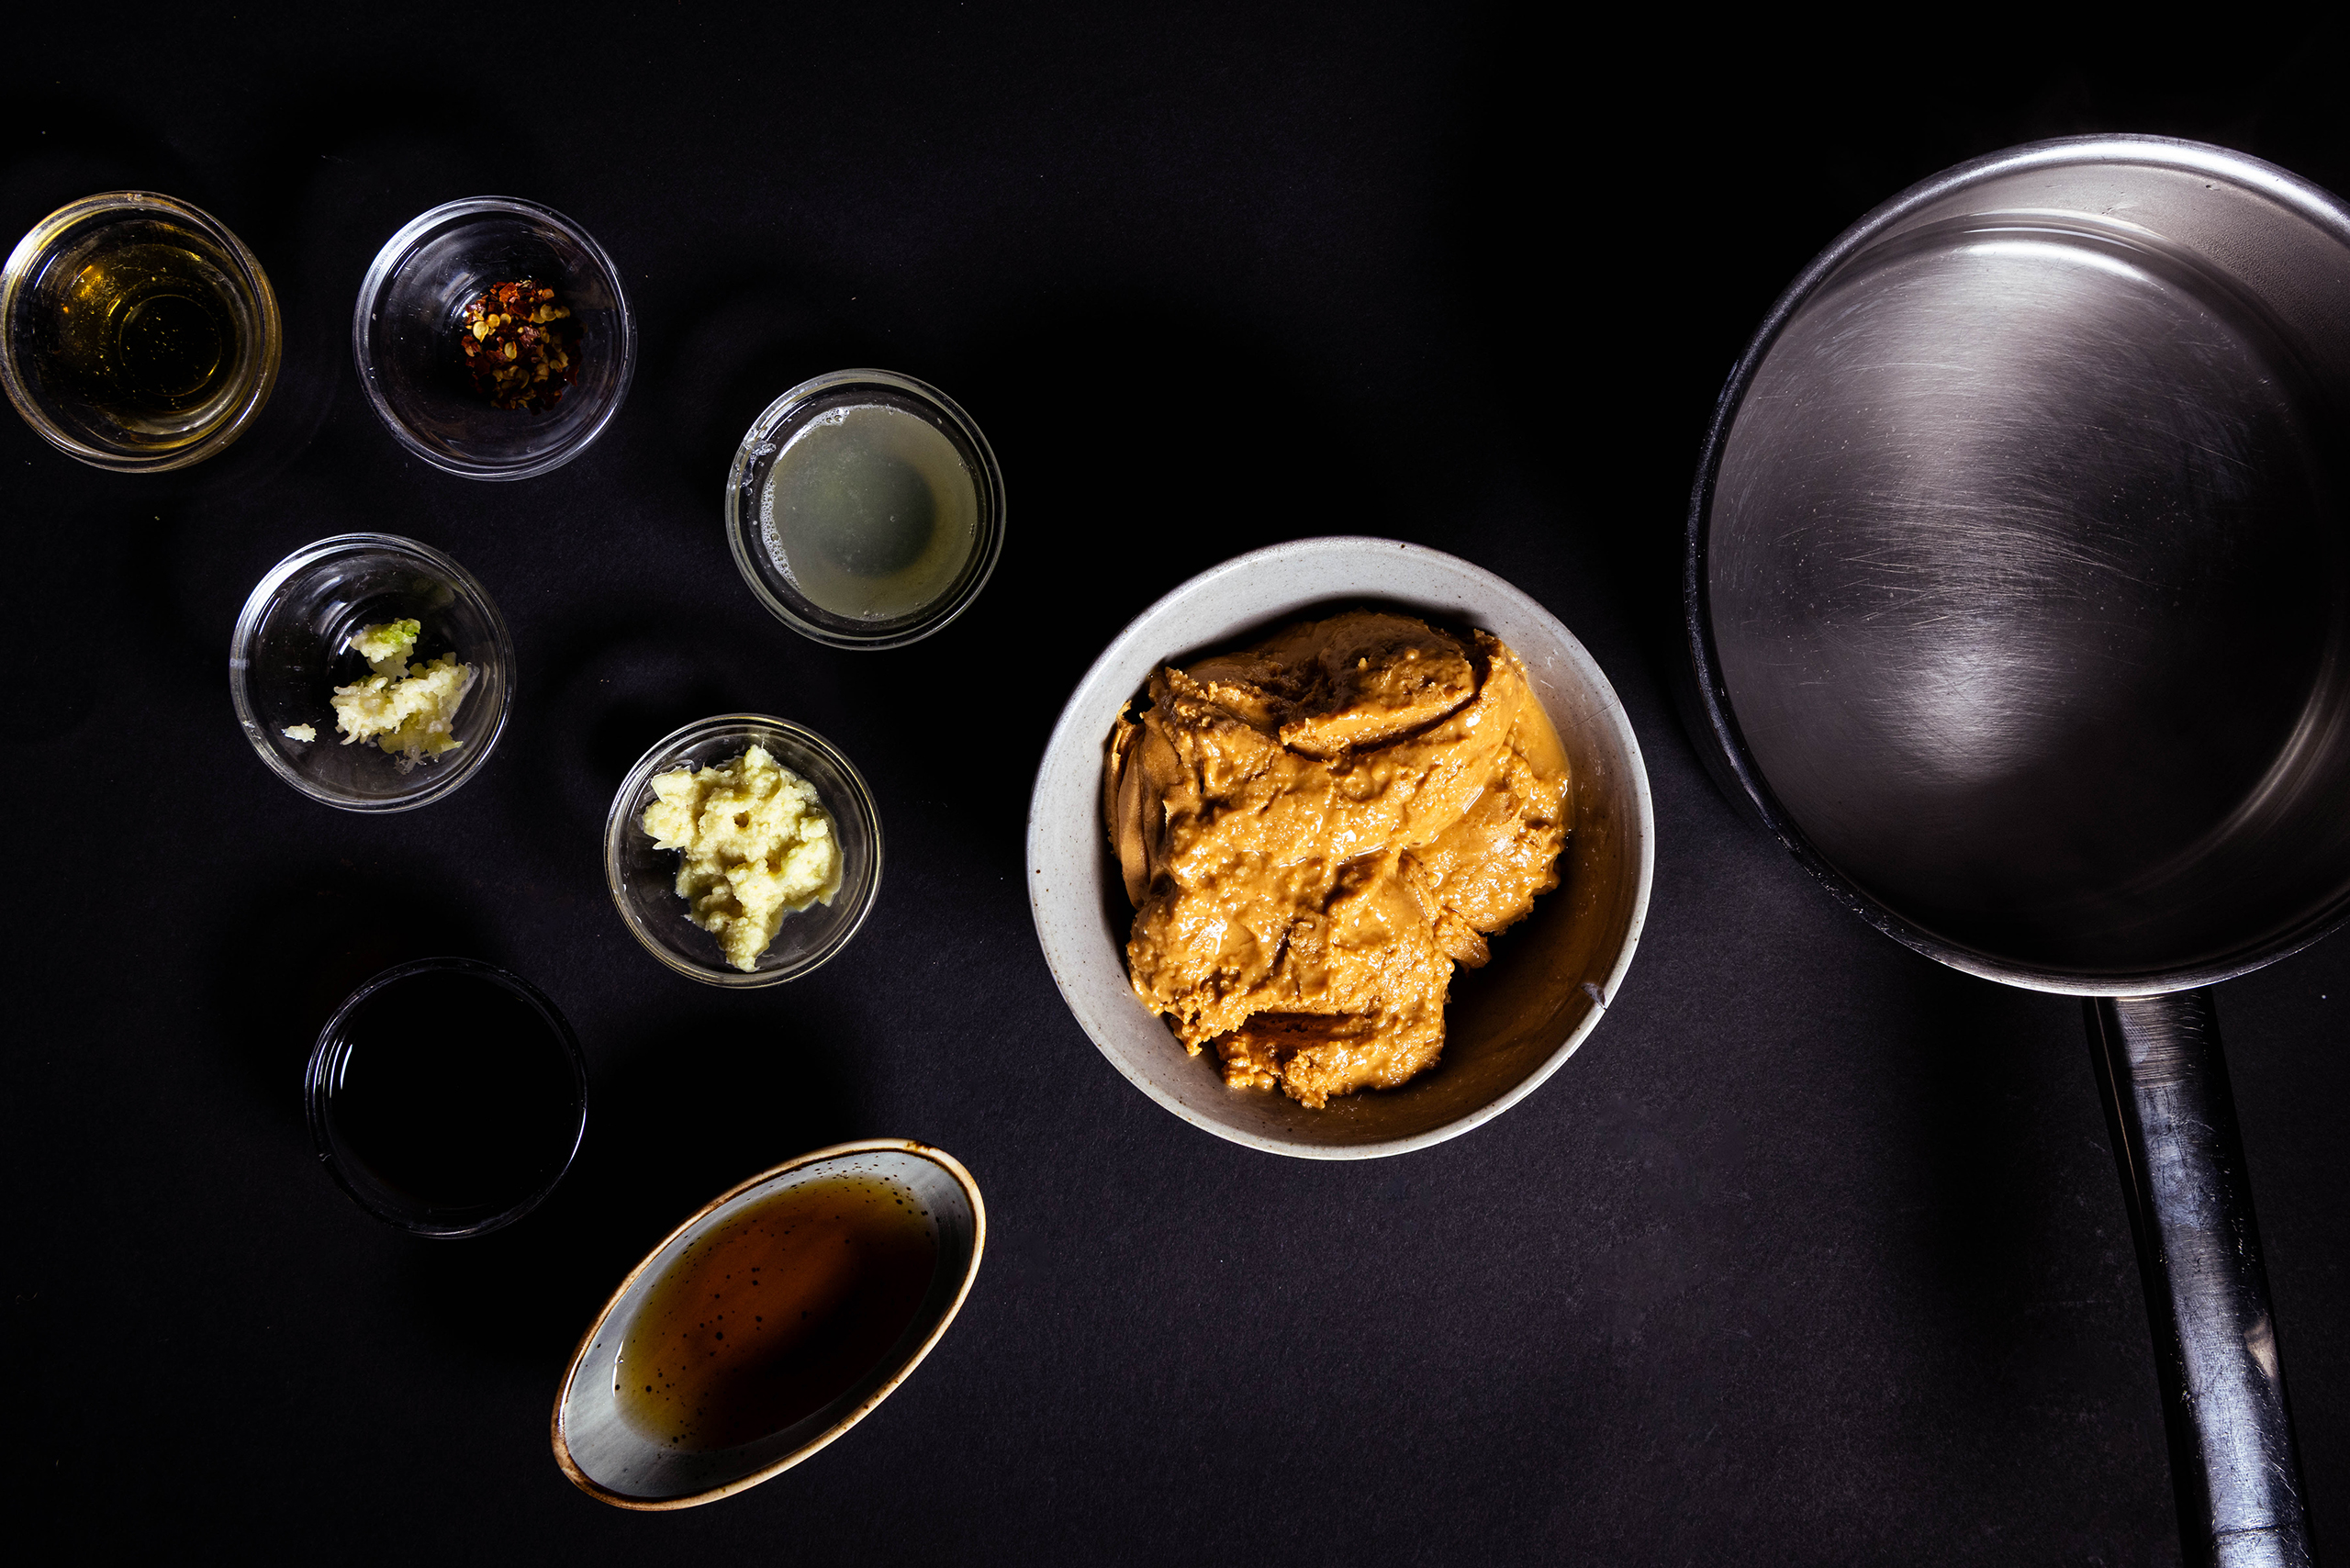
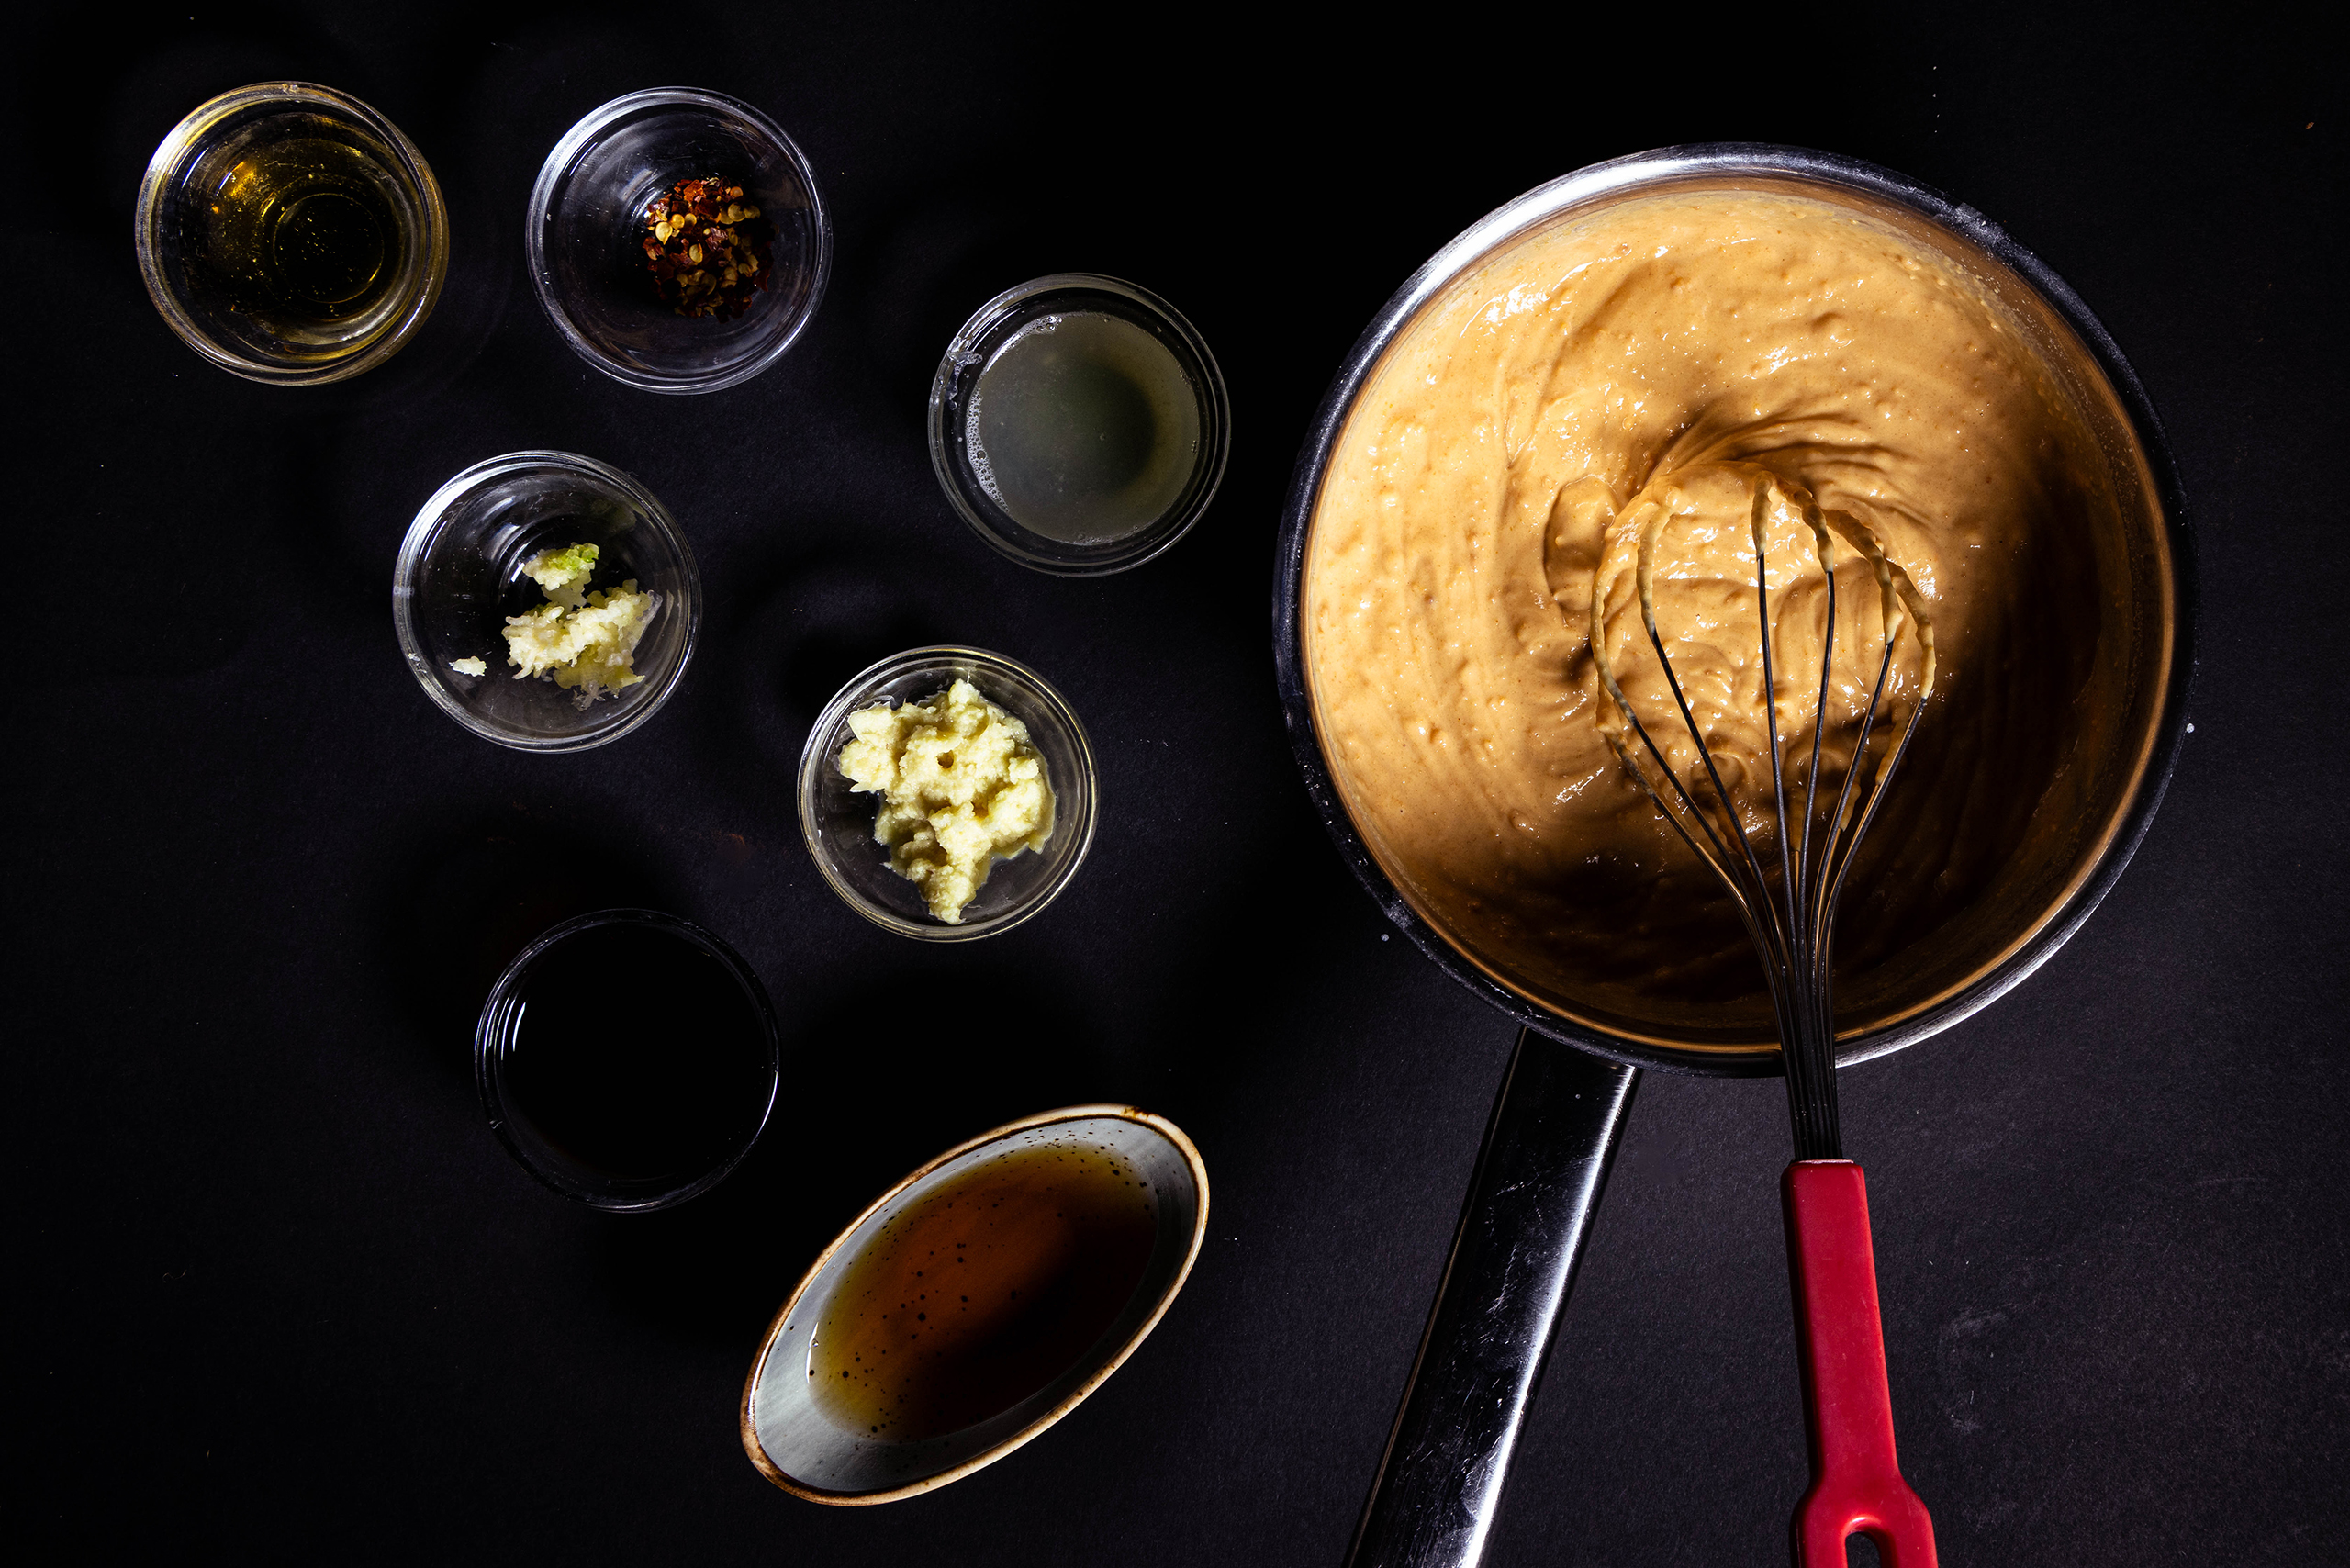
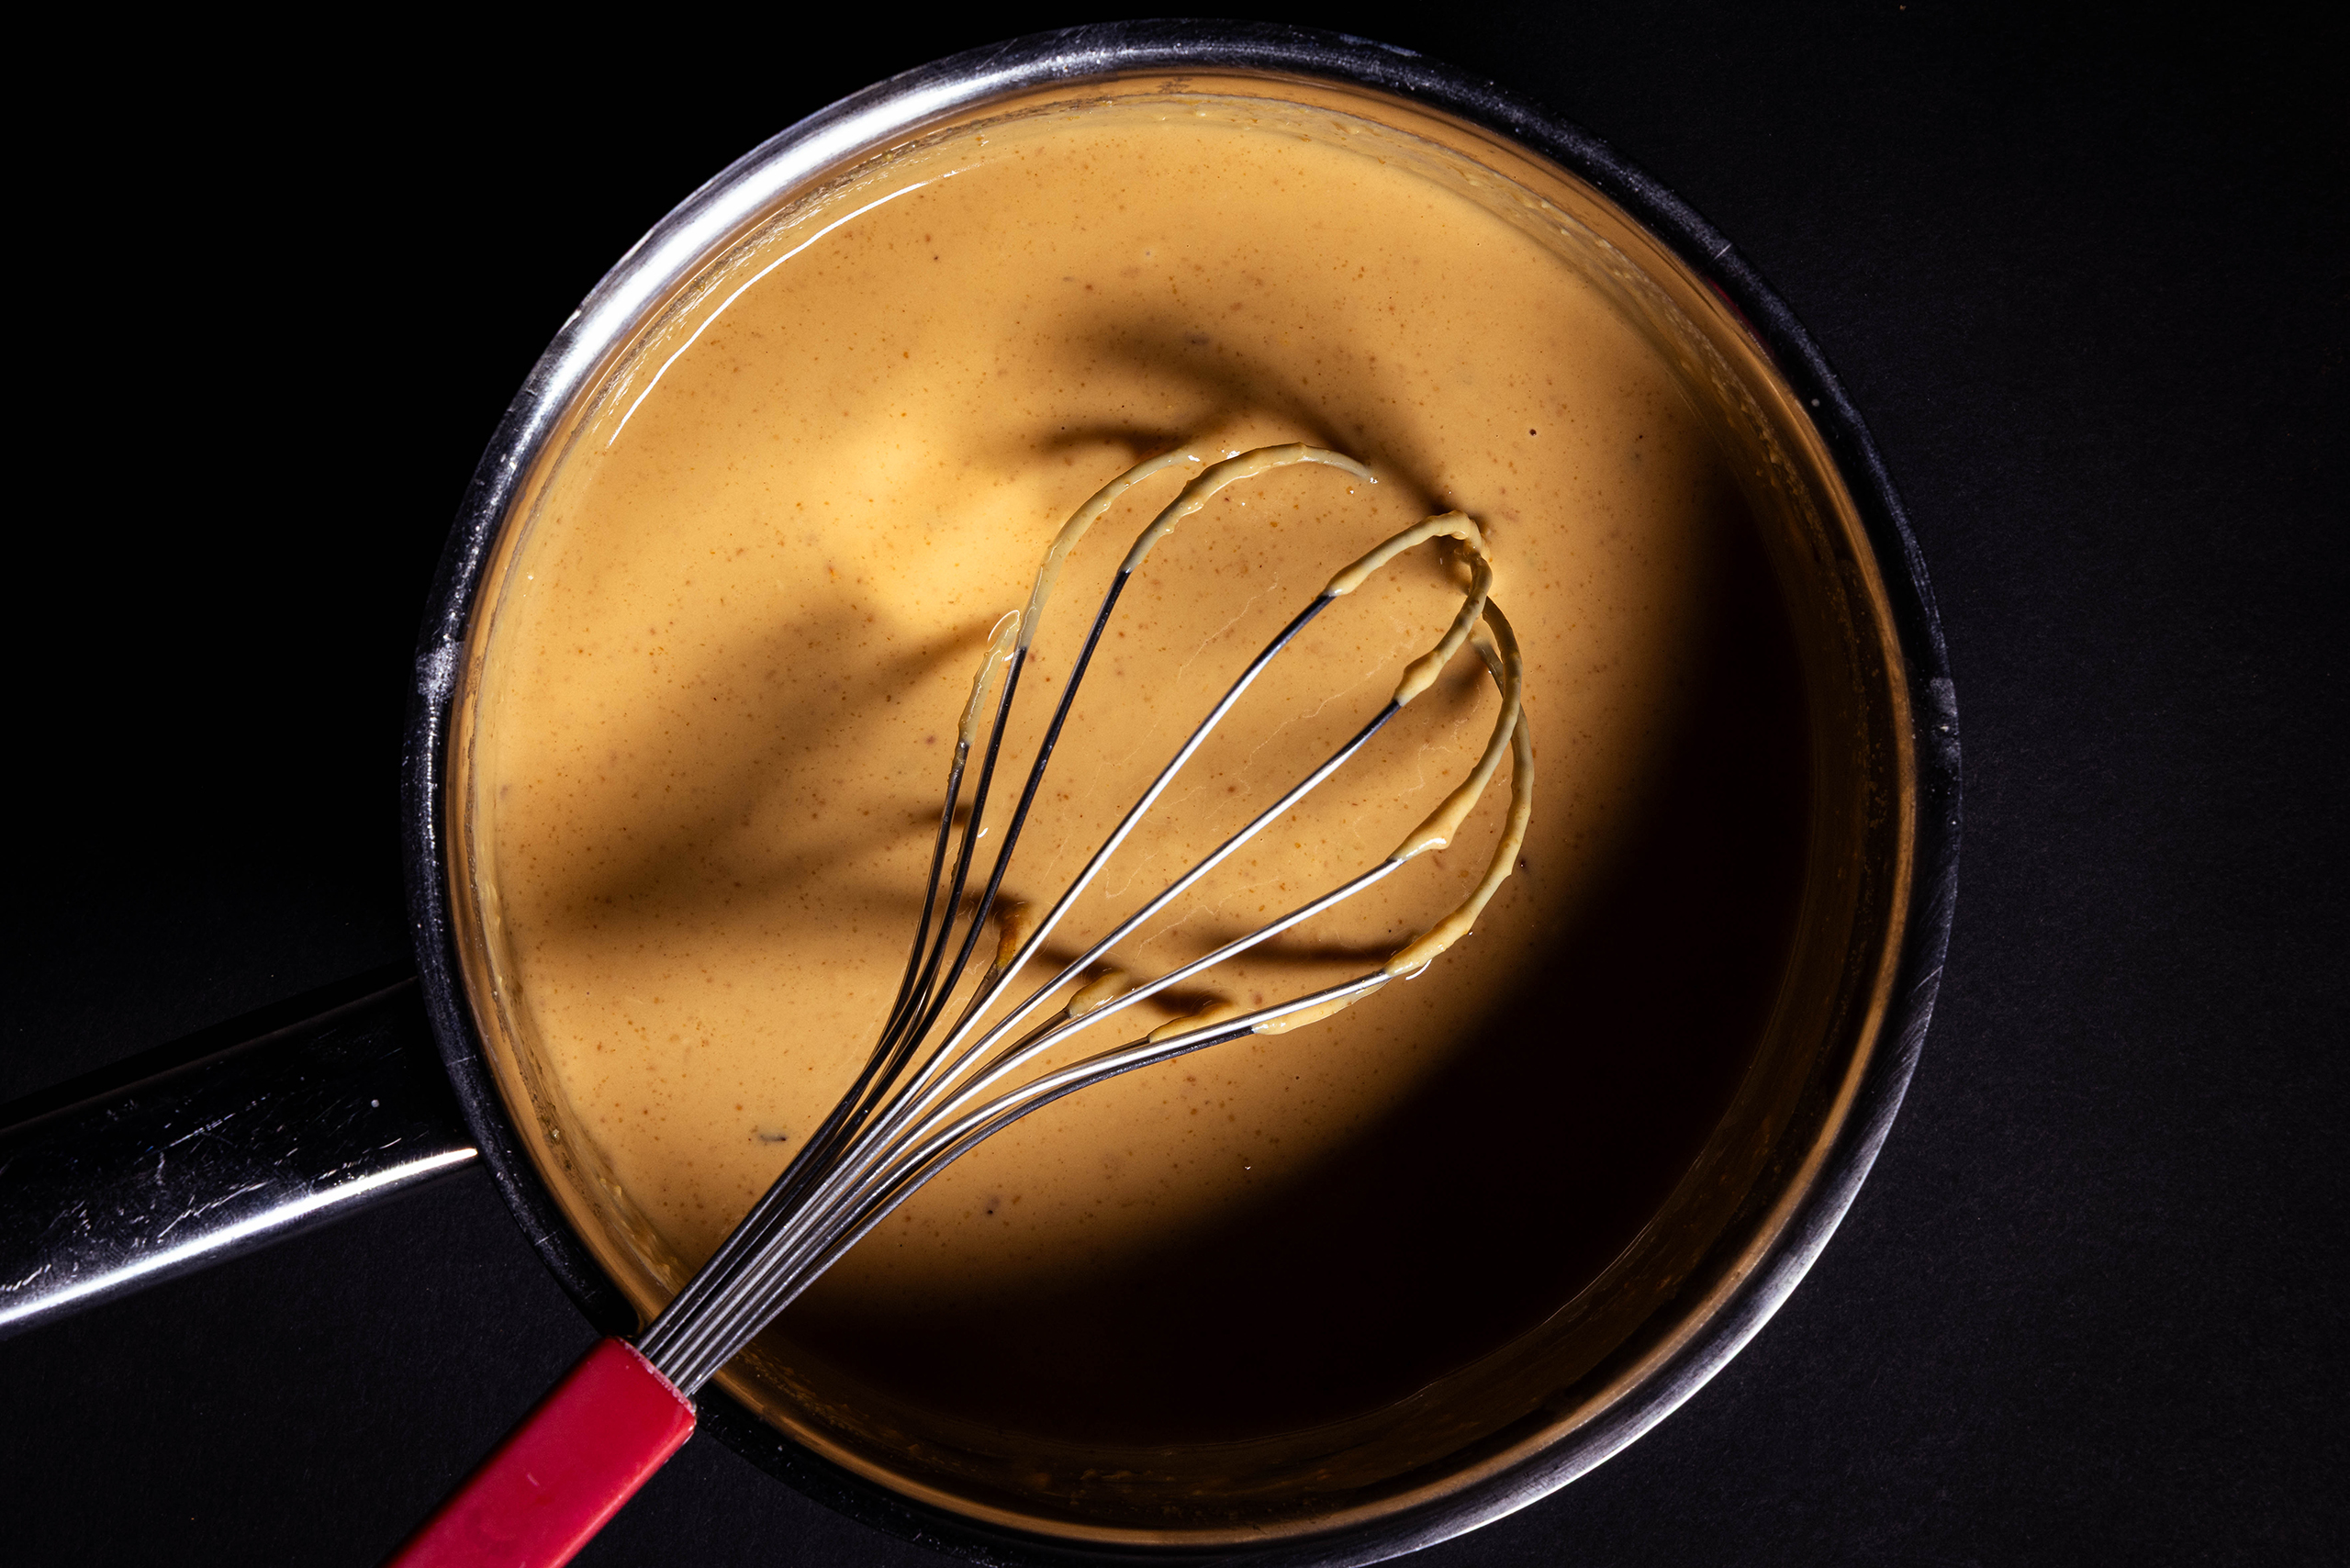
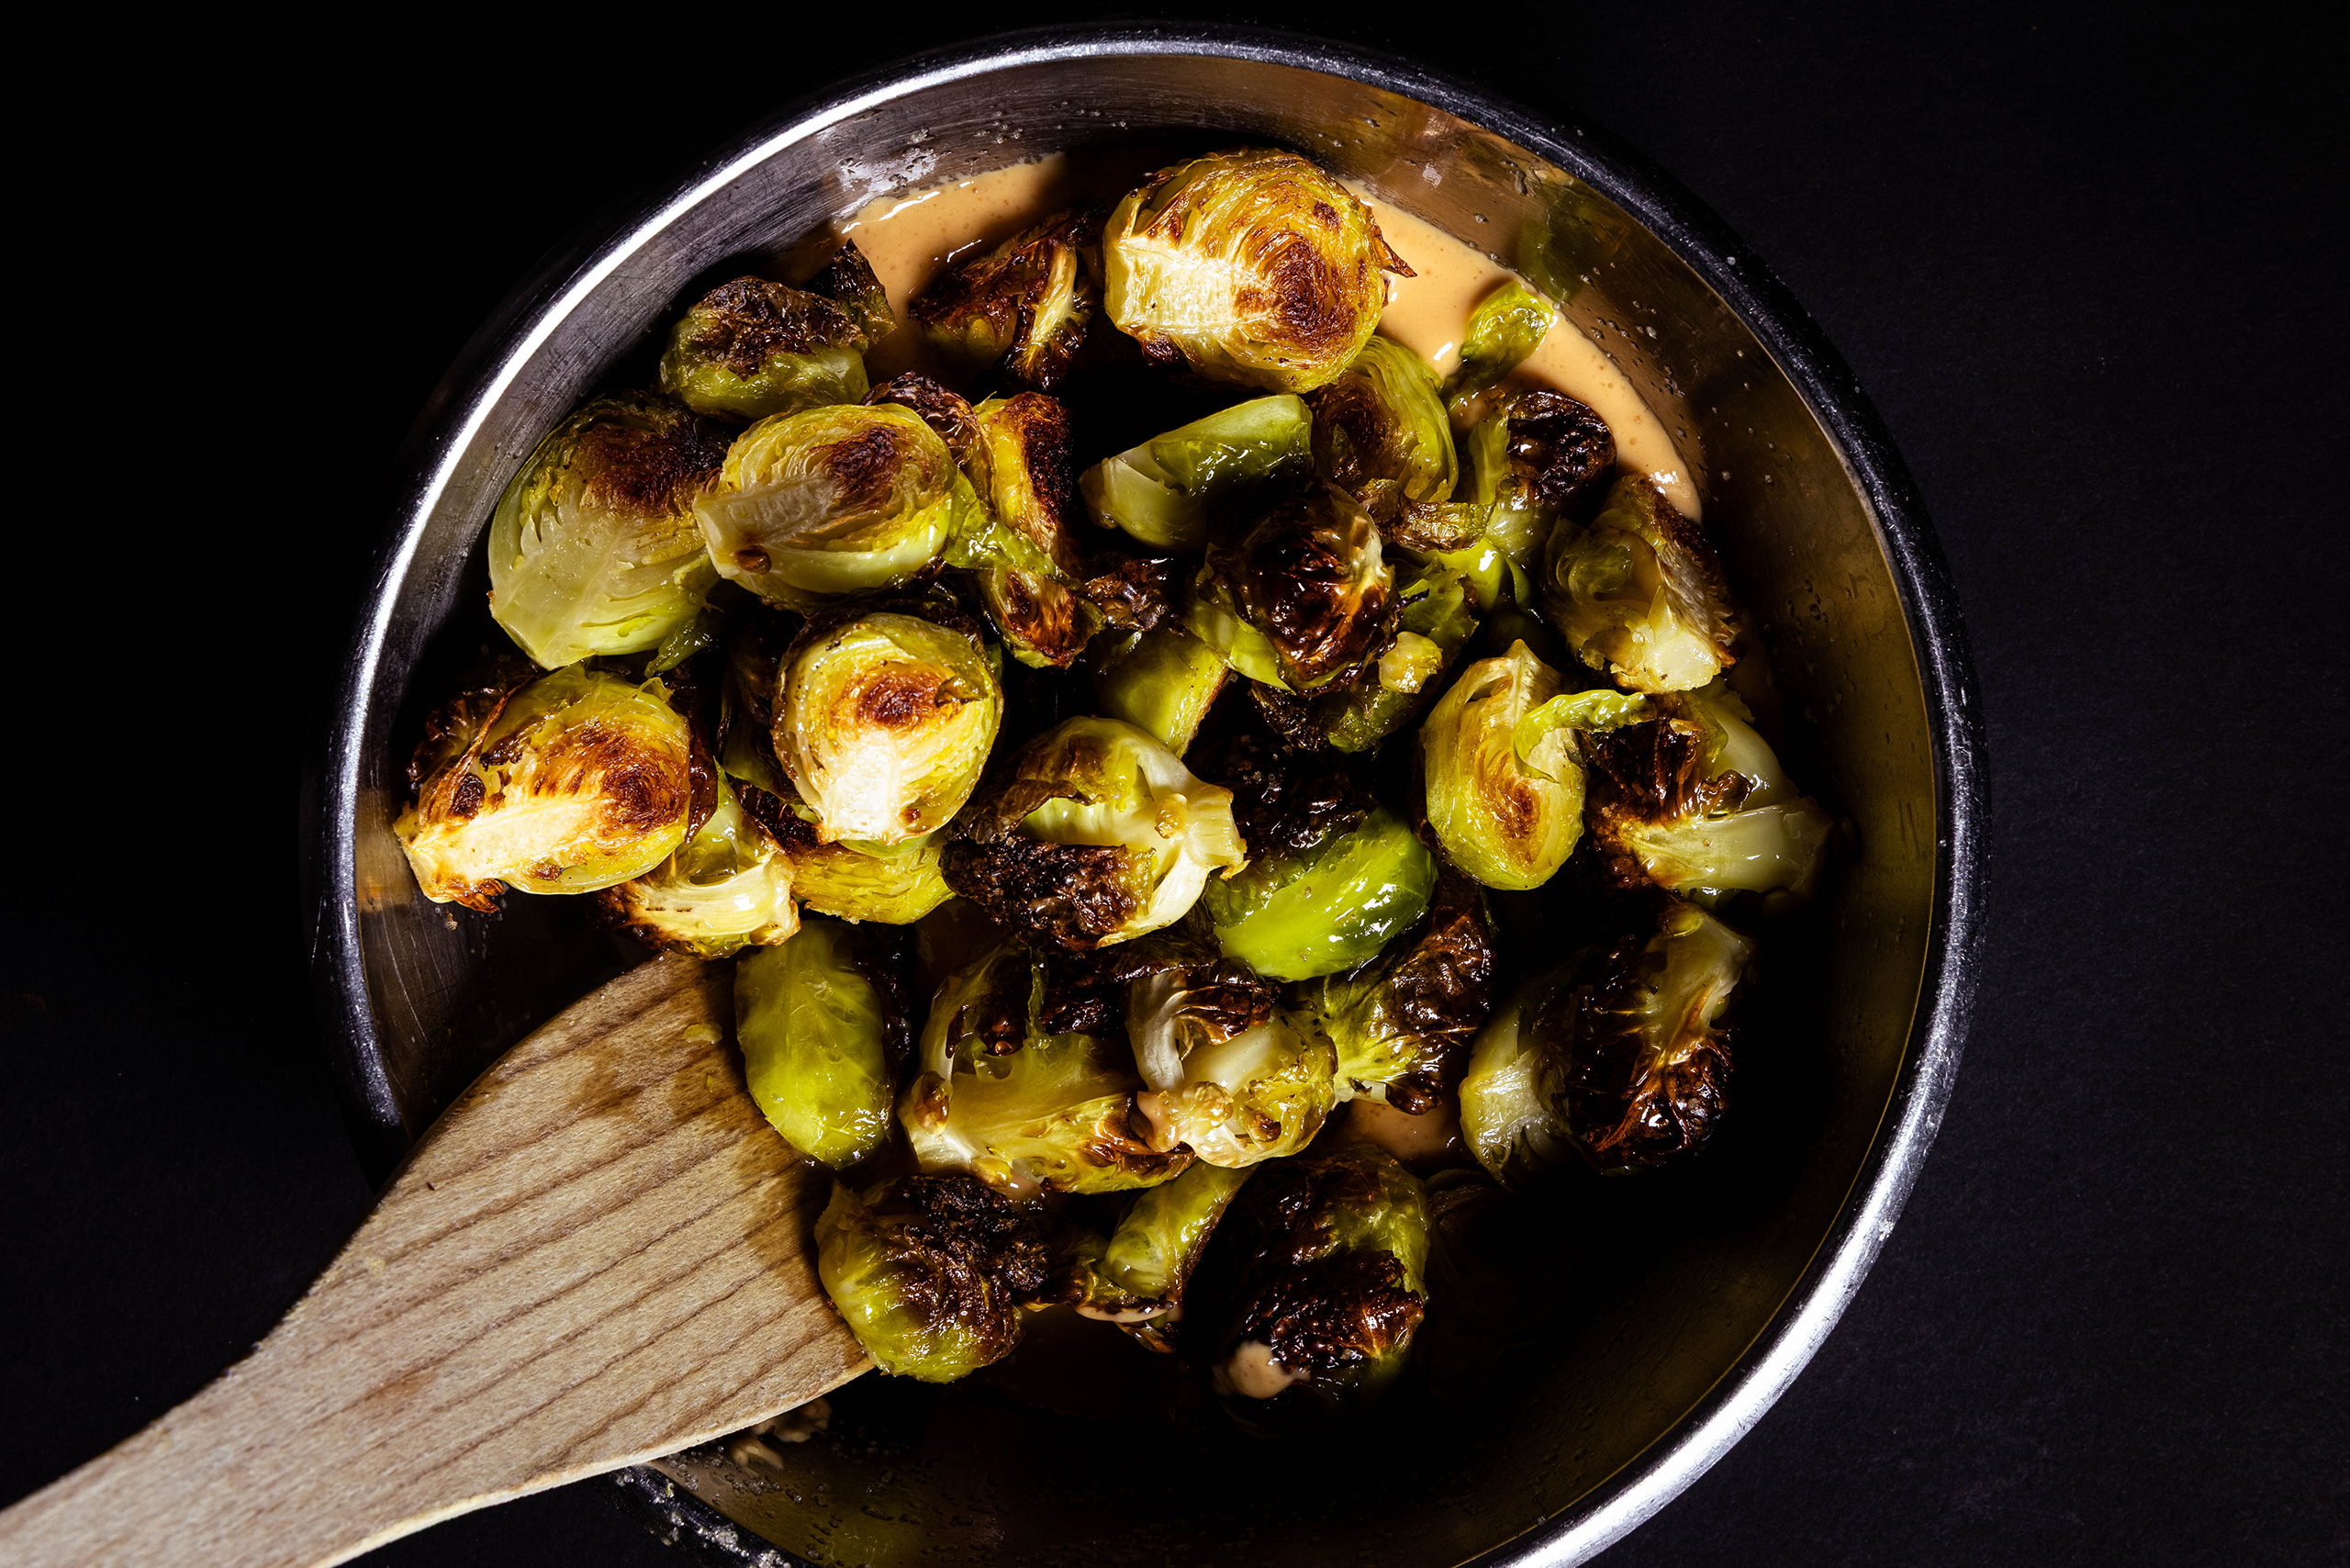
1. All the ingredients for the roasted Brussels sprouts.2. Mix the Brussels sprouts with the olive oil and salt.3. Arrange the Brussels sprouts, cut side down, on a baking sheet lined with parchment paper. Then roast them in the oven.4. All the ingredients for the peanut sauce.5. Mix the peanut butter with the boiling hot water.6. Then stir in all the remaining sauce ingredients.7. Add the hot, roasted Brussels sprouts to half of the peanut sauce.8. Mix with the peanut sauce.9. Fry in a pan. Then arrange on plates and serve with the remaining peanut sauce.
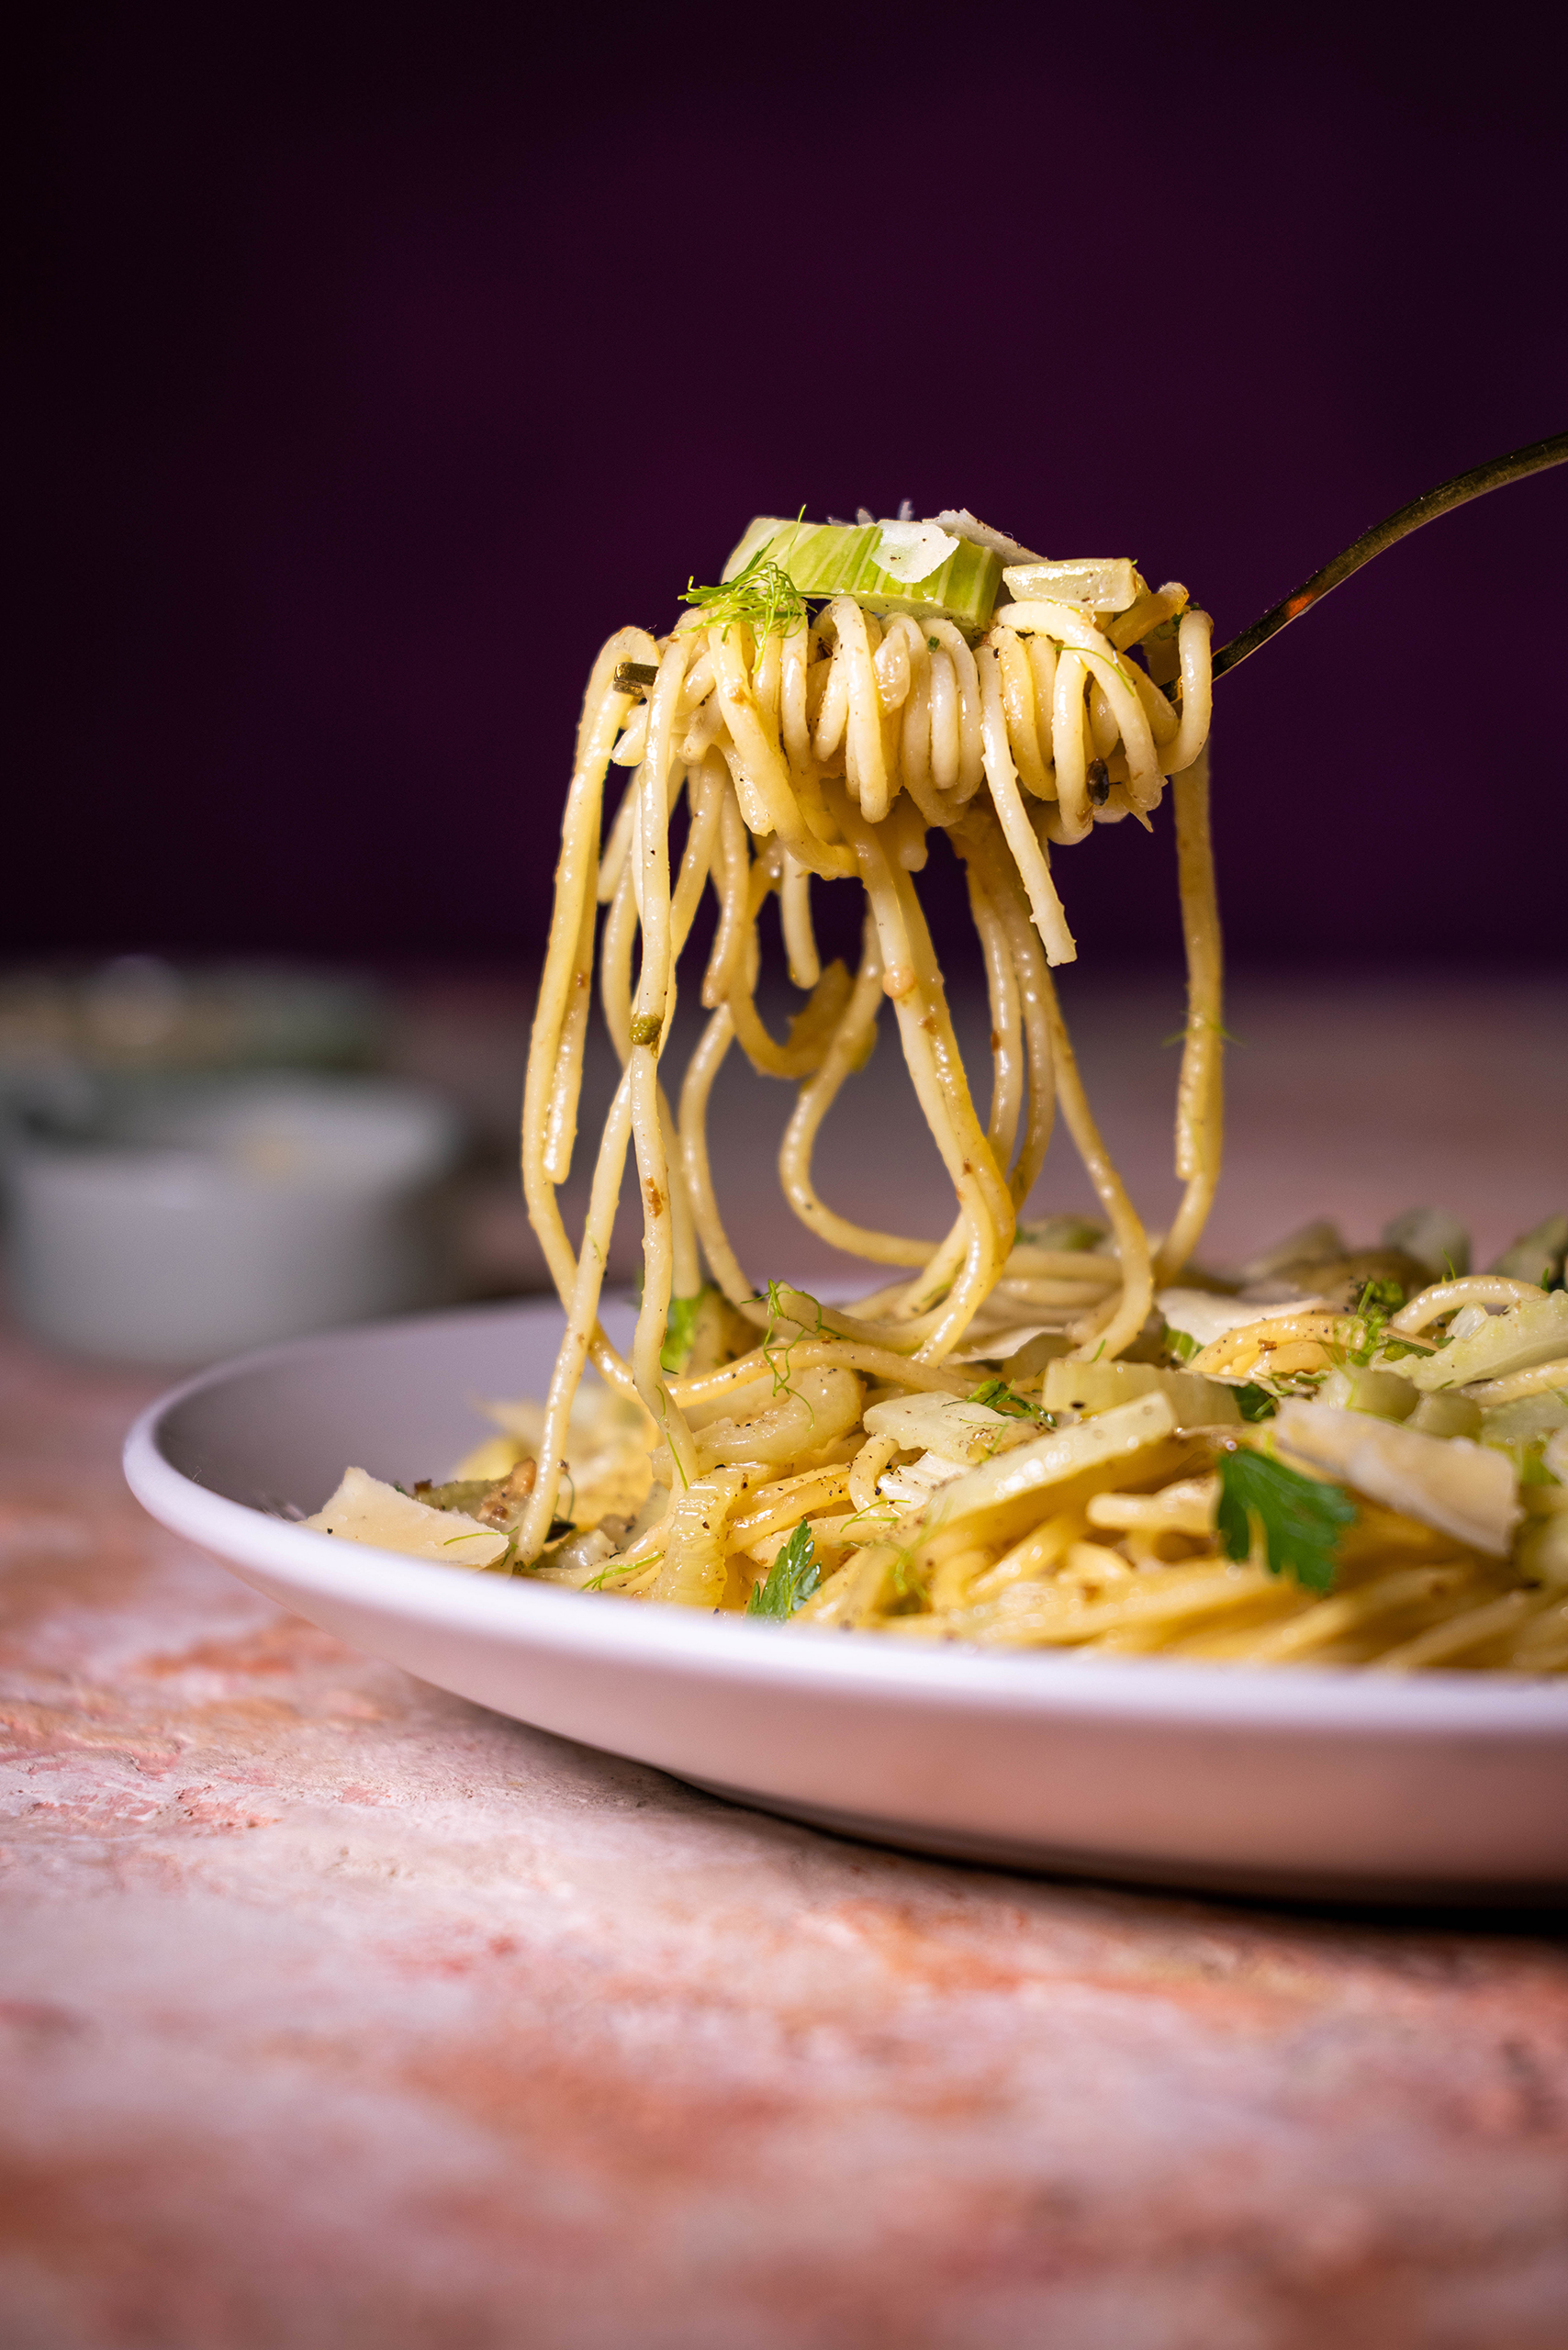
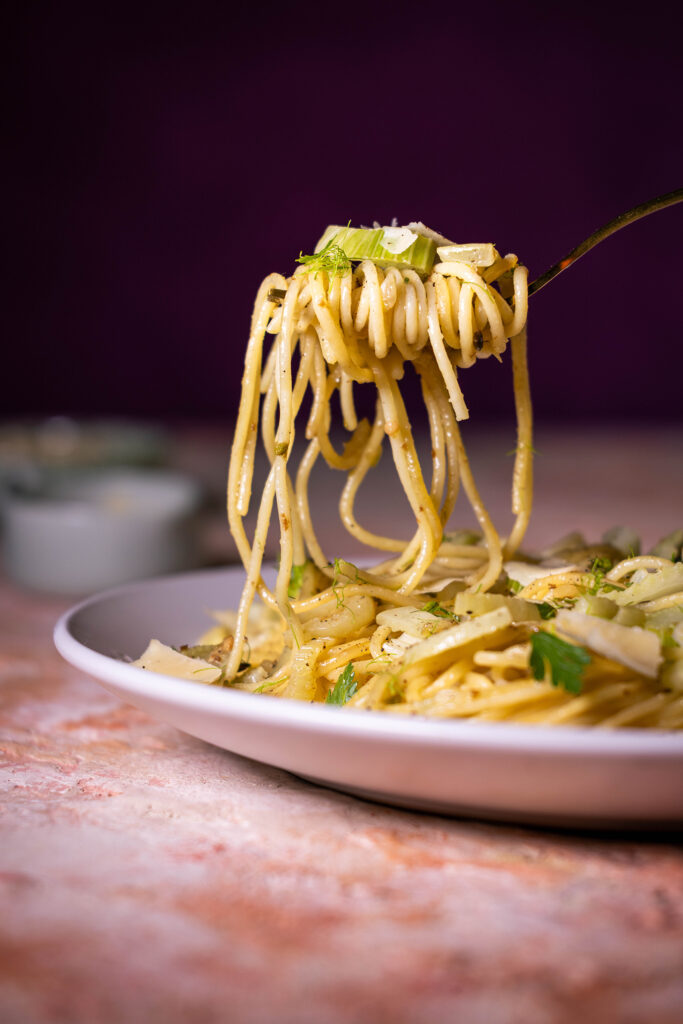
Today I’m sharing my simple recipe for delicious fennel spaghetti. It features a delightful garlicky lemon flavor, parsley, and of course, sautéed fennel. This recipe is healthy, inexpensive to buy, low in calories, and, of course, delicious.
My recipe for fennel spaghetti is healthy, inexpensive to buy, low in calories and of course delicious.
Fennel spaghetti – on the table in just 20 quick minutes
On the table in just 20 quick and easy minutes! This dish brings a welcome change to the world of pasta. It’s perfect for a quick weeknight meal or when you don’t feel like spending ages in the kitchen but still want something special. My spaghetti recipe with fennel, lemon and garlic is ideal for anyone who likes their food light, aromatic, and sophisticated – Mediterranean cuisine at its finest.
On the table in just 20 quick minutes
Spaghetti with fennel and lemon – light, aromatic and sophisticated
Fresh, fragrant, and surprisingly light – spaghetti with fennel and lemon brings the taste of an Italian summer to your plate. Gently braised fennel lends the dish a delicate anise note, while lemon zest and a squeeze of lemon juice provide a fresh, bright acidity that perfectly balances the flavors.
Enhanced with good olive oil, a touch of garlic, pepper, and a hint of vegan Parmesan, this dish requires few ingredients – yet bursts with flavor.
Spaghetti with fennel and lemon – light, aromatic and sophisticated
Fennel spaghetti – with regional fennel and a touch of holiday feeling
This dish is, of course, most delicious when prepared with fresh, locally produced fennel. Vegetables that haven’t traveled far still possess their full aroma. Yet, the aroma and taste of this dish perfectly evoke the feeling of cooking in a small kitchen somewhere on the Ligurian coast. Fresh, fragrant fennel from the market – crisp, with delicate, green fronds. As you slice the fennel into thin strips and slowly braise it in olive oil, you can imagine the window open and the sound of the sea outside. The kitchen, while cooking, is filled with a sweet, spicy, sunny, southern fragrance. Some dishes need no words. Just time, sunshine, fennel – and love. They just soothe your wanderlust.
With regional fennel and a touch of holiday feeling
Are you craving more vegan pasta recipes?
I can understand that. Pasta is always a good idea! Try my delicious vegan kinchi mac and cheese recipe, right here on Daily Vegan:
Fresh, fragrant and surprisingly light – spaghetti with fennel and lemon brings the feeling of an Italian summer to your plate.
Please show me your fennel spaghetti
Please follow me on Instagram or Facebook. And I’d be delighted if you made my yummy vegan fennel spaghetti and posted a photo of them, tagging my account. Because I always find it really great and exciting to see how my recipes have been prepared in other kitchens!
Please show me your fennel spaghetti
Fennel Spaghetti – Preparation in Pictures
In the following photos, you can see step by step how I prepare this pasta recipe. Then we’ll continue directly with the recipe.
1. All the ingredients for the fennel spaghetti.2. Chop the fennel, mince the garlic and chop the parsley.3. Fry the fennel seeds until they puff up.4. Add the garlic and sauté briefly.5. Grate 2 tablespoons of lemon zest and stir this, along with half of the fennel, into the pan.6. Add the pasta and the remaining fennel to the pan and sauté. Then stir in the parsley and lemon juice. Finally, season generously with salt and pepper.
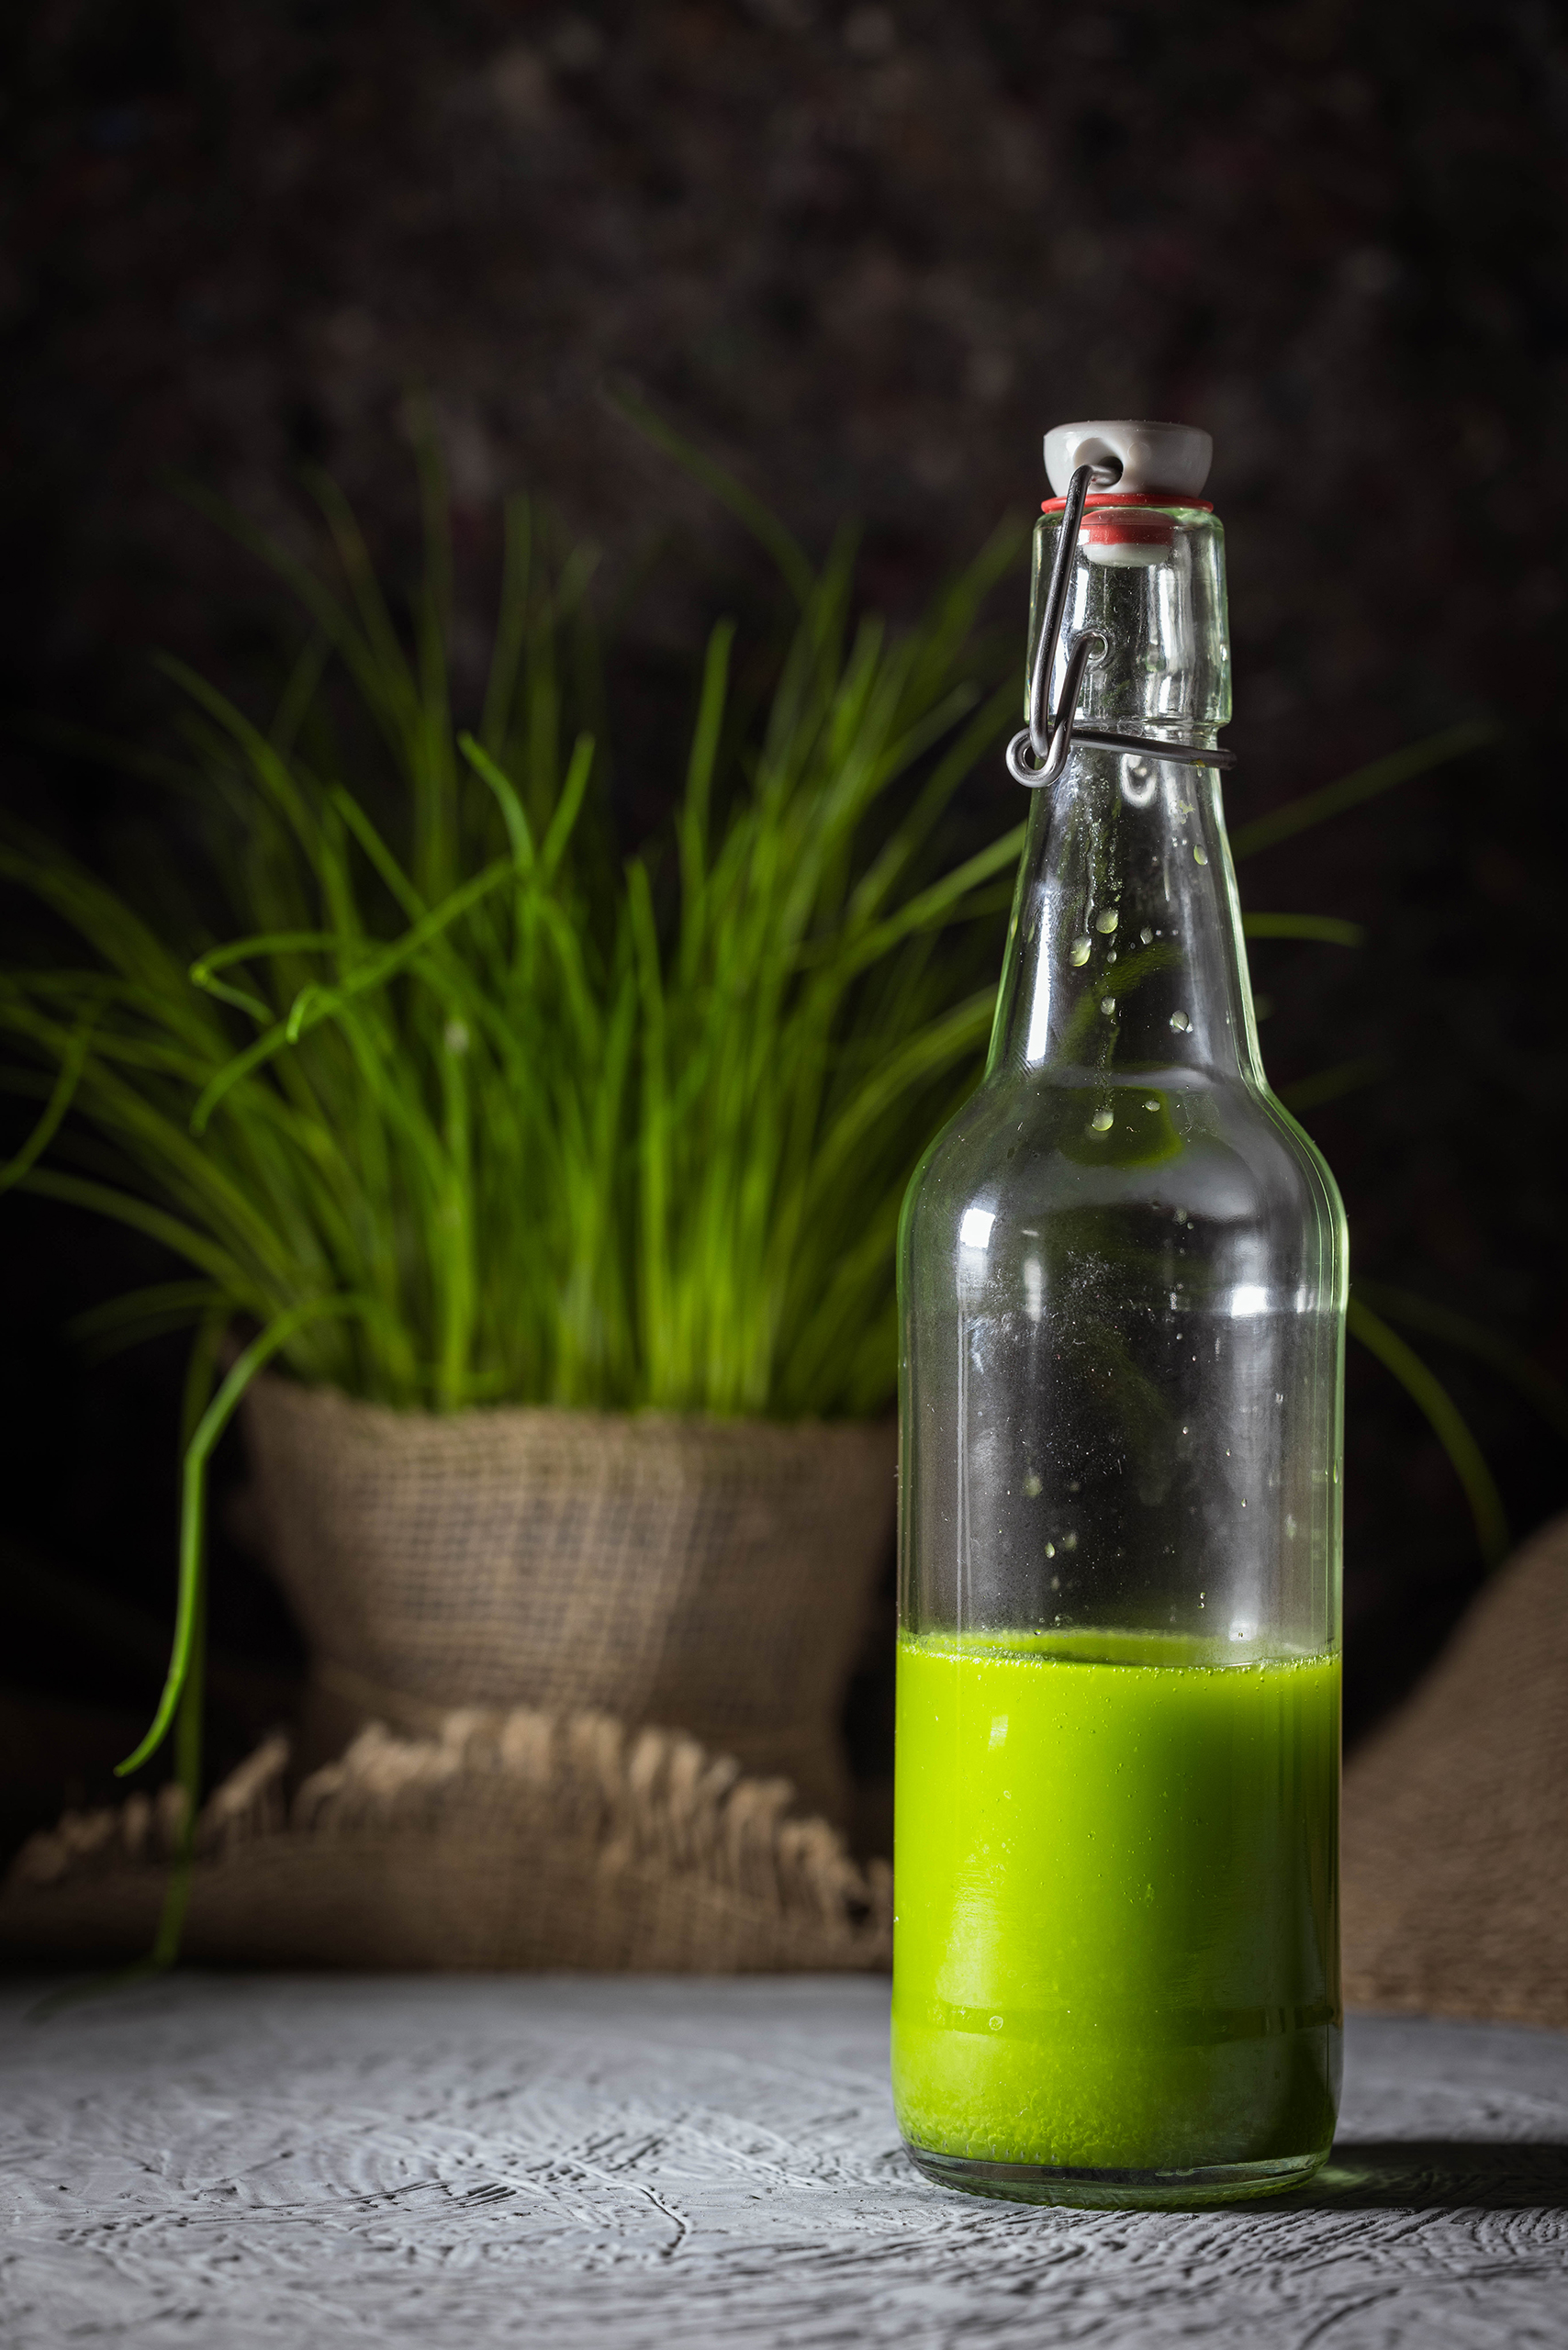
My homemade chive oil is vibrant green and incredibly aromatic. This herb oil is very easy to make and incredibly wonderful in use. Chive oil is perfect on soups, as a finishing touch to sauces, on salads, in dips and dressings, on bruschetta, and in many other delicious dishes.
With this aromatic, green herb oil, you can capture and preserve the flavor of chives, allowing you to enjoy it in many dishes simply by drizzling it over your food.
My recipe for chive oil is very easy and requires only two ingredients
All you need for delicious chive oil are two ingredients: chives and oil. Preparation is also very simple and quick. However, it’s important that you follow the recipe exactly. Both the oil temperature and the rapid cooling are crucial to ensure the chive aroma remains intense and the color becomes a vibrant green.
Chive oil adds small aromatic highlights to the dressing for this kohlrabi salad.
What can chive oil be used for?
For example, I love using it to enhance my aromatic chive soup and my potato soup with vegan sausages. A drizzle of homemade chive oil on these soups after serving adds a real chive flavour boost.
I also love drizzling my chive oil on light dips, such as chive mayonnaise. It not only looks fantastic, but it tastes absolutely amazing too.
With my homemade chive oil, you have a wonderful little accompaniment for many delicious dishes.
My recipe for chive oil is very simple and uses only 2 ingredients.
The basic principle for this oil recipe works with many green herbs.
Of course, my recipe for green herb oil also works with other herbs. It’s important that you follow this recipe regarding the temperature and preparation technique. You can substitute or mix the herbs. For example, I also love making green basil oil or green parsley oil using this recipe. I also love using this recipe after foraging wild herbs, for example with sorrel and ribwort. Or with wild garlic, like I’ve done in this recipe:
As you can see from this recipe, it’s really not difficult to make your own flavored oils. For example, you can infuse spices like dried chilies in oil for a while, and then you’ll have a fantastic homemade flavored oil.
Making your own flavored oils is definitely worthwhile. Here are a few reasons why:
You save a lot of money. Buying ready-made flavored oil is much, much more expensive.
There are no limits to your imagination. You can experiment with all sorts of flavours.
Many things simply can’t be bought. For example, oils made from wild herbs.
The oils are always wonderfully fresh.
You can use high-quality, healthy oil as a base. With store-bought flavored oils, you can assume that a low-quality oil was used.
More recipes with herbs to try at home
Do you love vegan herbal cuisine? Then I have some more delicious herbal recipes for you to try. Right here on Daily Vegan:
Please follow me on Instagram or Facebook. And I’d be delighted if you made my vibrant, green chive oil and posted a photo of it, tagging my account. Because I always find it really great and exciting to see how my recipes have been prepared in other kitchens!
Chive oil: preparation in pictures
The following photos show you step by step how to prepare chive oil:
1. All ingredients for the homemade green herb oil.2. Roughly chop the chives an place them in a food processor.3. Heat the oil to 60°C (140°F).4. Add the warmed oil to the chives.5. Chop the chives thoroughly in the oil.6. Strain the herb oil through a cheesecloth.7. Collect the strained oil.8. Squeeze the pomace a little to collect more chive oil.9. Bottle the chive oil.
Recipe by Sean MoxieCourse: Side dishes, IngredientsCuisine: Herbs, Seasonal, PantryDifficulty: Easy
Portions
10
Portions
Prep time
10
minutes
Cooking time
5
minutes
Total tim
15
minutes
My homemade chive oil, bright green and incredibly aromatic. Herb oil, very easy to make and wonderful for various dishes.
Zutaten
50 g chives
200 ml sunflower or rapeseed oil
A bowl of ice cubes
Kitchen utensils:
Chef’s knife
Food processor
Saucepan
Kitchen thermometer
Strainer or cheese cloth (a dish towel will do as well)
2 bowls
Sieve
0.2 l bottle
Funnel
Zubereitung
Roughly chop the fresh chives and place them in a food processor.
Ideally, warm the oil to 60°C (140°F). Do not exceed 70°C (158°F). A kitchen thermometer will help with this.
Pour the warm oil into the food processor and thoroughly chop the chives.
Then strain the fresh, green herb oil through a cheesecloth and collect it in a bowl. I always place a sieve over the bowl and line it with the cheesecloth. Immediately cool this bowl on the prepared ice cubes. Simply place the bowl with the strained oil in the bowl of ice cubes. This helps preserve the green color of the chives.
Using a funnel to pour the oil into a small bottle.
Store the oil in a cool, dark place. It will gradually lose its color and some of its fresh herb aroma, so it should be used within a few months.
Enjoy your meal and have fun refining it with my delicious green chive oil!
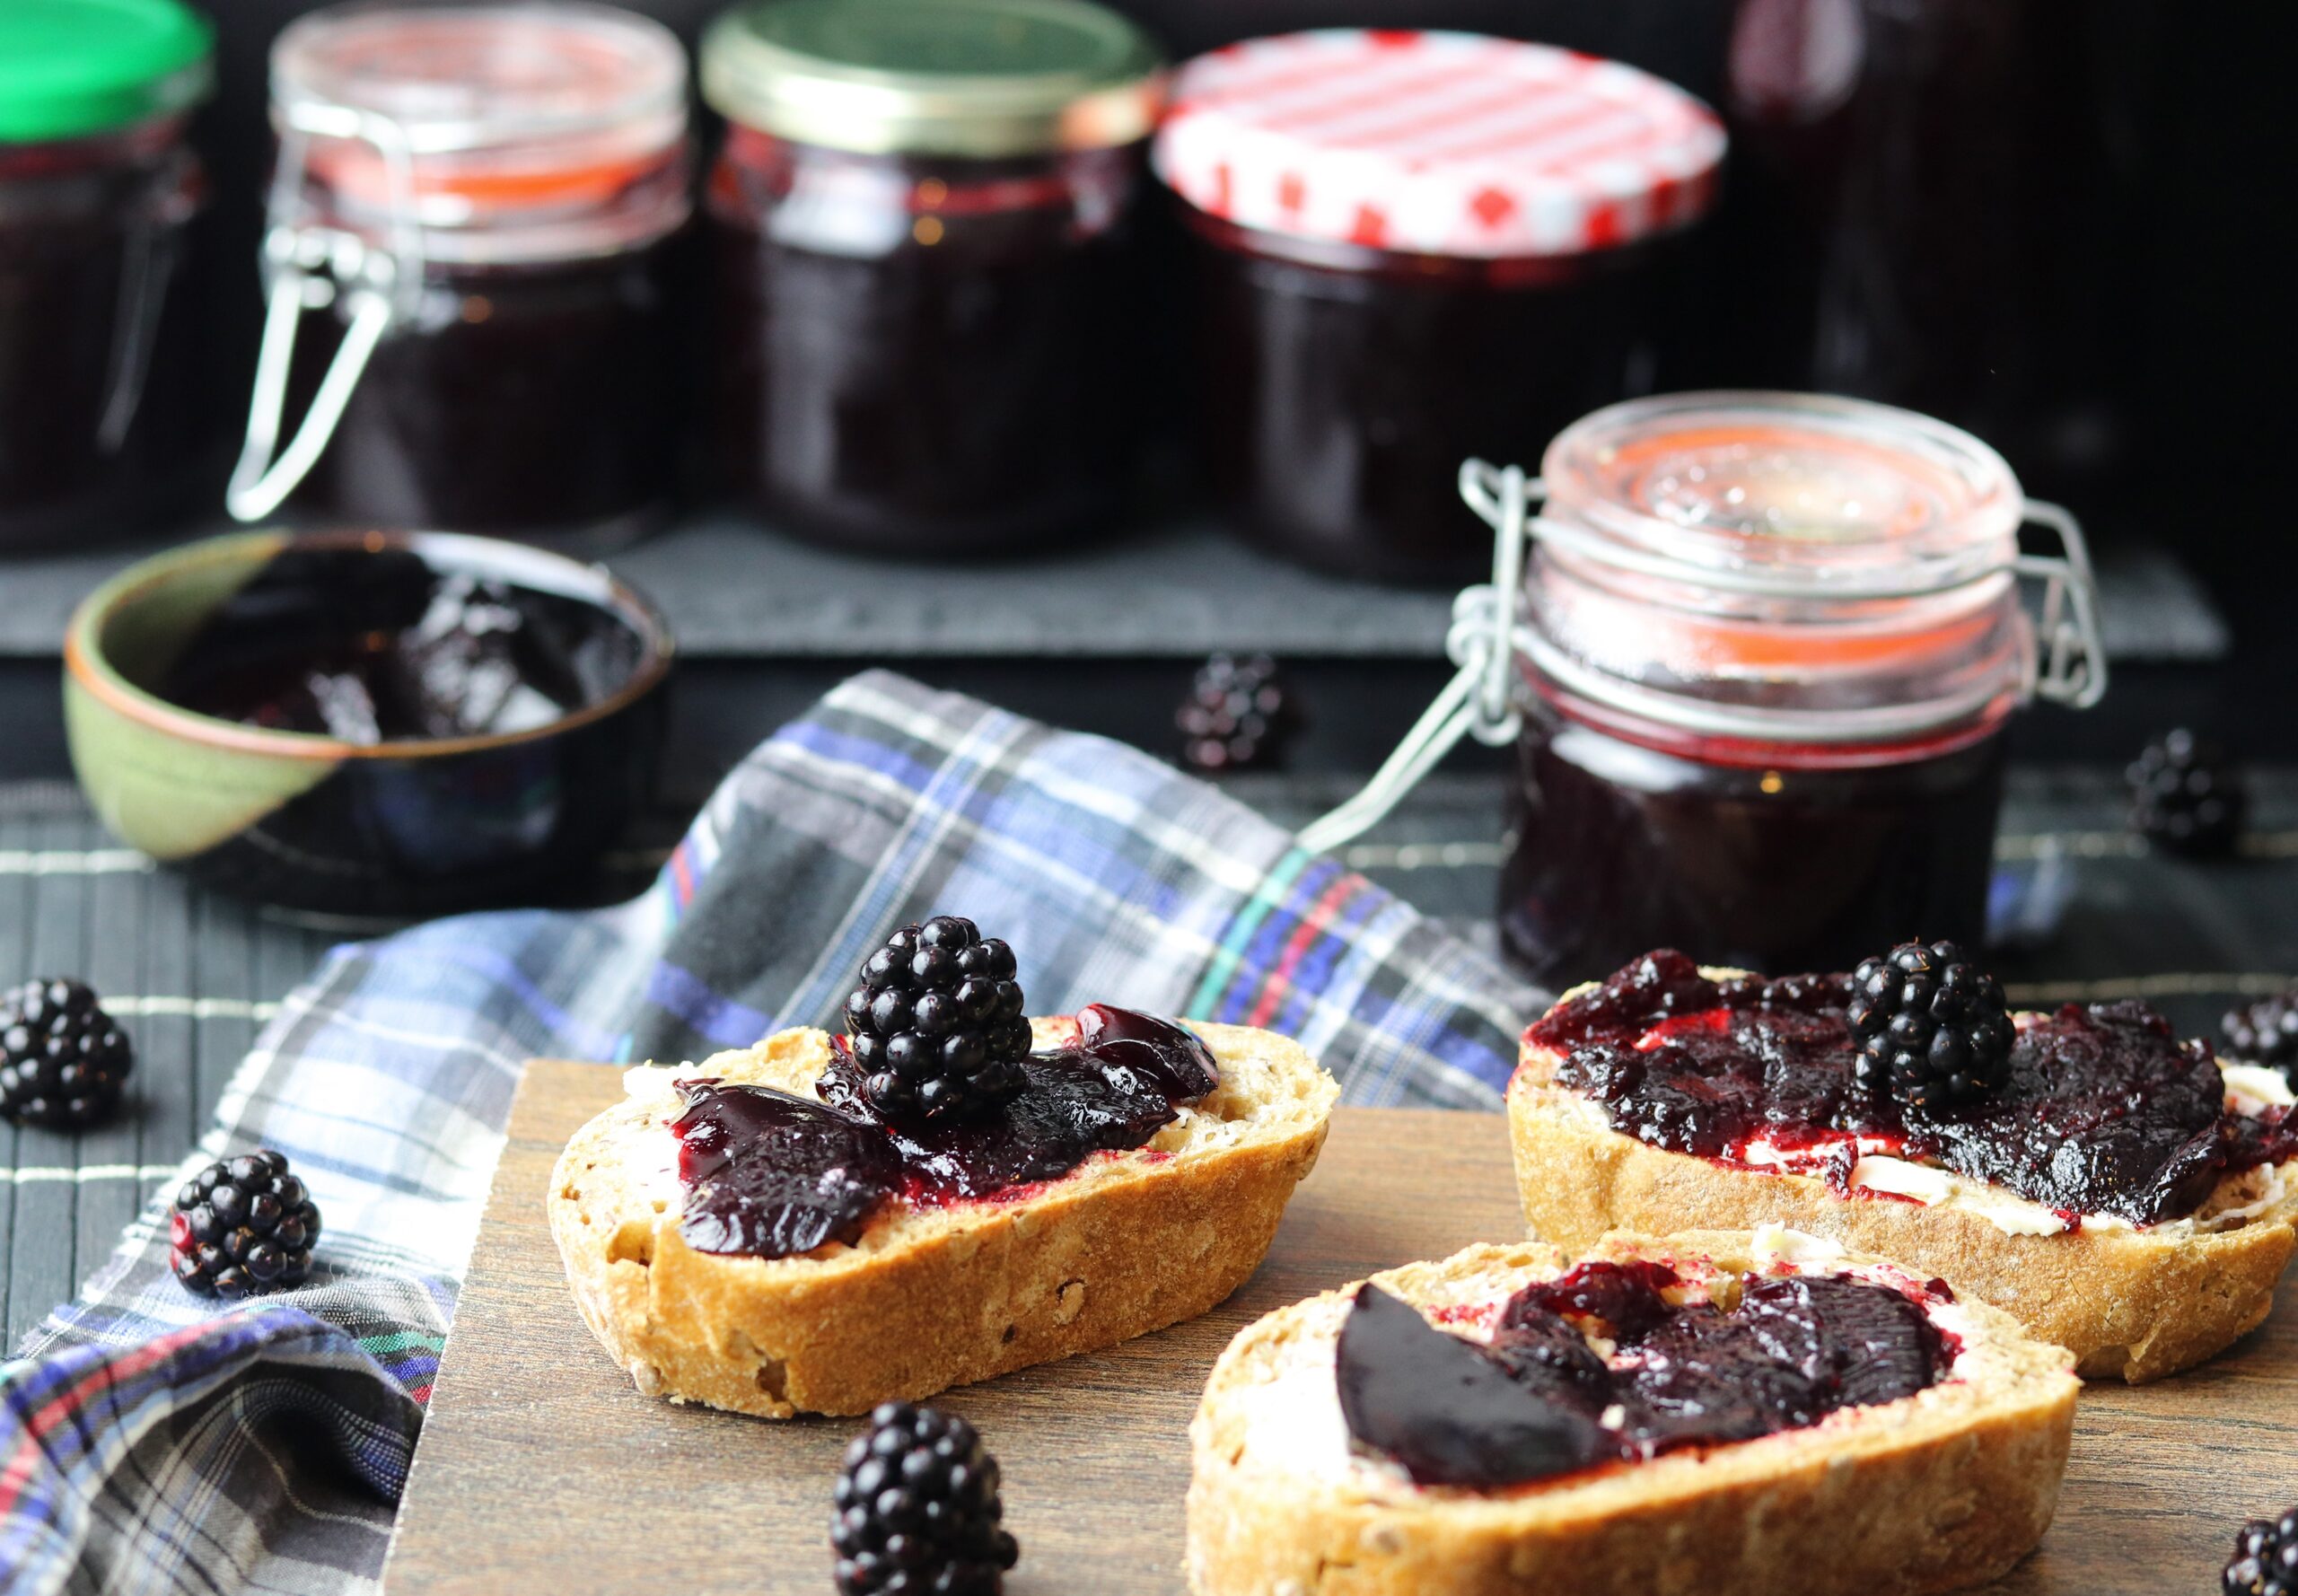
Blackberries ripen everywhere along roadsides in late July and August. Here’s one of the delicious classics you can make from them: my juicy blackberry jelly. Sweet and delicious, with just the right amount of acidity. A delight on bread and rolls, but also in vegan yogurt, muesli, or as a spread on sponge cake, for filling cookies, and much more…
The delicious classic that can be made from blackberries: my juicy blackberry jelly
Blackberry jelly – most aromatic with home-picked berries
It’s easy to prepare with just a handfull of ingredients. And since blackberries grow wild everywhere, it’s also incredibly on a budget. Since I always pick wild fruits by bike, I always manage to harvest them without leaving a carbon footprint. It couldn’t be more climate-friendly! Another bonus: wild-harvested fruits are significantly more aromatic and flavorful than store-bought ones!
Blackberry jelly – most aromatic with home-picked berries
What can I do with blackberry jelly?
Blackberry jelly is so much more than just a simple spread to put on bread – it’s a versatile treat that enhances both sweet and savory dishes. Here are some ideas:
Classic & Sweet
On fresh bread, rolls, or croissants
As a topping for pancakes or waffles
As a filling for donuts
Stir into vegan yogurt, porridge, or muesli
As a glaze or filling for cakes, muffins, or tarts
In dessert sauces or with vanilla ice cream
Combination with cheese
As a topping for homemade vegan goat cheese, Brie, or blue cheese
More recipes for vegan bread spreads (sweet and savoury)
Check out my category ‘With bread‘ here on Daily Vegan to find many tasty ideas for your slides and sandwiches. Or simply try out these mouth watering recipes for savoury and sweet bread spreads:
Blackberries, especially when they’re ripe and sweet, contain a lot of pectin. This is important for gelling. Blackberries therefore gel very well.
Please show me your homemade blackberry jelly
Show me your homemade blackberry jelly
Please follow me on Instagram or Facebook. And I’d be delighted if you made my blackberry jelly and posted a photo of it, tagging my account. Because I always find it really great and exciting to see how my recipes have been prepared in other kitchens!
Blackberry jelly, made from freshly harvested fruits
Recipe by Sean MoxieCourse: Breakfast, Sides, IngredientCuisine: Baking and Sweets, EuropeanDifficulty: Easy
Portions
25
Portionen
Preparation
10
minutes
Cooking
10
minutes
Resting
5
Hours
Blackberries are ripening everywhere along the roadside. Here’s a classic: my juicy blackberry jelly. Quick and easy to make.
Ingredients for approx. 1.3 l blackberry jelly
1.7 kg fresh blackberries
500 g gelling sugar 2:1
1 tsp vanilla sugar
Juice of 1/2 lemon
Kitchen utensils:
4-5 small screw-top jars (200-300 ml)
Saucepan
Fine-mesh sieve
Cold plate
Zubereitung
Bring fresh blackberries to a boil in a saucepan, stirring occasionally.
Simmer for 3-4 minutes.
Pour through a fine sieve and gently strain. Collect the seedless juice.
Bring the remaining fruit to a boil again and strain again. You should end up with approximately 900 ml of juice.
Bring the juice to a boil with the gelling sugar and vanilla sugar.
Stir in the lemon juice, simmer briefly, and test for settling. Place a few drops of blackberry jelly onto a cold plate. If it doesn’t gel, boil a little longer and add a little more lemon juice if necessary. This will encourage it to set.
Pour into jars rinsed with boiling water and seal immediately.
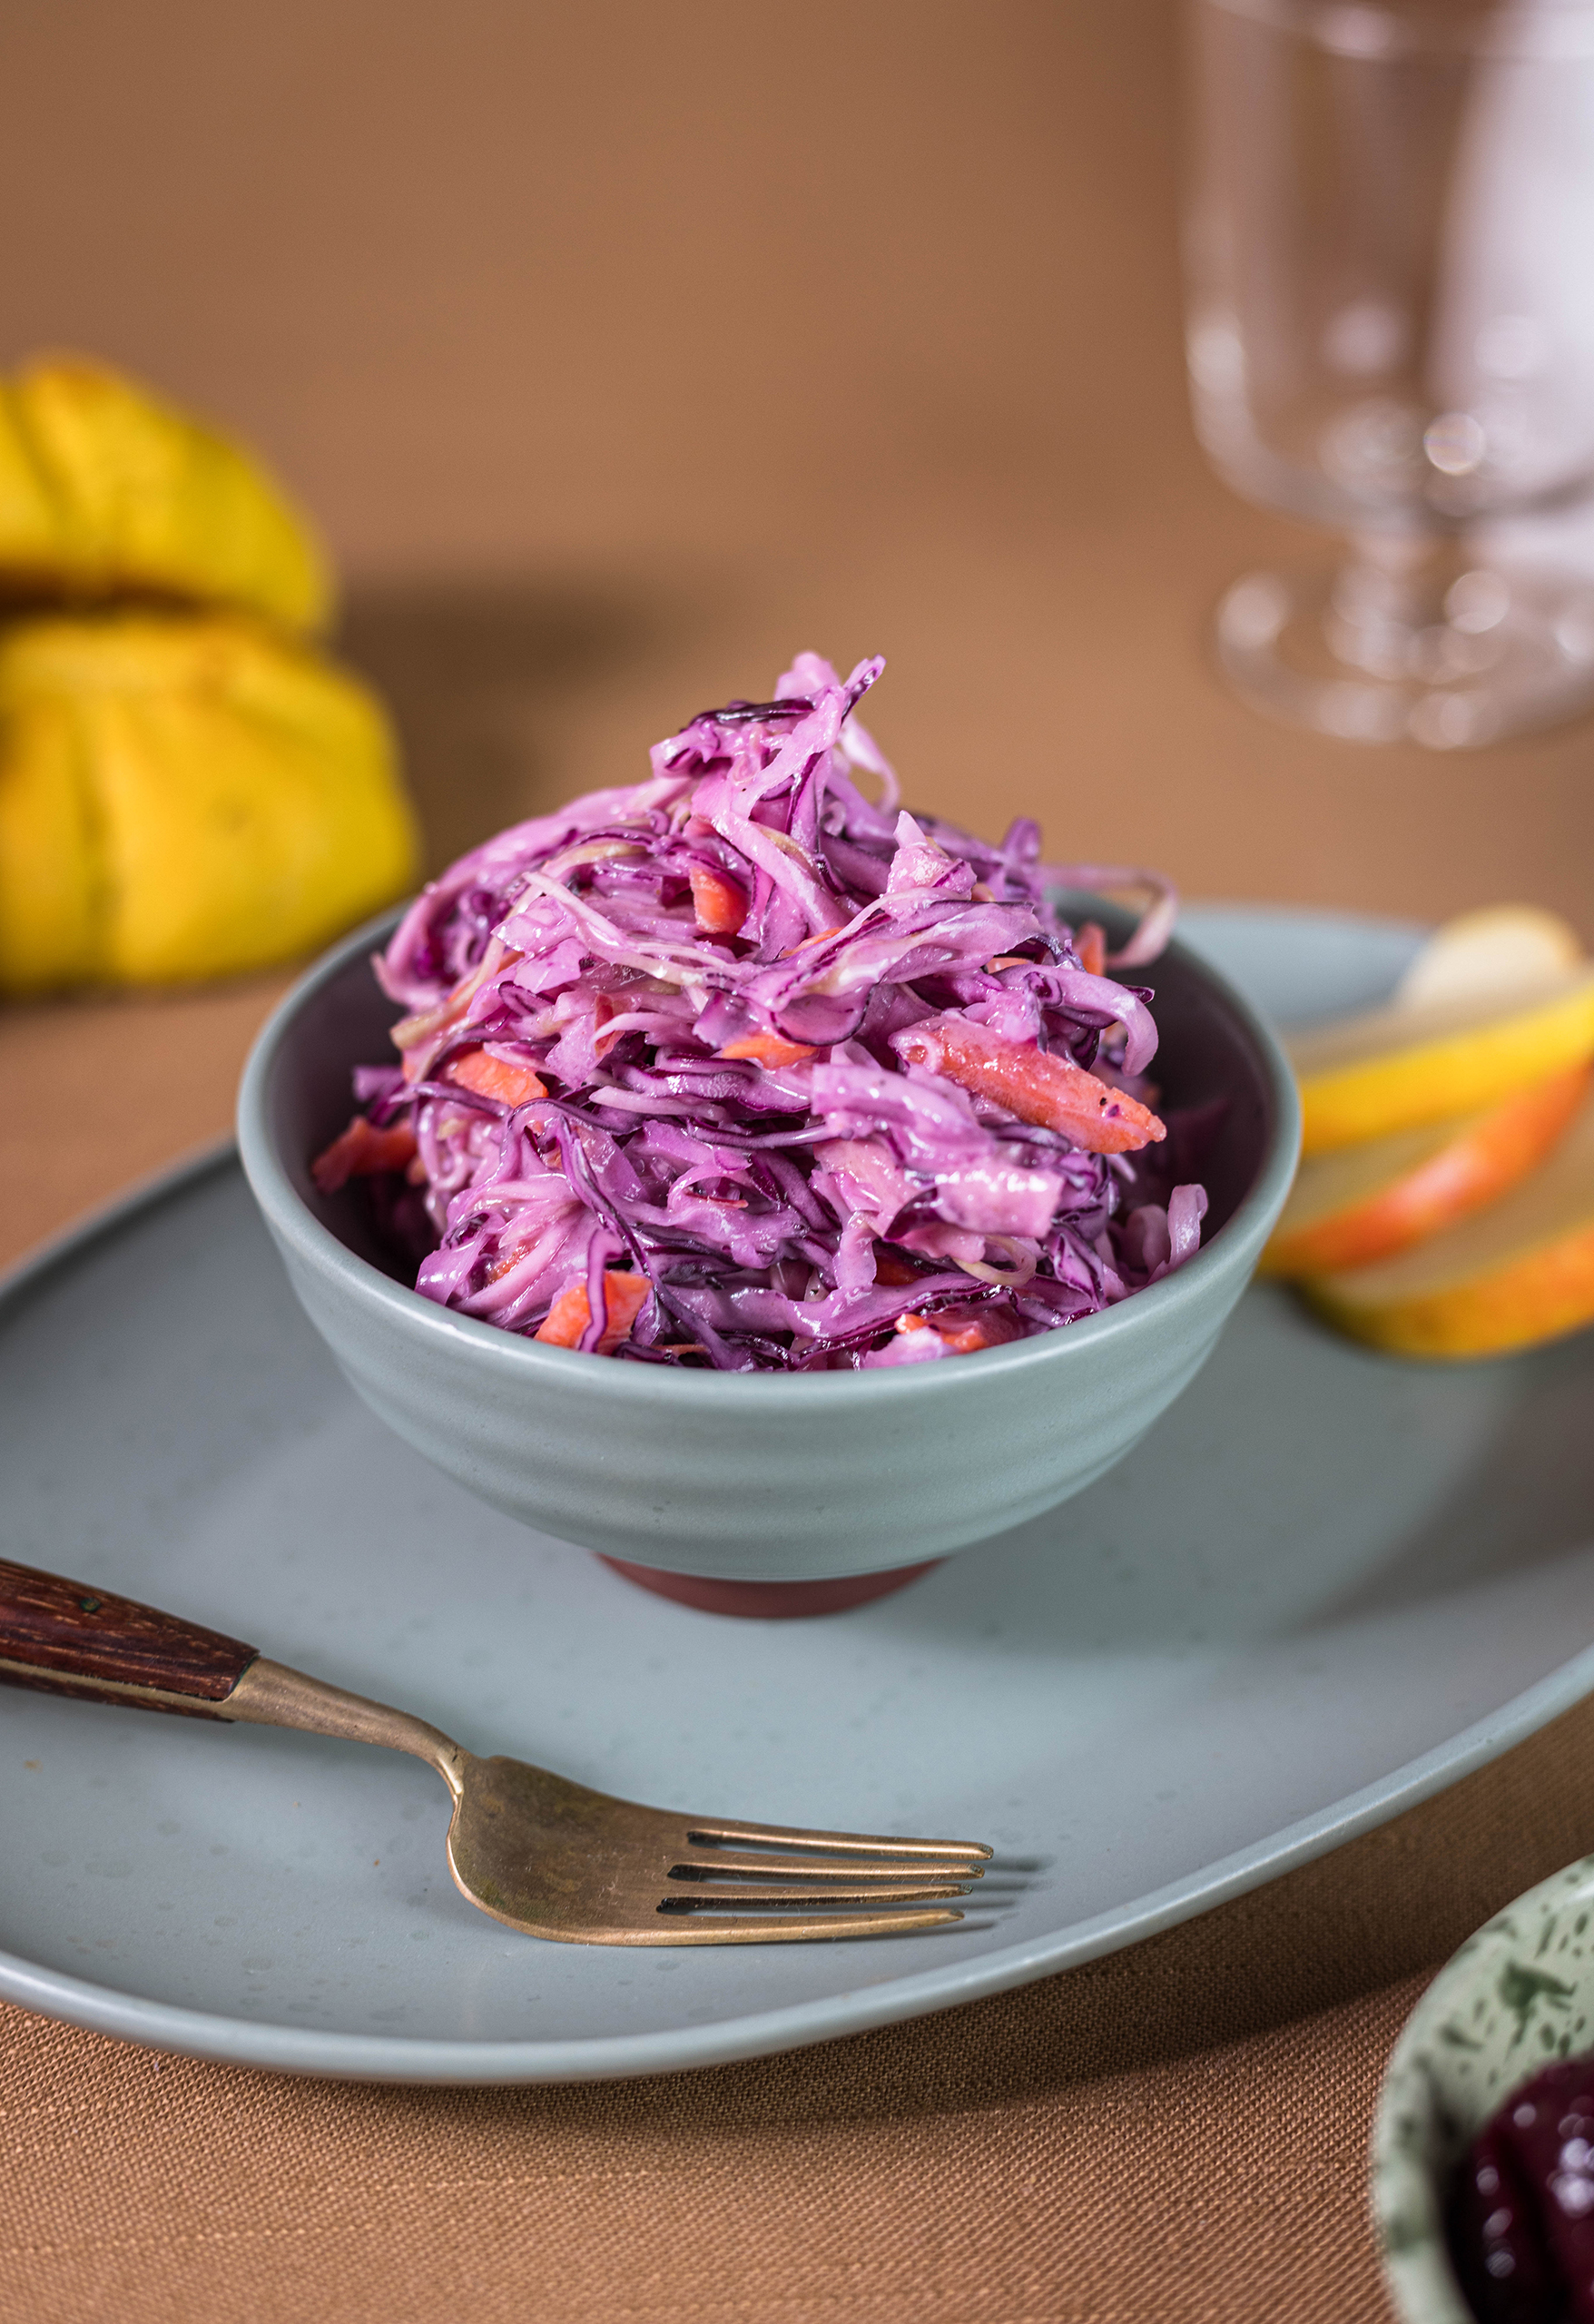
Coleslaw – a seemingly simple dish that actually contains a true explosion of freshness and flavour. In my recipe with red cabbage, white cabbage, carrot, and apple, this salad is vibrantly colored. This salad is not only crisp and delicious, but also looks very appetizing.
Coleslaw is the fresh, crunchy hero among side dishes, whether it’s eaten alongside or on top of a juicy burger, as a fresh contrast to hearty BBQ dishes, simply on bread, or just as a snack between meals – coleslaw is more than just a salad. It’s a culinary all-rounder that can be prepared quickly, easily, and inexpensively using just a few, fresh, local ingredients. And that’s even possible during the winter.
Coleslaw – a seemingly simple dish that nevertheless contains a true explosion of freshness and flavour.
What is coleslaw?
The name coleslaw comes from the Dutch “koolsla,” meaning “coleslaw,” and that’s precisely the heart of this dish. In my recipe, it’s made with red and white cabbage, while in other recipes, it’s often made with just one of them.
But anyone who thinks this salad is just a simple cabbage mix is underestimating its true magic. The cabbage is finely shredded, providing a crunchy base for the perfect side dish. Carrots and apple are added, not only adding colour but also a subtle sweetness that rounds out the overall flavor.
The name Coleslaw is derived from the Dutch “koolsla”
The Best Vegan Coleslaw Recipe
This is, in my opinion, the best coleslaw recipe. And it’s entirely plant-based. A vegan, creamy, crunchy cabbage salad with fresh red and white cabbage, plus carrots and apple. Seasoned with fresh chili, onion, mustard, and vinegar in a dressing made from homemade vegan mayonnaise and plum jam.
The Best Vegan Coleslaw Recipe
The secret ingredient is the dressing!
What would coleslaw be without the right dressing? This is where the true art unfolds: The creamy sauce is the key to a perfect coleslaw. Traditionally, a mixture of mayonnaise, vinegar, lemon juice, and a pinch of sugar is used to achieve the perfect balance between sweet, sour, and creamy. I complement this with a little plum jam and chili, resulting in a full-bodied explosion of flavour.
This is where the true art unfolds: the creamy sauce is the key.
Coleslaw is very easy to prepare and store.
This recipe is very easy to prepare, as the sealed coleslaw will keep in the refrigerator for about a week. This makes it very easy to store and take with you. Because it’s so hardy, it can be transported for extended periods without refrigeration, making it ideal for long barbecues and buffets.
Coleslaw is very easy to prepare and store
A winter salad with local produce
Coleslaw is a fantastic winter salad made with ingredients that are fresh and locally available even during the colder months. Red cabbage, white cabbage, carrots, and apples can be harvested late into the year and then stored fresh for months. This recipe means you can prepare a crisp salad with locally grown ingredients even in winter. This saves on transportation, energy, and costs, making the ingredients very affordable even in winter.
A winter salad with local produce
Cabbage is a local superfood
Cabbage varieties contain an incredible number of beneficial nutrients. It is practically a local superfood.
Because it’s so inexpensive and readily available, it’s probably never called that.
Cabbage contains a lot of potassium, calcium, magnesium, and vitamin C. White cabbage, for example, has 45 mg of vitamin C per 100 g, which is very high.
Cabbage is a regional superfood and this salad contains white cabbage and red cabbage.
What coleslaw be served with? Serving suggestions!
Coleslaw is often eaten as an accompaniment to hearty dishes – as a fresh counterpoint, for example, to:
But to be honest, coleslaw is much more than just a side dish. It not only adds color to the plate, but its crisp, juicy freshness balances out the heavier components. While the main course is filling, this creamy salad refreshes the palate with every bite. This makes this salad a perfect match for many meals.
My coleslaw as a crunchy and juicy element for parasol burgers.
Show me your coleslaw
Please follow me on Instagram or Facebook. And I’d be delighted if you made my vegan coleslaw and posted a photo of it, tagging my account. Because I always find it really great and exciting to see how my recipes have been prepared in other kitchens!
Please show me your coleslaw too
Preparation in pictures
Here I’ll show you step-by-step on photos how to prepare coleslaw. Then I’ll move on to the recipe.
1. All ingredients.2. The dressing is mixed.3. Red cabbage, white cabbage, carrot, apple, chili and onion are chopped.4. Now all ingredients are mixed together and the salad should then sit for at least 2-3 hours.Coleslaw – creamy and crunchy cabbage salad with red and white cabbage
Ingredients for 6-8 servings of coleslaw:
400 g white cabbage, finely shredded or chopped 300 g red cabbage, finely shredded or chopped 1 carrot, grated 1/2 red chili, cut into small pieces 1 apple, grated 1 red onion, thinly sliced Approx. 100 ml vegan mayonnaise 1 tbsp plum jam 2 tbsp sugar 3 tbsp herb vinegar 2 tsp mustard Salt Pepper
Preparation:
First, I mix a marinade of mayonnaise, plum jam, sugar, vinegar, and mustard.
Lightly salt and pepper the marinade.
Thoroughly mix all ingredients with the marinade and season with salt and pepper.
Let it sit in the refrigerator for at least 2-3 hours. Stir once or twice if necessary.
Season again with salt and pepper before serving.
Well-packaged, the coleslaw will keep in the refrigerator for about a week.
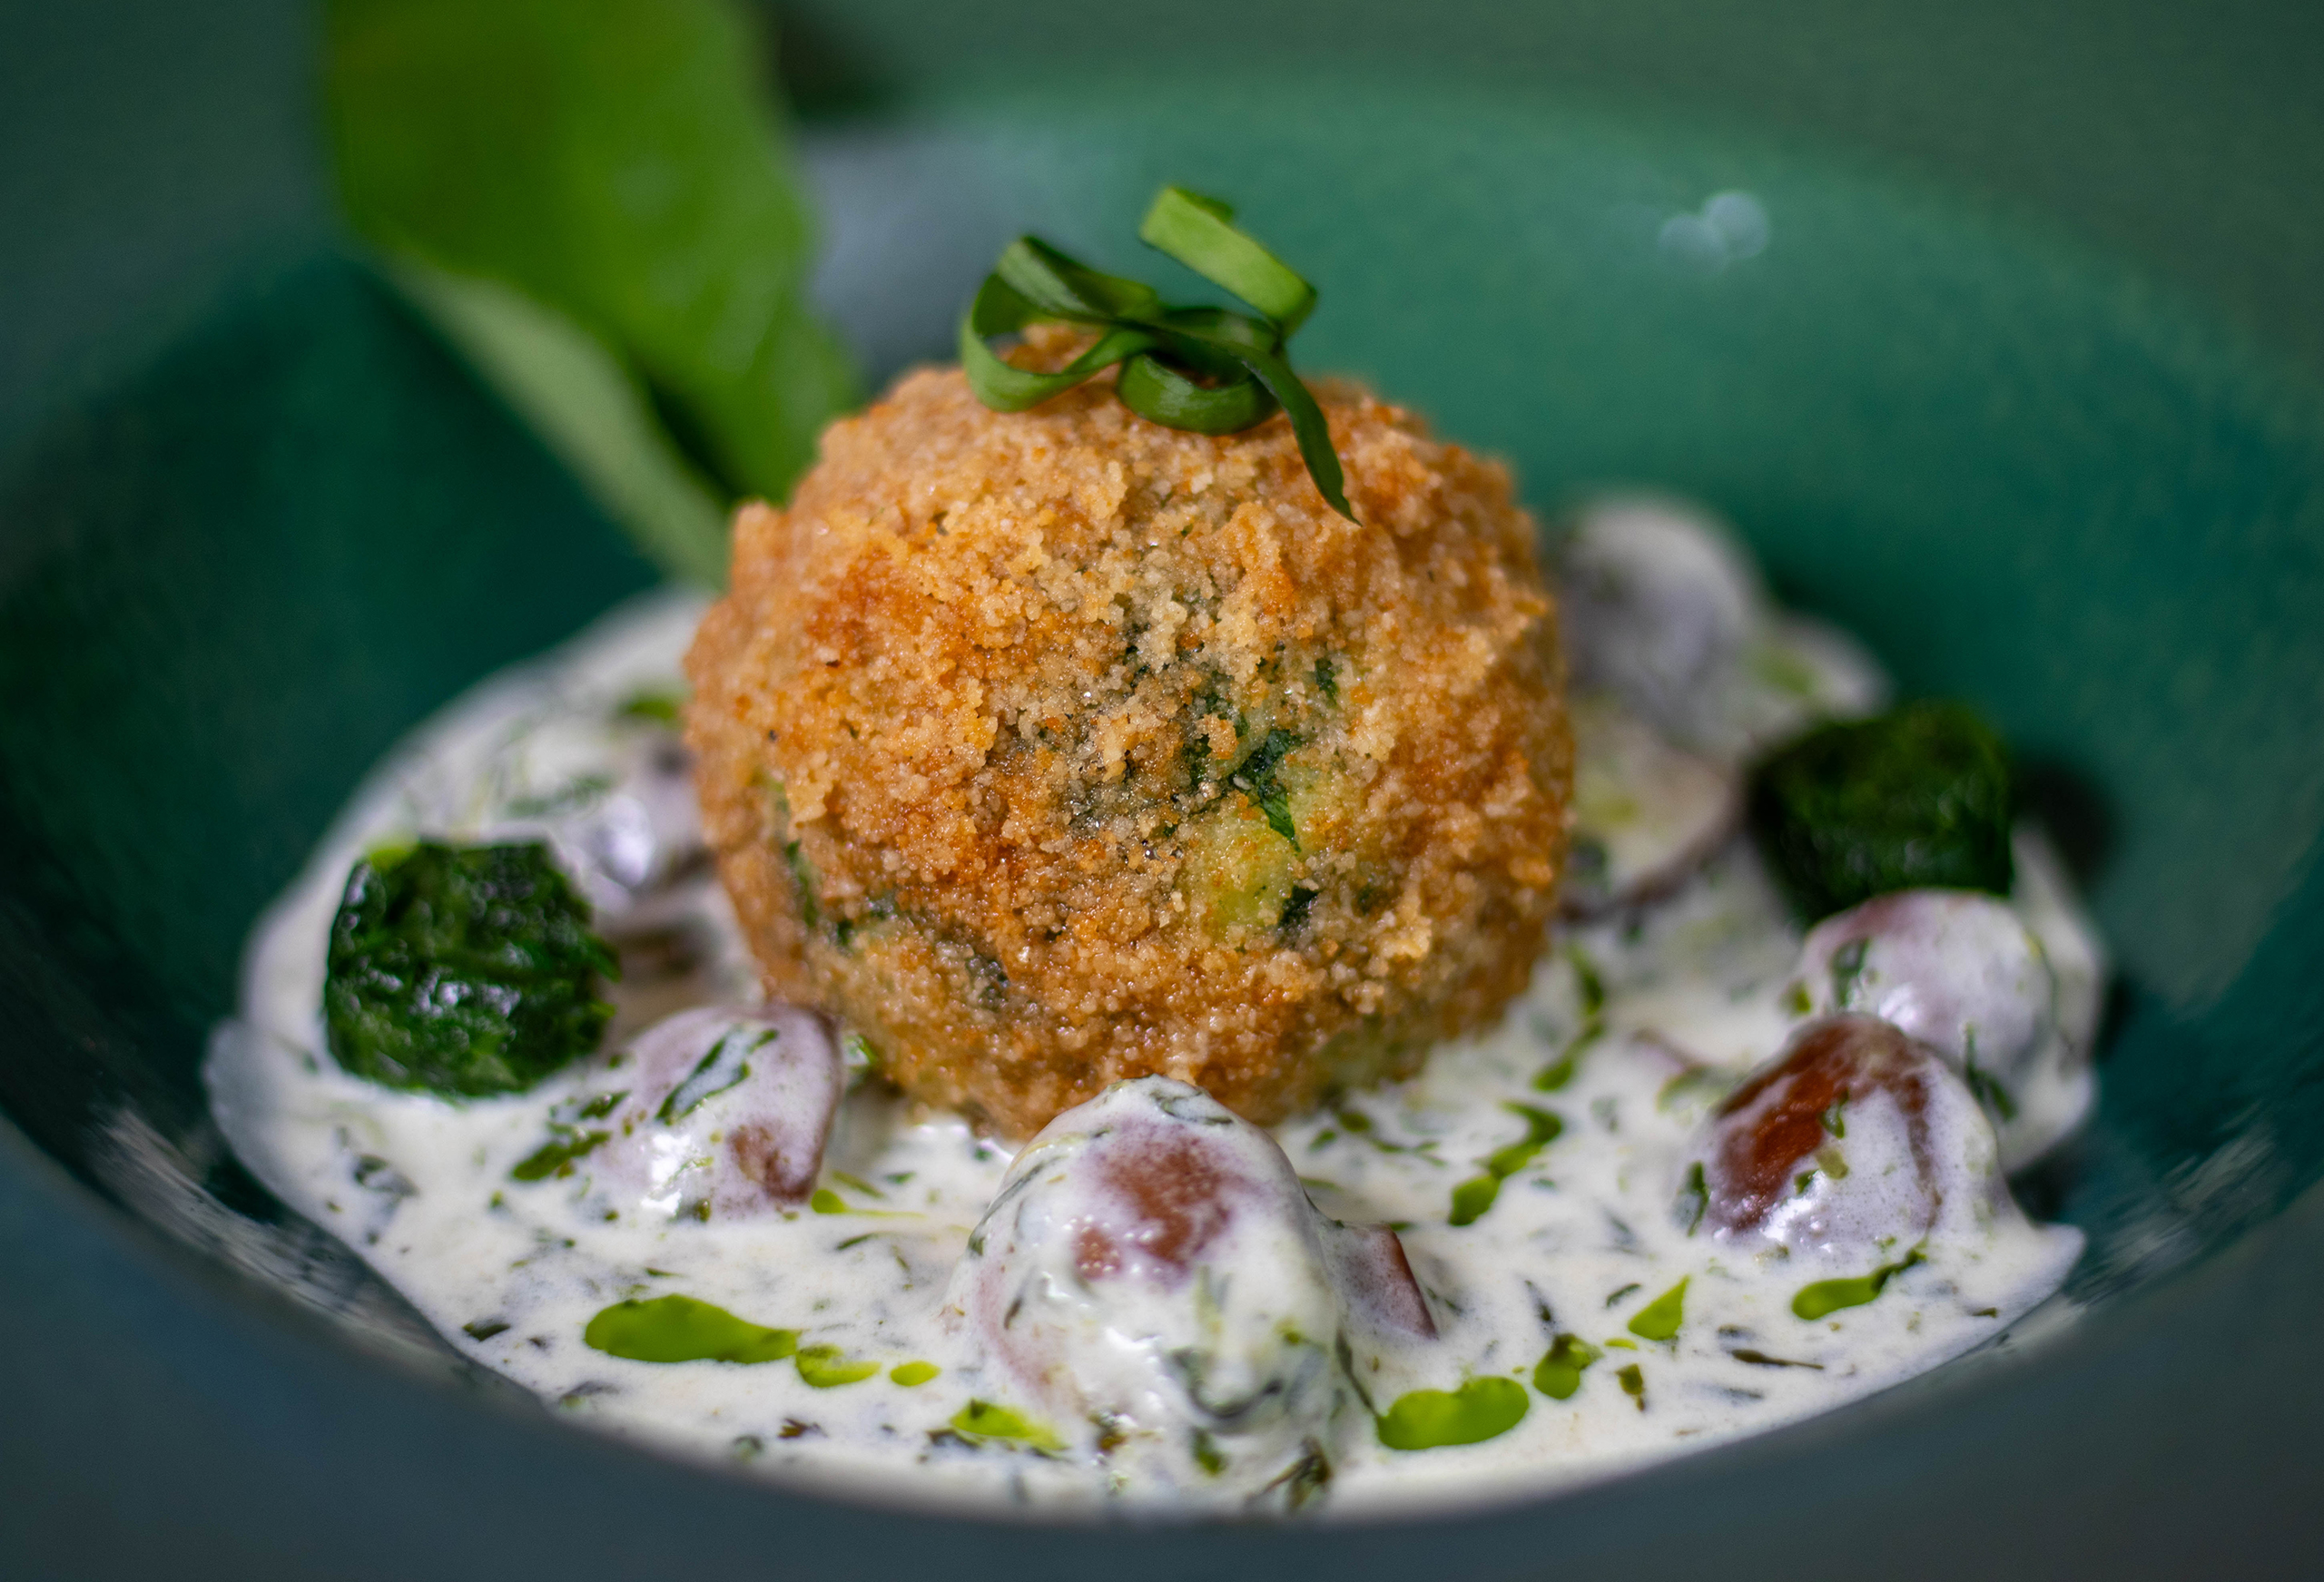
Do I hear crispy coating? And wild garlic? And dumplings? I’m in! The aroma of freshly picked wild garlic combined with traditional German potato dumplings. My recipe for wild garlic dumplings is a loving farewell to hearty, filling winter meals and a greeting to the approaching fresh spring dishes.
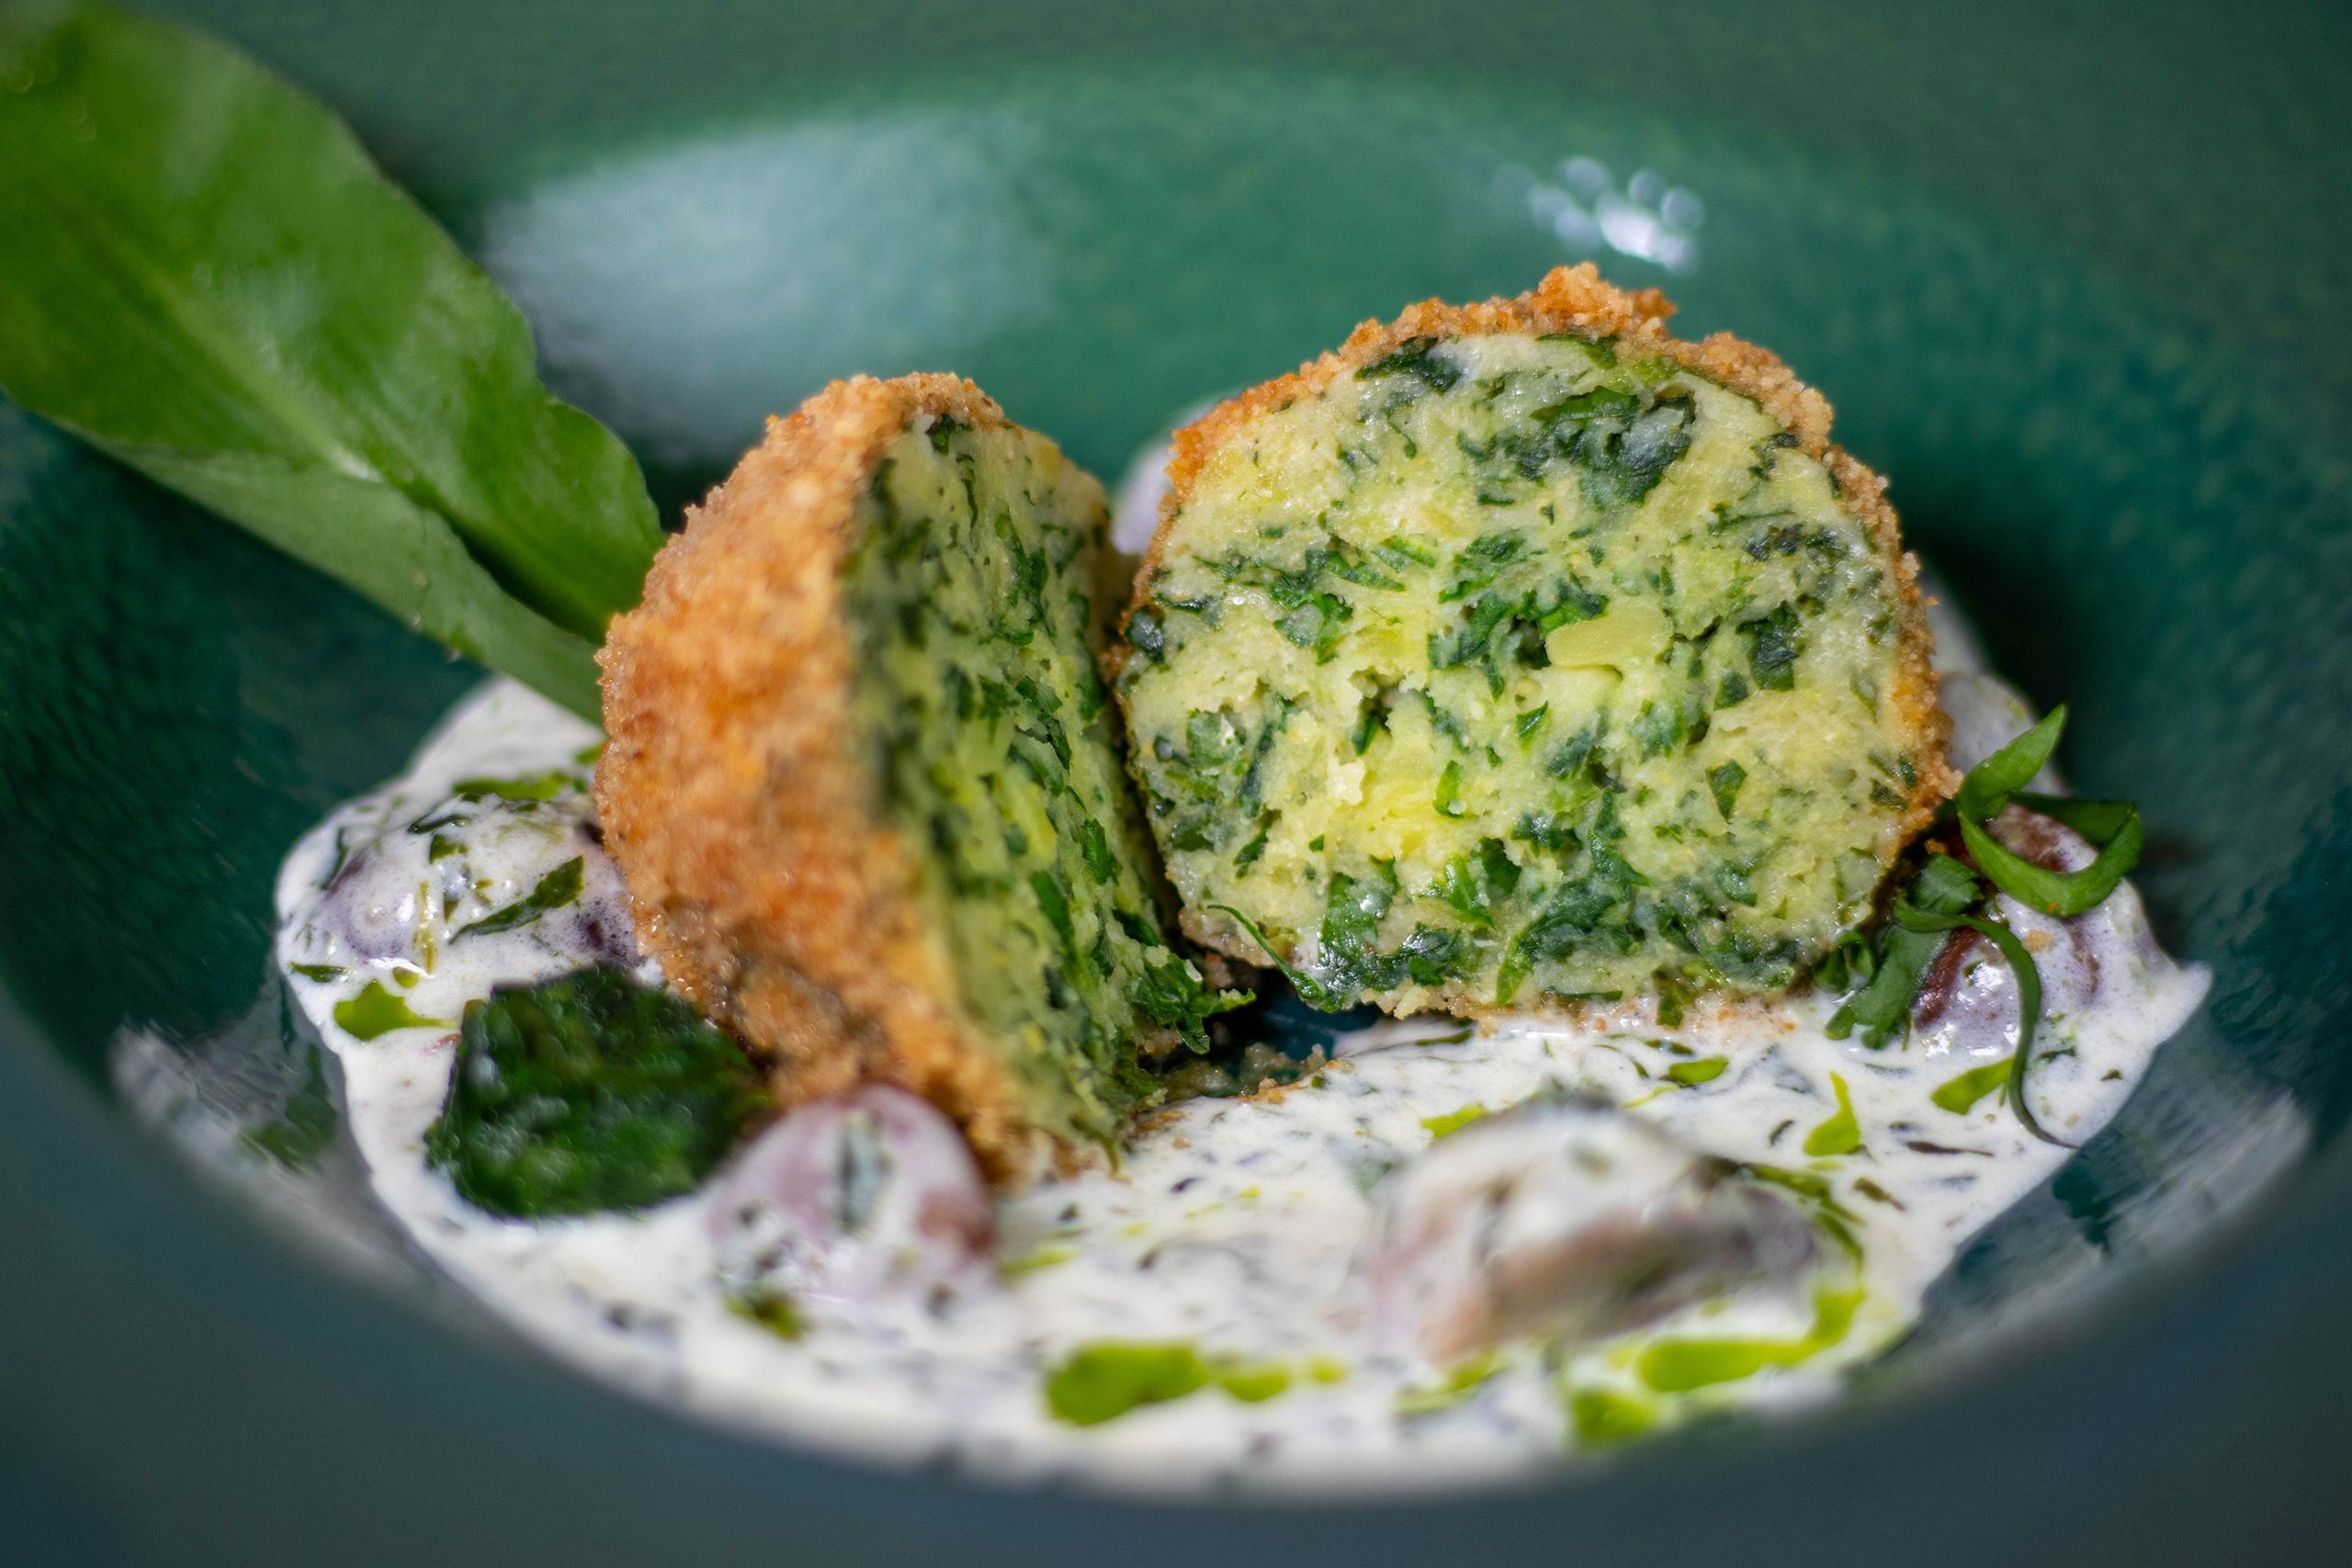
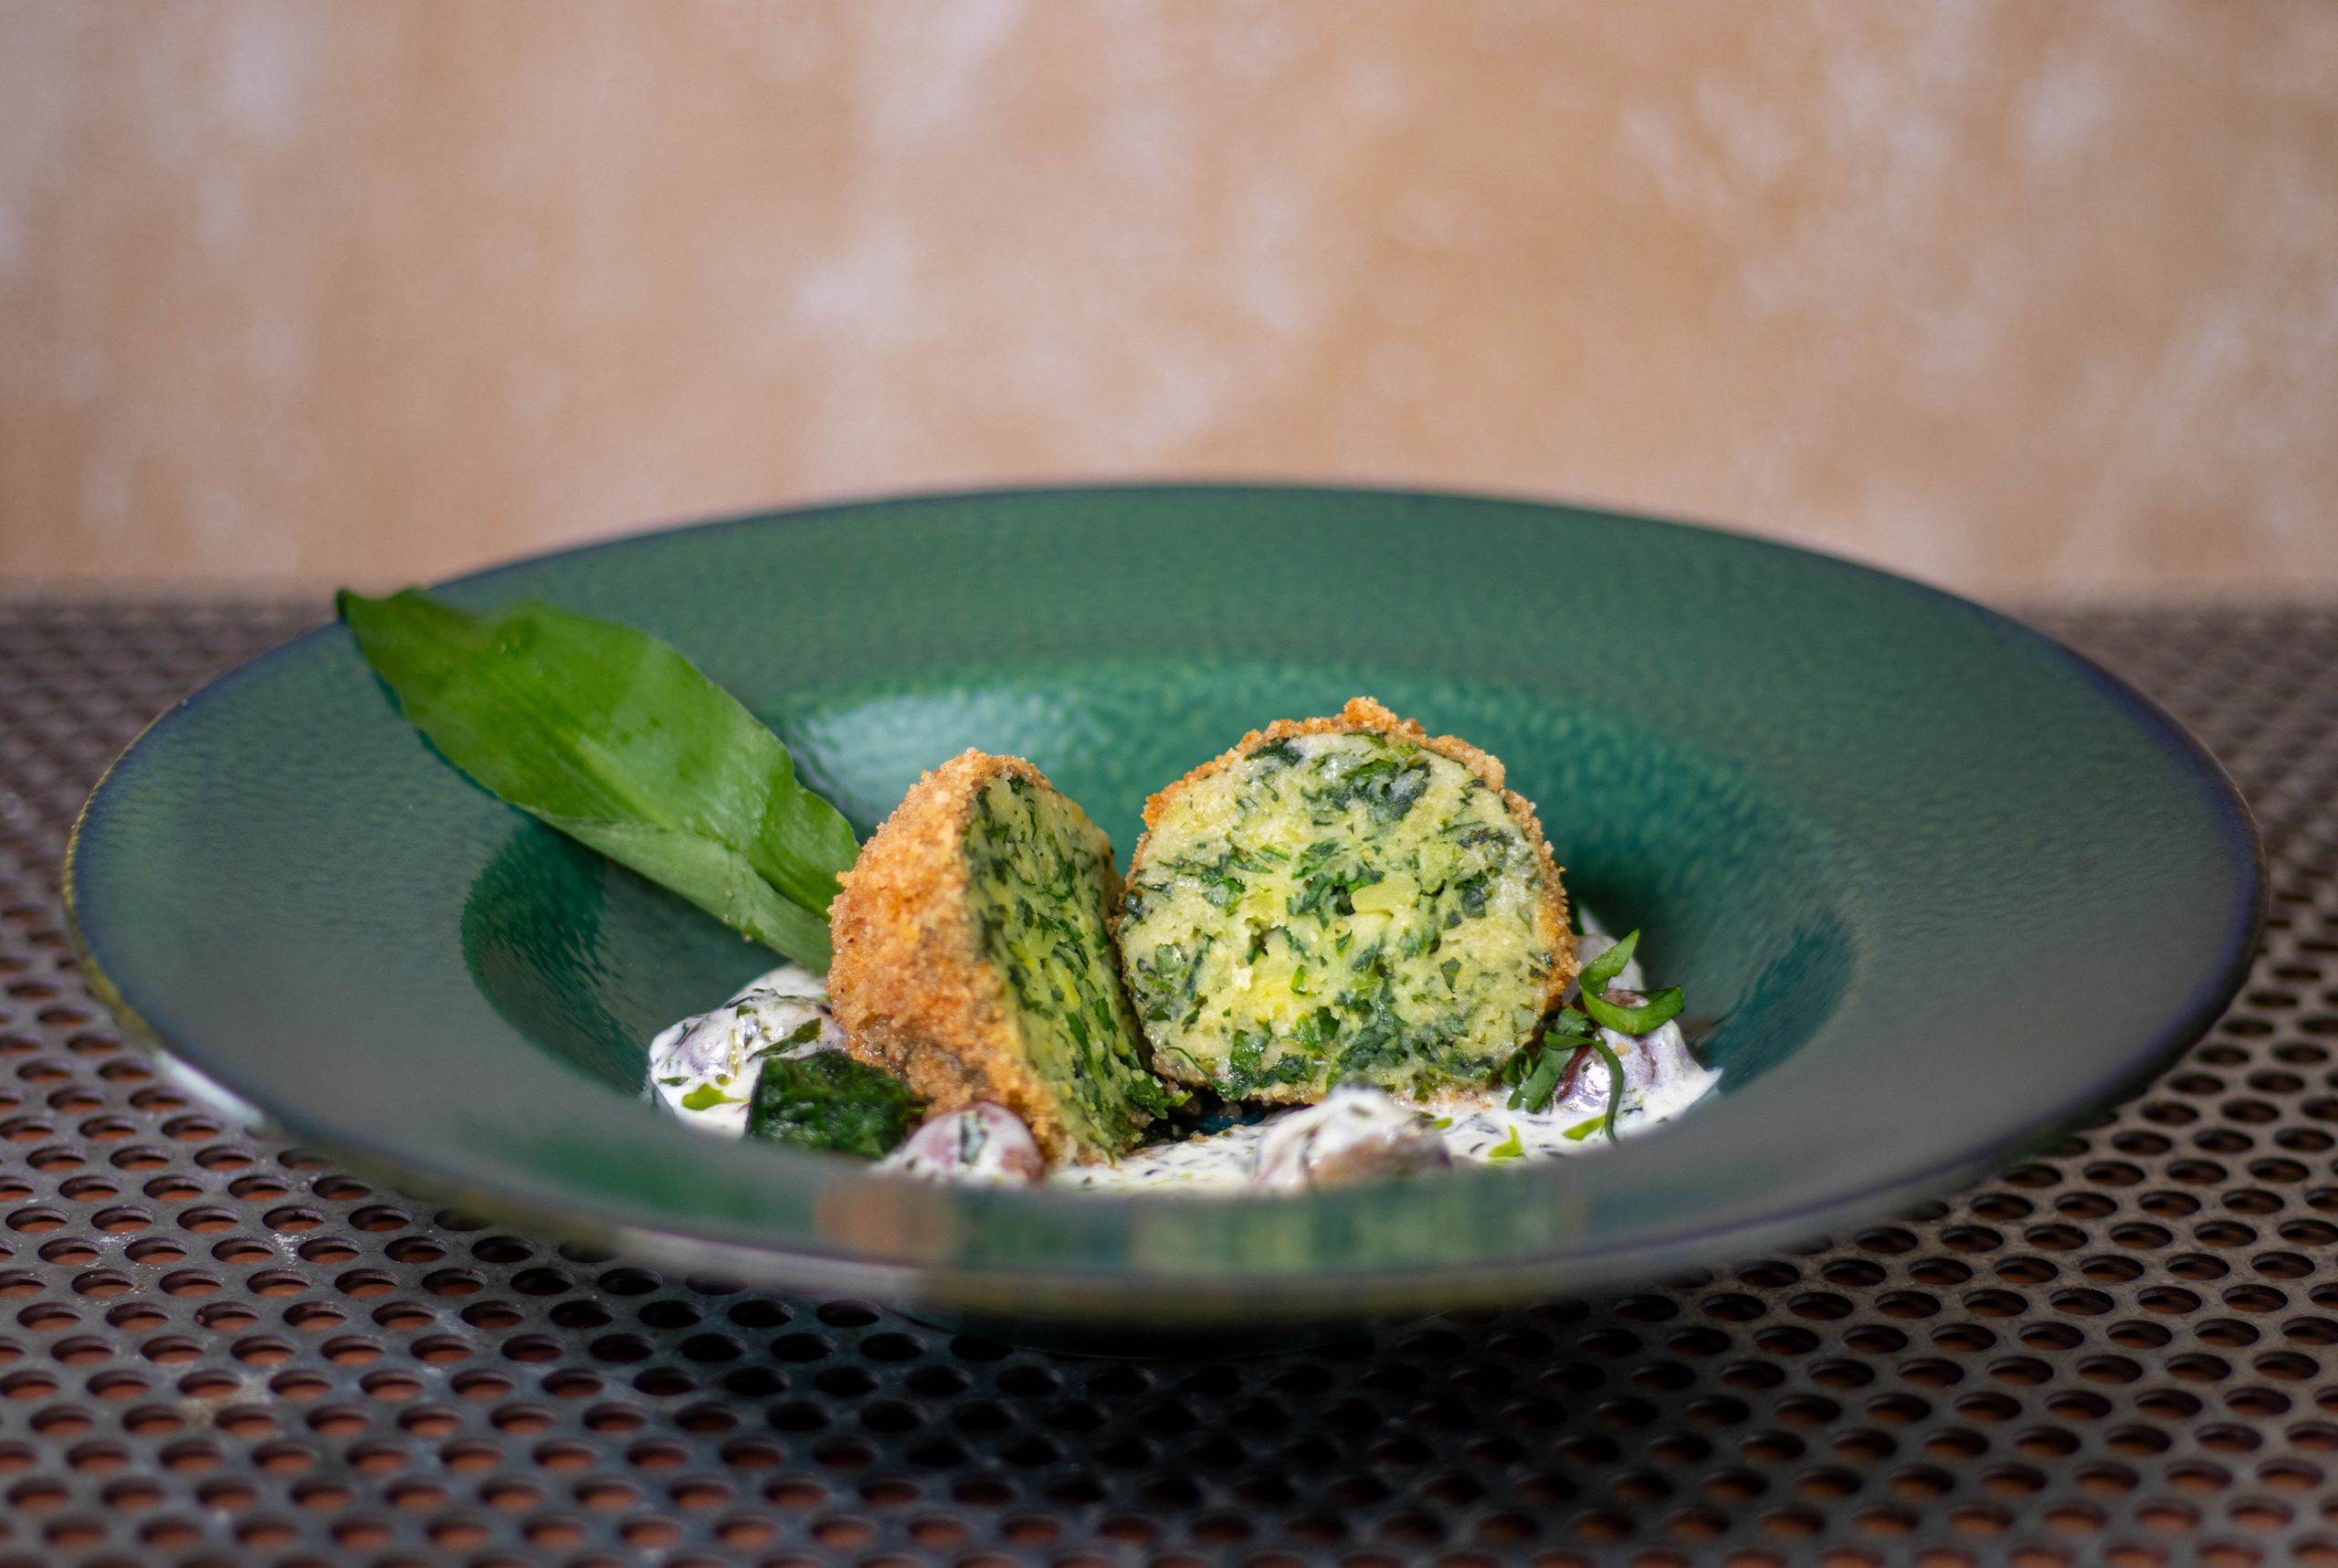
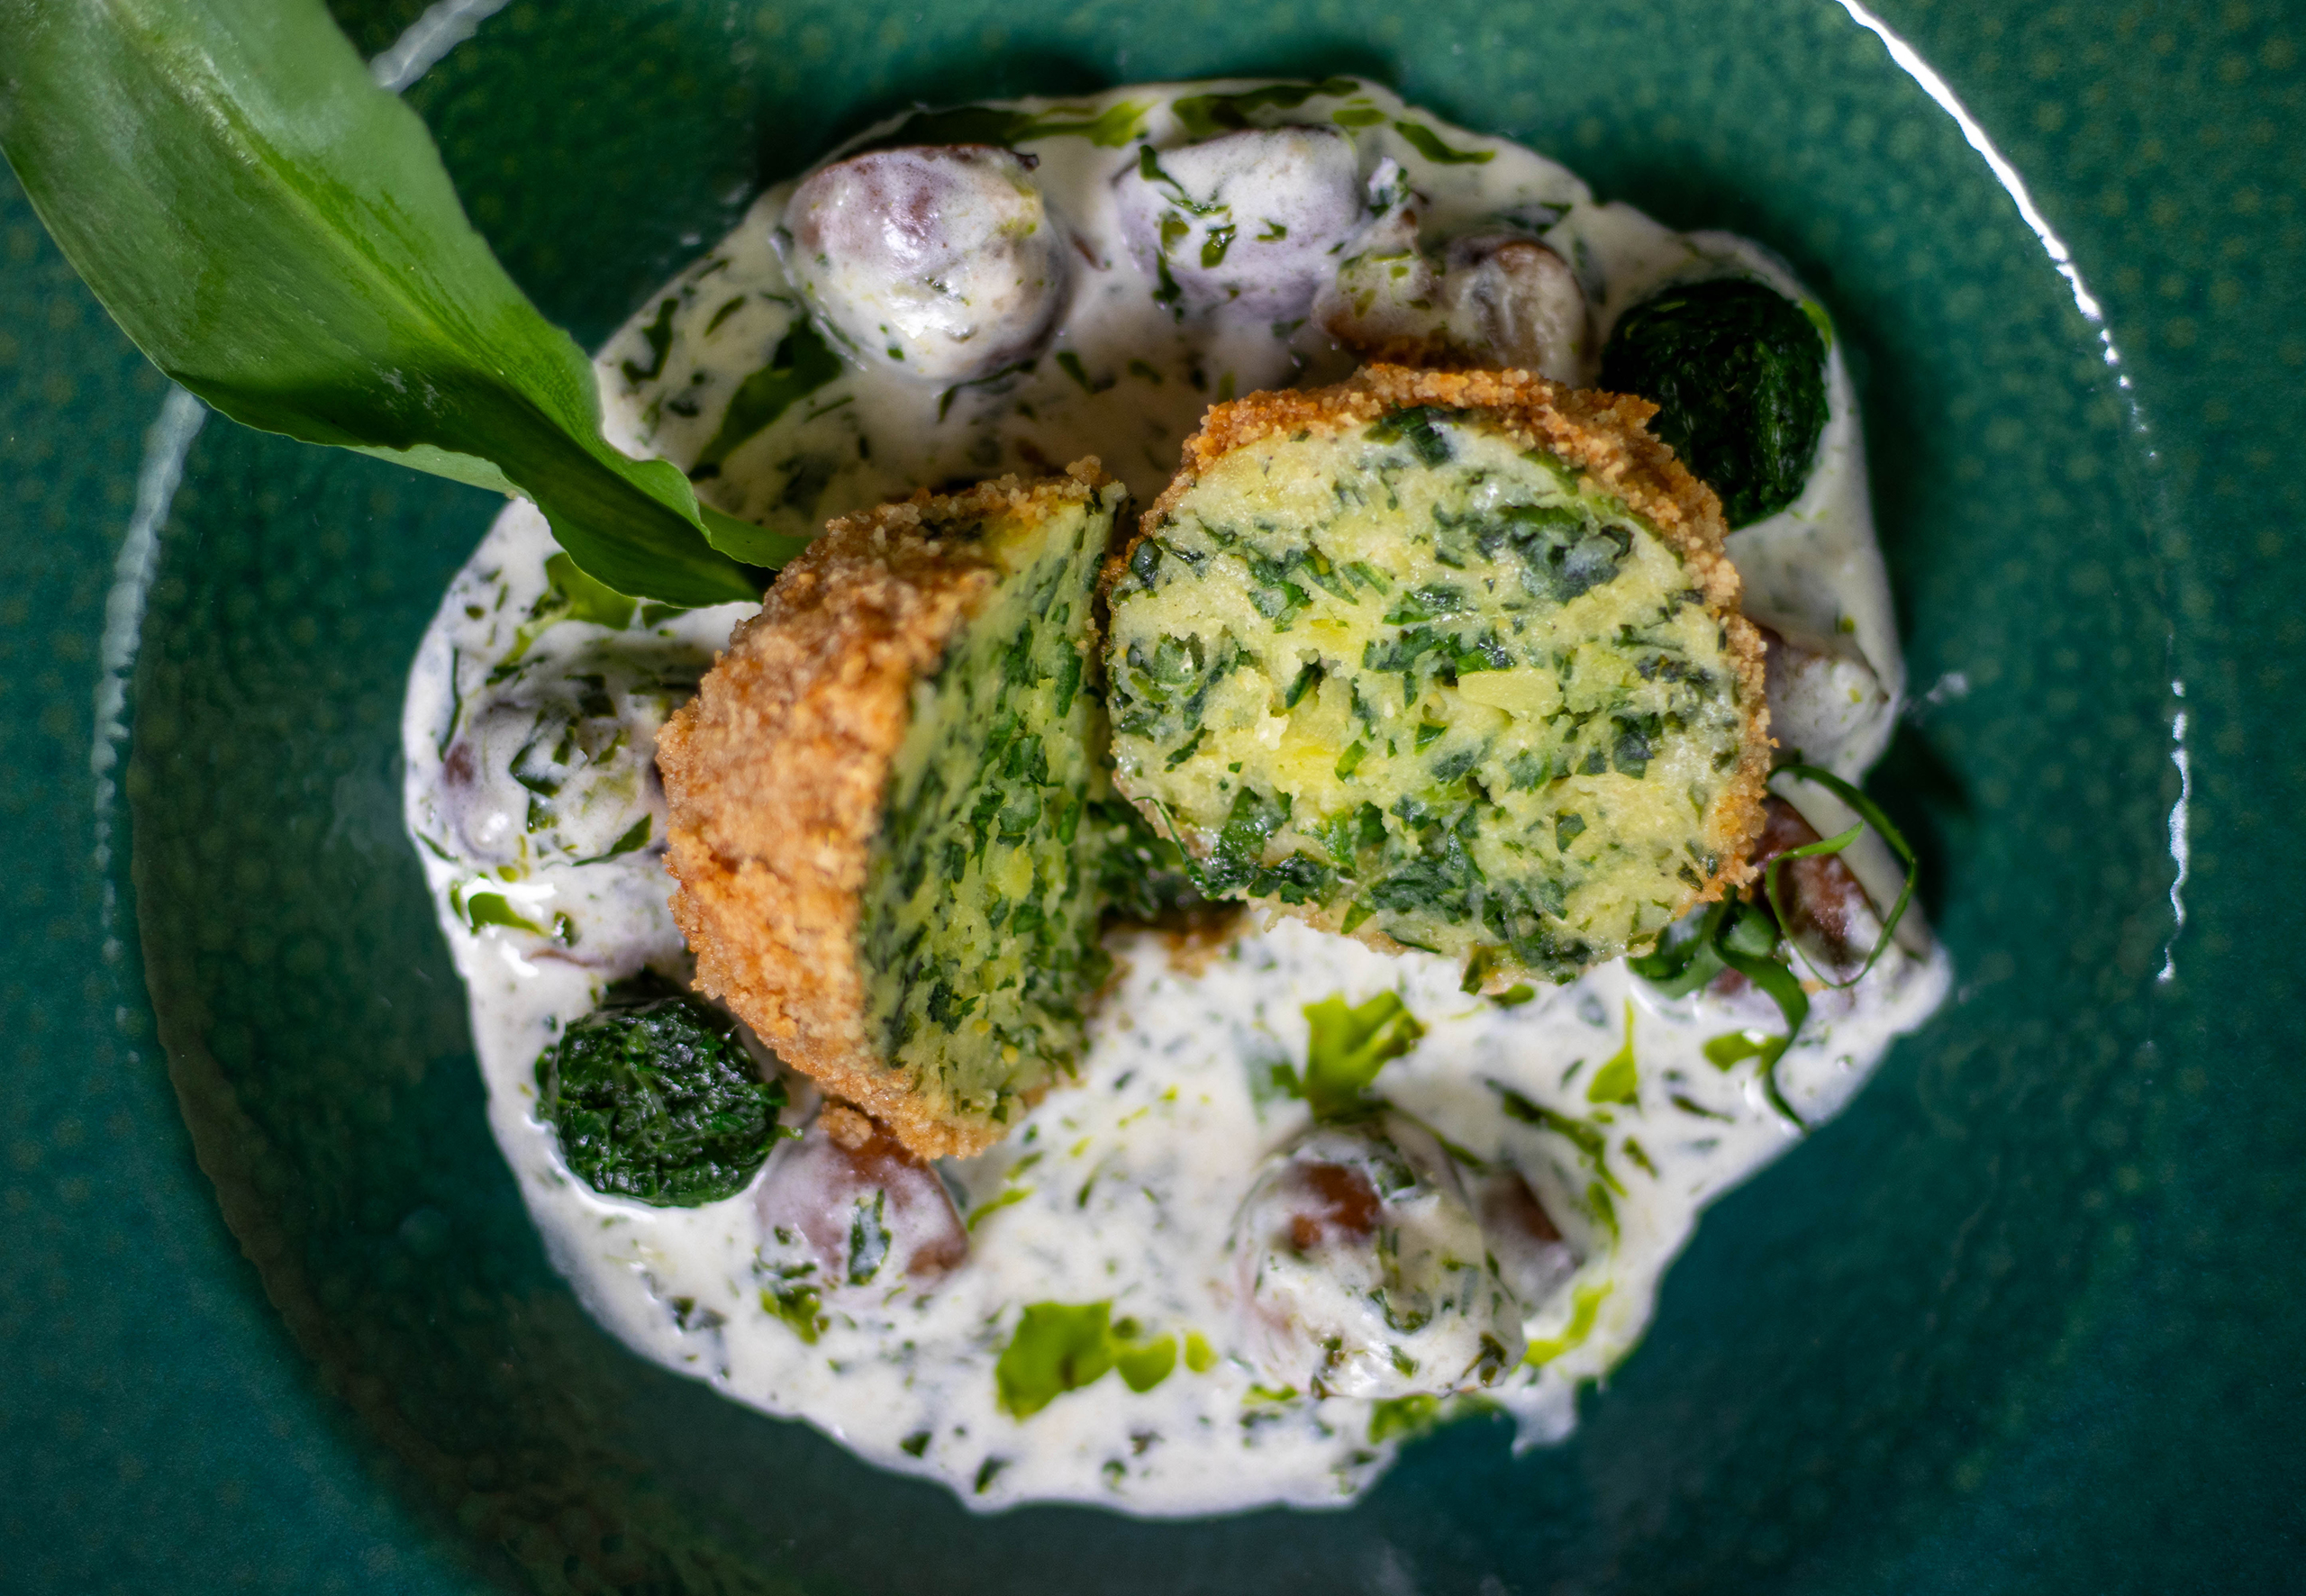
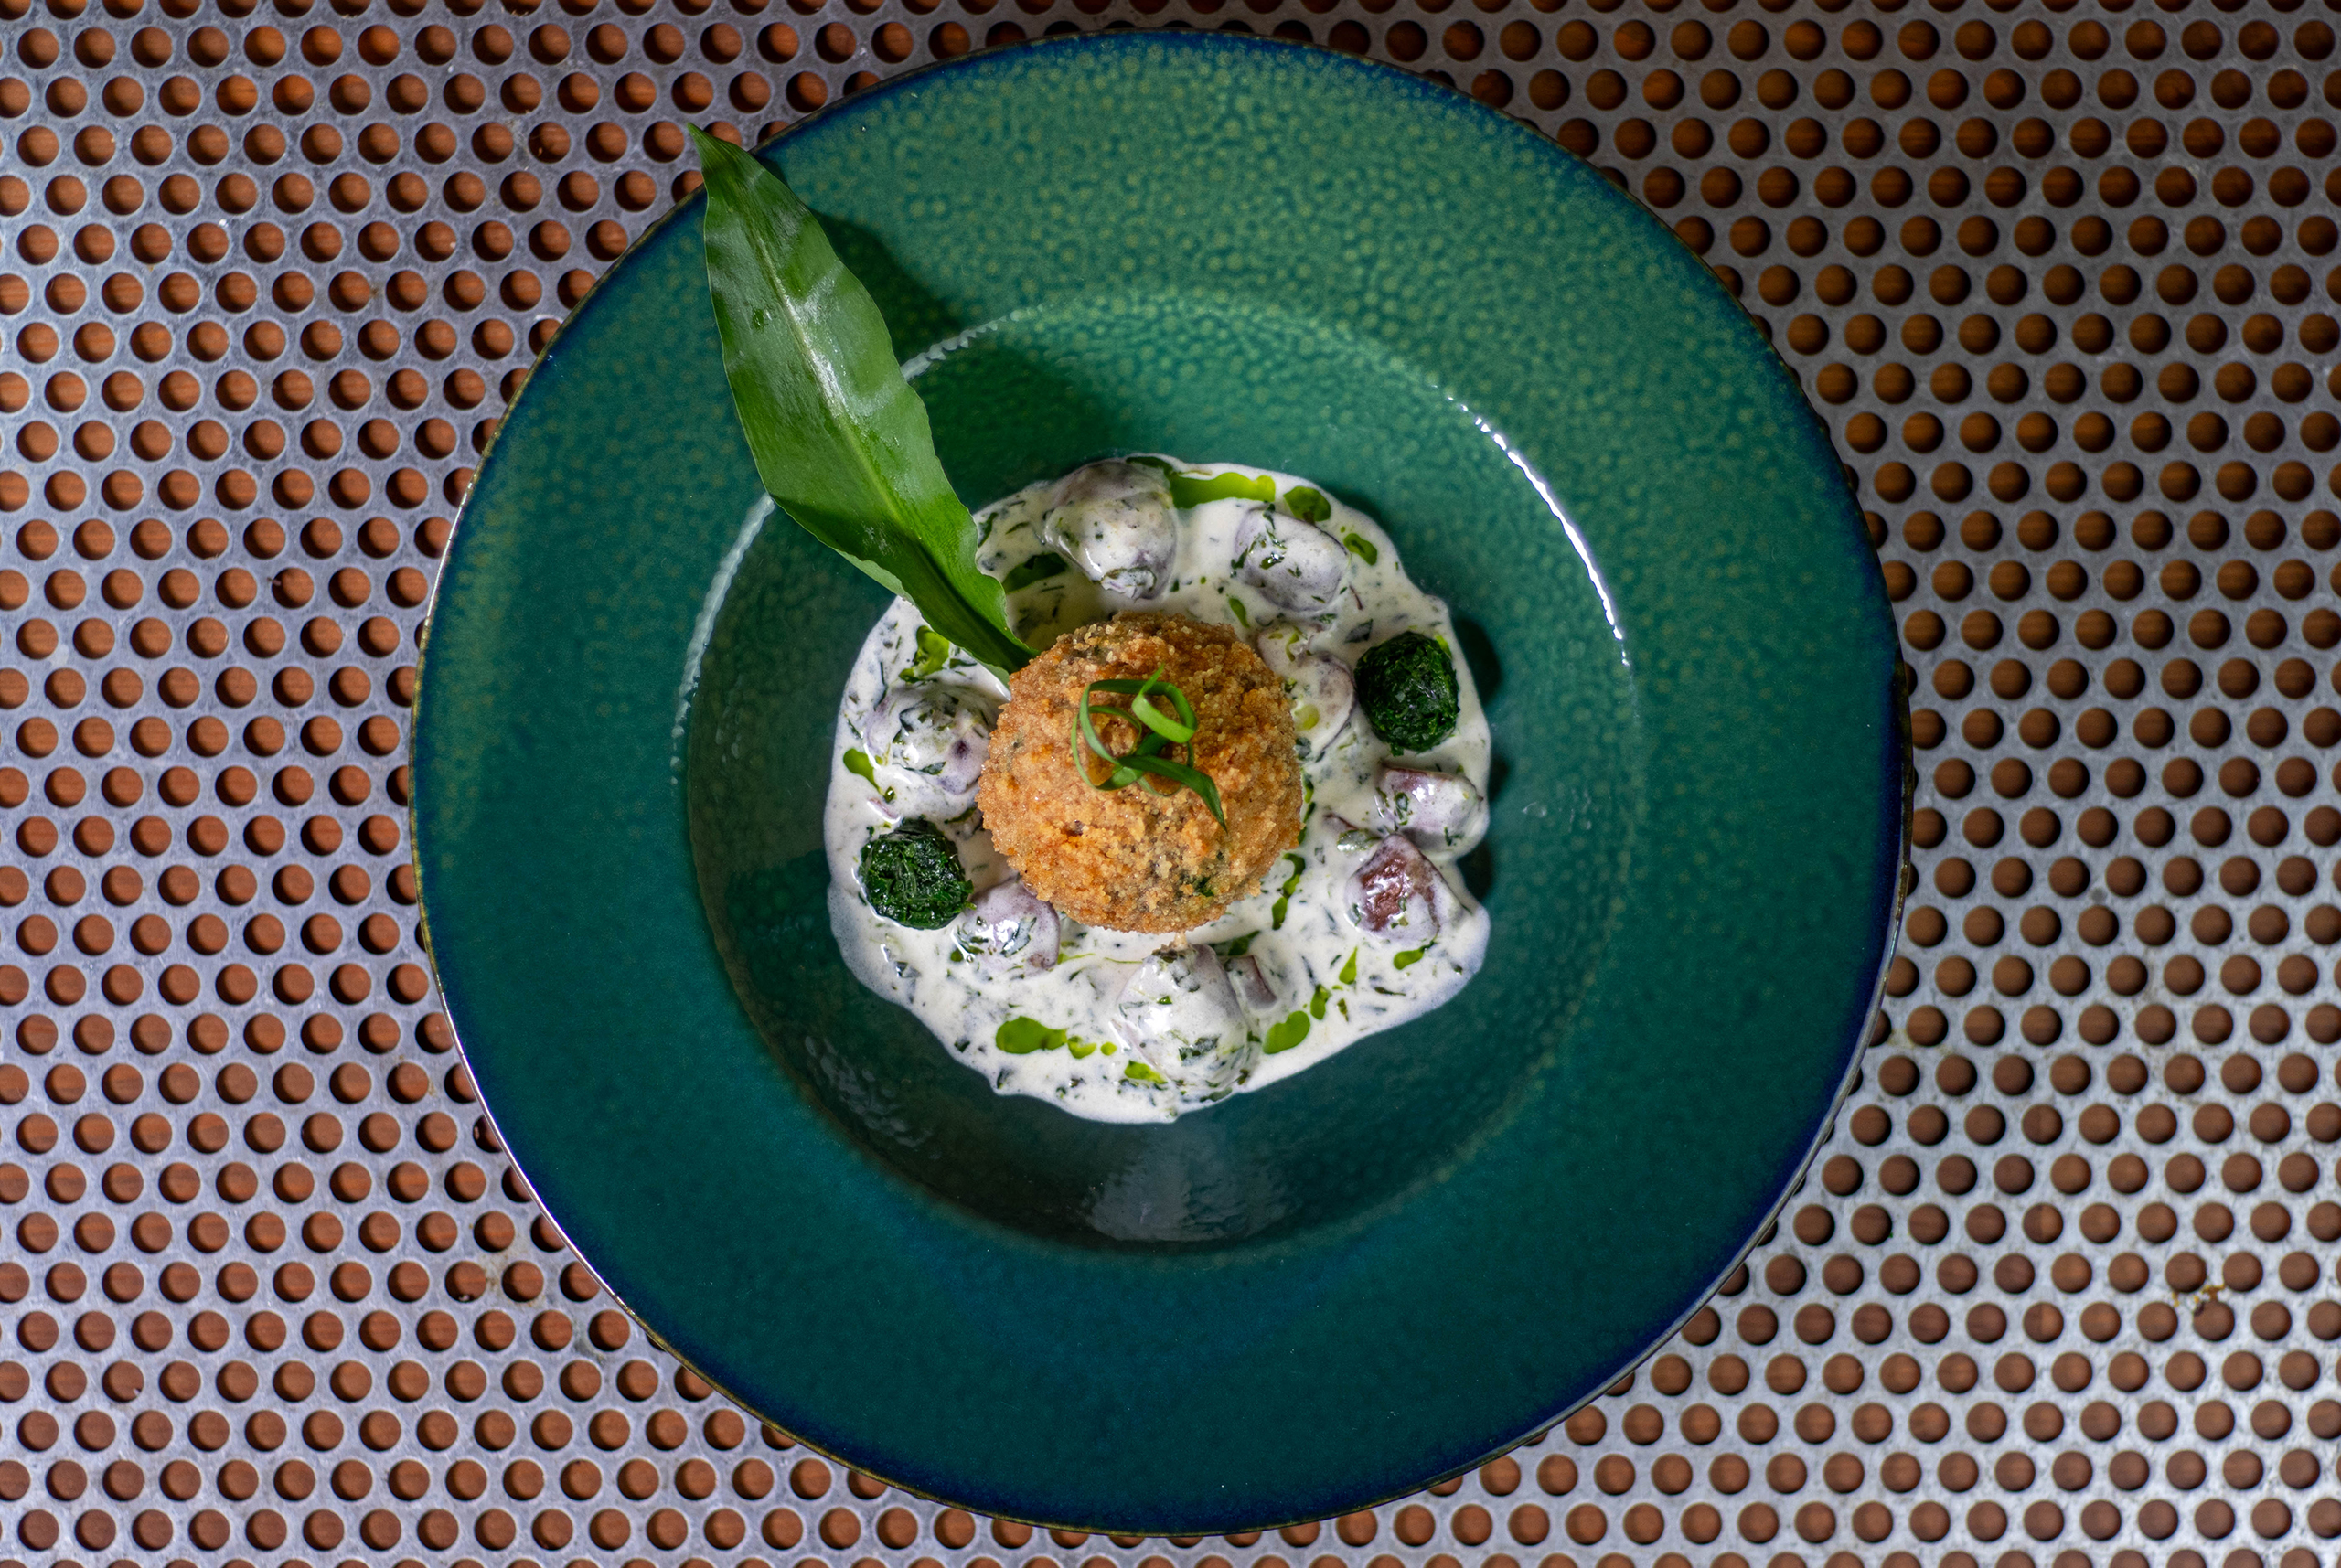
In the photos, you can see my German dumplings with wild garlic in a crispy coating on an aromatic, creamy mushroom and wild garlic cream sauce that I made from leftovers, like the pomace of my wild garlic oil. I’ll explain exactly how I made the sauce further down.
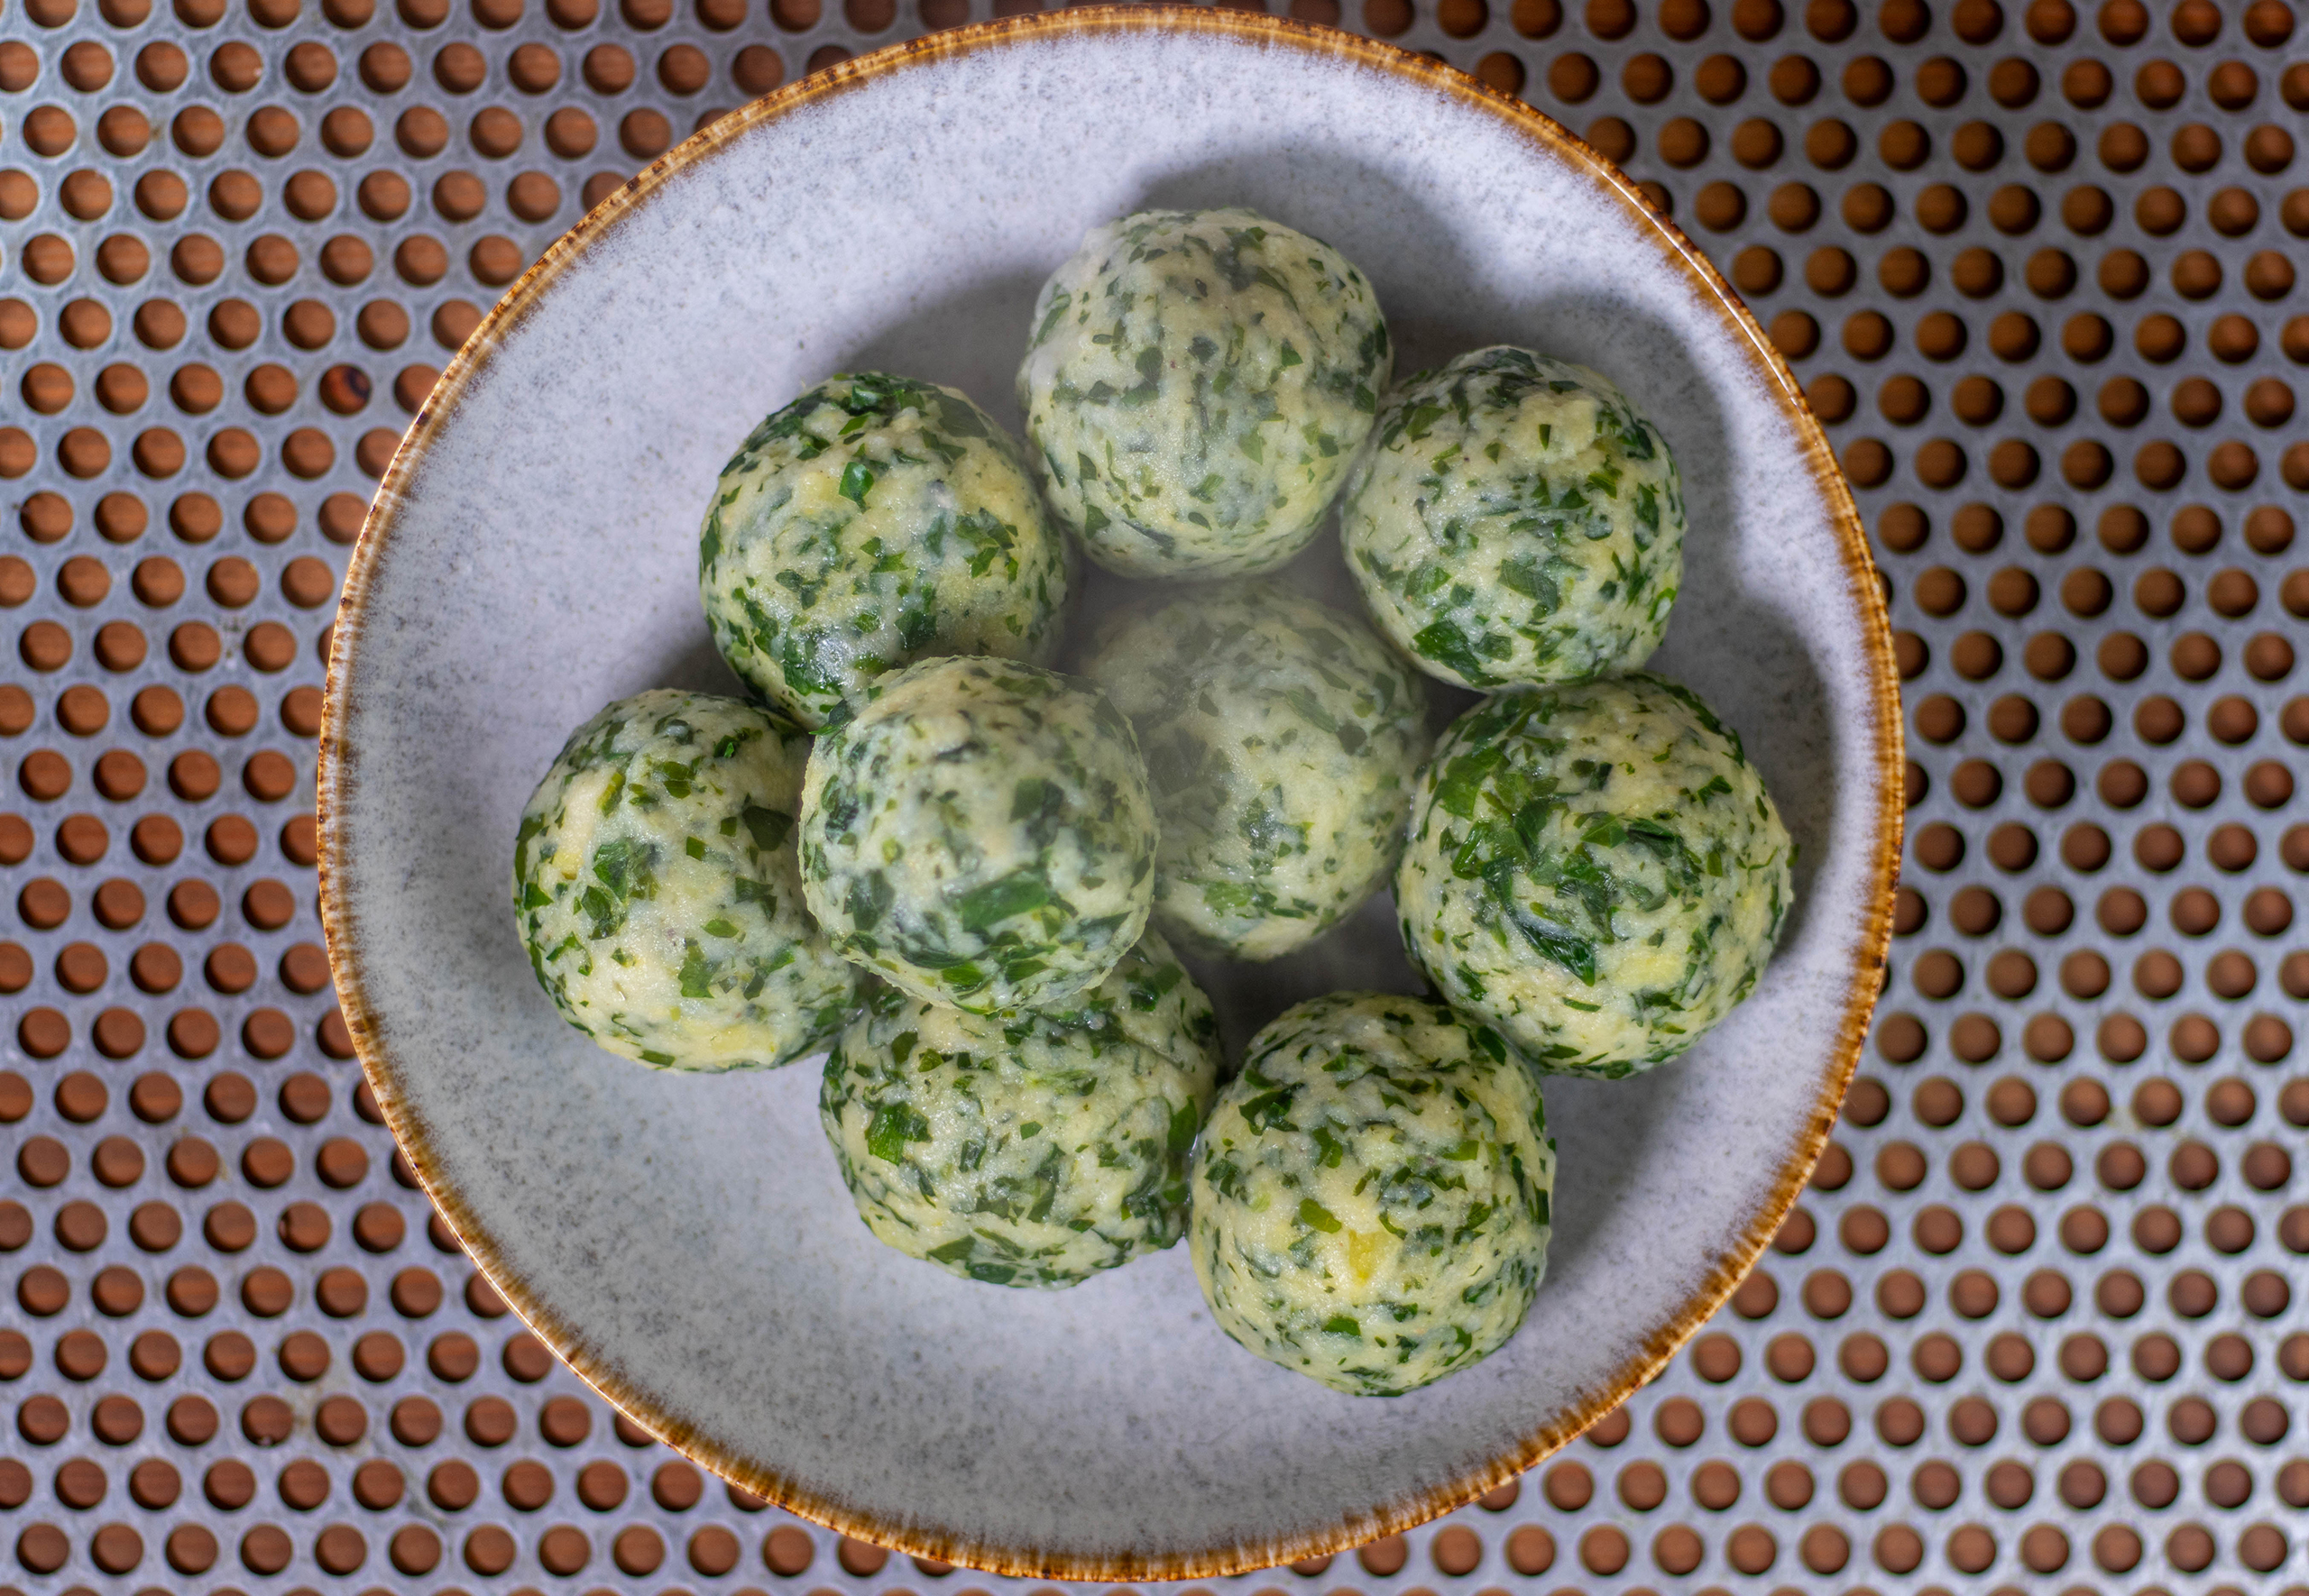
In the photos you can see my green wild garlic dumplings in a crispy coating on an aromatic, creamy mushroom and wild garlic cream sauce with wild garlic oil.
Potato dumplings with wild garlic in a crispy breadcrumb coating
My wild garlic dumplings are classic potato dumplings with wild garlic. But of course, they’re purely plant-based, like everything on Daily Vegan. The wild garlic treats the dumplings with a gorgeous green color, they look fresh, and they taste and smell incredibly aromatic. Wrapped in a crispy breadcrumb coating, which gives the dumplings a wonderful crunch. Comment at the table: “You can really taste that this is the first wild garlic of the spring. The aroma is just so wonderful!” I didn’t tell him that I’ve been eating wild garlic constantly for two weeks now, and that the wild garlic was already from my third harvest.
German potato dumplings with wild garlic in a crispy breadcrumb coating.
The crispy coating of the wild garlic dumplings is optional.
Of course, a crispy coating is incredibly delicious, but the crumbly butter coating doesn’t suit all dishes. You can, of course, make this dumpling recipe without the crispy coating; then you’ll have beautiful, green potato dumplings with the robust aroma of fresh wild garlic.
The crispy coating on the dumplings is optional. Without it, you’ll have plain wild garlic dumplings, which are still very, very delicious.
What do wild garlic dumplings go well with?
These aromatic German dumplings in a crispy coating are an excellent side dish for many savory dishes. They’re a wonderful green surprise, especially for hearty vegan meat dishes. They perfectly round off a meal.
Here are some recipes that go well with wild garlic dumplings in a crispy coating:
Wild garlic dumplings in a crispy coating are an excellent side dish to many hearty dishes.
Vegan German dumplings made easy and guaranteed to succeed
Dumpling dough without eggs? A lot of people think, that means that the dumplings would fall apart or become mushy when cooked. But, with my recipe, vegan German dumplings turn out just the way you love them. With the perfect soft, yet firm texture that a truly good Knödel (dumpling) needs. Combined with the crispy coating of breadcrumbs fried in vegan butter and the spice of wild garlic: a dream!
And the best part: vegan dumplings are incredibly easy to make. My dumpling dough for these wild garlic dumplings is based on German potato dumplings.
Vegan German dumplings made easy and guaranteed to succeed.
The sauce you see underneath the dumplings is a delicious way to use up leftovers.
My mushroom and wild garlic cream sauce underneath the dumplings in the photos fits well with my preference for zero-waste cooking.
The sauce in the photos is a way to use up leftovers, as I don’t like throwing away food. It’s incredibly easy to make. And if you’re planning on making my green wild garlic oil, I recommend you prepare this sauce afterward.
I had a few mushrooms left over, so I quartered them. While the dumplings were cooking in the water, I fried the mushrooms in a little oil. Then I added the flour from the wooden board where the dumplings were resting. I briefly continued to sauté the mushrooms in it, which gave me a nice, creamy sauce.
I then deglazed the pan with a little leftover white wine and stirred in vegan cream. Since I still had the wild garlic promace from my green wild garlic oil, I added that to the sauce as well.
Finally, I simply seasoned the sauce with salt and pepper. And when serving, I drizzled a little wild garlic oil on top.
That’s how easy it was to make a fantastic sauce for my wild garlic dumplings using just leftovers and vegan cream.
The sauce you see under the dumpling is a delicious way to use up leftovers
Show me your wild garlic dumplings
Please follow me on Instagram or Facebook. And I’d love it if you made my German dumplings with wild garlic recipe and posted a photo of it, tagging my account. Because I always find it really fun and exciting to see how my recipes are prepared in other kitchens!
The aroma of freshly picked wild garlic combined with traditional potato dumplings.
Wild garlic dumplings in a crispy coating: Preparation in pictures
Here you can see the entire preparation and cooking process for the German dumplings with wild garlic. Afterwards I’ll continue with the written recipe.
Shaping and cooking the dumplings:
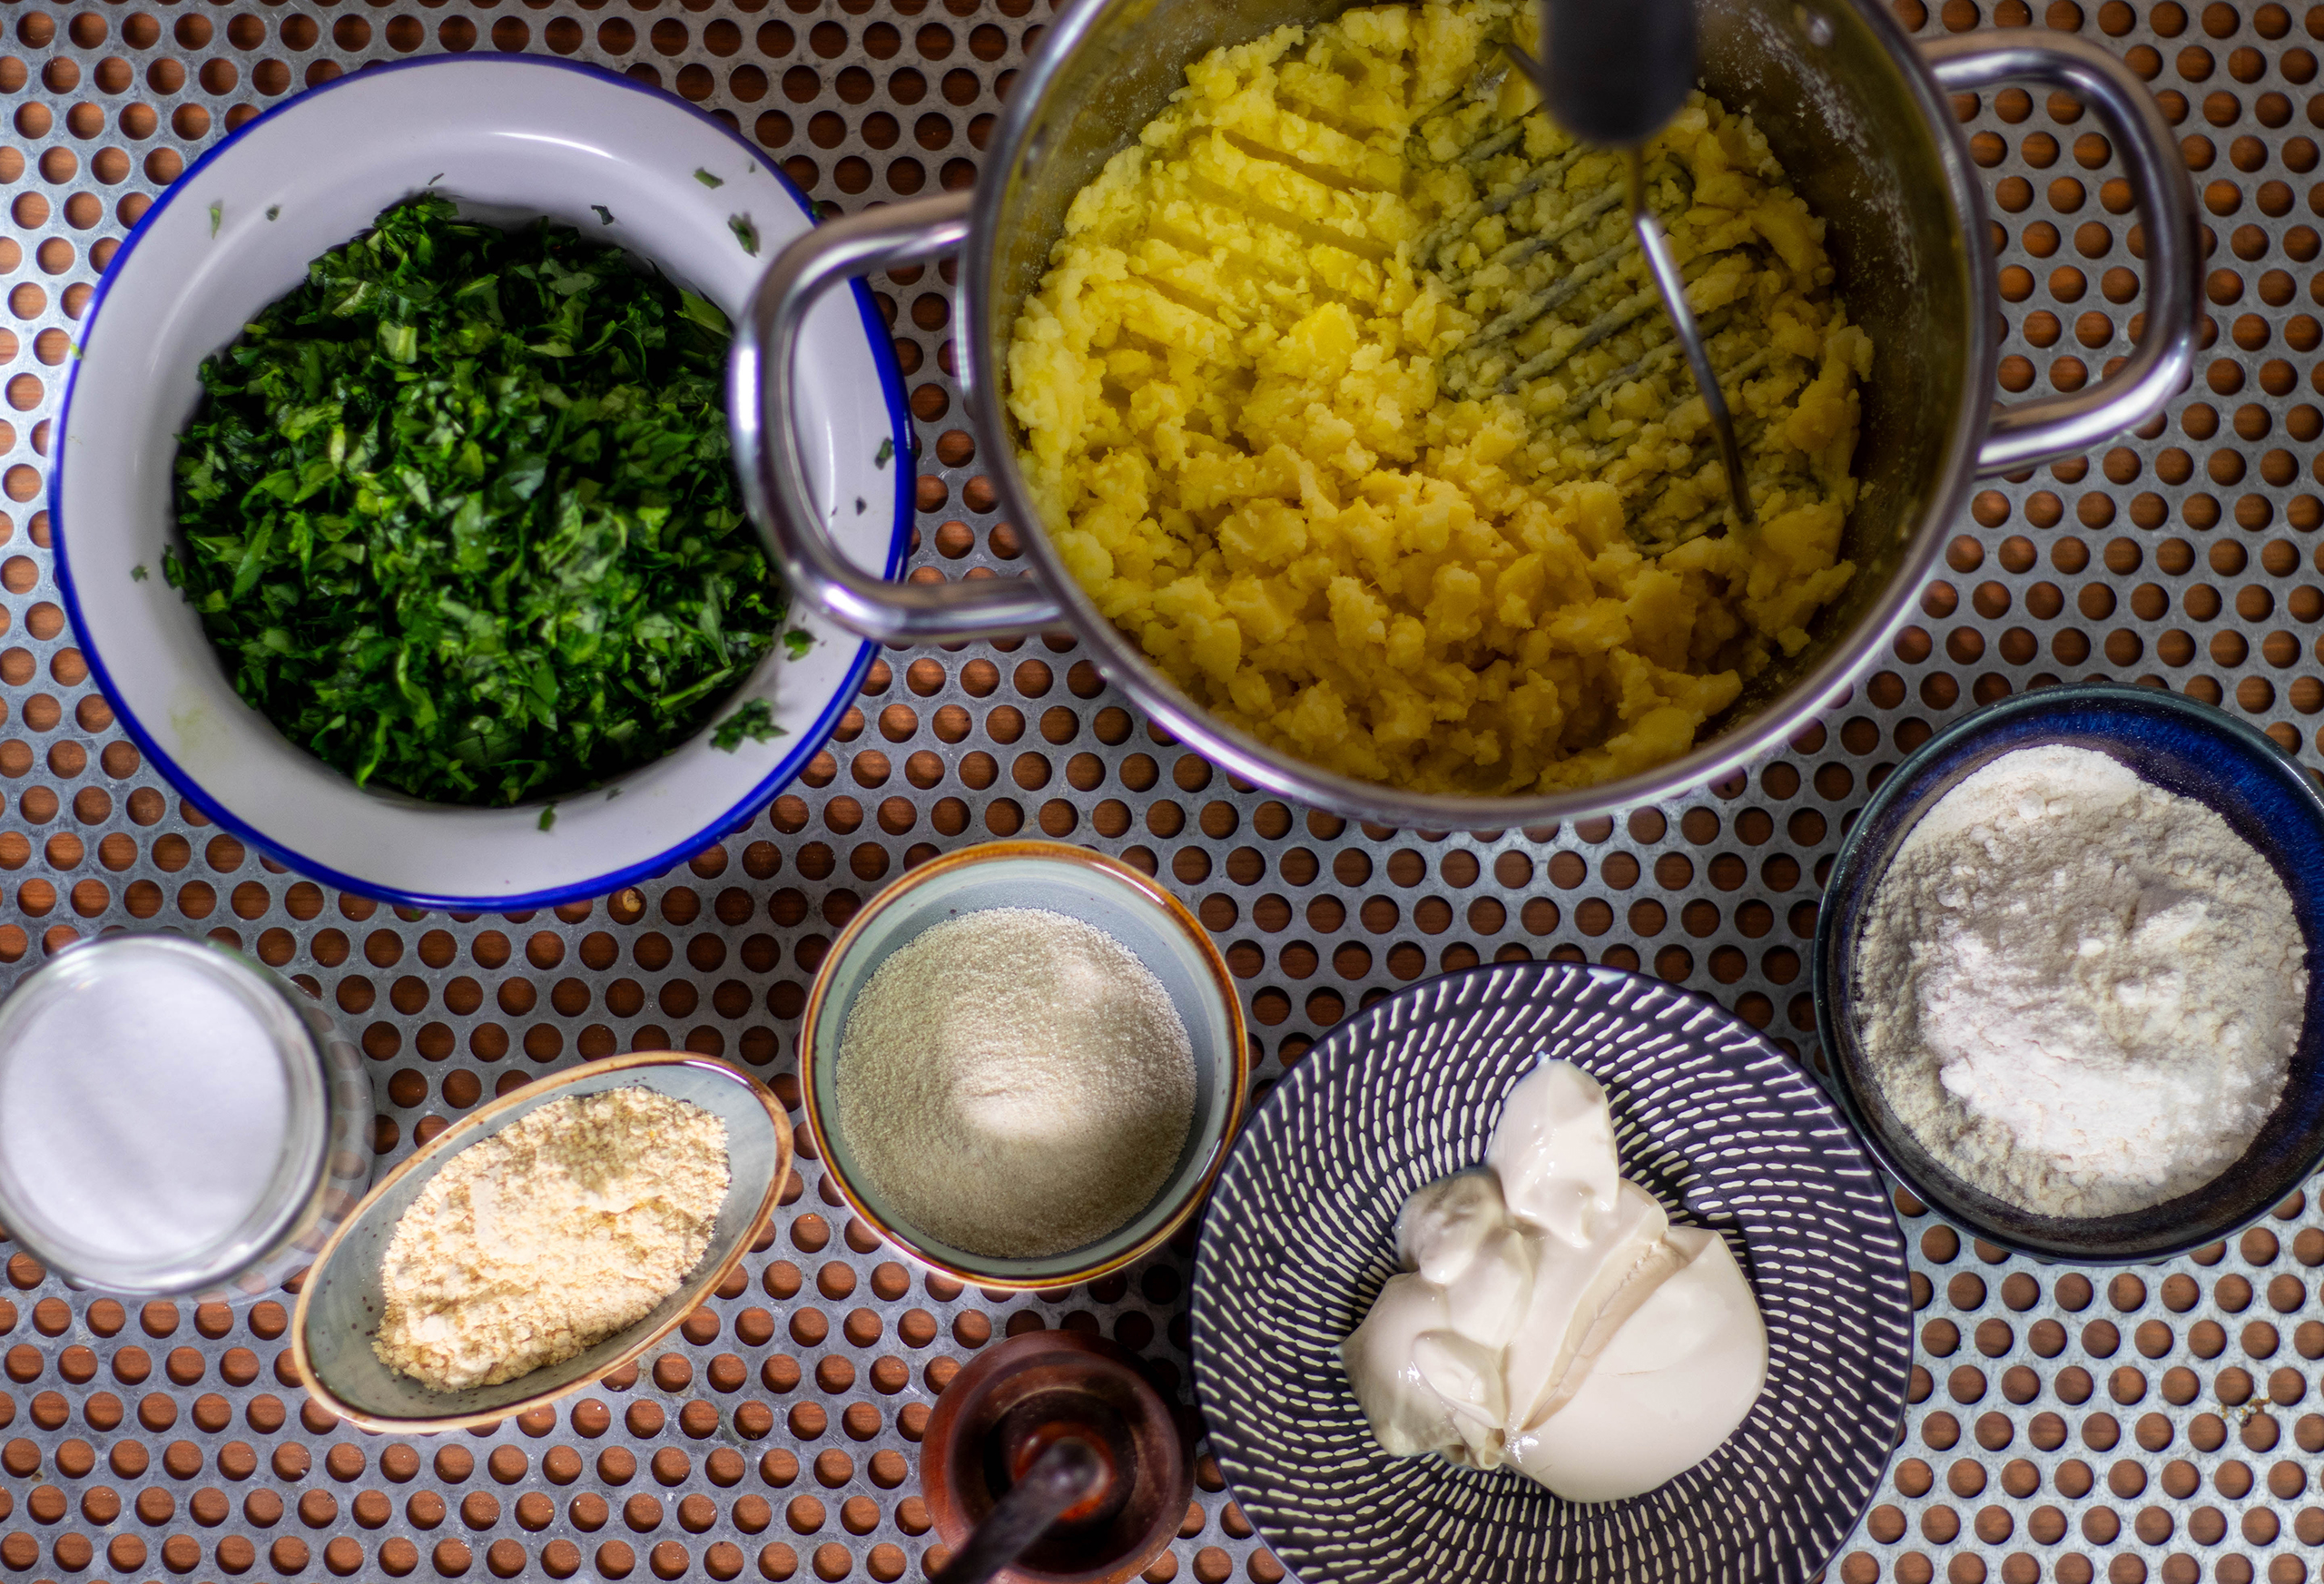
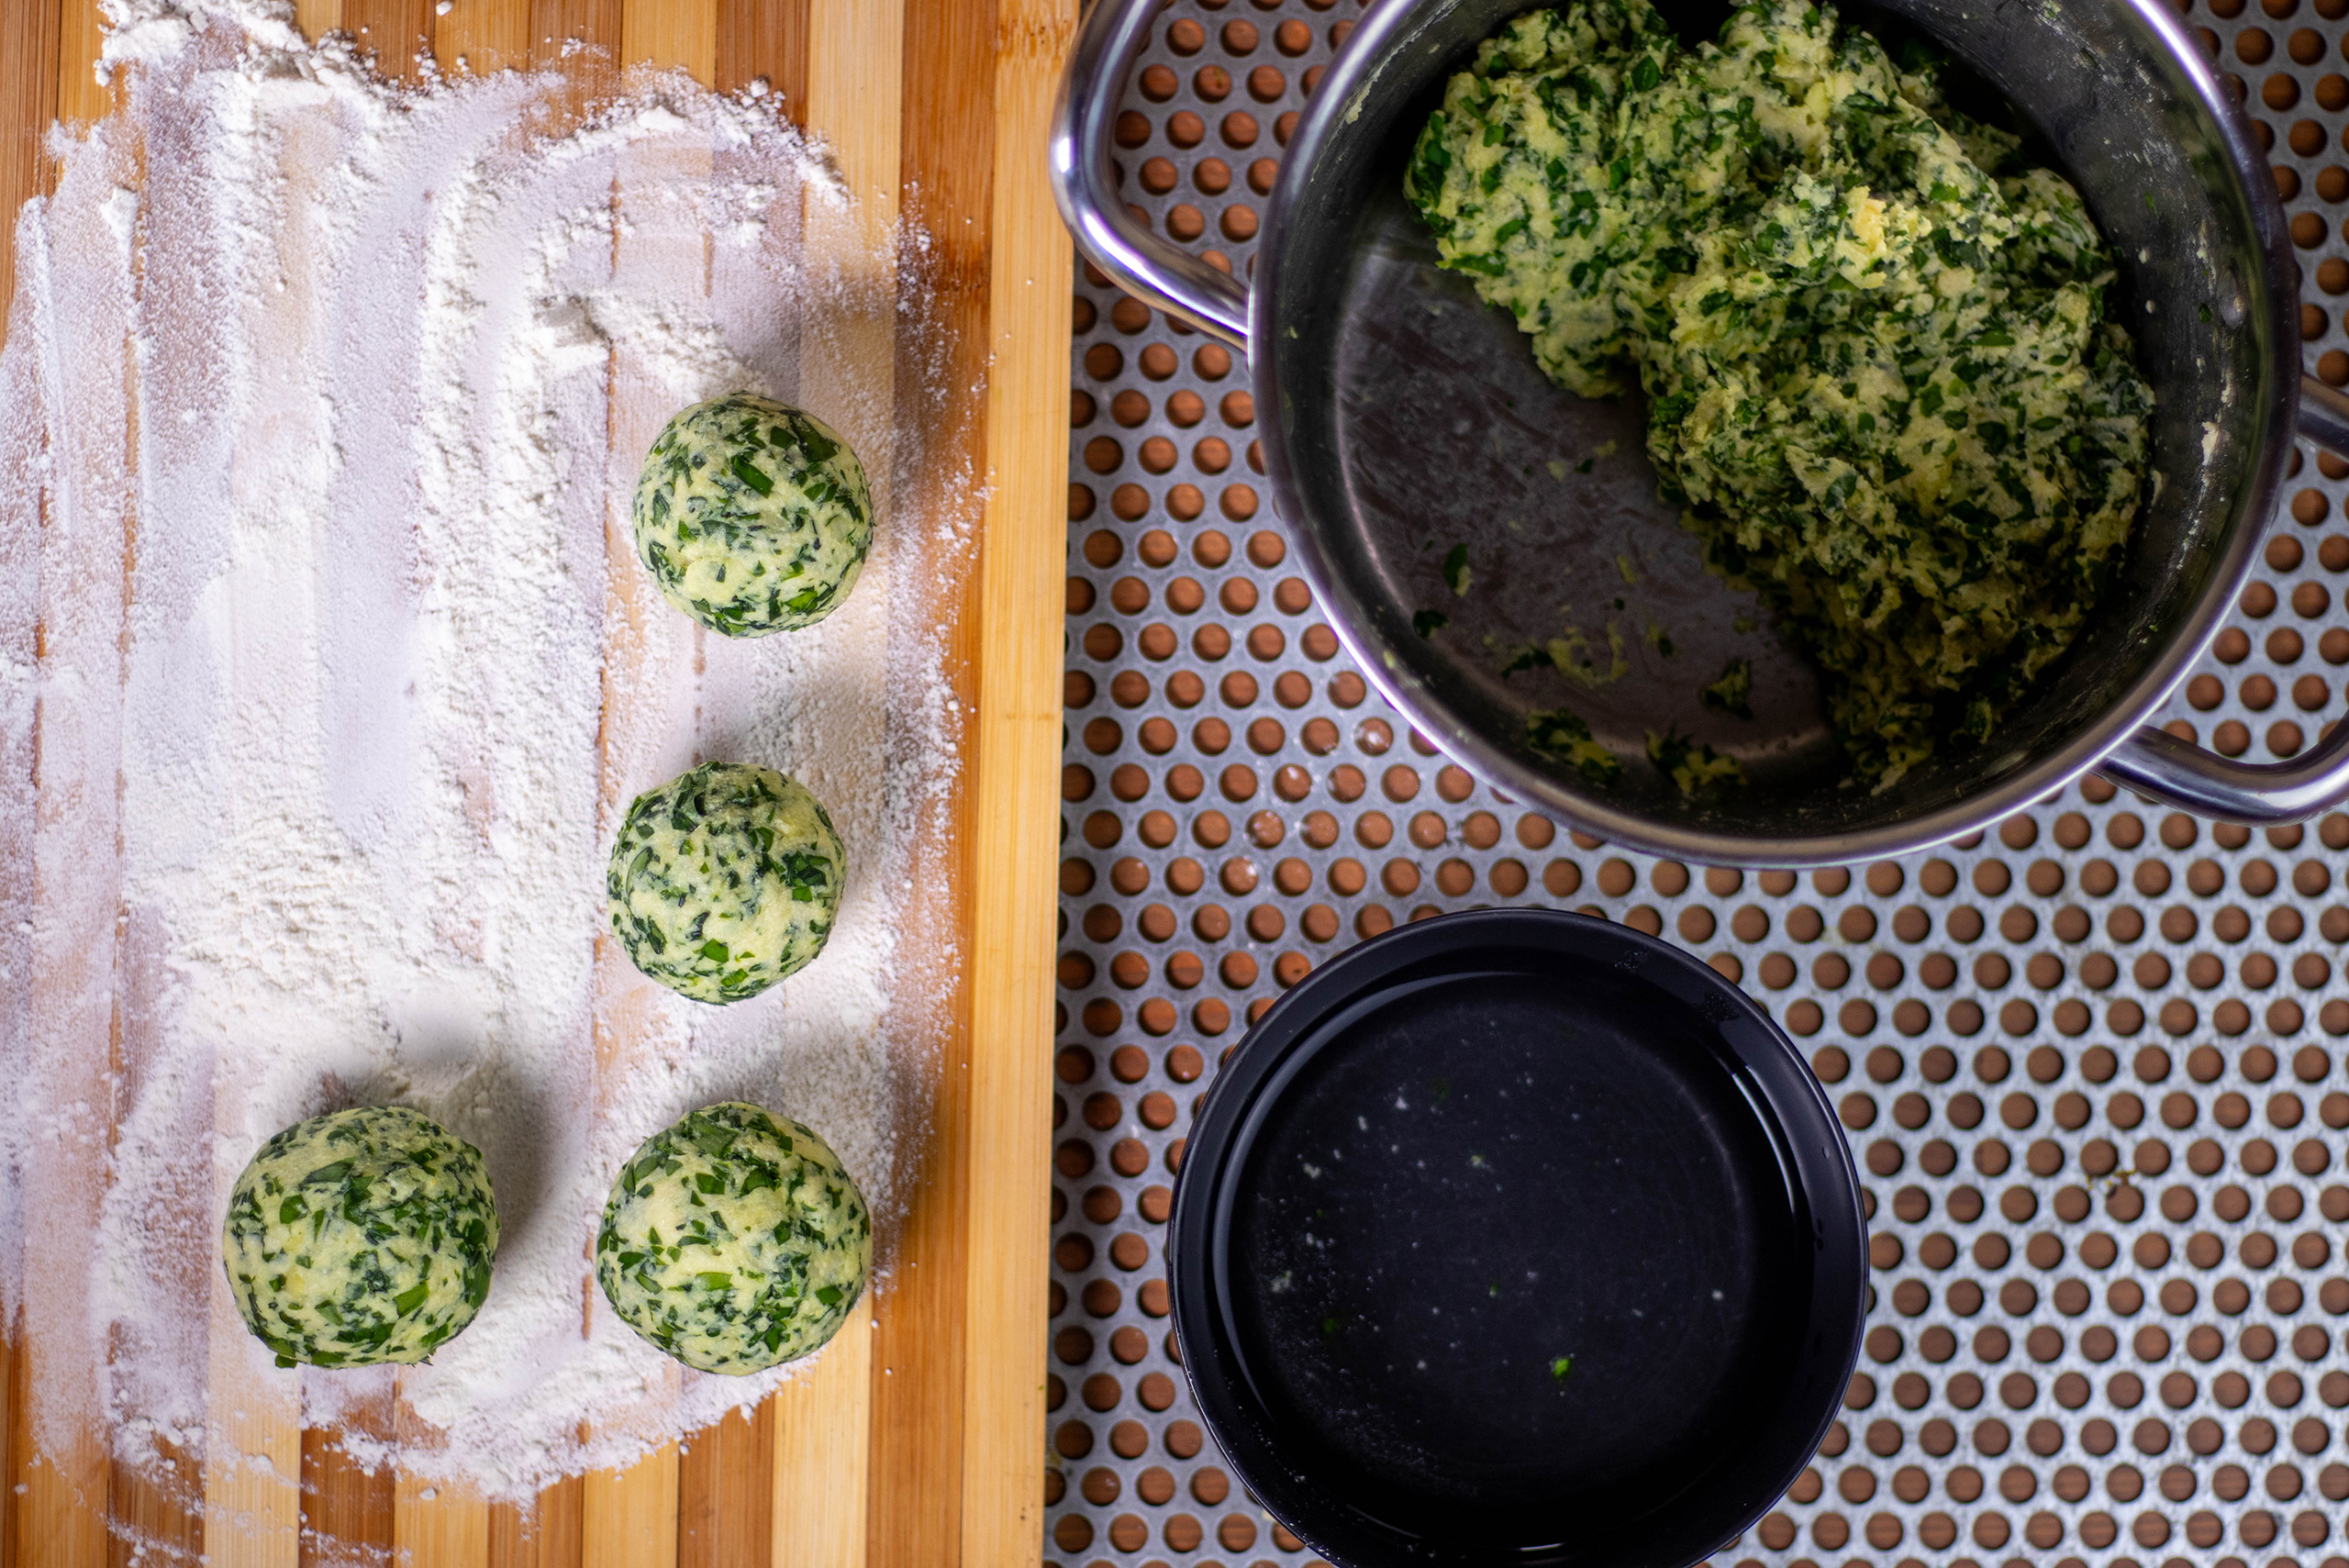
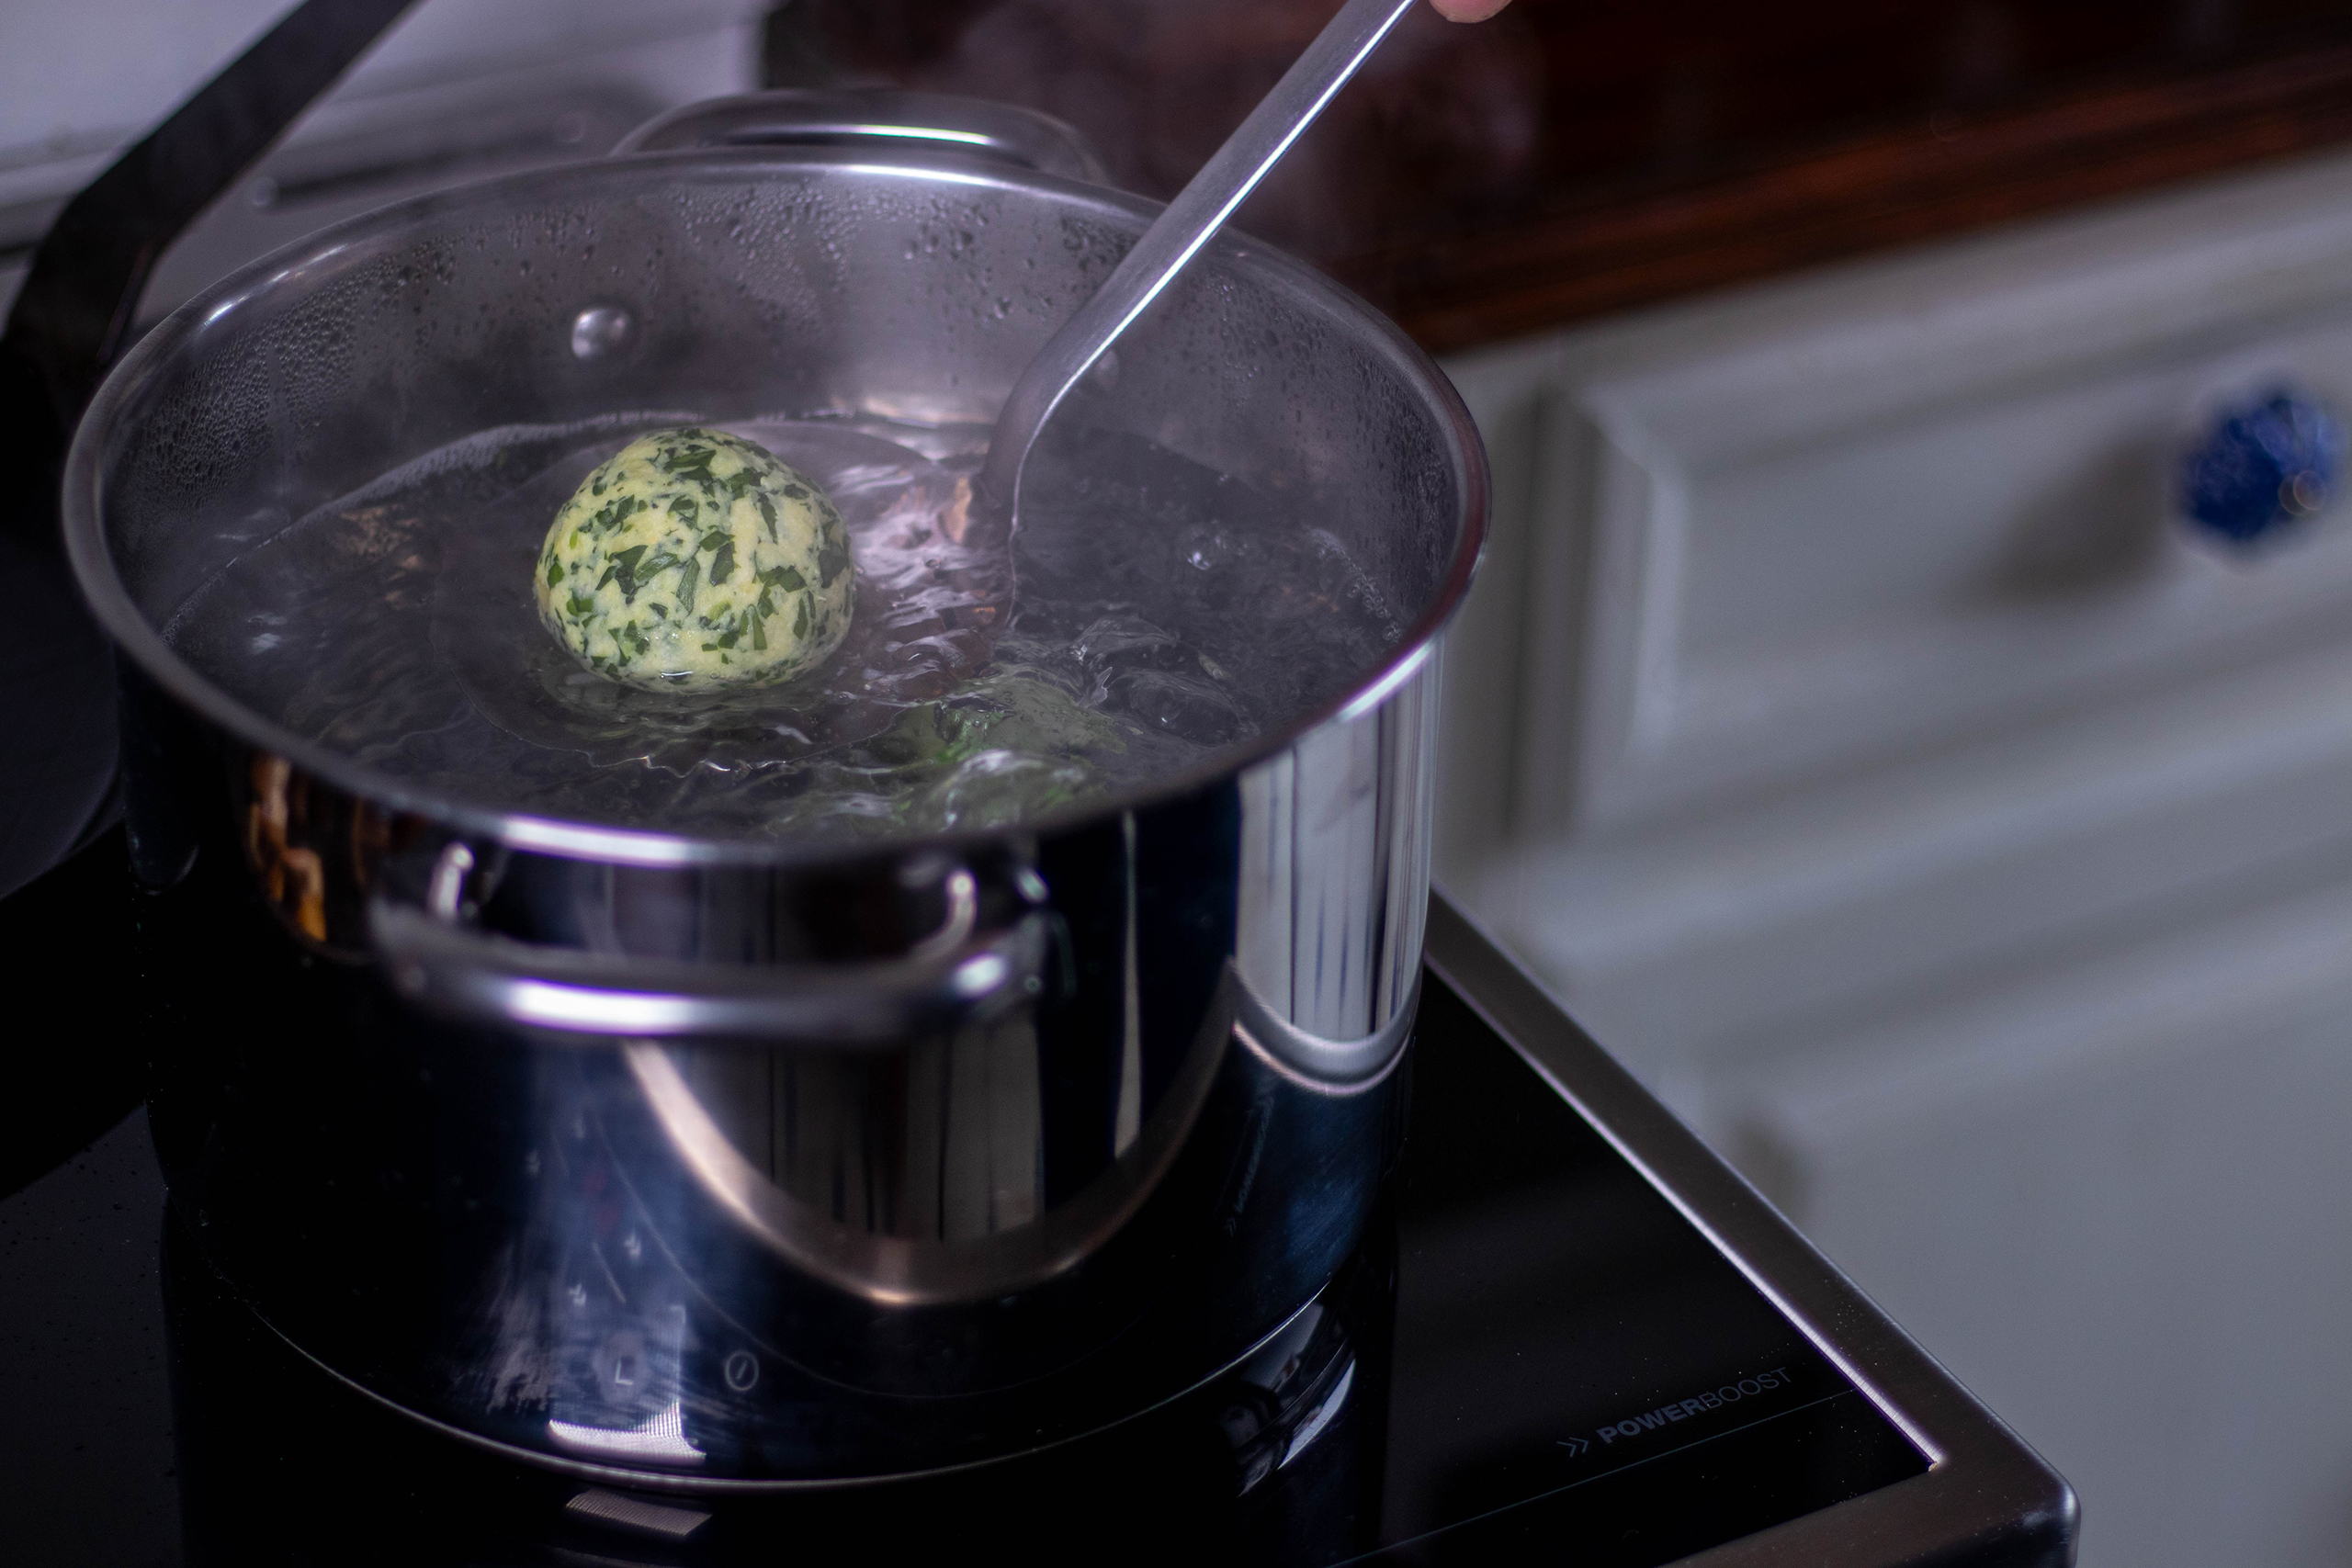
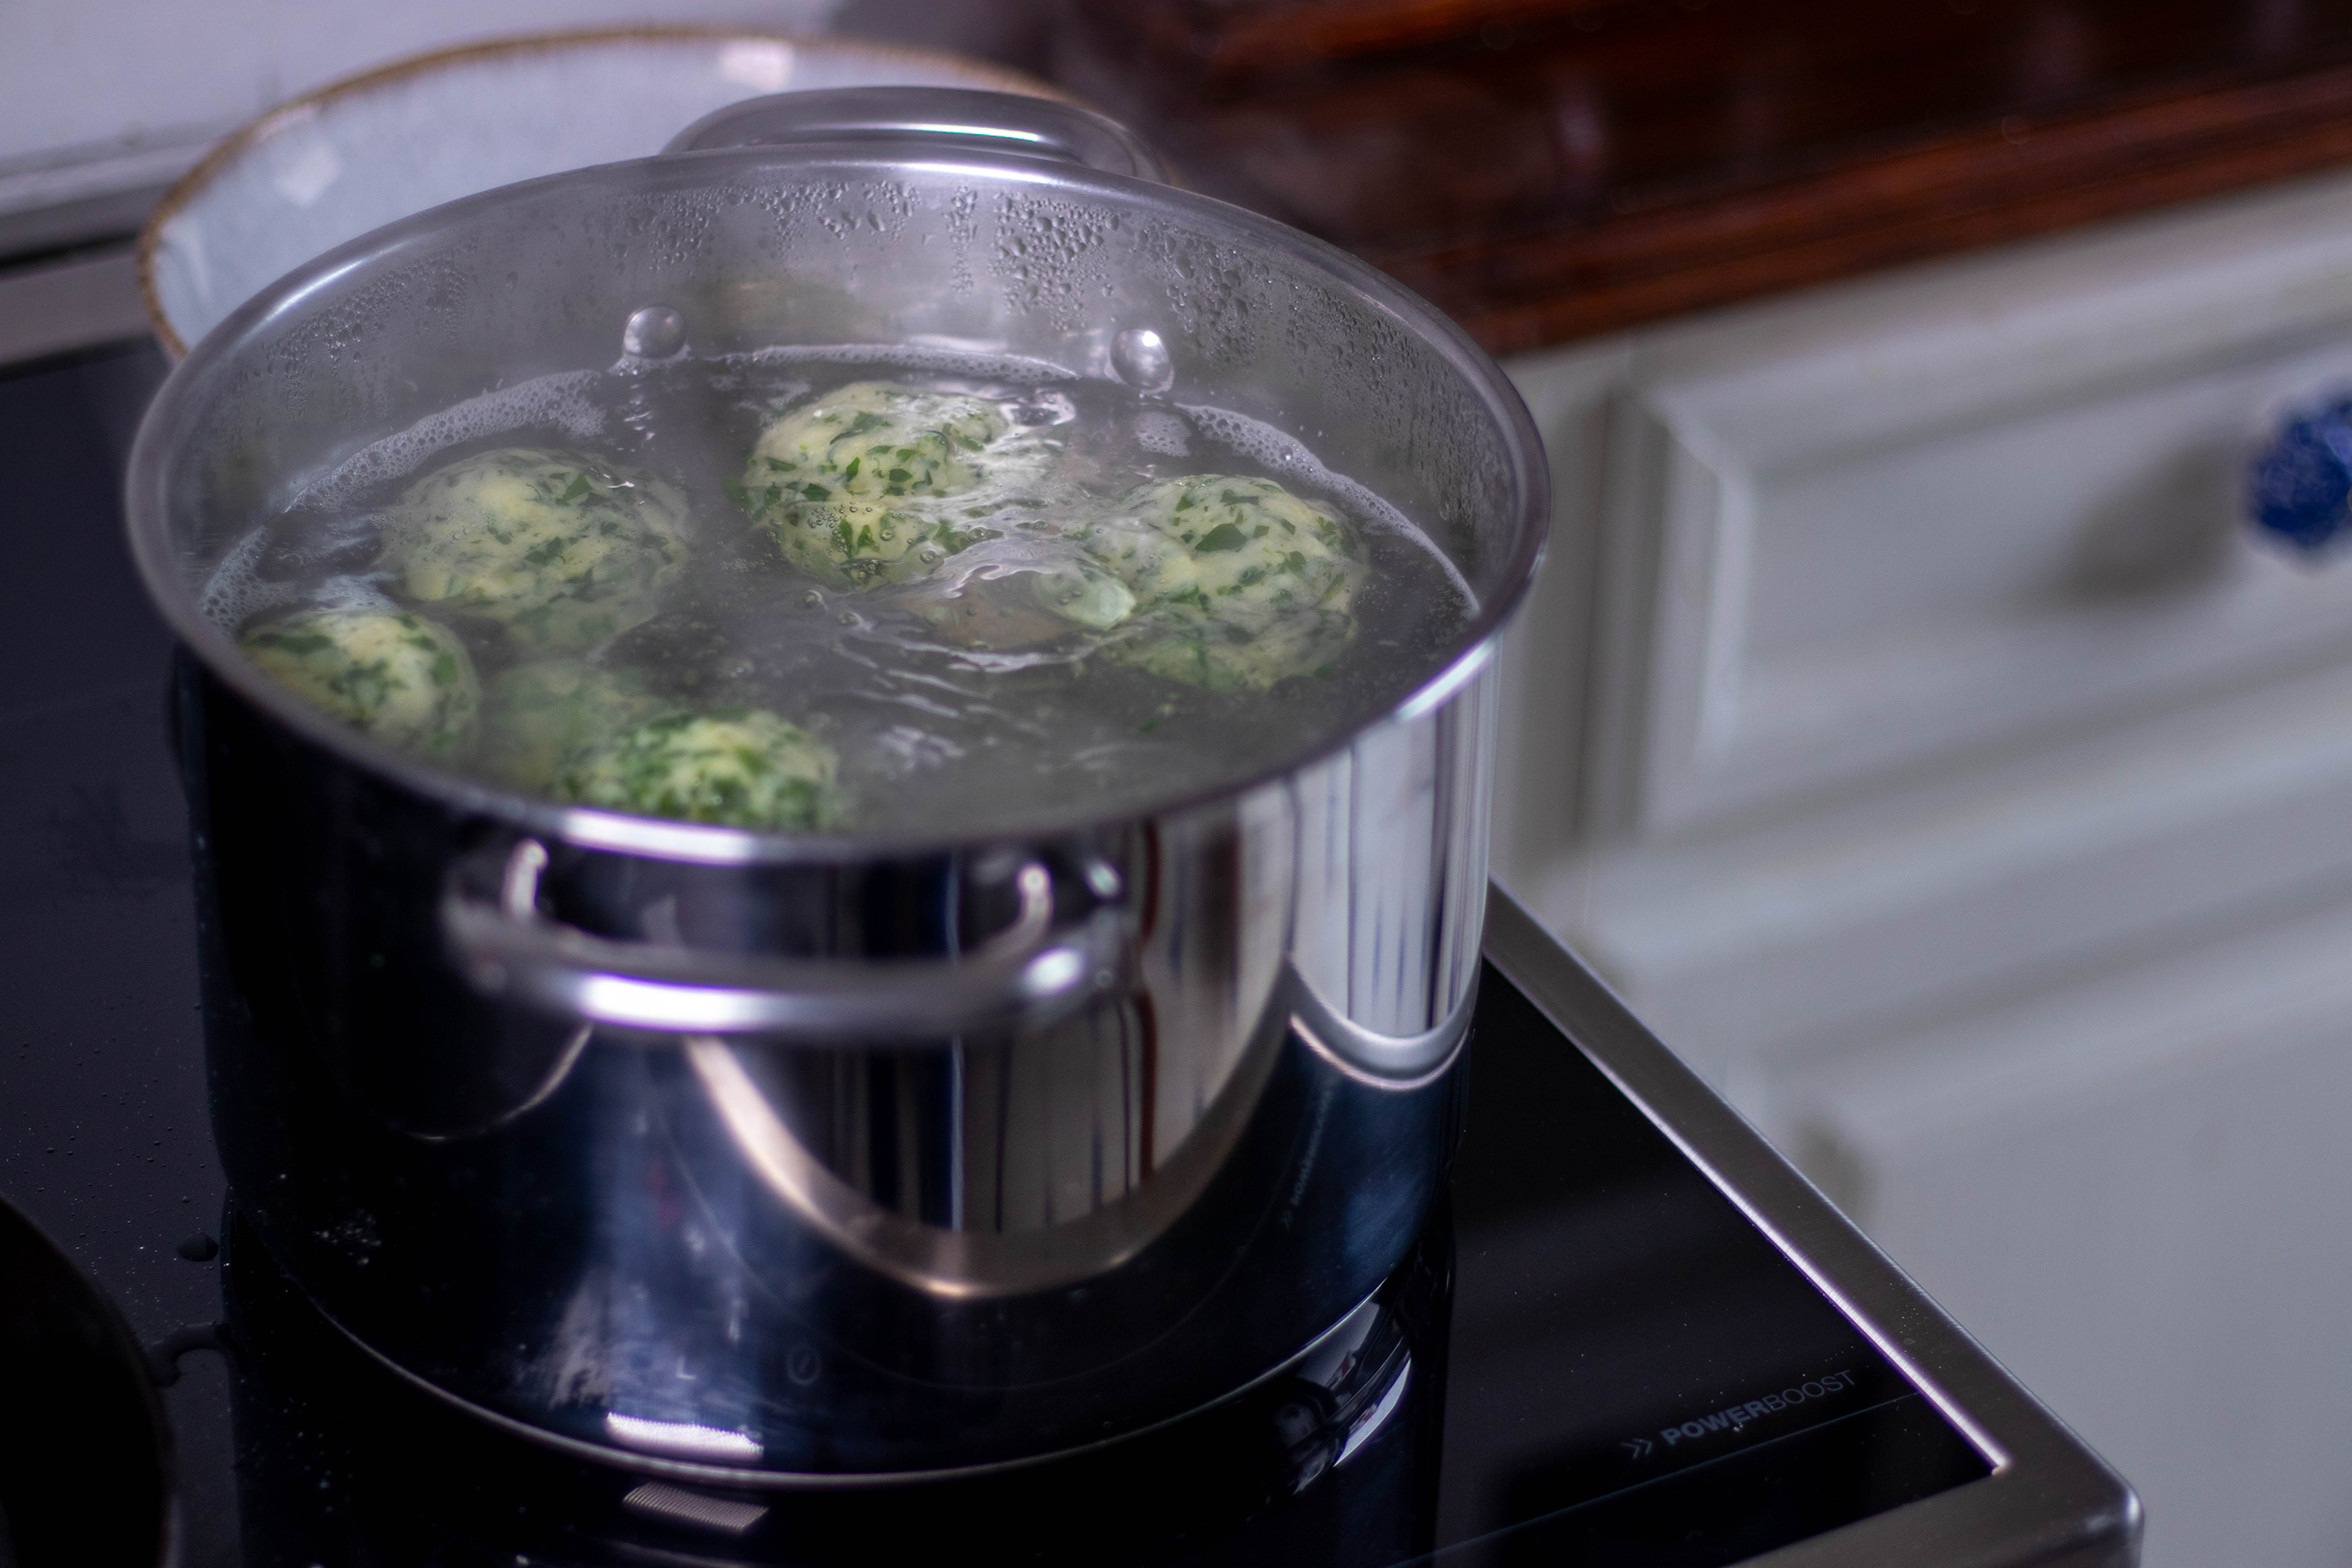
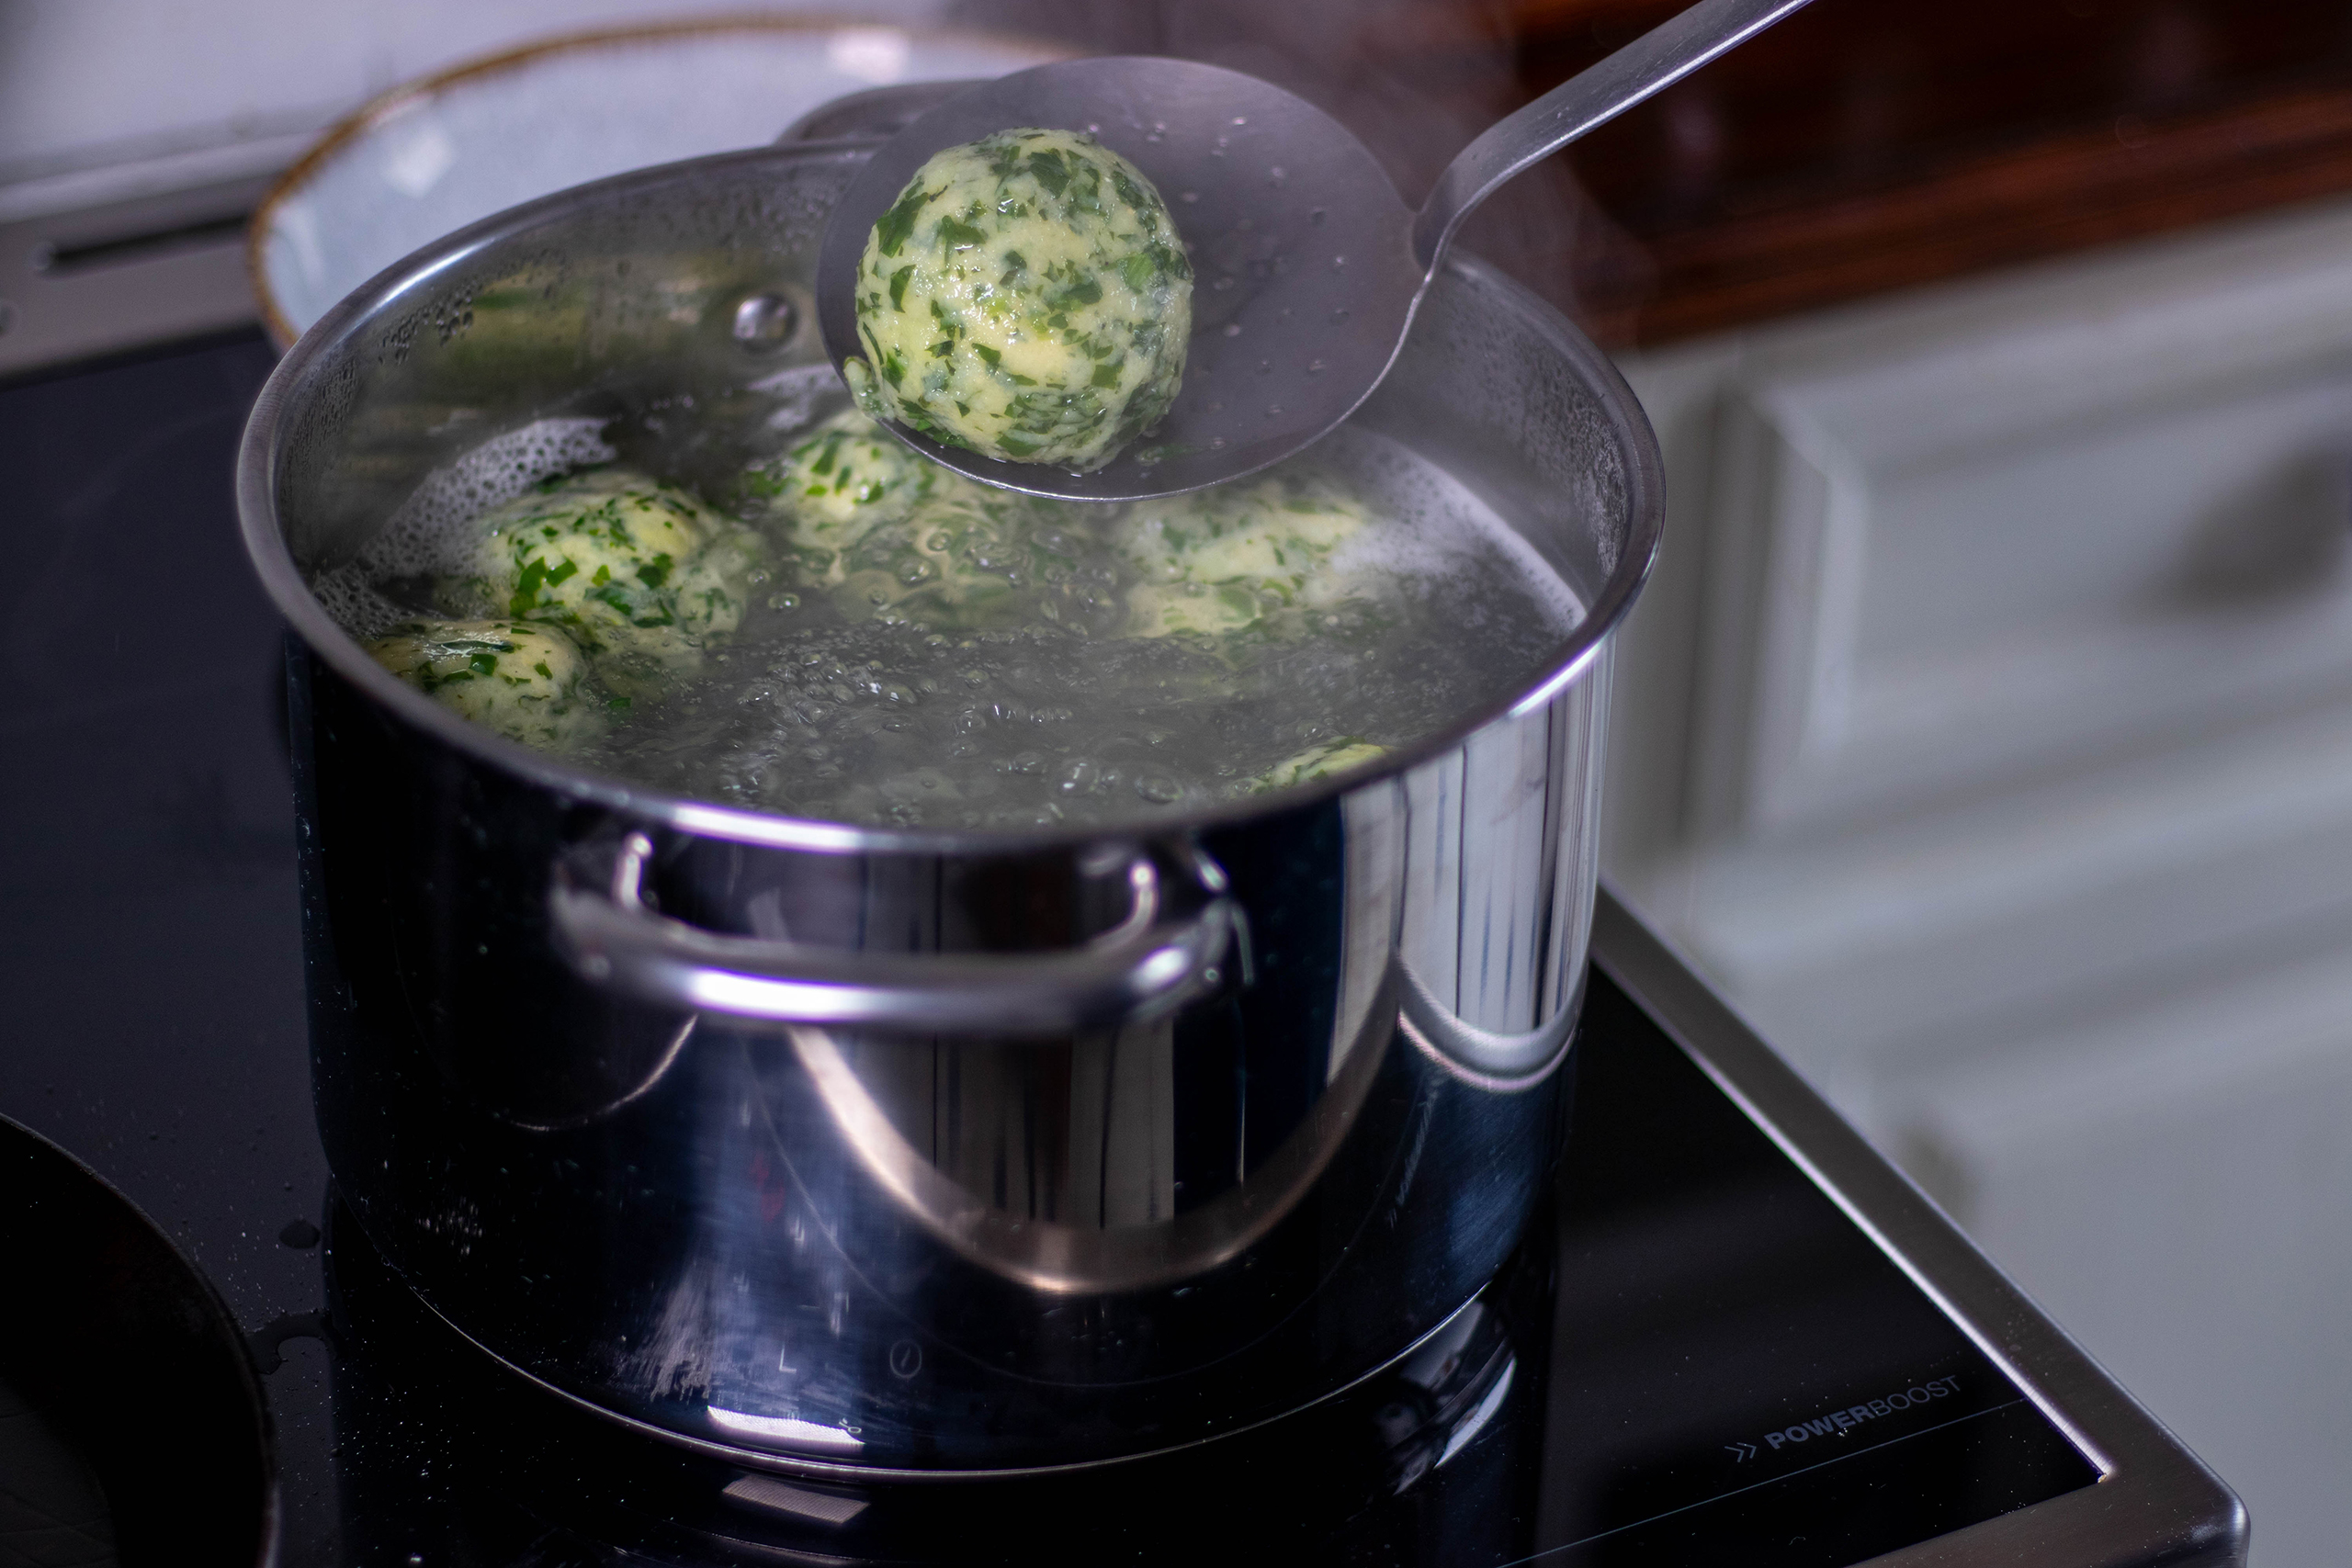
1. All ingredients for the wild garlic dumpling dough.2. The potatoes are mashed and the wild garlic is chopped. Now you can knead the dumpling dough.3. The vegan dumpling dough is prepared. Now knead in the wild garlic and season the dough with salt and pepper.4. The German dumpling dough must now rest for 10 minutes.5. Shaping the wild garlic dumplings.6. Adding the dumplings to the boiling salted water.7. The dumplings are initially at the bottom of the pot.8. After about 10 minutes the dumplings are cooked and will float to the top of the water.9. Now the dumplings can be removed from the cooking water with a slotted spoon.10. Freshly cooked, steaming wild garlic dumplings. Delicious as they are, even without the crispy coating.
Preparing the crispy coating:
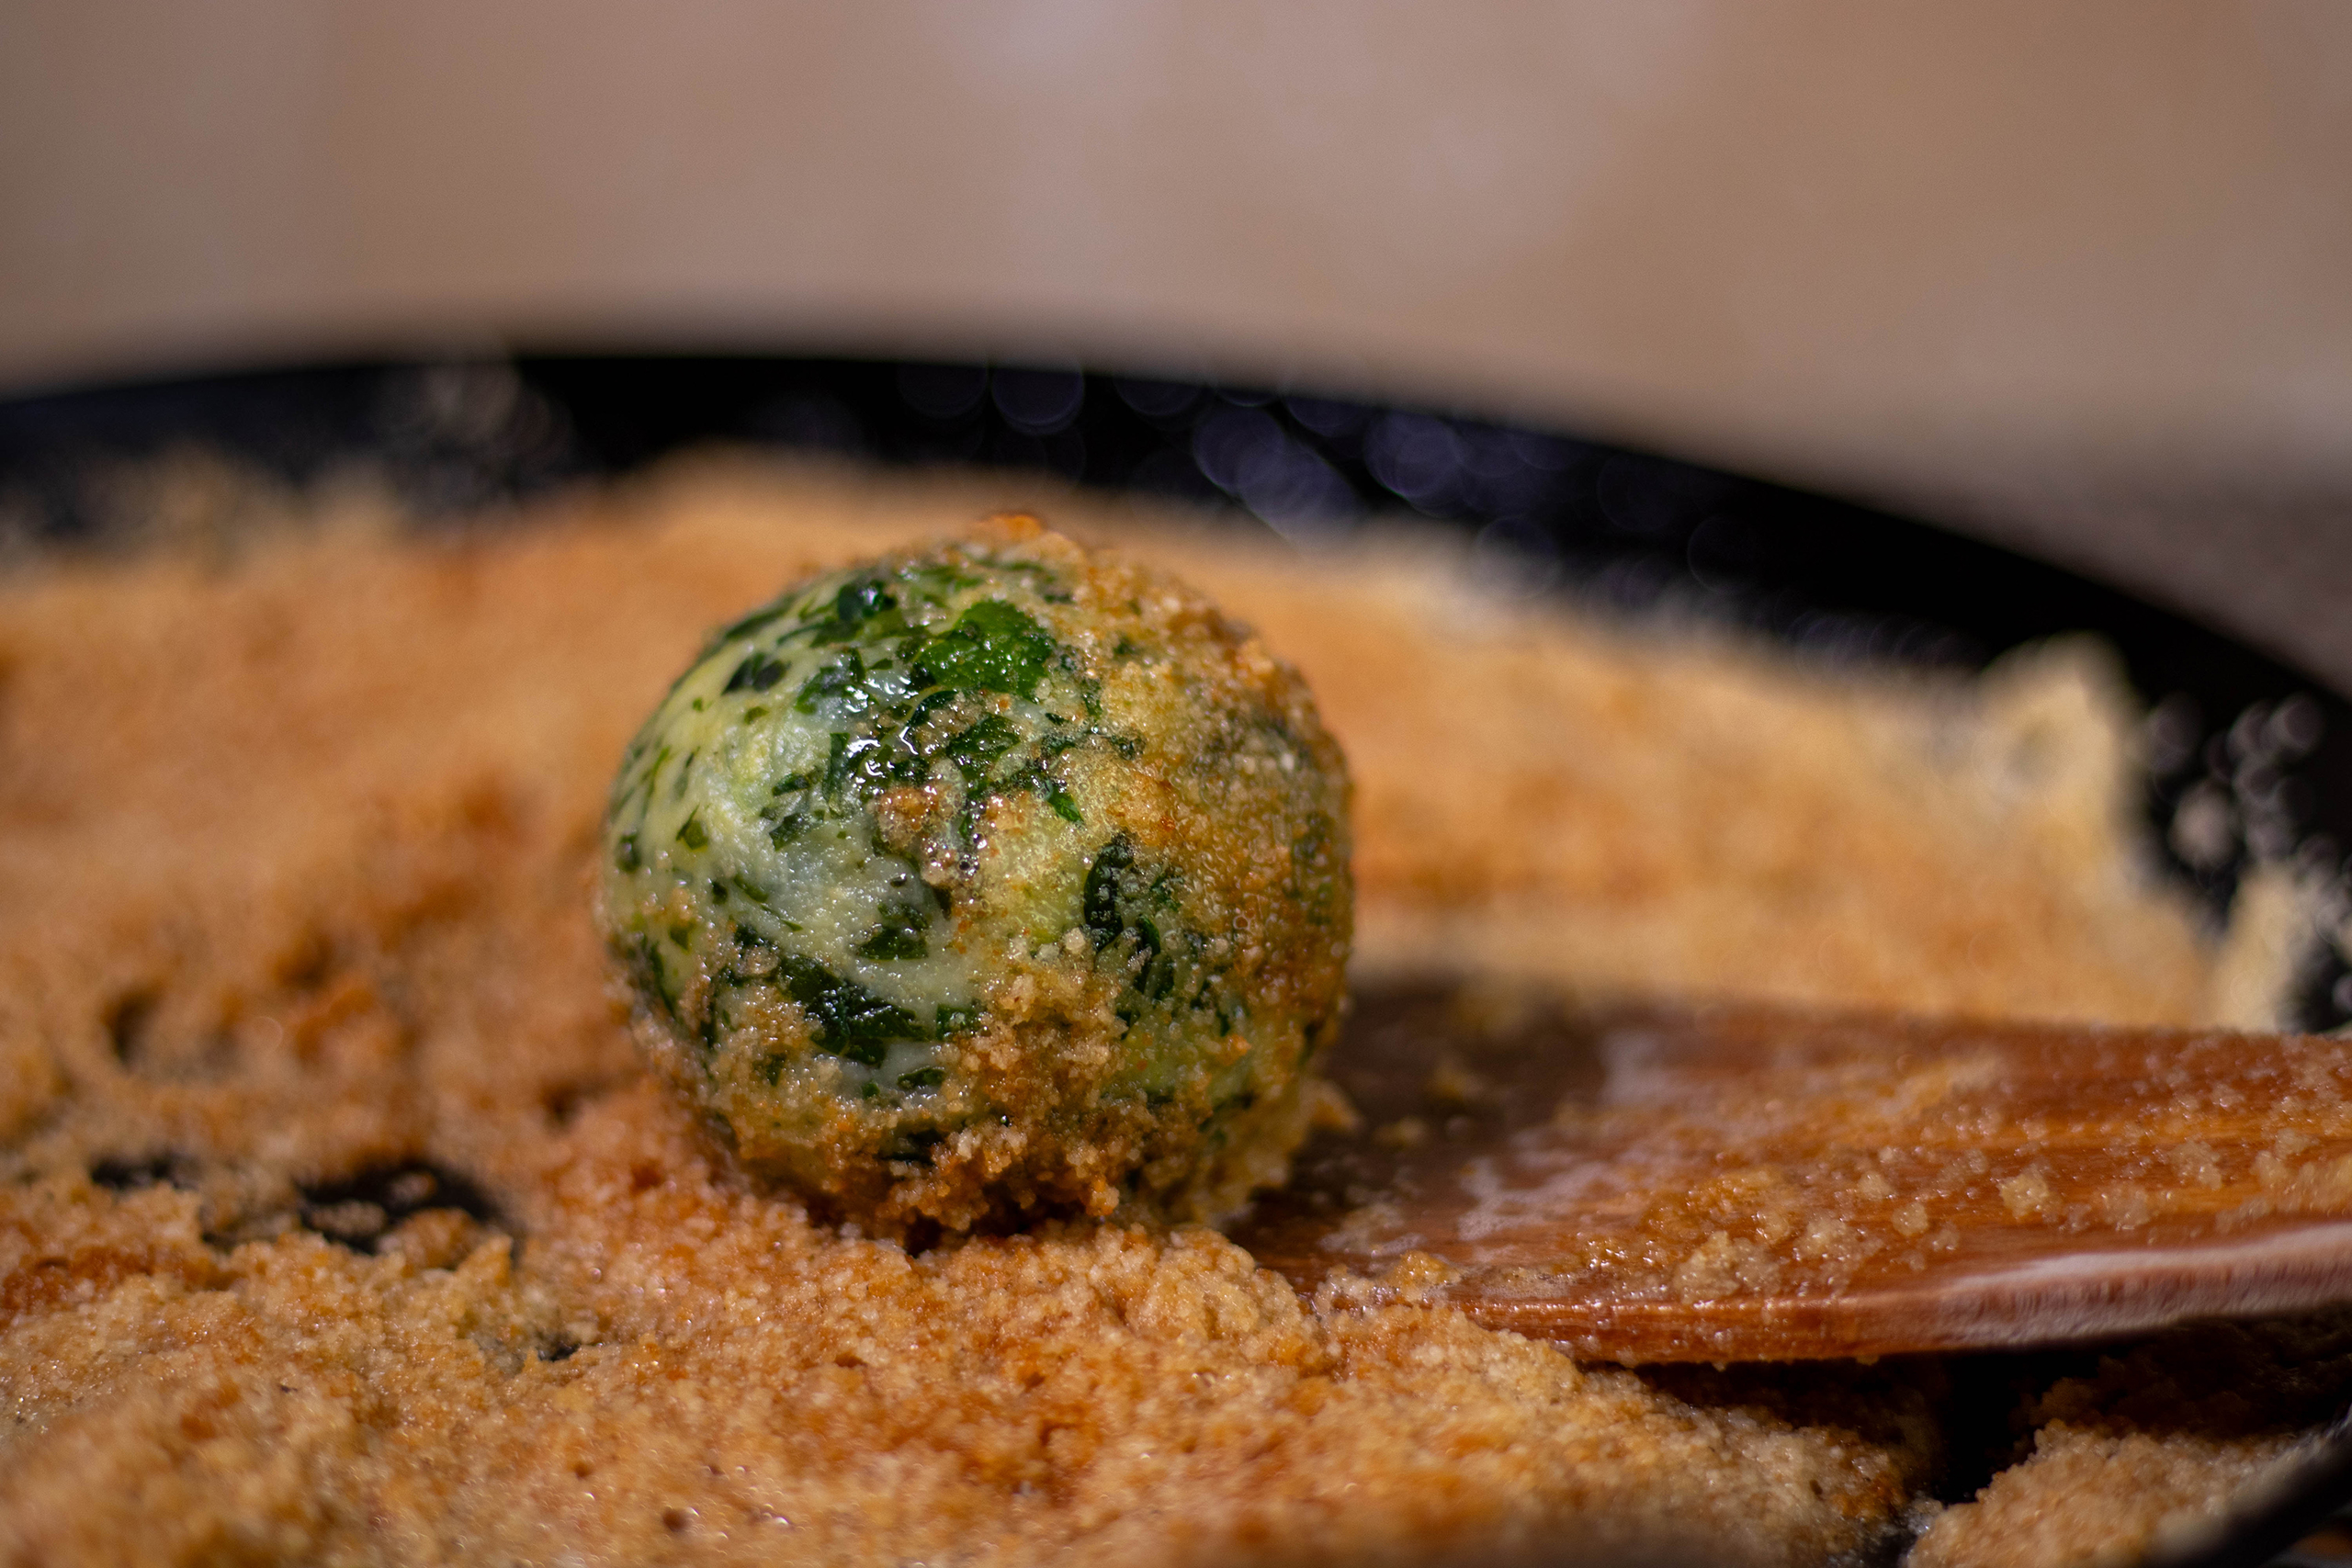
1. Heat the vegan butter in a pan.2. Frying the breadcrumbs.3. Turn the wild garlic dumplings in the vegan breadcrumb butter.Vegan wild garlic dumplings in a crispy coating.Wild garlic dumplings fried in a crispy coating: so beautifully green and aromatic.
Ingredients for 8 crispy wild garlic dumplings:
100 g finely chopped wild garlic
Vegan dumpling dough:
500 g cold, cooked potatoes from the day before 1 heaped tablespoon chickpea flour 80 g flour 30 g wheat semolina 60 g vegan quark or skyr Salt Pepper
Crispy coating for the dumplings:
100 g vegan butter or margarine 80 g breadcrumbs or panko 1 teaspoon salt 1/2 teaspoon pepper
Preparation:
Dumpling Dough:
Mash the cold, boiled potatoes into a smooth, lump-free mash. It’s best to cook the potatoes the day before, so you don’t have to wait to prepare the dumplings.
Thoroughly mix the mashed potatoes with the remaining dough ingredients.
Then knead in the chopped wild garlic.
Season with salt and pepper.
Let the wild garlic dumpling dough rest for ten minutes.
Divide the dumpling dough into 8 equal pieces.
Moisten your hands with cold water and shape each piece into a dumpling in your palms. It’s best to store raw dumplings on a floured surface before cooking to prevent them from sticking.
Cook the wild garlic dumplings:
Place the vegan dumplings with wild garlic in boiling, salted water and let them simmer for 10 minutes.
Then remove them from the water with a ladle, which will also ensure they are strained.
Crispy Coating:
For the breadcrumb butter, melt the vegan butter in a pan; the vegan butter should be nice and hot.
Stir in the remaining ingredients for the breadcrumb butter and fry until the breadcrumbs turn brown, stirring frequently.
Remove from the heat and roll the hot dumplings in the butter.
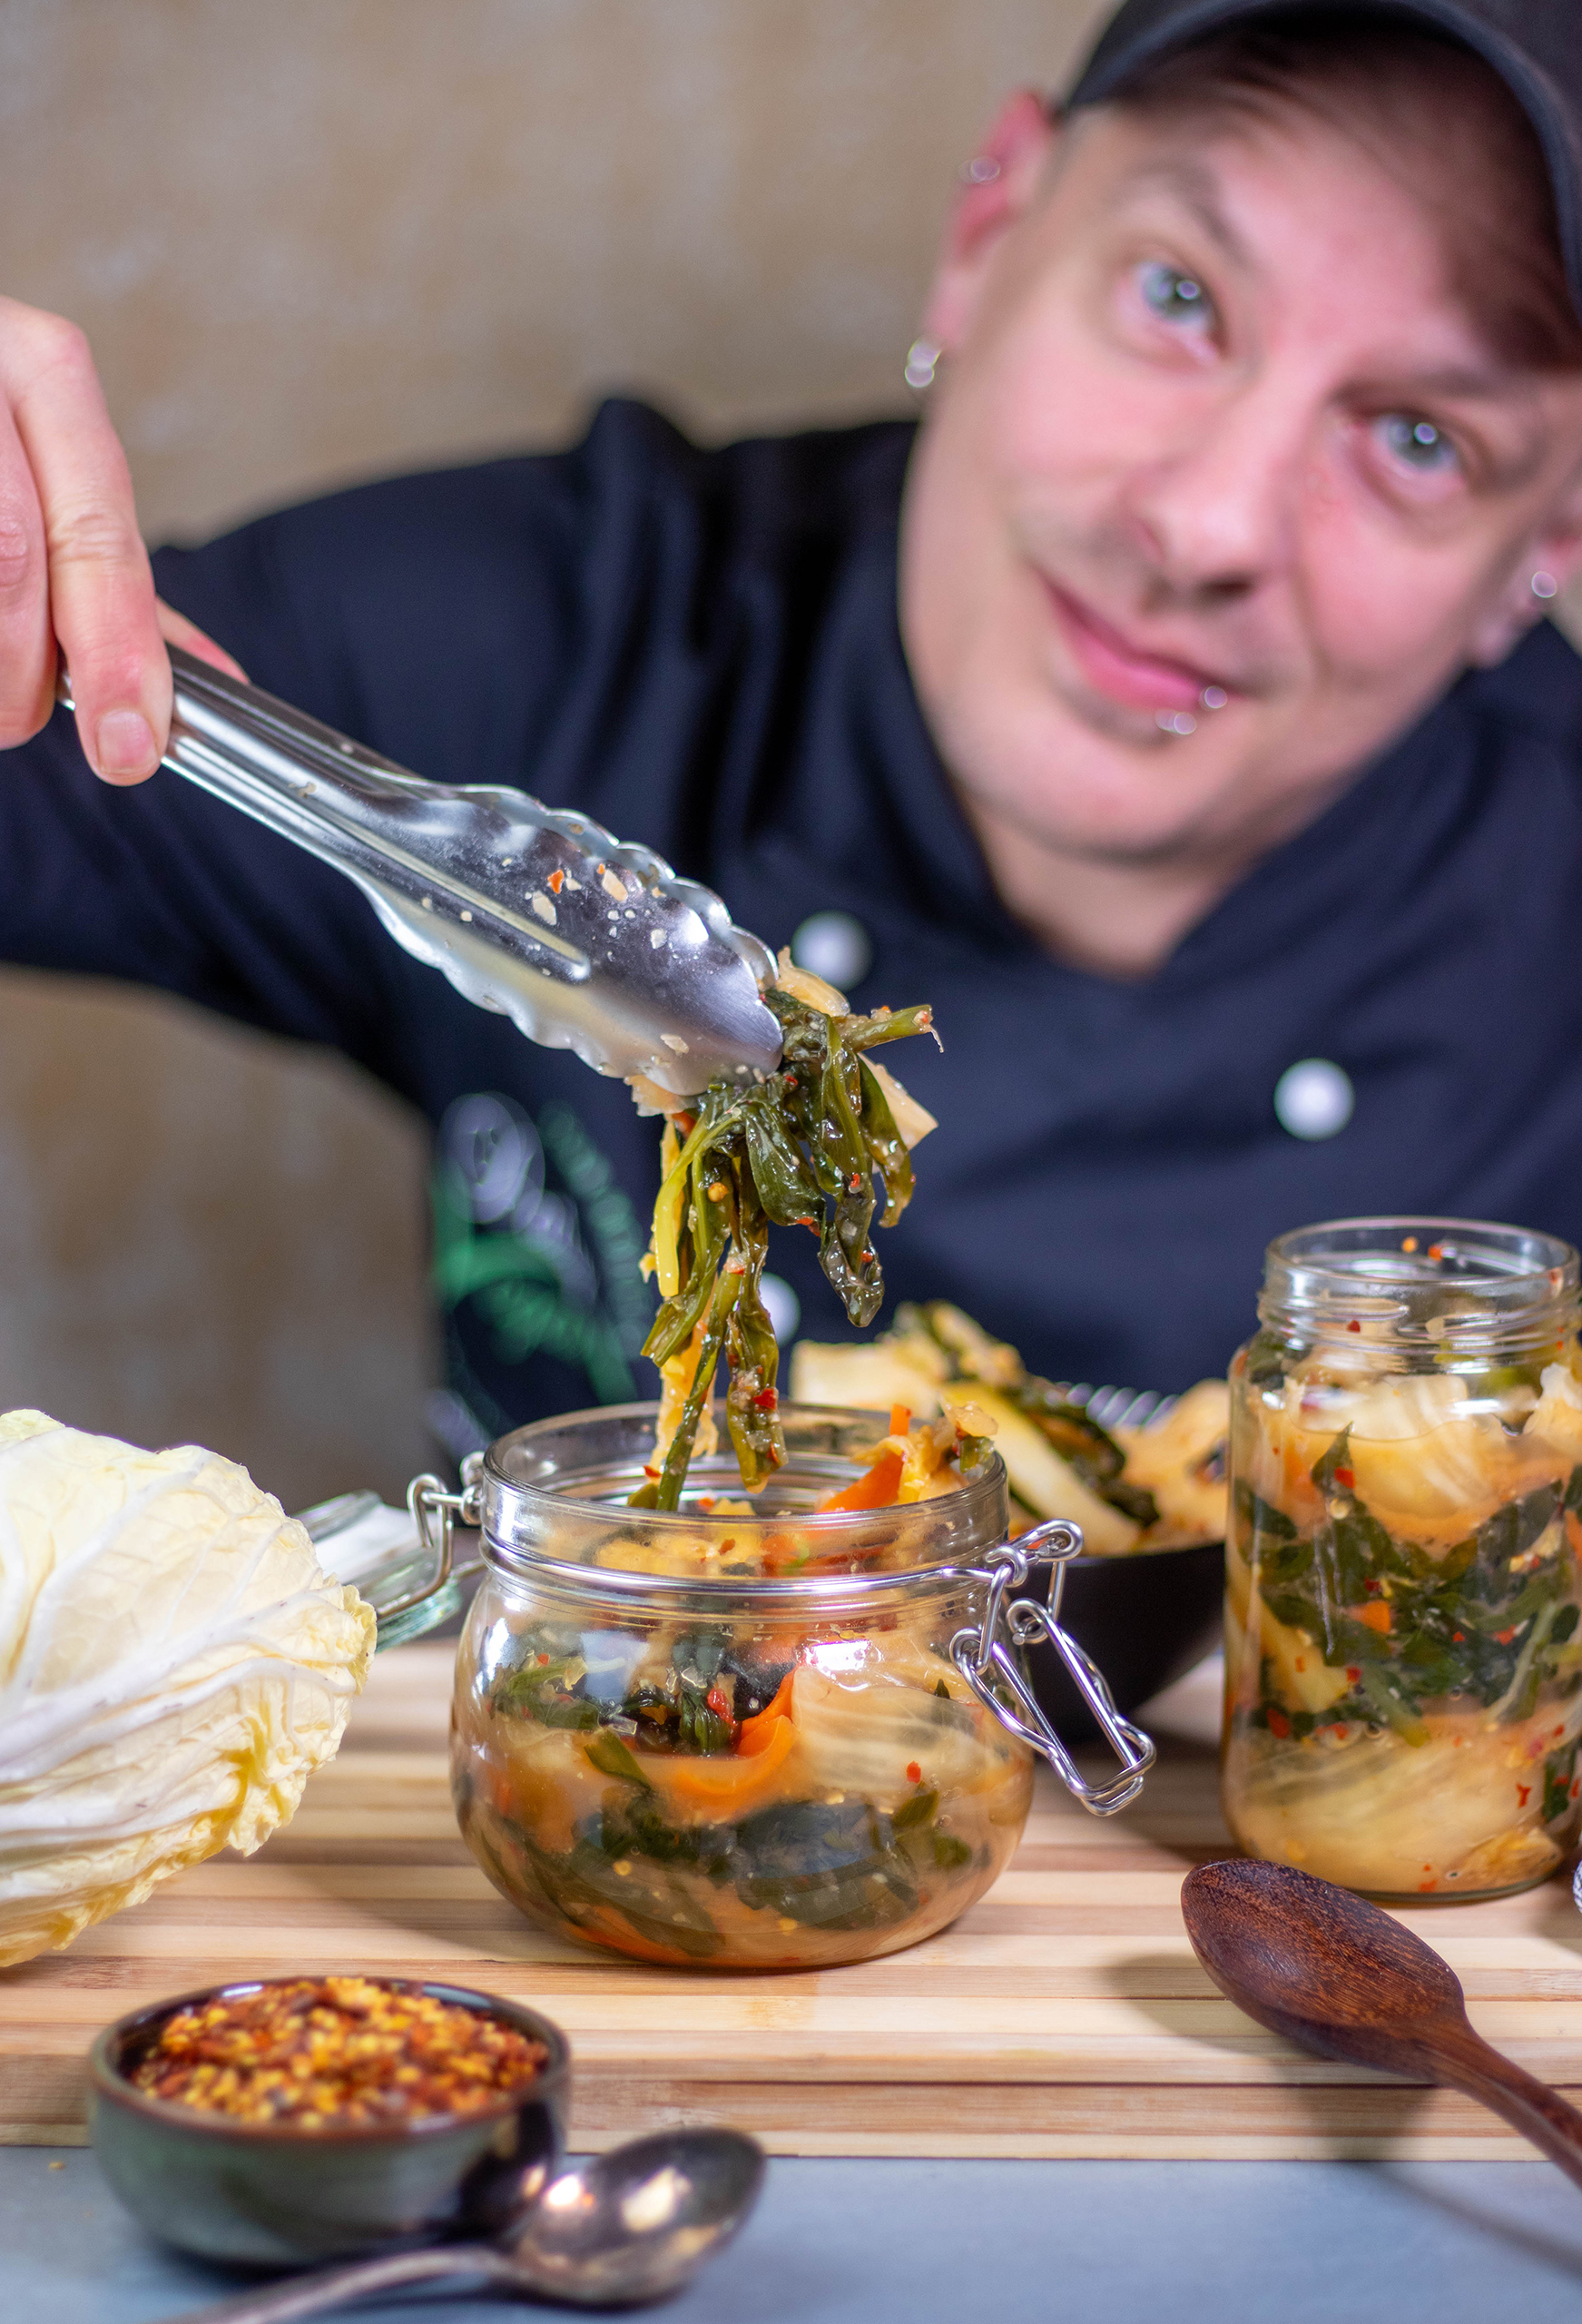
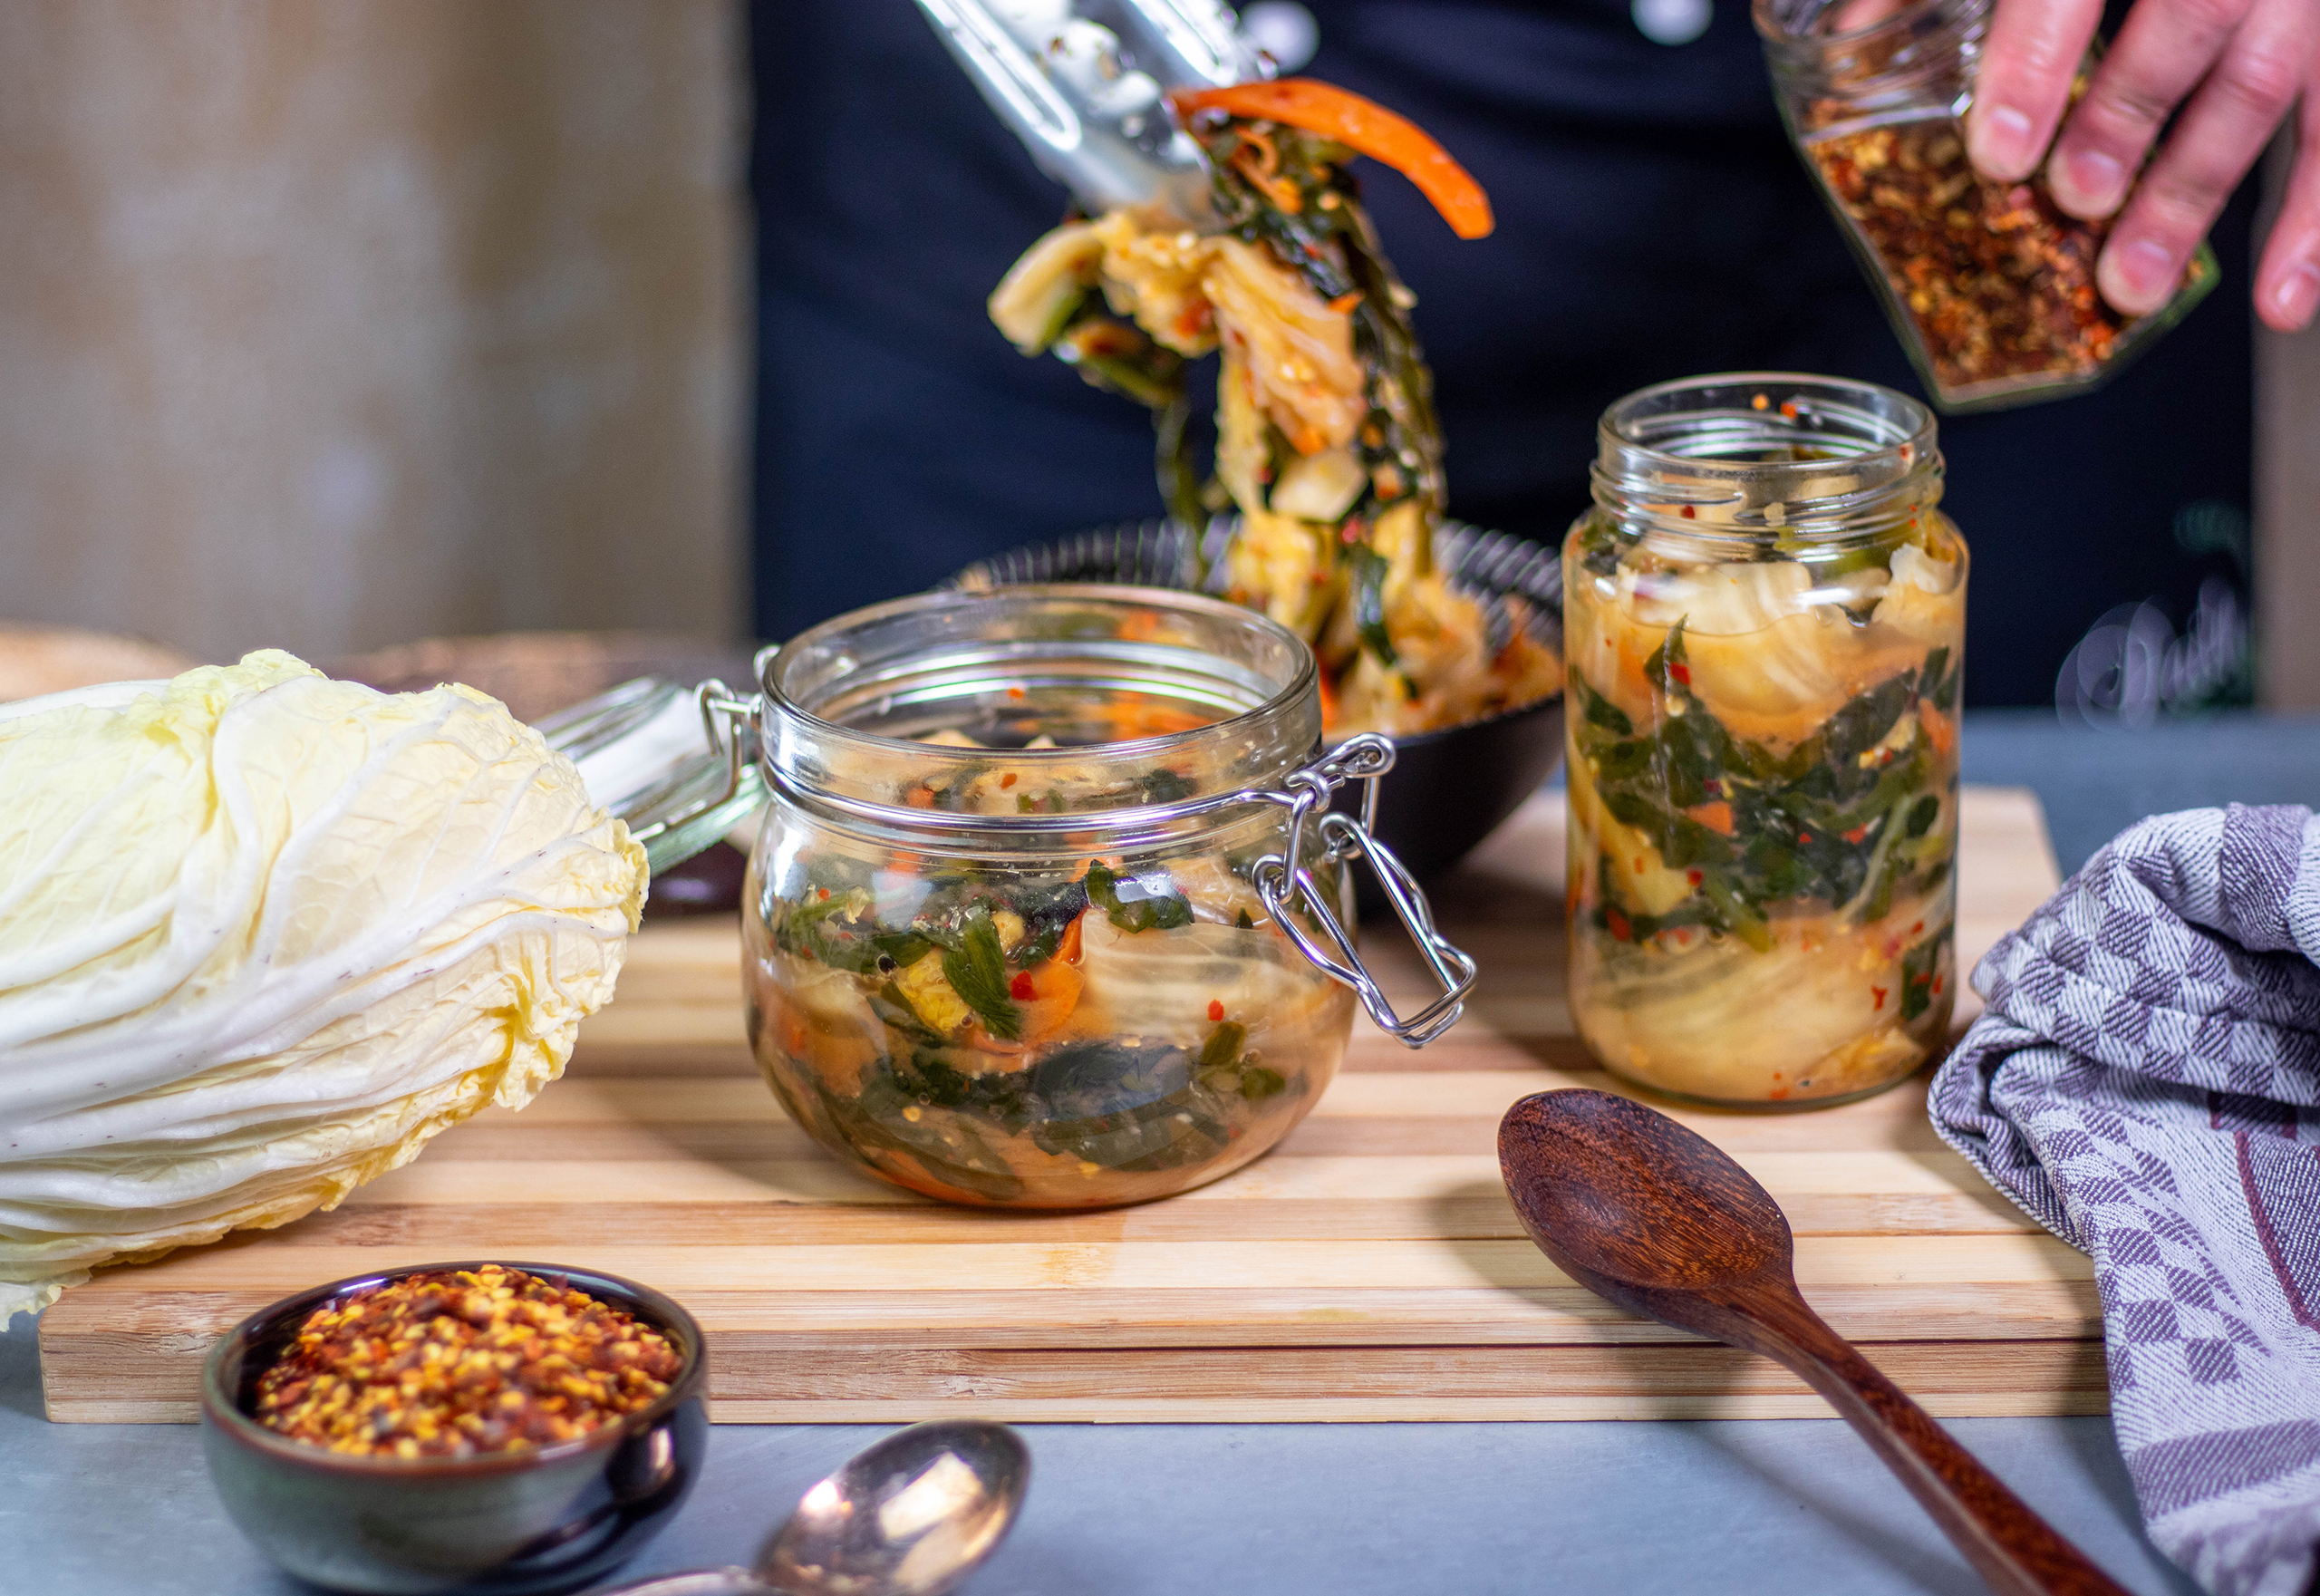
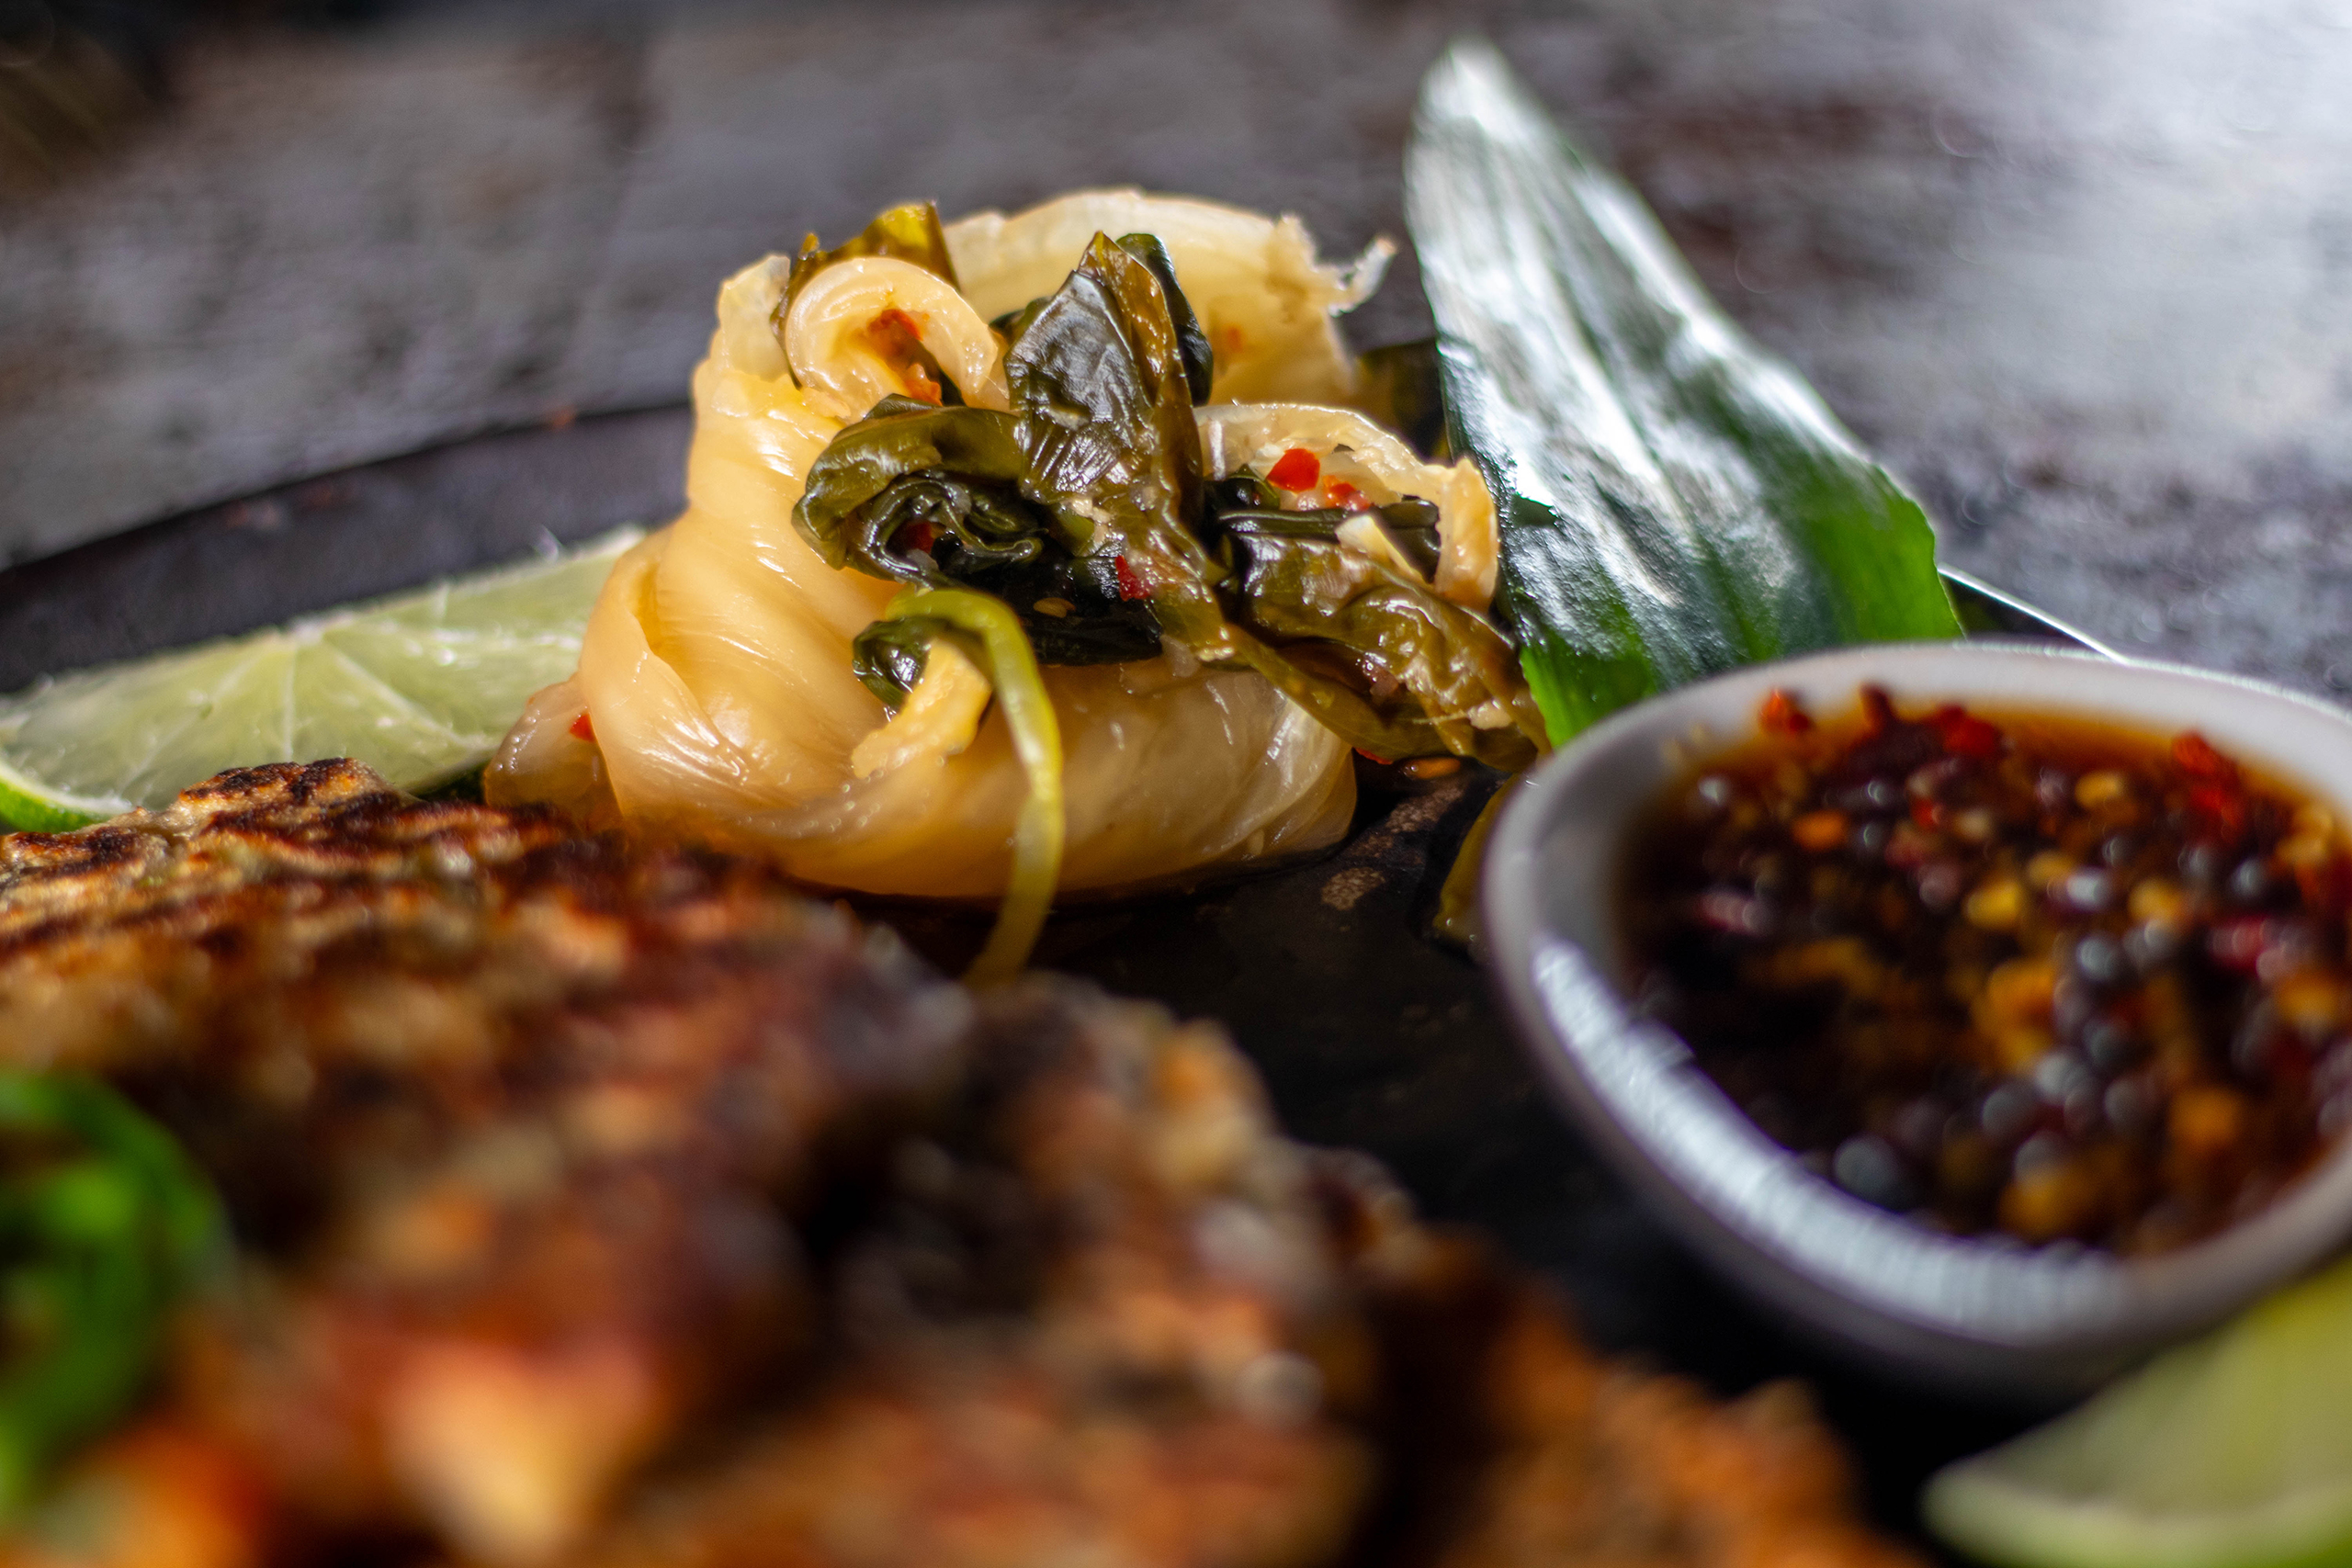
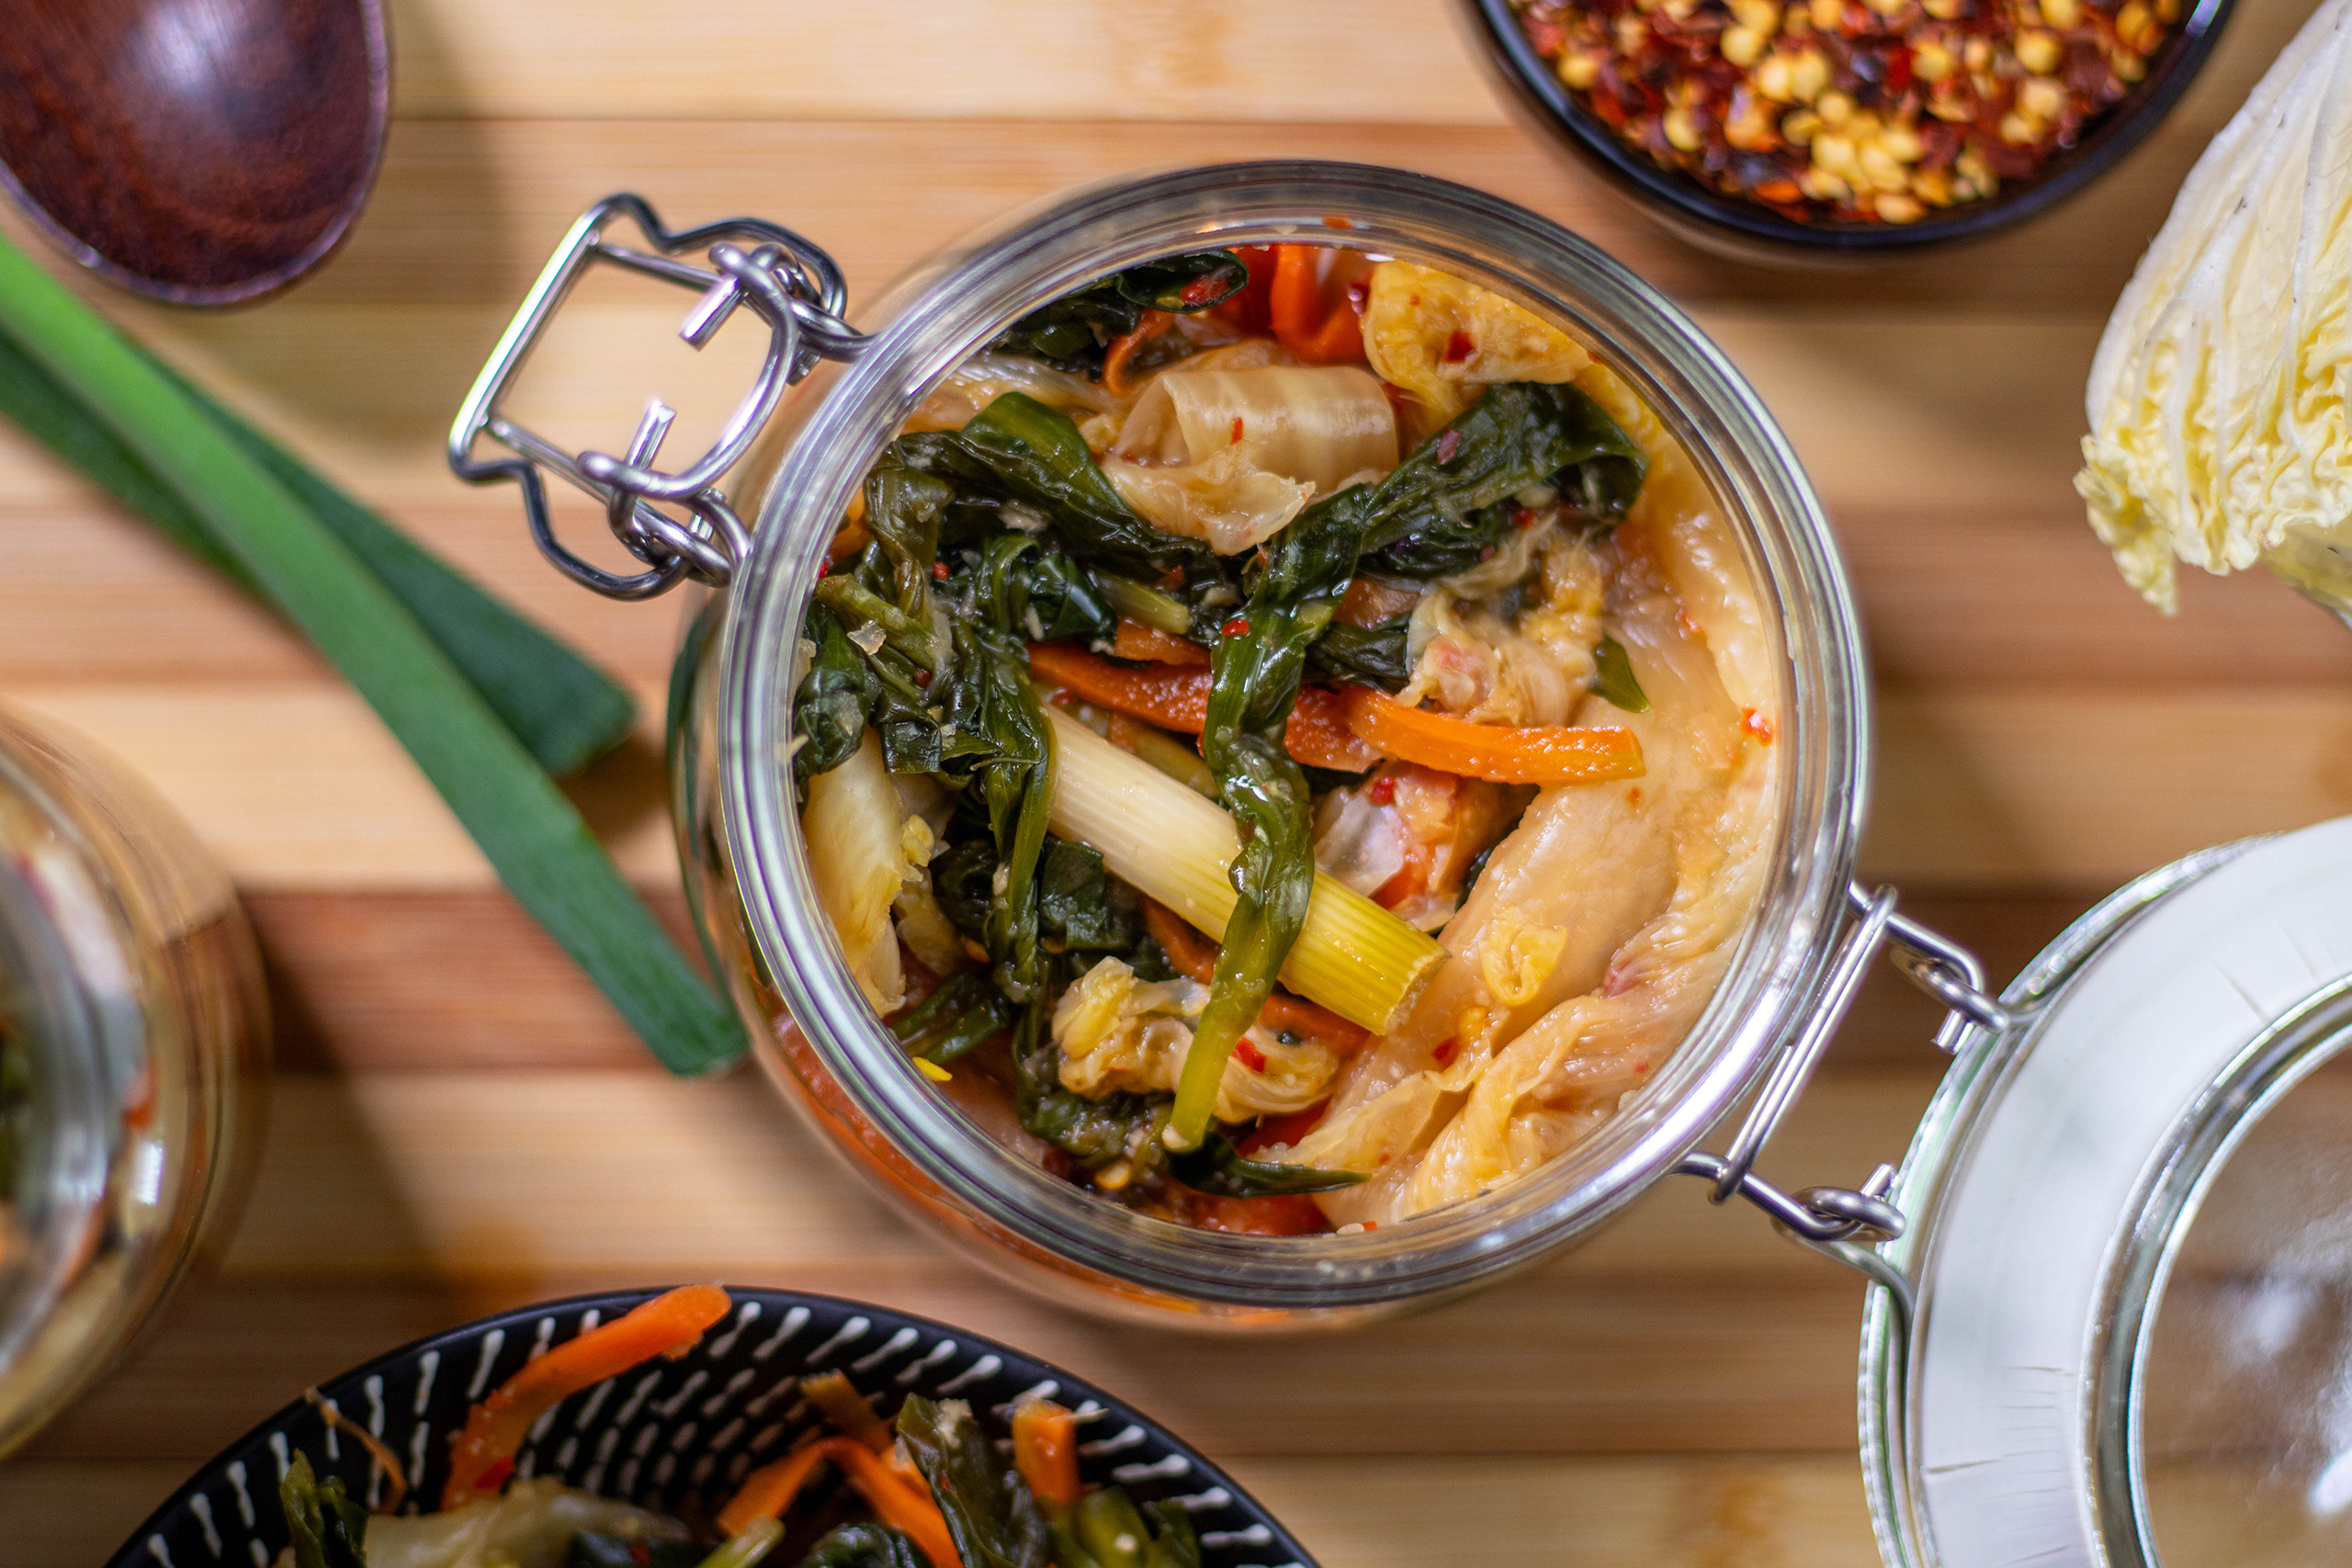
In my simple, vegan recipe for wild garlic kimchi, I combine Korean kimchi with local foraged wild garlic. A fantastic flavour combination. A great snack and a great little side dish for many meals!
In this recipe I’ll also explain the basics of lactofermentation. As a good foundation that can be used for many ferments.
In my simple, vegan recipe for wild garlic kimchi, I combine Korean kimchi with home-picked wild garlic
What exactly is kimchi?
Kimchi is a traditional Korean dish made from fermented vegetables. It primarily uses Chinese cabbage and Korean radish. It is a type of pickled vegetable that, like German sauerkraut, acquires a unique flavour through lactic acid fermentation. However, the various ingredients and special seasoning give kimchi a very complex flavor.
In Korea, kimchi has a deep-rooted cultural significance and is often considered a symbol of health, prosperity, and happiness.
Kimchi is a traditional Korean dish made from fermented vegetables.
Wild Garlic Kimchi: Traditional Kimchi Combined with Wild Garlic
In my recipe, I prepare a vegan kimchi that I combine with wild garlic. I’ve made this kimchi recipe relatively mild, both in terms of spiciness and fermentation. This brings out the flavour of the wild garlic. The flavour of the fermented wild garlic adds an additional, exciting note to the kimchi, which blends beautifully and offers a unique kimchi taste experience.
Wild garlic kimchi as a small side dish
What can I do with kimchi? What recipes can I prepare with kimchi?
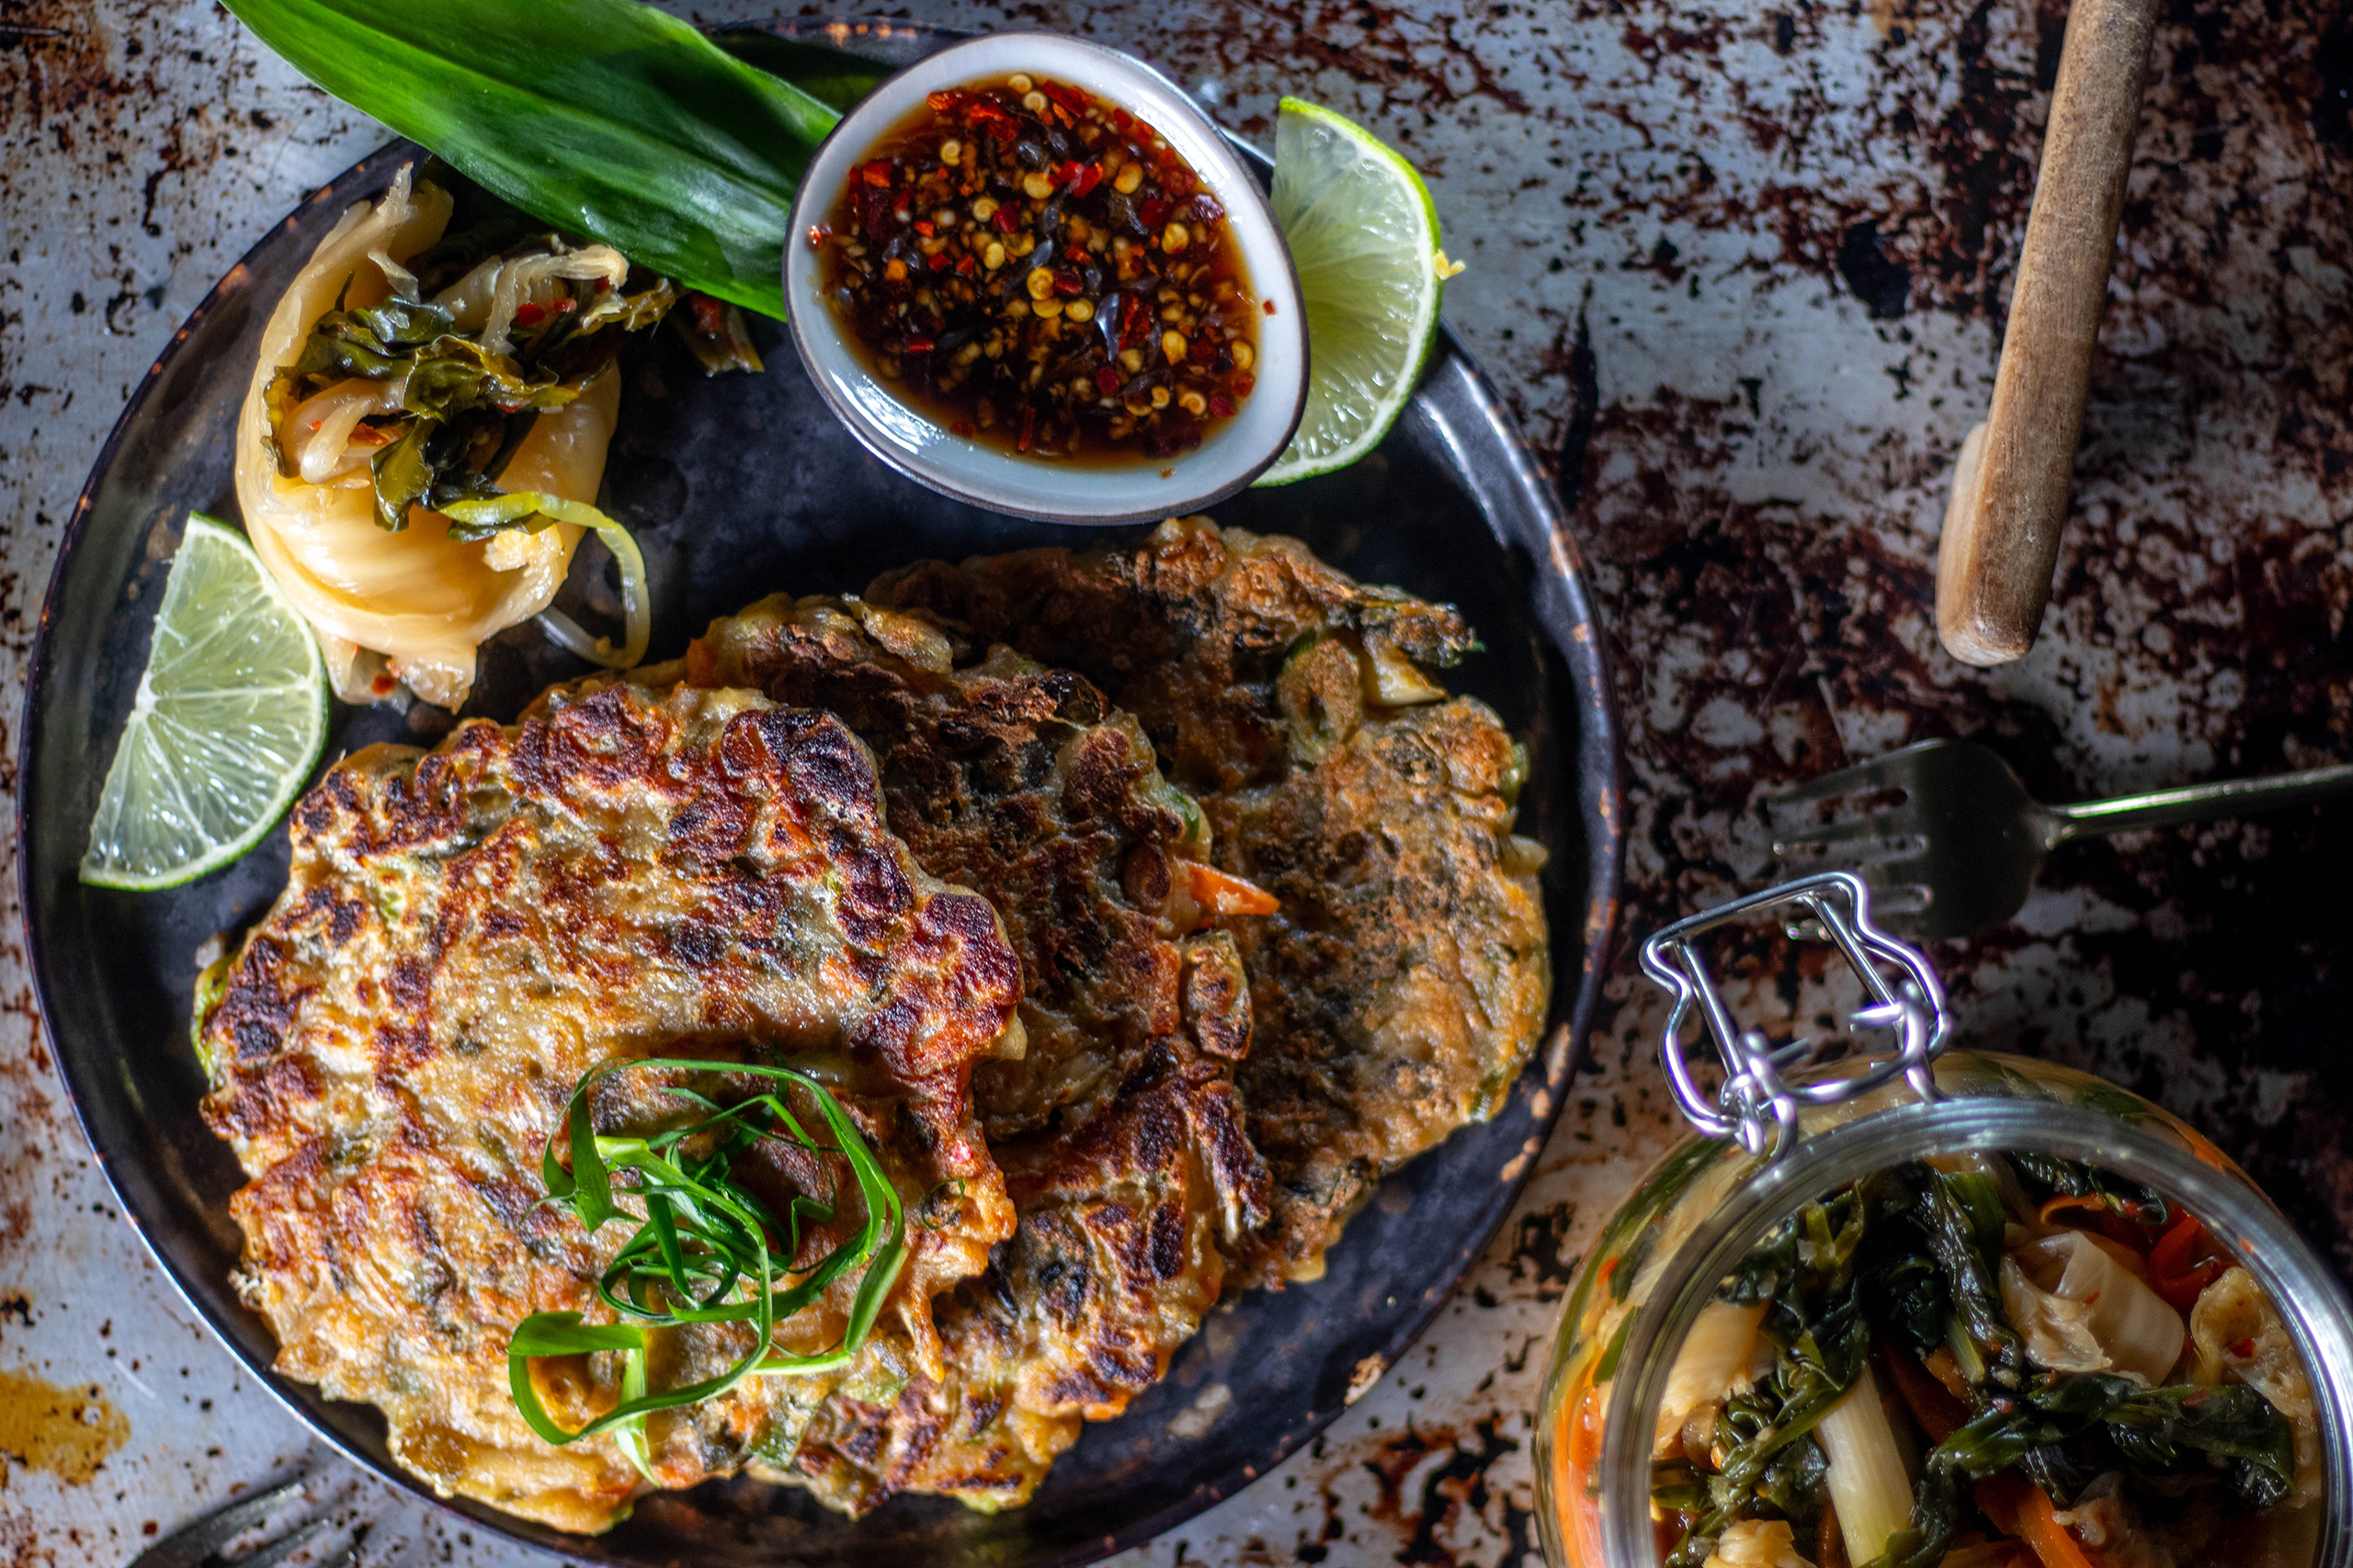
Kimchi is an integral part of Korean cuisine and is often served as a side dish to main dishes. However, there are also many dishes in which it is used as an ingredient. For example, kimchi can also be used as a main ingredient in dishes such as kimchi pancakes, kimchi fried rice, kimchi ramen, or kimchi udon noodle dishes.
Due to its unique flavors and health benefits, kimchi has now spread around the world and is enjoying great popularity. Naturally, people are also experimenting with kimchi as an ingredient in dishes that aren’t typically Korean, such as kimchi burgers or my vegan Kimchi Mac’n’Cheese, Kimchi Macaroni and Cheese.
Wild garlic kimchi as a side dish to kimchi pancakes
Prepare your own kimchi
Through the fermentation process, kimchi develops its characteristic spicy and slightly sour flavor. Lactic acid fermentation, which occurs through natural bacteria, is essential for preserving the vegetables. It also gives it its probiotic properties, which are very beneficial for digestion and overall health.
Since making kimchi is relatively easy, it’s definitely worth making it yourself. Then you can adjust the ingredients to suit your individual taste. Like I did here with my wild garlic kimchi. Homemade kimchi is also very inexpensive, whereas good store-bought kimchi is very expensive.
Wild garlic kimchi: traditional kimchi combined with wild garlic
Kimchi: My recipe is vegan and simple
Preparing kimchi is an art form in itself and can vary from family to family and from region to region. The basic ingredients are usually Chinese cabbage, Korean radish, salt, garlic, ginger, chili, and fish sauce. There are now also many vegan versions without fish. These ingredients are sometimes processed into a paste, which is then massaged into the other prepared vegetables. The vegetables are then fermented in containers for several days to weeks, depending on personal taste.
This may sound very complex at first, but it’s actually relatively simple. Just follow my recipe below and pay attention to the hygiene instructions, and homemade kimchi will be very easy and requires little effort. You just need a little patience for the fermentation time and don’t forget to press down the kimchi in it’s container once or twice a day.
Kimchi: my recipe is vegan and easy
Wild Garlic Kimchi Is Very Healthy
My wild garlic kimchi and regular kimchi are popular not only for their taste, but also for their health benefits. It is rich in fiber, vitamins, and minerals and also contains probiotic bacteria that can promote gut health. Kimchi also has antioxidant properties and can have anti-inflammatory effects.
Wild garlic kimchi is very healthy
General information on fermentation:
There are several ways to ferment vegetables or fruit. Kimchi uses one of the easiest methods to implement: lactofermentation.
Lactofermentation is fermentation in brine, where natural lactic acid bacteria perform the fermentation. The lactic acid bacteria provide the sour, fermented flavor. A useful fact about lactic acid bacteria is that, unlike many bacteria, they tolerate salt. Therefore, salt is used in this type of fermentation; it not only contributes to the flavor but also protects the food from spoilage. This is how sauerkraut is also made, for example.
Lactic acid bacteria are found everywhere in the environment, so they are vegan and are not derived from milk. They were just first discovered in milk, hence the name.
Hygiene is particularly important during fermentation, because we want only the good bacteria to work for us and avoid mold and germs. So only use clean surfaces and wash your hands thoroughly. Your kimchi container must also be very clean; it’s best to rinse it with boiling water shortly before use.
It’s also important to use organic vegetables to ensure they’re free from pesticides that could potentially inhibit fermentation.
Using wild garlic kimchi, you’ll learn a lot about lactofermentation in this recipe.
More recipes for ferments and recipes with fermented ingredients:
Please follow me on Instagram or Facebook. Don’t miss out on any new recipes and other Daily Vegan news! And I’d love it if you made my kimchi recipe and posted a photo of it, tagging my account. Because I always find it really fun and exciting to see how my recipes are prepared in other kitchens!
Wild Garlic Kimchi: Preparation in Pictures
Before you get started, you can see how wild garlic kimchi is made in pictures.
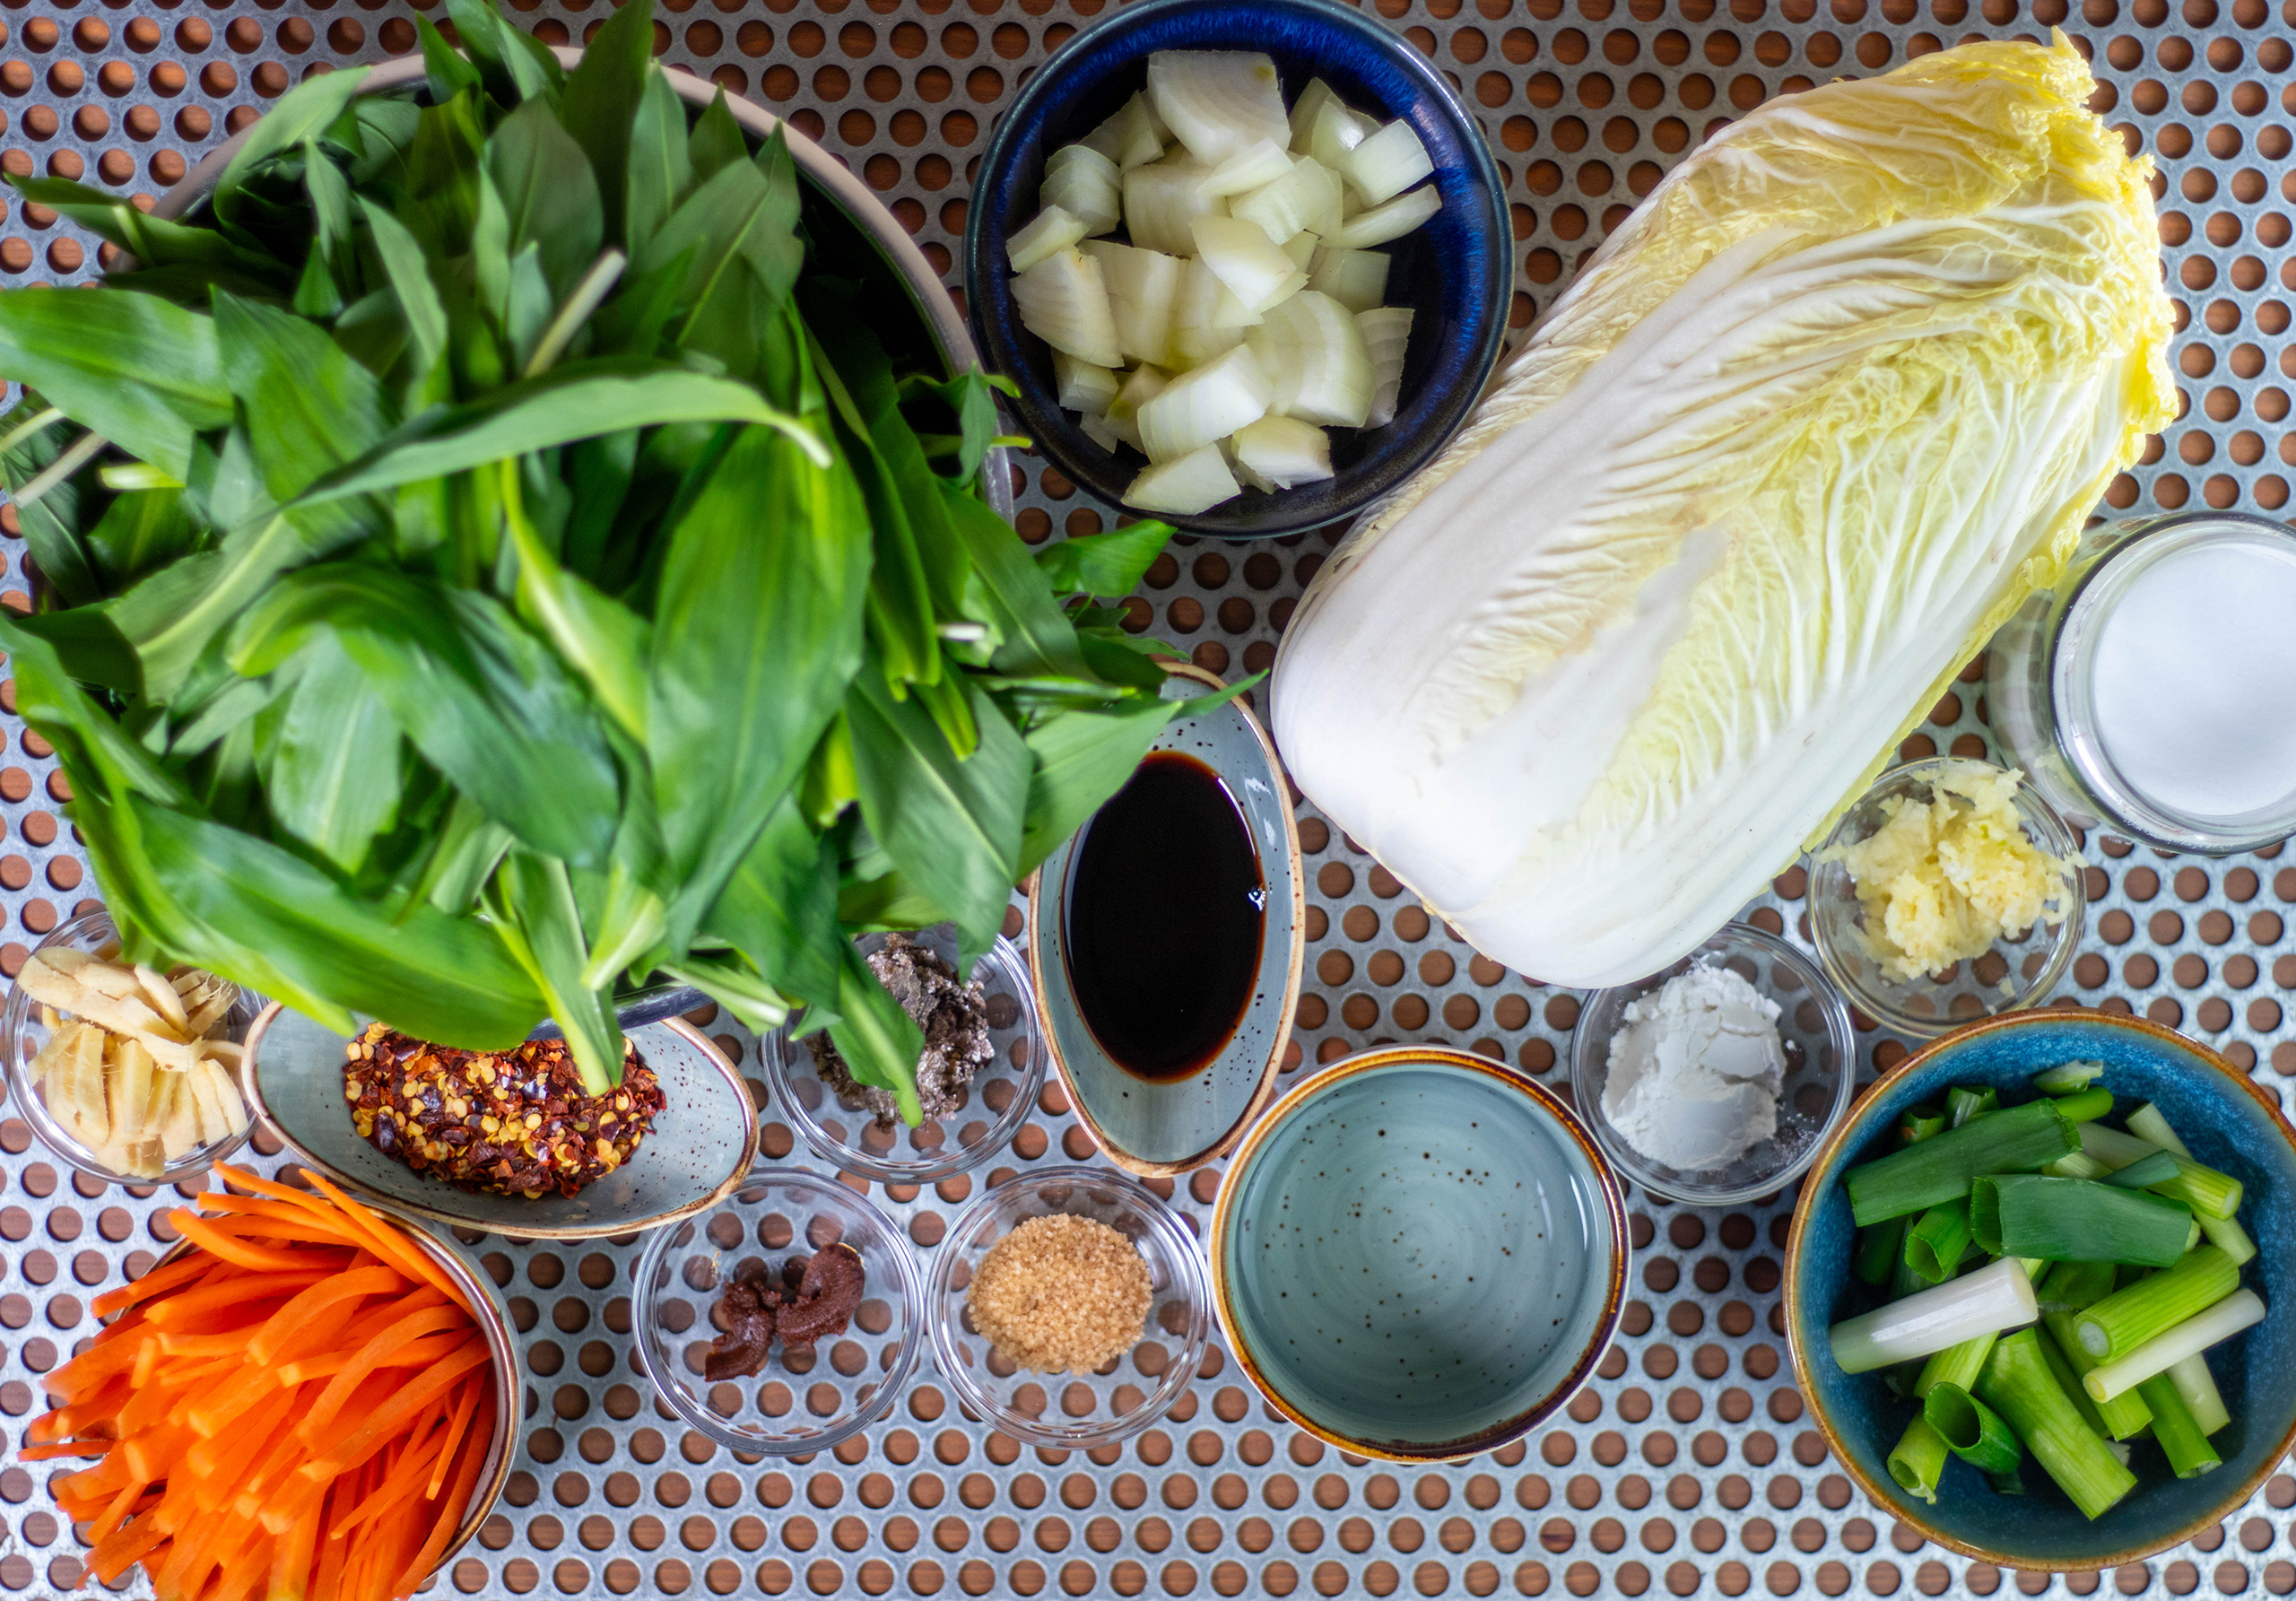
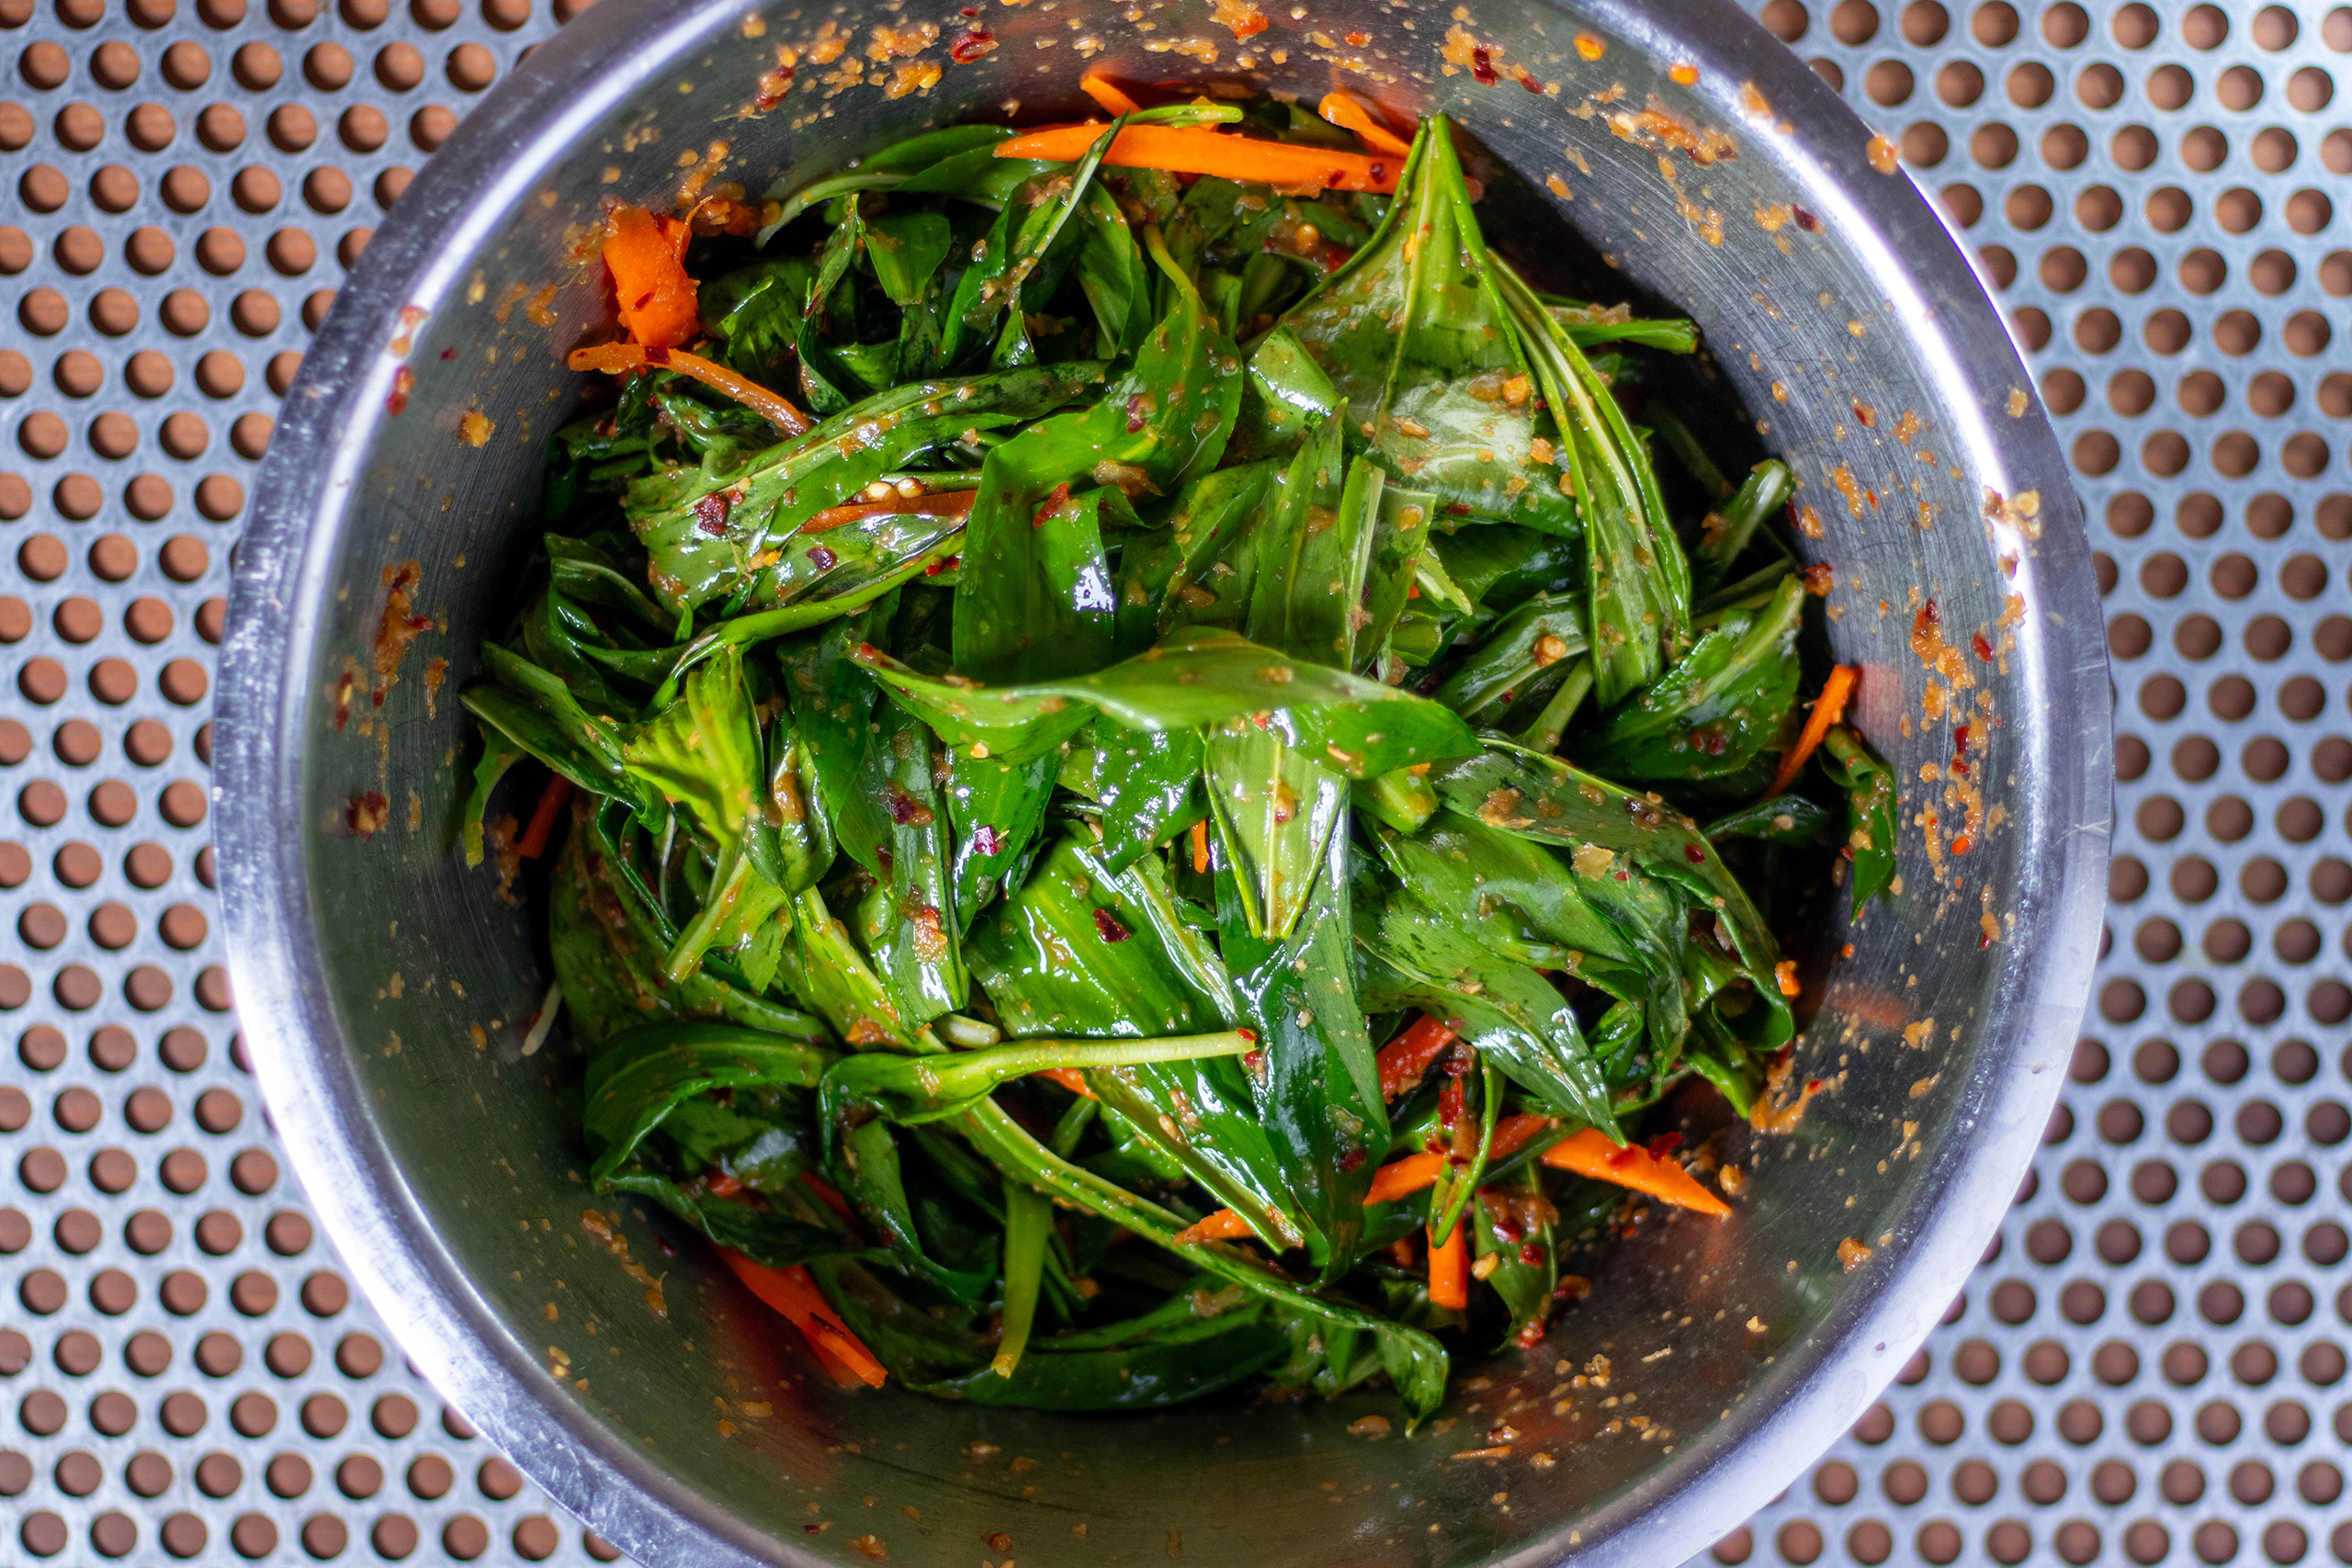
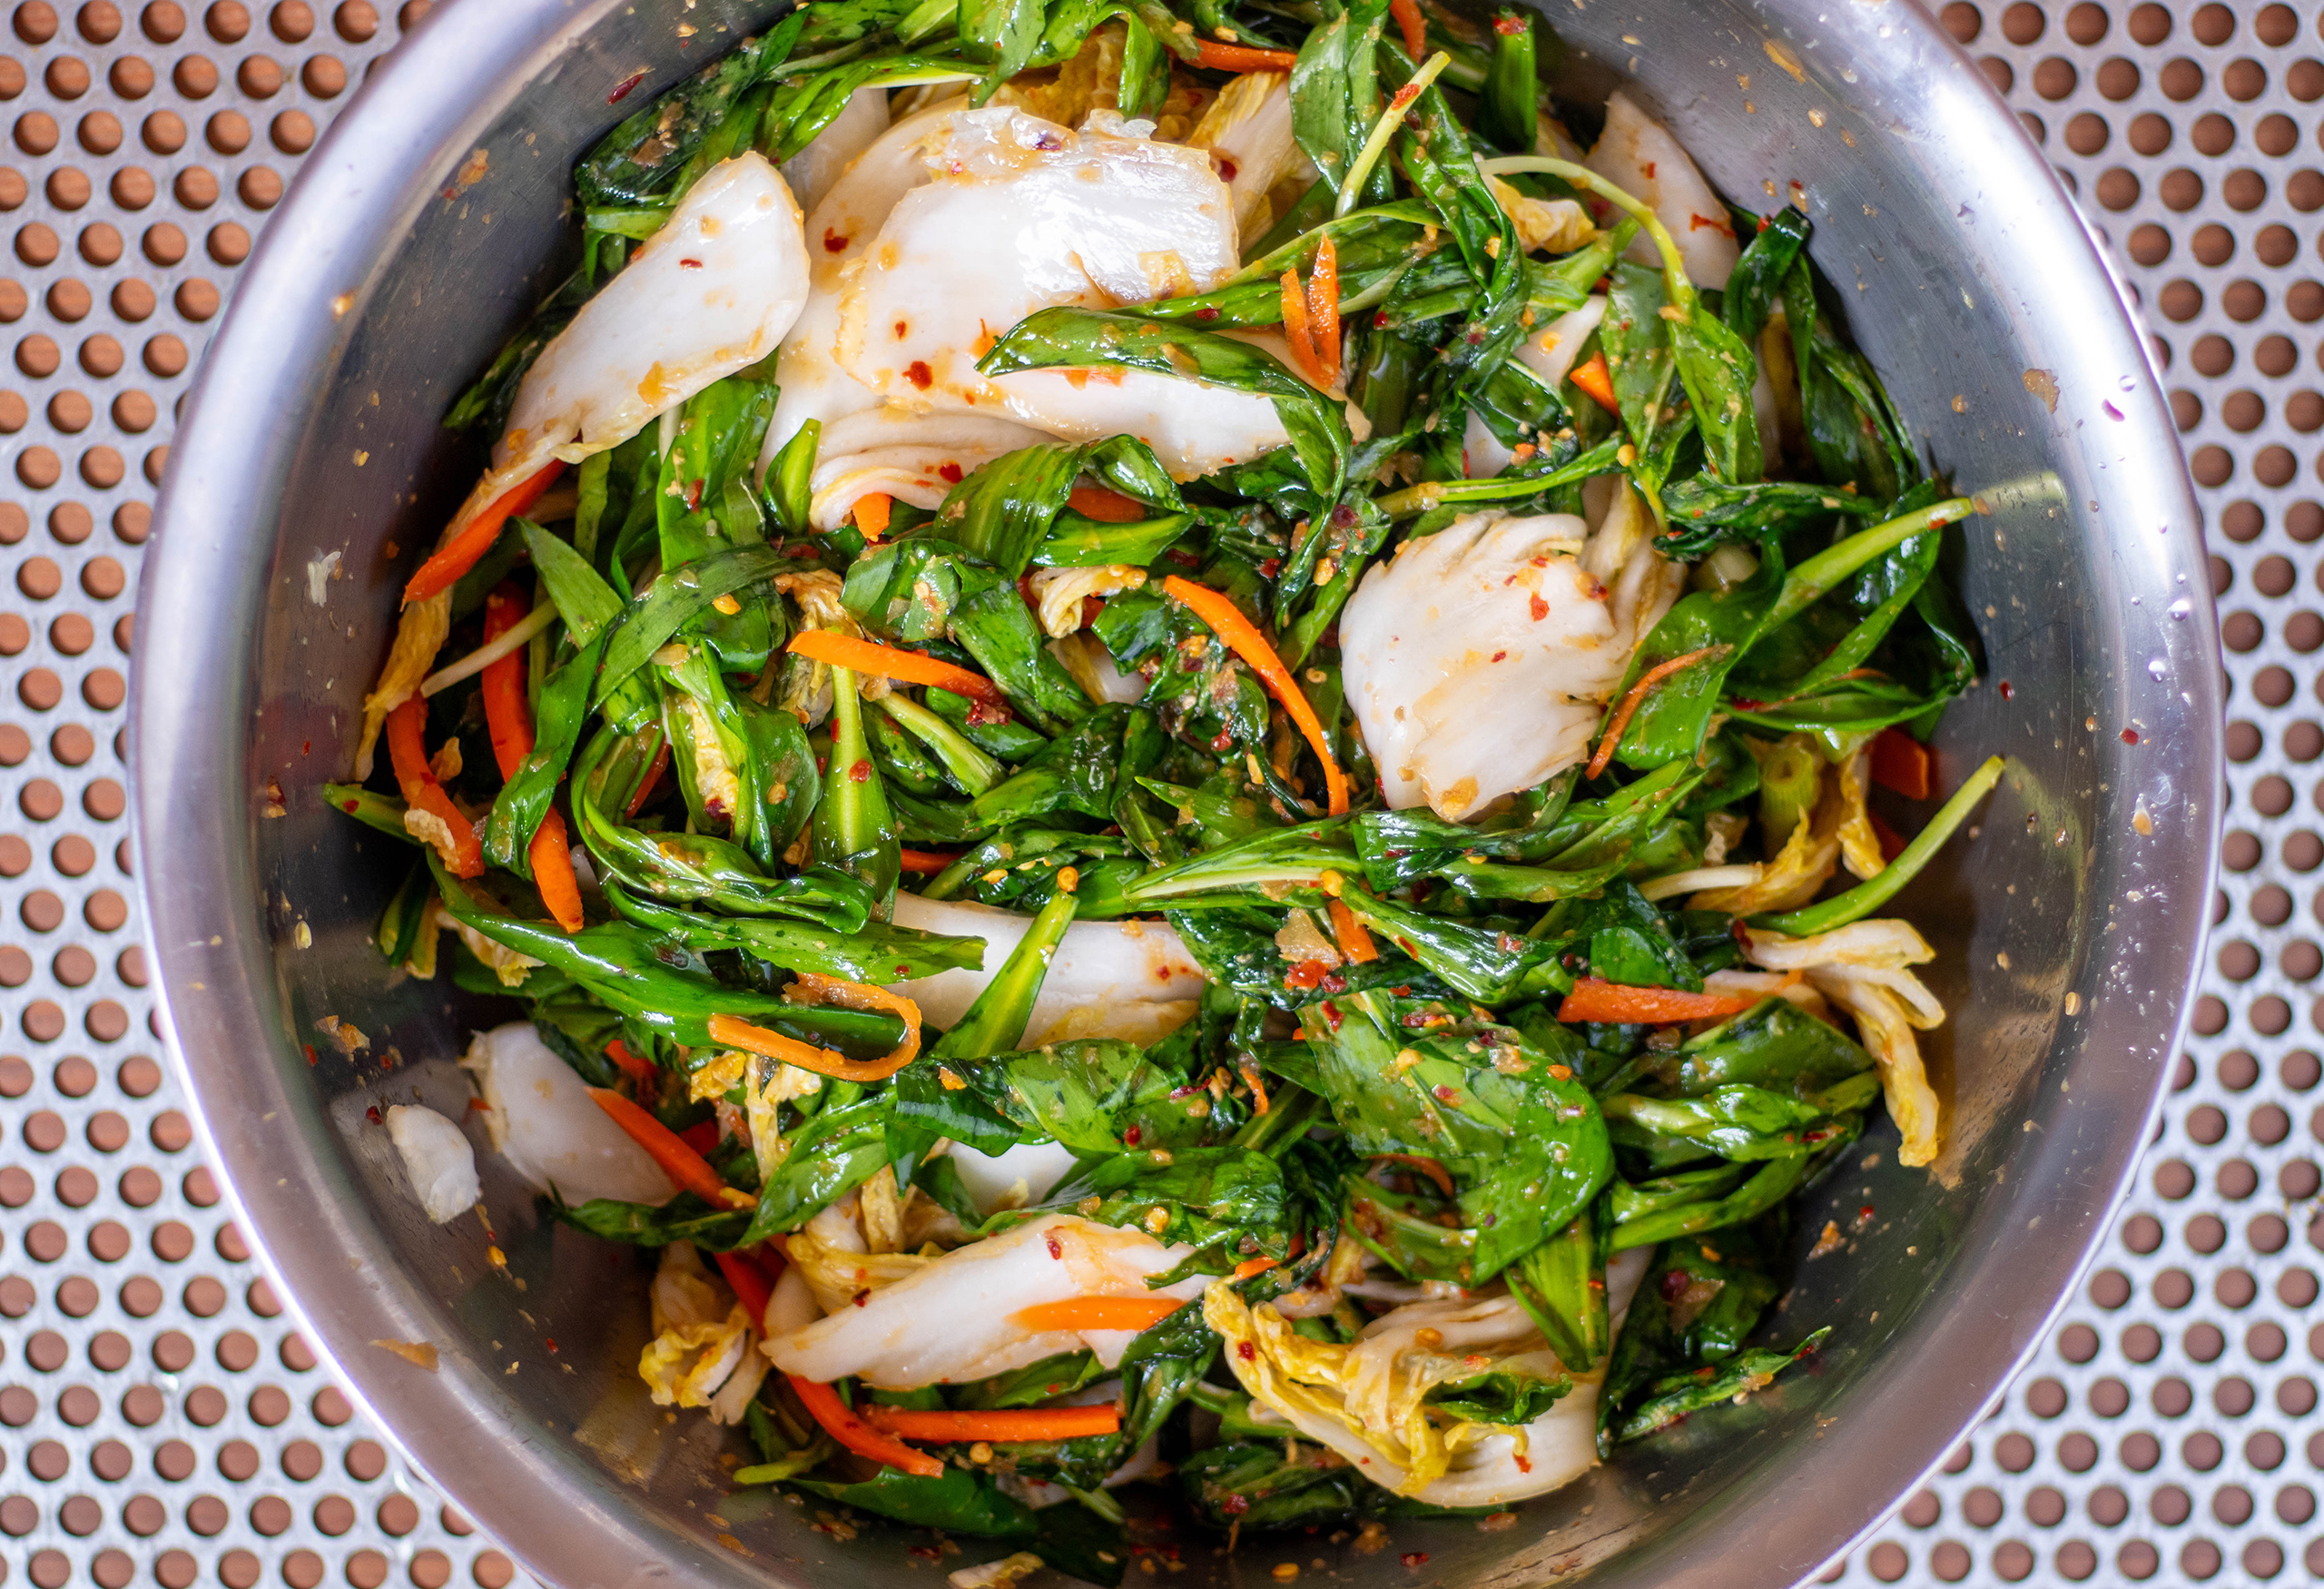
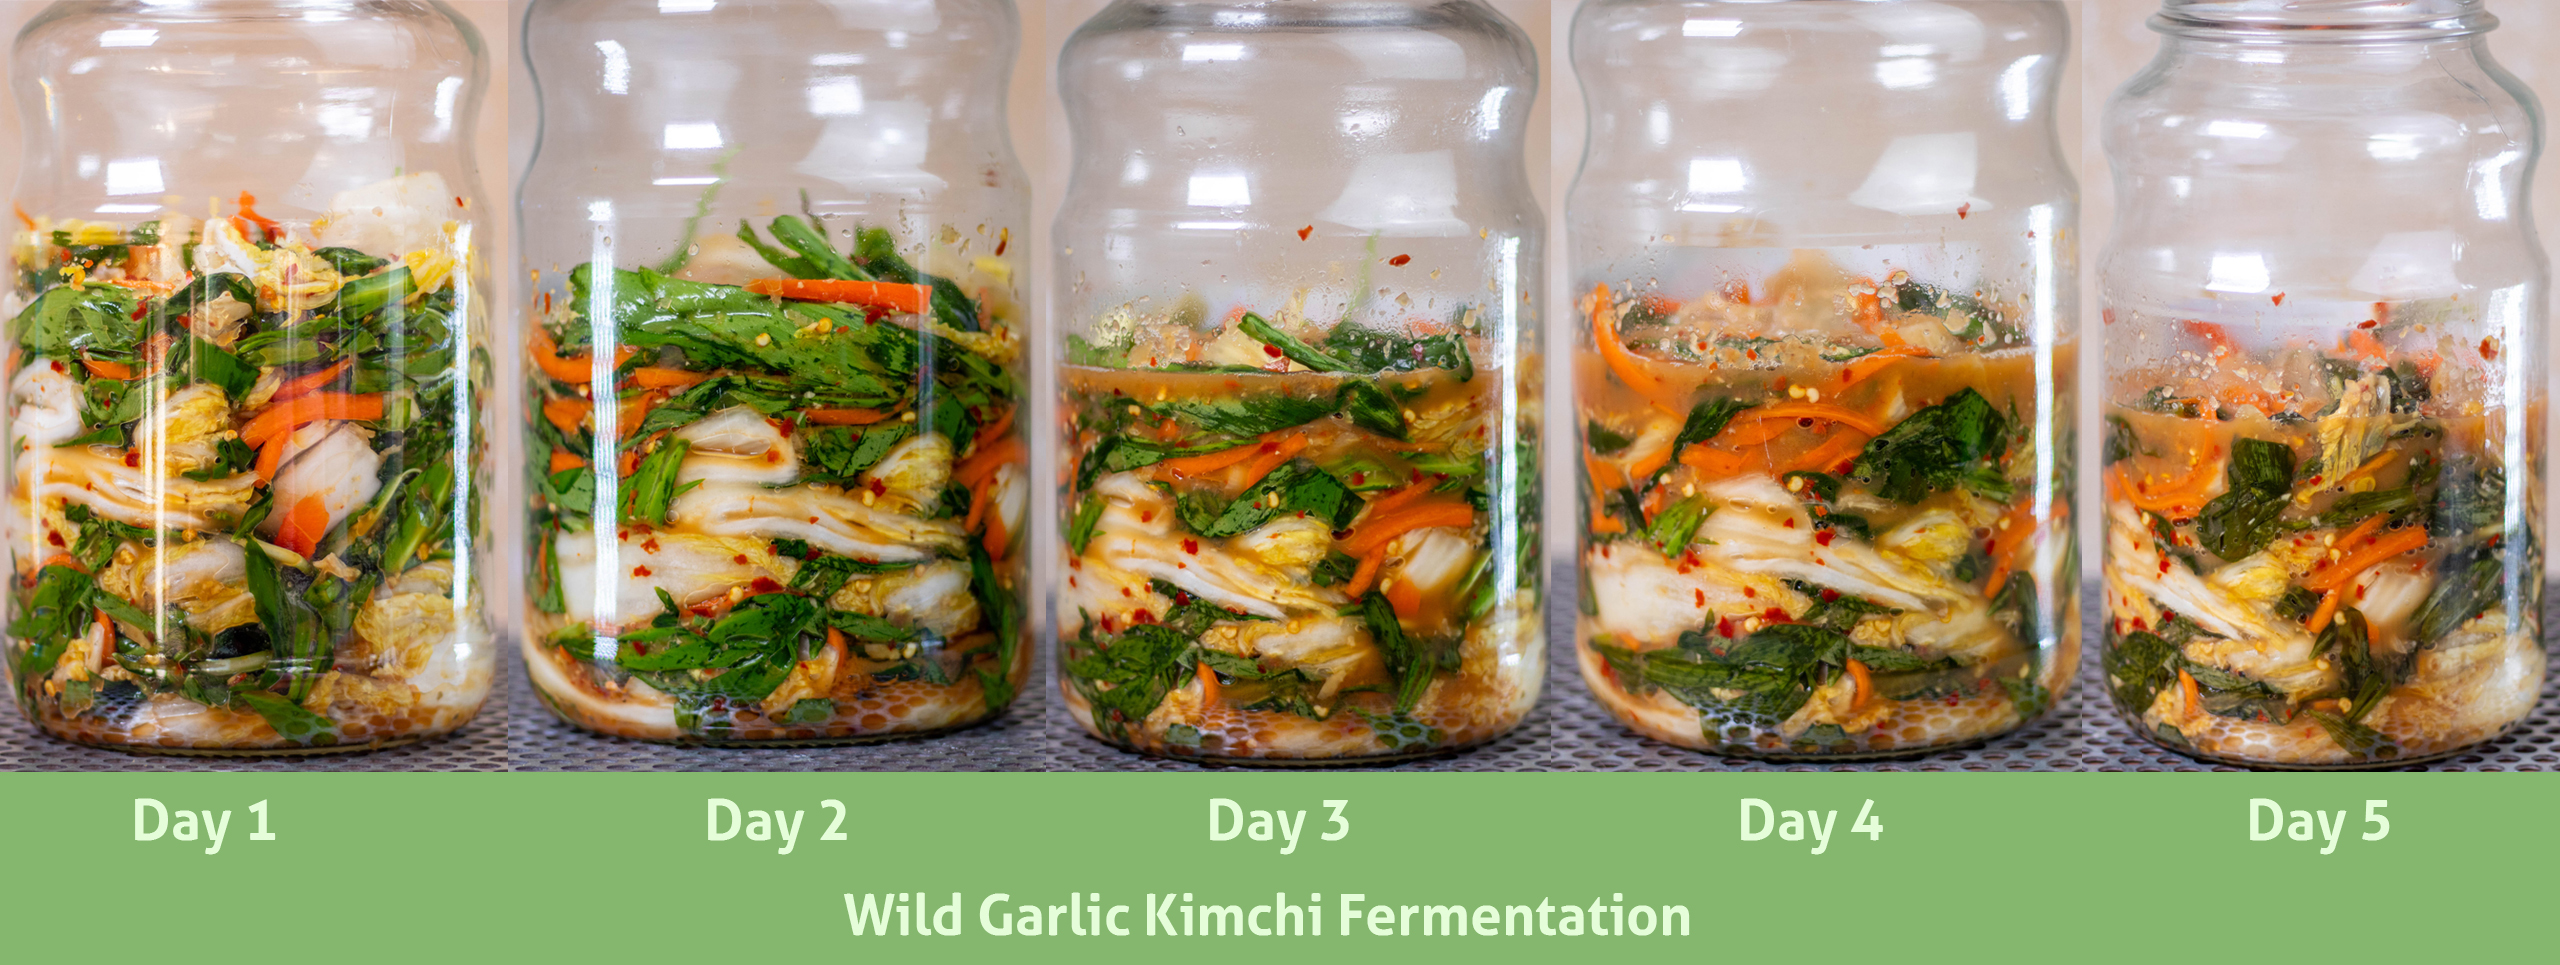
1. All ingredients for wild garlic kimchi2. The vegetables are chopped, now the Chinese cabbage can be divided.3. The Chinese cabbage for the kimchi preparation is quartered, divided and salted.4. The salted cabbage for the kimchi is kneaded and must now steep for 2 hours.5. Preparing the seasoning paste for the wild garlic kimchi.6. the finished seasoning paste for the kimchi.7. The seasoning paste is mixed with all the vegetables except the cabbage and kneaded.8. Unfermented kimchi is delicious on its own. Also known as geotjori, unfermented kimchi is a popular side dish.Wild garlic kimchi: fermentation from day 1 to day 5Wild garlic kimchi and the basics of lactofermentation
Ingredients for approximately 1 liter of wild garlic kimchi:
200 g wild garlic 1 medium-sized Chinese cabbage, organic 1 organic carrot, peeled, julienned 5 organic spring onions, sliced 1 heaped teaspoon rice flour 100 ml water 1 teaspoon cane sugar
1 onion, roughly chopped 3 garlic cloves, peeled 1 thumb-sized piece of ginger, roughly chopped 2 heaped teaspoons nori flakes 3 tablespoons soy sauce (gluten-free if needed) 1 teaspoon light miso paste 5 heaped teaspoons chili flakes
Uniodized salt
Preparation:
Prepare and ferment the wild garlic kimchi:
Quarter the Chinese cabbage lengthwise and separate its leaves.
Then sprinkle them thoroughly with sea salt and stack them on top of each other in a large bowl.
Lightly knead the salted Chinese cabbage leaves.
Let them soak for a total of 2-3 hours, until the cabbage has softened and absorbed the water thoroughly. Turn the salted Chinese cabbage every 30 minutes.
To make the kimchi seasoning paste more pliable, I make a roux of rice flour and water.
Stir the rice flour into 100 ml of cold water.
Bring to a boil in a small saucepan and simmer, stirring, until a thick sauce forms.
Then stir in the cane sugar.
Let this rice sauce cool completely.
Place the onion, garlic, ginger, chili flakes, and nori flakes in a food processor with the soy sauce and miso paste. Finely chop or puree until a smooth seasoning paste is formed.
Add the rice flour sauce to the seasoning paste and puree again.
Using your hands, knead the wild garlic, carrot strips, and spring onions into the seasoning paste. It’s best to wear rubber gloves doing so, as otherwise the chili will stick to your fingers, which you’ll notice the next time you rub your eyes, even if you wash your hands.
After the Chinese cabbage has soaked in salt, drain the salted water from the cabbage, reserving the water.
Wash the cabbage thoroughly under cold water and, if desired, cut it into bite-sized pieces. I usually leave it whole.
Now mix the cabbage leaves with the seasoning paste and its other ingredients, as well as the reserved cabbage water. Knead everything well.
Geotjori:
The unfermented kimchi is now ready to be bottled. In Korea, it’s called geotjori in this state and is often eaten with rice. Feel free to try it now or set aside a small portion. Geotjori is a delicious side dish for Asian dishes.
Fermentation time for wild garlic kimchi:
Now pour the wild garlic kimchi into a screw-top jar or kimchi container. Press the vegetable mixture firmly into the container to expel any air bubbles.
Place the lid on the container, but don’t close it tightly. When the kimchi begins to ferment, air must be able to escape.
Let it stand at room temperature for 4-7 days. From the third day onwards, taste occasionally whether the kimchi is strong enough for you.
During this waiting period, press down on the kimchi 1-2 times a day. To do this, press down on the cabbage with a clean spoon so that any air bubbles that form can escape.
Once the wild garlic kimchi is to your tasting, seal the container tightly and store it in the refrigerator. It will keep for several weeks to months and can be enjoyed again and again.
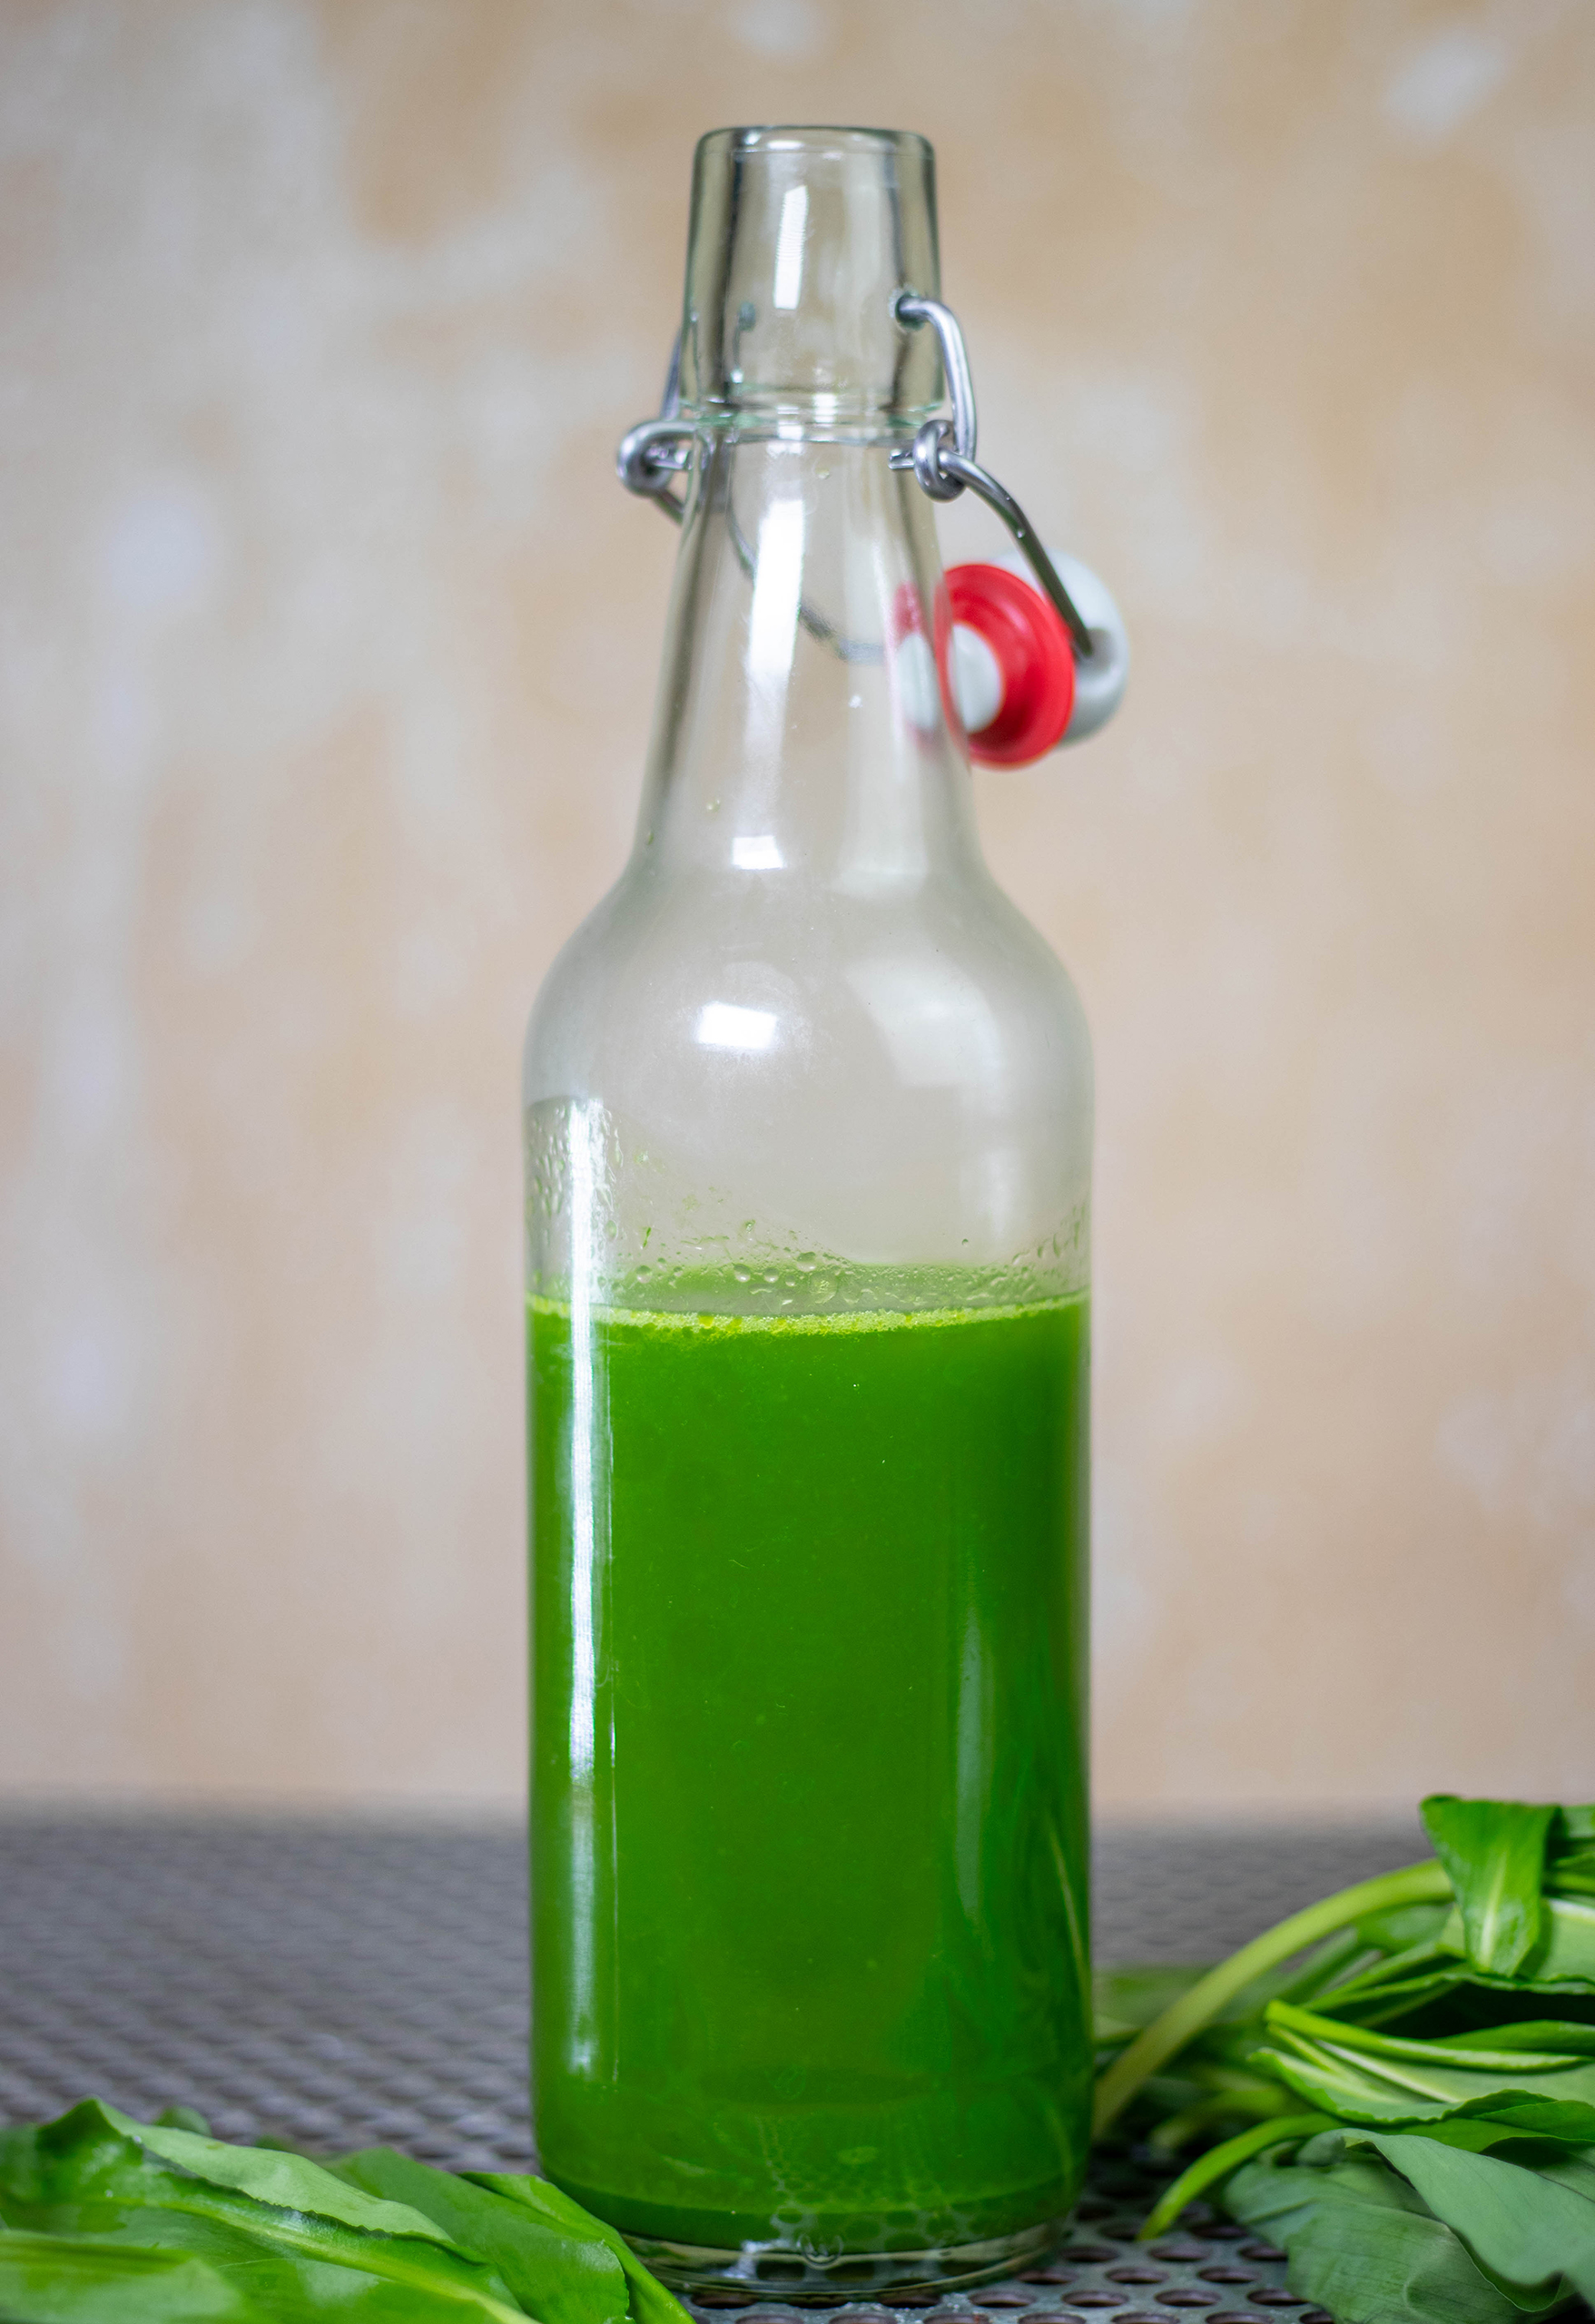
My homemade, bright green wild garlic oil is very easy to make and can be used in a variety of ways. This aromatic, bright green oil is perfect in soups, as a finishing touch to sauces, in salads, in dips and dressings, on bruschetta, and with many other delicious dishes.
The wild garlic season only lasts from early March to the end of April, making it a very short one. With this aromatic, green herb oil, you can capture the flavor of wild garlic and enjoy it well beyond the wild garlic season.
My homemade, bright green wild garlic oil is very easy to make and can be used in many different ways.
My recipe for wild garlic oil is super easy and uses only two ingredients.
All you need for this delicious bright green oil are two ingredients: wild garlic and oil. It’s also quick and easy to prepare. However, it’s important that you follow the recipe exactly. The temperature of the oil and its rapid cooling are essential for the wild garlic aroma to be beautifully intense and the color to be a vibrant green.
Wild garlic dumplings in a crispy coating with a light mushroom cream sauce and wild garlic oil.
What can I use wild garlic oil for?
I use my homemade bright green oil, made from wild garlich, as a flavour boost for many delicious dishes.
For example, I love my wild garlic and potato cream soup or my wild garlic soup with fennel and vegan scallops. Adding a little homemade herbal oil to these soups gives them a real wild garlic flavor boost.
I also like to drizzle my green oil over light sauces, such as a mushroom cream sauce with wild garlic dumplings. It not only looks great, it also tastes fantastic.
With my homemade wild garlic oil, you have a great mini side dish for many delicious meals.
Wild garlic and potato cream soup with bright green, aromatic oil
The basic principle of this oil recipe works with many green herbs.
Of course, my recipe for green herb oil also works with other herbs. It’s important that you follow this recipe for the temperature and preparation technique of the oil. You can swap or mix the herbs. For example, you can also make green basil oil or green chive oil with this recipe.
A recipe for wild garlic oil is very simple and only requires 2 ingredients
Making your own spiced oils
As you can see from this recipe, it’s not difficult to make your own spiced oils. For example, you can soak spices like dried chilies in oil for a while, and you’ll have a great homemade flavored oil.
Making your own spiced oils is definitely worth it. Here are a few reasons why:
You save a lot of money. Buying a ready-made flavoured oil is much, much more expensive.
Your imagination is unlimited. You can experiment with all sorts of flavours.
Many things are simply unavailable for purchase. For example, oils made from wild herbs, like this oil with wild garlic.
The oils are always nice and fresh.
You can use high-quality, good oil as a base. With store-bought flavoured oils, you can assume that a low-quality, not very healthy oil was used.
I use my homemade wild garlic oil as an aromatic boost for many delicious dishes.
More recipes with wild garlic to try
Do you also get a wild garlic obsession in spring and collect like crazy? Then I have some delicious wild garlic recipes for you to try:
Please follow me on Instagram or Facebook. Don’t miss out on any new recipes and other Daily Vegan news! And I’d love it if you made my bright green oil recipe and posted a photo of it, tagging my account. Because I always find it really fun and exciting to see how my recipes are prepared in other kitchens!
Wild garlic oil: preparation in pictures
The following photos show you step-by-step instructions for preparing this herbal oil:
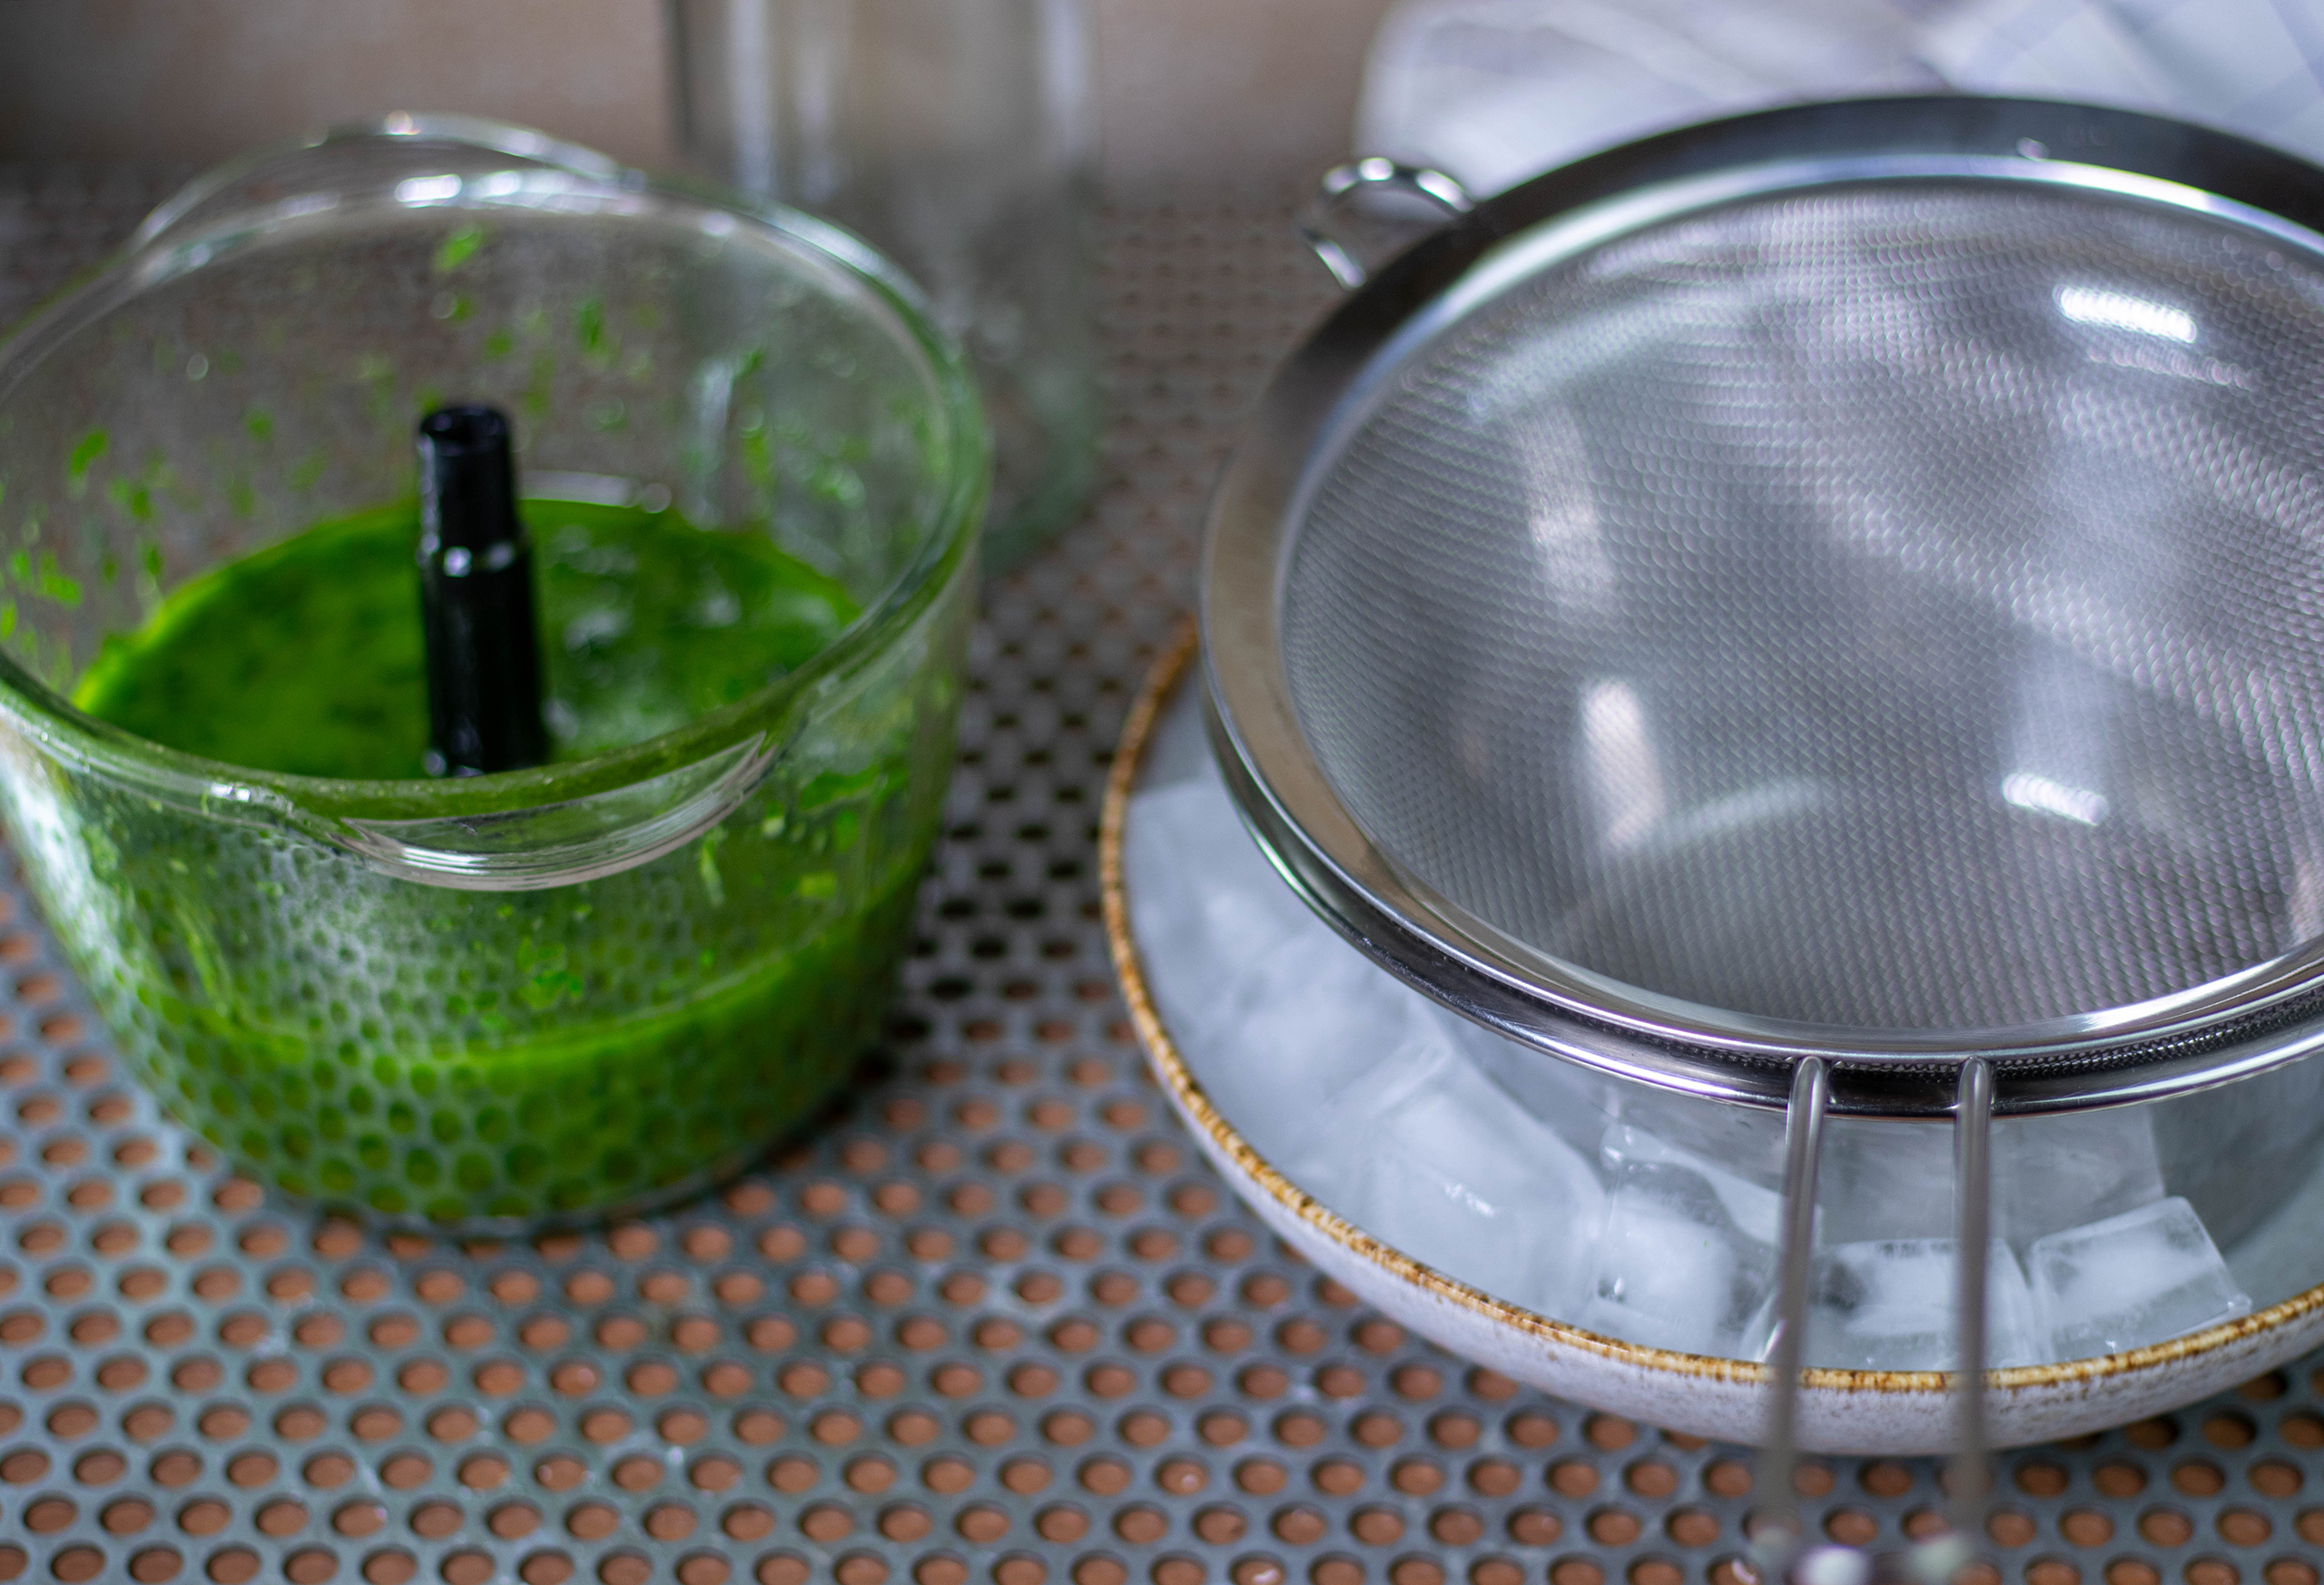
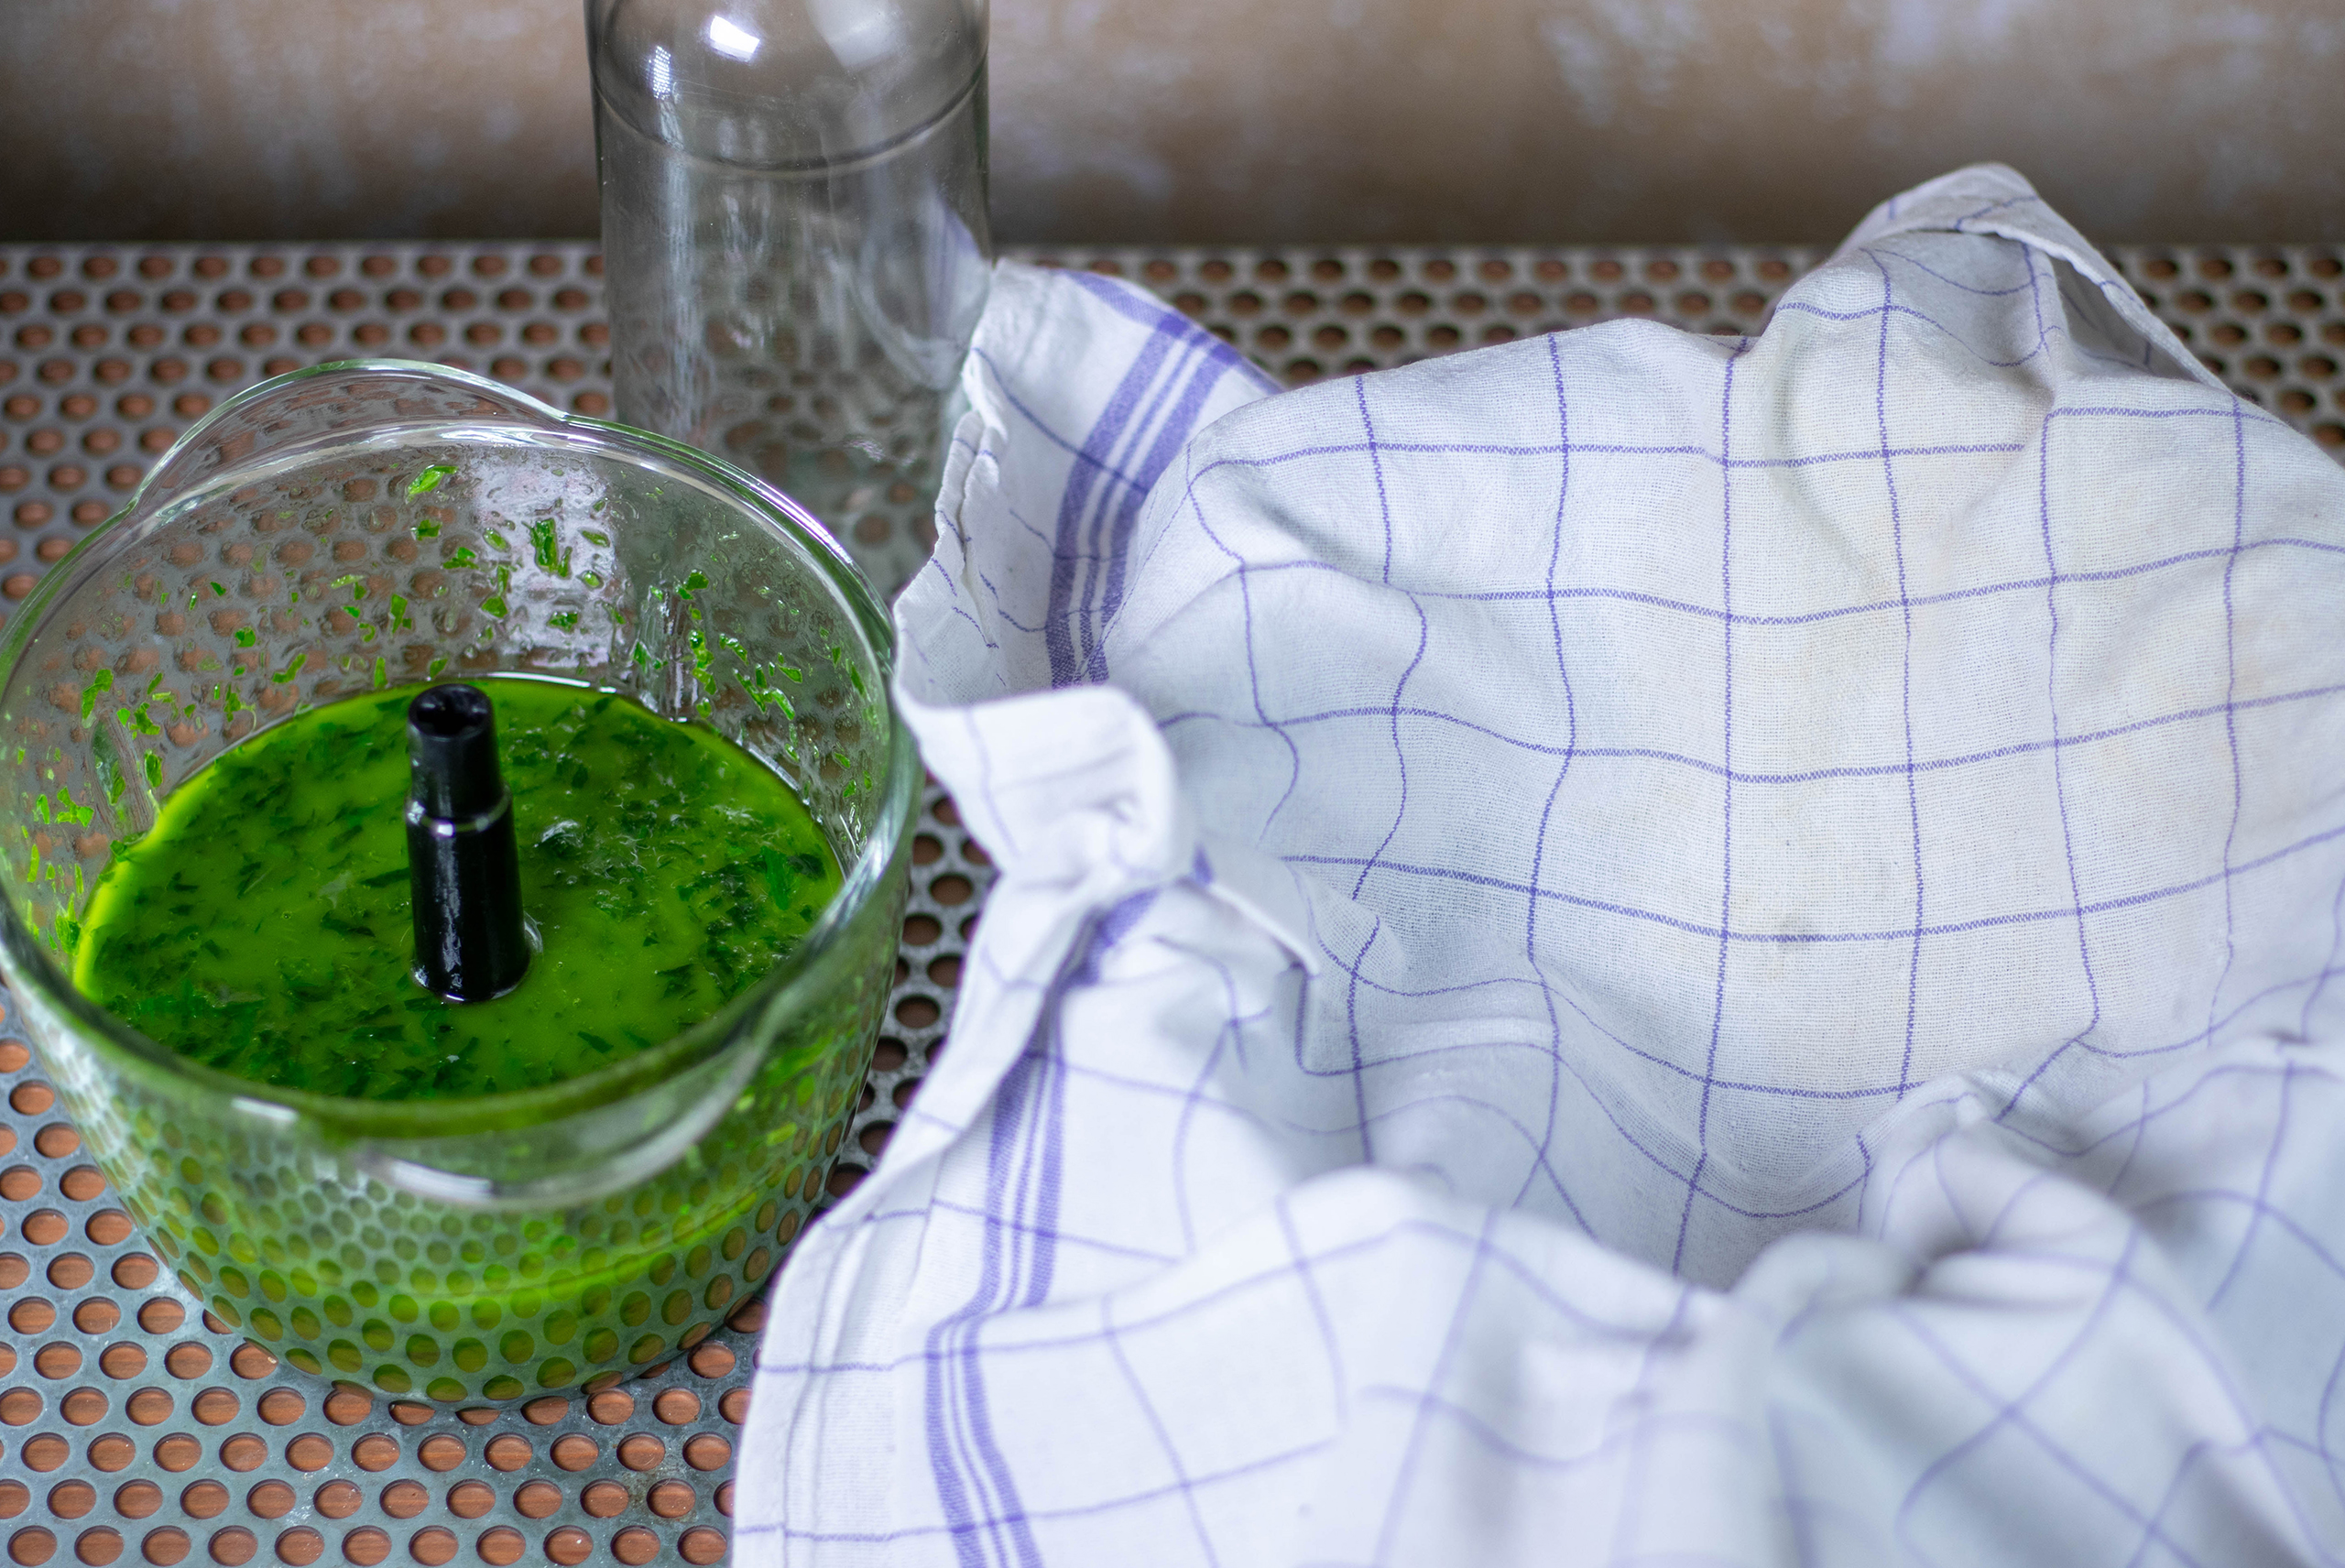
1. To make this bright green oil, you only need 2 ingredients: wild garlic and oil.2. The wild garlic is roughly chopped before being processedin the blender.3. The oil must be heated to 60°C (140°F).4. Chop the wild garlic in a blender, then add the warmed oil and mix.5. Place a bowl with a sieve on ice cubes.6. Place a cheesecloth or kitchen towel into the sieve. Then strain the oil into it.7. Slowly pour the warmed oil with the chopped wild garlic into the strainer.l8. Squeeze the homemade herbal oil out of the cloth.9. The homemade bright green oil can now be bottled.The homemade green oil is ready!
Ingredients for approximately 400 ml of homemade green wild garlic oil:
5 handfuls of wild garlic 400 ml sunflower seed oil or rapeseed oil
A bowl with ice cubes
Preparation:
Roughly chop the fresh wild garlic and place it in a food processor.
Ideally, heat the oil to 60°C (140°F). Do not exceed 70°C (160°F).
Pour the warm oil into the food processor and thoroughly chop the wild garlic in it.
Then strain the fresh, green herb oil through a cheesecloth and collect it in a bowl.
Immediately cool this bowl on the prepared ice cubes. To do this, simply place the bowl with the strained oil into the bowl with the ice cubes. This will preserve the green color of the wild garlic.
Store the oil in a cool, dark place. It will gradually lose its color and some of its fresh herbal aroma, so it should be used within a few months.
Enjoy your meal! Have fun refining with this delicious herb oil!
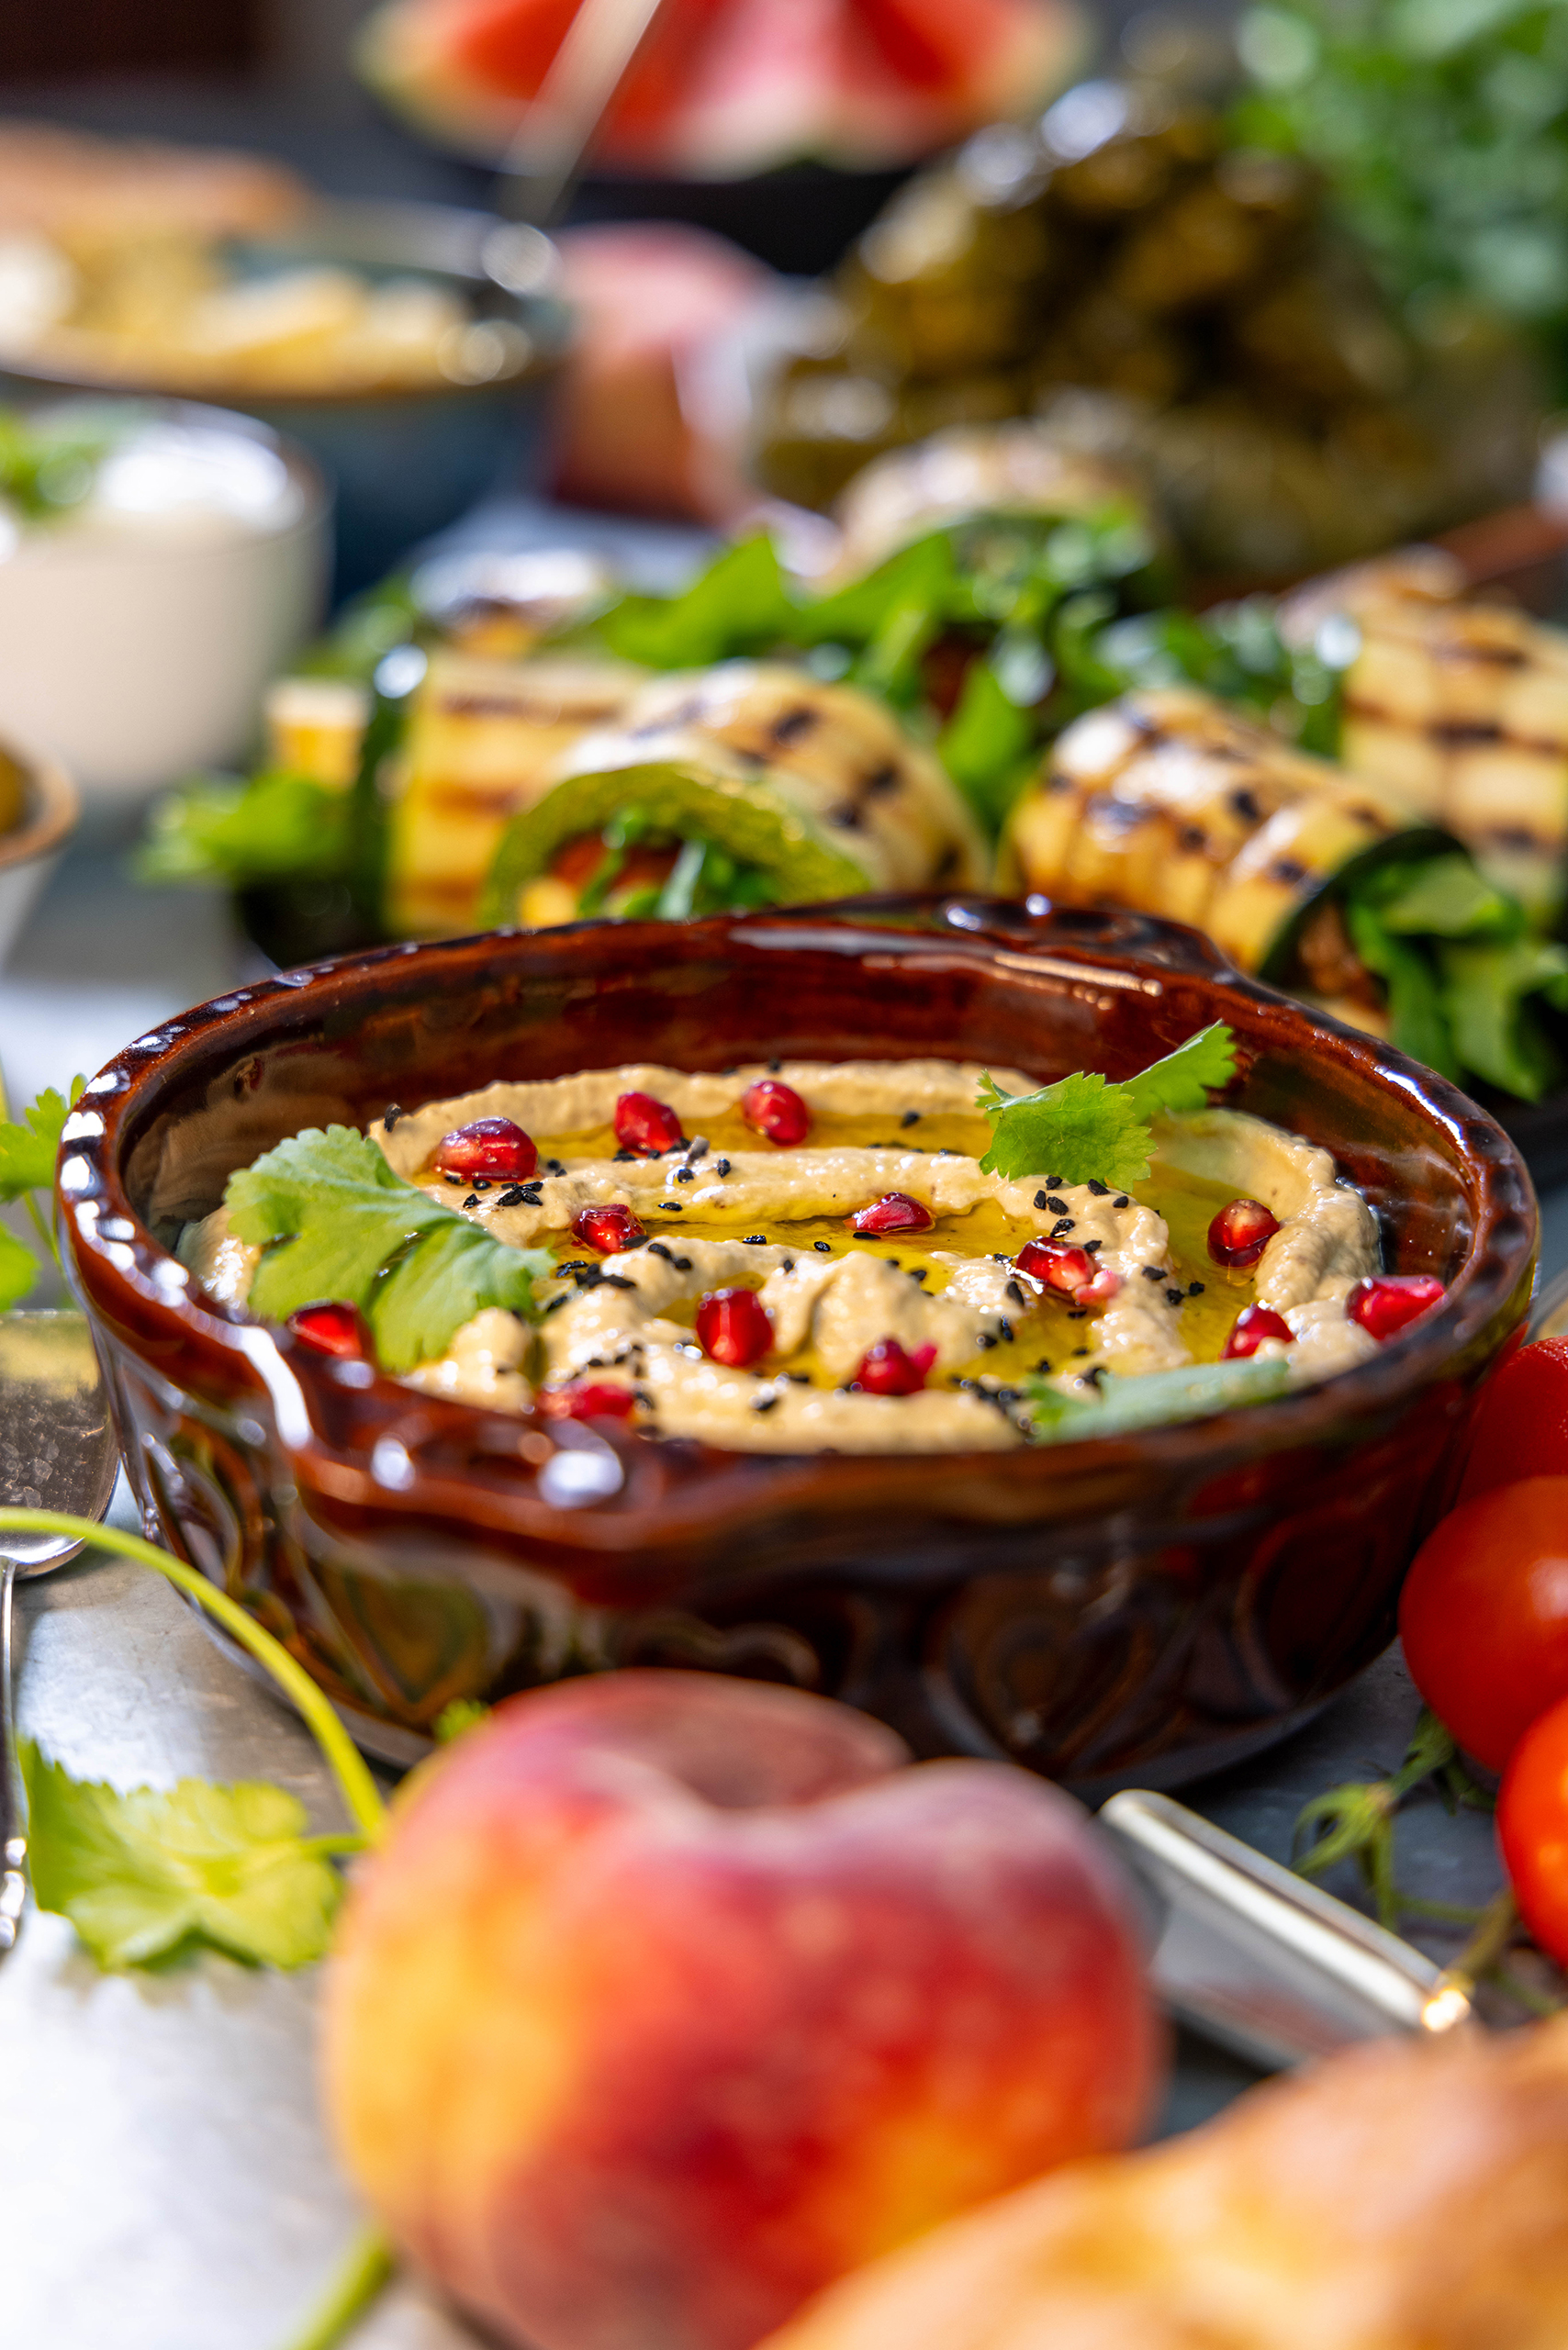
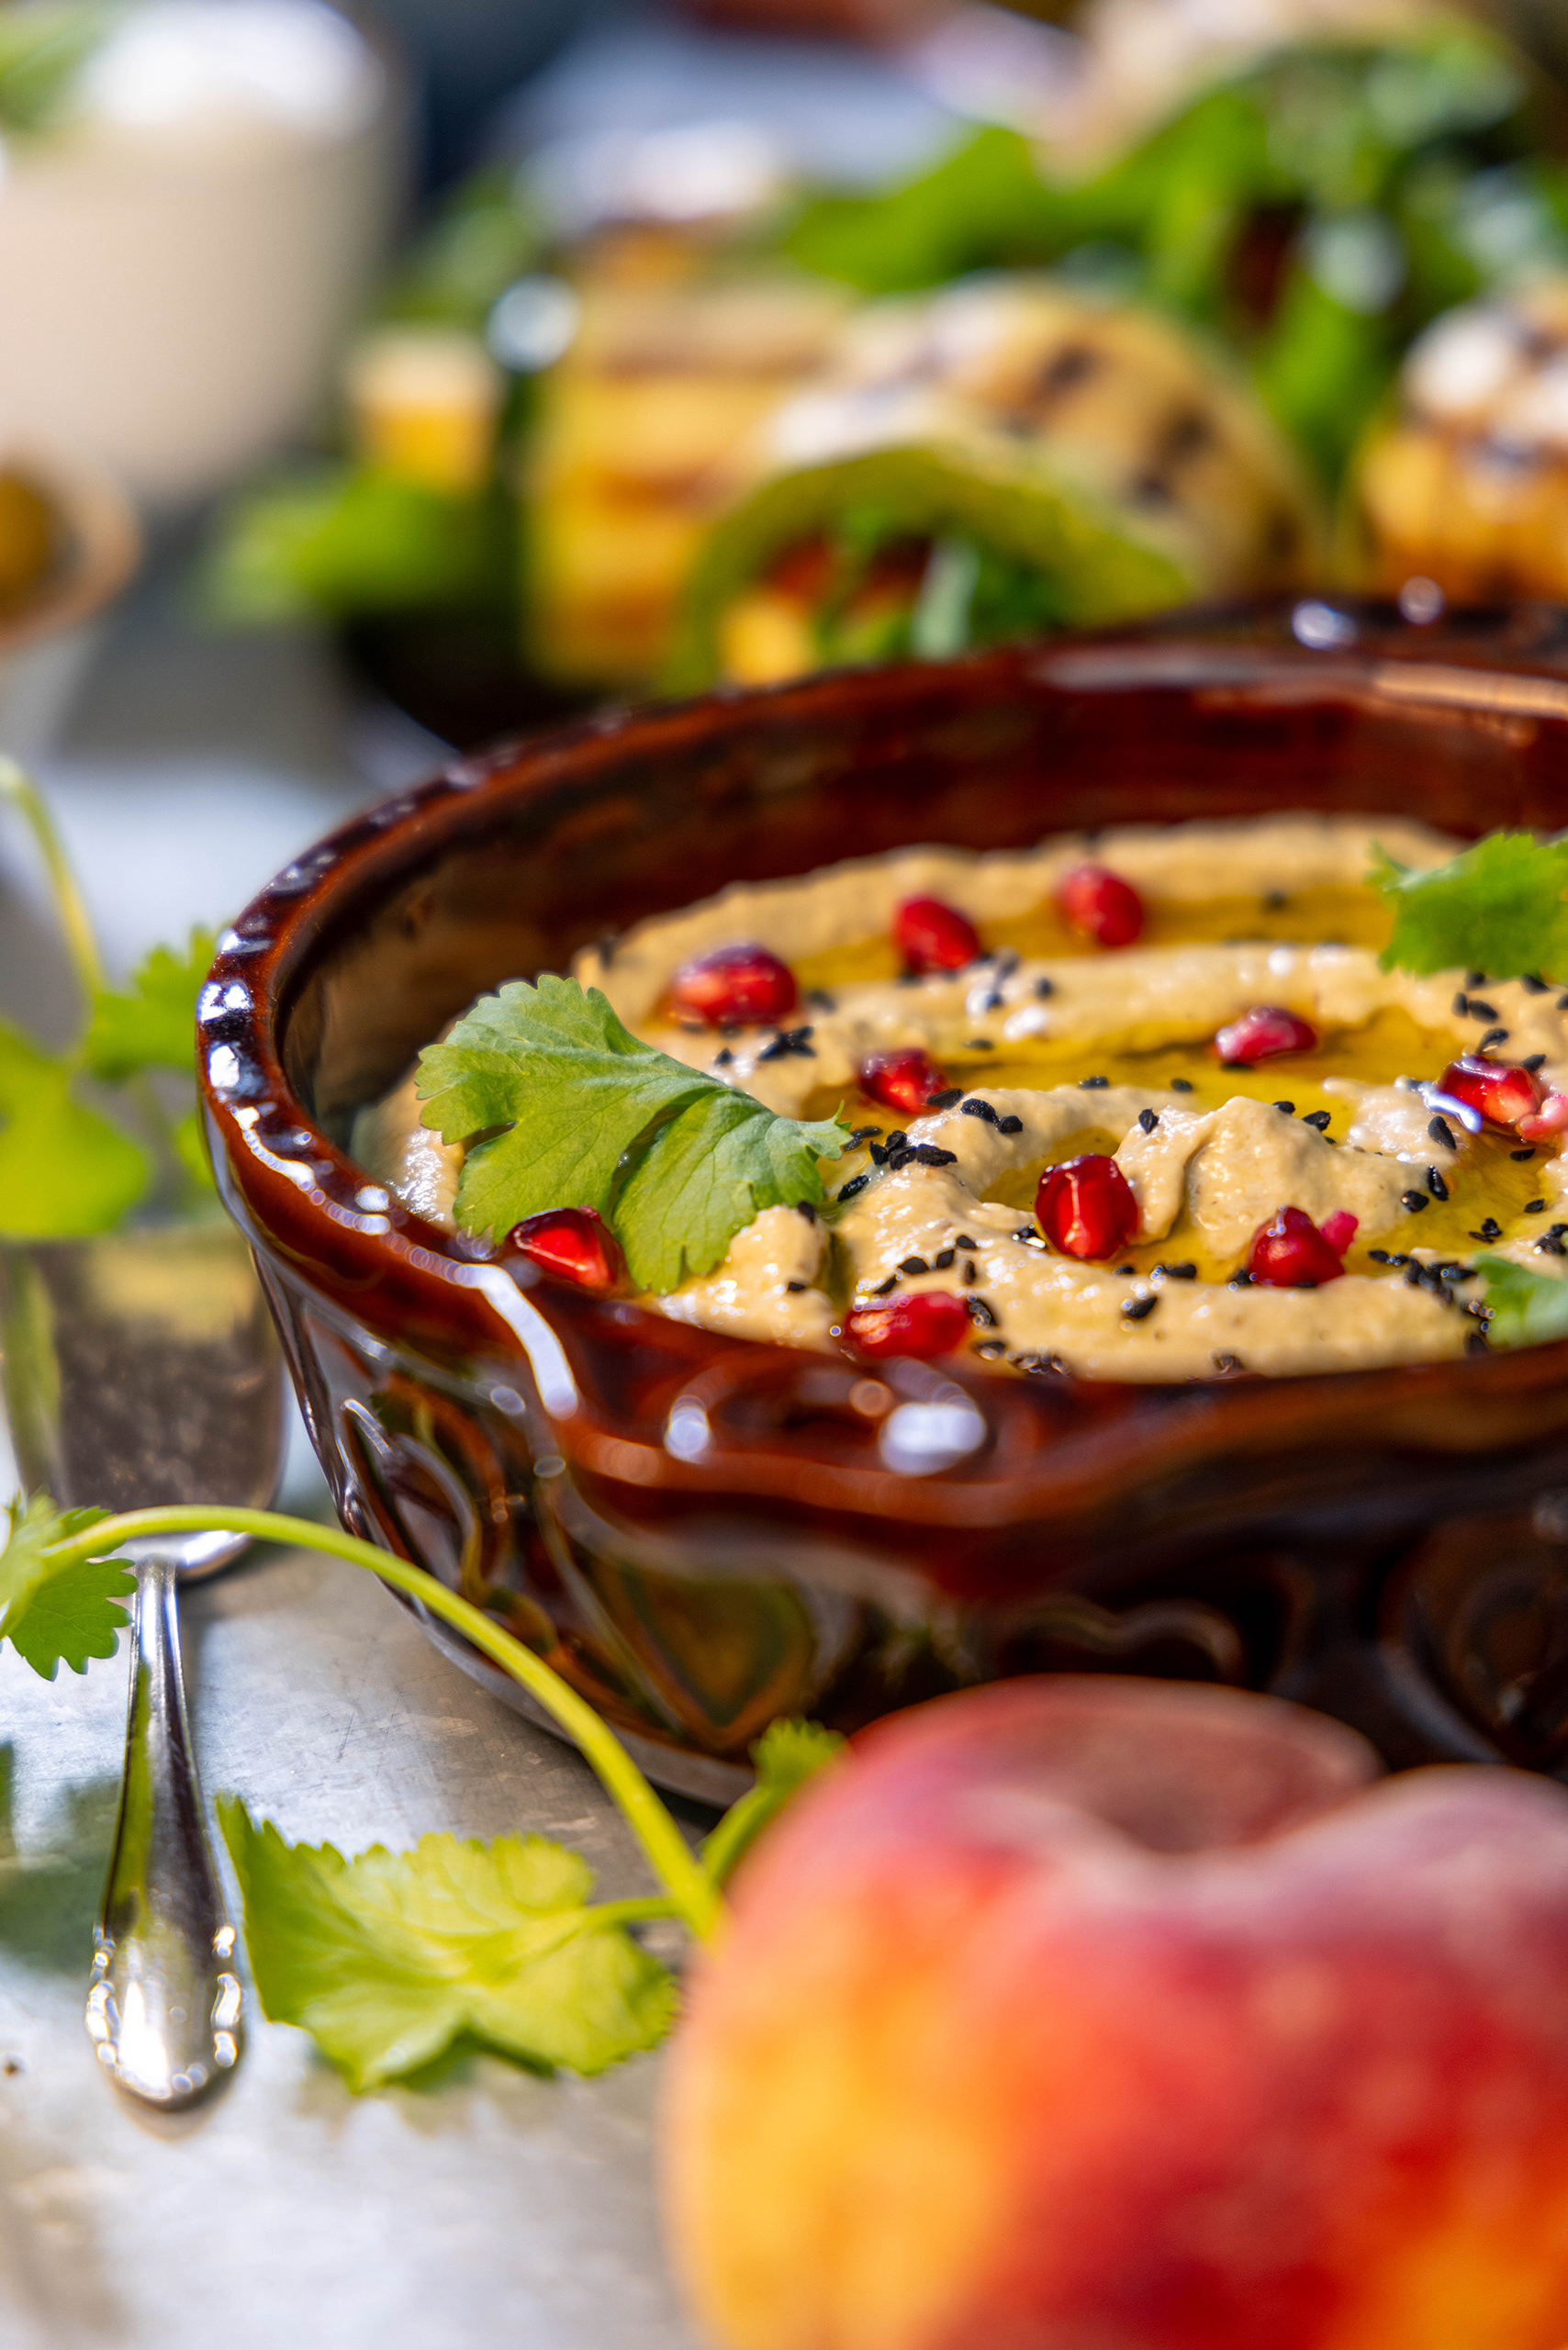
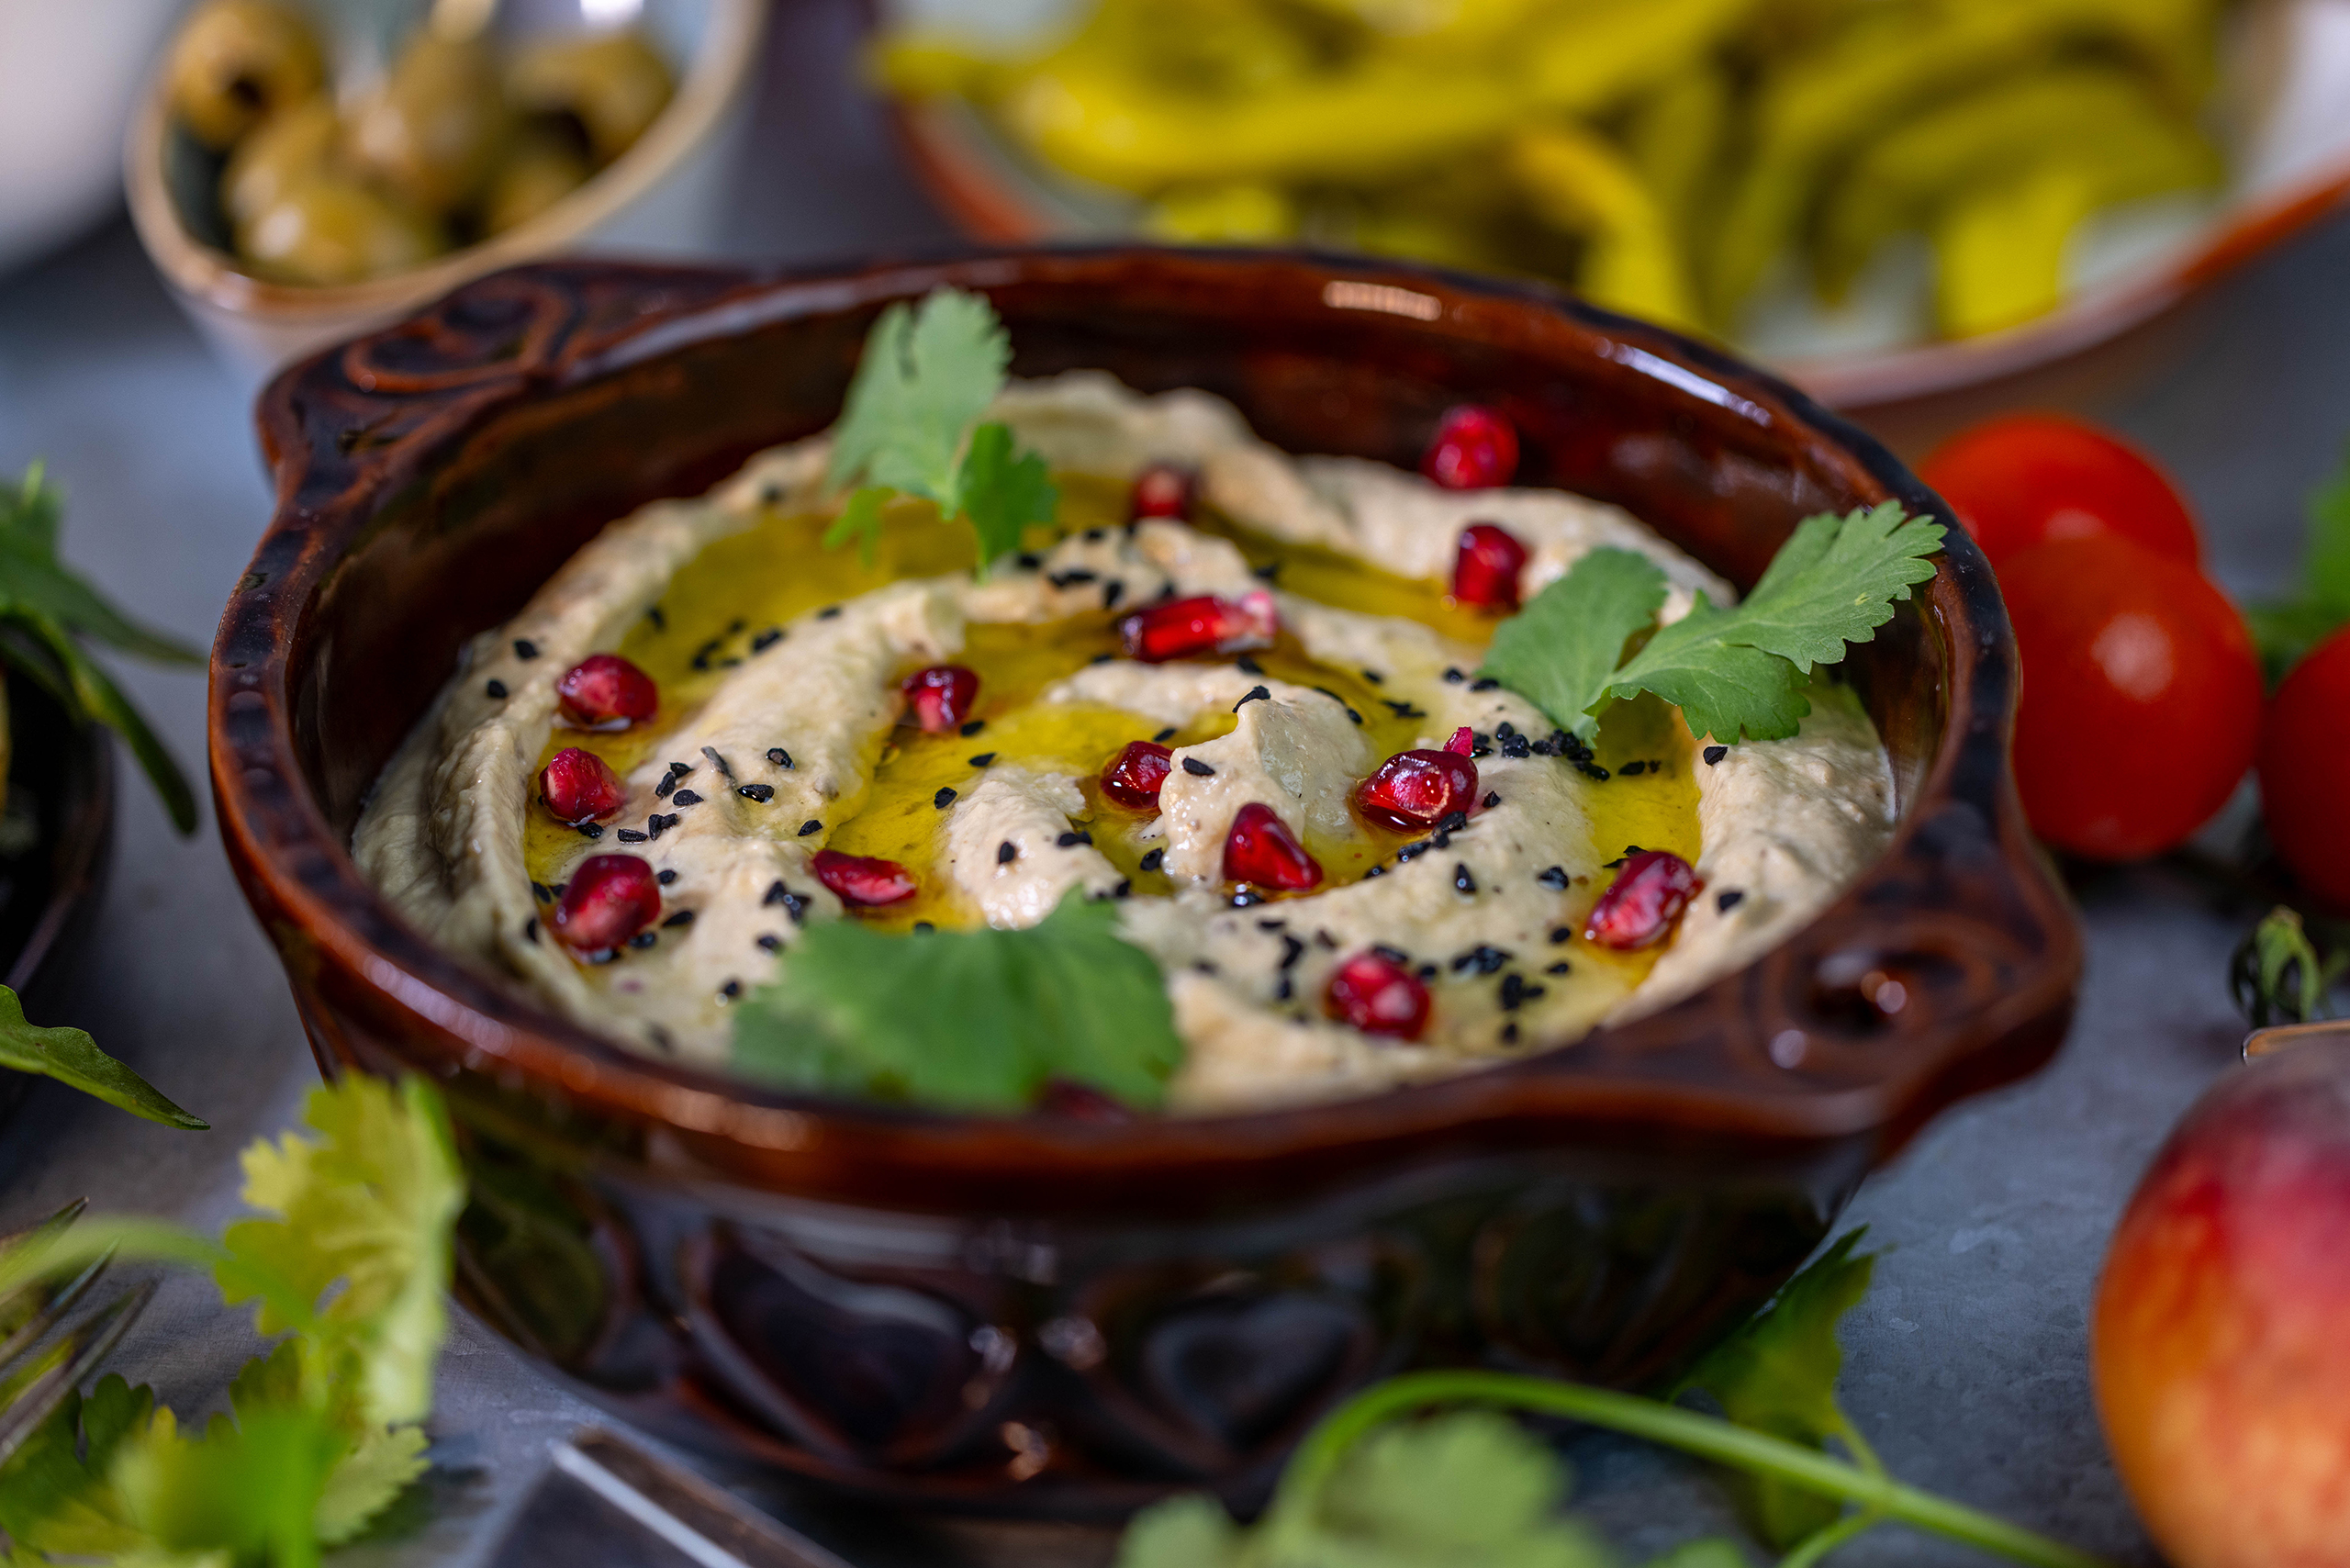
Baba Ganoush, sometimes spelled Baba Ghanoush, is a dip from the fantastic Arabic cuisine. It is made from oven-baked eggplant and tahini (sesame paste). Garlic and lemon juice add a wonderful finishing touch, making this delicious dip a truly special taste experience.
Baba Ganoush, sometimes also written Baba Ghanoush, is a cream from Arabic cuisine
Baba ganoush recipe: oriental aubergine dip
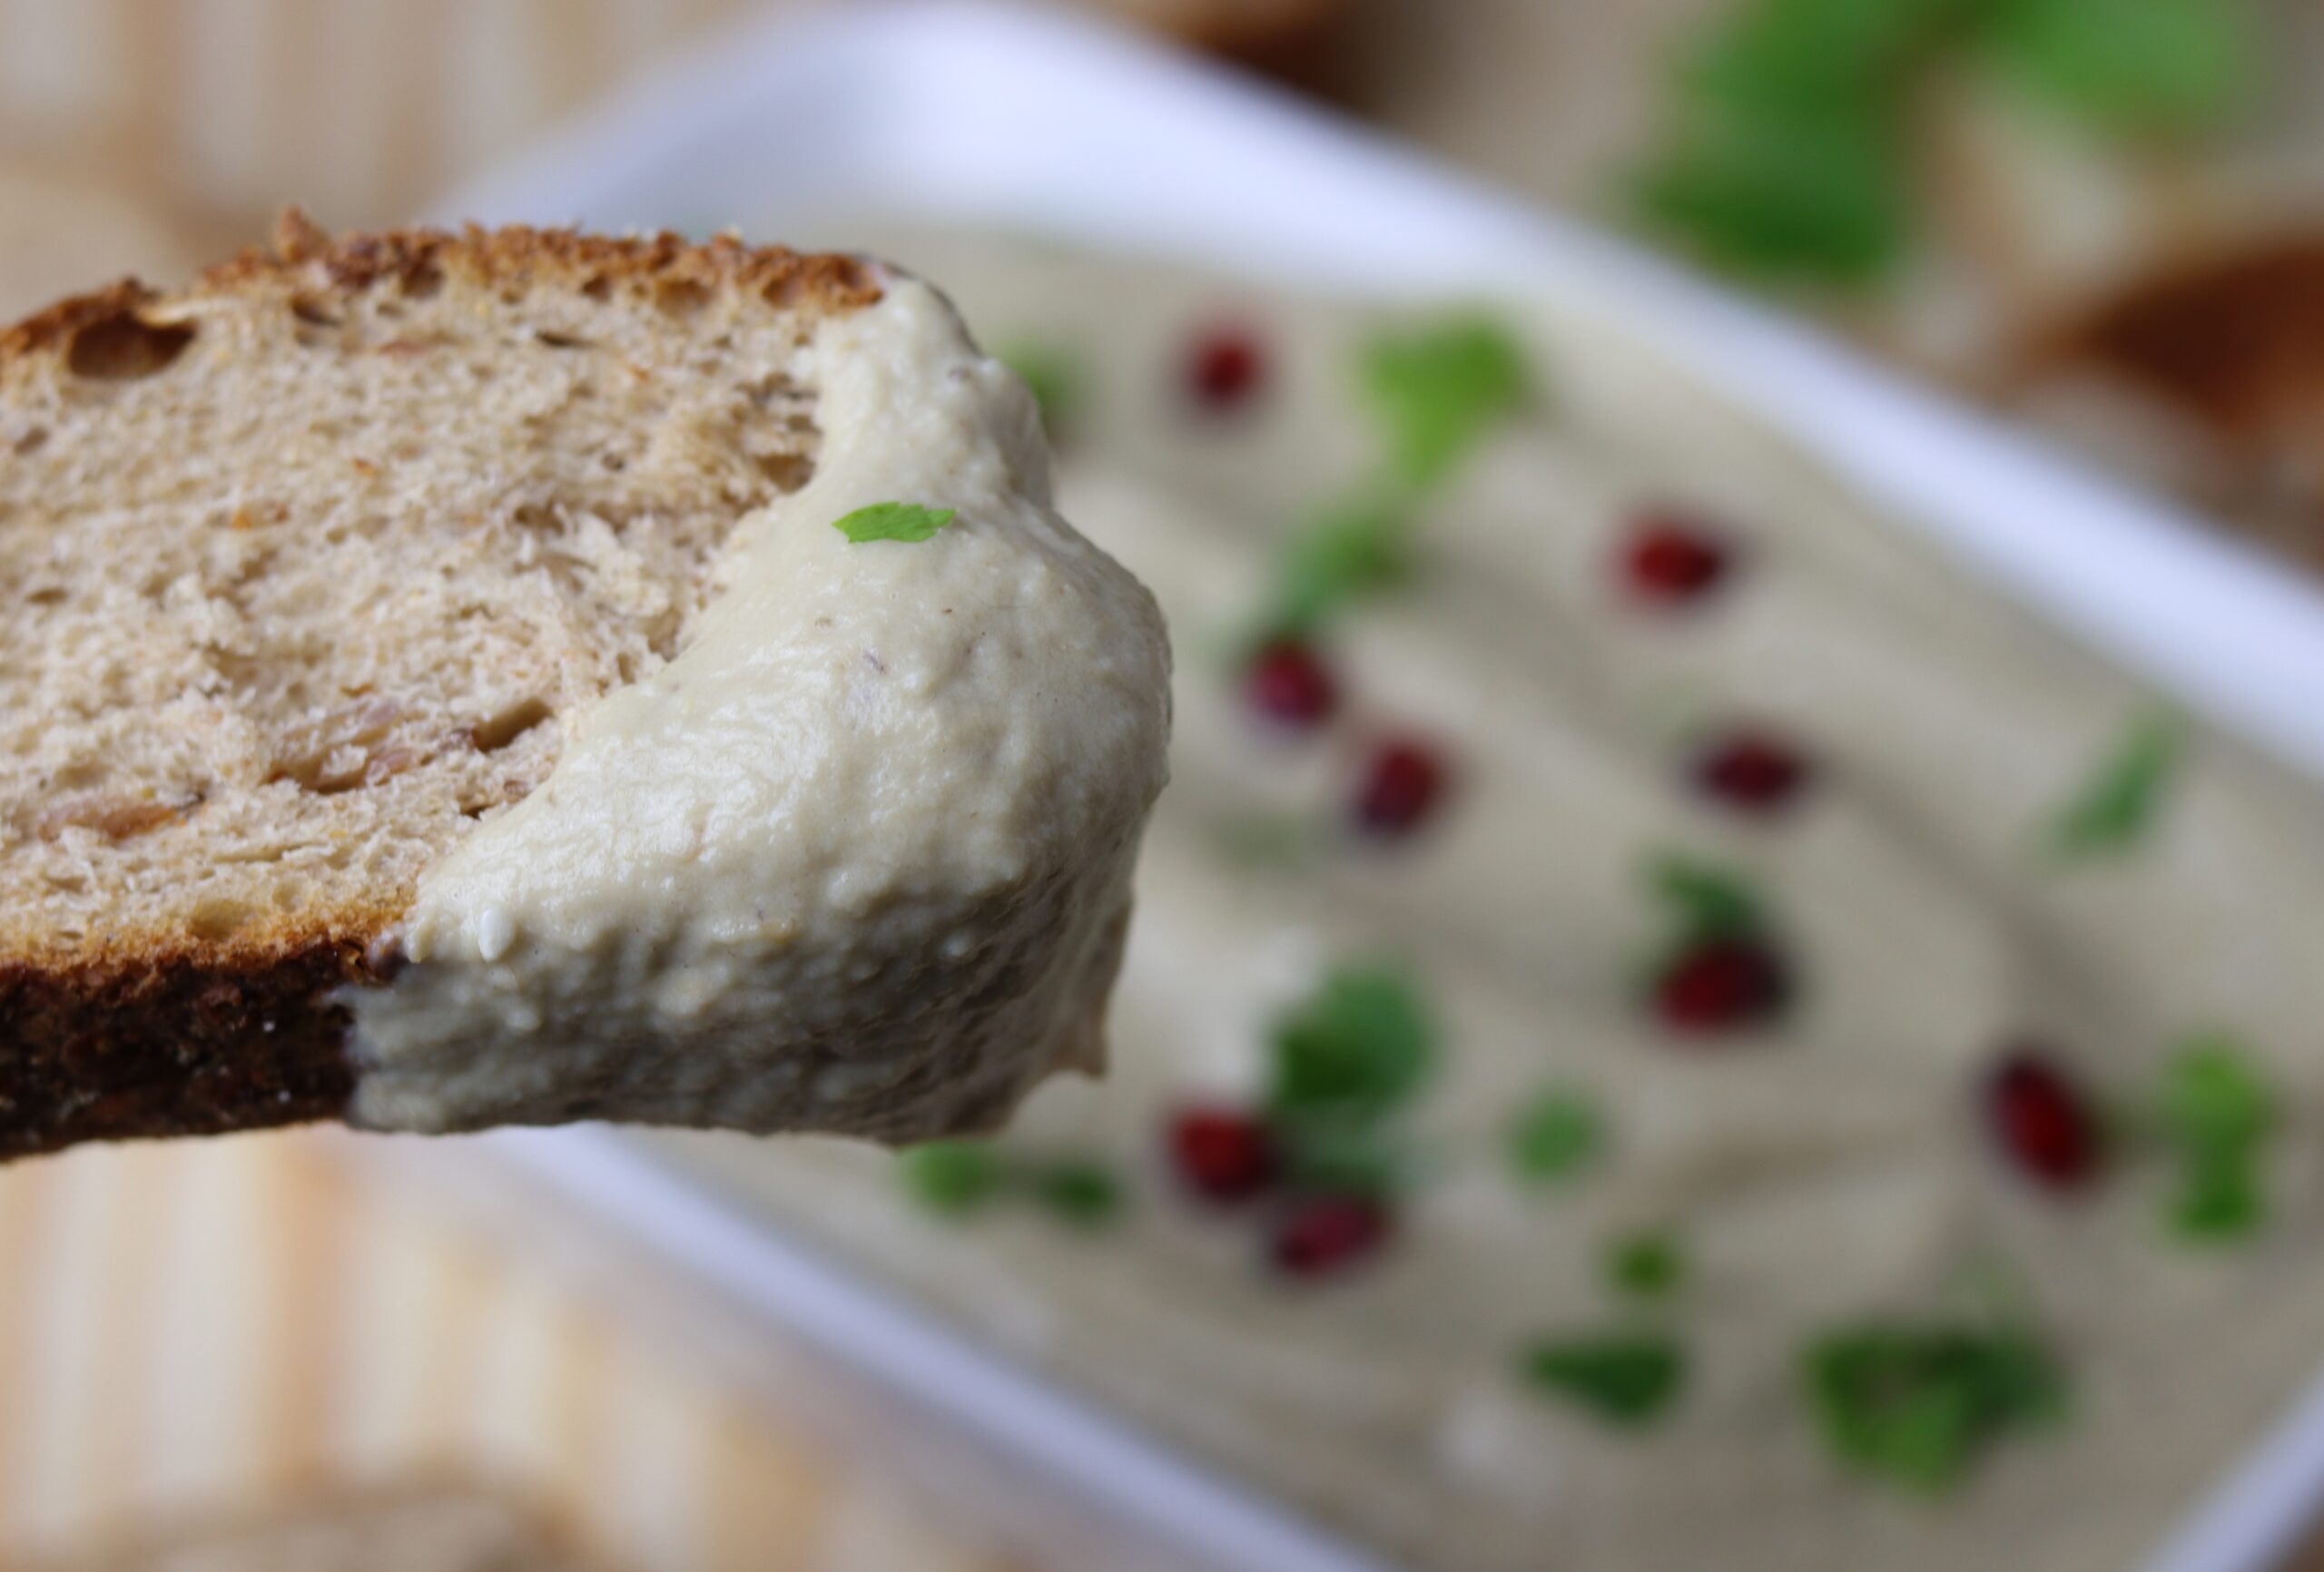
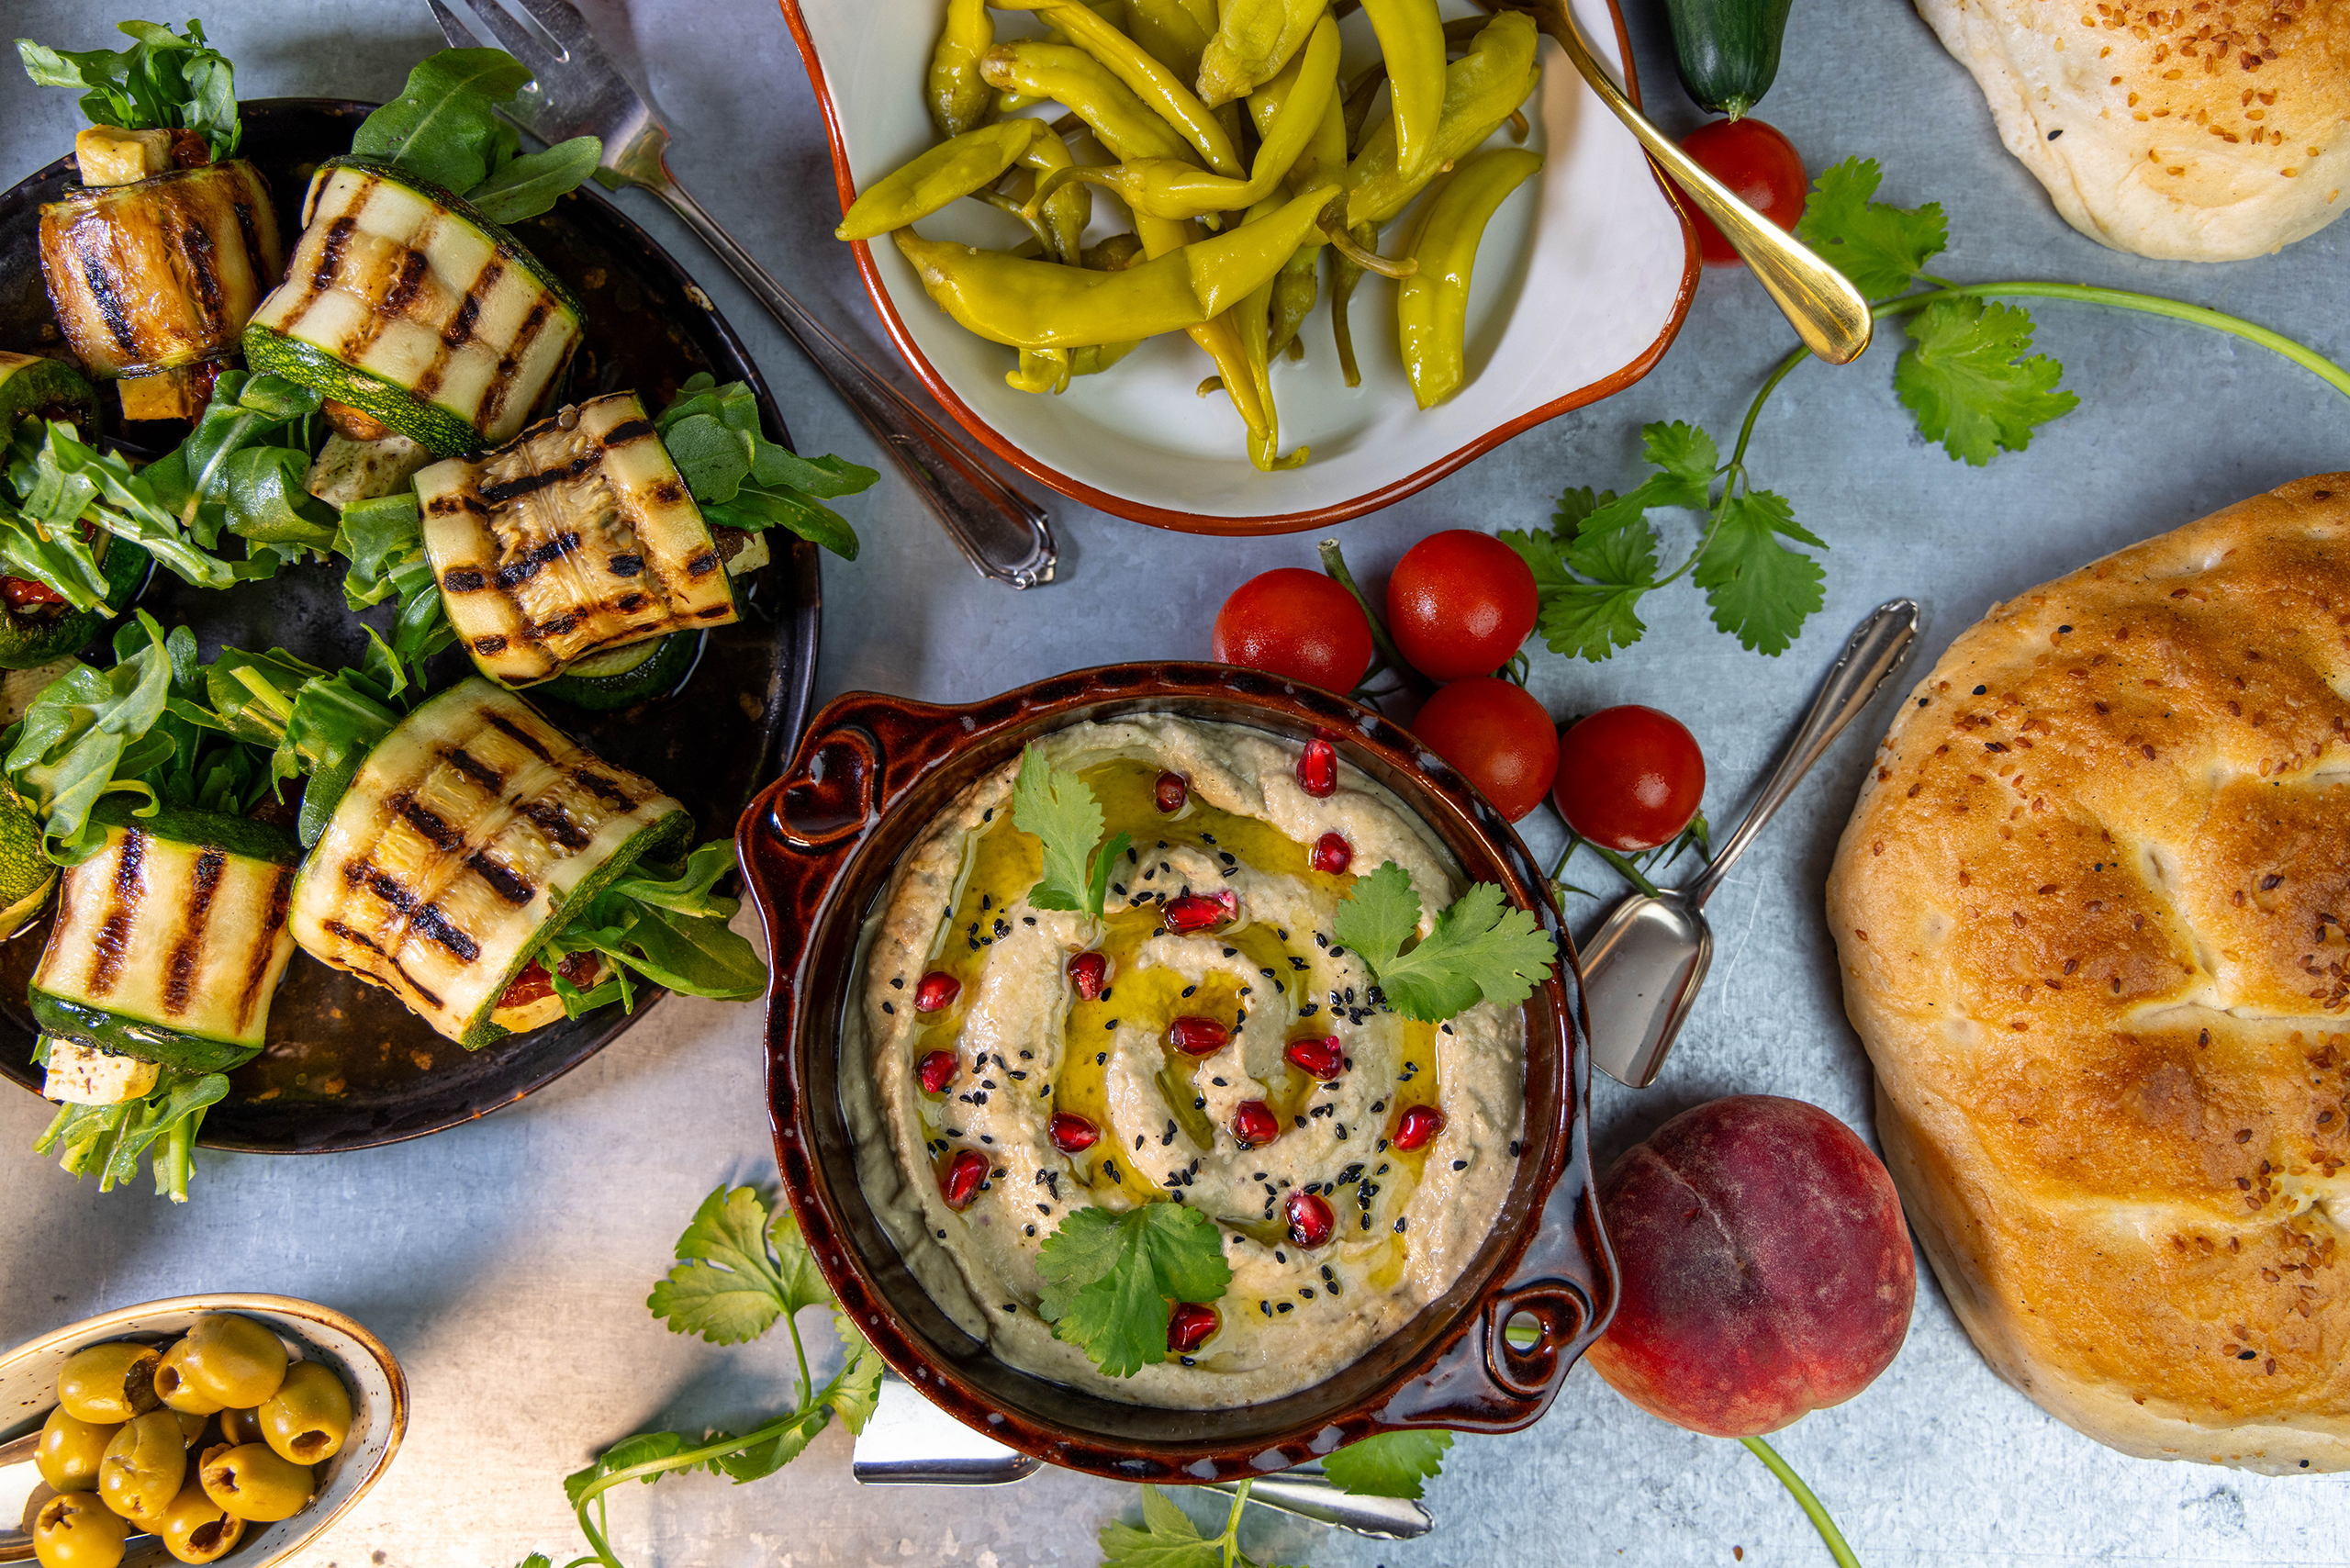
This heraty eggplant cream is eaten like hummus, as a delicious accompaniment to falafel and bread, or as a dip for vegetables. This delicious dip is an integral part of Levantine cuisine, which is has an increasing popularity worldwide.
The eggplant dip is eaten like hummus as a delicious side dish to falafel and bread or as a dip for vegetables.
What exactly is baba ganoush?
Baba ganoush is a dip from the Arabic cuisine. It is made from a puree of grilled eggplants and sesame paste. Aromatically seasoned with lemon, garlic, and cumin, the eggplant cream is served as a dip or side dish with dishes such as shawarma and falafel.
Baba Ganoush is a dip from the delicious Arabic cuisine
How long does baba ganoush keep?
Baba ganoush, or baba ghanoush, will keep for several days in the refrigerator. To store it, put the baba ganoush in an airtight pcontainer or screw-top jar. To prevent discoloration, you can also cover it directly with plastic wrap. Make sure there are no large air bubbles between the wrap and the eggplant dip.
Baba Ghanoush keeps well in the refrigerator for several days, so it’s easy to prepare ahead of time.
Origin of Baba Ganoush
Baba ganoush is the best-known and most popular Middle Eastern dip, alongside hummus. While hummus is made from chickpeas, baba ganoush is made from roasted eggplants, tahini (sesame paste), lemon juice, garlic, and olive oil. Known for its smoky flavor and creamy texture, this Middle Eastern eggplant spread is often served as an appetizer or side dish and is widely used in Levantine cuisine.
Baba Ganoush is probably the best known and most popular Middle Eastern dip, next to hummus.
What does Baba Ghanoush mean?
The name “Baba Ghanoush” comes from Arabic and translates as “spoiled father” or “loving father.” This name originates from a legend that says the dish was originally prepared for an elderly, well-loved man.
The name “Baba Ghanoush” comes from Arabic and means “spoiled father” or “sweet father”.
Why are eggplants so healthy?
Eggplants, also known as aubergines, are an extremely healthy vegetable that originates from subtropical Asia. Eggplants are rich in vitamins A, B, and C. They also contain important minerals such as calcium, magnesium, potassium, copper, manganese, phosphate, zinc, and flavonoids. They are low in calories and stimulate liver and pancreas function.
Baba G(h)anoush contains eggplant and sesame, both of which are very healthy. So this cream is not only delicious, but also very good for you.
Levantine cuisine: many small dishes from the Arab world
Levantine cuisine refers to many small dishes from the Arab world, especially from Jordan, Syria, Israel, and Lebanon. As a varied mezze platter, all the dishes are served at the same time, and everyone helps themselves together. Everyone fills their plates according to their taste.
Falafel with Baba Ganoush core: a delicious snack
More eggplant recipes
Summer is eggplant season! With these recipes, I’ll show you how versatile you can use this healthy vegetable:
Please follow me on Instagram or Facebook. And I’d love it if you made my Baba Ganoush recipe and posted a photo of it, tagging my account. Because I always find it really fun and exciting to see how my recipes are prepared in other kitchens!
Please show me your arabic eggplant dip
Baba Ganoush: Preparation in Pictures
Here, I’ll show you step-by-step photos of how I prepare this Arabic eggplant dip. Then, I’ll move on with the recipe.
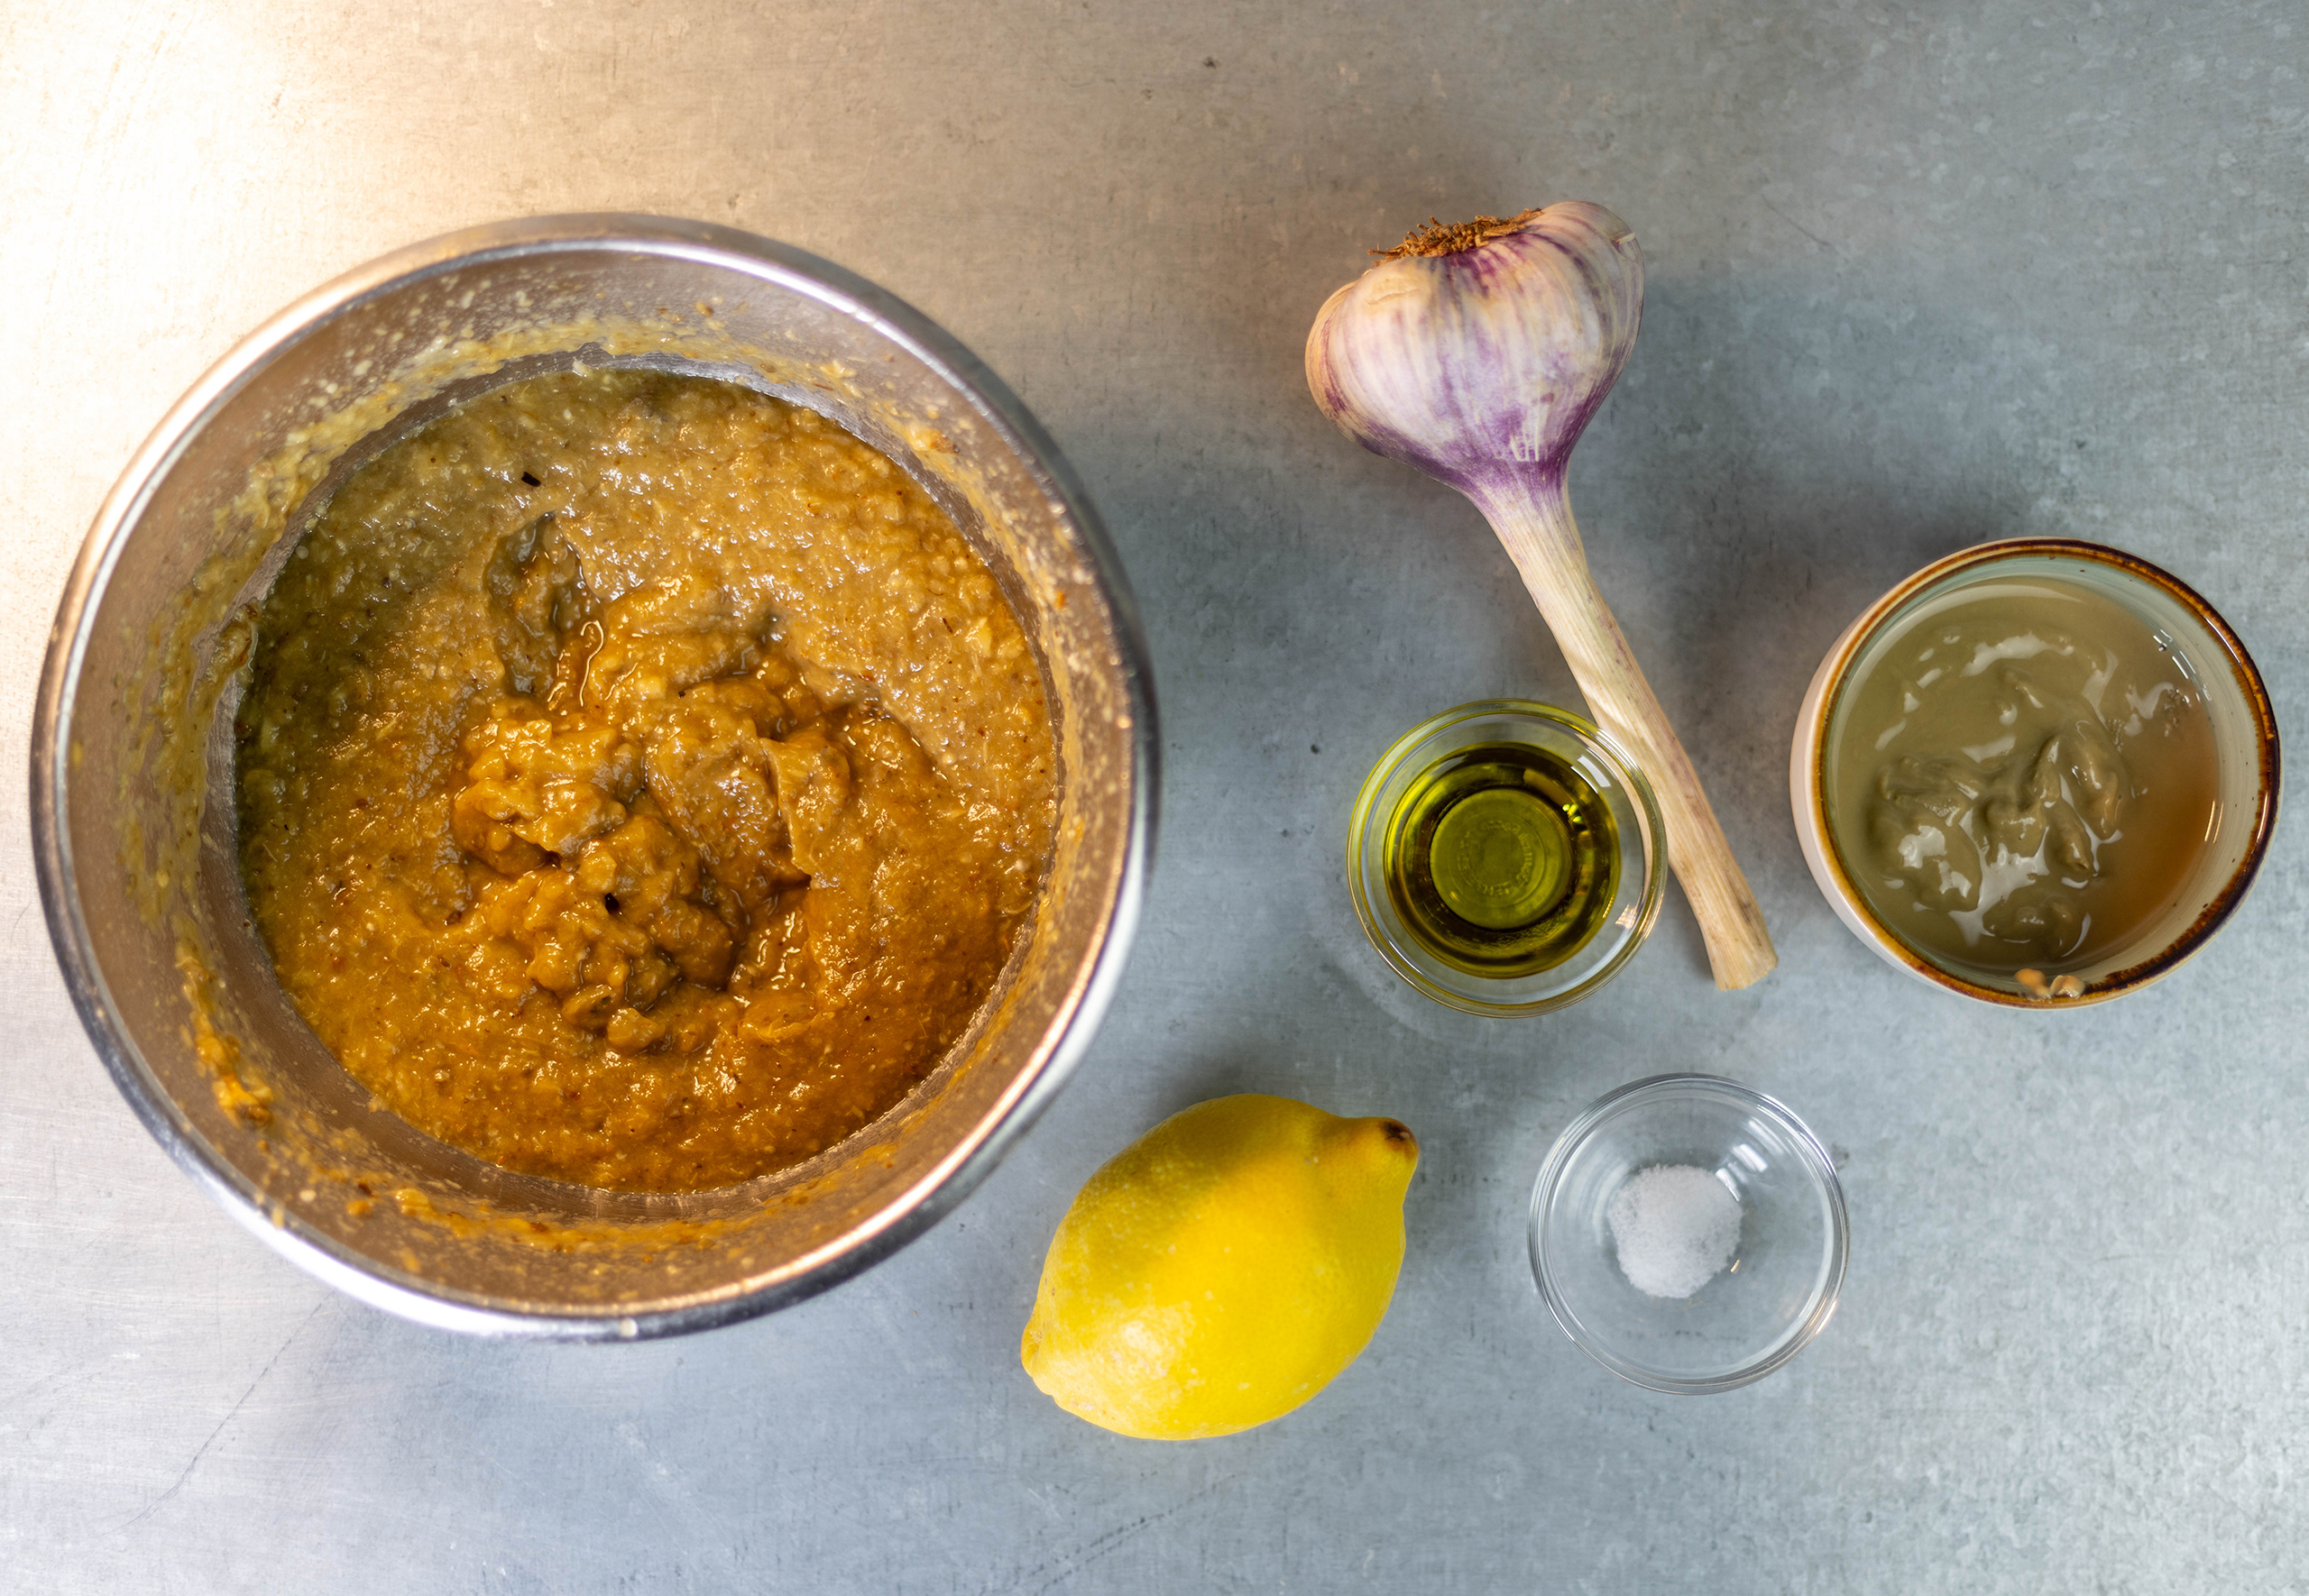
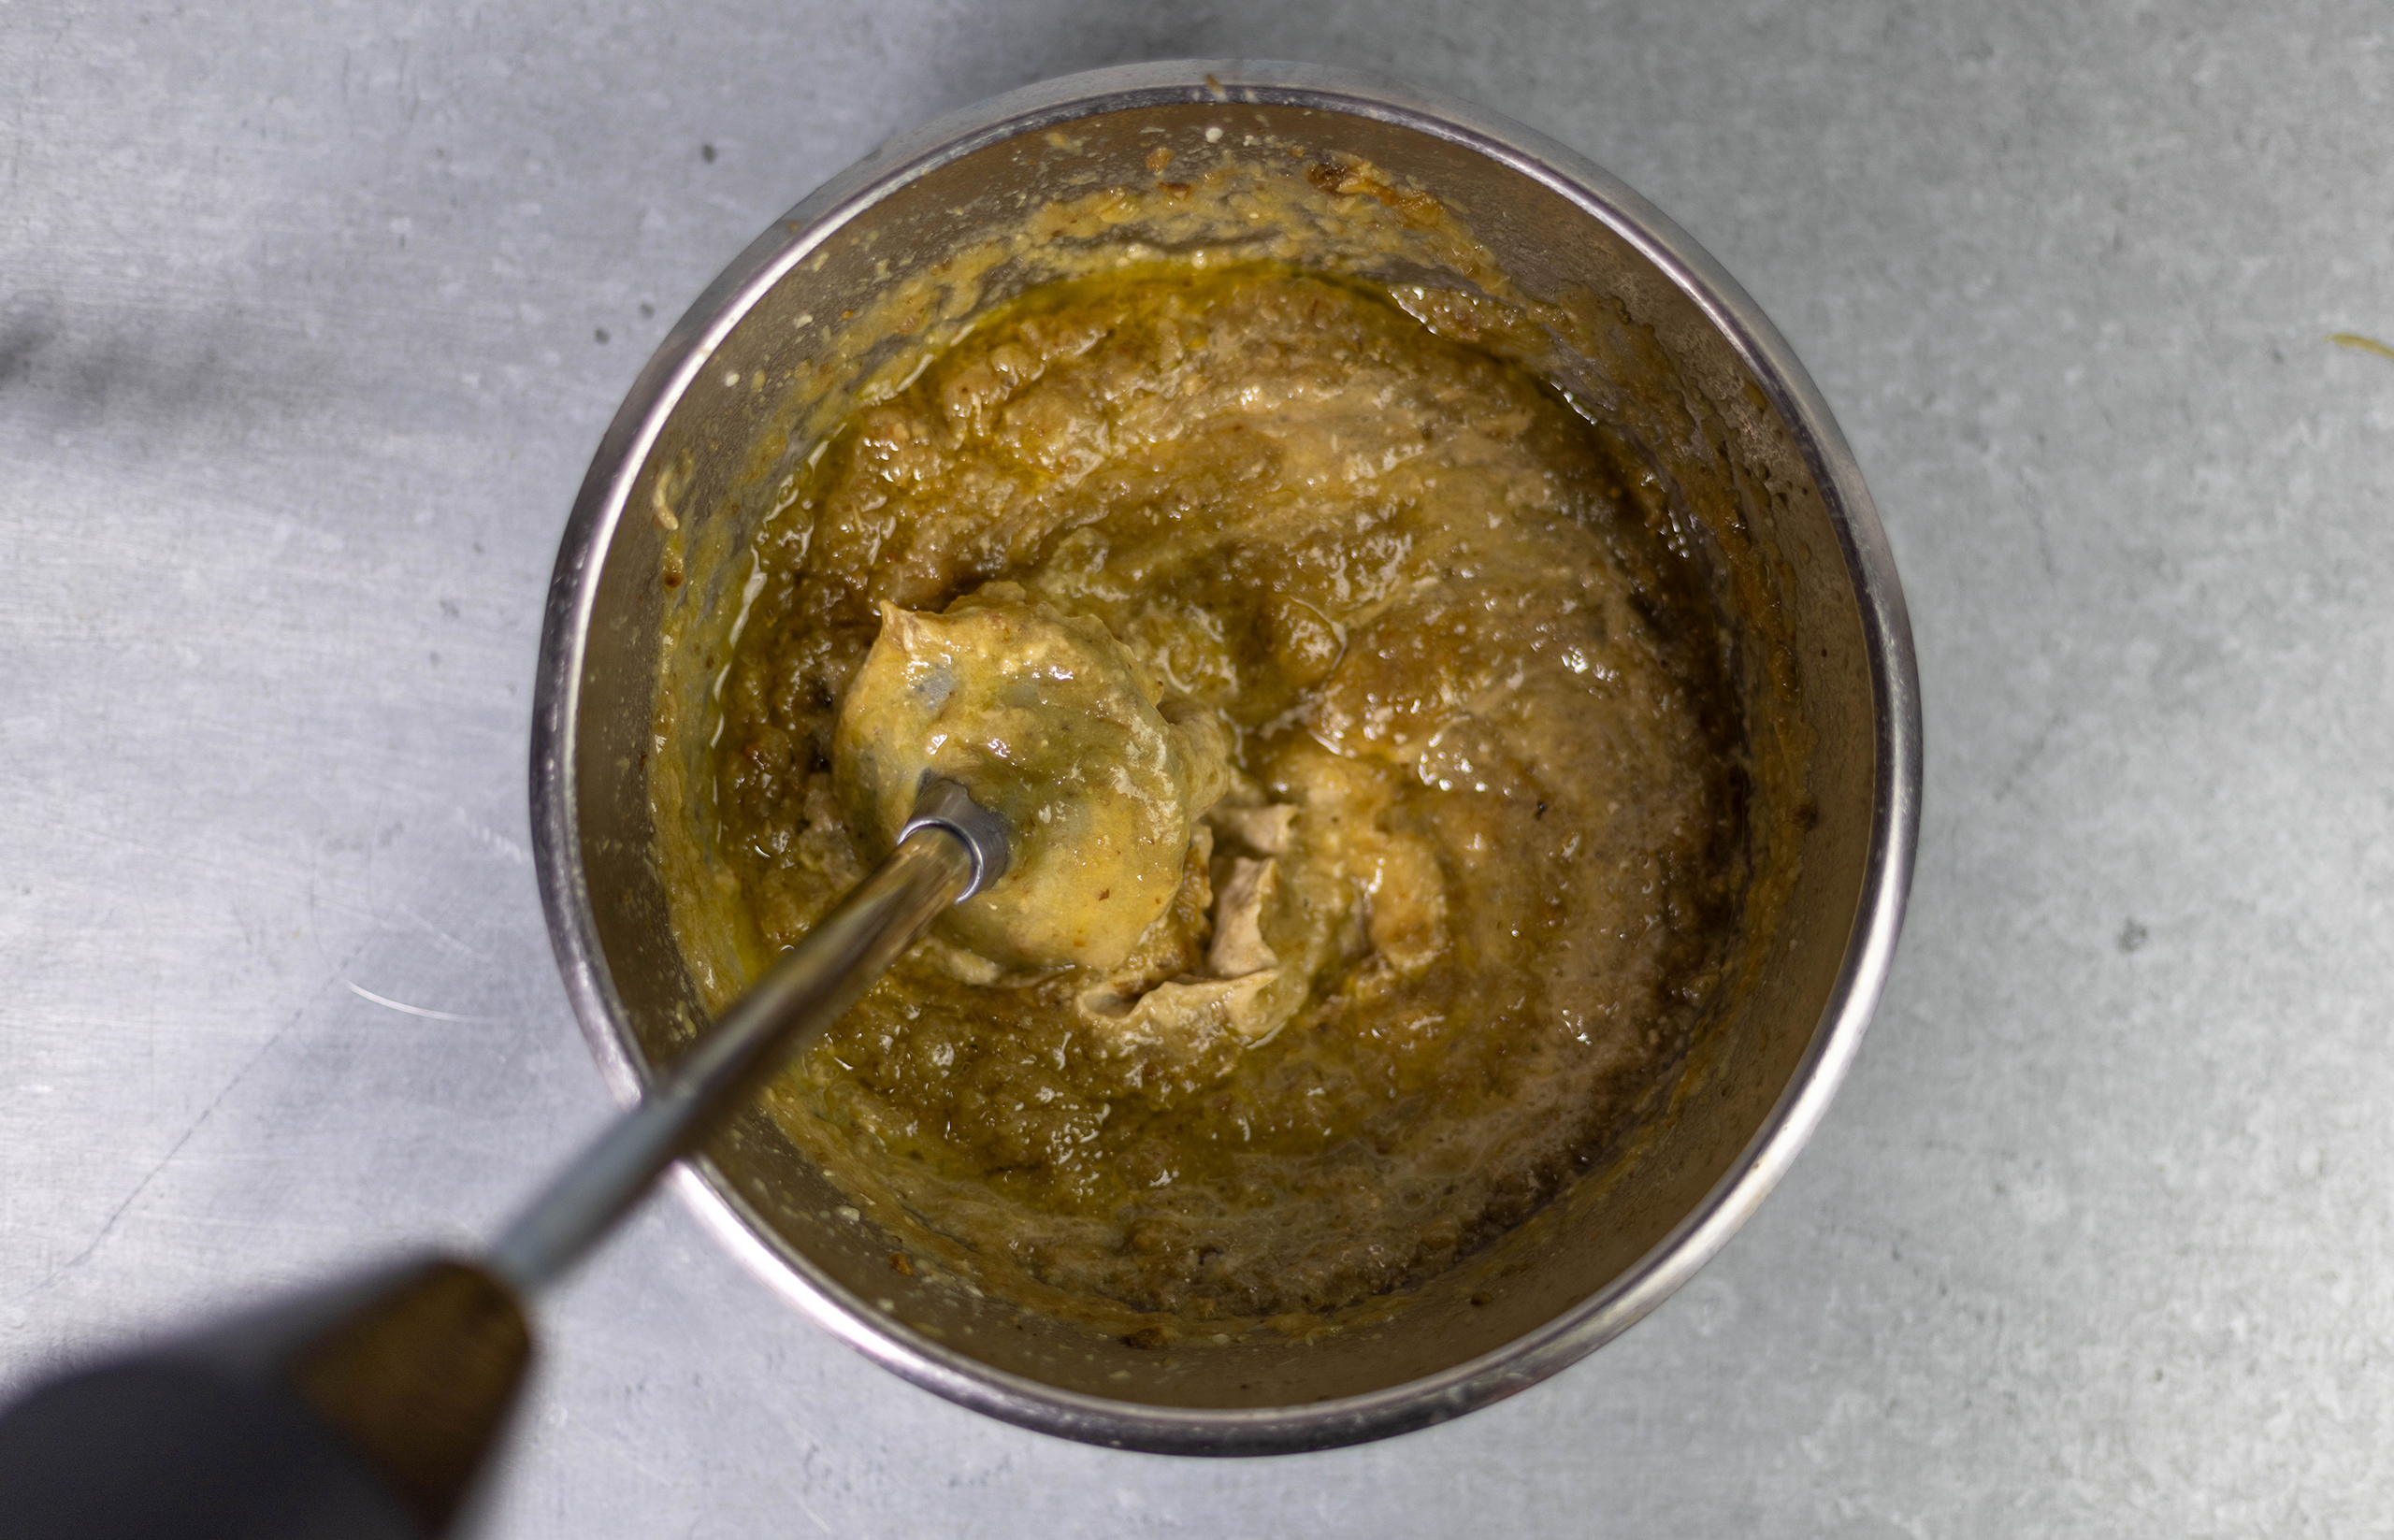
1. Place the eggplants on a baking tray lined with baking paper and roast them in the oven.2. The freshly roasted eggplants and all other ingredients3. Place the roasted eggplant flesh into a bowl, removing the skins.4. The eggplant flesh is pureed.5. Finally, the remaining ingredients are pureed.Baba Ganoush on a brilliant mezze table
Ingredients for approximately 400 ml of Baba Ganoush:
2 medium sized eggplants Lemon juice of 1 lemon 3 tablespoons tahini 1-2 garlic cloves, crushed 1 tablespoon olive oil 1 pinch of salt
Optional: Parsley, coriander, sesame seeds, pomegranate seeds, or olive oil for garnish
Preparation:
Preheat the oven to 250°C (480°F).
Bake the eggplants on a baking sheet lined with parchment paper for about 40 minutes. The skin can turn nicely black. This will add a delicious smoky flavor, and the eggplants are thoroughly cooked on the inside.
Let the baked eggplants cool slightly so they can be handled.
Peel the eggplants and puree the insides in a bowl.
Then mix with the remaining ingredients. A hand blender is best for this, as it works particularly quickly.
Optionally, garnish with parsley, coriander, sesame seeds, pomegranate seeds, or olive oil to enhance the flavor.