Category: Without special vegan ingrediencts

Recipes without special vegan ingredients. This means that these recipes do not require anything special. But also no products that are difficult to get. Such as vital wheat gluten, silken tofu or special binding agents.

You can get the ingredients for these recipes in any small supermarket.

Vegan recipes? Check out Daily Vegan!

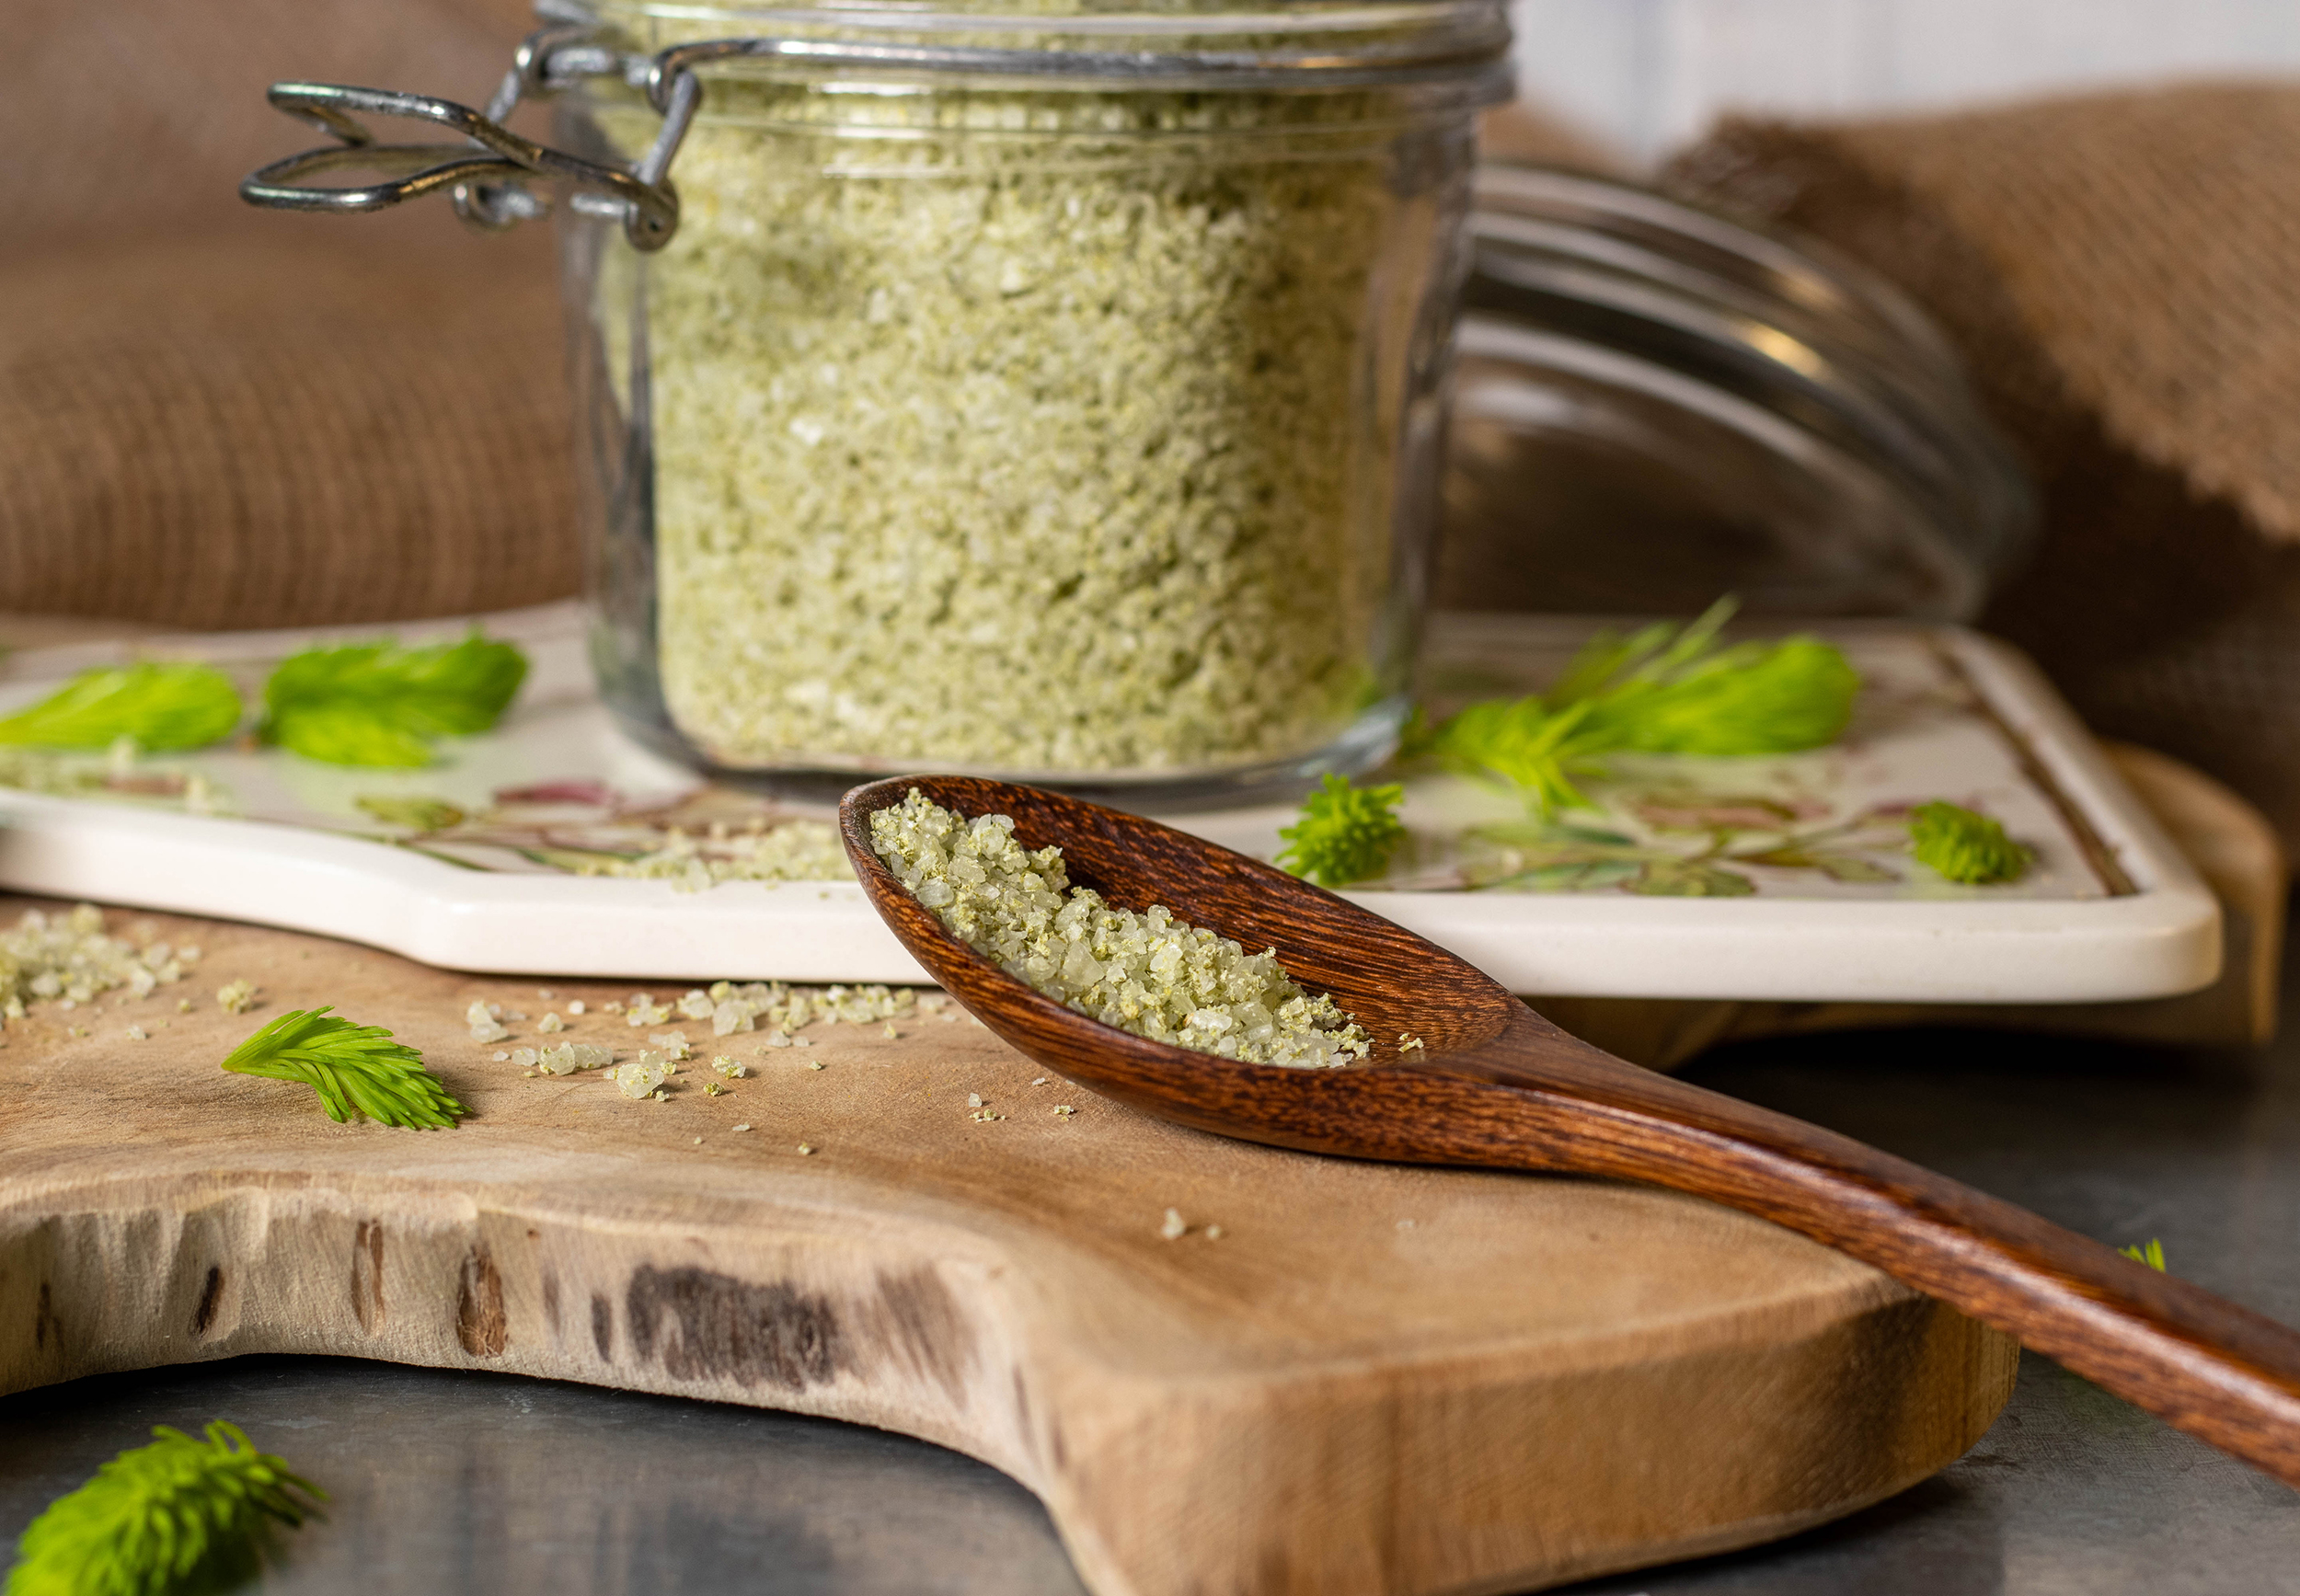
  • Spruce salt – herbal salt made from foraged, young spruce tips

    Spruce salt – herbal salt made from foraged, young spruce tips

    Spruce salt, May twig salt, spruce tip salt! Here is my aromatic, fragrant herbal salt made from young spruce tips. Fresh and spicy from the forest kitchen.
    To prepare thissalt, young spruce tips must be collected in late spring and early summer.

    Spruce salt, spruce tip salt! Slightly ethereal, spicy-scented, which goes surprisingly well with many dishes.
    Slightly ethereal, spicy-scented, which goes surprisingly well with many dishes.

    Spruce salt – my delicious forest salt

    Spruce salt contains delicious forest aroma, which is why I also like to call it forest salt. Slightly ethereal, spicy-smelling, which goes surprisingly well with many dishes. I like to use it with vish and vegan meat dishes or as a coating for my vegan cream cheese balls.
    Even if you have to harvest the spruce tips seasonally, the salt lasts all year round and is therefore perfect for long-lasting, regional cuisine. A pretty jar of spruce salt is also great as a small gift from the kitchen!

    Spruce tip salt – my delicious forest salt
    My delicious forest salt: spruce tip salt

    Spruce salt – very easy with just 2 ingredients!

    My homemade, aromatic salt is very easy to make with just 2 ingredients and a little patience. All you need is a location with a few spruce trees, nimble hands for collecting the spruce tips and salt. And you should also plan on some waiting time for the drying.
    Very easy, with a great, aromatic effect.

    Spruce salt – made from only 2 ingredients: coarse sea salt and spruce tips
    Spruce salt – made from only 2 ingredients: coarse sea salt and spruce tips

    Instead of using spruce tips, you can also make fir salt

    If you don’t have a spruce forest nearby, the salt can also be made as fir salt from young fir shoots. The taste is very similar and the harvest and production are completely identical. So you can simply use this recipe.

    Also beautiful to look at, thanks to its green color. The salt can also be made as fir salt from young fir shoots.
    Also beautiful to look at, thanks to its green color. The salt can also be made as fir salt from young fir shoots.

    Distinguishing between spruces and firs

    You can easily distinguish between spruces and firs because “The spruce stings, the fir doesn’t!” The spruce has slightly sharper needles, the fir has slightly rounded ones.
    With this simple mnemonic you can easily distinguish the two conifers from each other. Although it wouldn’t be a problem if you used both trees for this recipe.

    Versatile, fresh from the forest kitchen
    Versatile, fresh from the forest kitchen

    Be careful not to confuse it with the poisonous yew

    You have to be able to identify the conifers you are collecting from precisely, because there is also a poisonous conifer in our latitudes. Here in Germany, the yew is the only native conifer in which almost all parts are poisonous. You therefore have to be able to clearly rule out this type of conifer when collecting.

    Here is my aromatic, fragrant herbal salt made from young spruce tips
    Here is my aromatic, fragrant herbal salt made from young spruce tips

    When is the best time to harvest spruce tips?

    For forest recipes with spruce tips, the young spruce shoots must still be bright green and rather small and soft. The color demarcation makes them very easy to distinguish from the older parts. In addition to savory dishes, you can also use spruce tips to make a sweet, fantastic, vegan spruce tip honey.

    Depending on the weather, spruce tips sprout from mid-April to early June.

    I like to use it with vegan fish and meat dishes
    I like to use it with vegan fish and meat dishes

    What do spruce tips taste like?

    Spruce tips smell of the essential oils of the spruce, but not as intensely as the wood or older needles. They taste surprisingly lemony, especially after preparation. There is also a sweet note, which is why they are also nice to snack straight from the tree.

    Also delicious simply on bread
    Also delicious simply on bread

    Tasty sweet, vegan honey made from spruce tips

    If you love the forest kitchen as much as I do, you should definitely also try my recipe for spruce tip honey. A lovely way to make vegan forest honey from spruce tips.

    Spruce salt, spruce tip salt!
    Spruce salt, spruce tip salt!

    Ingredients for approx. 300 g spruce salt:

    60 g spruce tips
    300 g coarse sea salt

    Preparation:

    1. Coarsely chop the young spruce shoots, then chop them with the food processor until they are very finely chopped and slightly pulpy.
    2. Add the coarse sea salt and grind everything. The salt should be well mixed with the spruce tip pulp. There may still be coarse pieces of salt in the mass, but no recognizable pieces of spruce needles. The wild tree salt should now be a strong green and moist throughout.
    3. Spread the moist, homemade forest flavour salt evenly on a sheet of parchment paper.
    4. Dry the salt in the dehydrator at 50°C (120°F) for 3-4 hours. If the spruce tip salt still has damp spots, extend the drying time.
      As an alternative to the dehydrator, an oven can also be used to dry the salt. To do this, set the oven to 50°C (120°F) convection heat. Dry the spruce tip salt on the middle rack. Clamp a wooden spoon handle into the oven door so that the moist air can escape.
    5. Crumble the dried, homemade aromatic salt into small pieces and store in an airtight container.

    Enjoy!
  • Dandelion honey – vegan, foraged on the meadows and preserved!

    Dandelion honey – vegan, foraged on the meadows and preserved!

    Here is my delicious recipe for homemade dandelion honey. Made from hand picked dandelion flowers. For all of you with a sweet tooth!

    My delicious recipe for dandelion honey made from dandelion flowers
    My delicious recipe for dandelion honey made from dandelion flowers

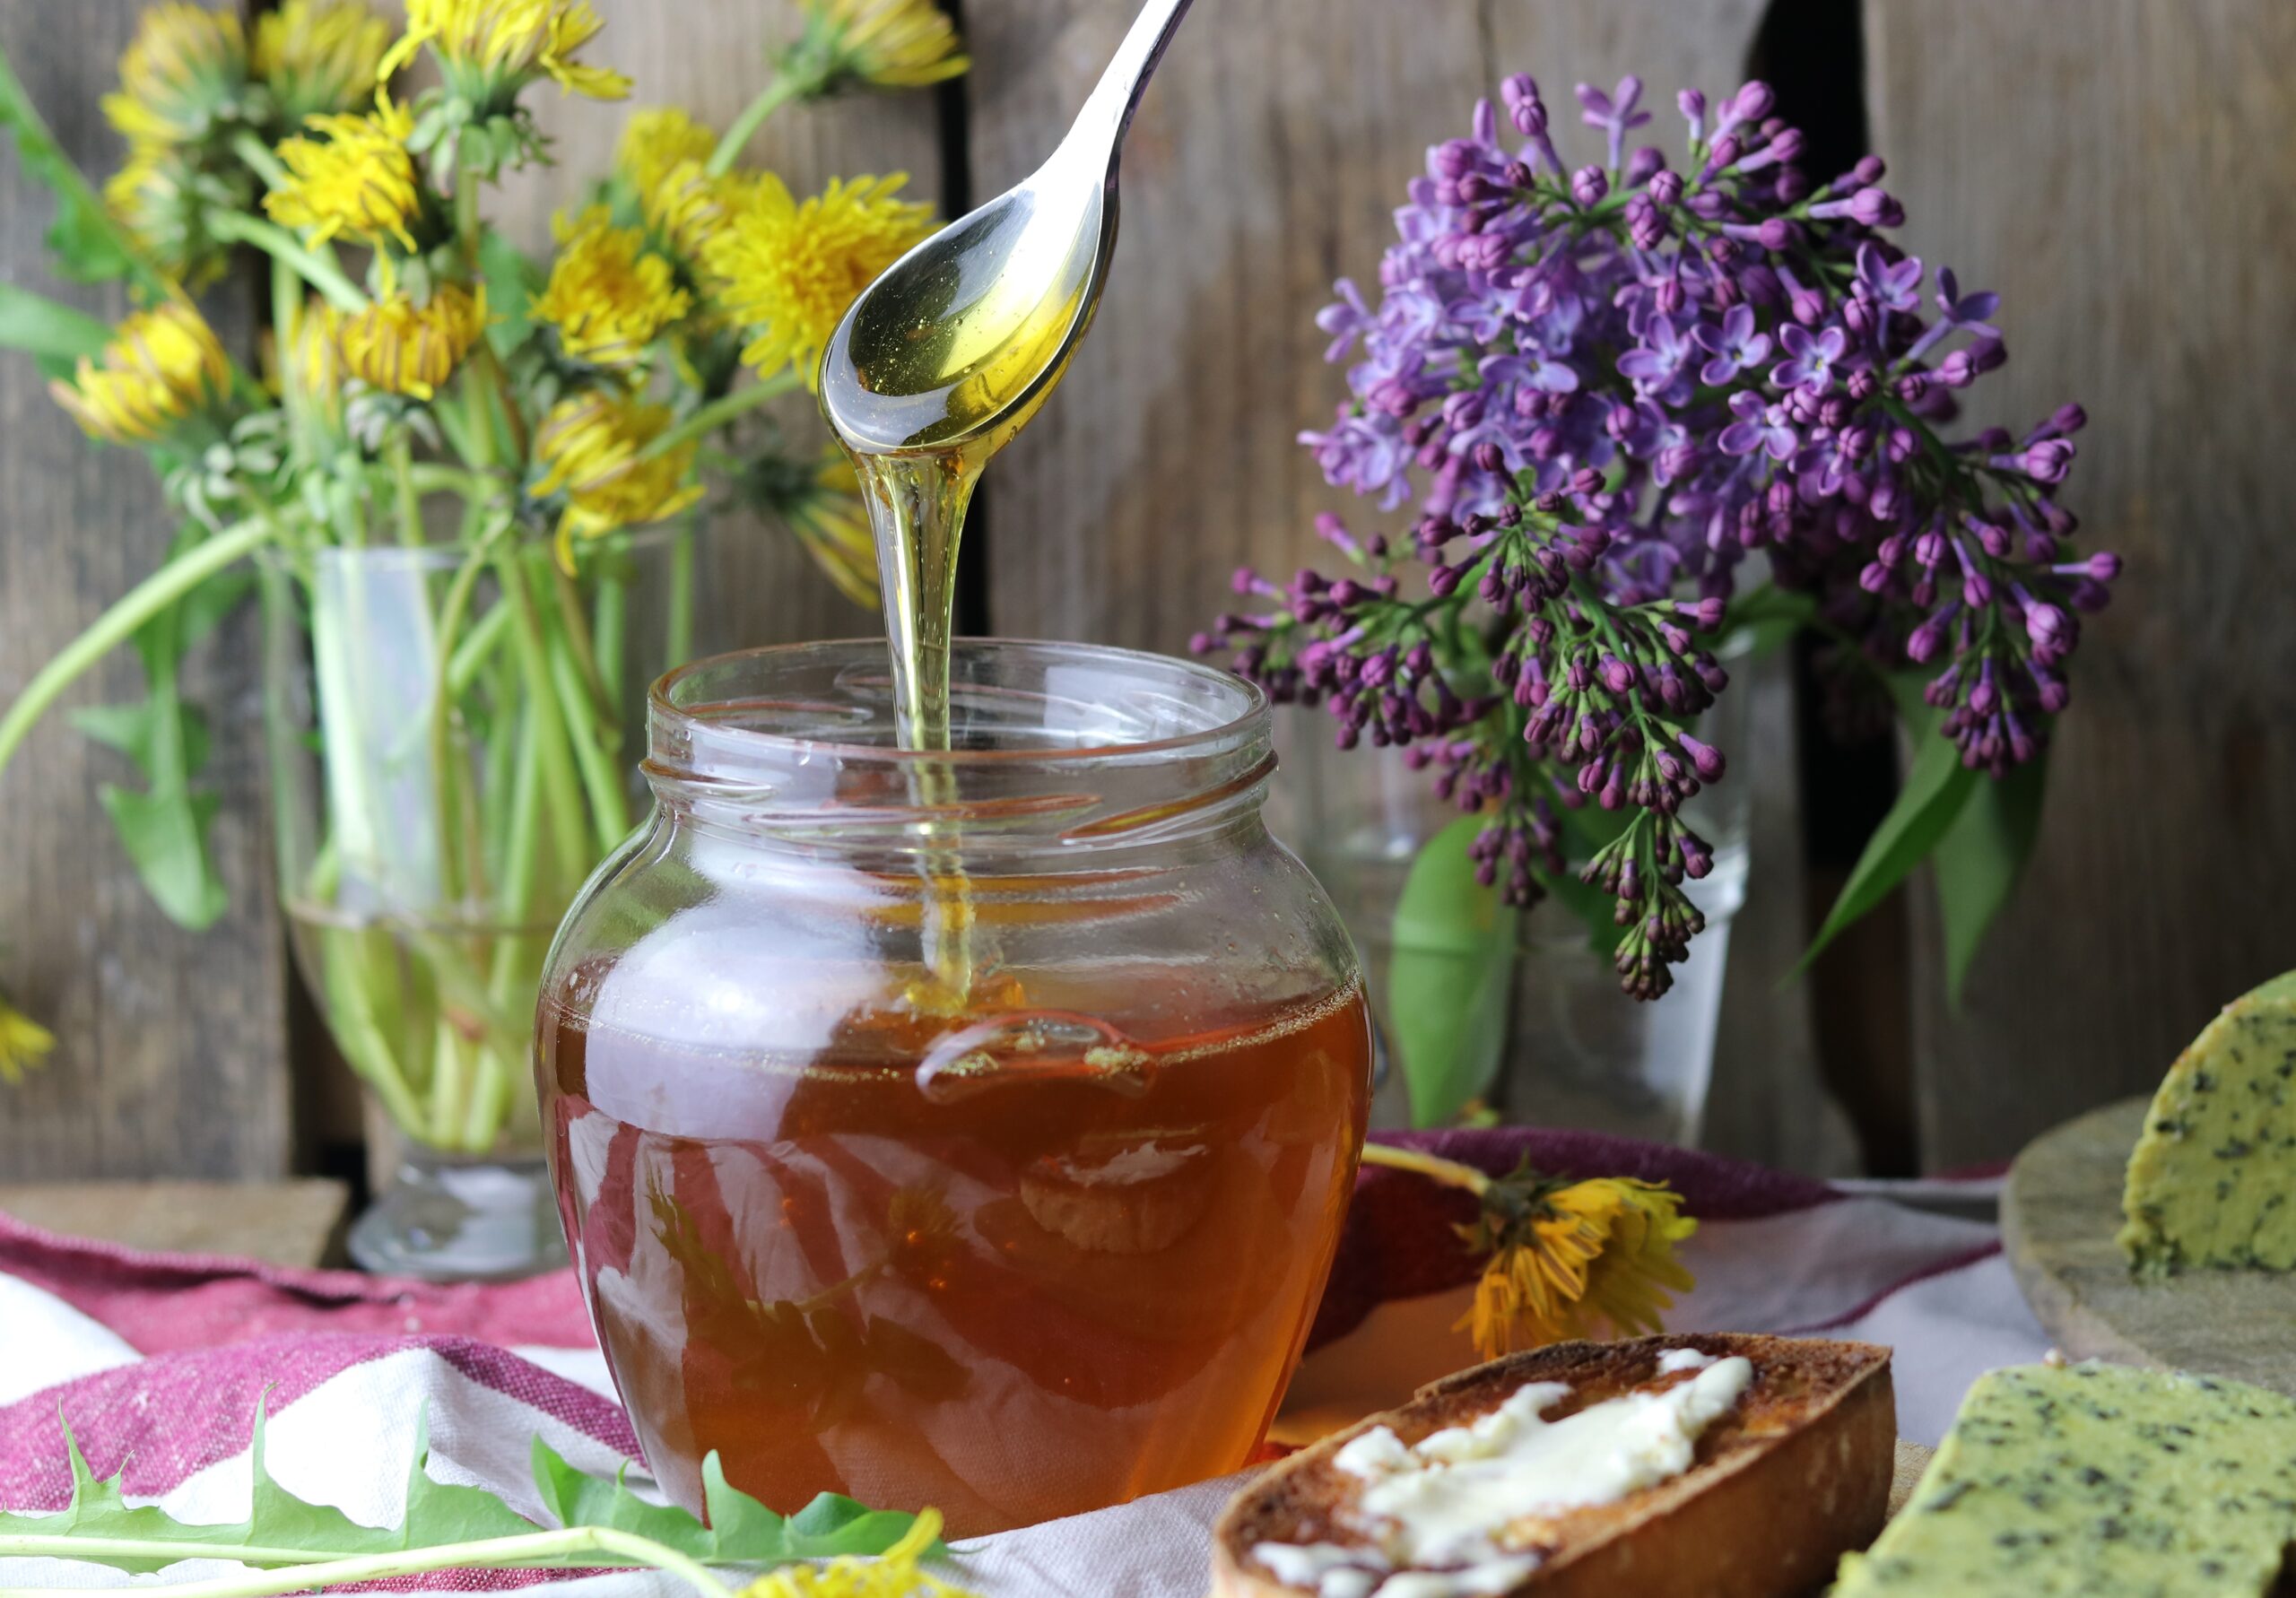
    It has the same consistency as honey from bees. And the taste is also very, very similar to real honey.

    Dandelion honey has the same consistency as flower honey from bees.
    Dandelion honey has the same consistency as flower honey from bees.

    For this recipe, however, we have to be the busy bees ourselves and pick about 400 flowers. However, in a meadow that has a yellow tint from dandelions, this can be done pretty quickly. Make sure to pick off the flowers directly under the head because we don’t want the stems. It’s best to pick late in the morning to afternoon on a sunny day, because dandelion flowers close in the evening and they should be fully open and in all their glory for harvest.

    Dandelion honey is very stringy! And in terms of taste, it is very similar to bee honey.
    Dandelion honey is very stringy! And in terms of taste, it is very similar to bee honey.

    Here is my recipe for dandelion honey as a cooking video

    The video is in German, but I am sure it works well with youtube’s subtitles. Plus, you can see how wonderful my honey flows over the spoon.

    Feel free to subscribe to my YouTube channel!

    Tips for more recipes with ingredients from nature:

    If you like the taste of honey, you have got to try my vegan forest honey made from spruce tips!

    I also recommend my wild garlic paste. A wonderful way to preserve the taste of wild garlic around the year. Or my Green waffles: wild garlic & spinach waffles. Plus dip and asparagus.

    Pictures of my delicious dandelion honey and its preparation:

    Here you can see photos of how I prepare the honey. Then we continue directly with the recipe.

    1. Dandelion flowers: around 400 of them need to be picked. That sounds like a lot, but it happens very quickly on a yellow-dotted meadow and afterwards you don't even notice that something is missing.
    1. Dandelion flowers: around 400 of them need to be picked. That sounds like a lot, but it happens very quickly on a yellow-dotted meadow and afterwards you don’t even notice that something is missing.
    2. Place the freshly picked dandelion flowers in a pot with water and lemons. Boil down and then let it steep for 24 hours.
    2. Place the freshly picked dandelion flowers in a pot with water and lemons. Boil down and then let it steep for 24 hours.
    After boiling, the honey is bottled hot and sealed, so it lasts for at least a year. After it cools down, it draws strings like bee honey.
    After boiling, the honey is bottled hot and sealed, so it lasts for at least a year. After it cools down, it draws strings like bee honey.
    Dandelion honey with vegan butter on bread. Next to it is a bread with my homemade stinging nettle cheese.
    Dandelion honey with vegan butter on bread. Next to it is a bread with my homemade vegan stinging nettle cheese.

    Dandelion honey tastes very good as a spread on bread and rolls or as a sweetener in dishes. And dandelion flower extracts are said to even prevent colds.

    Ingredients for approx. 1.2 l dandelion honey:

    1 l water
    400 dandelion flowers
    1 lemon, sliced (organic)
    1 kg sugar

    Preparation:

    1. Place the freshly picked dandelion flowers in a large pot with a liter of cold water.
    2. Add the pitted lemon slices.
    3. Bring everything to the boil and simmer for 15 minutes.
    4. Then let it rest with the lid on for 24 hours.
    5. Strain the mixture through a linen cloth or straining cloth and squeeze it out. Collect the juice in a large pot.
    6. Mix the dandelion broth with the sugar. Bring to the boil very briefly, then simmer with the lid open for 2-3 hours. Stir every now and then and do a gelling test from time to time after 2 hours of cooking. As soon as the cooled dandelion honey draws strings like bee honey, it is ready.
    7. While it is still hot, fill it into small screw-top jars that have been washed with boiling water and close them tightly.

    Bon appetit!

  • Beetroot hummus – simple, delicious and pink!

    Beetroot hummus – simple, delicious and pink!

    Just beautiful and nice and easy!
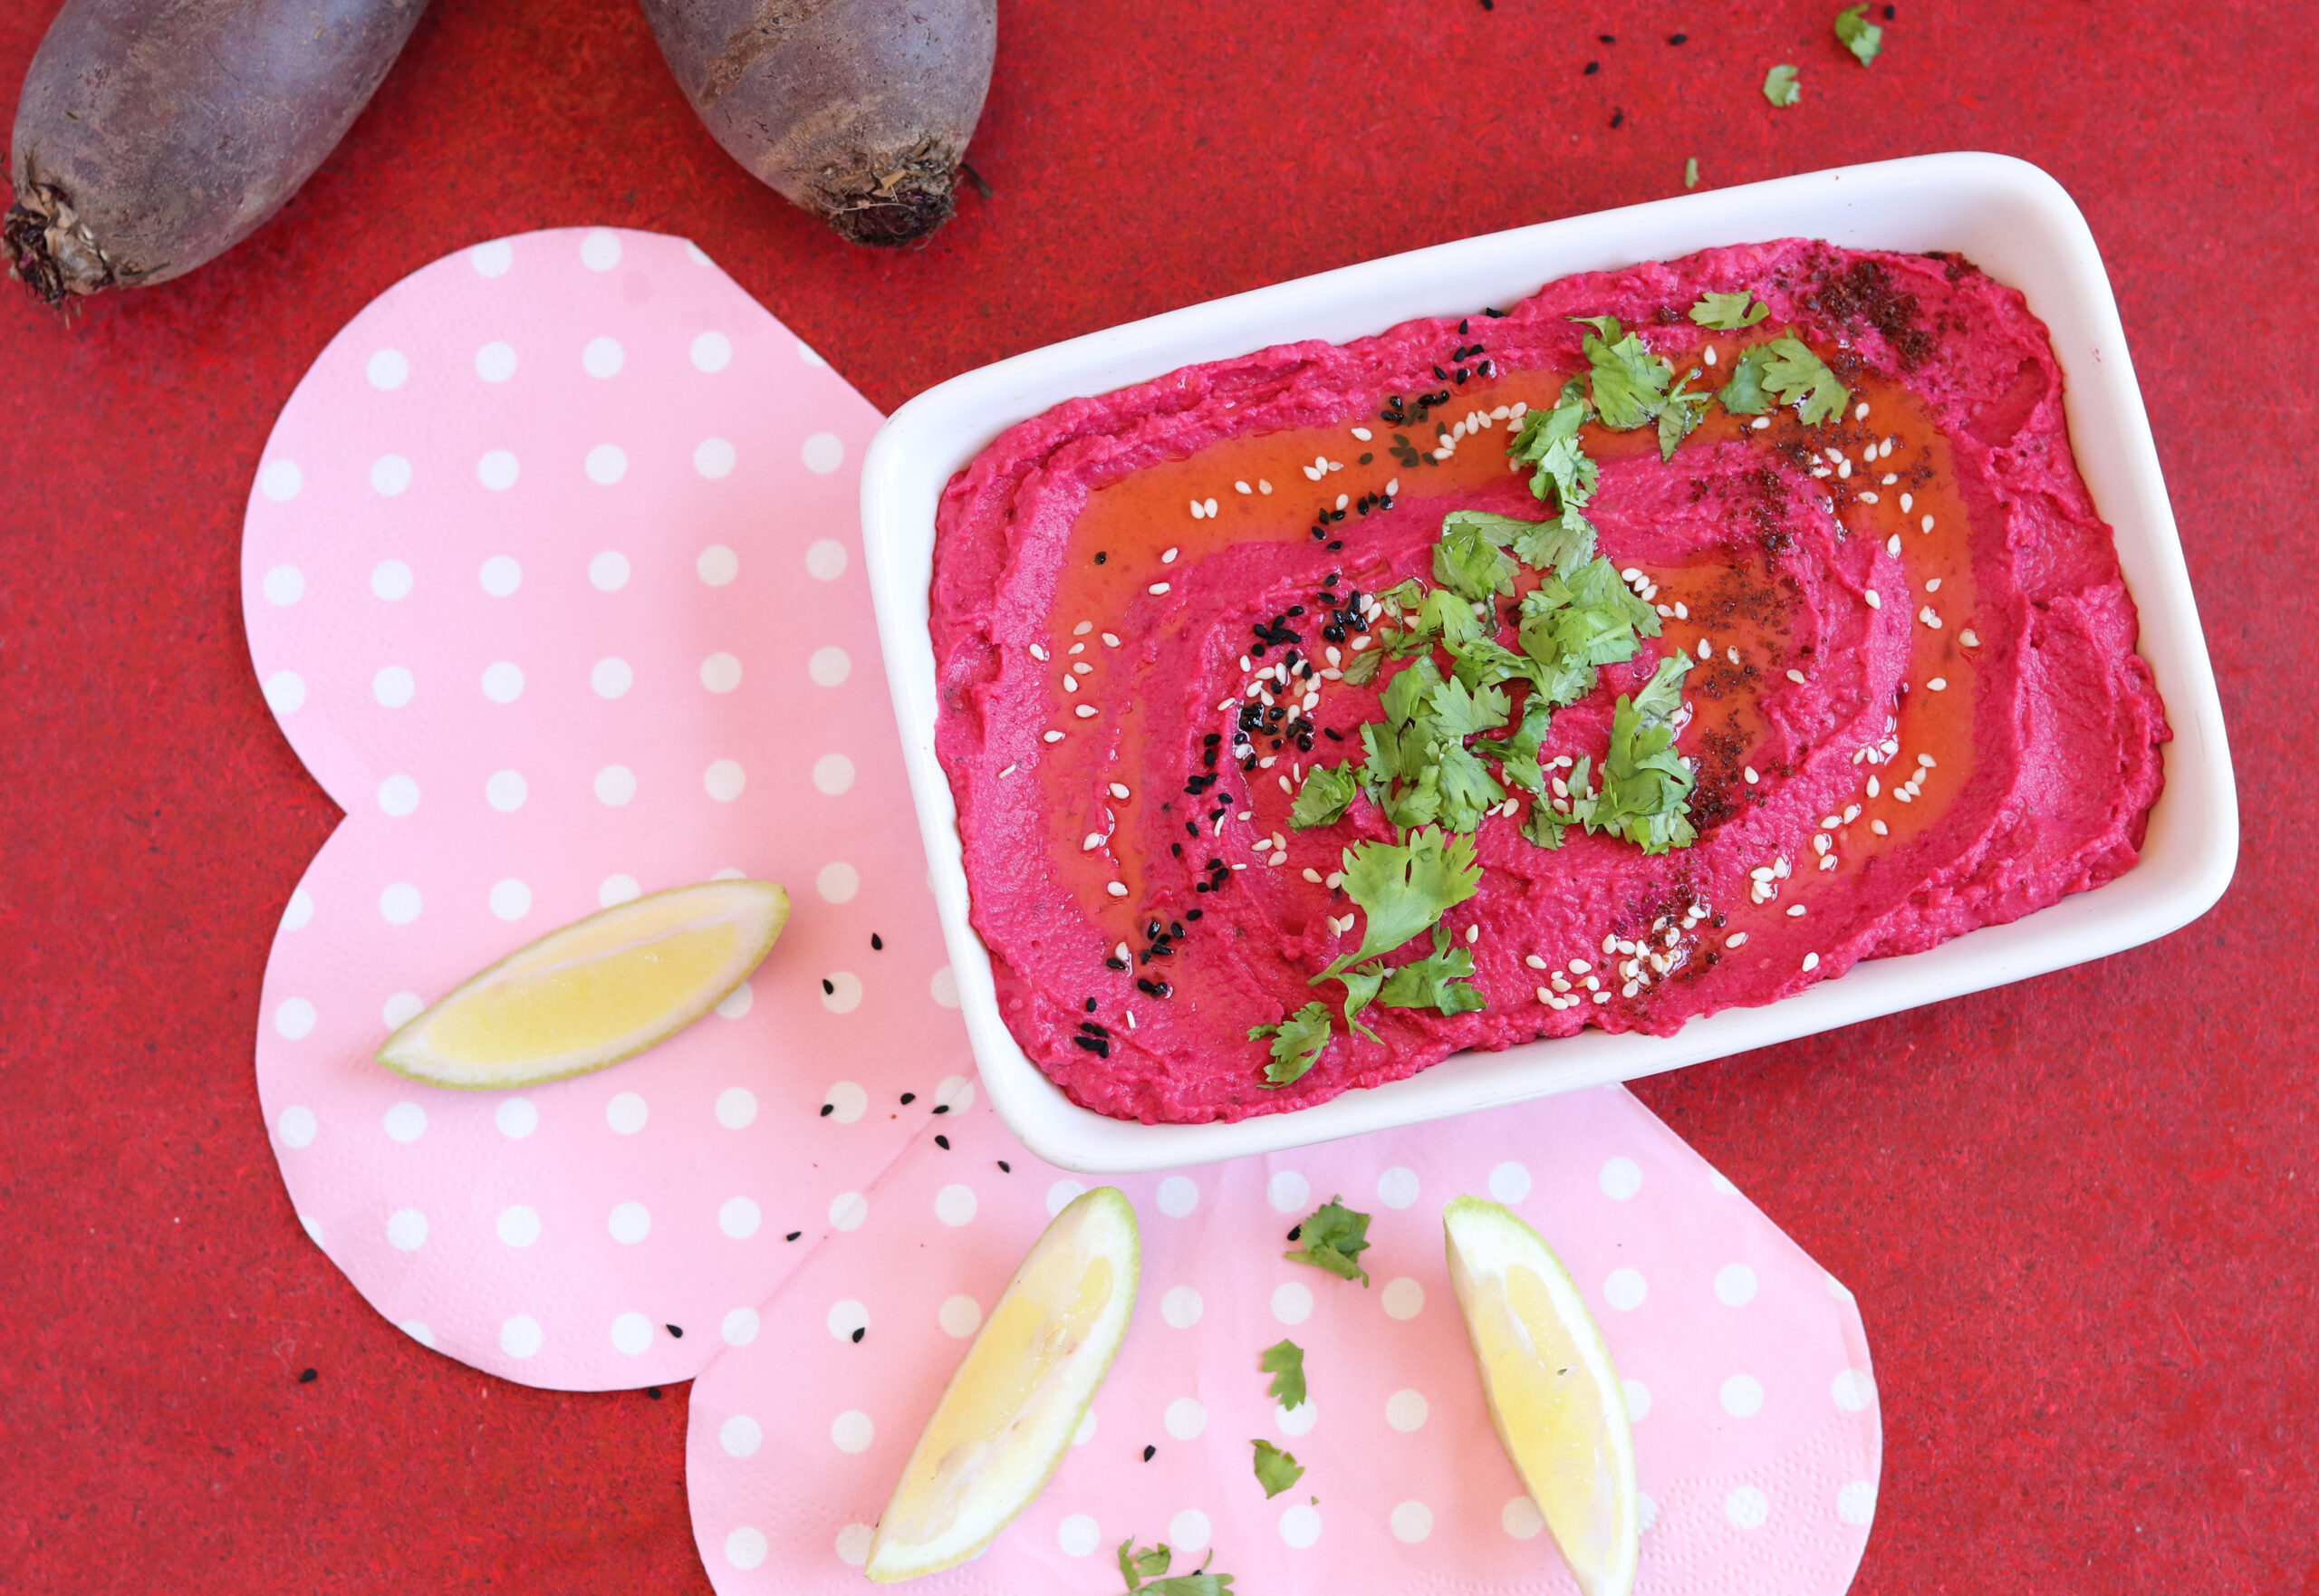
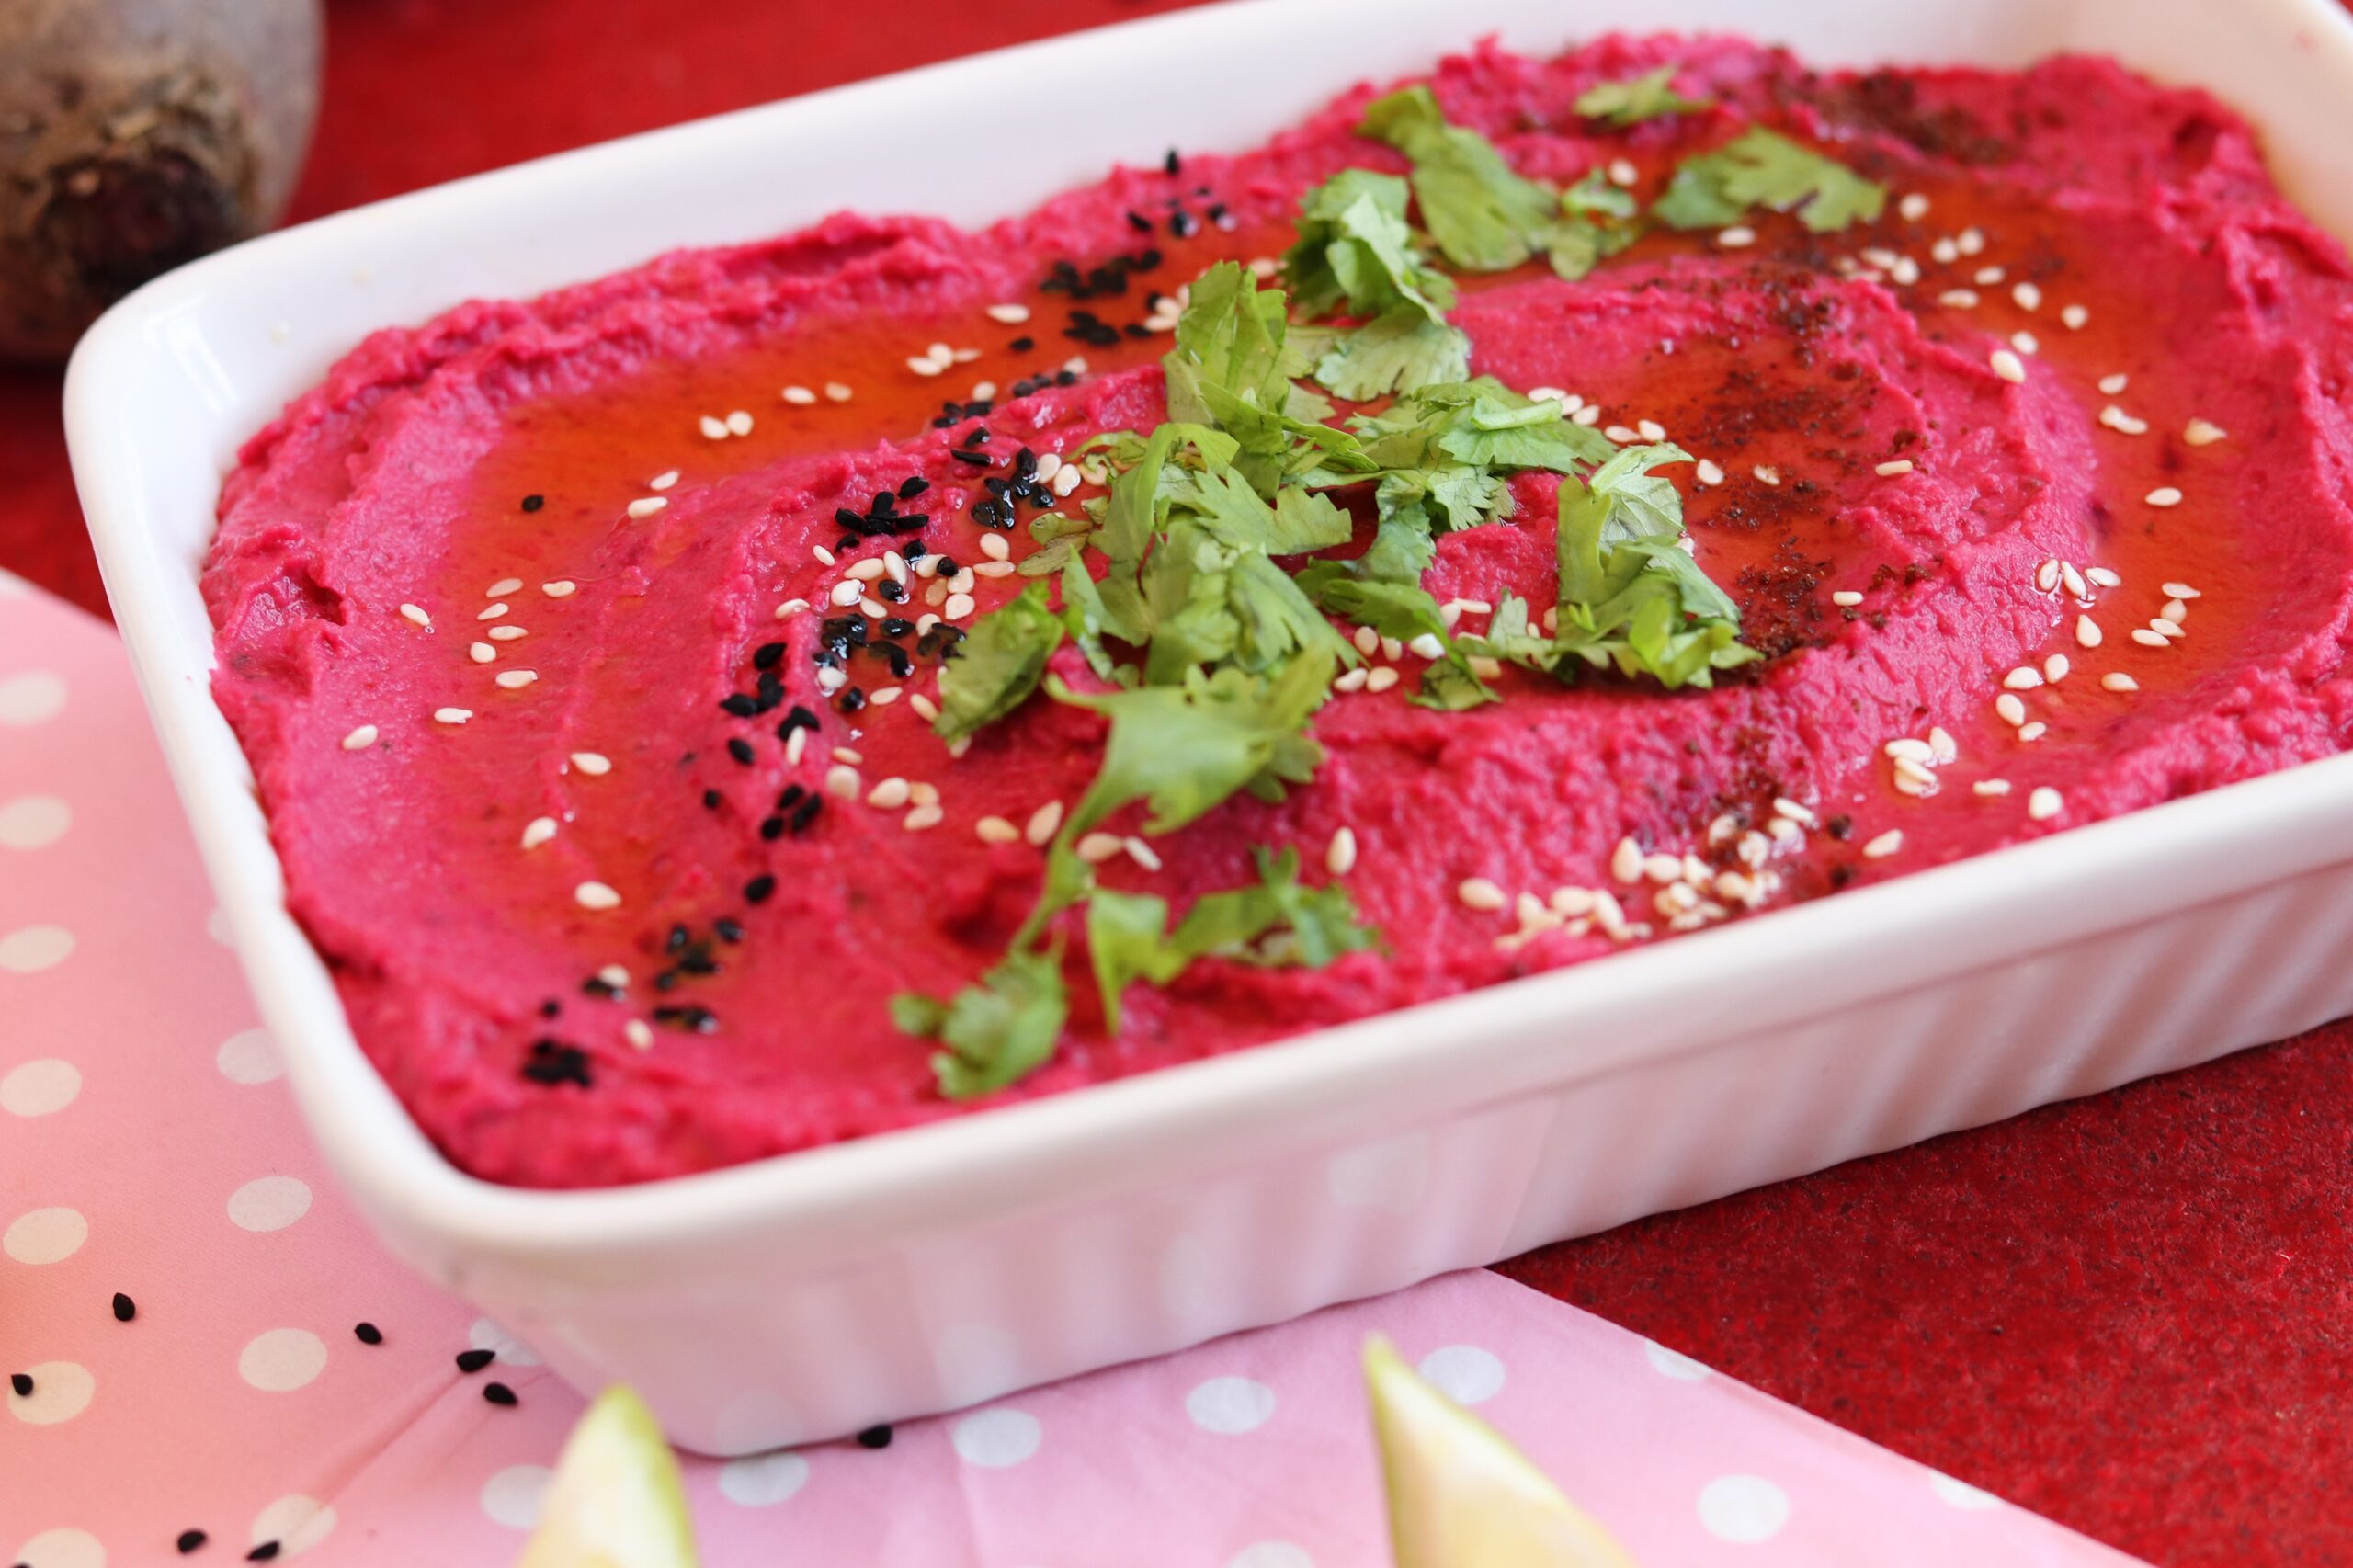
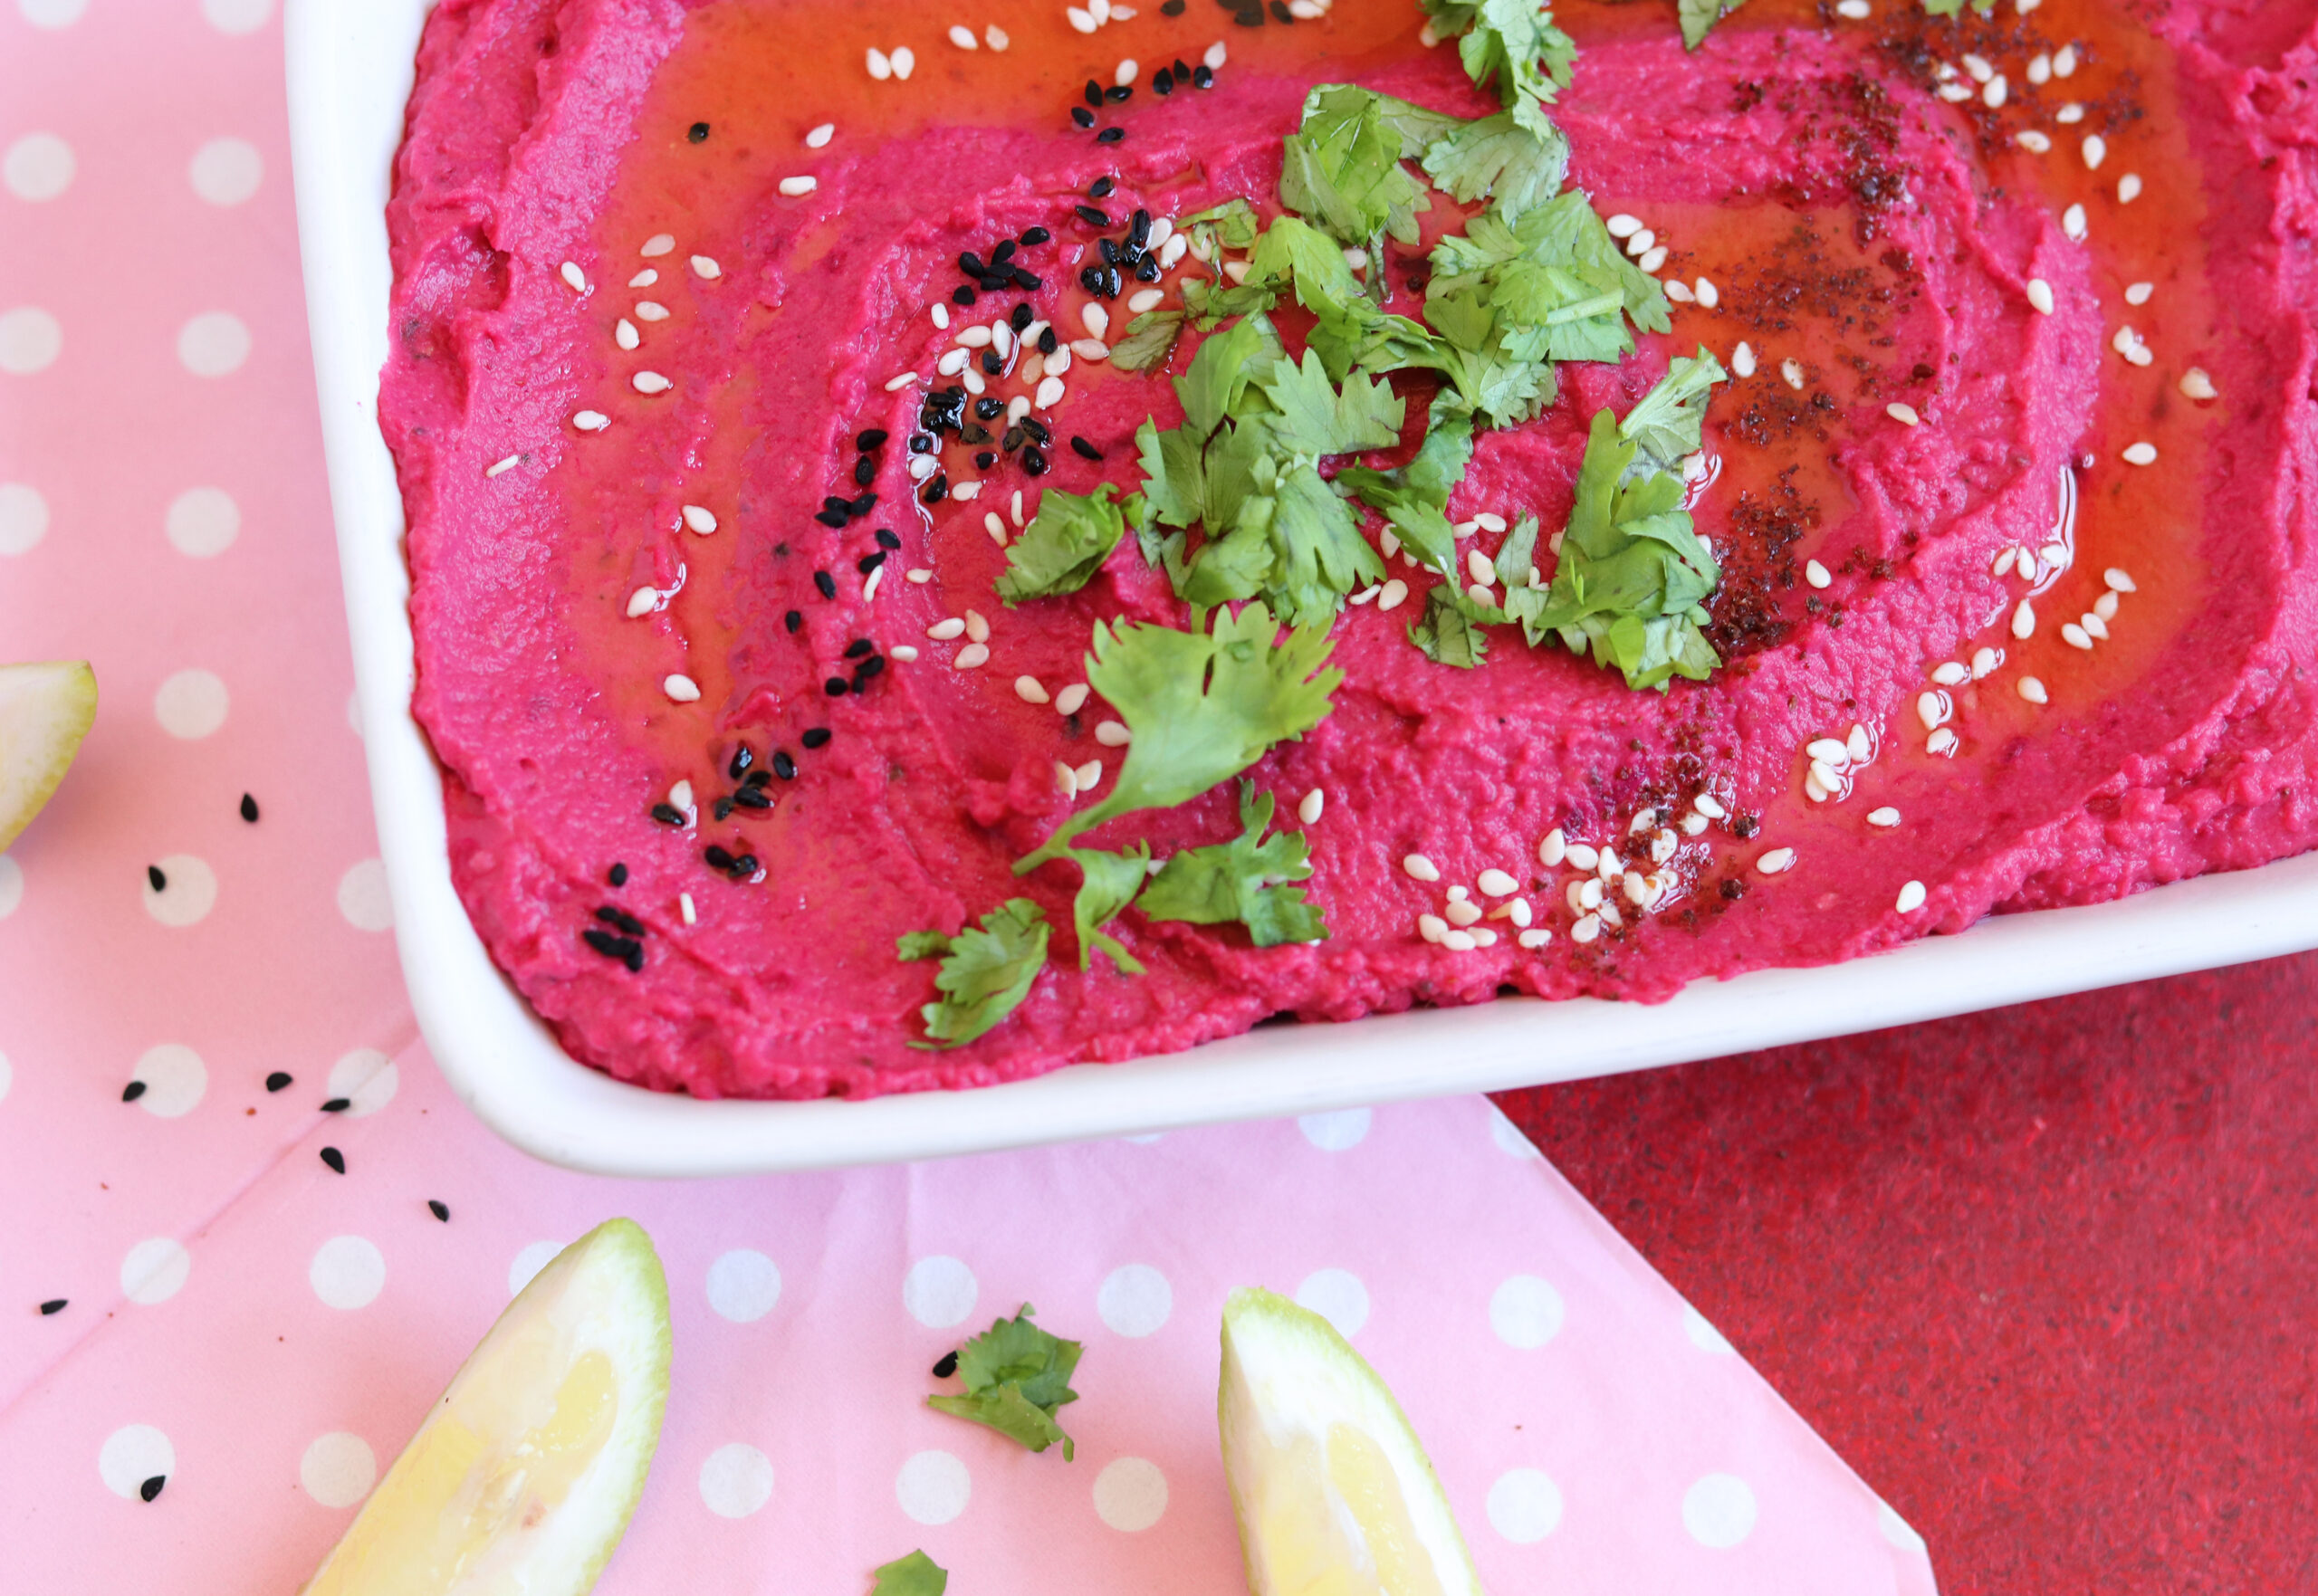
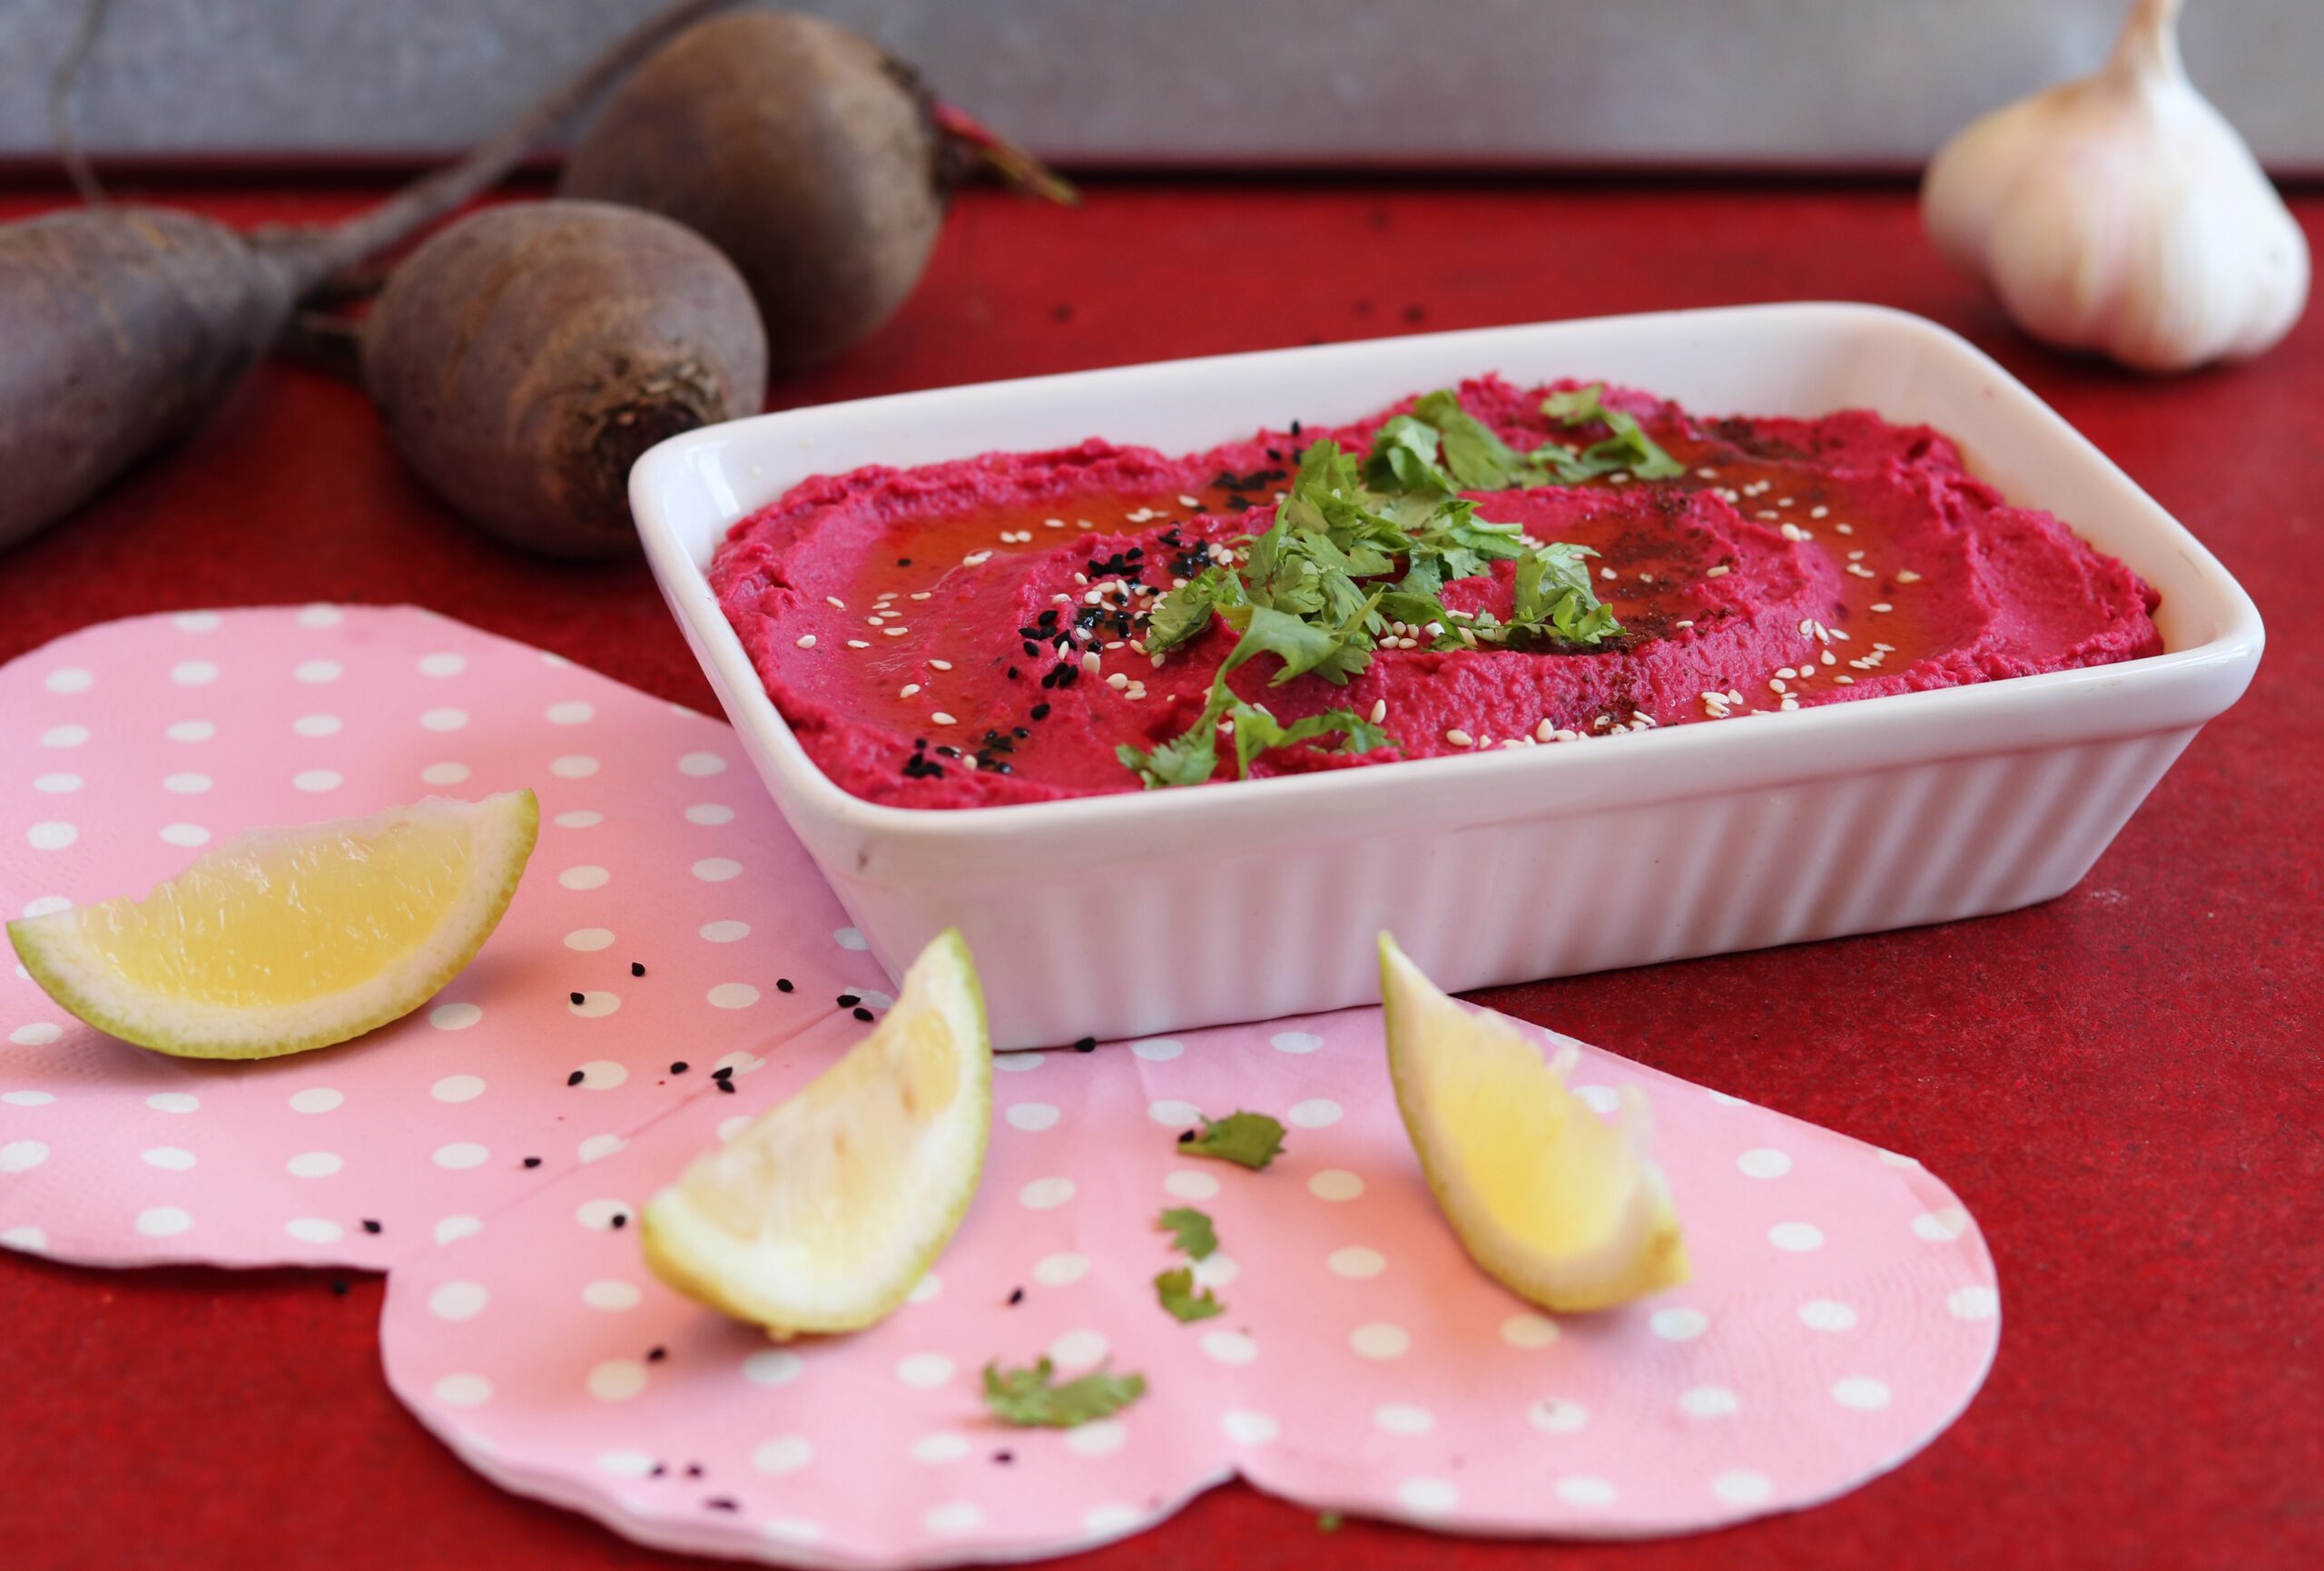
    This beetroot hummus is similar to classic hummus, but the beetroot gives it a special kick in it’s taste. It goes great with many dishes and snacks as a dip for vegetables, pretzel sticks and much more. Or simply as a fresh, delicious spread.

    Also: it’s pink!

    This beetroot hummus is reminiscent of classic hummus, but the beetroot gives it a special kick in it's taste
    This beetroot hummus is reminiscent of classic hummus, but the beetroot gives it a special kick in it’s taste

    Beetroot Hummus: Hummus with an aromatic, pink twist

    This recipe is a visual and aromatic highlight. A creative and healthy twist on the classic hummus, the addition of cooked beetroot gives it a beautiful red-pink color and a slightly sweet, earthy taste. This delicious appetizer or dip is not only rich in flavour, but also packed with nutrients and antioxidants. And, my recipe for making beetroot hummus is very easy.

    Hummus with an aromatic pink twist
    Hummus with an aromatic pink twist

    Beetroot hummus is quick and easy to prepare and it suits many occasions

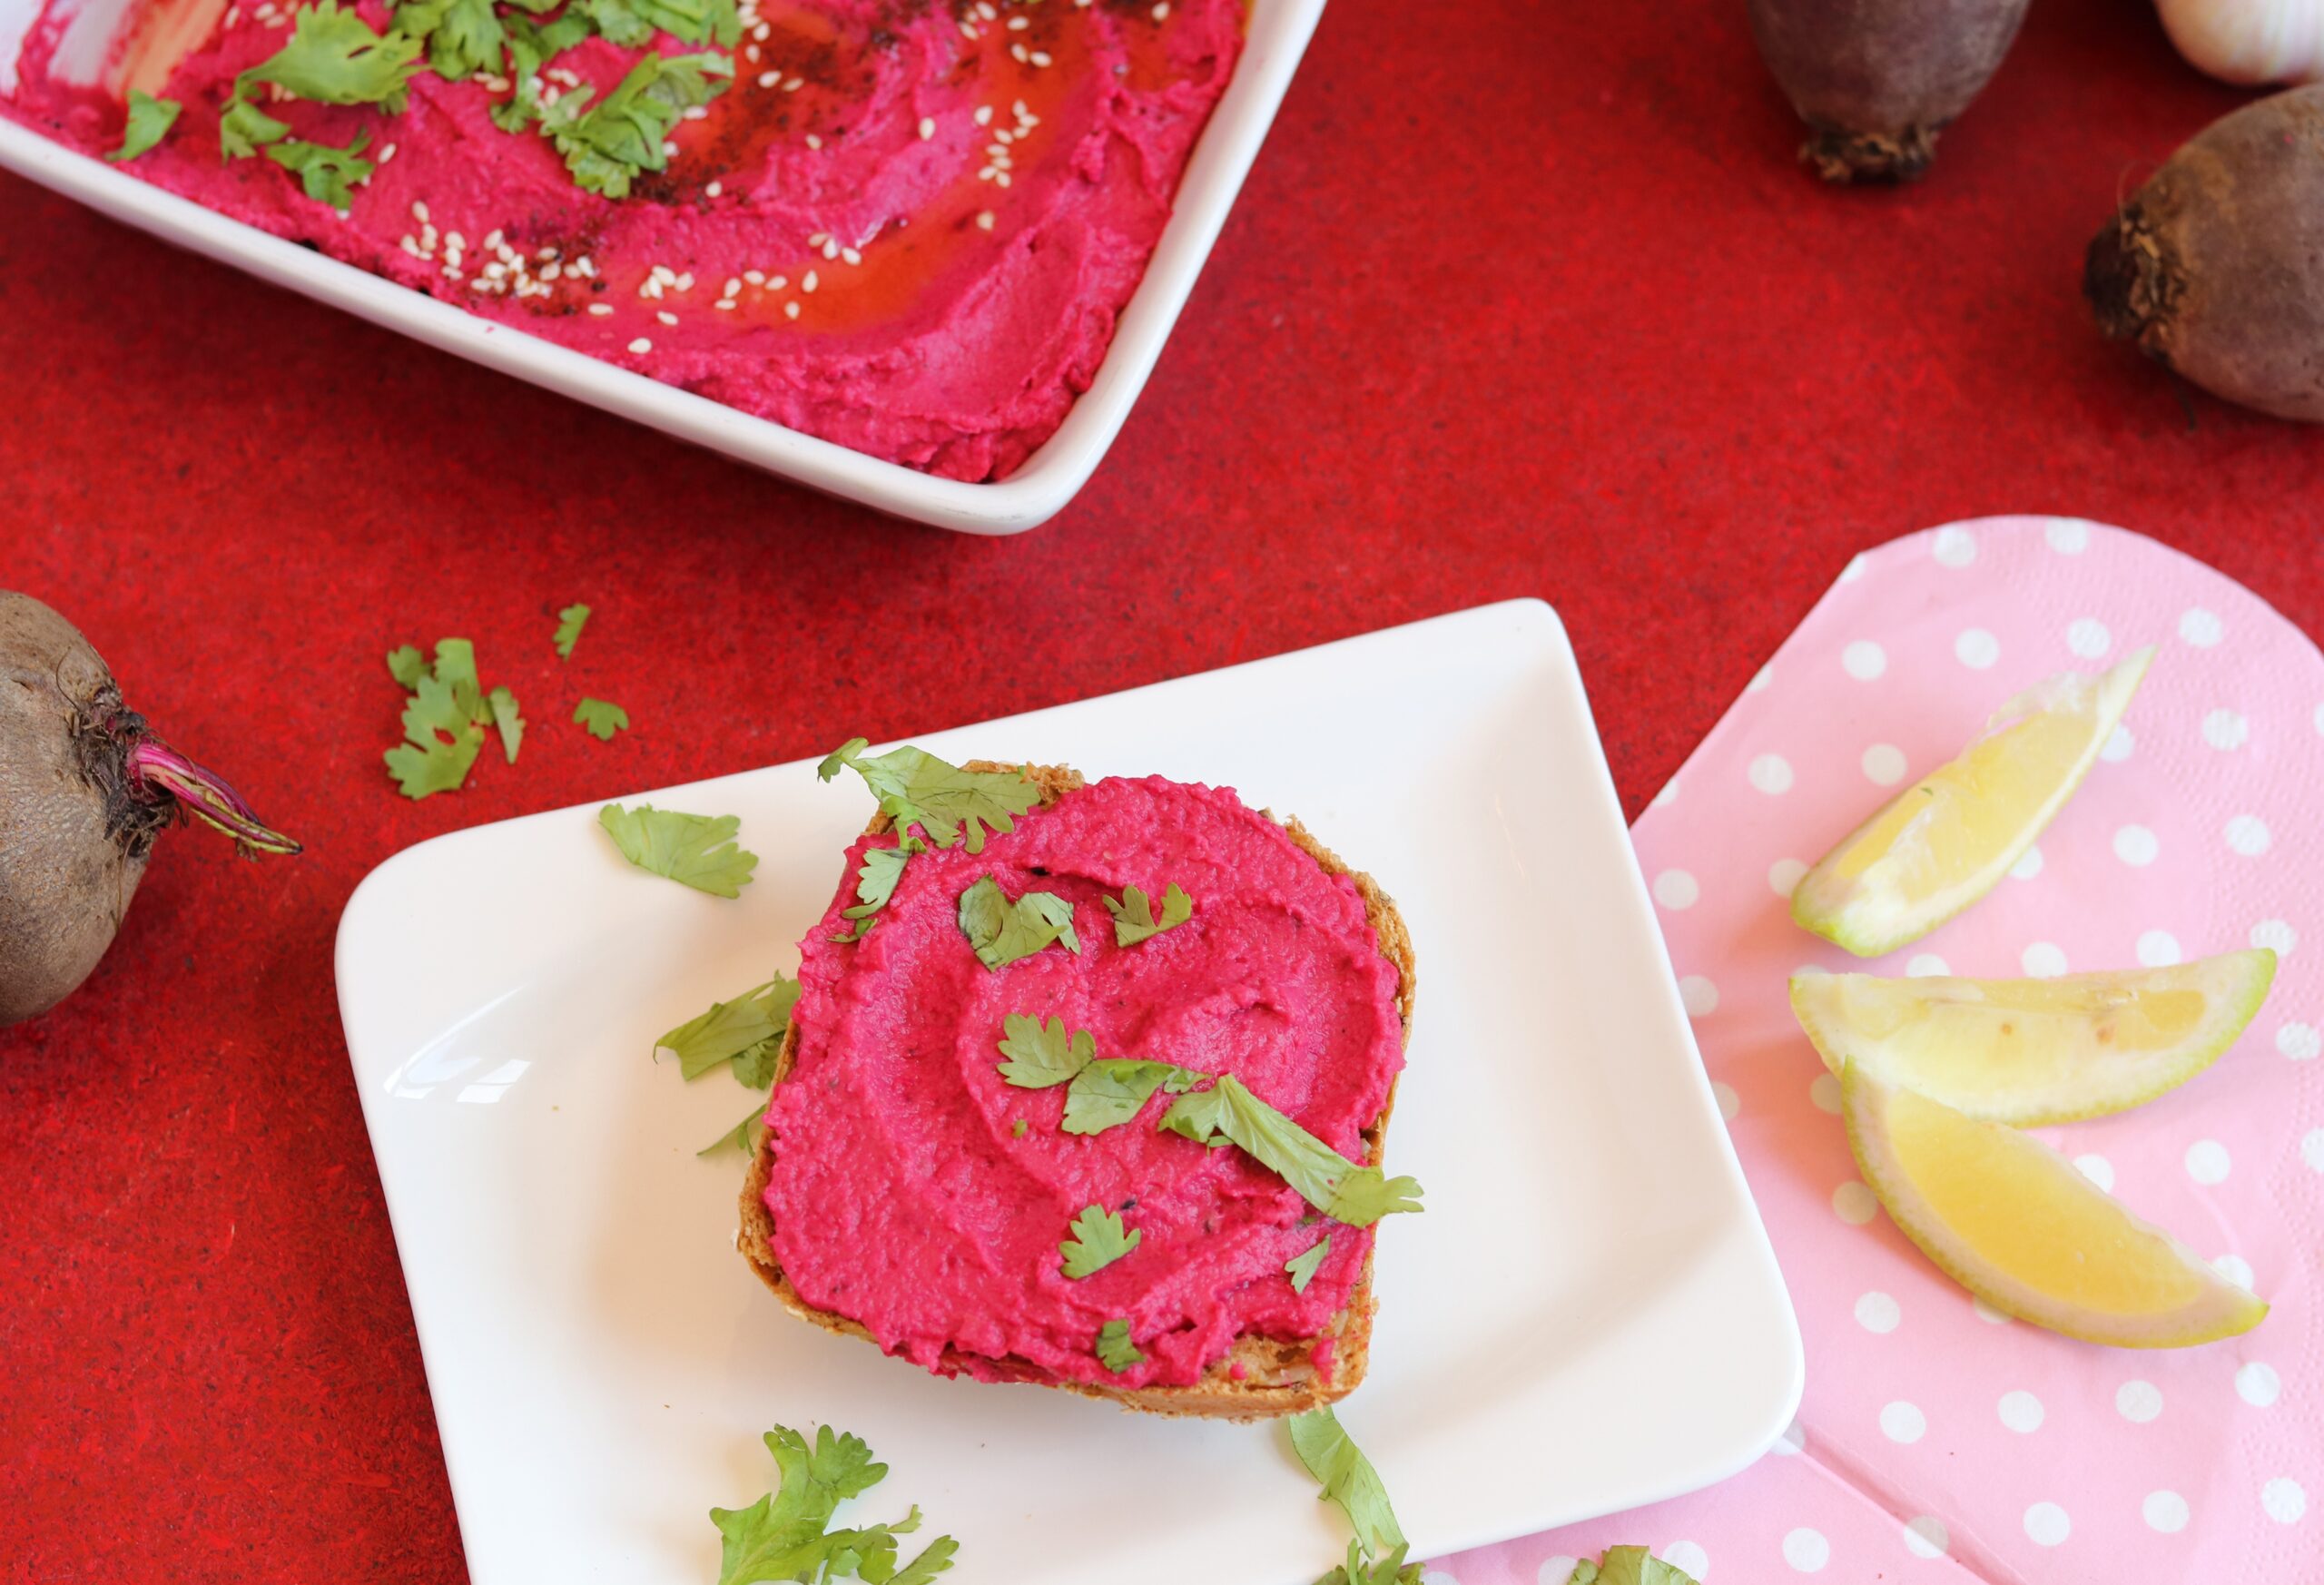
    This hummus is not only a feast for the eyes on the table, but also a healthy and delicious treat for any occasion. You can use it as a dip for vegetable sticks, grilled vegetables, crackers or wedges. It tastes great on bread, is suitable as part of a mezze and you can easily take it with you to barbecues, picnics or as a snack with bread to go.

    It can be prepared quickly and easily in just a few minutes. What more can you whish for?

    Beetroot hummus is quick and easy to prepare and goes well with many dishes and snacks
    Beetroot hummus is quick and easy to prepare and goes well with many dishes and snacks

    Beetroot is a healthy winter vegetable

    Due to its long shelf life, beetroot is one of the winter vegetables, so you can also use and buy it as a seasonal, regional vegetable in January. Beetroot is locally grown and available all year round.

    Due to its high vitamin B, potassium, iron and, above all, folic acid content, beetroot is very healthy. For example, it is also a typical component of classic dishes such as Labskaus (Northern Germany, Northern Europe) and Borscht (Eastern Europe).

    A great change as a dip for vegetables, pretzel sticks and much more
    A great change as a dip for vegetables, pretzel sticks and much more

    Tip: Do not throw away the liquid from the chickpeas

    Did you know that you can do a lot with the cooking liquid from chickpeas? So here’s a tip: don’t pour away the cooking water from the chickpea can or jar. It is so-called aquafaba, which is a wonderful, vegan protein substitute.
    You can use it to make vegan delicious rhubarb meringue tartelettes or meringue for pavlova or chocolate mousse, for example.

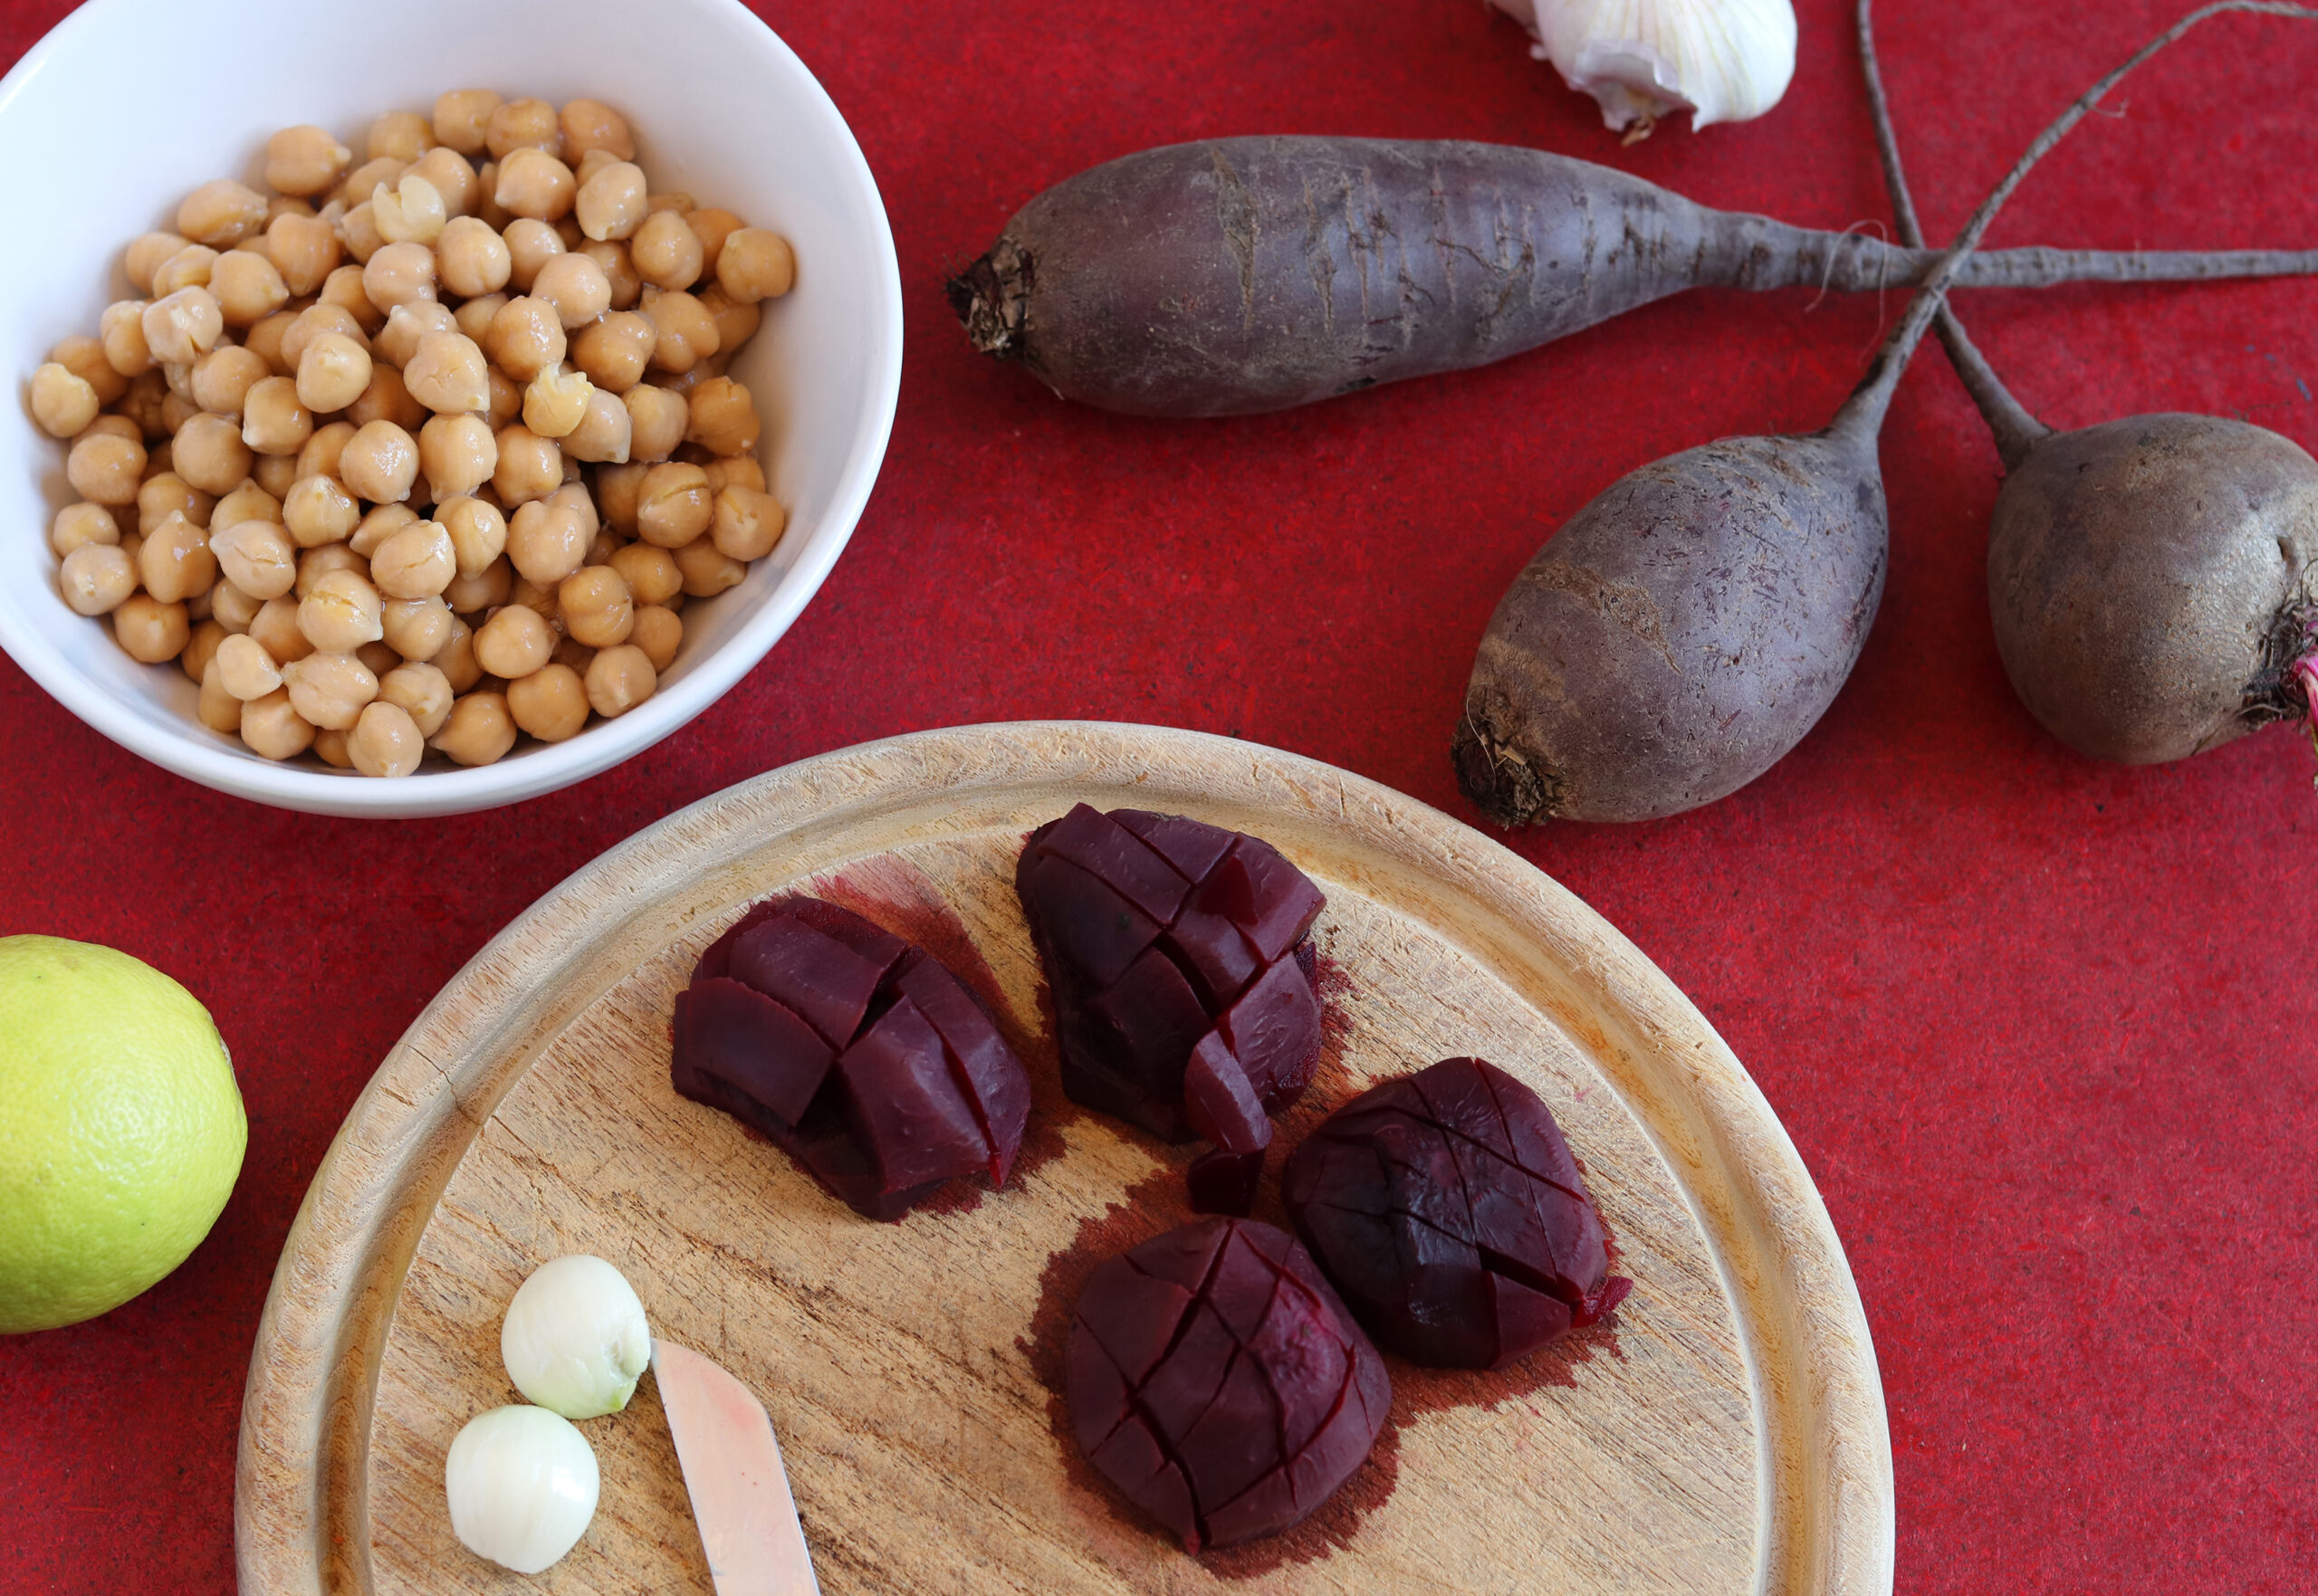
    Preparation: The ingredients for the hummus simply have to be pureed together.
    Preparation: The ingredients for the hummus simply have to be pureed together.

    Ingredients for about 400 ml beetroot hummus:

    2 beets
    1 can or jar (approx. 400 g) of chickpeas
    2 cloves of garlic, minced
    1 tbsp tahini (sesame paste)
    1/2 lemon, the juice
    3 tbsp olive oil
    1/4 tsp cumin
    1/4 teaspoon black pepper, ground
    1/2 tsp salt

    Preparation:

    1. Either buy the beetroot pre-cooked (packaged, not pickled) and cut into small cubes. Or you peel fresh beetroot, then simmer in lightly salted water for 45 minutes, let it cool and then dice it.
    2. Drain the chickpeas.
    3. Put all the ingredients in a bowl and puree until a creamy mixture is formed. You can also use a blender or other kitchen tool, that cuts and mixes.
    4. Depending on your taste, refine the beetroot hummus with a little more tahini, lemon juice or salt.

    Enjoy your meal and enjoy your meal!

  • Roasted salted almonds, easily homemade

    Roasted salted almonds, easily homemade

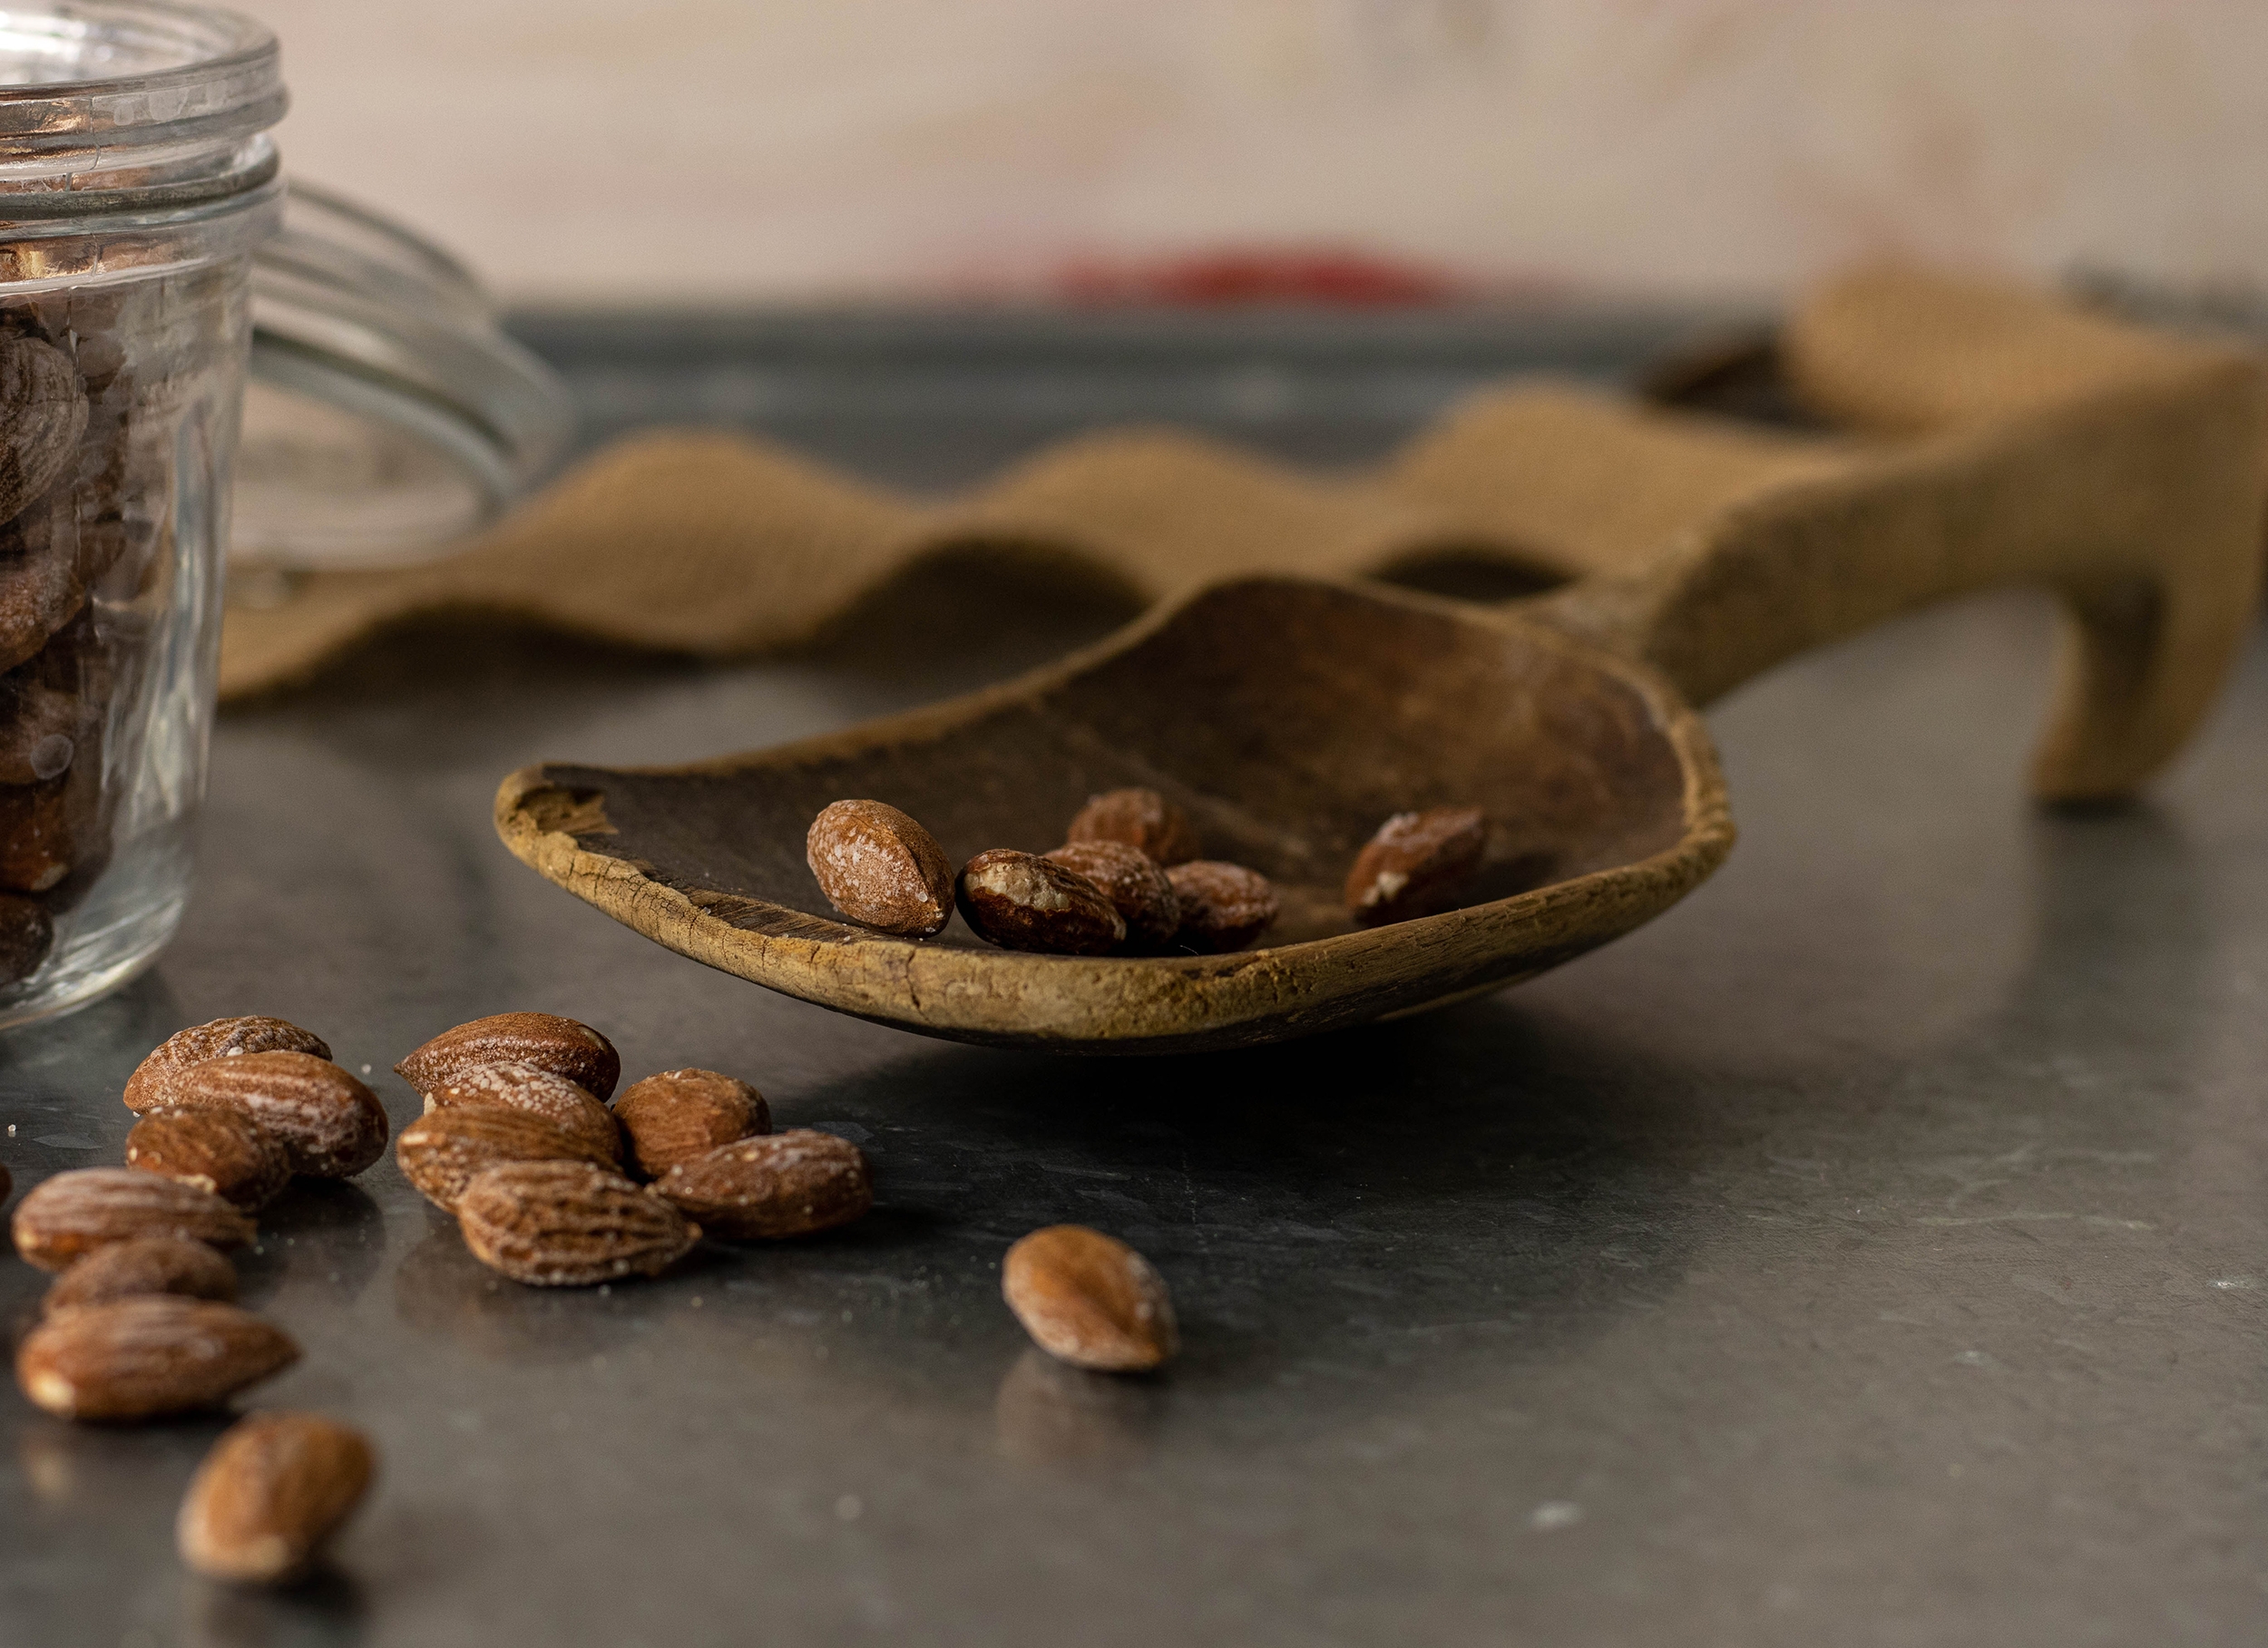
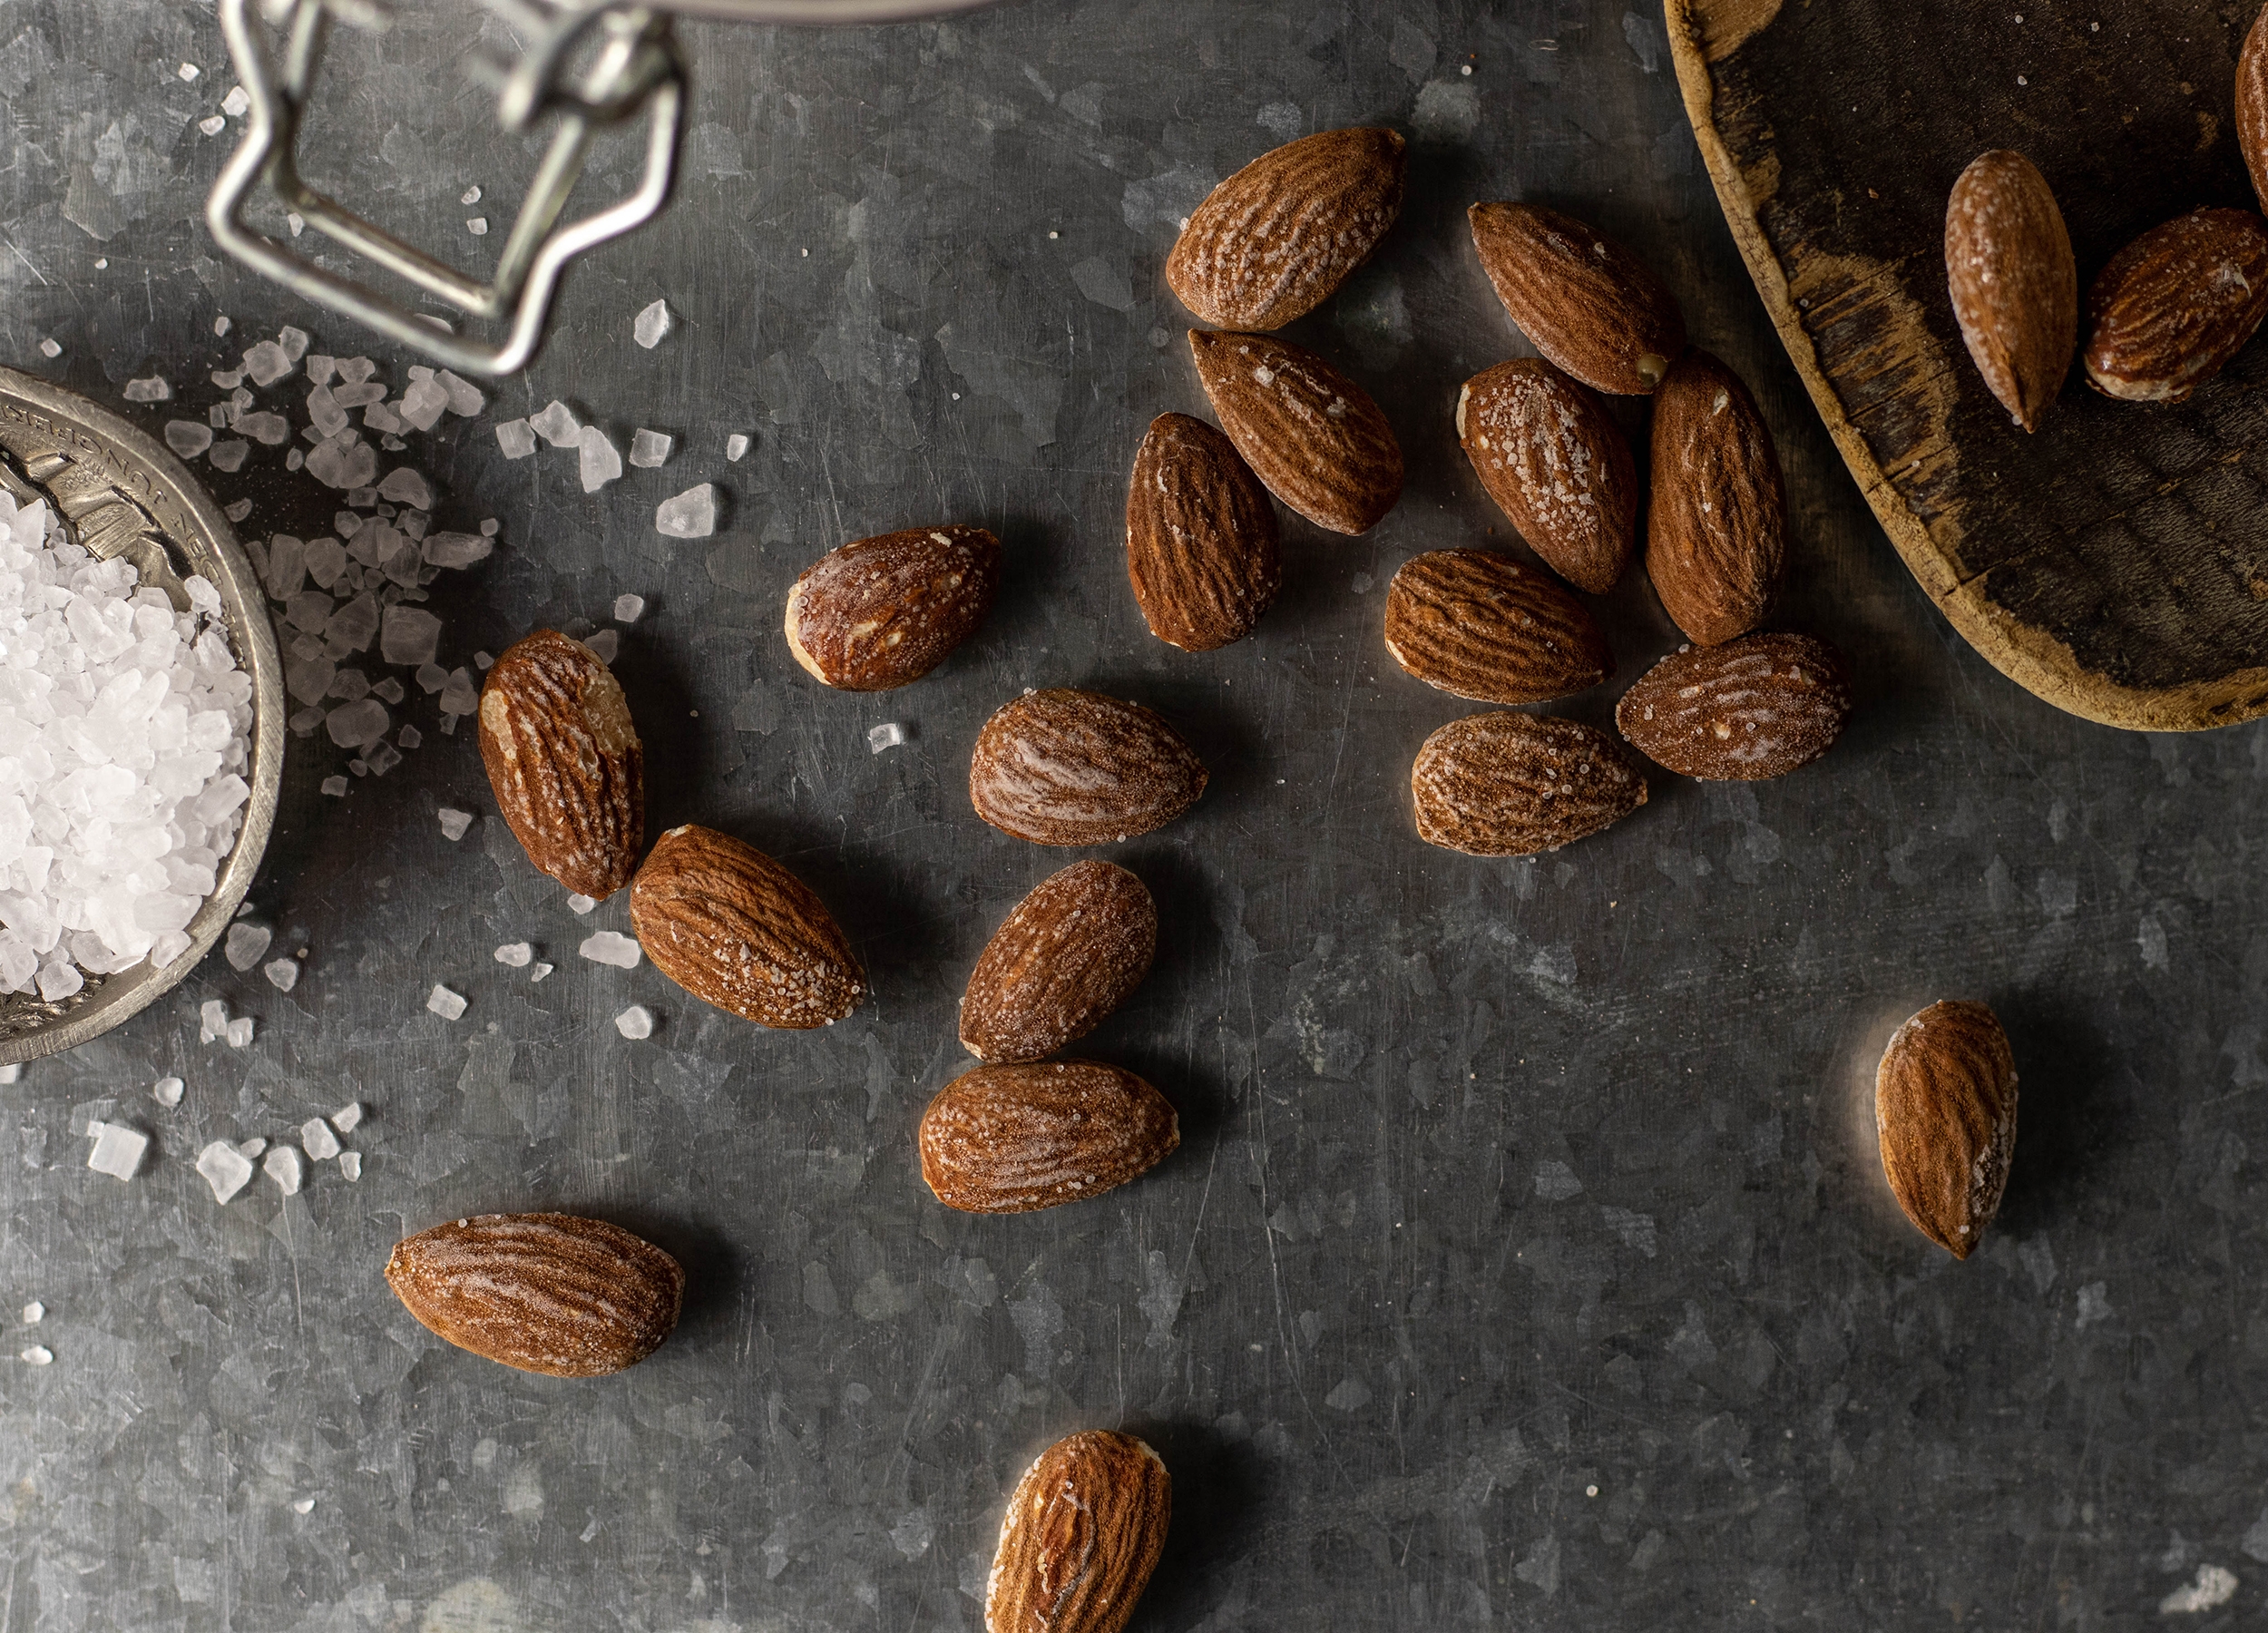
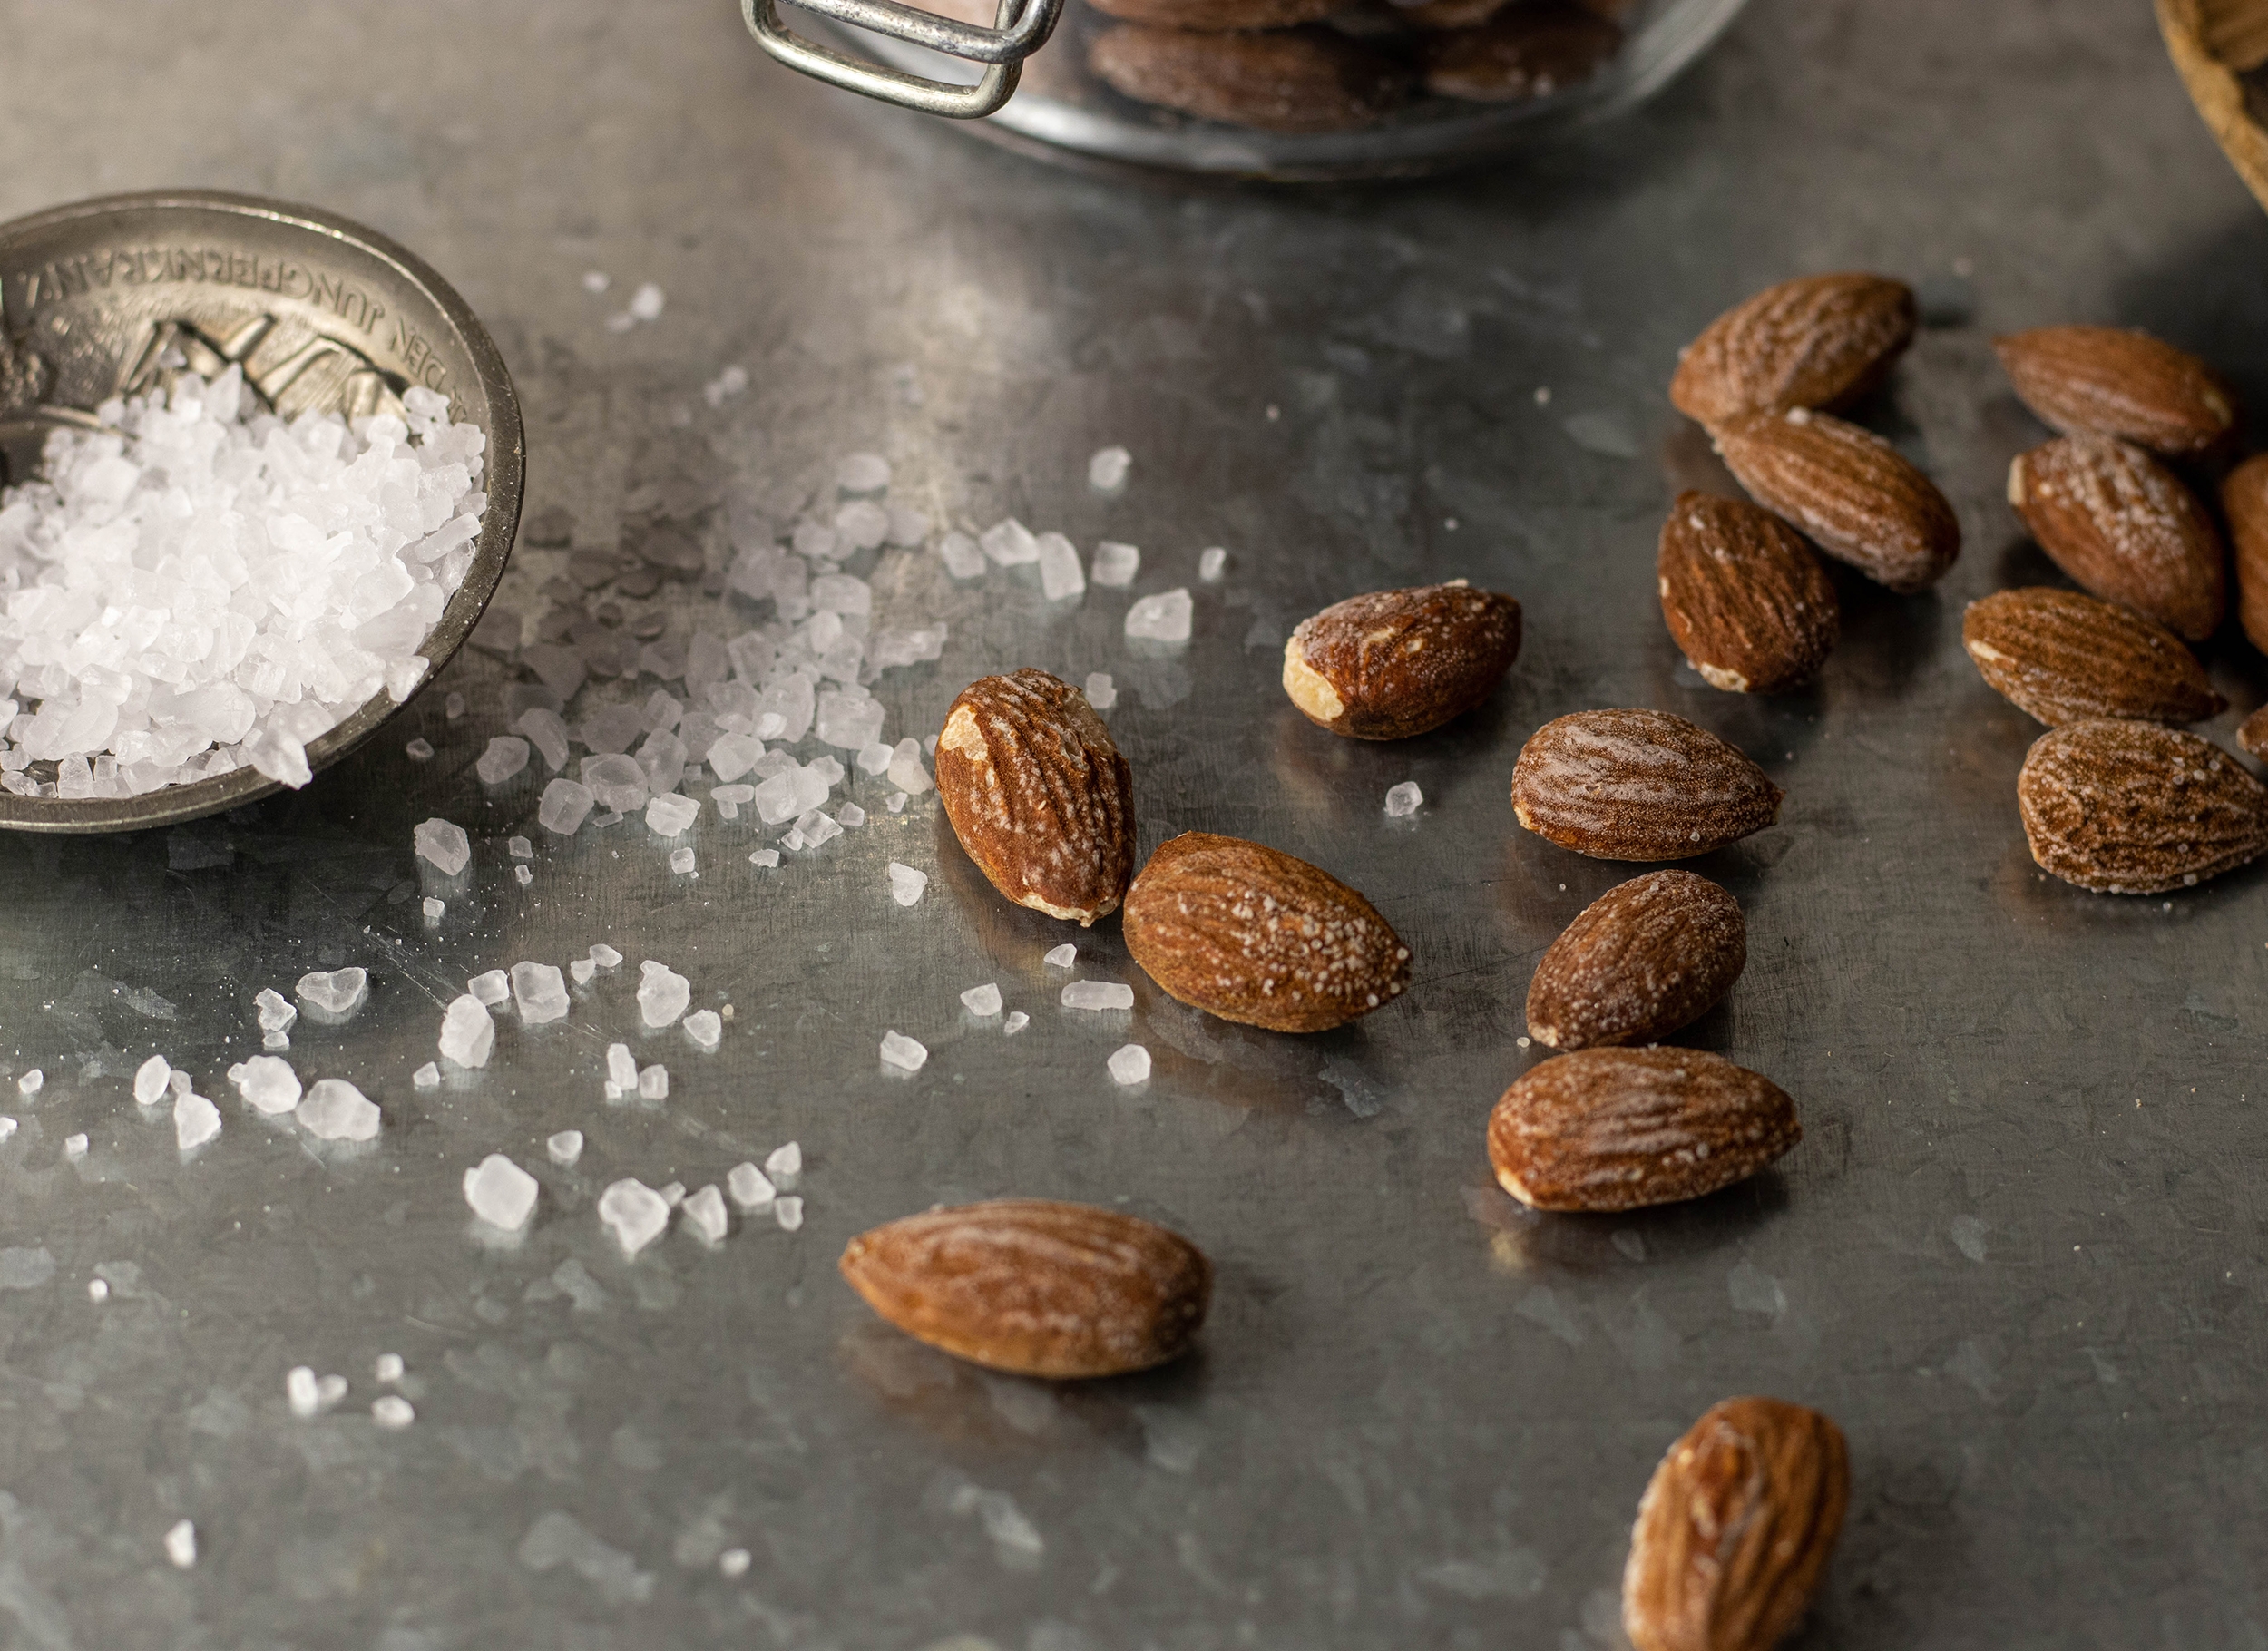
    Yesterday was a beautiful and very productive day. In the evening, as a reward, I quickly and easily roasted these delicious salted almonds in the oven. Their crunchiness is simply unbeatable!
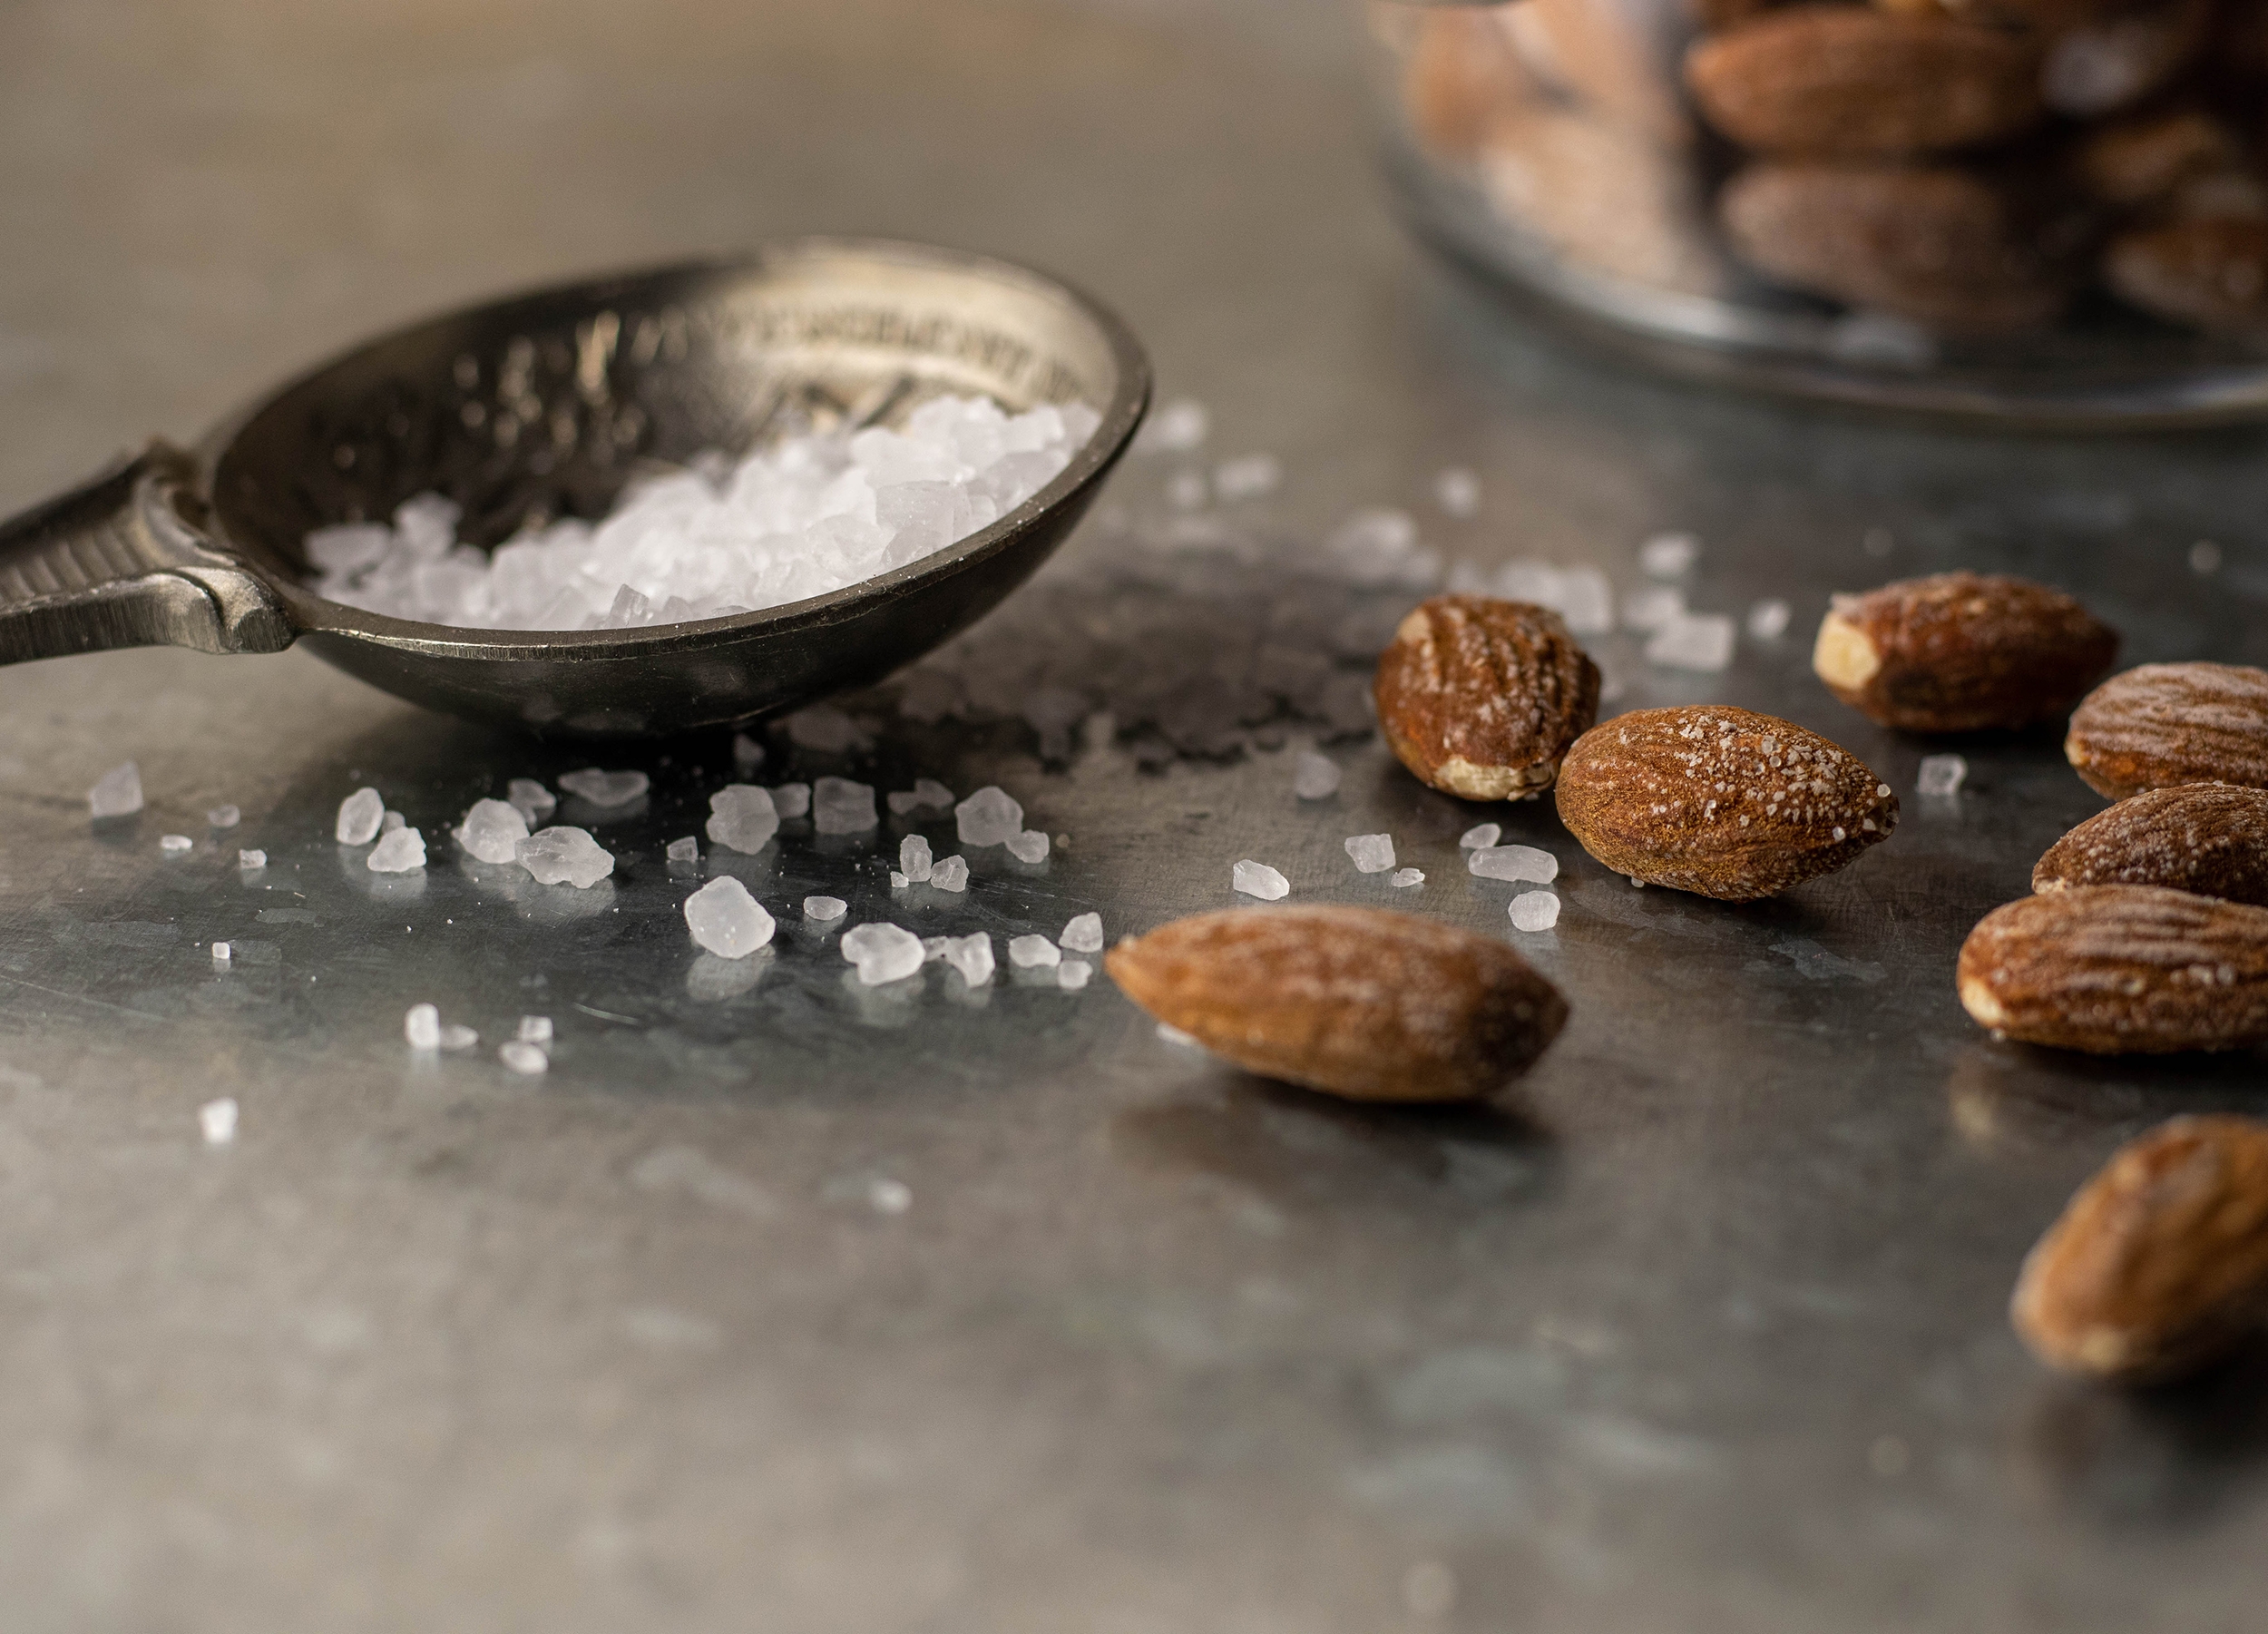
    Homemade salted almonds taste so much better and fresher than those bought from the supermarket.

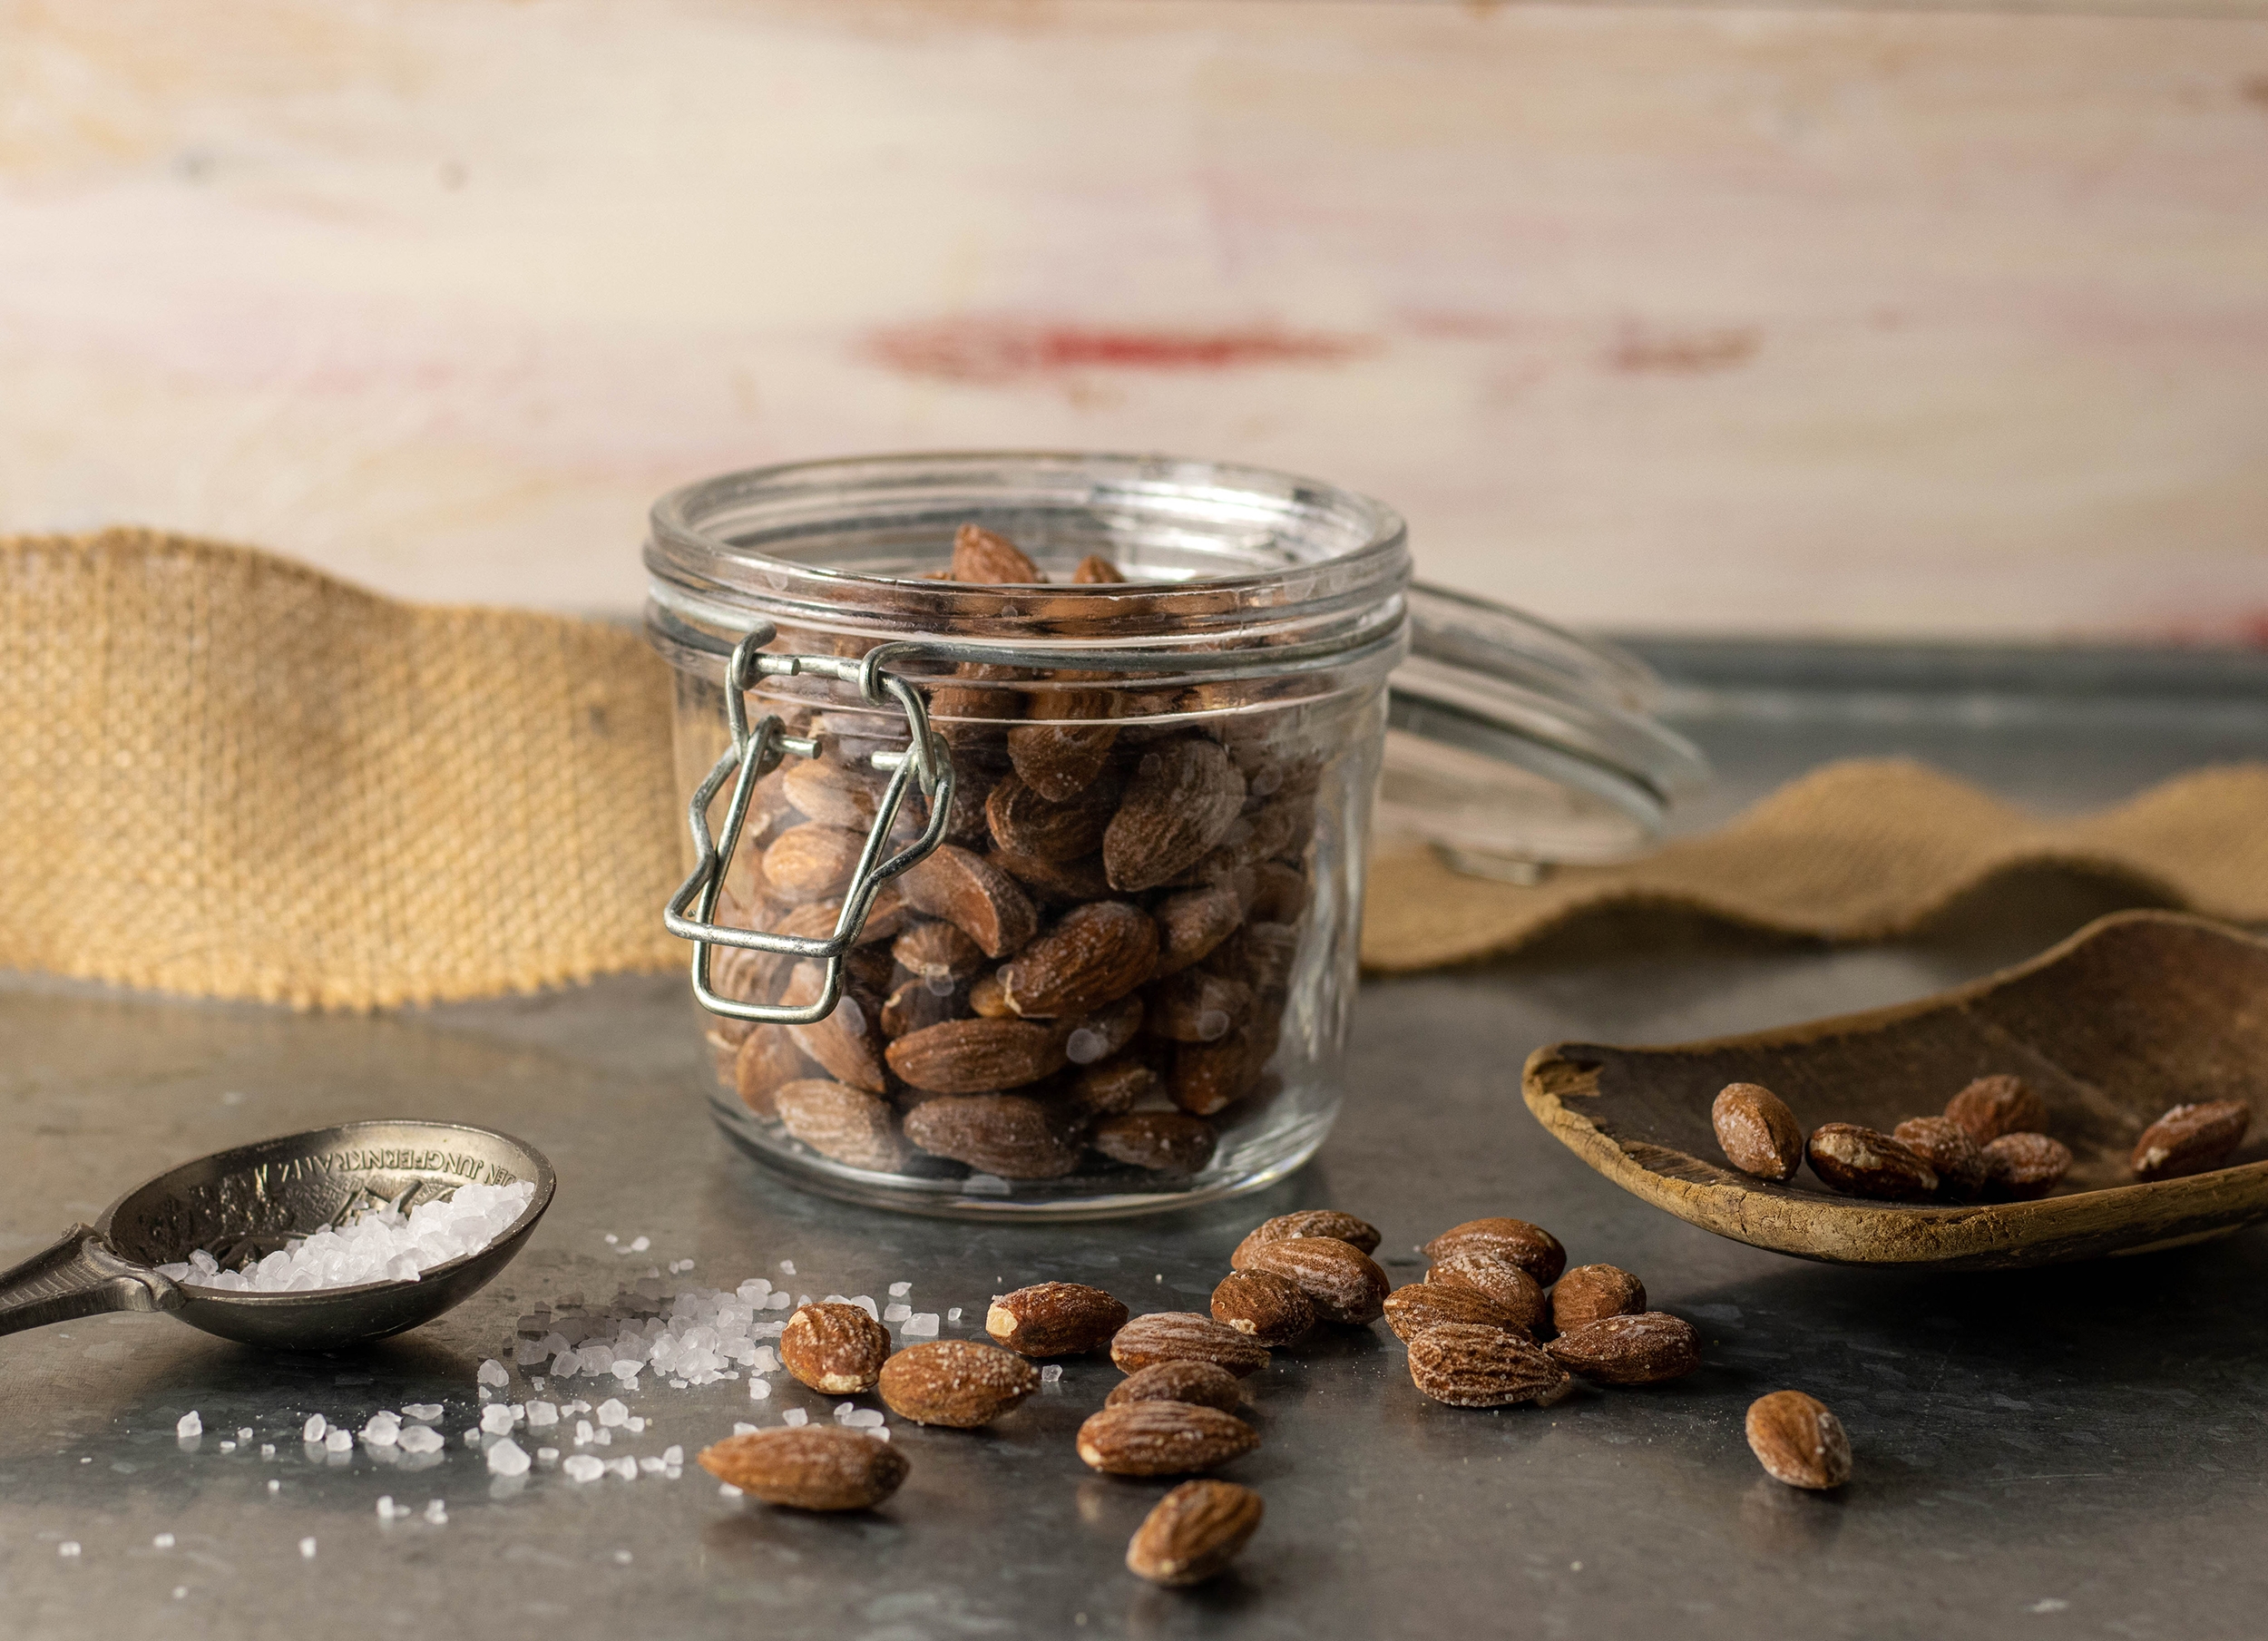
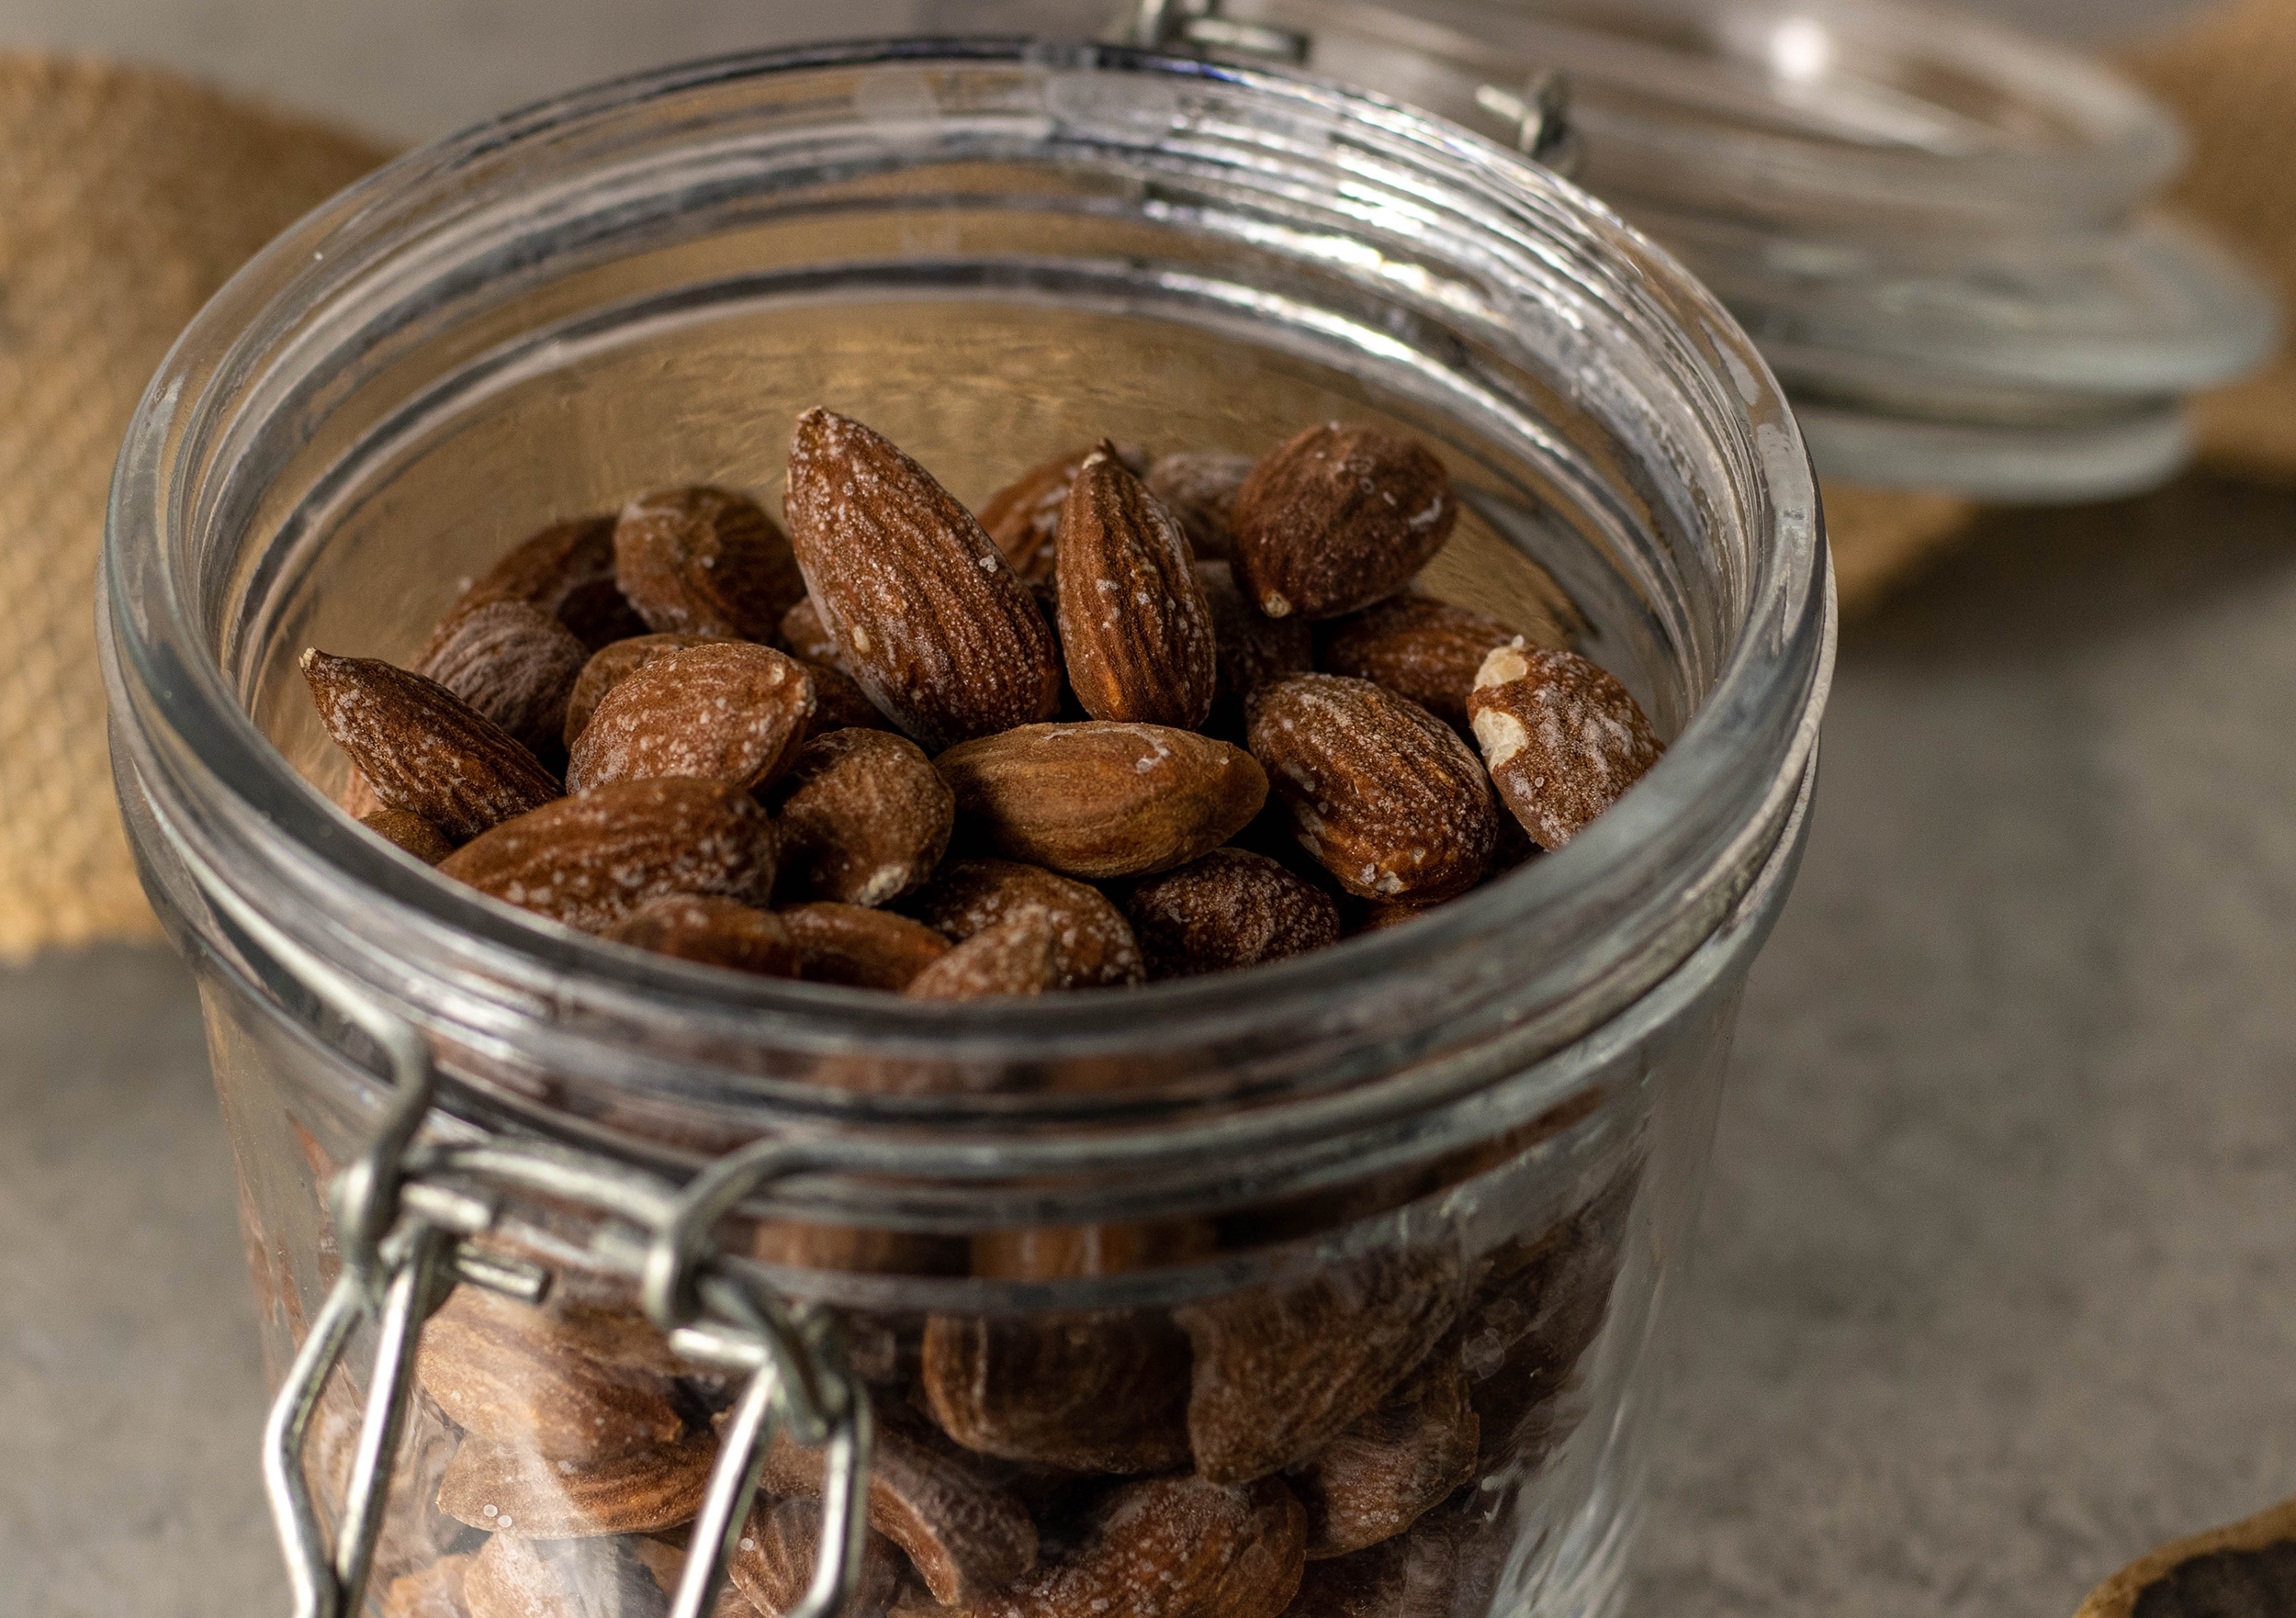
    Salted almonds: keep in an airtight container for several weeks
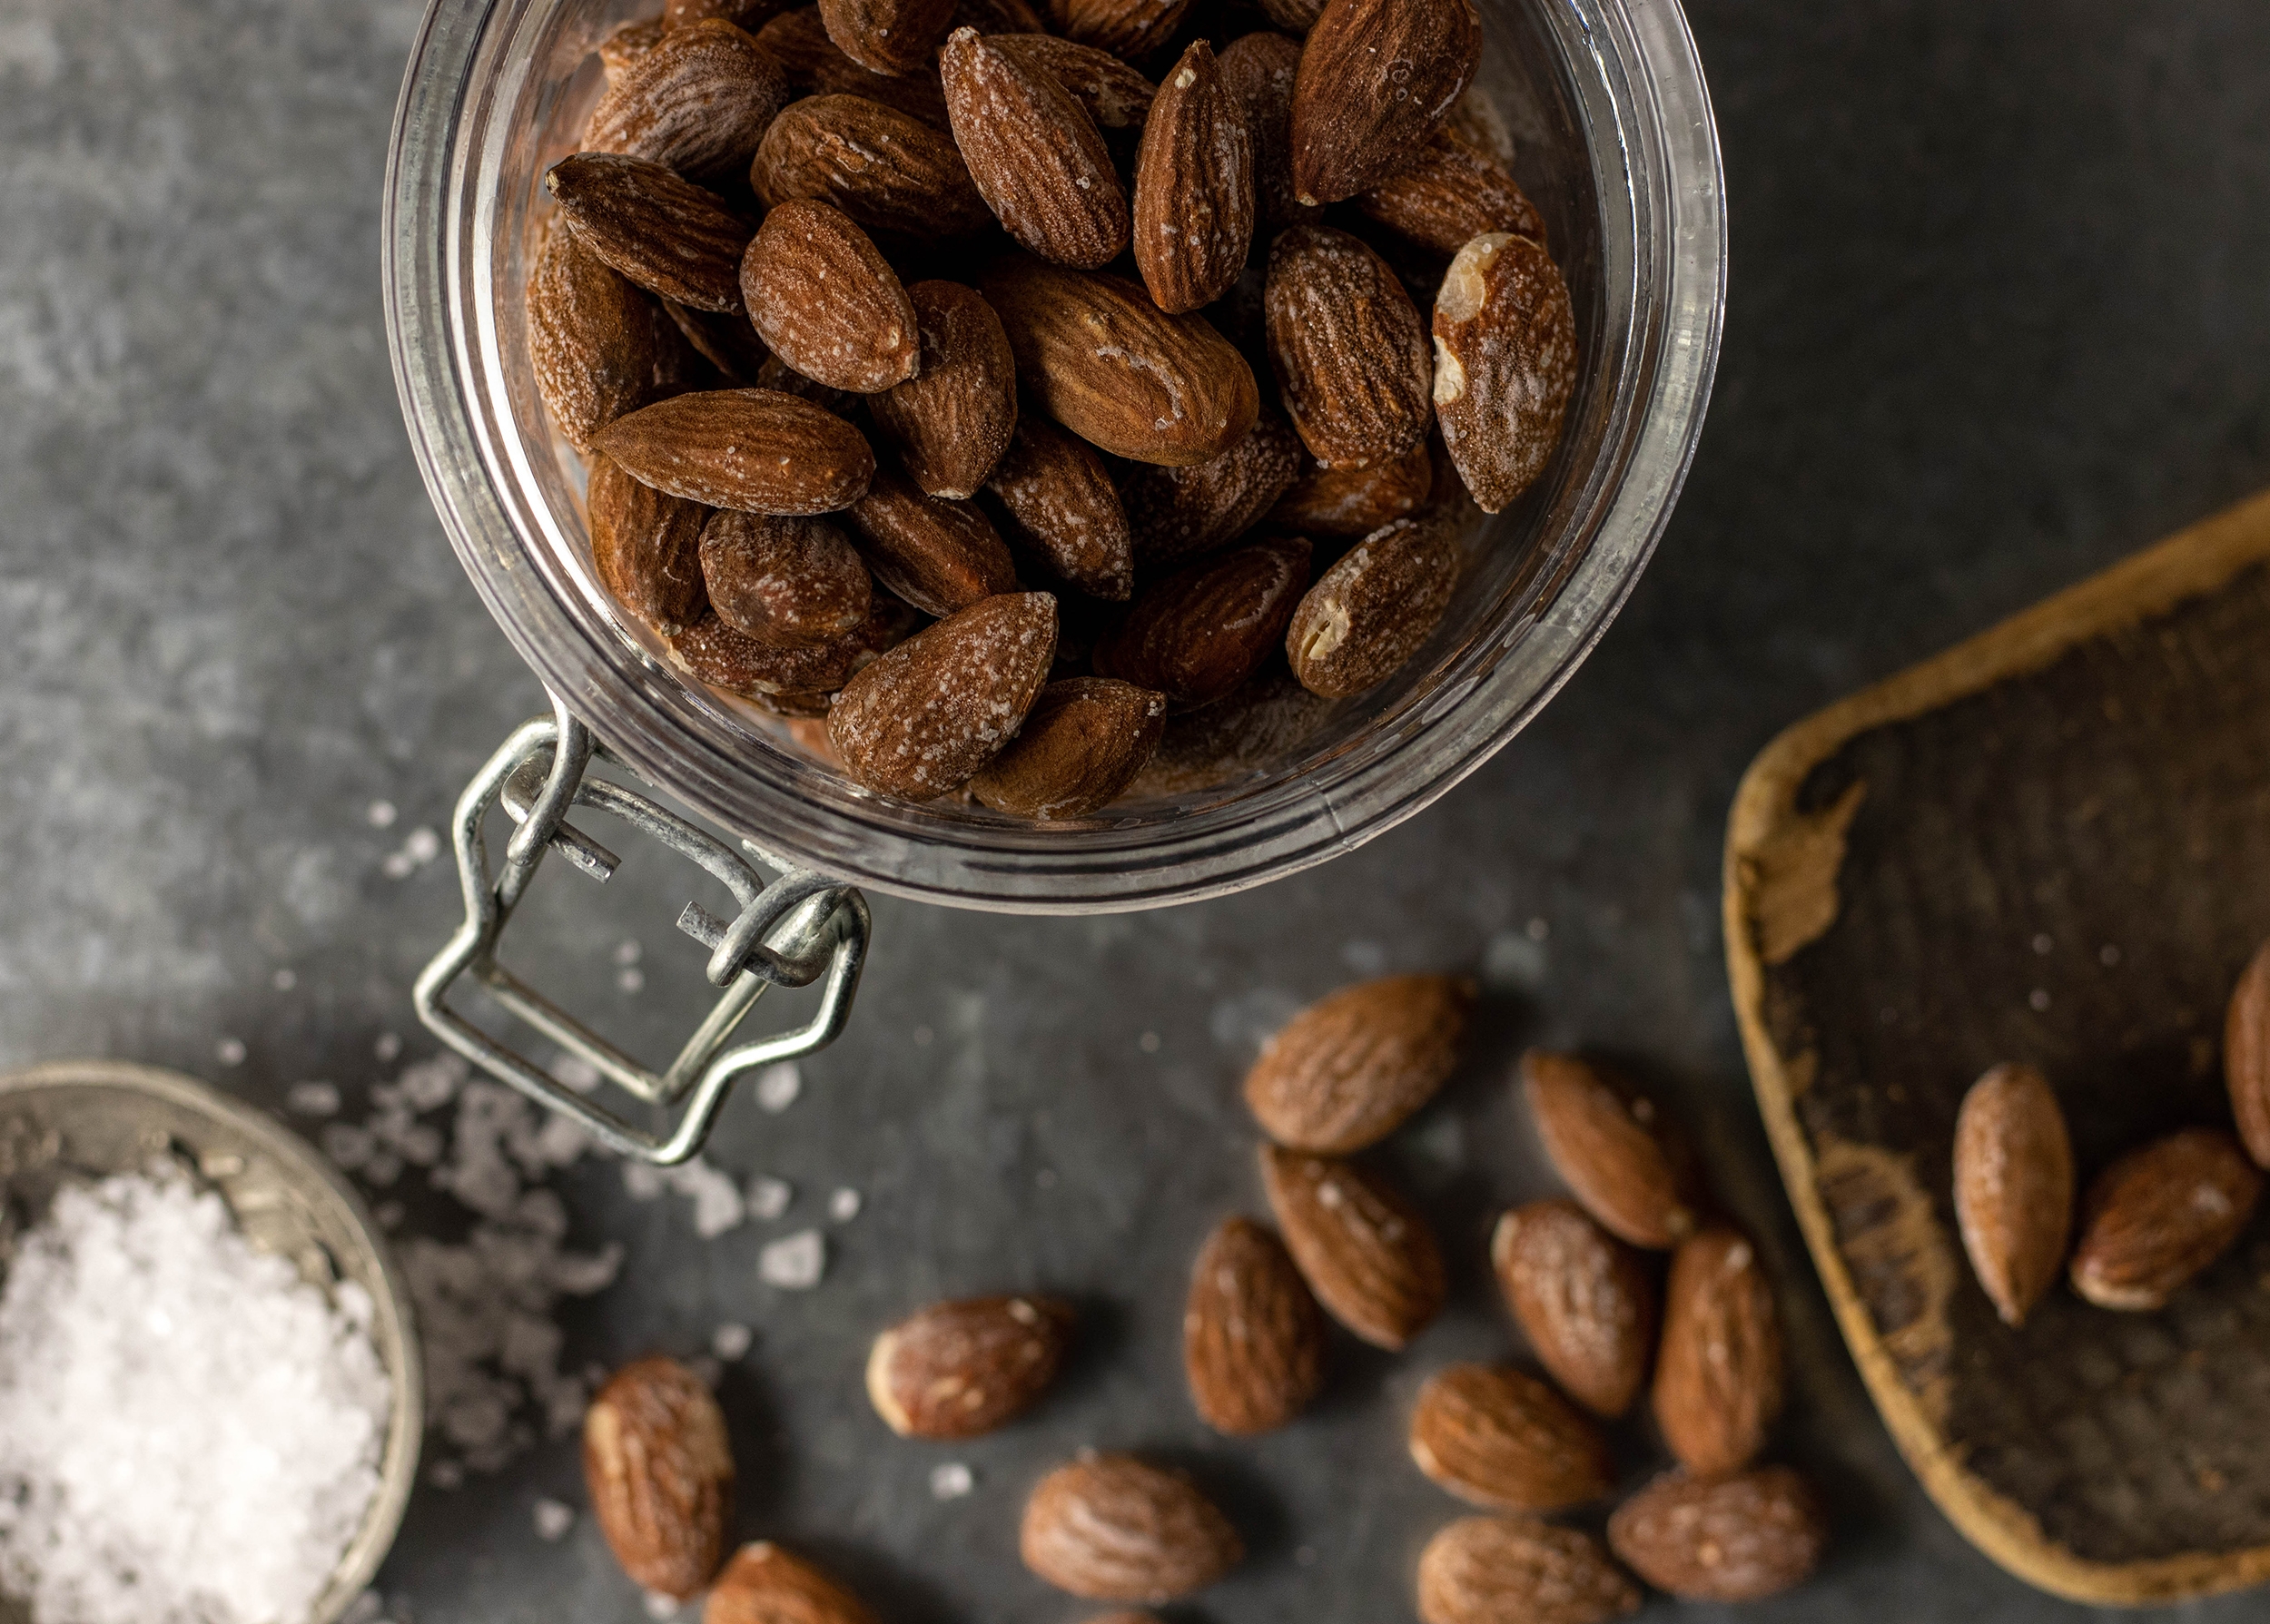
    You can keep these tasty almonds in an airtight container for several weeks

    Salted almonds as part of Spanish tapas

    In Spain, salted almonds are often served as part of authentic tapas. But there they are prepared a little differently. In Scandinavia they are a popular snack between meals. You rarely see them here in Germany. And I think that should change!

    Homemade salted almonds taste so much better and fresher than those bought from the supermarket.
    Homemade salted almonds taste so much better and fresher than those bought from the supermarket.

    Almonds are very healthy

    By the way, almonds are very healthy. They contain lots of good things, such as healthy fats, lots of vegetable protein, magnesium, calcium, copper, zinc and vitamin E and vitamin B. They also contain fiber and secondary plant substances, especially in the almond skin.

    Almonds have many healthy ingredients, so salted almonds are a pretty nutritious snack.
    Almonds have many healthy ingredients, so this is a pretty nutritious snack.

    A simple crunchy snack

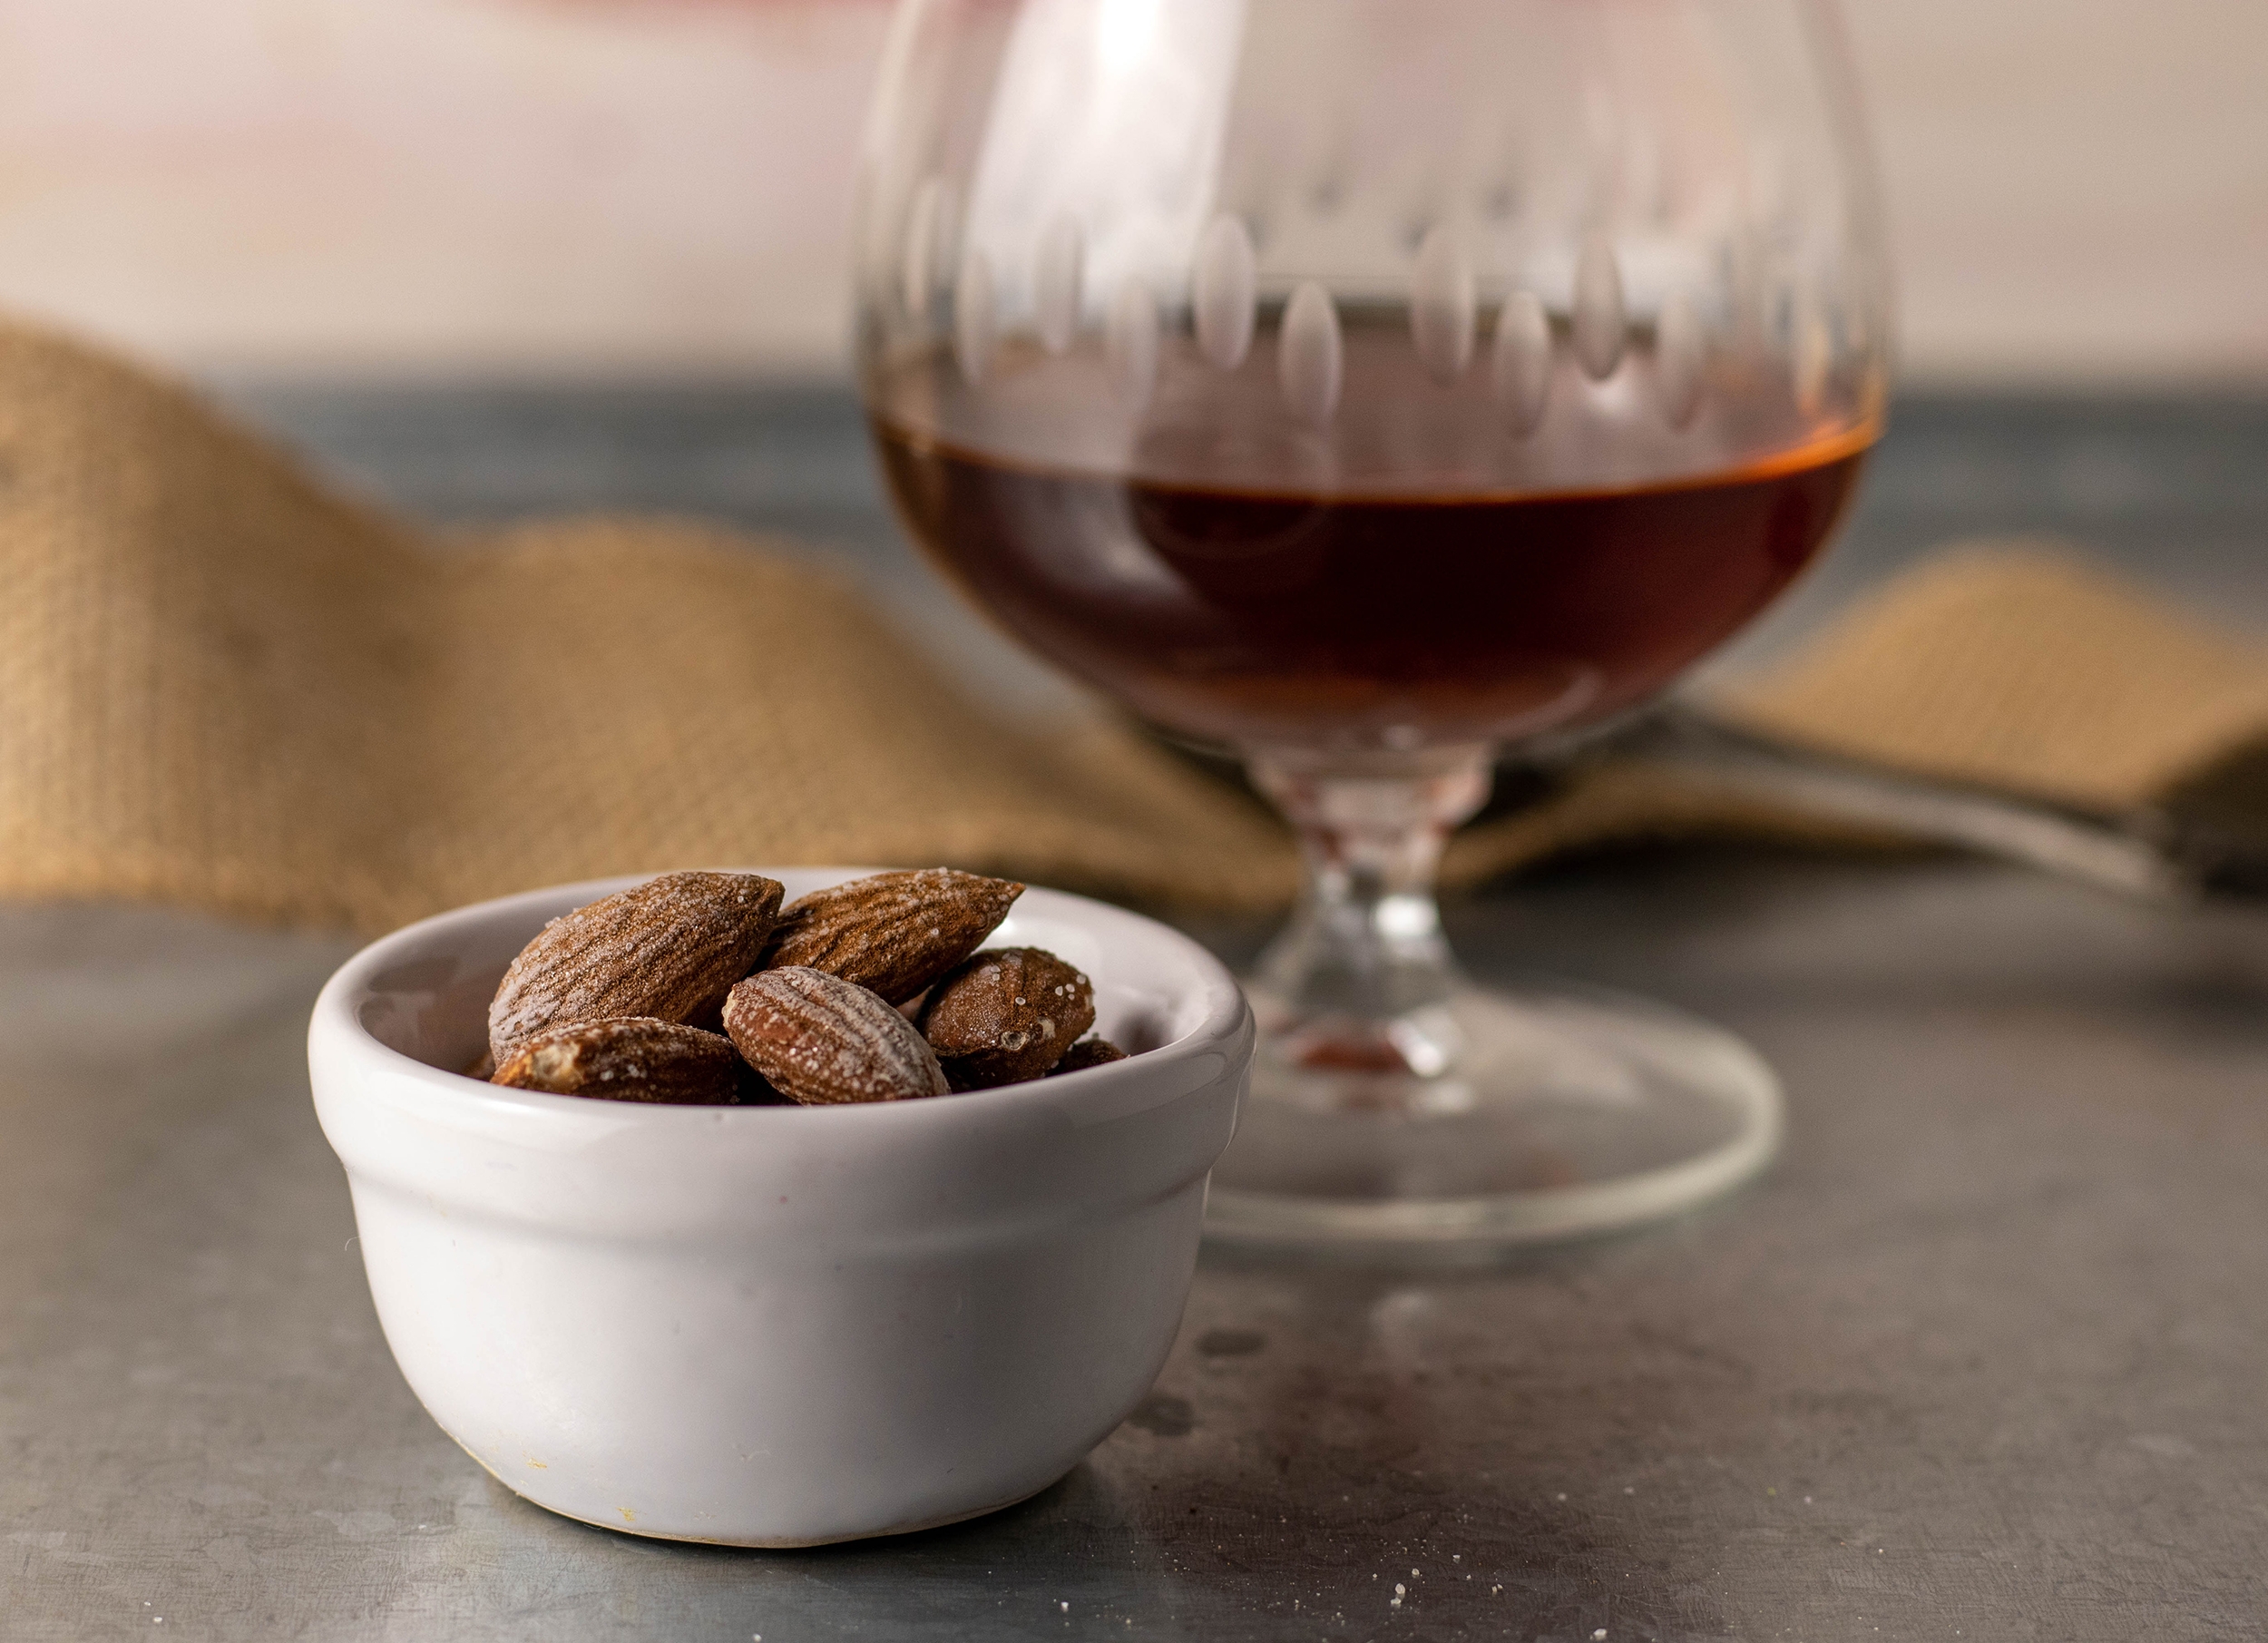
    Salted almonds are a delicious and crunchy treat that is easy to prepare and perfect as a snack to go or to accompany a cool drink. Delicious as a little side dish to beer and wine, they are particularly popular in Mediterranean cuisine and in Scandinavia. Where they are often served as an appetizer in bars or restaurants.

    A delicious and crunchy treat, perfect to accompany a cool drink
    A delicious and crunchy treat, perfect to accompany a cool drink

    Easily make roasted salted almonds yourself

    My homemade salted almonds are not only much cheaper than store-bought ones, they also taste much better. Also they are very easy and quick to make at home with just a few simple steps using just 3 ingredients.

    The advantages of making salted almonds yourself are unbeatable:

    1. Little work because the recipe is very simple.
    2. Long lasting. Sealed airtight, they last for several weeks.
    3. Inexpensive. Homemade salted almonds cost much less than store-bought ones.
    4. Only 3 ingredients. A recipe couldn’t be simpler.
    5. More aromatic. Homemade tastes much fresher and better than store-bought.
    6. Variety is up to your imagination. You can add different spices and vary the taste.
    You can easily make roasted salted almonds yourself
    You can easily make roasted salted almonds yourself

    More easy vegan snacks

    Are you looking for more vegan and easy snacks? Just browse through the snack section here on Daily Vegan. Or try these delicious snack recipes right away:

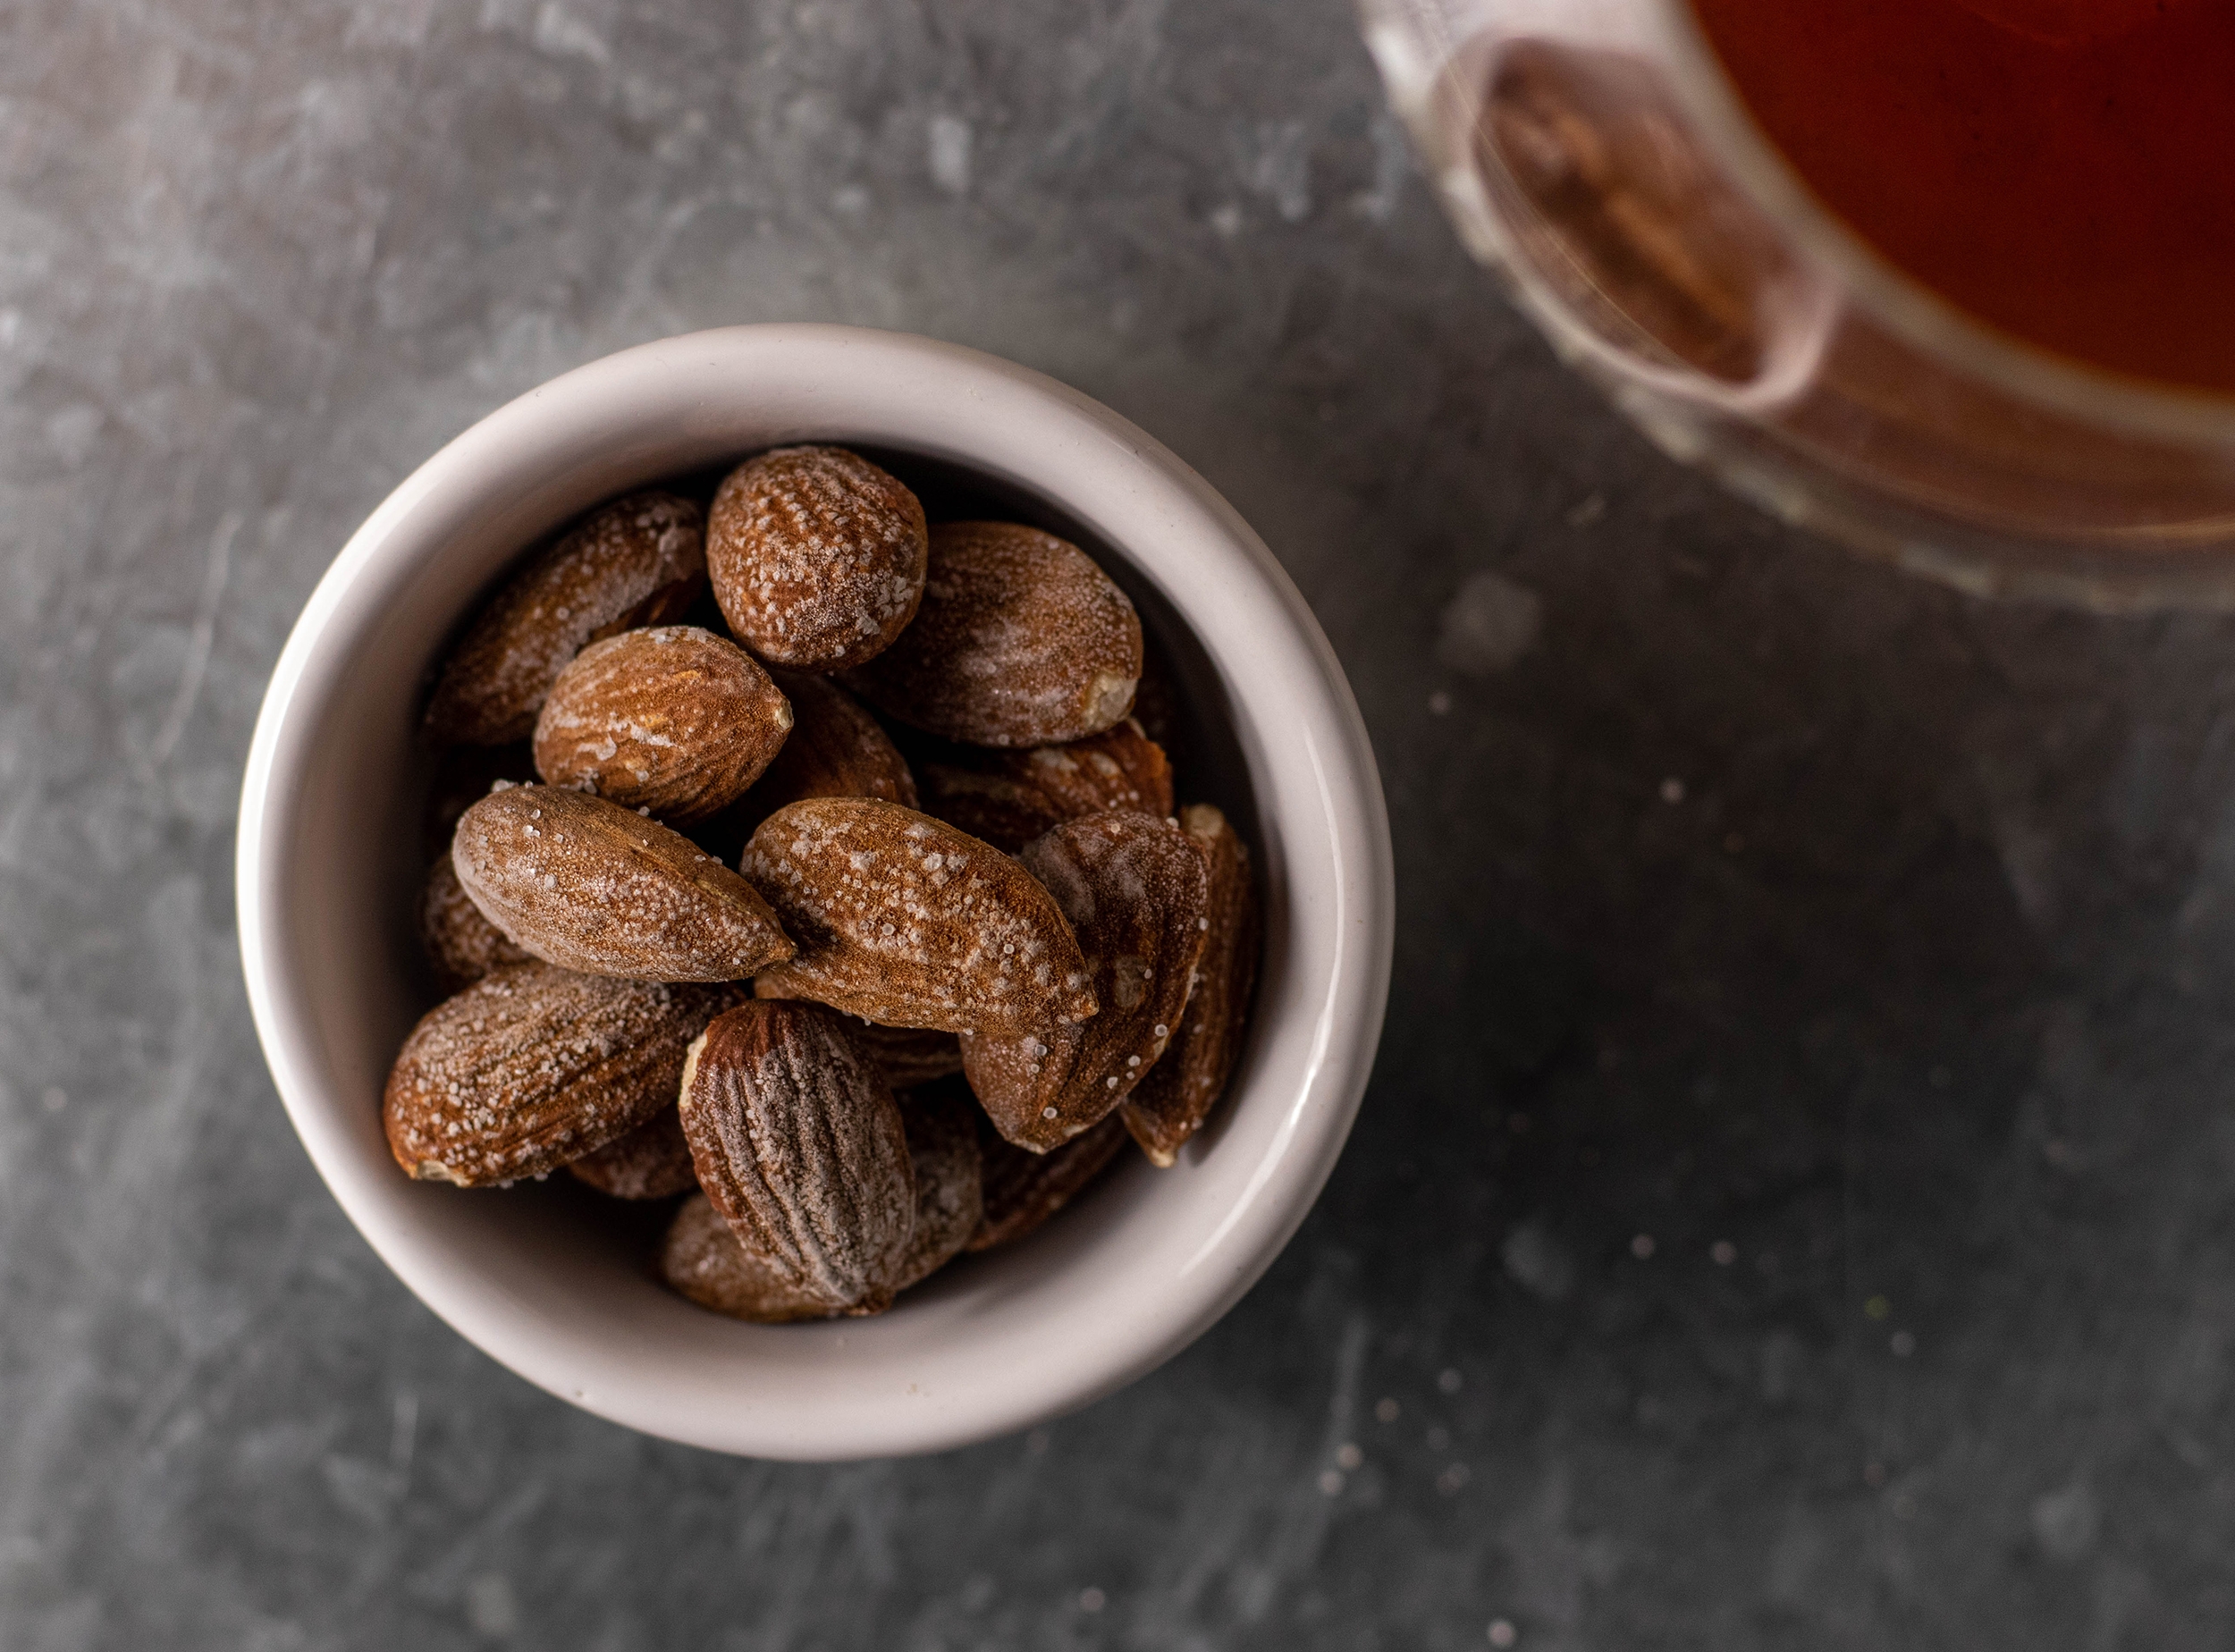
    A simple, delicious, healthy snack
    A simple, delicious, healthy snack

    Roasted salted almonds as an ingredient for baking and other dishes

    My salty, crispy almonds are very suitable as an ingredient for baking. For example in combination with salted caramel or chocolate. But they can also add a crispy crunch to savory dishes.

    Raw Cheesecake mit Baileys und Salzmandeln
    A vegan raw cheesecake with vegan Baileys and salted almonds

    My recipe for roasted salted almonds as a video.

    In this video I show you how to make this delicious, hearty almond snack yourself. The ide is in German, but the youtube subtitles should just work fine. Feel free to subscribe to my YouTube channel for more vegan cooking videos and videos about mushrooms and other natural ingredients.

    And the salted almond recipe in pictures

    Here you can see step by step pictures of how to make salted almonds yourself. Right underneath the recipe starts.

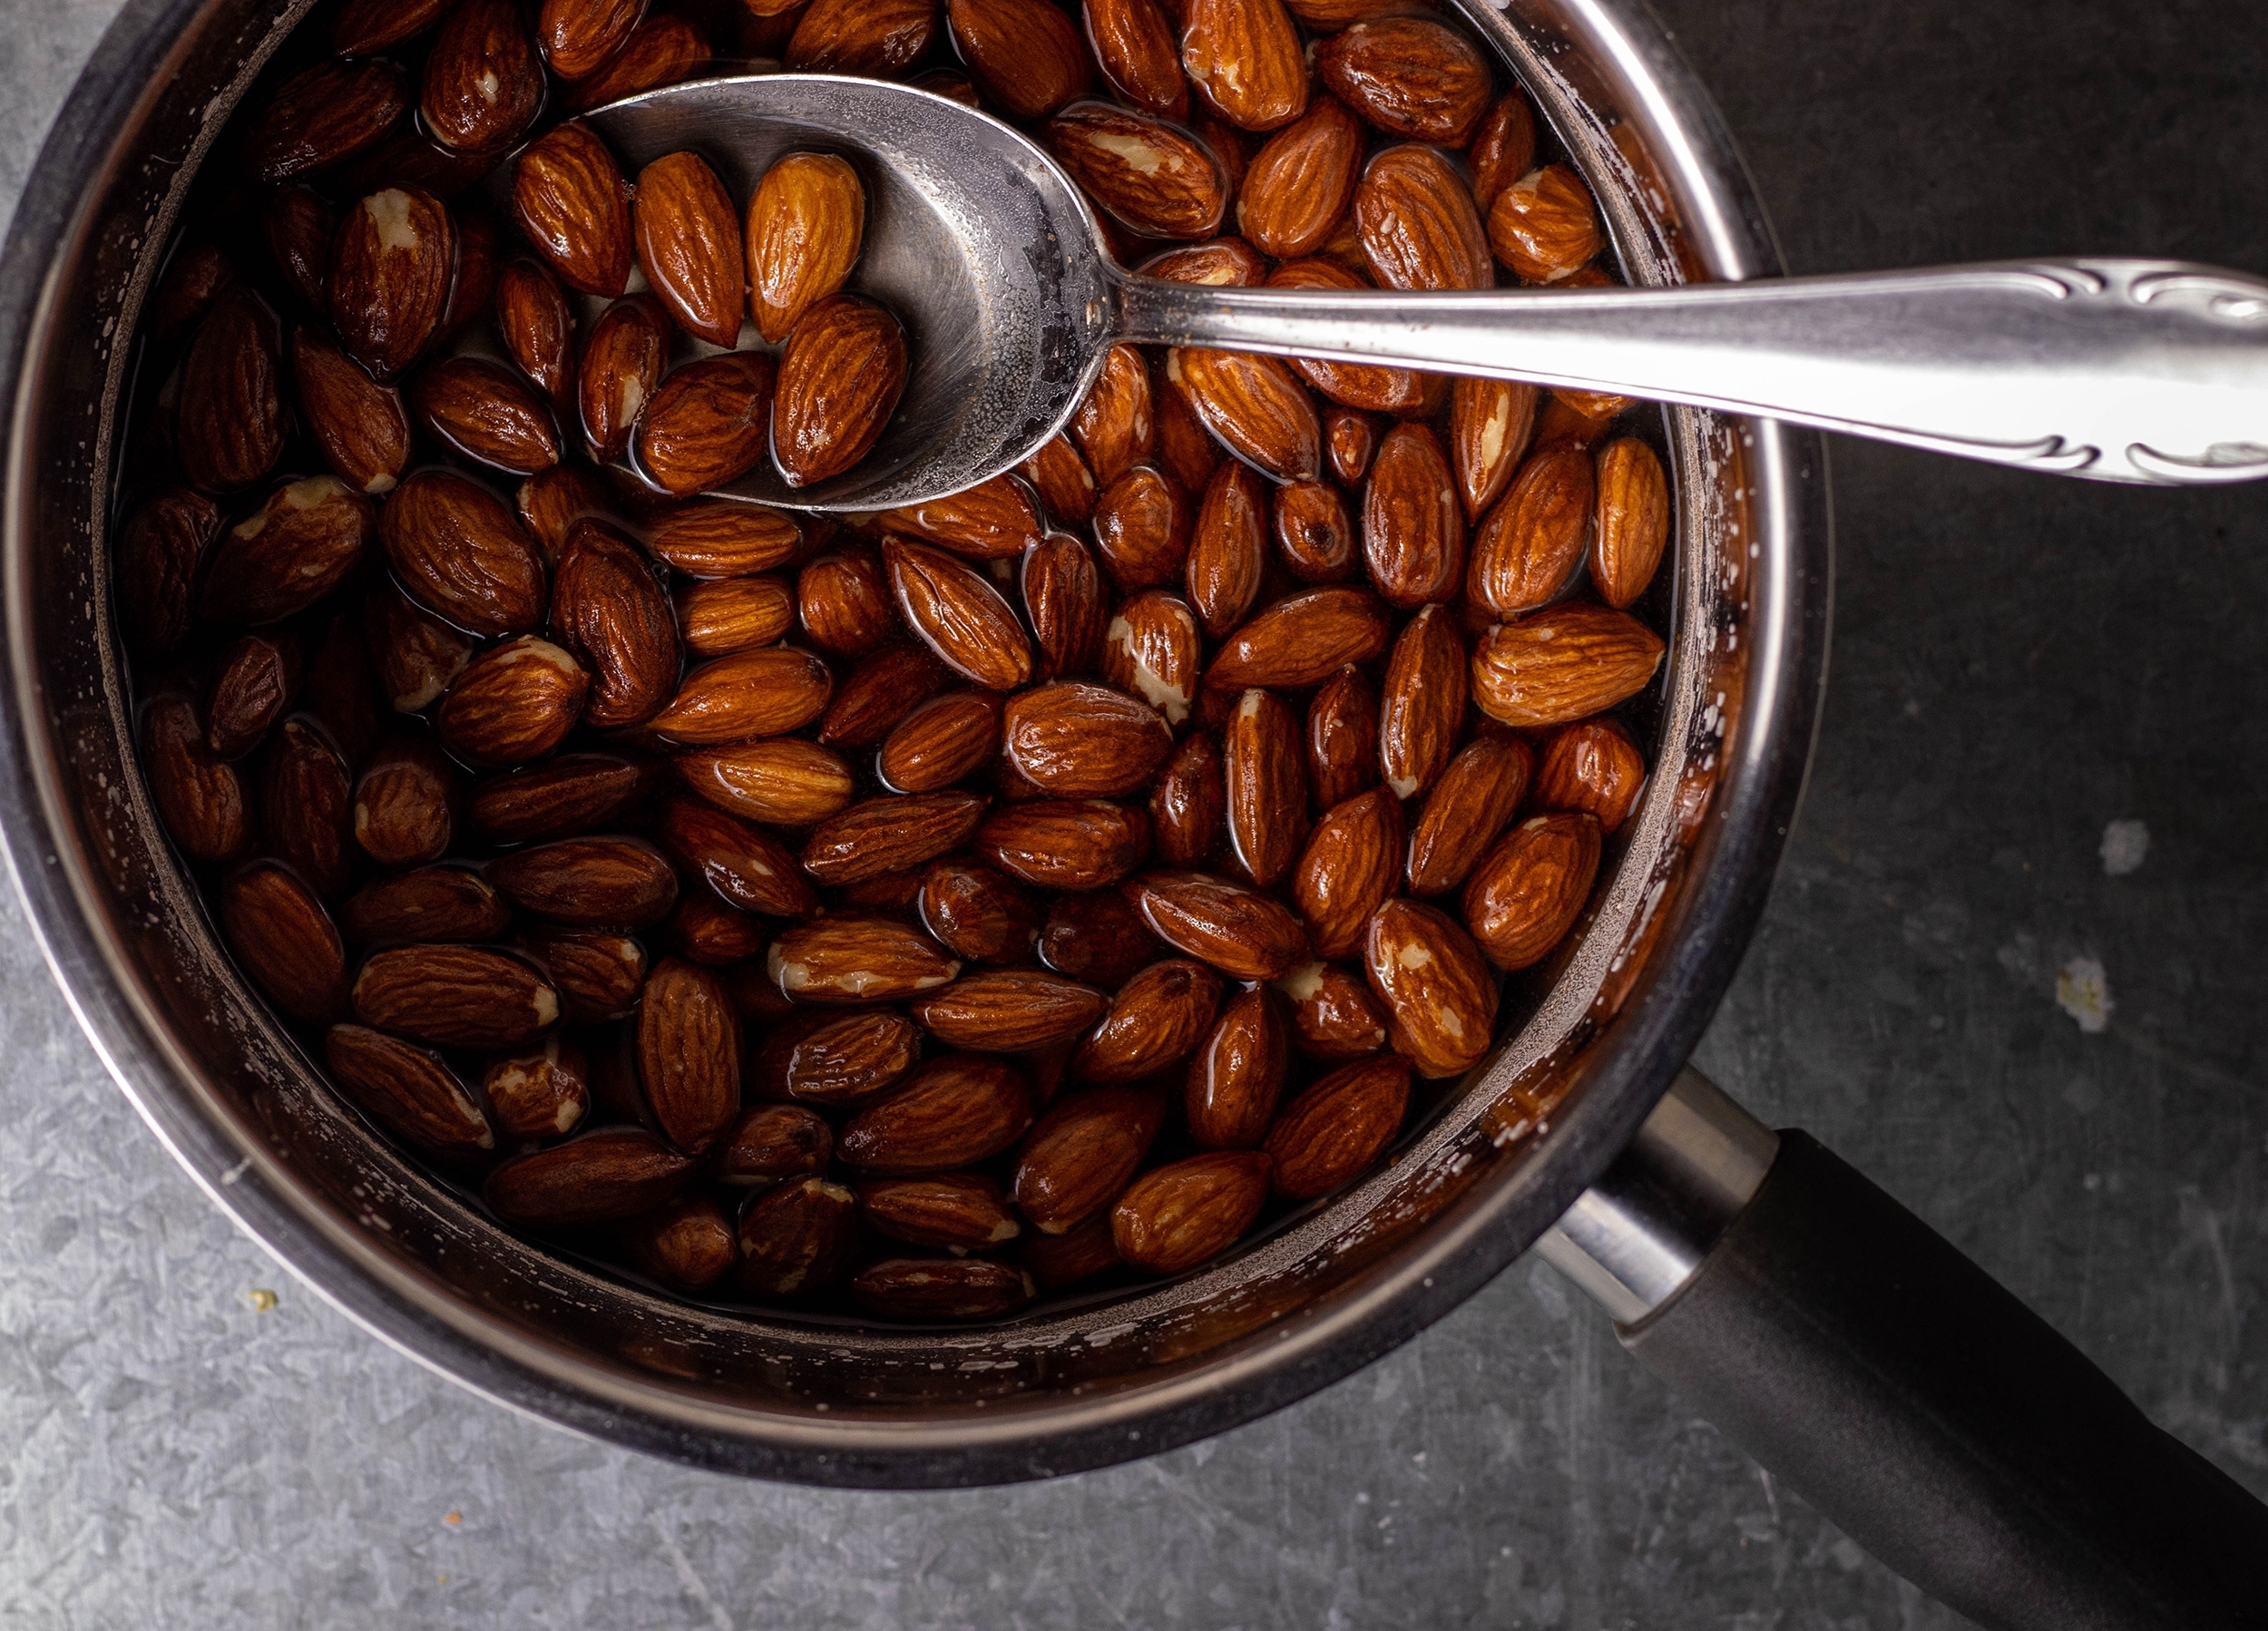
    1. Soak the almonds in hot, strong salt water.
    1. Soak the almonds in hot, strong salt water.
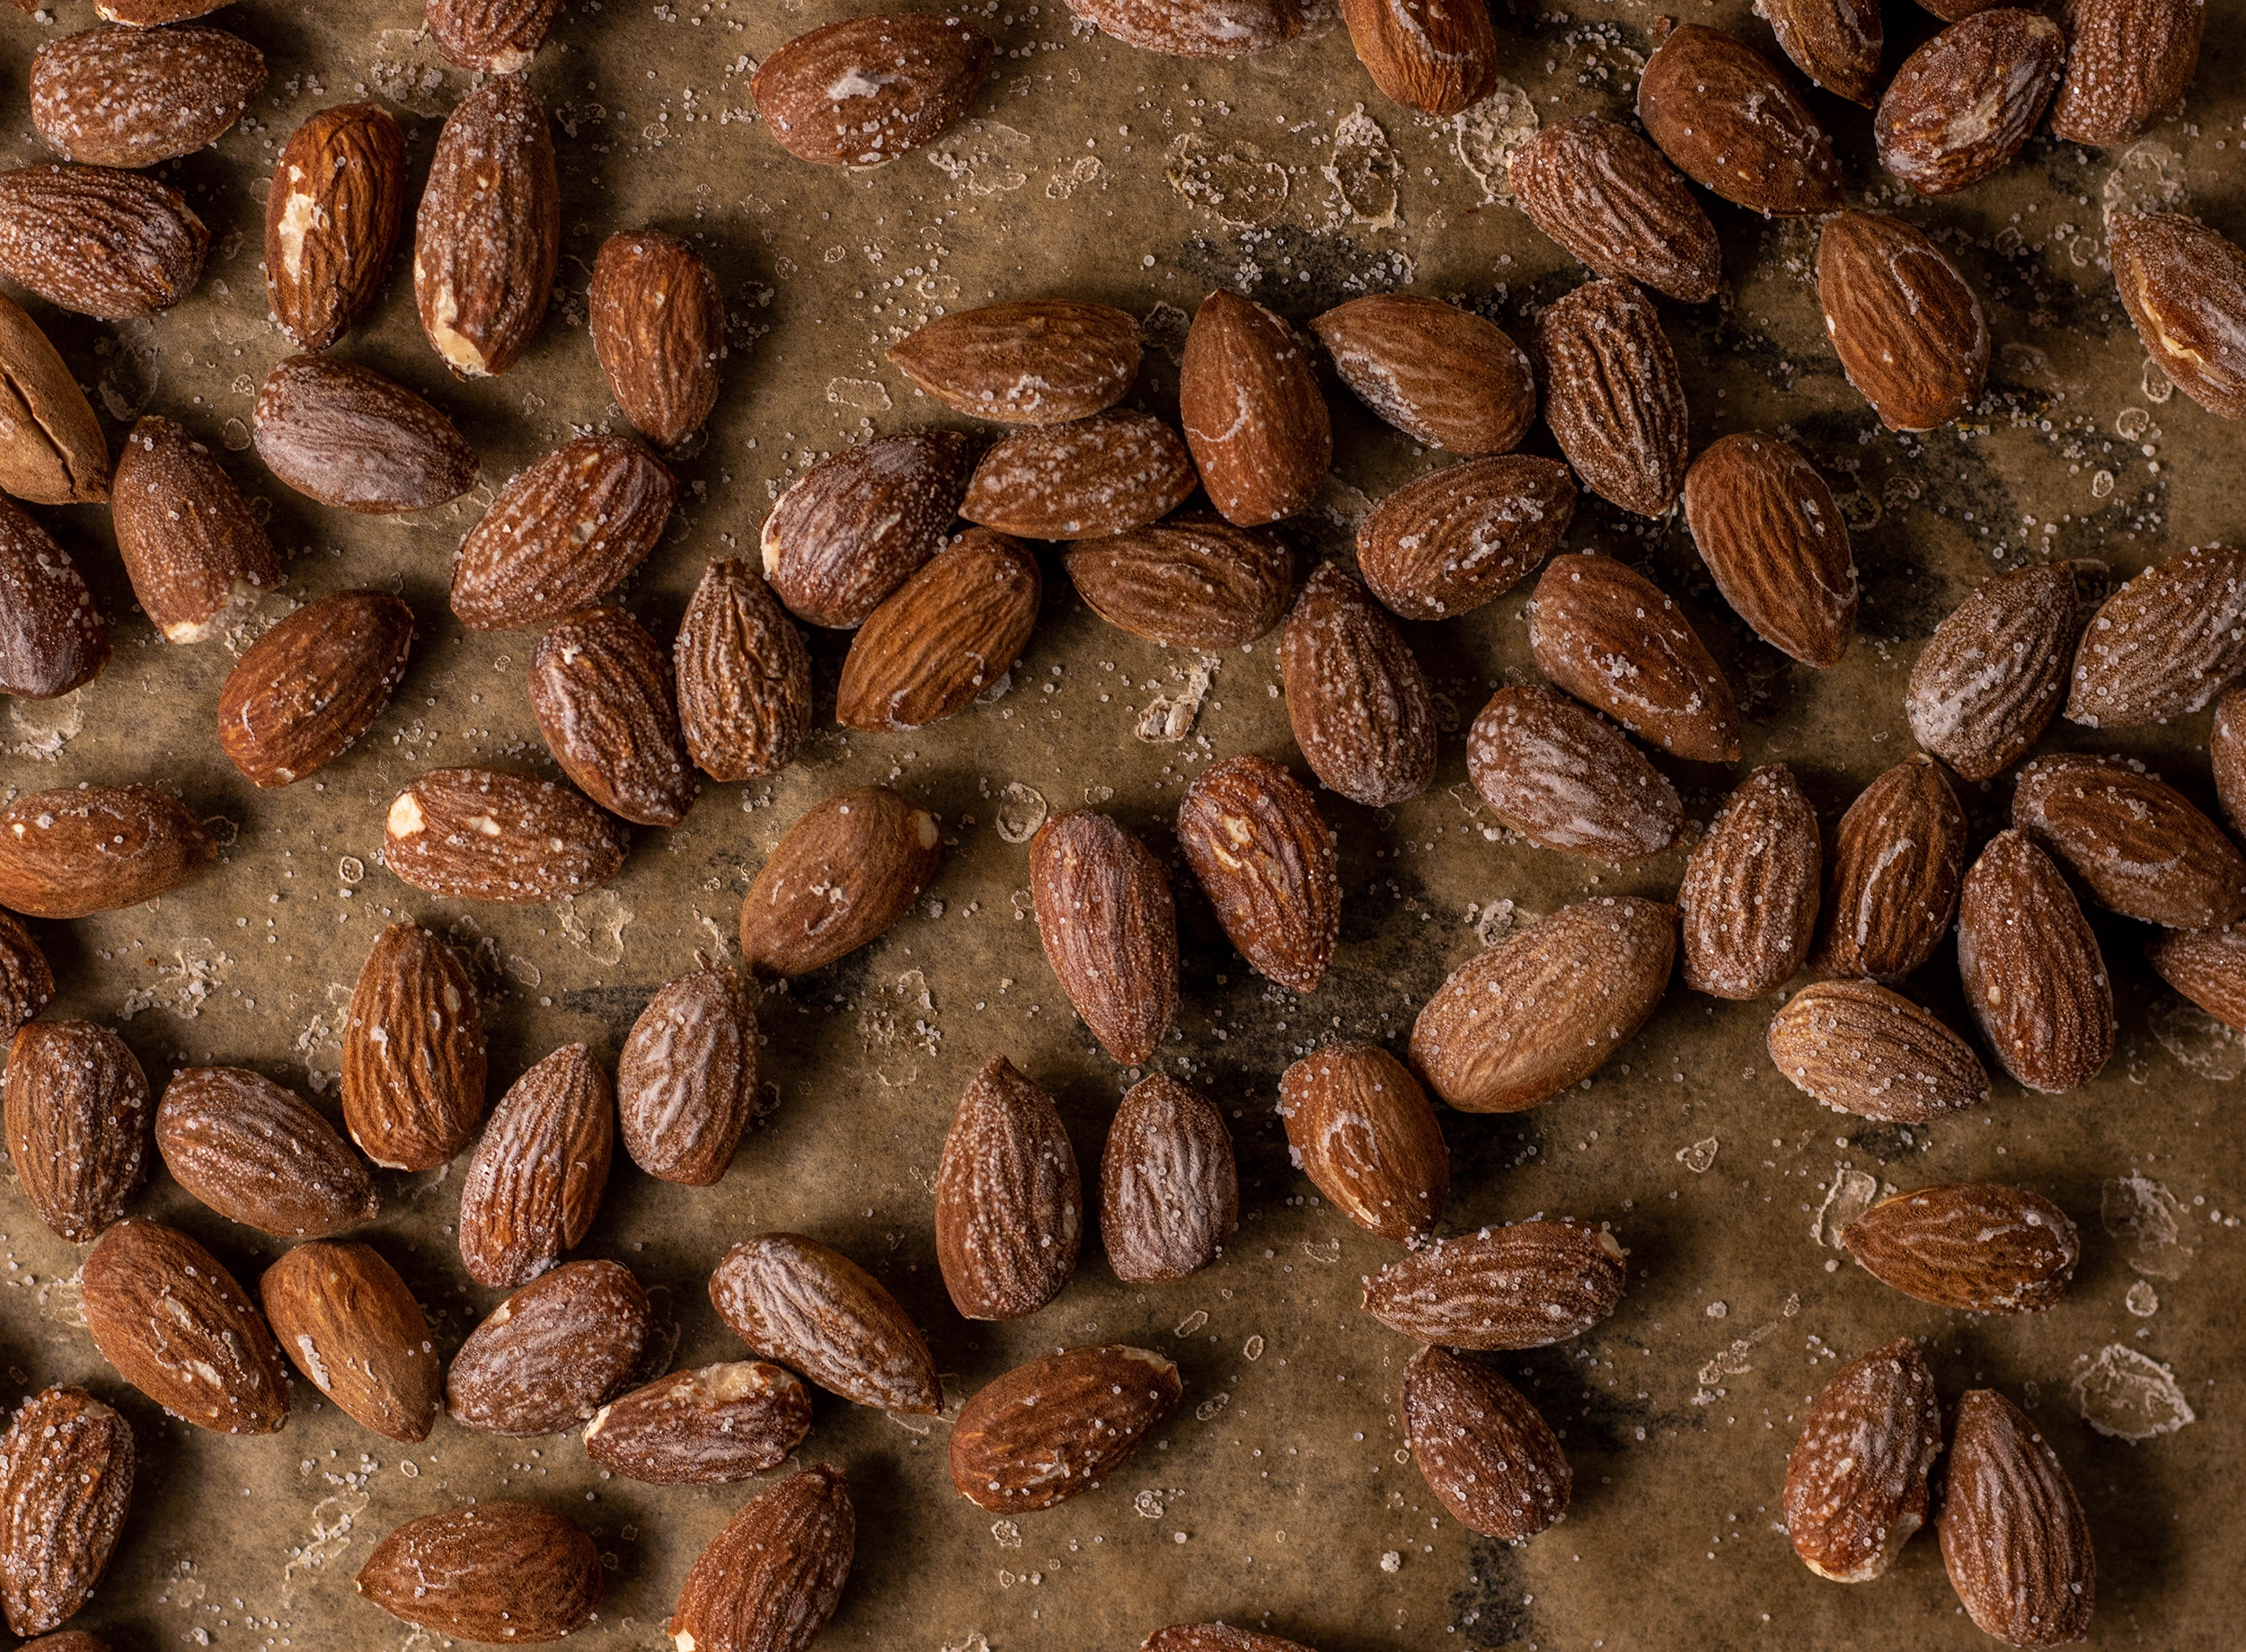
    2. Freshly roasted in the oven.
    2. Freshly roasted in the oven.
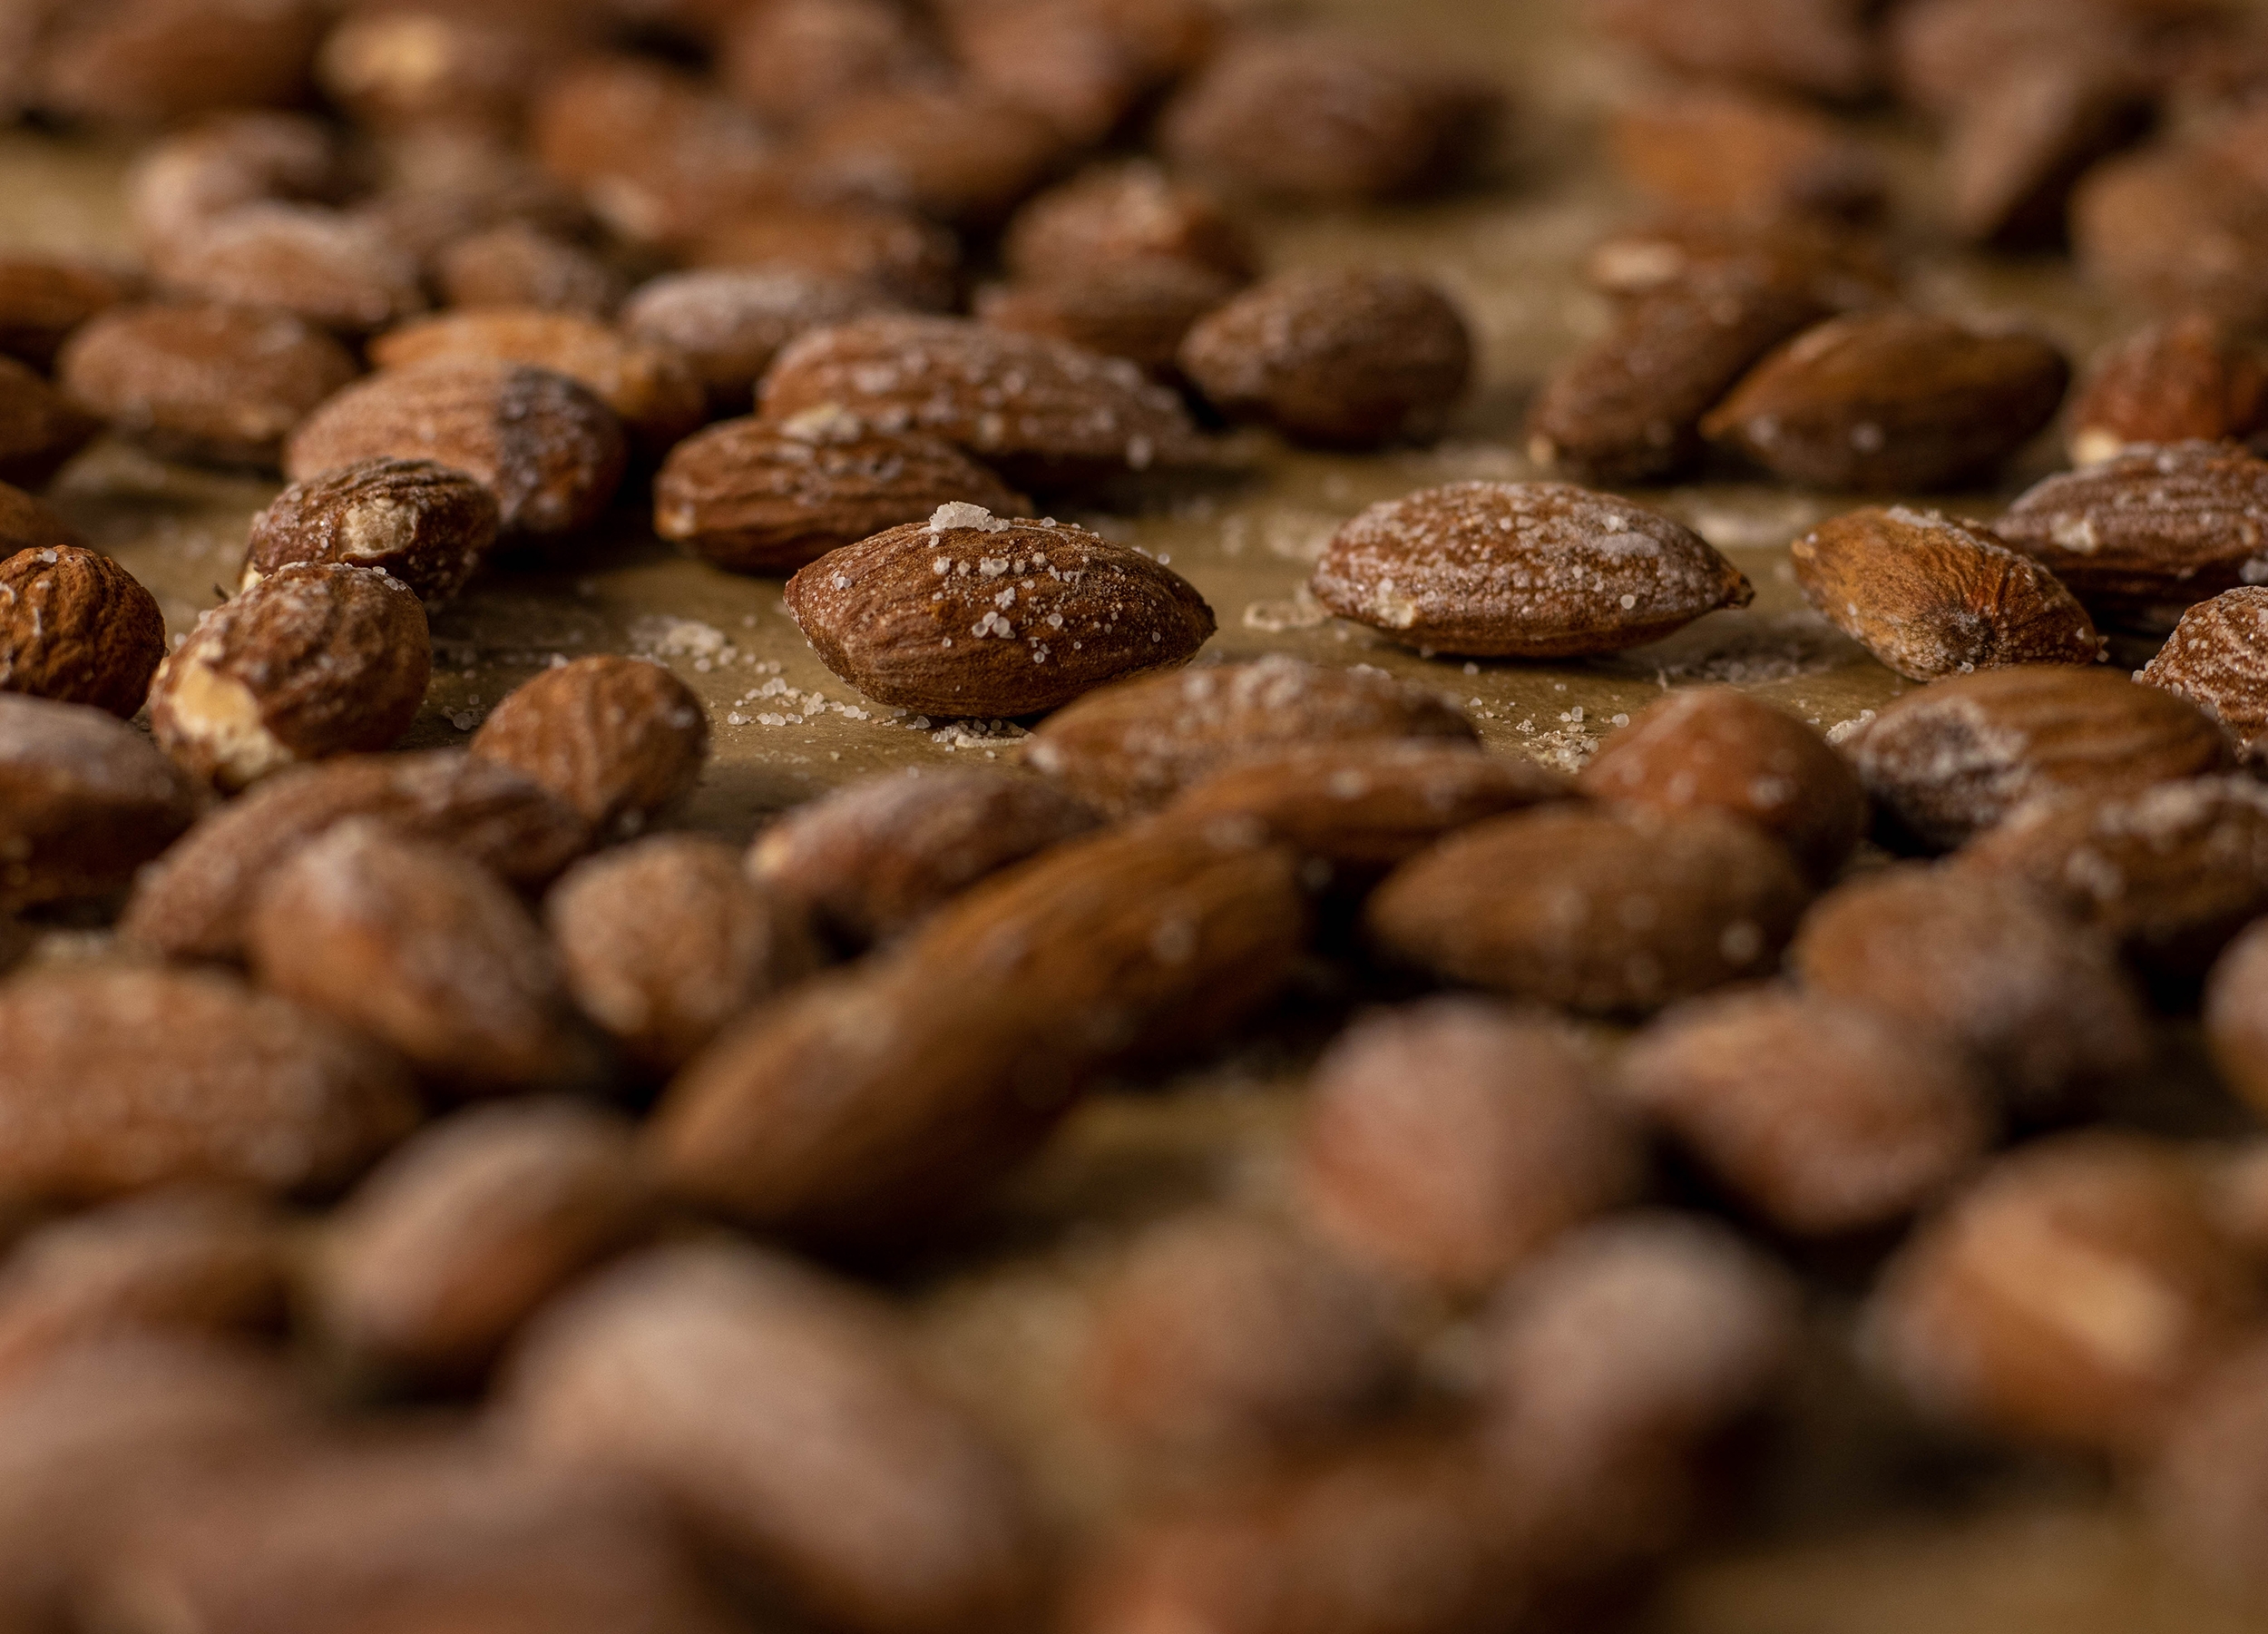
    3. The salty almonds now have to cool down a bit before they can be packaged or eaten straight away.
    3. The salty almonds now have to cool down a bit before they can be packaged or eaten straight away.
    Homemade salted almonds
    Homemade salted almonds
    Irresistibly delicious! A quick and easy snack.
    Irresistibly delicious! A quick and easy snack.

    Ingredients for 200 g salted almonds:

    200 g almonds
    4 tbsp salt
    200 ml water

    Preparation:

    1. Bring the water to the boil and dissolve 4 tablespoons of salt in it.
    2. Remove from the heat and then add the almonds.
    3. Let it steep for 20 minutes.
    4. Preheat the oven to 150°C (300°F) top and bottom heat.
    5. Drain the almonds in a sieve and let them drain thoroughly.
    6. Prepare a baking tray with parchment paper and spread the almonds on it. The almonds should not touch each other or only touch a little.
    7. Sprinkle a little more salt on the almonds and then bake them in the oven on the middle shelf for 20 minutes.
    8. Take the tray out of the oven, let the almonds cool down and simply enjoy them as finger food.
    9. The roasted almonds will keep fresh for up to a few weeks in a screw-top jar or any other sealed container.

    Bon appetit!

  • Wild garlic paste – preserve the taste all year round

    Wild garlic paste – preserve the taste all year round

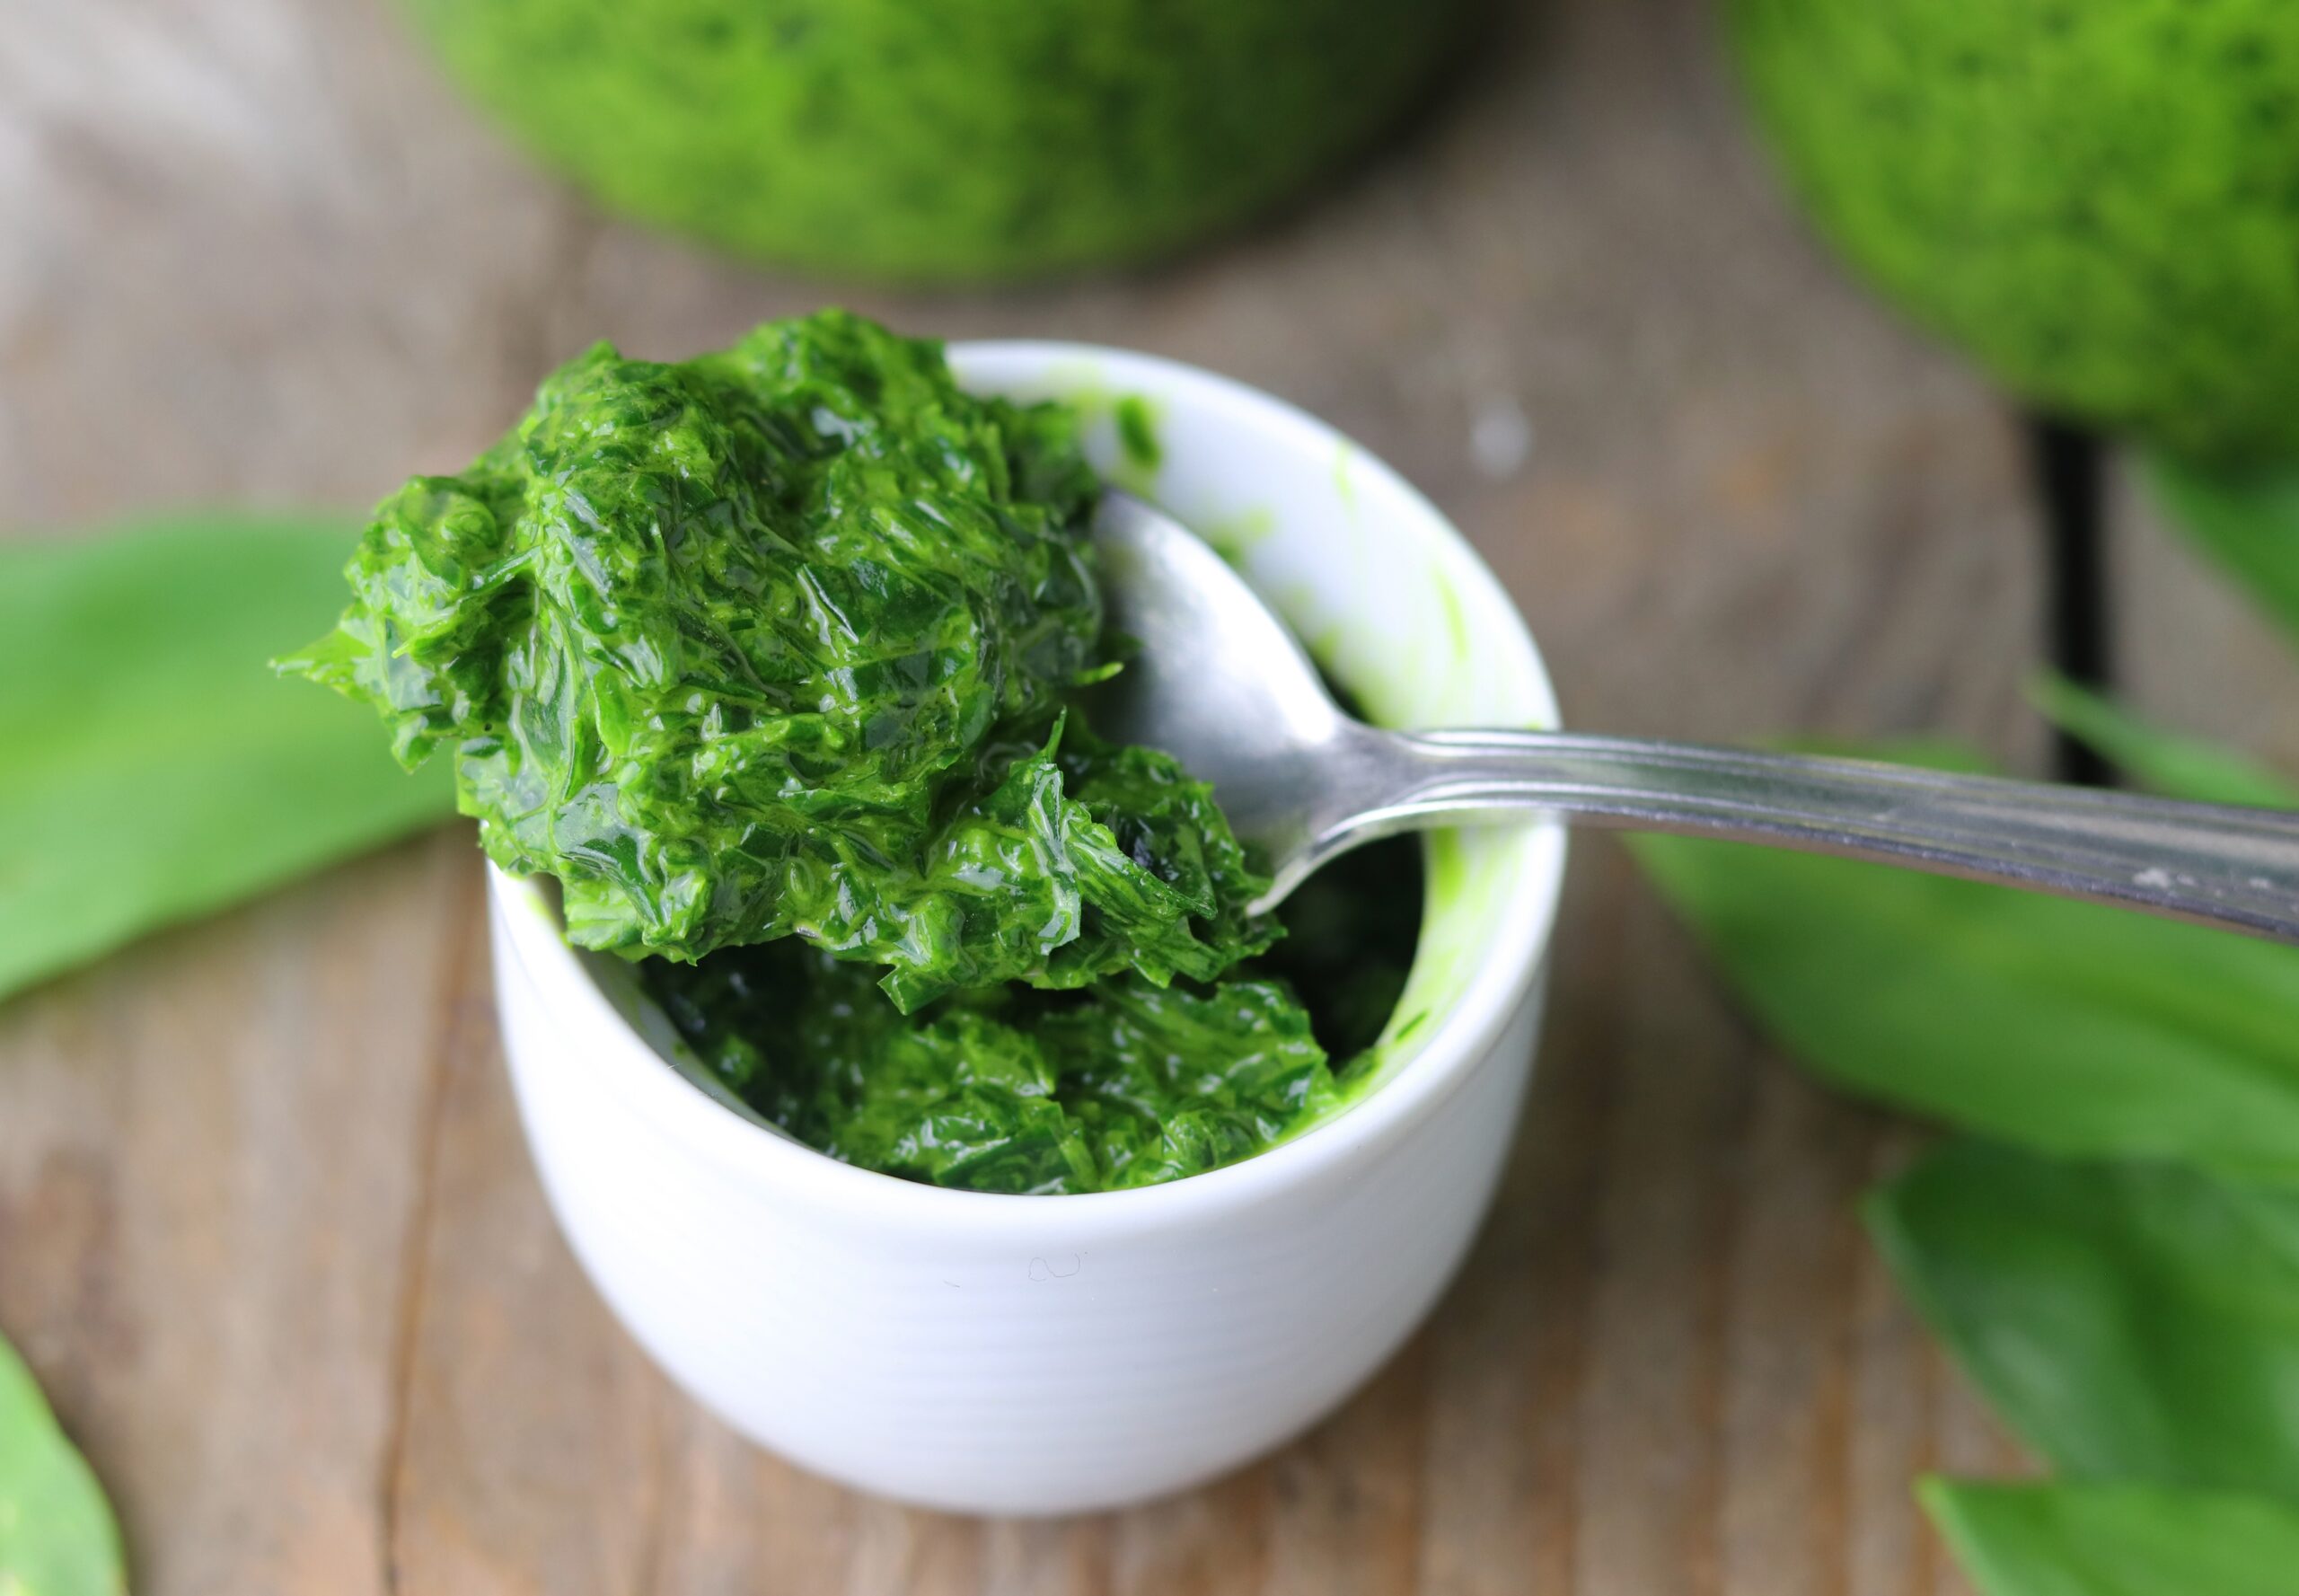
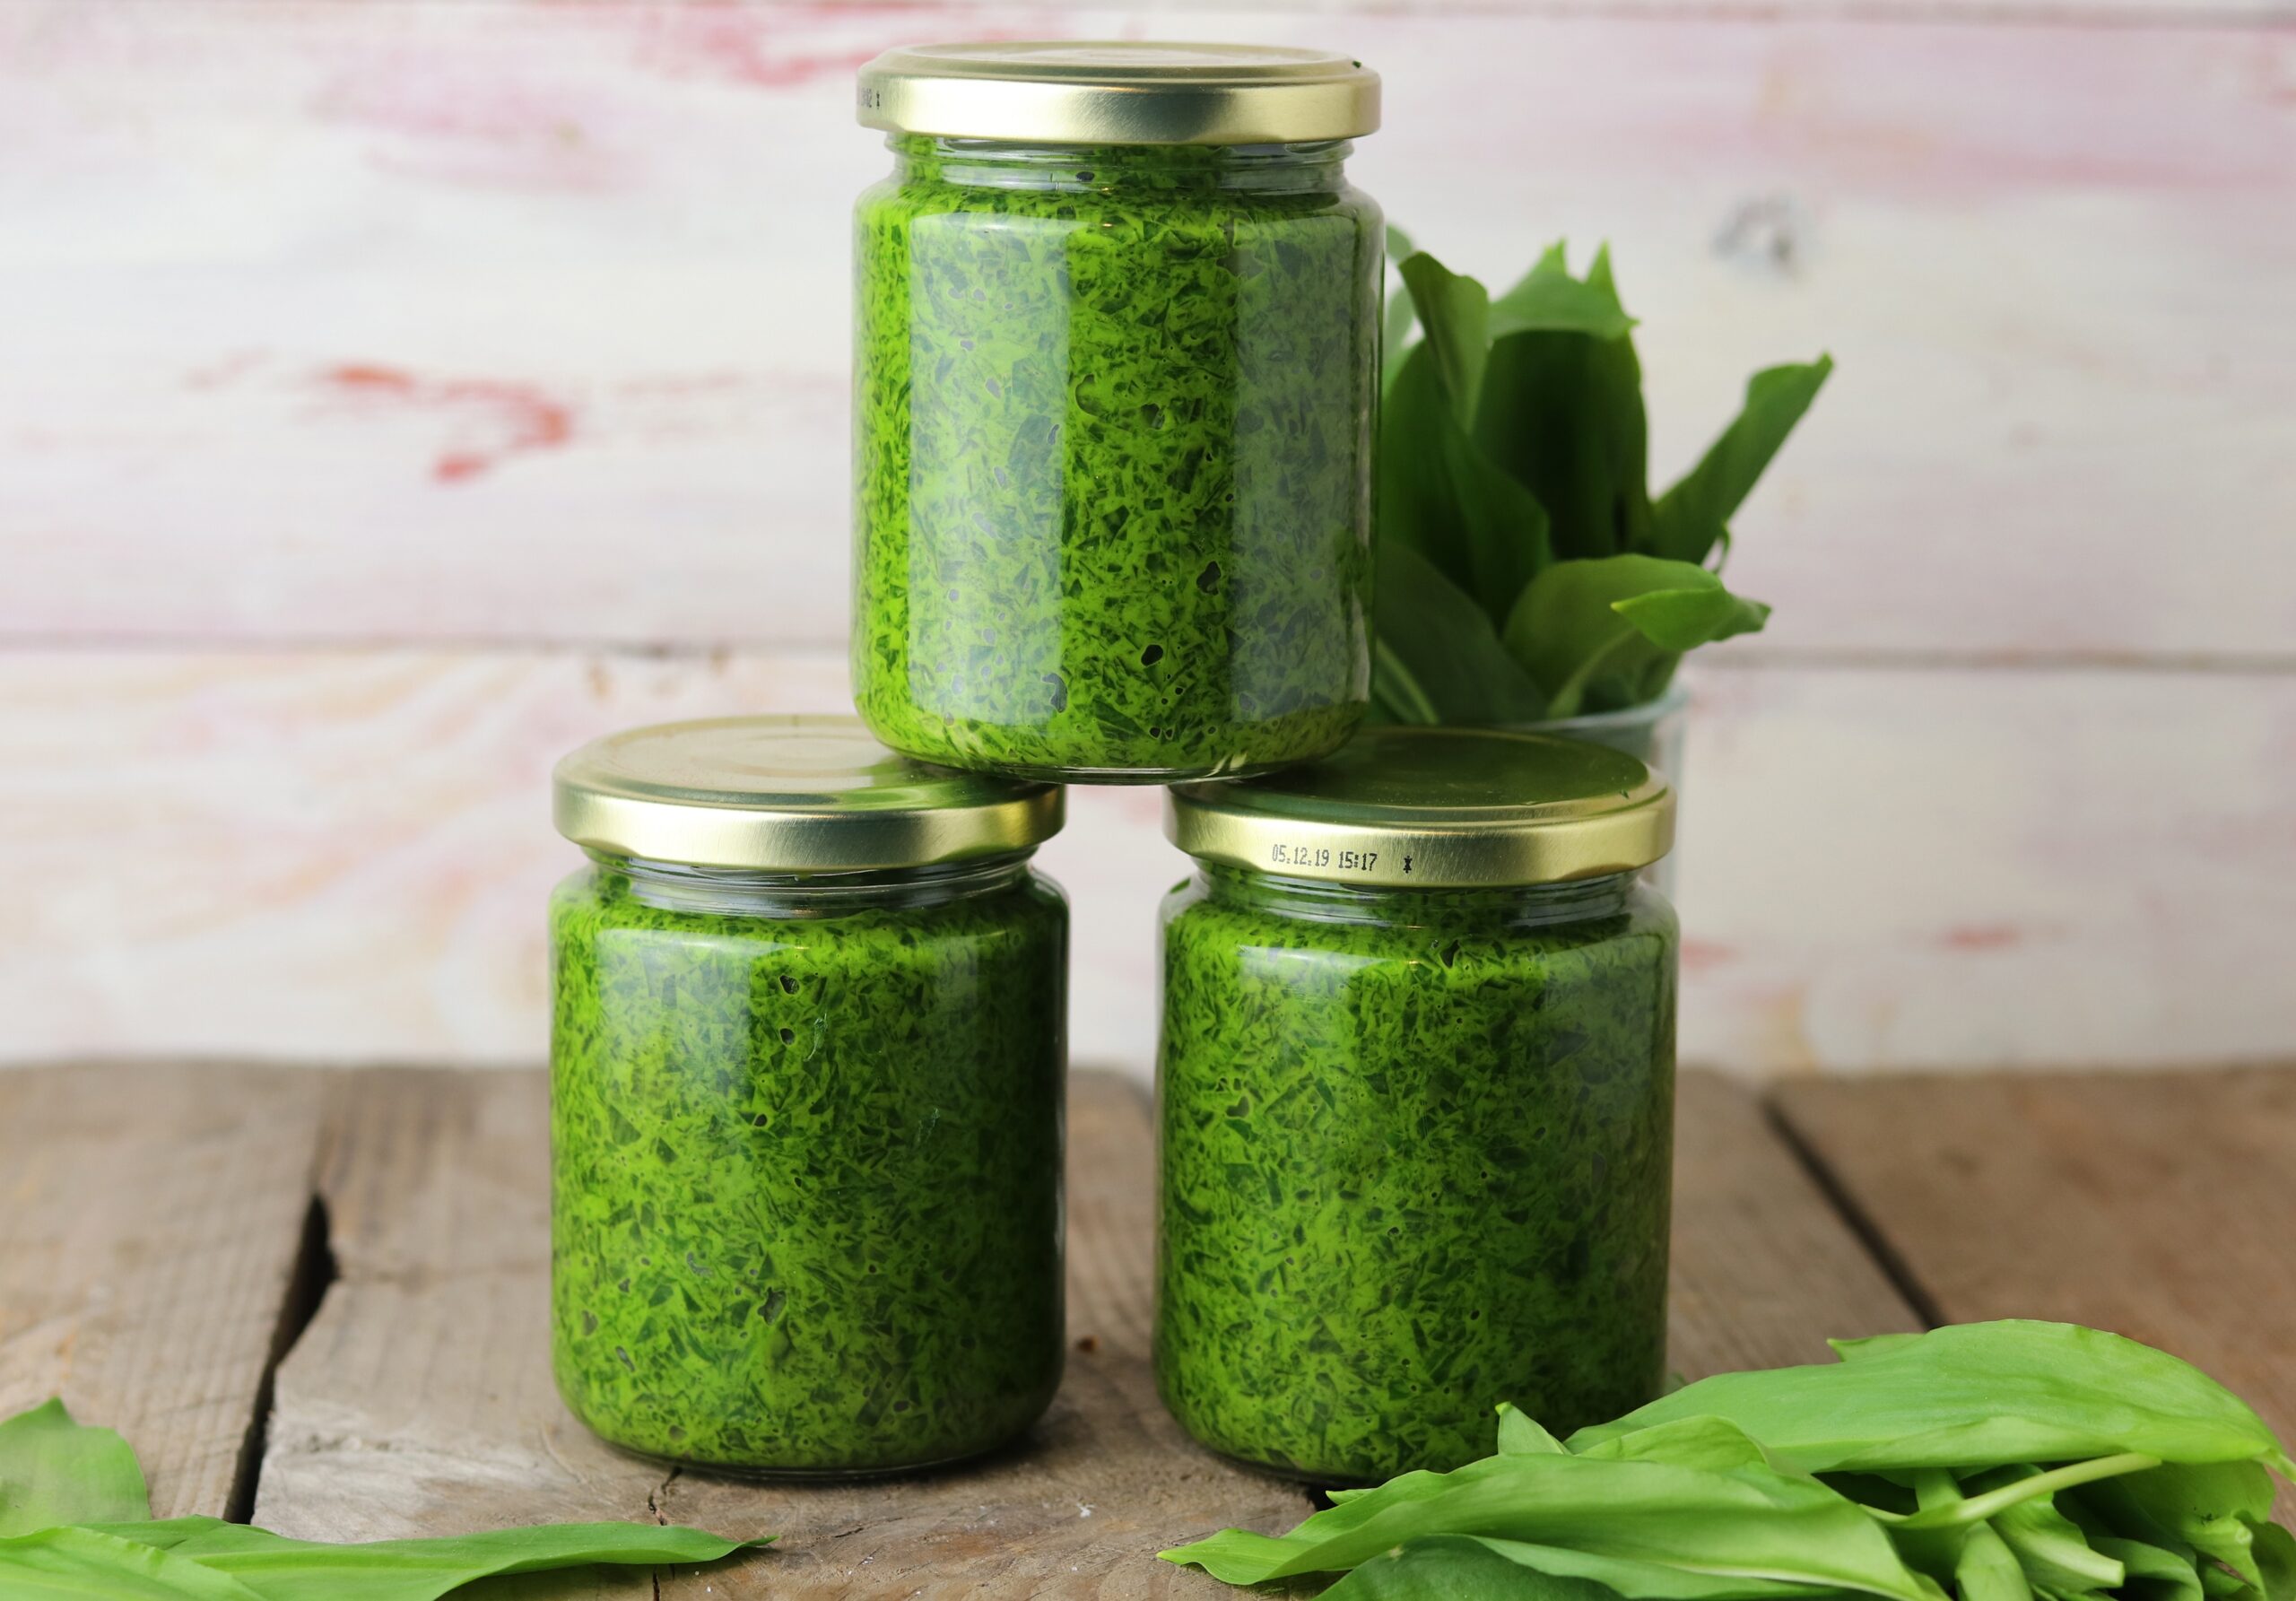
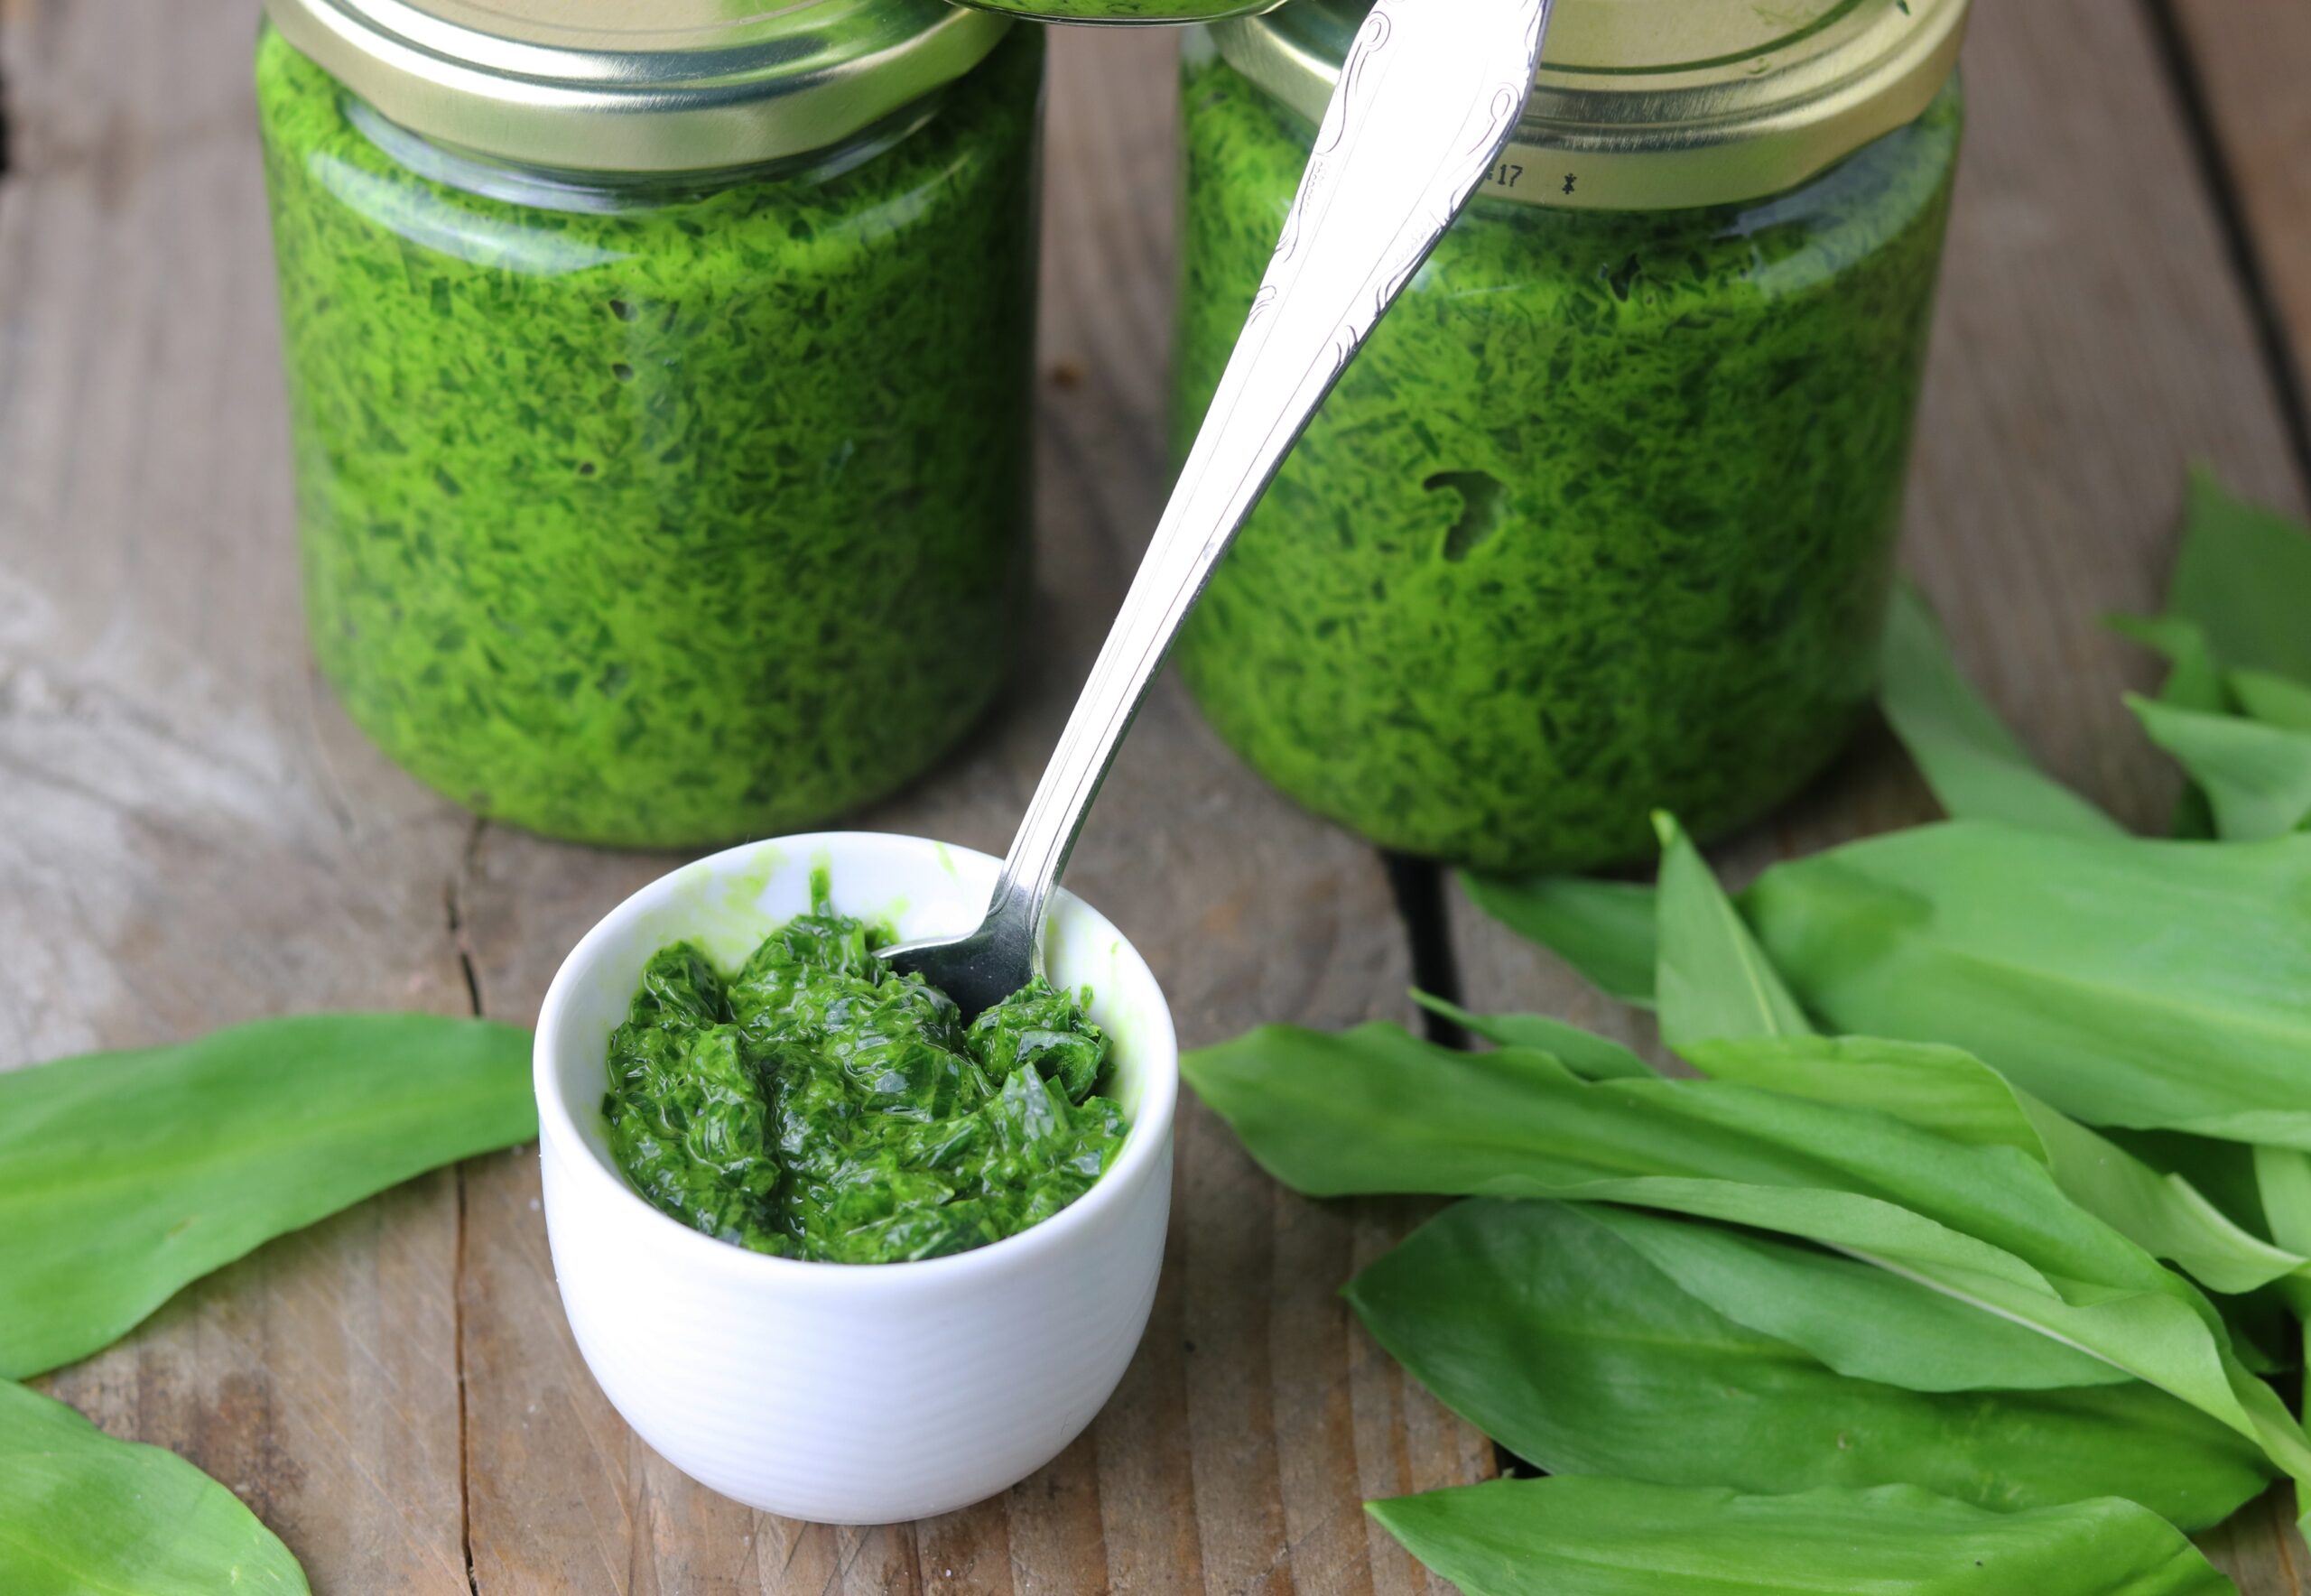
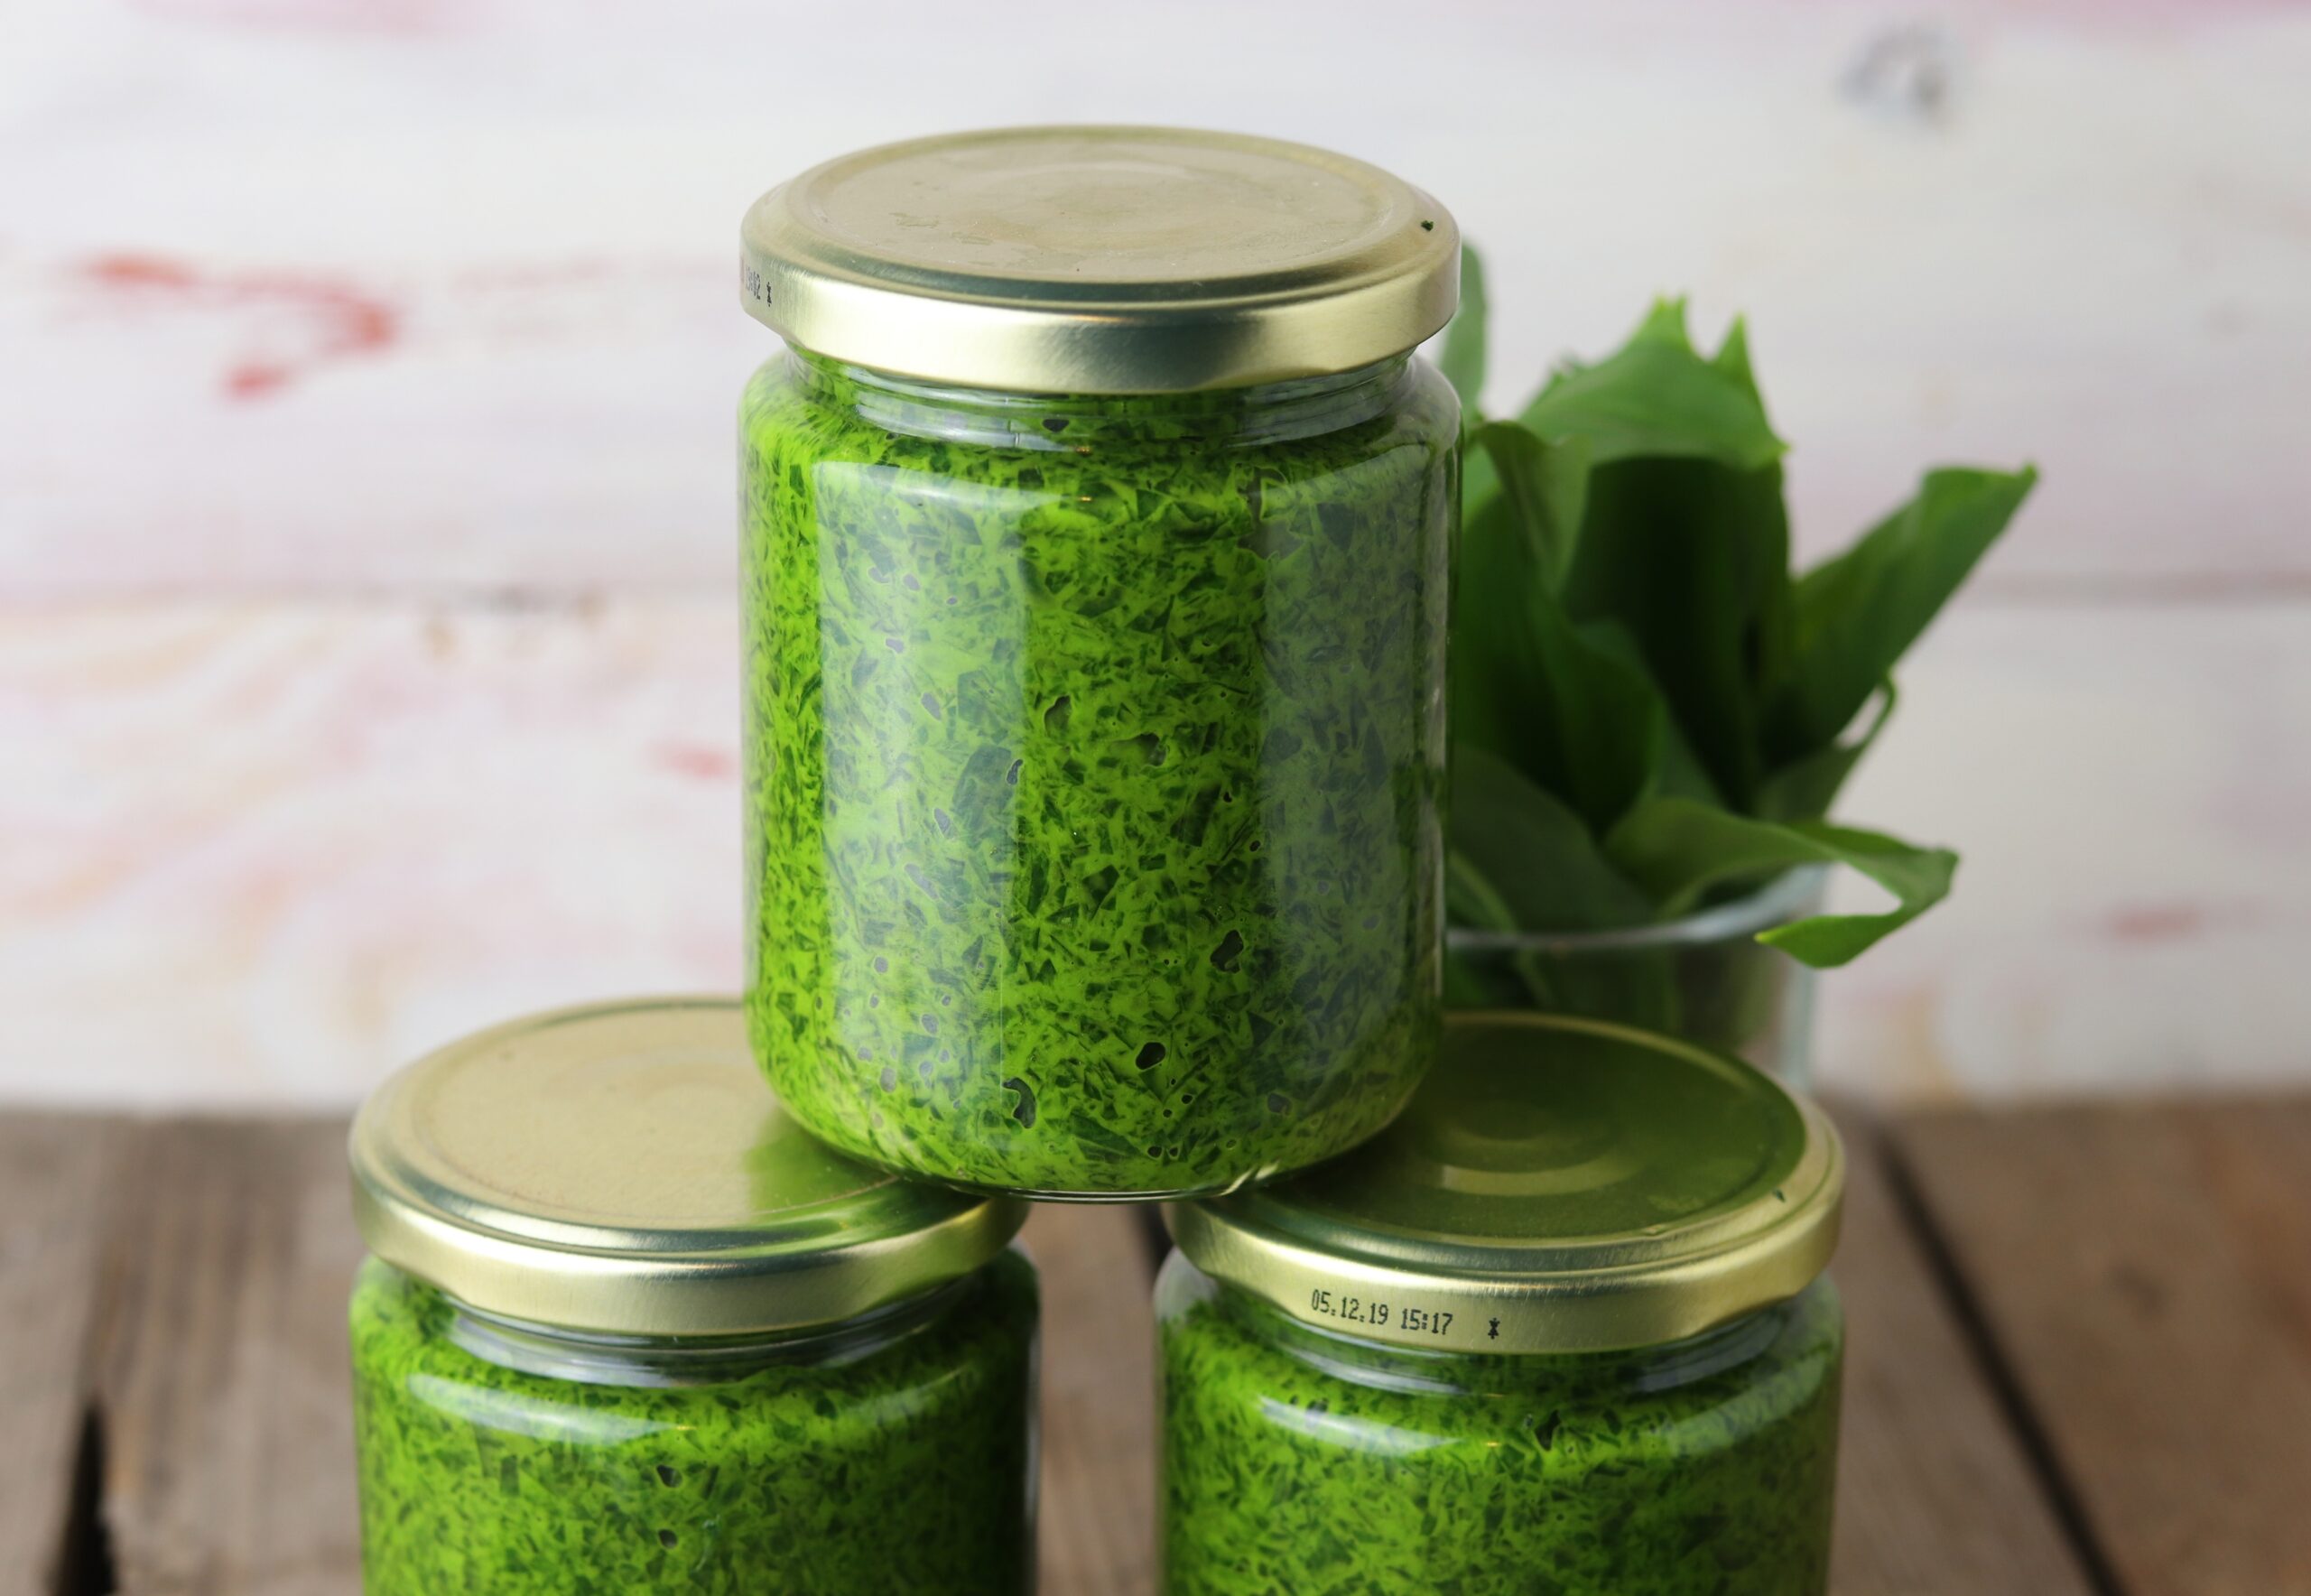
    I use my spicy, extremely strong wild garlic paste as a basis for pasta sauces, mushroom sauces, gravies, but also to puree it into a quick pesto with nuts. It has a long shelf life and can therefore be eaten even out of the wild garlic season.

    I use my hot, extremely strong wild garlic paste as a basis for pasta sauces, mushroom sauces, gravies, but also to puree it into a quick pesto with nuts.
    I use my seasoning paste as a basis for pasta sauces, mushroom sauces, gravies, but also to puree it into a quick pesto with nuts.

    This paste is particularly popular with my boyfriend, who often cooks ready-made vegan tortellini. As a sauce he just heats up a pack of vegan cream with 2-3 tablespoons of my wild garlic paste in a second pot. And then he enjoys his easy and delicate pasta dish.

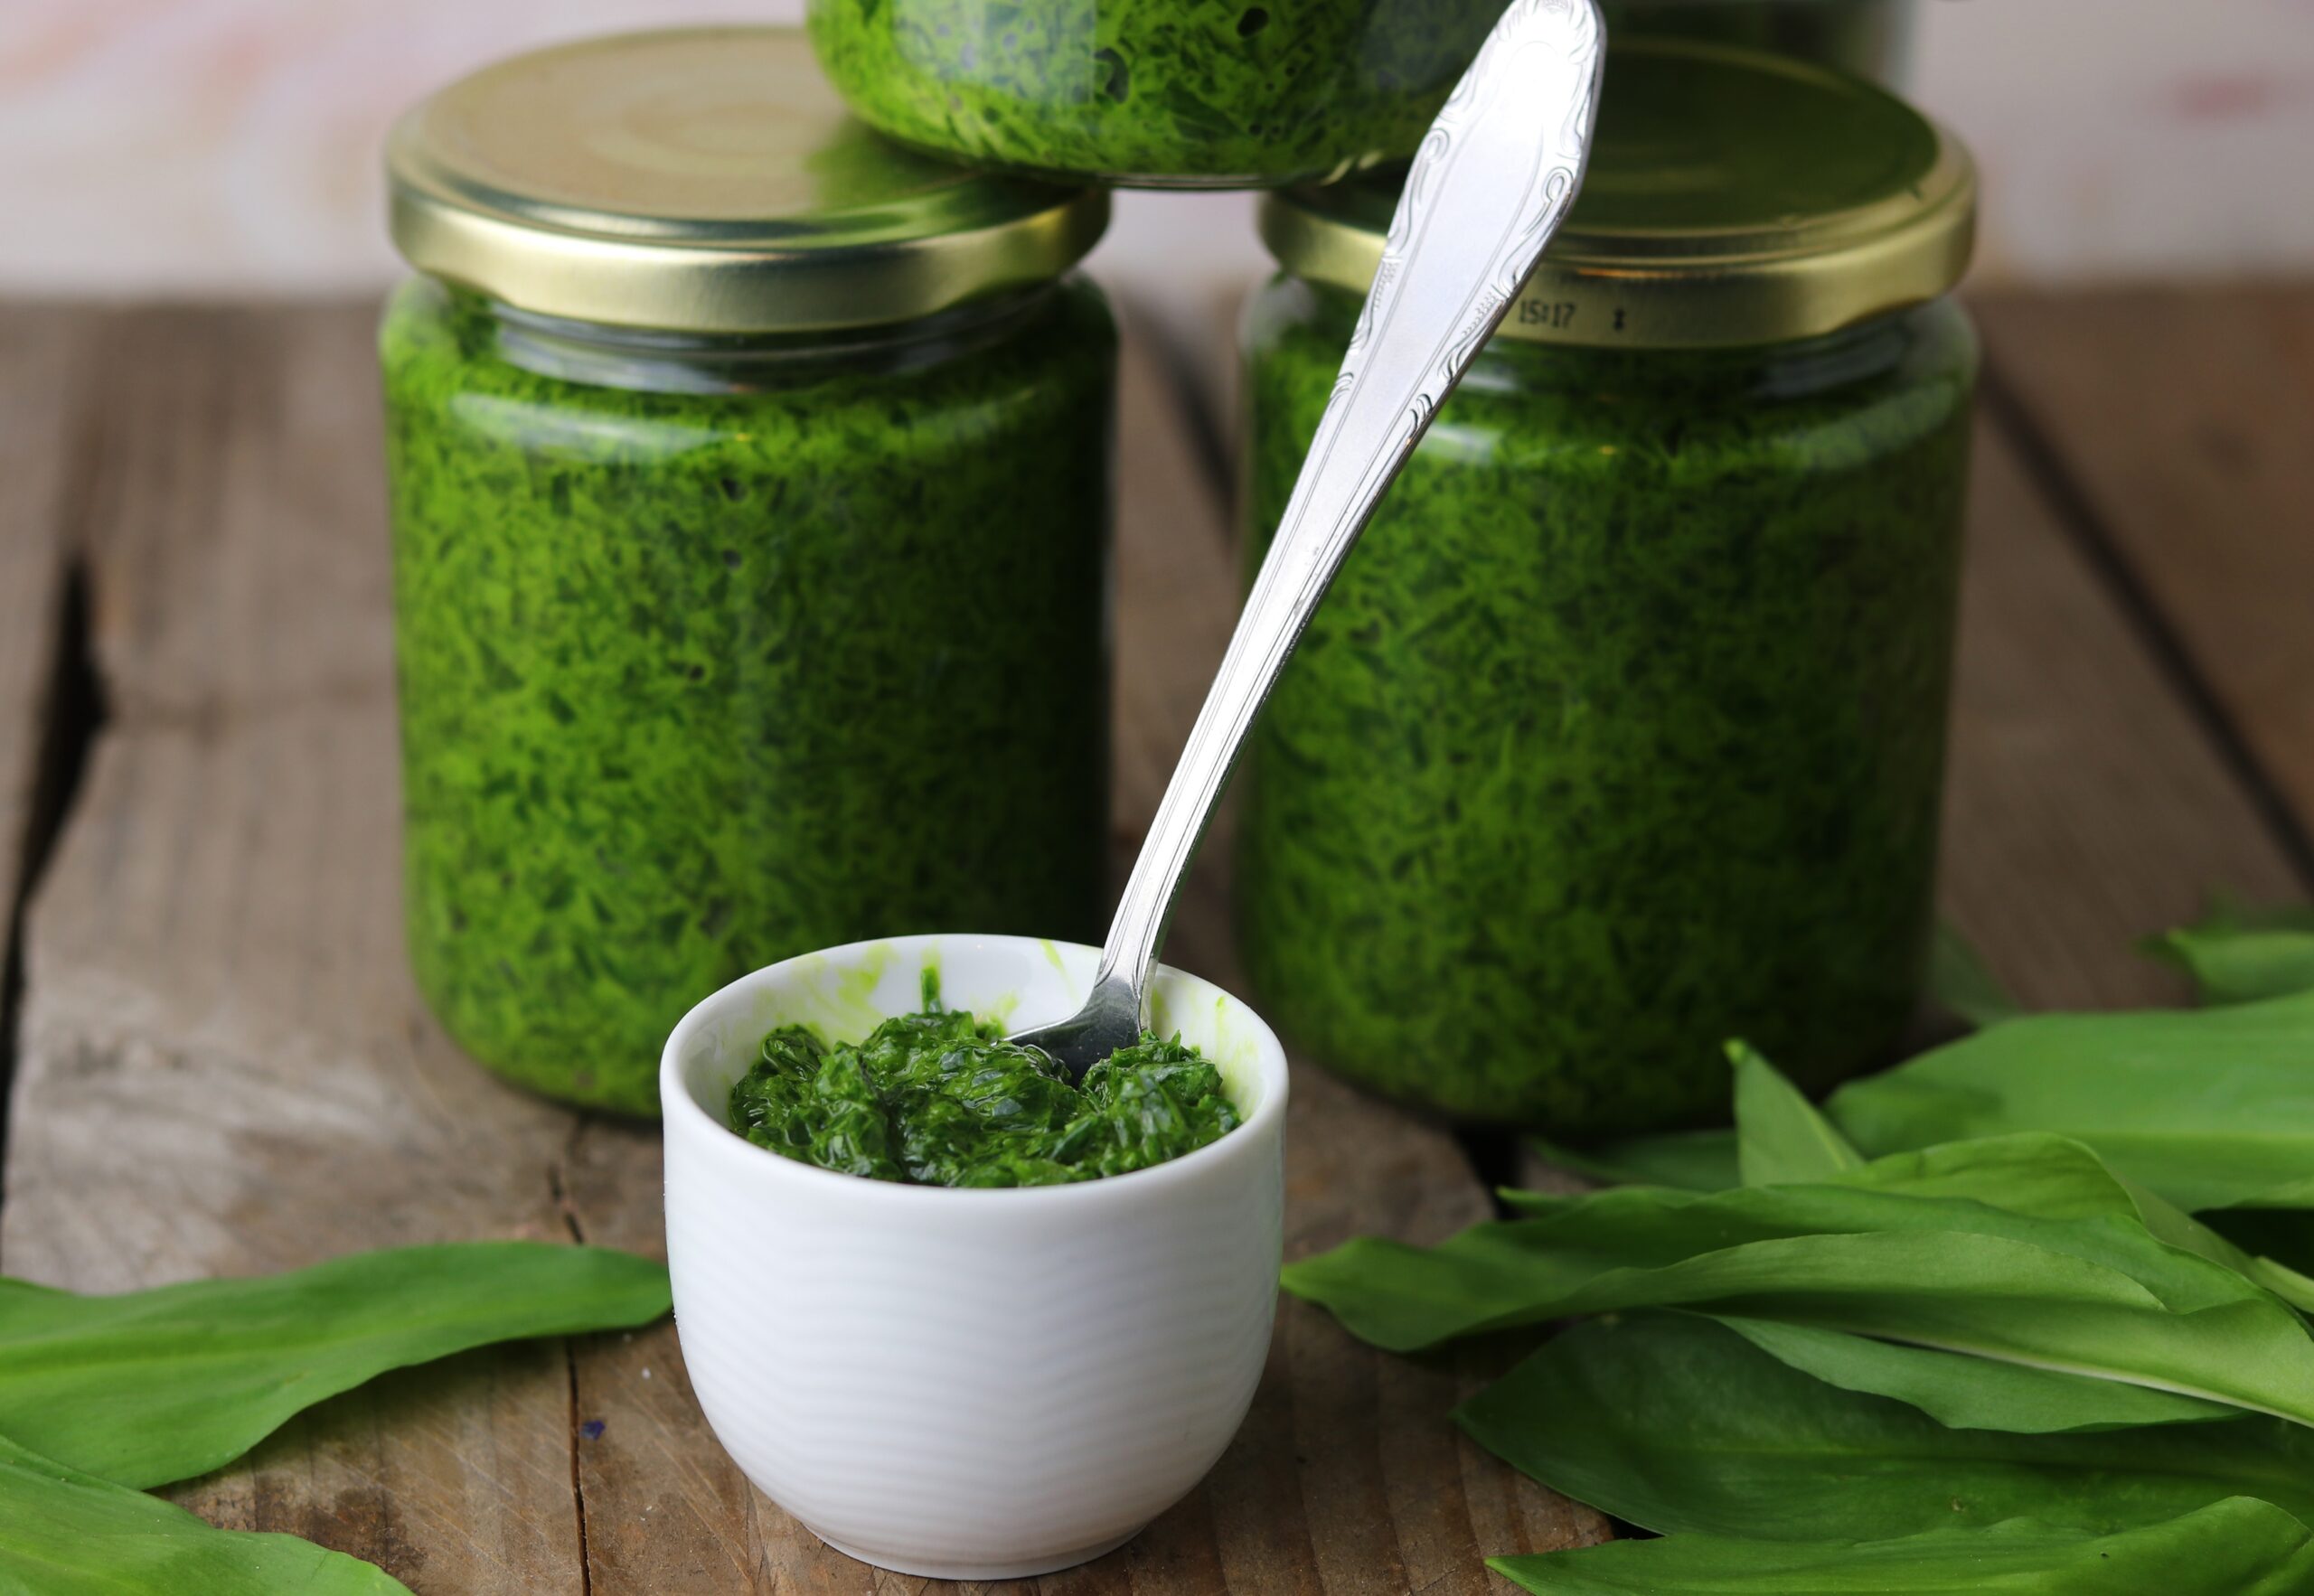
    My wild garlic paste: preserve the taste of wild garlic all year round.
    My wild garlic paste: preserve the taste of wild garlic all year round.

    Capture the taste of wild garlic all year round

    In this recipe I make a delicious seasoning paste from aromatic, fresh wild garlic. This allows you to preserve the taste of wild garlic all year round. The paste contains a lot of salt and is therefore particularly suitable for seasoning.

    Wild garlic paste – delicious in cream sauces
    Wild garlic taste preserved – delicious in cream sauces

    Recognize wild garlic (ramson) safely

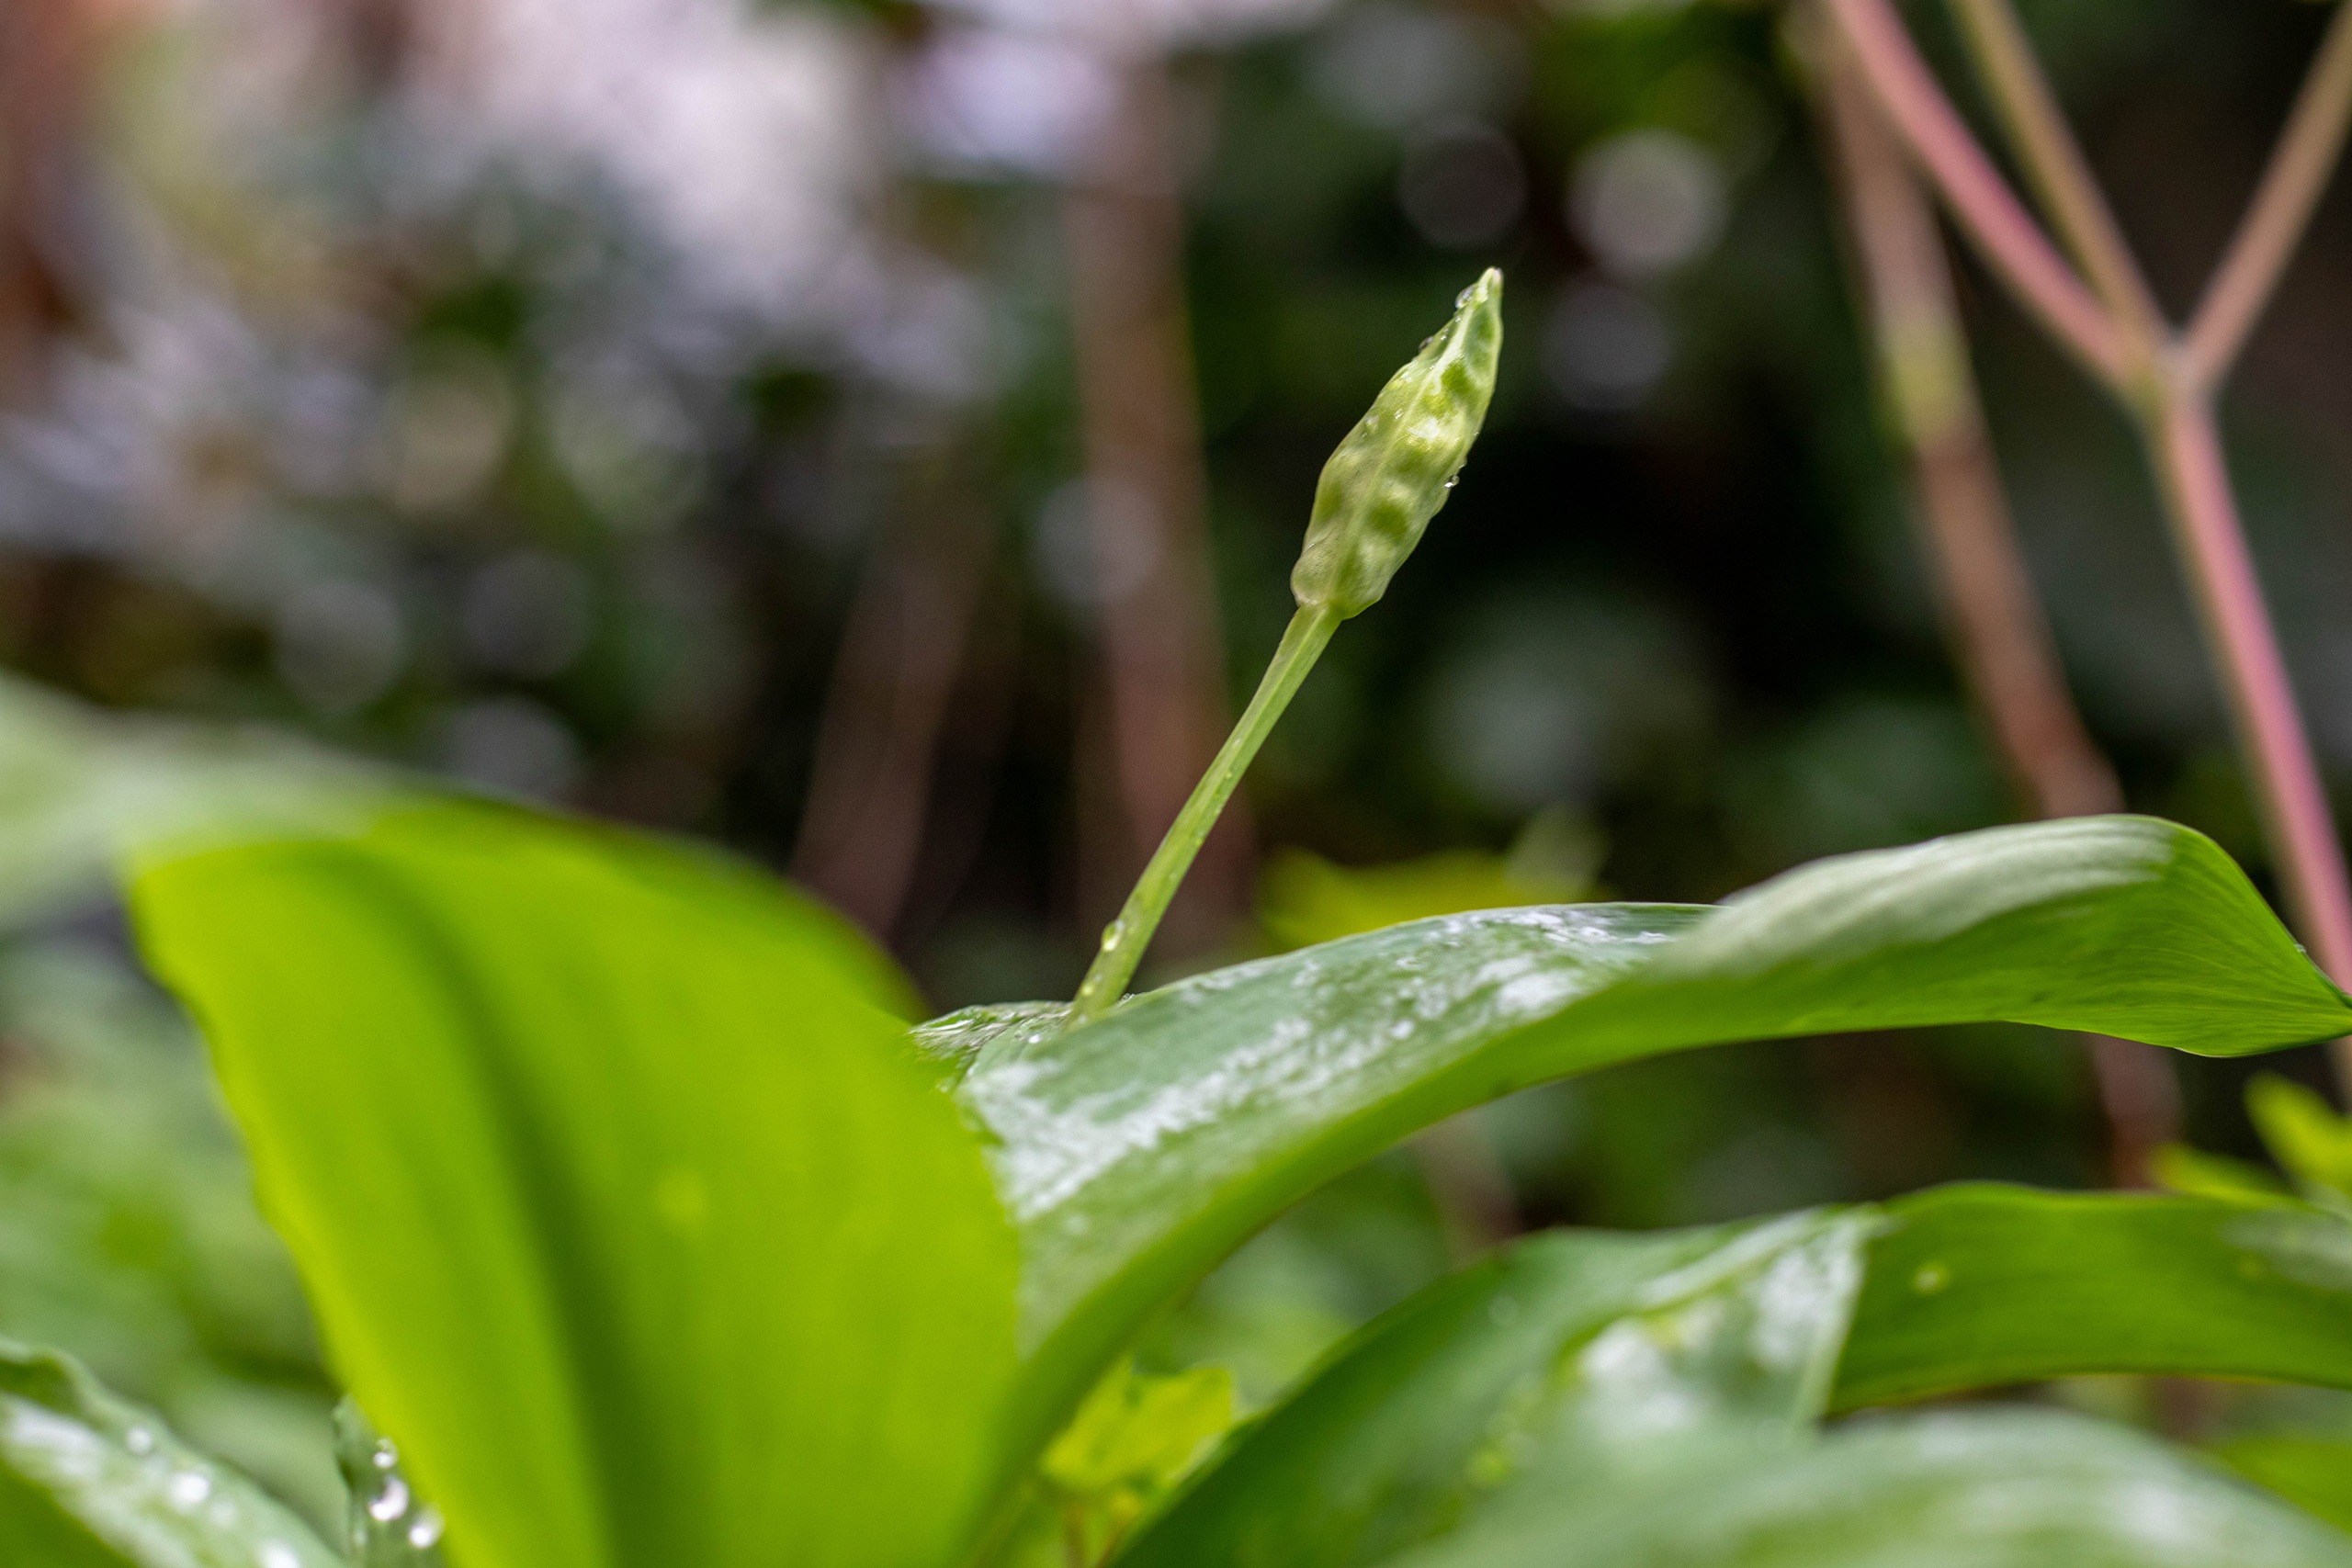
    When harvesting wild garlic, sometimes also called ramson: if you have found wild garlic and are unsure, rub a leaf between your fingers and smell it. If it smells leeky or garlic-like, you have really found wild garlic. Young wild garlic looks similar to some poisonous plants, so you are on the safe side with the smell test.

    Bärlauch und Bärlauchknospe
    Wild garlic and wild garlic bud

    Wild garlic paste and identifying characteristics for wild garlic as a video:

    This video is in German, but you’ll see the wild garlic. And the automatic subtitles work just fine. Feel free to subscribe to my YouTube channel for more vegan recipes.

    And now to the recipe:

    In this recipe I make a delicious seasoning paste from aromatic, fresh wild garlic. This supply lasts until next year.
    In this recipe I make a delicious seasoning paste from aromatic, fresh wild garlic. This supply lasts until next year.

    Ingredients for approx. 600 ml wild garlic paste:

    500 g wild garlic, fresh
    1 tablespoon salt
    250 ml oil, cold pressed (e.g. sunflower or rapeseed oil)

    Preparation:

    1. Wash the harvested wild garlic thoroughly and remove the stems.
    2. Roughly chop the leaves and puree them with the salt and oil into a paste or chop them up in a food processor.
    3. Pour the wild garlic paste into small screw-top jars.
    4. Press down with a spoon to prevent air spaces. Cover with a thin layer of oil to prevent fermentation and oxidation.
    5. Store the paste in a not too warm, dark place and it will last for about 1 year. Place opened glasses in the refrigerator.
    6. You can also freeze seasoning paste instead of filling it into small screw-top jars.

    Bon appetit!

    Tip:

    Would you like more wild garlic recipes? How about trying my green spinach and wild garlic waffles?

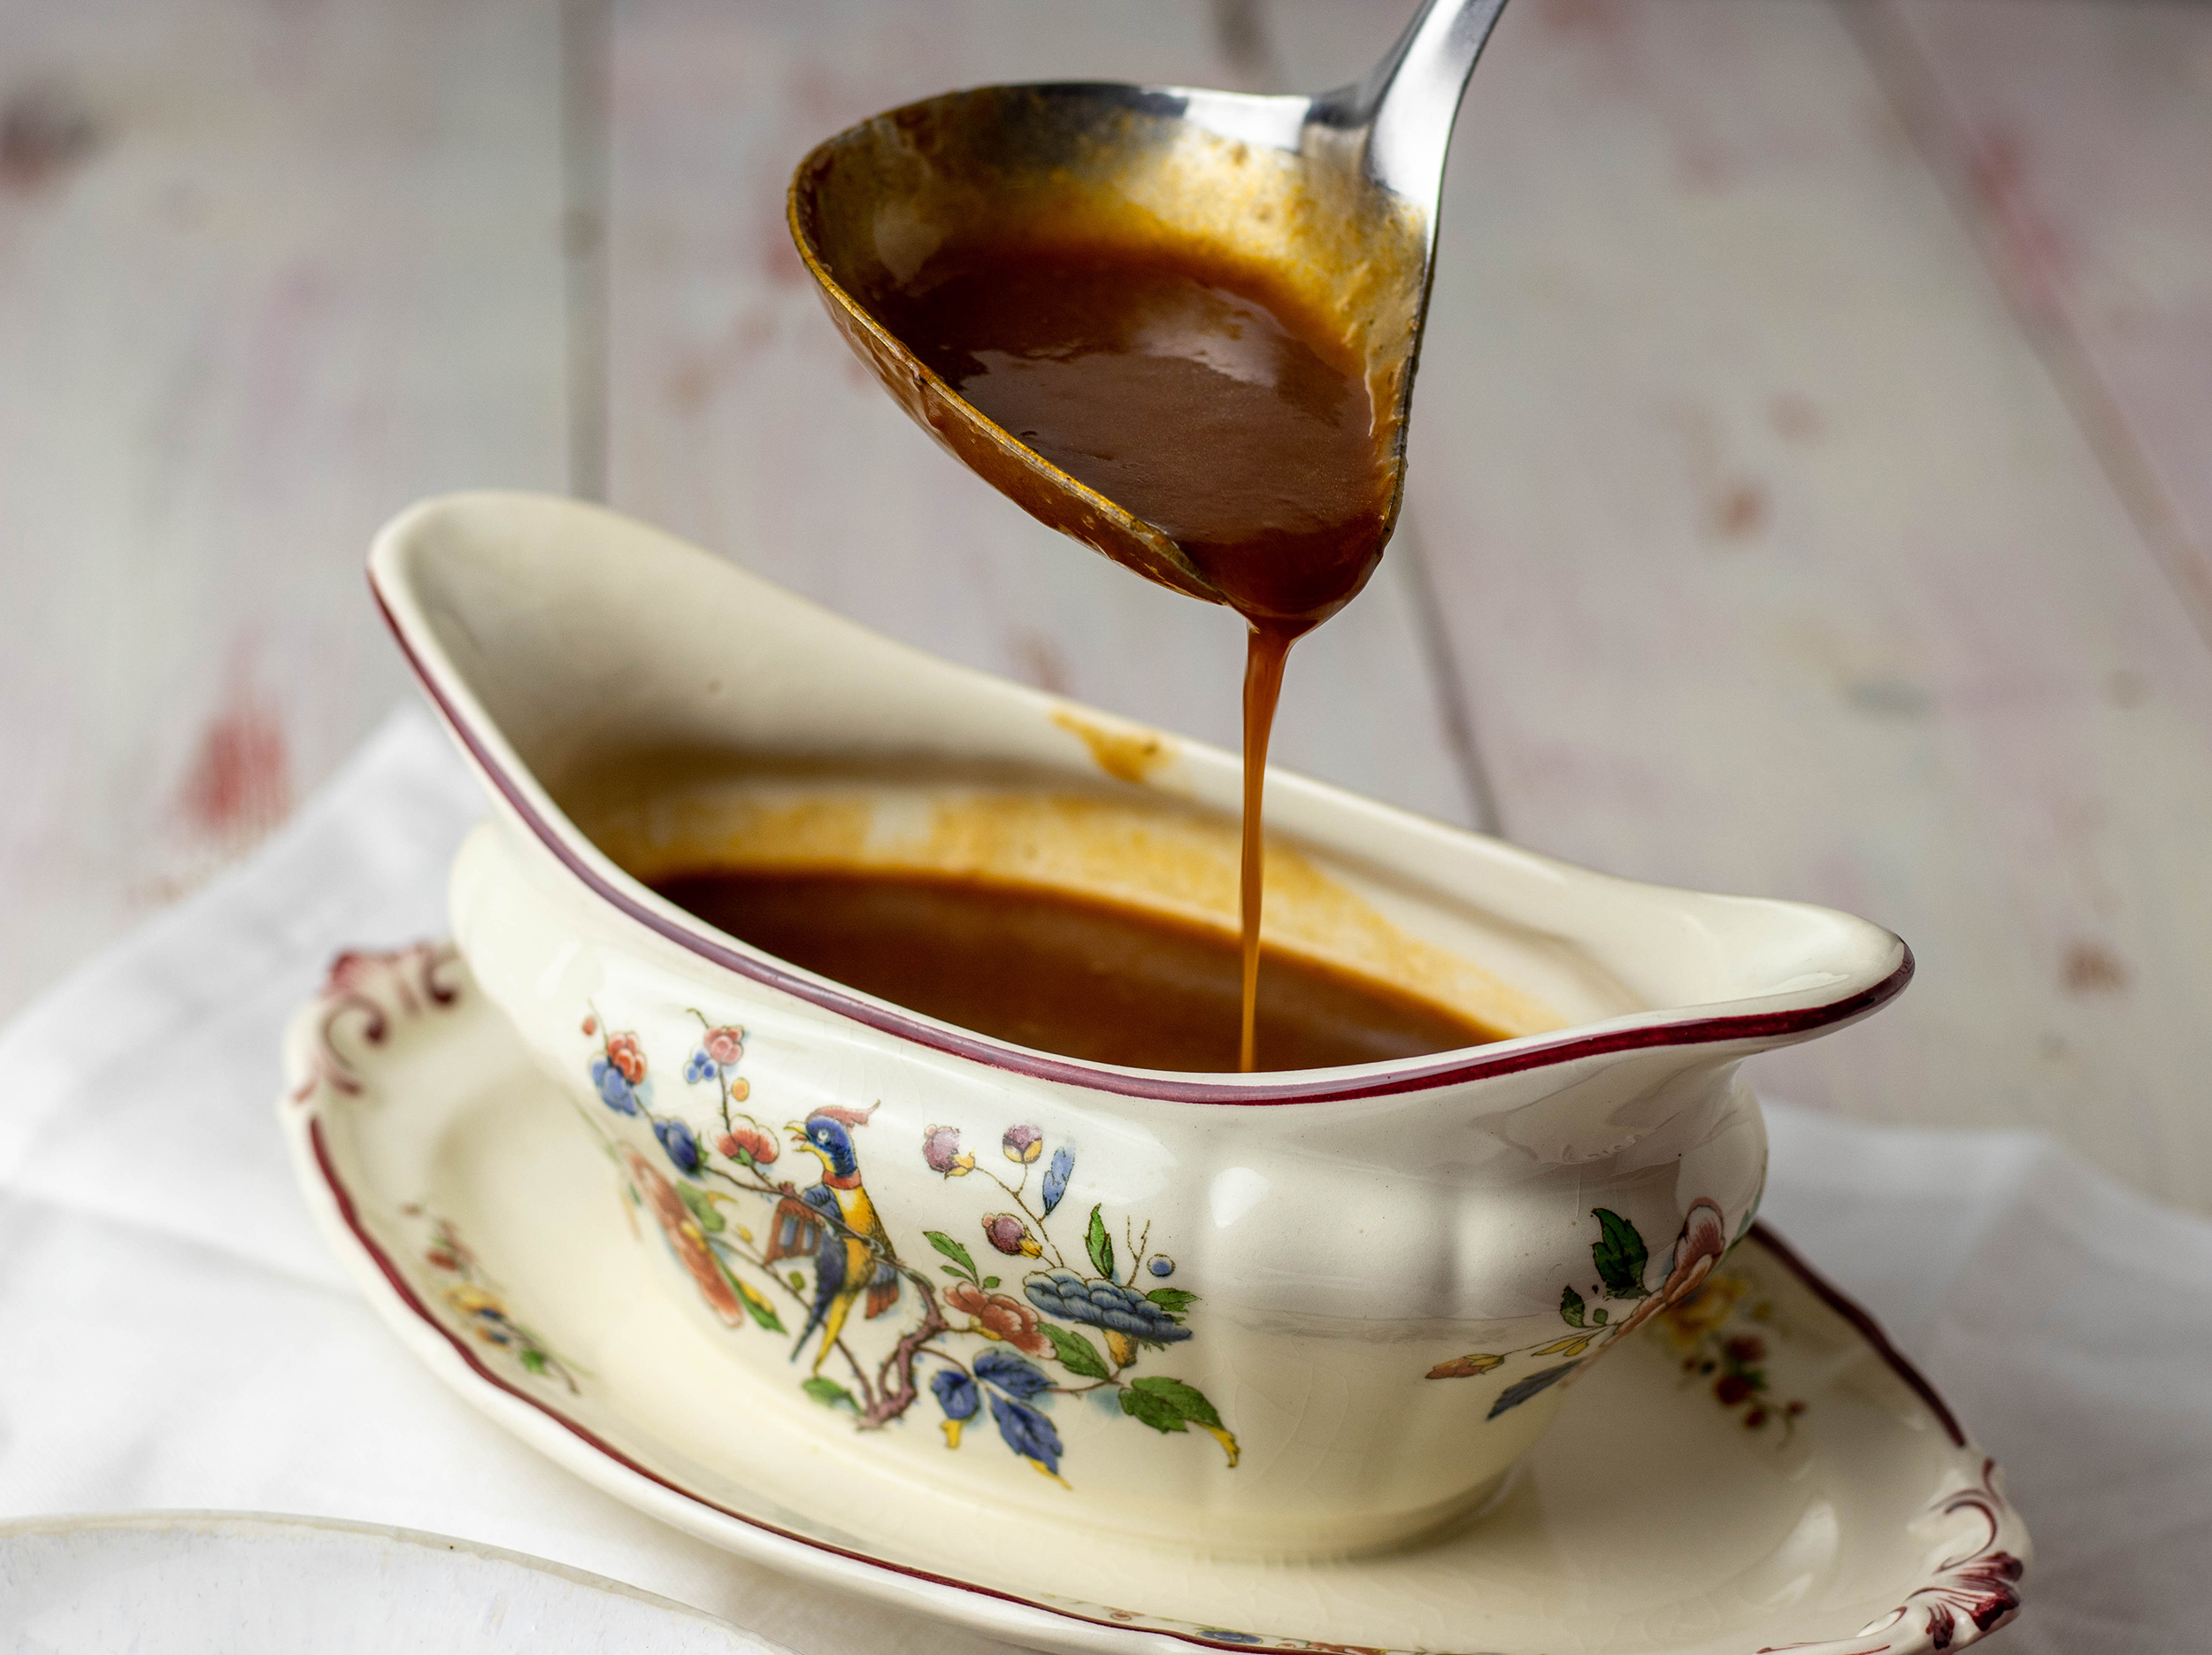
  • Gravy – German ‘Bratensauce’ – the best vegan gravy

    Gravy – German ‘Bratensauce’ – the best vegan gravy

    Gravy. Rich, vegan and incredibly tasty! This gravy recipe is my vegan version of traditional German recipes for ‘Bratensauce’. That means ‘sauce for roasts’. It is the most delicious and hearty, aromatic and flavourful gravy. This plant based jus goes well with all sorts of festive dishes. In our house it is a must have each Christmas. But it is also great for Thanksgiving and other special events with a complimentary dinner.

    This delicious gravy takes some time on the stove. But is very easy to cook. And at the end you will be rewarded with the very best gravy you’ve ever teased your taste buds with. Full of flavours and simply delicious!

    You can serve this gravy with all kinds of dishes. For example with vegetables, vegan roasts, vegan goose, a plant based Wellington, steaks or dumplings. And of course the sauce is perfect for the main course of a vegan Christmas menu!

    My vegan gravy recipe can be pre-cooked and reheated very well. When sealed, it can be kept in the refrigerator for a few days. You can also store it in the freezer. So it is easily prepared in advance.

    [modula id=”44823″]

    Ingredients for 4 servings of gravy:

    1 red onion, peeled and finely diced
    1 carrot, finely diced
    100 g celeriac, peeled and finely diced
    5-7 mushrooms, finely chopped
    2 tbsp flour
    3 tbsp tomato puree
    2 tbsp soy sauce
    2 tsp Marmite (or Vegemite or other yeast extract)
    200 ml red wine
    750 ml of vegetable stock
    1 sprig of thyme
    2 bay leaves
    1 juniper berry
    2 allspice grains
    Alba oil (butter flavoured oil), alternatively use rapeseed oil
    2 tbsp vegan butter
    salt
    pepper

    Preparation:

    Heat some Alba oil in a saucepan, then add the vegan butter. As soon as the butter has melted, add the onion, carrot, celeriac and mushrooms. Sear the vegetables. Fry for about 10 minutes. Stir frequently, so that everything is roasted well and full of roasting aromas.

    Now stir in the flour, add the tomato puree and fry for a few minutes. While frying, a soft film should start to form on the bottom of the pot. Keep stirring it off, so it does not burn. Do not turn the stove up too hot, we do want he roasted aroma, but nothing should burn.
    Deglaze with the red wine.

    Add the stock, marmite, soy sauce, as well as thyme, bay leaves, juniper and allspice.
    Slowly simmer the sauce with the lid on. Let it simmer for about 1.5 hours. Stir occasionally.
    Pass through a sieve and season the vegan gravy with salt and pepper.

    Bon Appetit!

    Meal prep tip:

    If you like to keep a stock of gravy, it is worth cooking a large amount right away. Just double or triple this recipe. You can freeze the sauce directly or make a space saving Demi-Glace.
    Demi-Glace is a concentrated, dark sauce base that can be used for several sauces or gravies. To create a Demi-Glace, simmer the gravy for another 1.5 to 2 hours over a low heat without a lid. Demi-Glace is much thicker than normal gravy. Frozen in portions in ice cube trays or small Tupperware jars, you always have a supply for a quick gravy. Just bring it to the boil and add water until it has the right consistency for a nice gravy.
    By the way a Demi-Glace from my gravy is also great as a base for a nice and creamy mushroom sauce and other dishes.

  • Upside down onion tarte with apple and puff pastry

    Upside down onion tarte with apple and puff pastry

    My autumnal upside down onion tarte with apple is a true culinary treat! I use shallots as onions for I love their special aroma. I roast the shallots and apples until they are soft and full of deep grilled flavours. Then I pour a splash of balsamic vinegar into the pan, which adds a wonderful spicy, slightly sour umami. That in particular highlights the onion’s aroma.

    I love this season of the year. Autumn, the golden harvest time. Even though there are onions available throughout the entire year, shallots that come fresh from the ground are always particularly aromatic. Friends of mine have an old meadow with plenty of ancient apple trees on it. I just went there to pick some. And the combination of delicious, natural, freshly picked apples with shallots on a tarte is simply delicious.

    My tasty apple onion tarte is also very easy to prepare. Because I am using ready made puff pastry for the dough. Therefor it is a great after work dish during week nights! And because it is upside down, baked with the dough up, the puff pastry turns out very airy, delicious and crisp.

    Also, my upside down onion tarte is very inexpensive. Puff pastry is rather cheap and apples and onions are too. A delicious, vegan low-budget meal, which saves you some money.

    Here is the recipe:

    [modula id=”44329″]

    Ingredients for 1 medium sized Upside Down Oinion Tarte:

    12 shallots, peeled and halved
    1 apple, peeled and diced
    3 branches of thyme
    2 branches of rosemary
    1 tbsp. cane sugar
    2 tbsp. balsamic vinegar
    Alba oil (or other vegan oil with a buttery taste)
    vegan butter or margarine
    salt
    pepper

    1 roll of vegan puff pastry (from the fridge)

    Preparation:

    Preheat the oven to 390°F (200°C) top and bottom heat.

    Place a medium sized, fireproof pan with the rim on the puff pastry and cut around the edge. As a result, you have a round puff pastry that has the same size as the pan.

    Heat some Alba oil with about 1-2 tbsp. of vegan butter in the pan. If you don’t have any Alba oil or any other vegan oil with a butter taste, use some more vegan butter. Place the halved shallots in the pan and fry them at medium heat. The onions should be glassy and slightly soft. Then add the herbal branches and stir in briefly. After a few minutes, also add the apple cubes to the hot pan and fry again for a few minutes. Remove the branches of the herbs.

    Then stir in the cane sugar and briefly caramelize the apples and shallots. Then deglaze everything with the balsamic vinegar. Finally, add salt and pepper to taste.

    Remove the pan from the stove and allow it to cool down for 10-15 minutes. Put the puff pastry on top of the fried onions and apple cubes. Press the edge of the puff pastry into the pan. So that the onions and the apple cubes are nicely covered. Use a fork to pick into the dough several times, so that the air can escape from the tarte.

    Bake for 15 minutes in the oven.

    Carefully flip over the pan to place the tarte onto a big plate.

    I garnished my upside down onion tarte with a bit of homemade vegan sour cream and fresh dill.

    Bon Appetit!

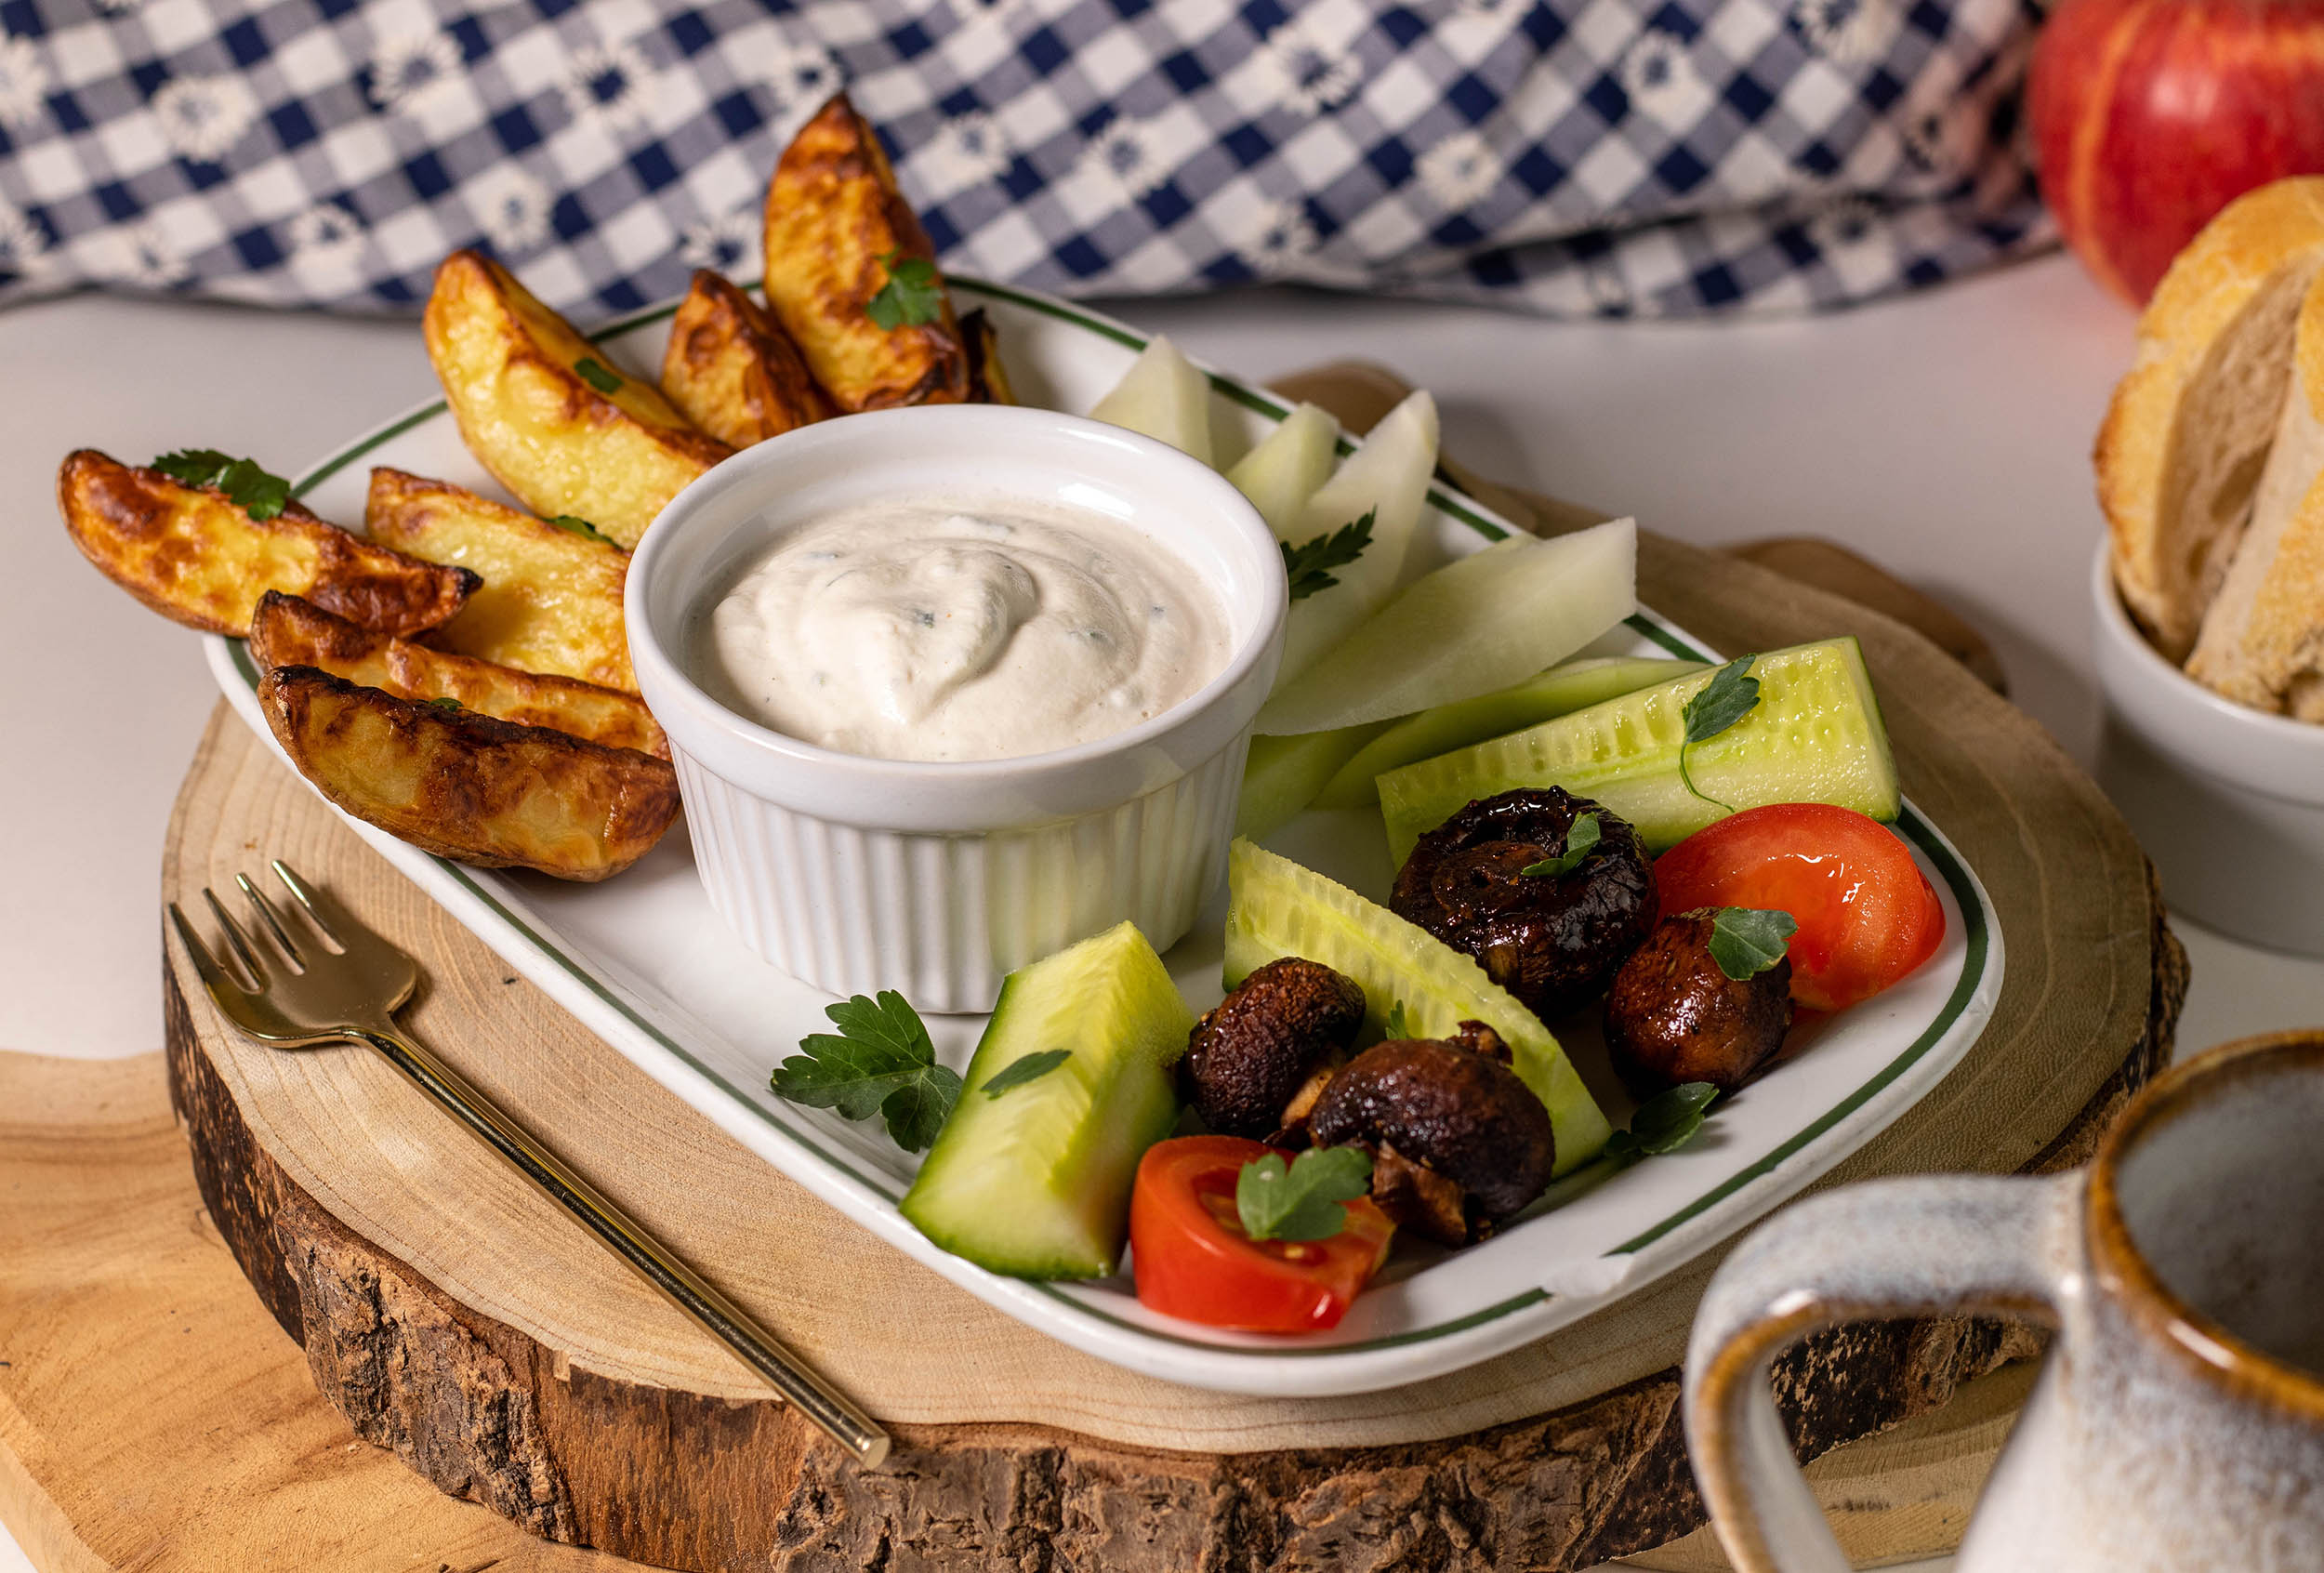
  • Sour Cream – plant based – made from Cashews

    Sour Cream – plant based – made from Cashews

    And the category is: “Ready in under 5 minutes”!
    Creamy and delicious: vegan sour cream!

    Having a little jar of my homemade dairy free sour cream in the refrigerator has almost become a routine in our house. Easily made from cashews in less than 5 minutes. Even without cooking!

    Aromatic, vegan, simple, delicious. And ideal as a scrumptious dip for many dishes. Such as baked potatoes, vegan calamari, garlic mushrooms from the oven, white bean quesadillas, potato skins, vegan drum sticks with oven vegetables and lots more. But also for simple snacks like vegetable sticks or tortilla chips. And of course my plant based sour cream is very tasty as a side for a vegan BBQ with grill flares.

    You see there are just plenty of possibilities to use this delicious plant based dip.

    Have you ever tried vegan sour cream? If the answer is no, I really recommend to try out this recipe as quickly as possible.

    [modula id=”44289″]

    Ingredients for about 200 ml of vegan sour cream:

    100 g cashews
    100 ml of water + more for soaking the cashews
    2 tbsp. lemon juice
    1 tbsp. cider vinegar
    1 pinch black pepper, ground
    1/2 tsp. sugar

    Optional: 1/4 tsp. lactic acid, liquid
    (The sour cream already tastes very well without the lactic acid. But using it adds a dairy like depth to the taste.)

    1-2 tbsp. chives (freshly cut or frozen)

    Preparation:

    Soak the cashews in water for at least 3 hours up to overnight.
    If you are in a hurry, you could also cook them for 15 minutes instead. You should rather simmer than boil them for that. But, the soaking method tastes a bit better and makes a slightly nicer texture.

    Drain the cashews thoroughly after soaking. Then puree them with the water, lemon juice, cider vinegar, lactic acid, pepper and sugar. After a few minutes it should turn into a smooth cream without any nut bits in it. Depending on your blender that might go a bit quicker or slower. In general this works better with blenders with a rather high number of watts. Of course you can also use a a food processor for this step.

    Mix the vegan sour cream with the chives and let it rest in the fridge until usage.

    I always fill my homemade Sour Cream into small mason jars. This way my plant based sour cream can be kept in the fridge easily for several days. It can therefore be prepared very well.

    Bon Appetite!

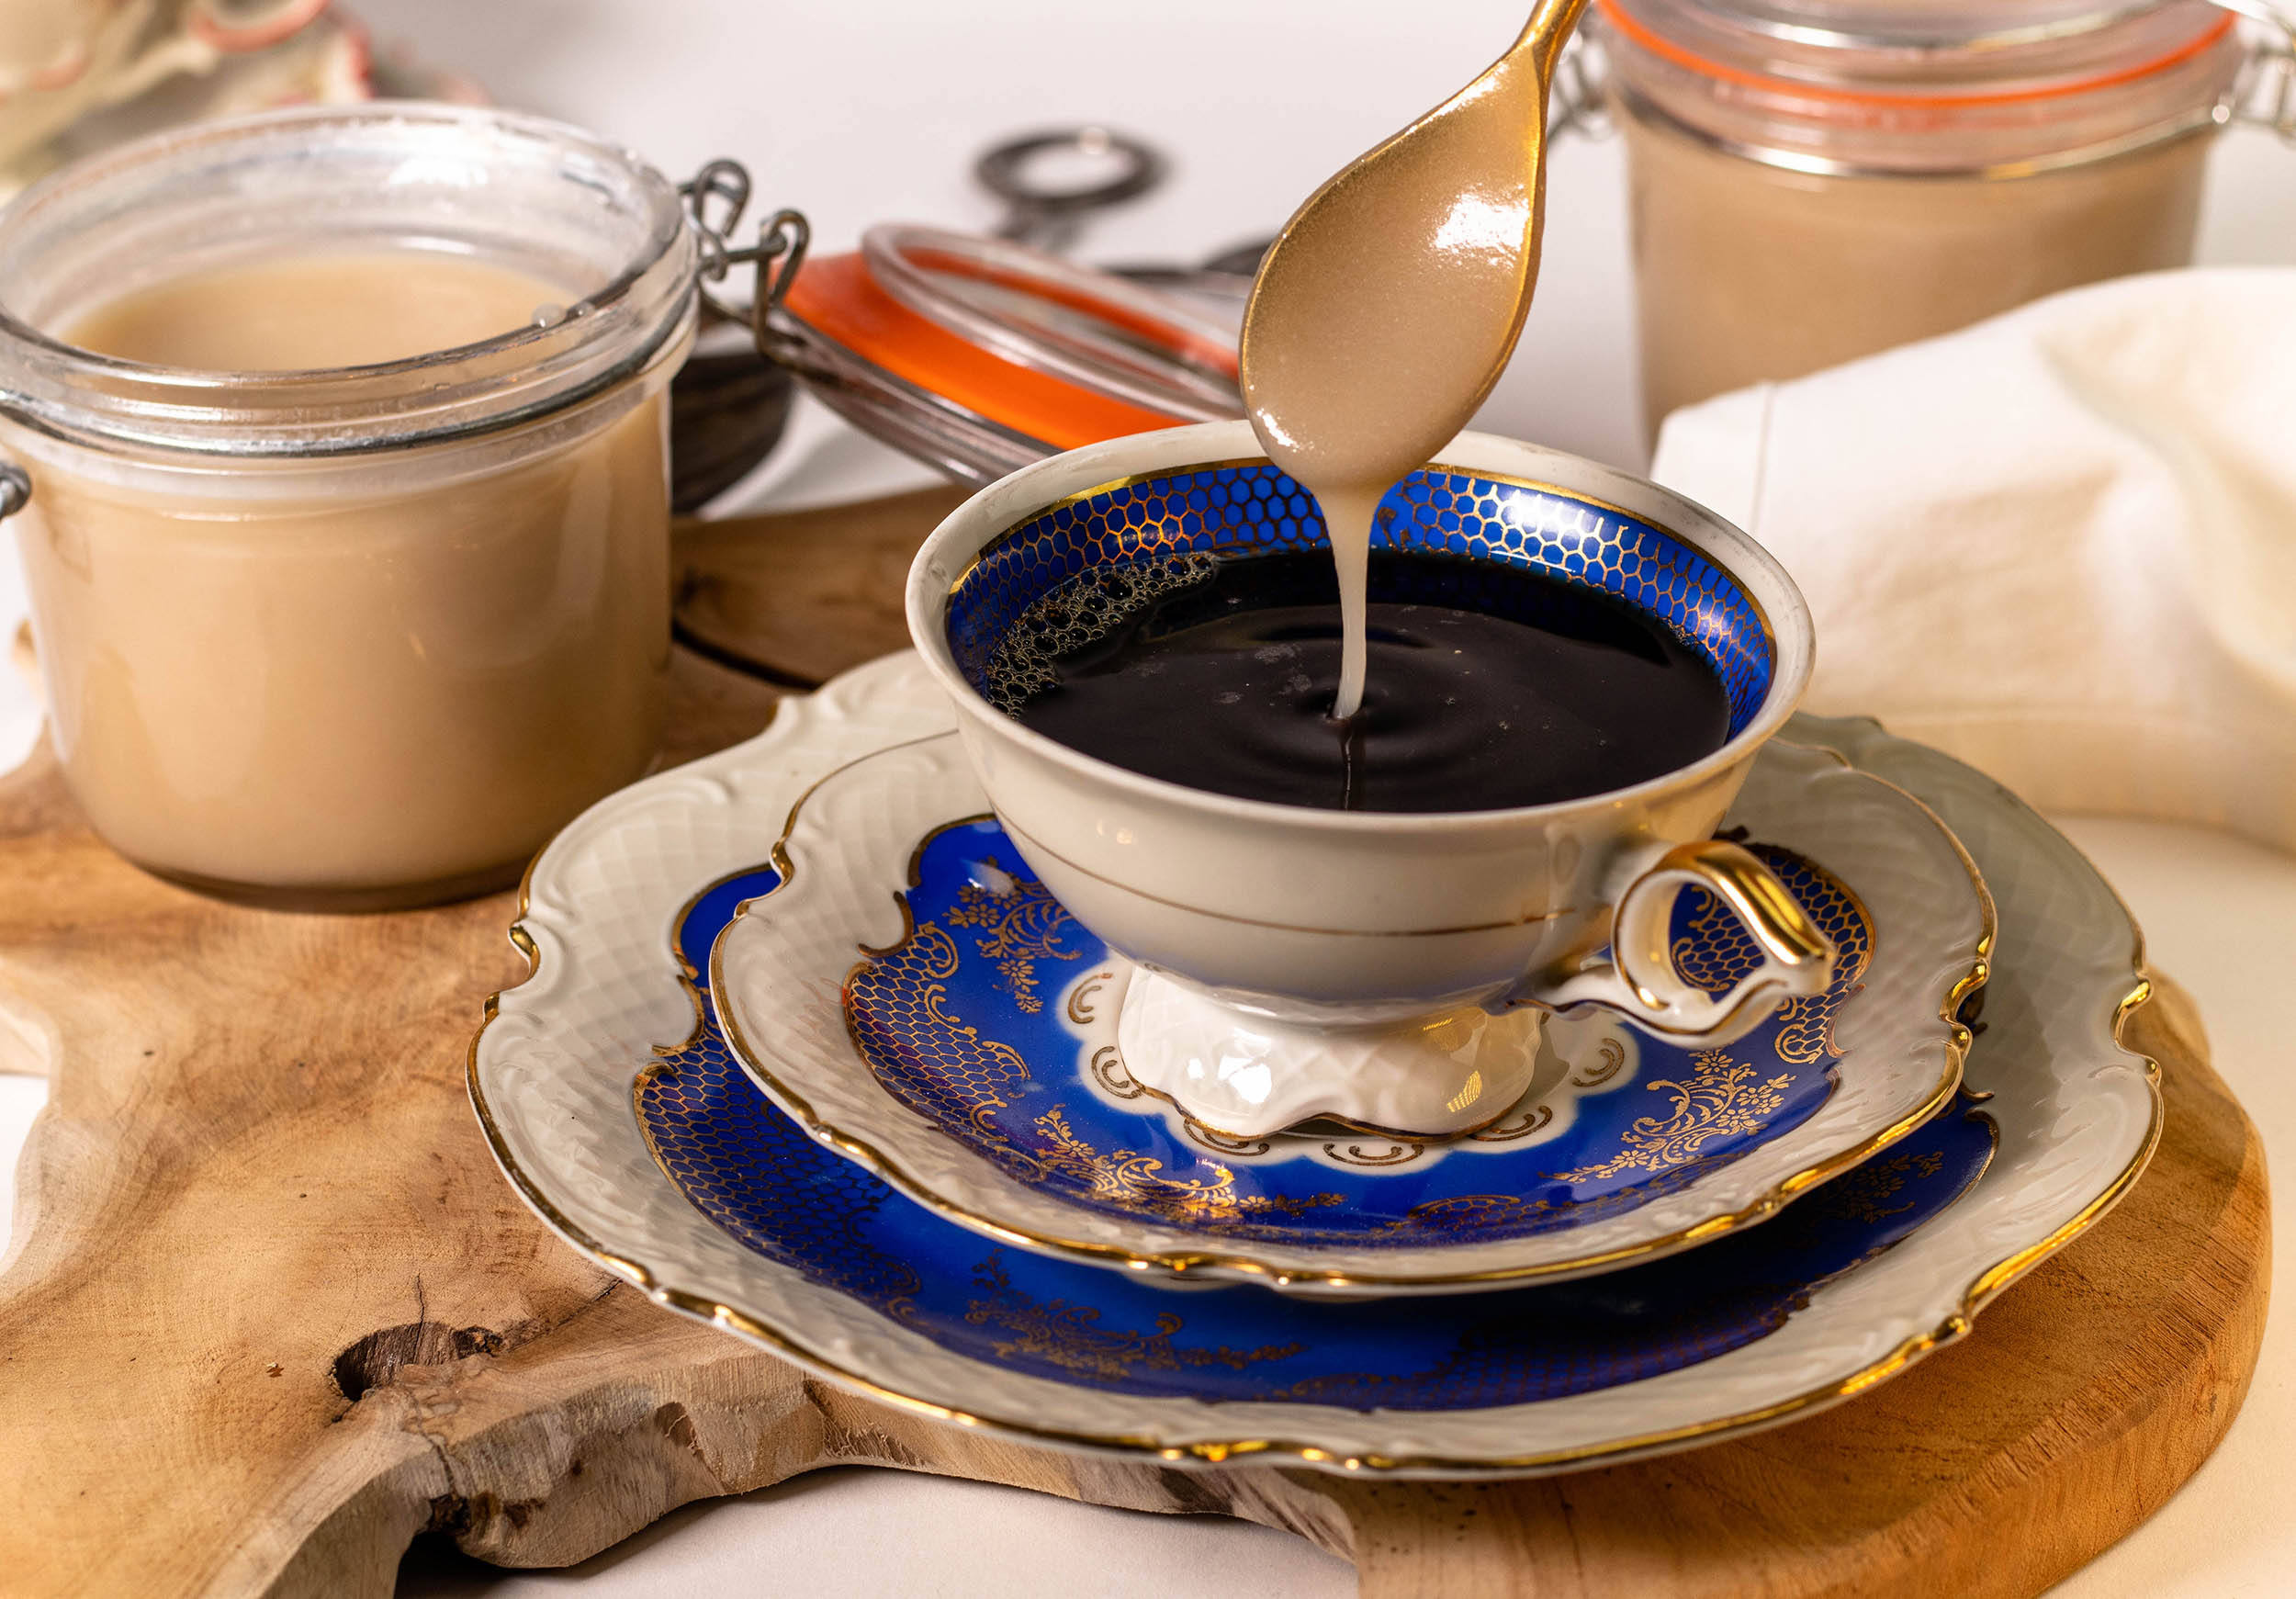
  • Vegan condensed milk – made from only 2 ingredients

    Vegan condensed milk – made from only 2 ingredients

    Sweet, creamy condensed milk made from just 2 ingredients! Fully plant based! How to prepare vegan condensed milk has probably been no secret for decades. I am not kidding! But young vegans in particular often don’t know how to replace dairy condensed milk.
    I love to use it for baking or for desserts. And there are also a lot of folks who love sweet condensed milk in their coffee or tea.

    And since I was just about to cook some of my delicious coconut condensed milk, to bake a vegan key lime pie with it, I quickly wrote down this recipe for you.

    With my recipe, you can easily make your own plant based condensed milk yourself! My condensed milk tastes like the German dairy brand Milchmädchen.
    It is so easy to go vegan without giving up the taste. With the right recipe you can replace almost anything with a plant-based alternative!

    Did you know? The condensation process, in which the water is boiled from heavily sweetened milk and where the milk thickens and develops its light caramel note, lead to the name ‘condensed milk’.

    [modula id=”44197″]

    Ingredients for approximately 250 ml of vegan condensed milk:

    1 can (400 ml) coconut milk (full-fat, no light or reduced-fat variety. Sometimes the full-fat ones are labeled “creamy”. They have a high coconut content, the lighter ones contain more water.)
    160 g of caster sugar

    Preparation:

    Mix the coconut milk with the sugar in a small saucepan. Bring the sweetenedcoconut milk mixture to the boil briefly while stirring. As soon as it boils, reduce the heat immediately. Let it simmer on a low flame for 40-45 minutes until the sweet condensed milk is reduced to about half of its original amount. A saucepan with a volume scale on the inside can be very helpful. Stir frequently so that nothing burns.

    After cooking, let it cool down completely. The plant-based condensed milk thickens even further as it cools down.

    The vegan condensed milk based on coconut milk can be stored in a screw-top jar in the refrigerator for several weeks. So it can be prepared very well. You can also create a small supply if you are planning several baking projects or if you just really like to use this milky sweetener in your tea or coffee.

    Have fun baking and sweetening with my recipe for homemade, purely plant-based, sweet condensed milk!

  • Piyaz – a Turkish white bean salad

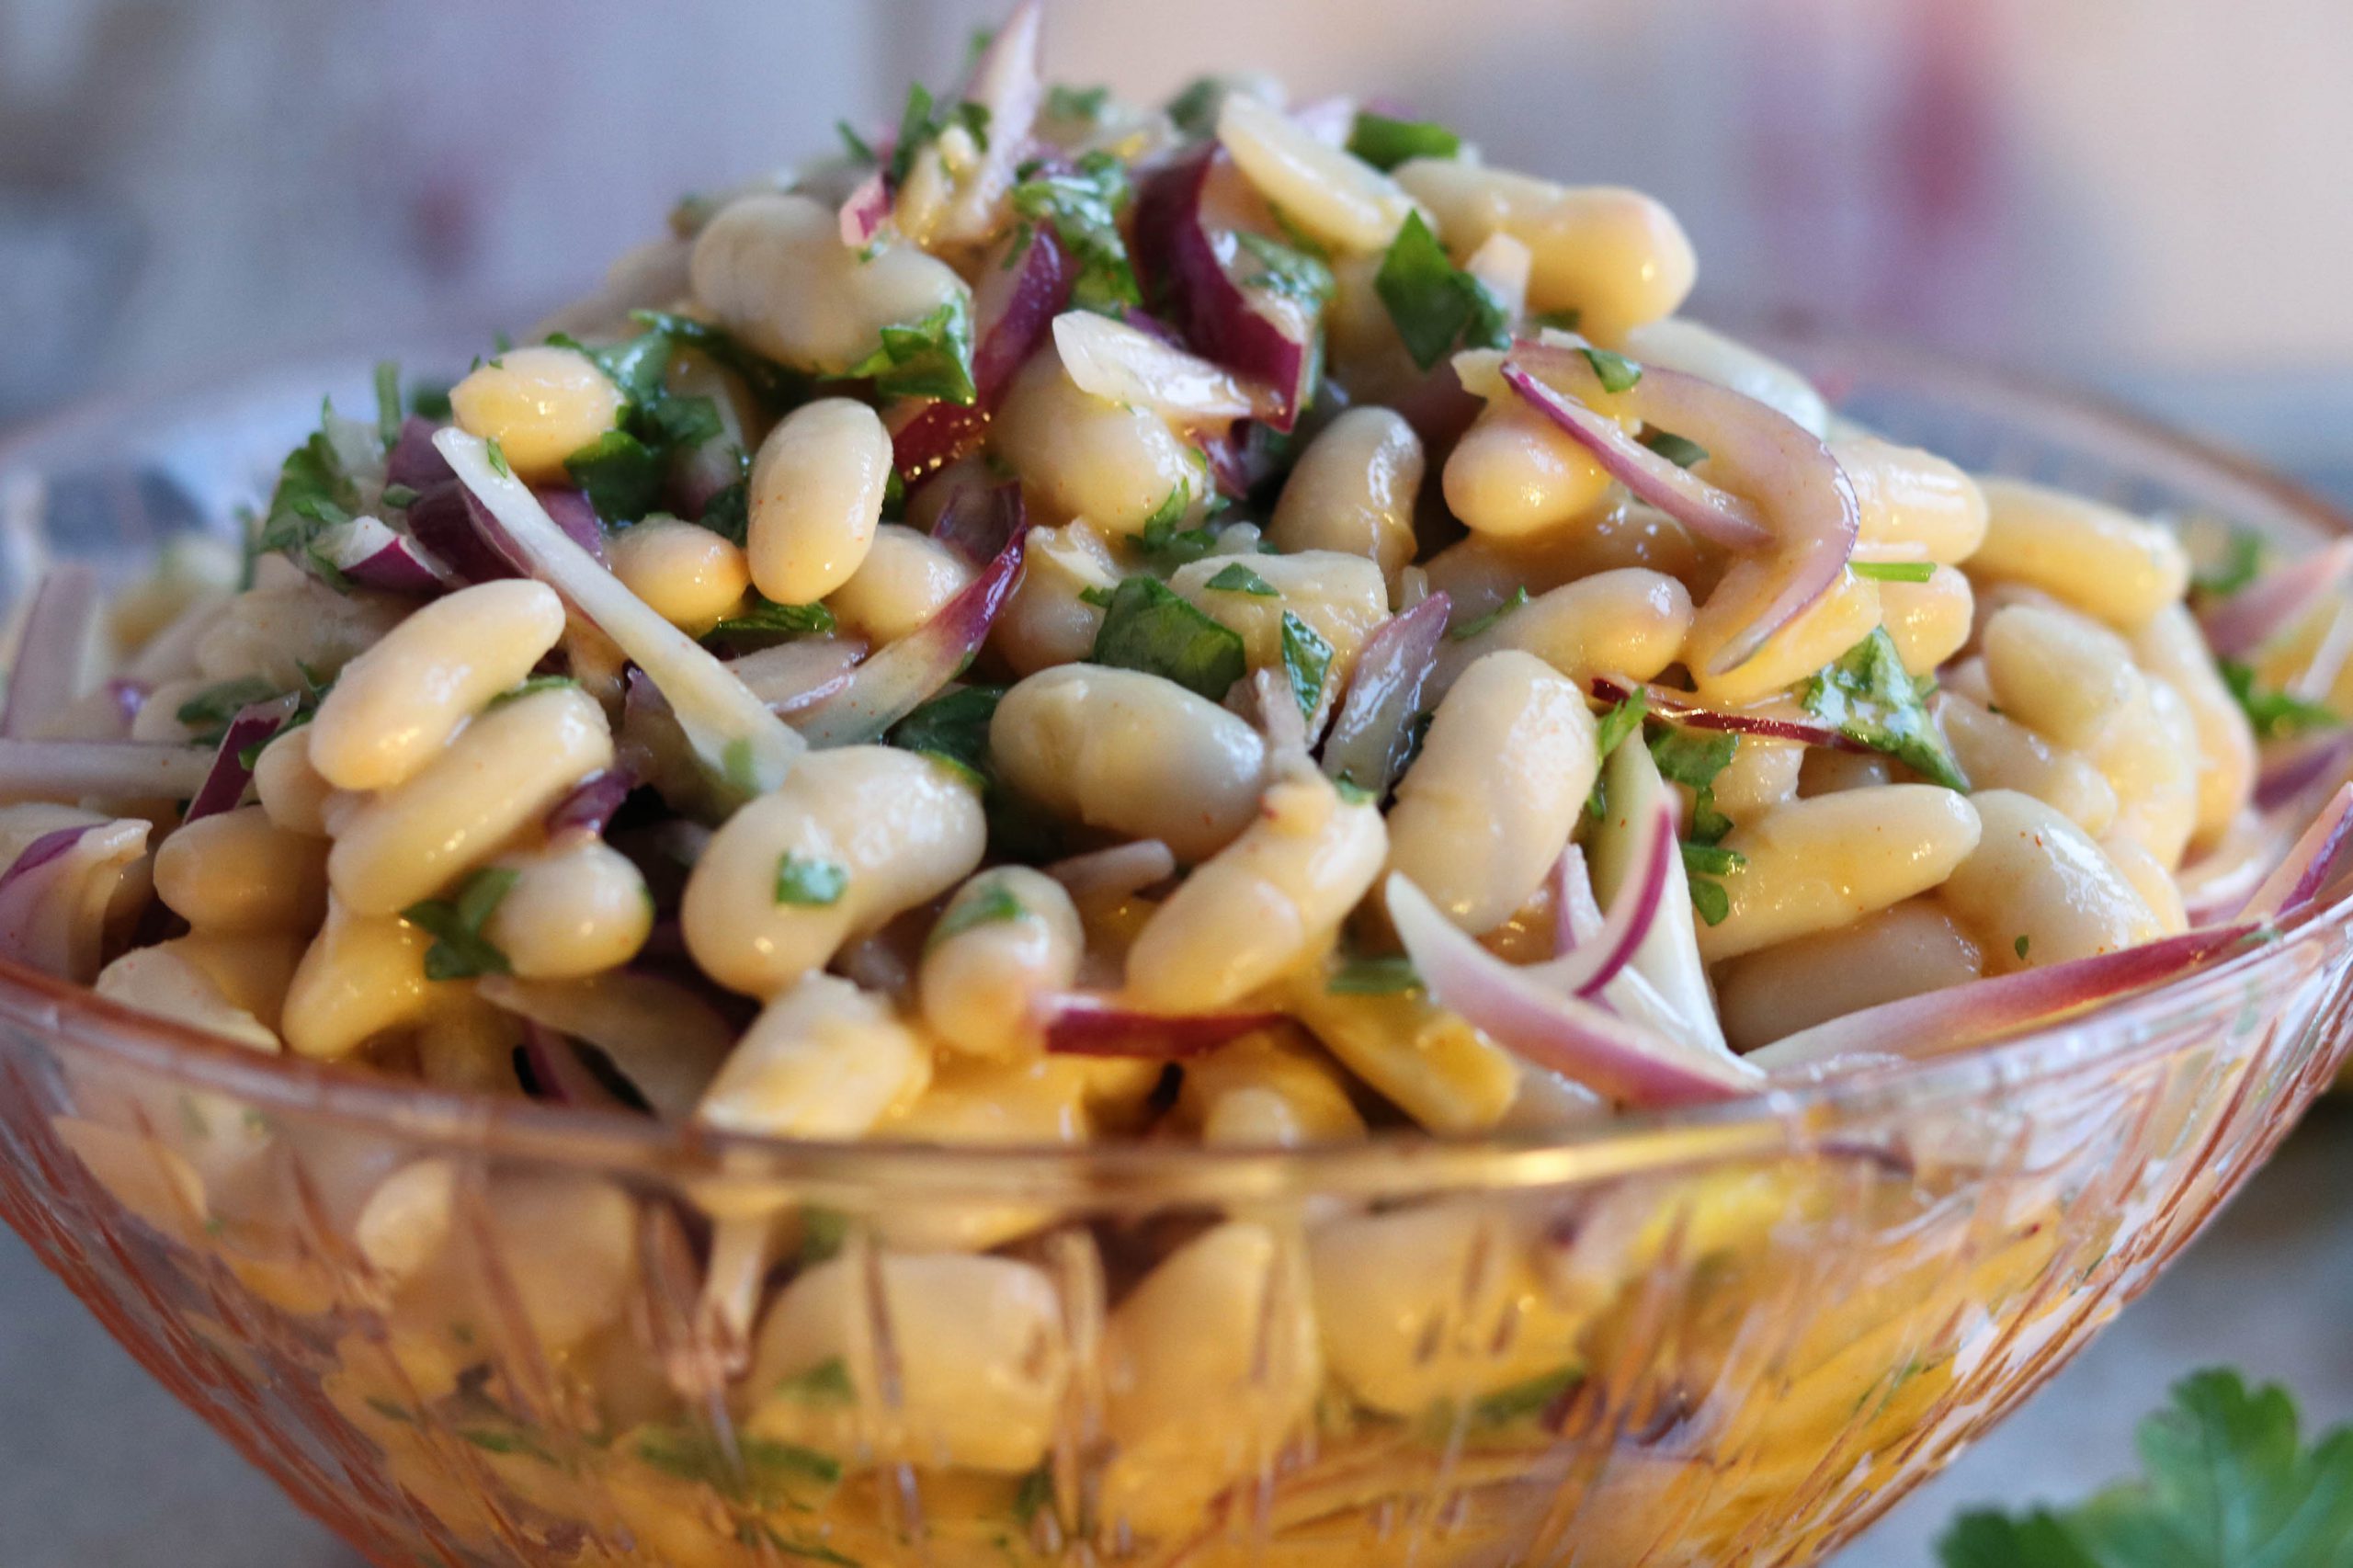
    Piyaz – a Turkish white bean salad

    Piyaz is a Turkish white bean salad. It is often served as a side dish, but it works just as well as a little snack.

    Even if you don’t really fancy white beans, you might want to give this salad a try. It’s elaborate tahini dressing adds a really nice flavour to the beans.

    Piyaz is rich in proteins. And piyaz is very easy to prepare in just under 10 minutes!

    By the way white beans are not only delicious, but also very healthy! In addition to their high protein content, they also contain many vitamins and minerals such as magnesium and calcium. That means, this salad is really good for your body! And your taste buds will love it as well!

    The most climate-friendly way to prepare piyaz would be by using dried white beans. Then soak them in water overnight and cook them yourself. This saves the most on packaging, but it is also quite time-consuming. Since I personally collect screw-top jars anyway to reuse them over and over again, I always choose pre cooked white beans from the jar. I often store snacks or soups in the jars to take them with me. They also come in handy for leftovers. I also use them in my pantry to store legumes or other dry products.

    [modula id=”39584″]

    Ingredients for 6-8 servings of piyaz:

    1 large or 2 small glasses or cans of white beans
    3 red onions, cut into strips
    1 bunch of parsley, chopped

    Dressing:

    1 lemon, the juice
    4 tablespoons of spirit vinegar (It is sometimes also called destilled vinegar. It is quite common in some European countries. If you can’t buy it, you can use white wine vinegar too.)
    6 tbsp olive oil
    1 tbsp tahini
    1 pinch of sugar
    1/2 tsp salt
    1/4 tsp paprika powder, sweet

    Preparation:

    Mix the lemon juice with tahini, vinegar, olive oil, sugar, salt and paprika powder to make a dressing.

    Then mix the dressing with the other ingredients for the salad. Let the Turkish piyaz steep for at least 15 minutes before serving.

    The salad is going to stay fresh in the refrigerator for 1-2 days. So you can easily prepare it in advance. It is also great for picnics or BBQs.

    Enjoy your meal!