Category: Without special vegan ingrediencts

Recipes without special vegan ingredients. This means that these recipes do not require anything special. But also no products that are difficult to get. Such as vital wheat gluten, silken tofu or special binding agents.

You can get the ingredients for these recipes in any small supermarket.

Vegan recipes? Check out Daily Vegan!

  • West African peanut stew with puff puffs

    West African peanut stew with puff puffs

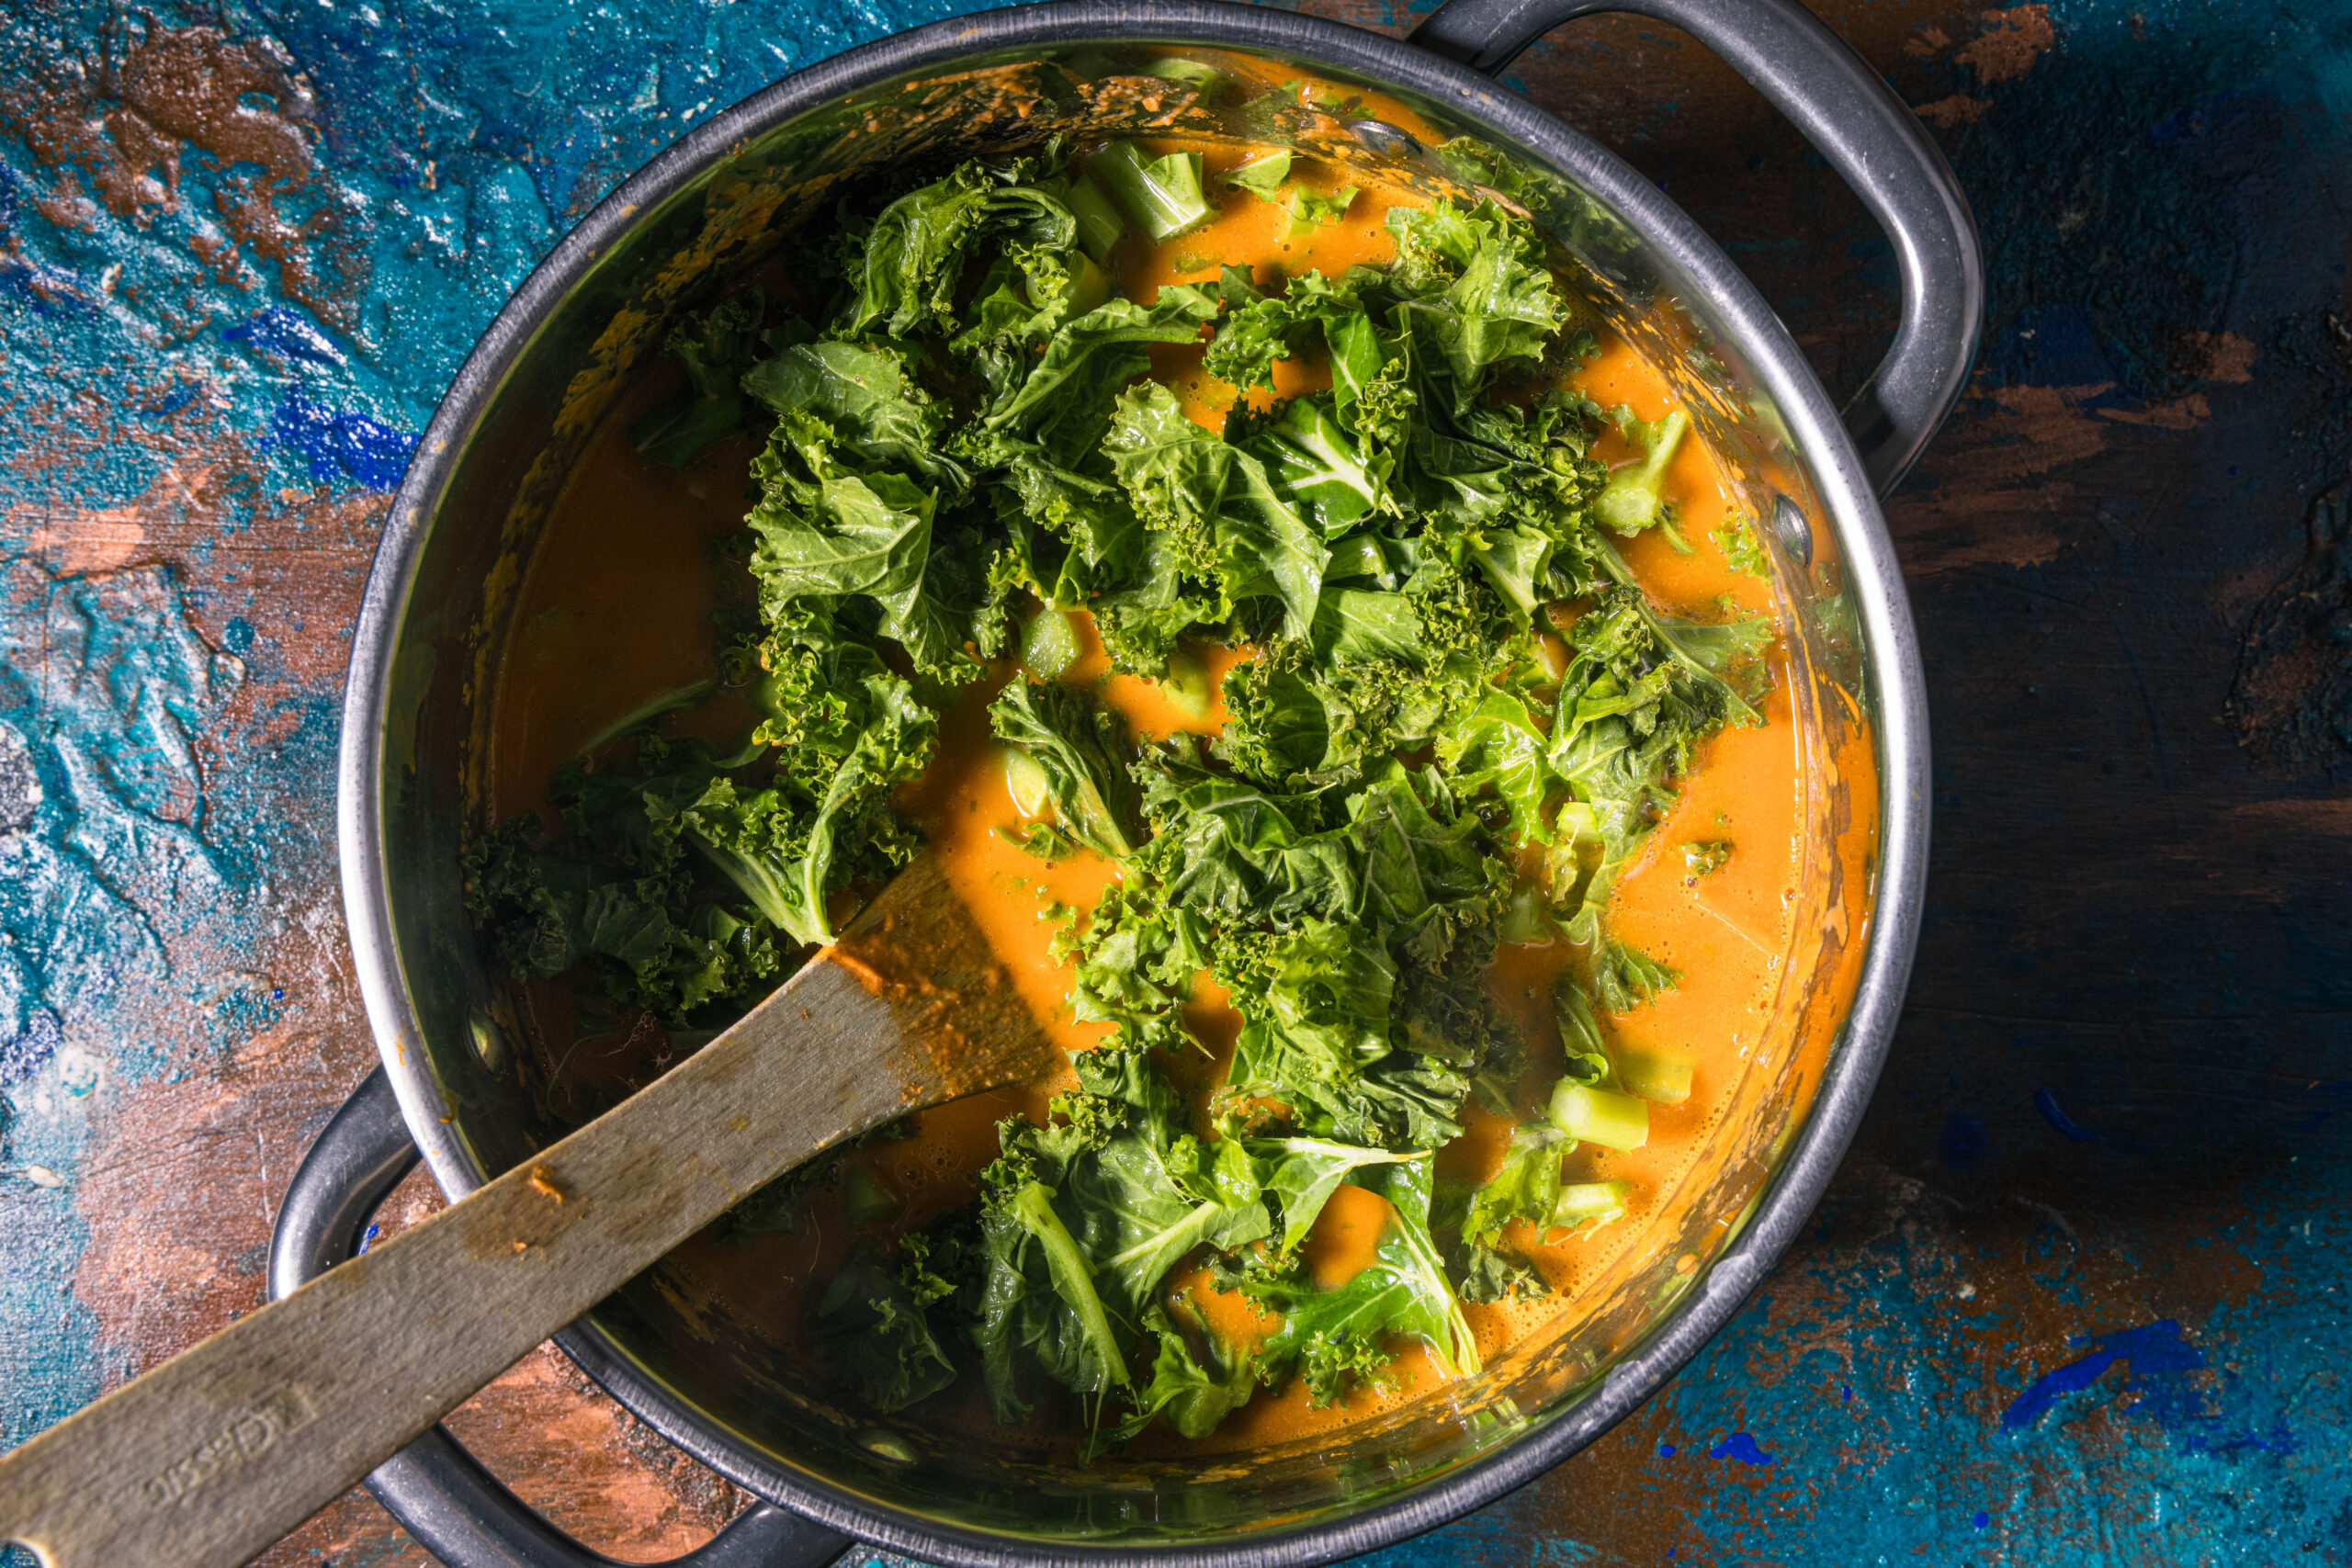
    I love peanut stew! West African peanut stew is a creamy, chunky soup, spicy and aromatic. With fresh kale as a crunchy garnish. It’s simply delicious and mouth-watering!

    The side dish is puff puffs – deep-fried yeast dough balls.

    I’ve loved Nigerian puff puffs ever since I first ate them at a film festival years ago. Puff puffs are small, freshly fried yeast dough balls.

    Friends of mine often make them, and I’ve finally ventured to try them myself. I love eating them in this combination with West African peanut stew.

    Puff Puffs: fluffy, soft and light
    Puff Puffs: fluffy, soft and light

    West African Peanut Stew is a Very Easy One-Pot Meal

    If you make this special version of cabbage soup without the dumplings, it’s a very simple, quick one-pot meal that’s perfect for after-work cooking. You can reheat the leftovers the next day at home or at work for a delicious meal in no time at all.

    West African Peanut Stew in a bowl
    West African Peanut Stew is a Very Easy One-Pot Meal

    Puff Puffs can be served savory or sweet

    If you’re not familiar with puff puffs, they’re deep-fried dough balls that can be eaten savory or sweet.
    You can also simply sprinkle them with powdered sugar and enjoy them in a sweet version. They’ll then be a bit reminiscent of doughnuts.

    West African peanut stew with sweet potatos and chickpeas. As a side puff puffs.
    West African peanut stew with sweet potatos and chickpeas

    Where is West African peanut stew eaten?

    This creamy stew with peanut butter and kale is prepared in various variations in many West African countries. I know it from friends in Nigeria and Ghana. But it is also available in other countries in the region. In Gambia, there are variations of this stew called Domoda. In other regions, West African peanut stew is known as peanut stew or groundnut stew, also known as maafe (mafé, maffé, maffe) or as sauce d’arachide.
    Because it is so widespread, there are many variations that differ in ingredients and seasoning.

    West African peanut stew with sweet potato and chickpeas

    I always make a version with chickpeas and sweet potato. This results in a chunky, filling, protein-rich stew that is easy to prepare.

    West African peanut stew with sweet potato and chickpeas. Served with puff puffs.
    West African peanut stew with sweet potato and chickpeas. Served with puff puffs.

    Preparing vegan peanut stew, vegan mafé, vegan domoda

    West African peanut stew isn’t always vegan, but many versions don’t contain any animal products anyway. Therefore, it’s quite easy to make this delicious stew vegan, as peanut stew often happens to be vegan anyway.

    Peanut stew prepared vegan, vegan mafé, vegan domoda
    Peanut stew prepared vegan, vegan mafé, vegan domoda

    What makes West African cuisine so special?

    West African cuisine is rich and diverse. It encompasses the region of West Africa, consisting of 16 countries. The region’s sheer size, with almost 400 million inhabitants, makes the cuisine diverse and magnificent, but historically, it also incorporates influences from North African and Arabic cuisine.

    It’ is’s dishes are often cooked with beans, rice, plantains, chilies, tomatoes, cassava, sweet potatoes, taro, peanuts, okra, various leafy greens, and millet.

    West African peanut stew with puff puffs
    Peanut stew with puff puffs

    More vegan soup and stew recipes

    You love the verieties soups and stews offer? Then ckeck out these tasty vegan soup and stew recipes:

    Show me your vegan peanut stew with puff puffs

    Please follow me on Instagram or Facebook. And I’d love it if you made my peanut stew with puff puffs and posted a photo of it, tagging my account. Because I always find it really fun and exciting to see how my recipes are prepared in other kitchens!

    Please show me your West African peanut stew with puff puffs
    Please show me your peanut stew with puff puffs

    West African Peanut Stew with Puff Puffs – Preparation in Pictures

    Before I get into the recipe, here are some step-by-step photos of how to make my peanut stew with puff puffs.

    Preparation of the puff puffs in pictures:

    All dough ingredients for puff puffs.
    1. All dough ingredients for the puff puffs.
    A bowl with flour, dry yeast, sugar, nutmeg and salt. And a jar of water next to it.
    2. Mix flour, dry yeast, sugar, nutmeg and salt.
    Puff puff dough in a bowl
    3. The puff pastry dough now needs to rise for an hour. During this time, you can easily cook the stew.
    A hand dropping puff puff batter into frying oil.
    4. Place the Puff Puffs in thick drops of batter from your fist, between your thumb and index finger, into the hot frying oil.
    Puff puffs frying in oil
    5. Turn the puff puffs frequently in the oil until they look golden on all sides.

    Preparation of the peanut stew in pictures:

    All ingredients for the West African peanut stew.
    1. All ingredients for the peanut stew.
    All ingredients for the West African peanut stew.
    2. Chop the kale and sweet potato into bite-sized pieces. Finely dice the onion, garlic, and ginger.
    Frying onion, garlic and ginger in a pot
    3. Frying the onion, garlic and ginger.
    Stew ingredients in a pot
    4. Gradually add more ingredients.
    Stew an a wooden spoon in a pot.
    5. Then stir in the stock and simmer for 15 minutes.
    Kale being stirred into a peanut stew.
    6. Finally, stir in the kale and cook for a few minutes.
    West African Peanut Stew with Puff Puffs
    West African Peanut Stew with Puff Puffs

    Ingredients for 6 servings of West African Peanut Stew with Puff Puffs:

    West African Peanut Stew:

    1-2 tbsp oil
    1 sweet potato, diced
    1 onion, chopped
    4 garlic cloves, minced
    1 tbsp ginger, minced
    1/4 tsp sweet paprika
    1 tsp cumin
    1/4 tsp chili powder
    1/4 tsp cayenne pepper
    500g tomato puree (passata)
    5 tbsp peanut butter
    1 l vegetable broth
    1 jar/can chickpeas, drained
    3-4 handfuls fresh kale or other collard leaves, stemmed, torn into small pieces (alternatively, use fresh spinach)
    Salt
    Pepper

    Fresh cilantro for garnish

    Puff Puffs:

    250 g all purpose flour
    2 tsp dried yeast
    1 pinch nutmeg
    1 tsp tsp salt
    3 heaped tbsp sugar
    Lukewarm water

    1 liter oil (rapeseed, sunflower, or vegetable oil)

    Preparation:

    West African Peanut Stew:

    1. Heat the oil in a large pot and sauté the chopped onion and garlic, as well as the ginger.
    2. Add the pureed tomatoes, chickpeas, sweet potatoes, peanut butter, and the spices. Simmer for 5 minutes.
    3. Then stir in the broth and simmer for 15 minutes.
    4. Stir in the kale and cook for a few minutes.
    5. Season with salt and pepper.

    Puff Puffs:

    Preparing the Puff Puff Batter:

    1. Combine the flour, dry yeast, sugar, nutmeg, and salt.
    2. Gradually add lukewarm water until you get a thick batter. You can knead it well by hand or with a mixer. It should be like thick pancake batter, but still flow.
    3. Cover the dough and let it rise for one hour. Because the dough is so liquid, it will only rise slightly, but it should be a bit fluffy, with small bubbles.

    Fry the Puff Puffs:

    1. Heat approximately 1 liter of oil in a small saucepan. Use a medium heat setting. It’s best to check the temperature with a kitchen thermometer. The oil should be between 165°C and 180°C (330°F-360°F).
    2. Take some of the dough in your hand and press a small ball into the oil.
    3. This works best with your hand closed and then let the dough run through your thumb and index finger.
    4. Repeat this several times, as long as there’s space in your pan; the Puff Puffs should still be able to float freely.
    5. Turn the Puff Puffs frequently in the oil until they look golden on all sides. This takes about 5 minutes.
    6. Remove from the oil with a slotted spoon and let them drain on paper towels.

    To serve:

    1. Serve the peanut stew with the puff puffs and garnish with chopped cilantro.

    Enjoy!
  • Carrot lox – the best vegan smoked salmon – refined in salt crust

    Carrot lox – the best vegan smoked salmon – refined in salt crust

    The best vegan smoked salmon recipe! My recipe for carrot lox, in which I refine the carrots in a crust of salt. That creates a deep flavor and incredible texture.
    In its smoky marinade, full of sea flavors, my carrot lox will keep for several weeks in the refrigerator.

    My vegan lox is perfect for sandwiches, bagels, sushi, wraps, salads, as part of a brunch platter, and as a topping or side treat for many dishes.

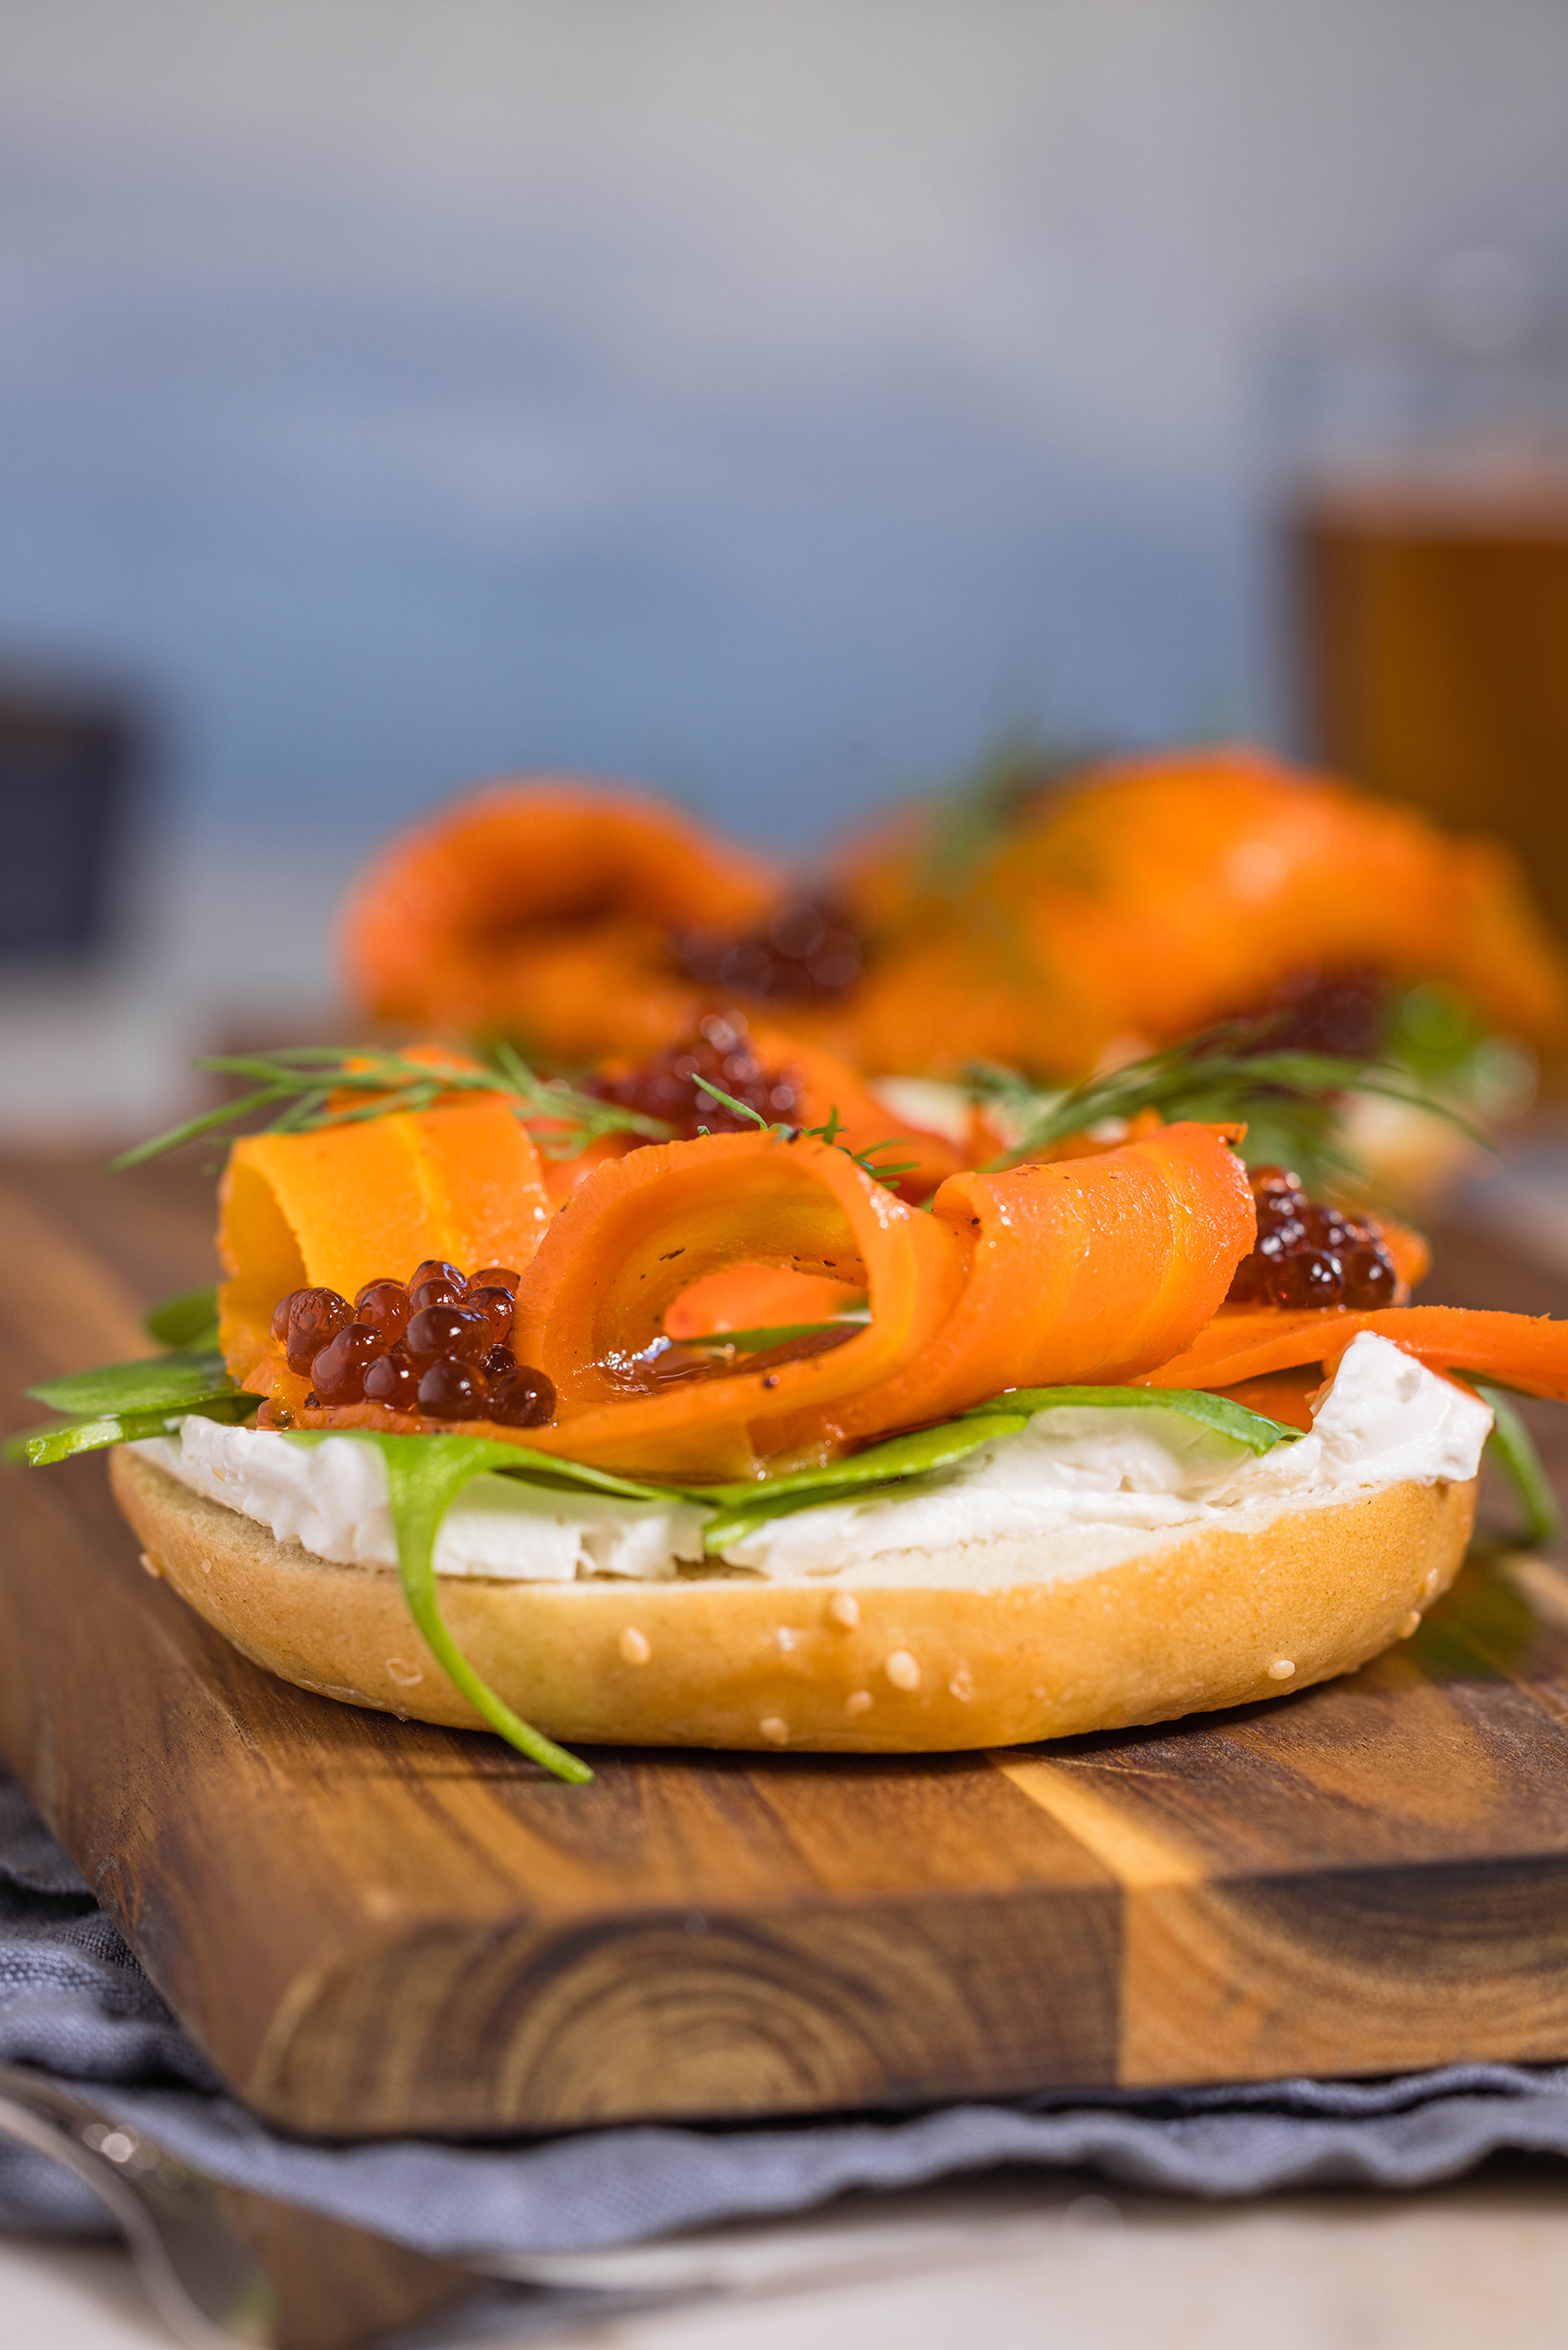
    The best smoked salmon. With vegan caviar on bagels.
    The best vegan smoked salmon recipe! Carrot lox – cooked in a salt crust. Deep flavour, incredible texture, and sea-like aromas.

    My salt-crusted carrot lox has proven itself over many years.

    You can first find my smoked vegan carrot salmon recipe in March 2017 on the German version of my Daily Vegan blog. My preparation method for carrot lox has simply proven itself over the years. I’ve used my salmon recipe in various recipes on Daily Vegan and also in jobs at restaurants, including my own. Baking the carrots in a salt crust simply produces the best results when making carrot salmon.

    For several years now, you’ve been finding more and more carrot lox recipes on blogs and social media. However, the carrots in these recipes are always cooked by boiling or steaming.
    All I can say is: the effort with the salt crust in my recipe is worth it! The salty flavor typical of salmon infuses deep into the pores of the carrots. And the texture is simply incomparable! I can therefore only recommend making vegan lox with carrots baked in a salt crust.

    The best smoked salmon. With vegan caviar on bagels.
    My carrot lox made by being baked in a salt crust has proven itself over many years.

    Vegan smoked carrot salmon, carrot lox? Does it even taste good?

    Carrot lox is a plant-based delicacy that delights more than just vegans. This innovative alternative to smoked salmon combines the tender texture of marinated carrots with a smoky, sea-like flavour that’s extremely reminiscent of classic salmon, but completely without the fish.
    Carrot lox, carrot salmon, whatever you want to call it, as well as other vegan salmon alternatives have experienced a strong trend in recent years and are enjoying ever-increasing popularity.
    I’ve also been using my carrot lox recipe in various dishes on my German blog for years. And here it is, in the English version.

    Carrot lox is a plant-based delicacy that not only vegans love. Here on bagels with vegan caviar.
    Carrot lox is a plant-based delicacy that not only vegans love.

    Vegan Carrot Lox looks absolutely delicious

    My smoked carrot salmon is a real eye-catcher, not just in terms of taste but also in terms of appearance: bright orange, with a structured surface reminiscent of the finest smoked salmon. And then, with the first bite, its full magic unfolds – a hint of the sea, combined with a delicate texture and spicy depth. My vegan carrot lox immediately makes your taste buds scream for more.

    Carrot lox – on bagels with vegan caviar
    Not only in taste, but also visually my carrot lox is a highlight

    Carrot lox tastes much better and is healthier than store-bought vegan salmon.

    In recent years, several plant based lox alternatives have appeared in supermarkets. These vary in taste. There are starch-based alternatives, which are essentially a very, very thick pudding flavored with seaweed and liquid smoke. Then there are other alternatives based on cognac root starch, but these are not heat-resistant.
    Overall, the consistency of store-bought alternatives is unconvincing. And unfortunately, supermarket smoked salmon alternatives have no nutritional value at all.
    My carrot lox is completely different, with a pleasant bite. And, because it’s made from carrots, also very healthy.

    Smoked carrot salmon, home made, on a bagel.
    Smoked carrot salmon tastes much better and is a lot healthier than store-bought vegan salmon.

    Carrot lox – vegan smoked salmon made from regional carrots that are in season year-round

    This environmentally friendly and sustainable alternative to traditional salmon is not only a delight for your meal, but also a great contribution to climate protection and combating overfishing and cruel fish farming practices.
    Carrots are seasonal and regionally available year-round. So you’re not dependent on any particular season and can always enjoy salmon made from regional carrots, saving on long transport routes.
    Carrot smoked salmon proves that plant-based cuisine can be surprising, delicious, and incredibly sophisticated!

    Carrot lox – vegan lox made from regional carrots that are in season year-round. Seen here on a bagel with vegan caviar.
    Carrot lox – vegan lox made from regional carrots that are in season year-round. Seen here on a bagel with vegan caviar.

    What can I use homemade vegan smoked salmon for?

    Carrot lox tastes great on bread, bagels, rolls, as a topping on bowls, for sushi, on salads, on brunch platters, charcuterie boards, buffets, and much more.
    As you can see from the photos, I like to eat my carrot salmon with vegan cream cheese, homemade caviar, and dill on bagels.

    You also might want tot try this recipe:

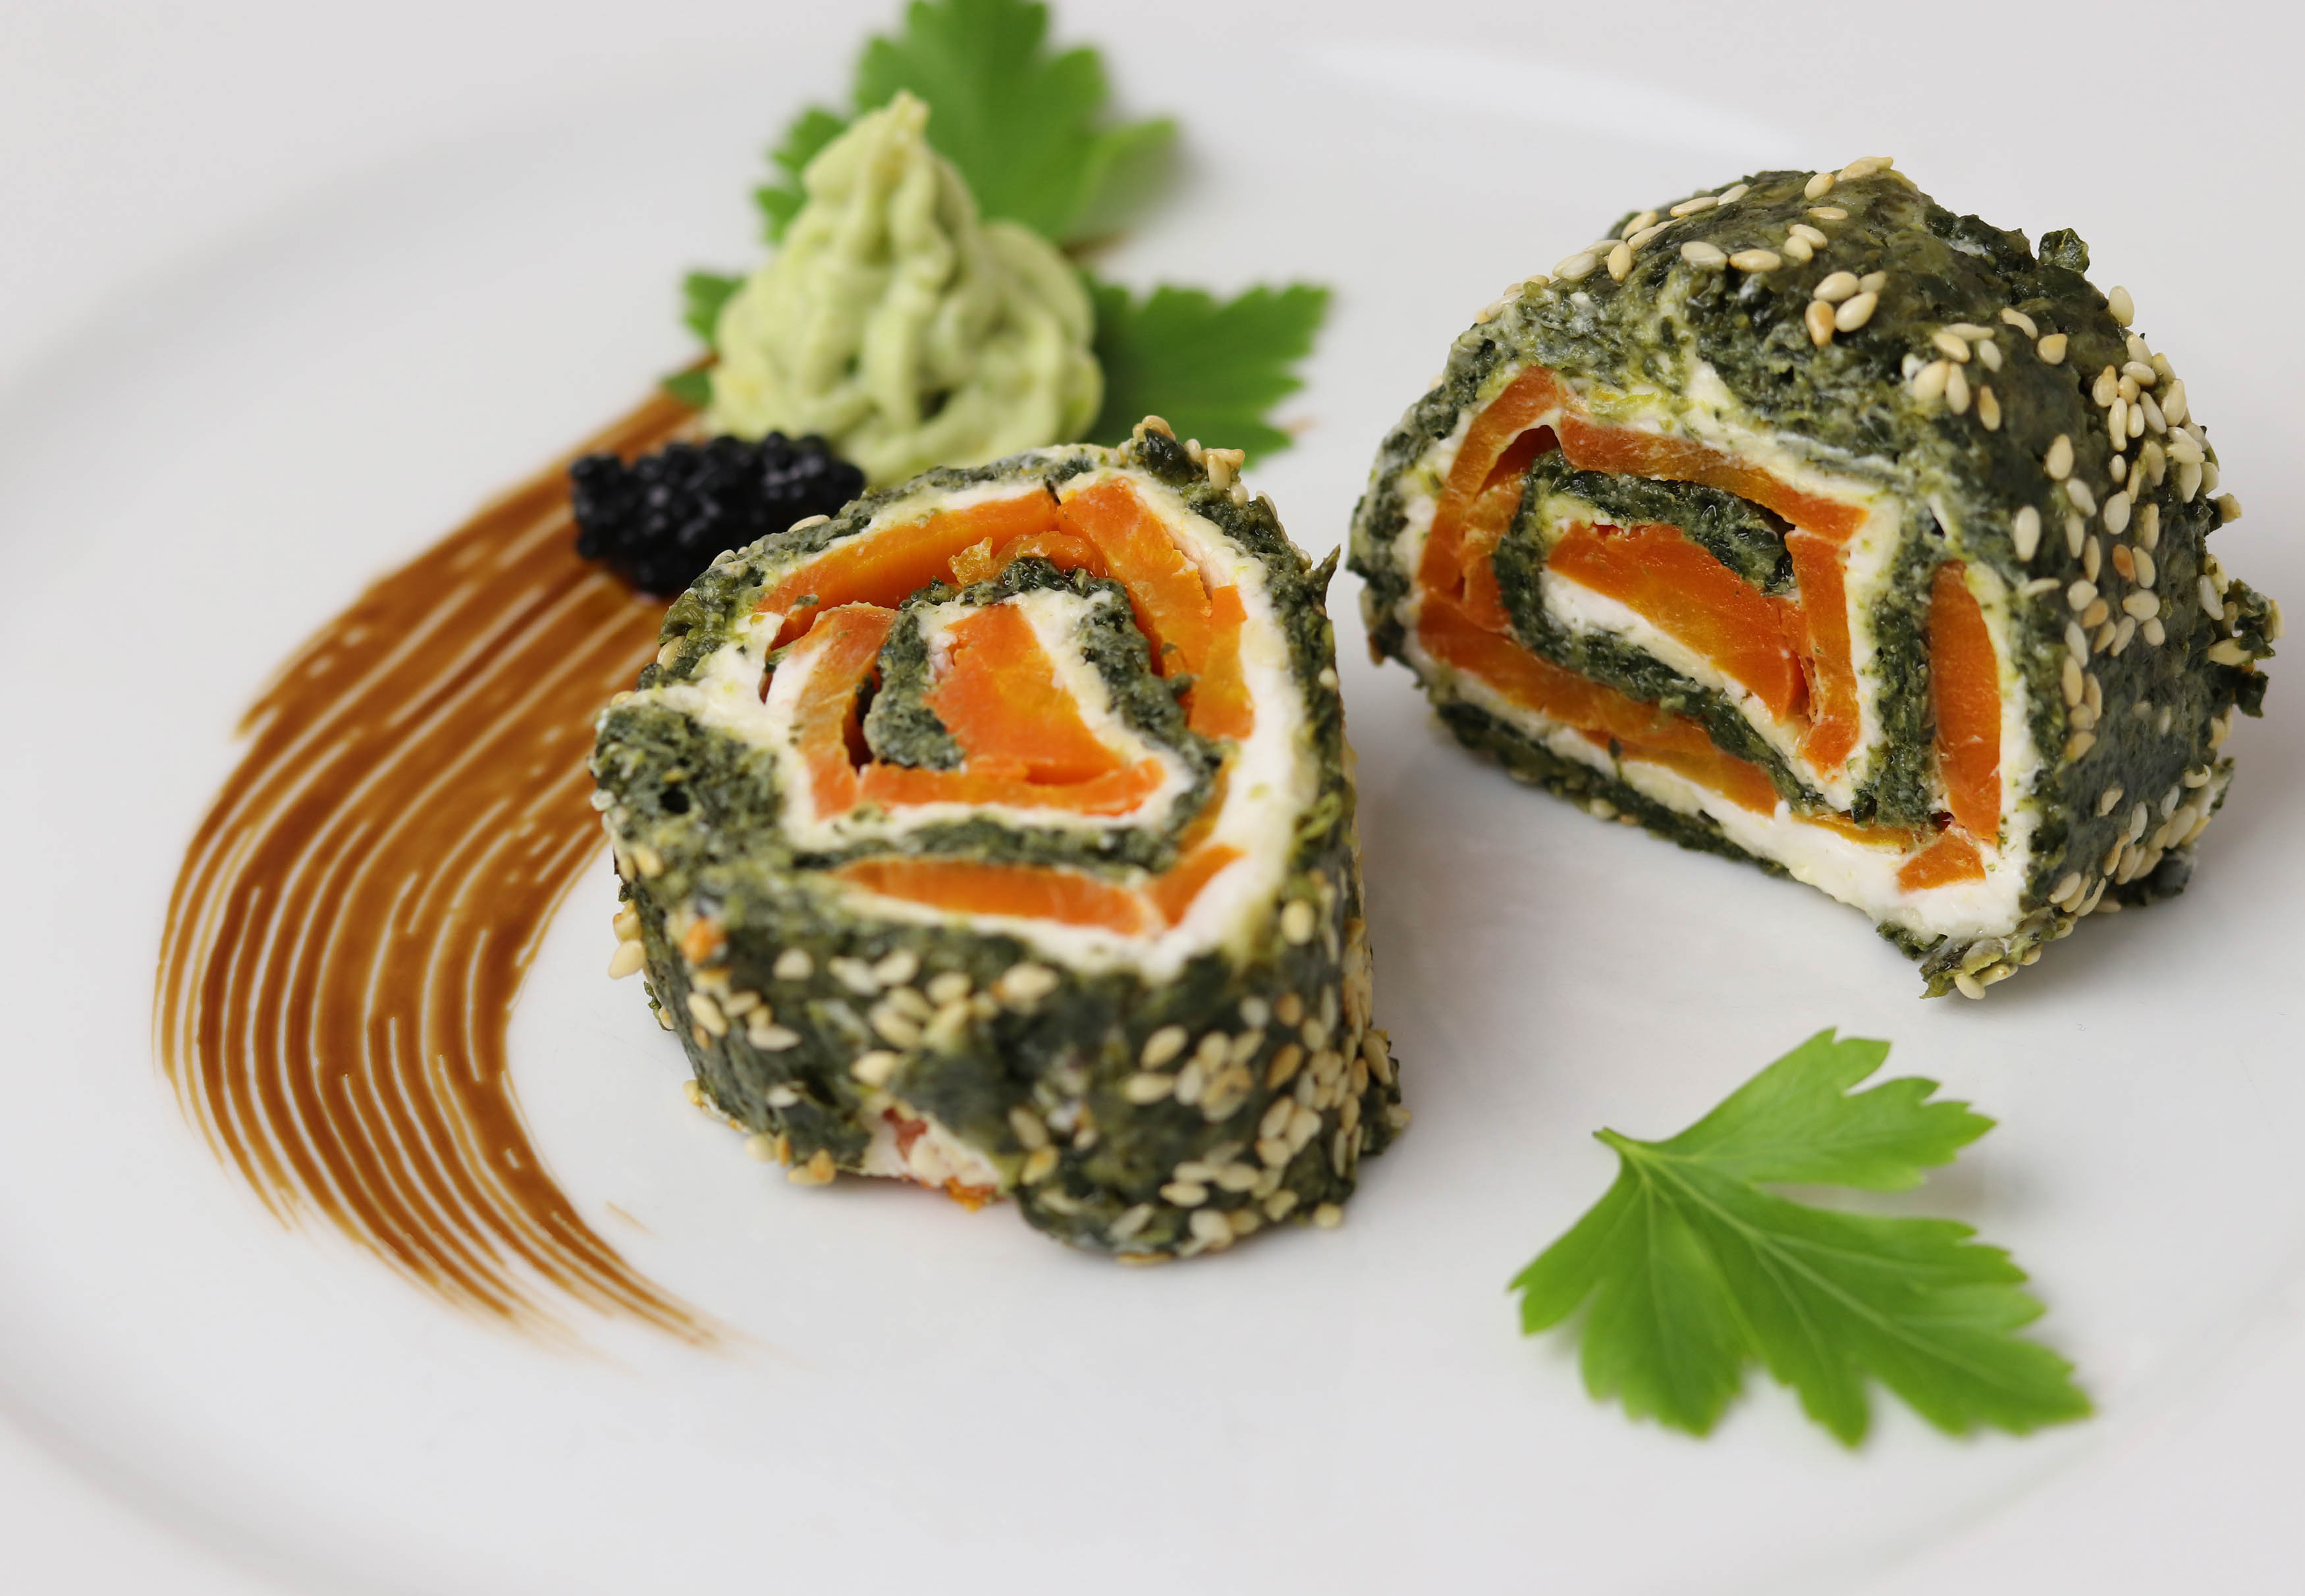
    Rolled in roasted sesame
    My carrot lox is versatile. Here in a vegan spinach and salmon roll

    More Vegan Fish Recipes

    Do you love vegan fish alternatives and are always looking for new recipes? Then browse my “V Fish” category right here on Daily Vegan. Or try these recipes from me:

    The best smoked salmon. With vegan caviar on bagels.
    In its smoky marinade full of sea flavors, my carrot lox will keep for several weeks in the refrigerator.

    Show me your carrot lox

    Please follow me on Instagram or Facebook. And I’d be delighted if you made my vegan lox and posted a photo of it, tagging my account. Because I always find it really great and exciting to see how my recipes have been prepared in other kitchens!

    Carrot lox is a plant-based delicacy that not only vegans love. Here on bagels with vegan caviar.
    Please show me your vegan carrot lox.

    Carrot lox – preparation in pictures

    The following photos show you step-by-step how to prepare vegan smoked salmon in salt curst. Afterwards we go straight on with the recipe.

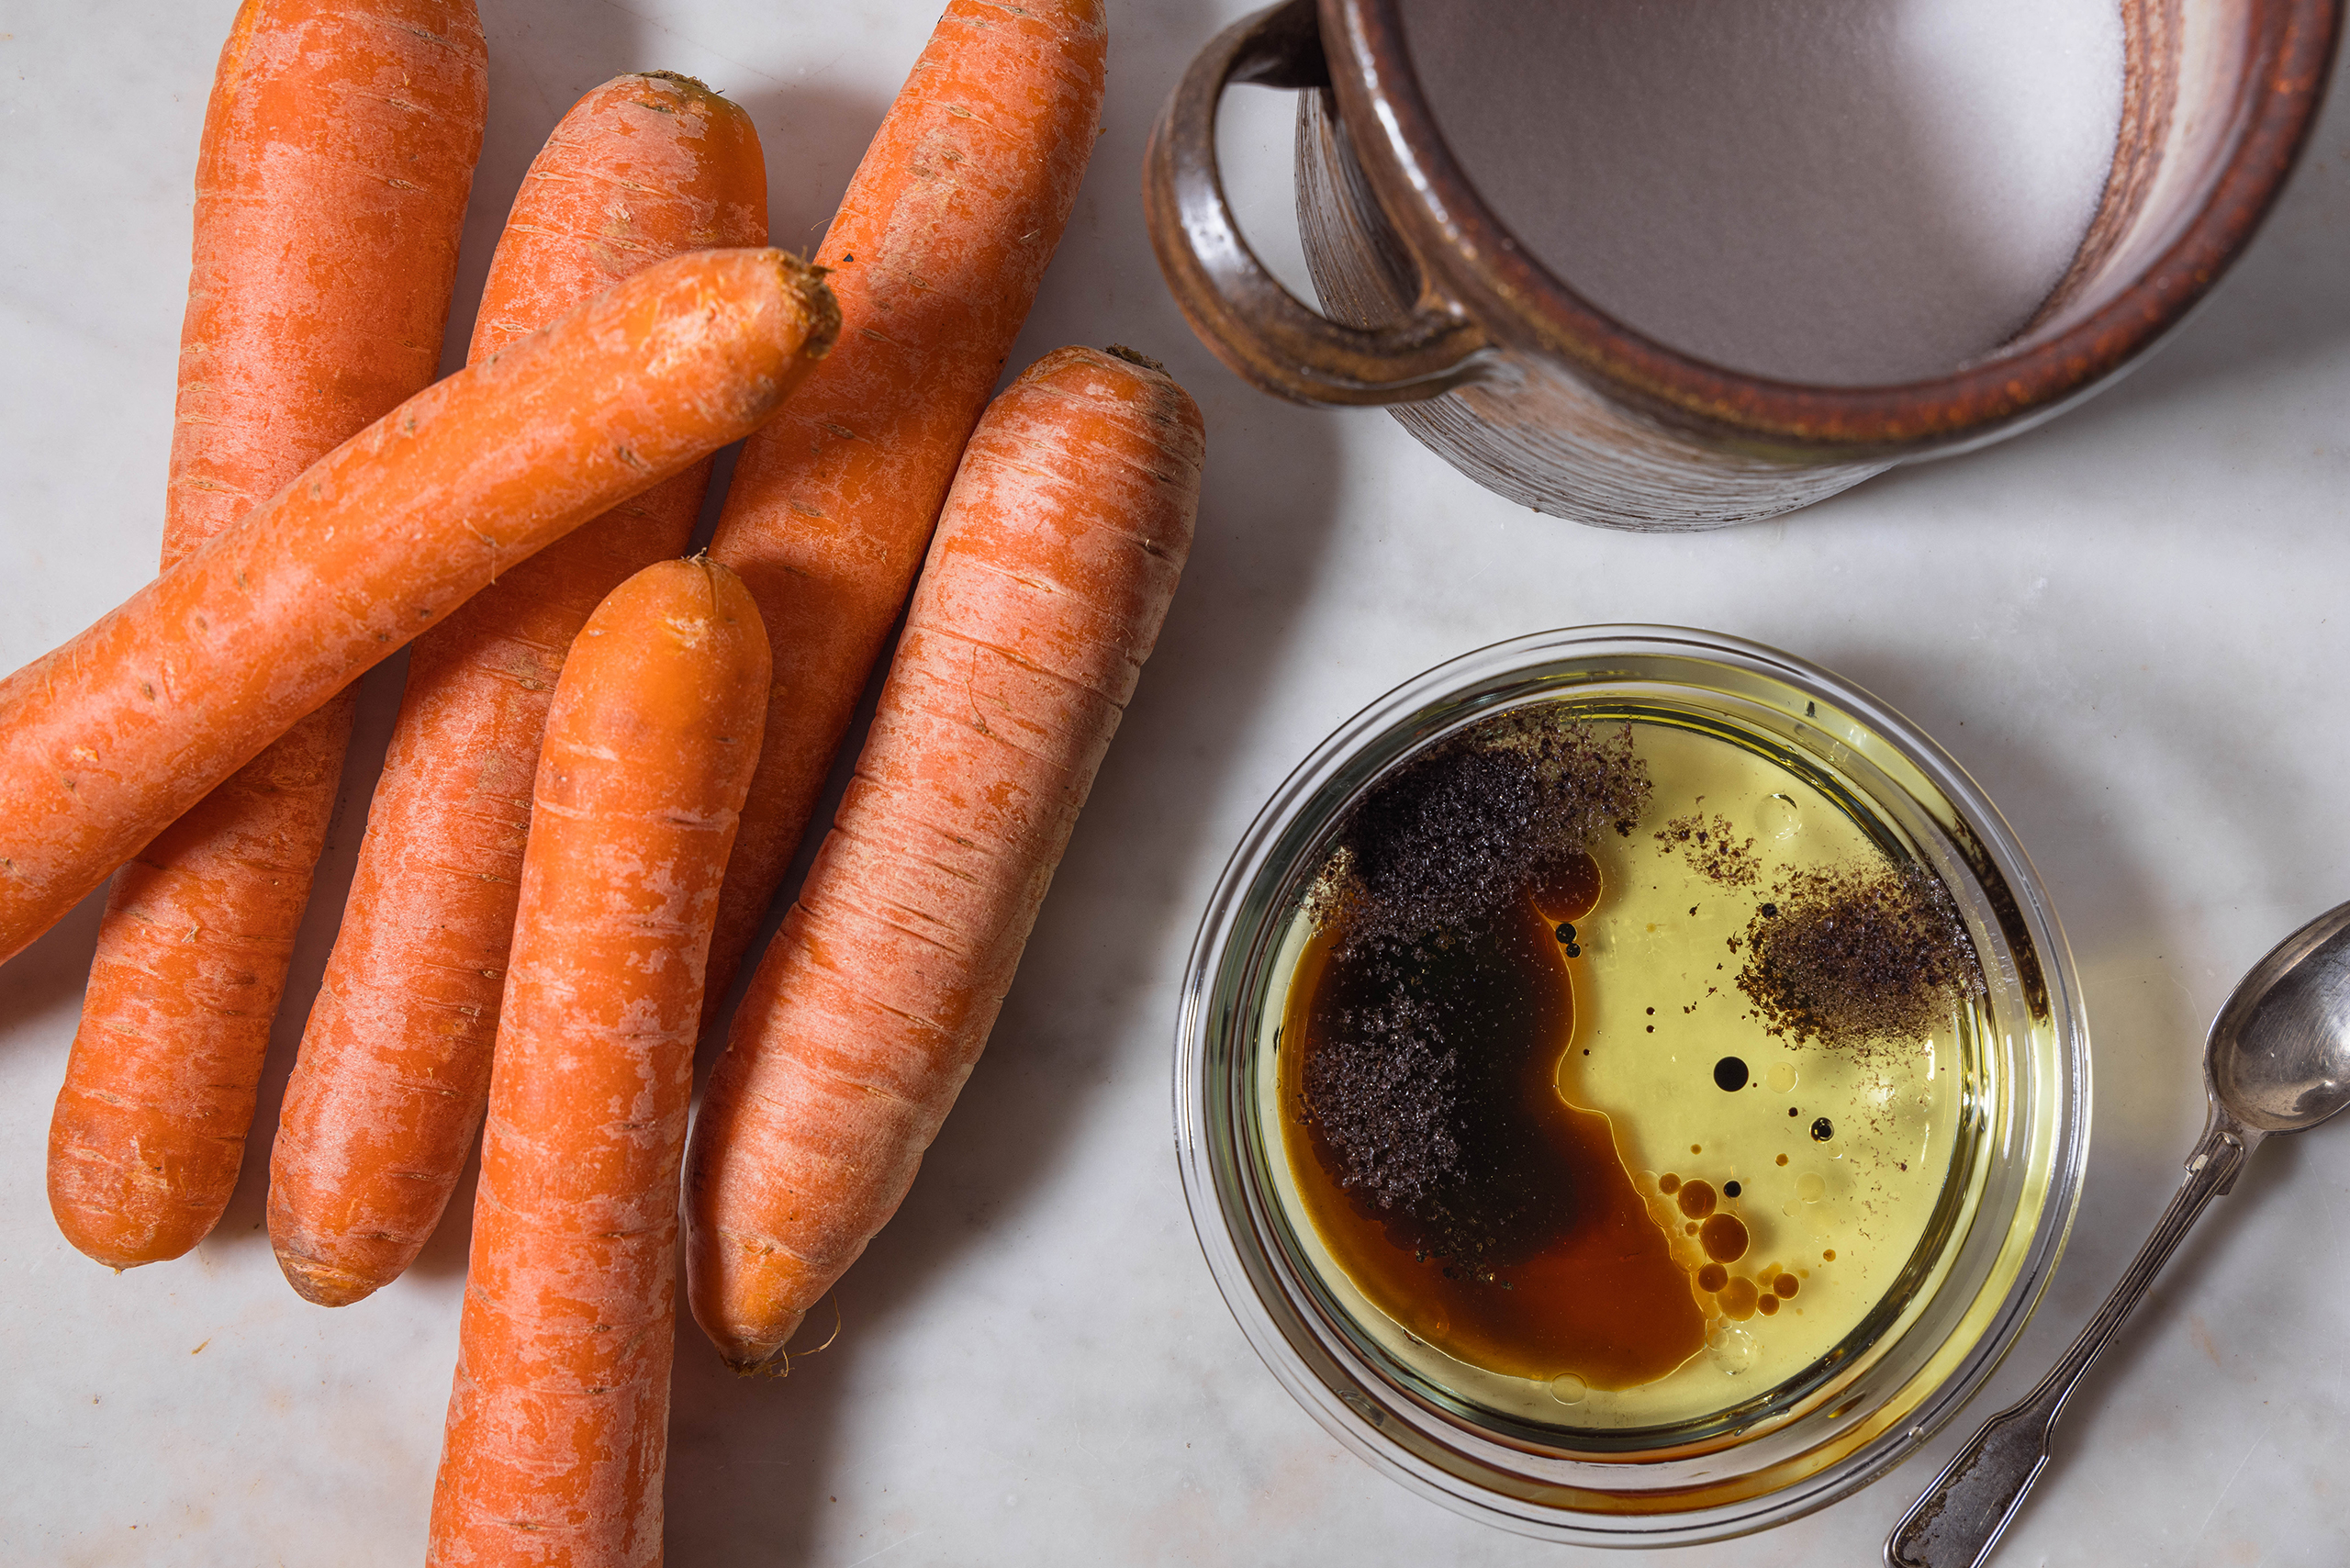
    All ingredients for vegan carrot lox.
    1. All ingredients for vegan carrot lox.
    All ingredients for vegan carrot lox.
    2. Mix all ingredients for the marinade.
    Salt in a dish, carrots and other ingridients around it.
    3. Pour about one-third of the salt into a fireproof dish and spread it evenly.
    Wet carrots on a salt bed.
    4. Wash the carrots and place them wet on the salt bed.
    Carrots coated in salt in an oven dish.
    5. Coat the carrots completely with salt.
    Carrots coated in salt in an oven dish. The salt is slightly brown from baking.
    6. Bake the carrots in the salt crust for 90 minutes, then let them cool slightly.
    Carrots being peeled out of their salt crust, where they were baked in.
    7. Carefully remove the salt crust from the carrots.
    Baked carrots being peeled.
    8. Peel the carrots.
    Baked carrots are being cut into very thin slices
    9. Cut the carrots into very thin slices.
    Carrot slices marinating in a smoky marinate with sea flavours.
    10. Pour the marinade over the carrot slices and let them marinate in the refrigerator overnight, or even better, for 1-2 days.
    Carrot lox – the best vegan smoked salmon – refined in salt crust
    Carrot lox – the best vegan smoked salmon – refined in salt crust

    Ingredients for approximately 18 small portions of carrot lox:

    6 large carrots
    Approx. 600-1000 g salt (depending on the size and shape of the carrots)

    Vegan salmon marinade:

    300 ml oil
    2 tbsp soy sauce, gluten-free if desired
    2 tsp rice vinegar (available at Asian markets and larger supermarkets)
    1 tsp liquid smoke
    2 tsp nori flakes (alternatively, a shredded nori sheet/sushi sheet)

    Preparation:

    1. Preheat the oven to 190°C (375°F) top and bottom heat.
    2. Mix the oil with the liquid smoke, nori flakes, soy sauce, and rice vinegar. Stir to recieve a nice marinade.
    3. Wash the carrots, but do not dry them.
    4. Pour about a third of the salt into a small, narrow baking dish and place the wet carrots on top.
    5. Coat and cover the carrots with the remaining salt. The carrots should be completely covered in salt.
    6. Bake in the oven for 1.5 hours.
    7. Let the carrots cool slightly in the salt coating, then break open the salt crust and carefully remove the carrots.
    8. Wipe off the salt and carefully peel the carrots using a small knife.
    9. Afterwards cut the carrots into fine, long strips with a very sharp knife.
    10. Place these carrot slices in a narrow glass bowl or plastic container.
    11. Pour the marinade over the carrot strips and let them marinate in the refrigerator overnight, or even better, for 1-2 days.

    Stored in the marinade, the vegan salmon will easily keep in the refrigerator for 2-3 weeks. But it will definitely be gone before then!

    Enjoy!

  • Japanese spinach and sesame salad, fresh and full of umami

    Japanese spinach and sesame salad, fresh and full of umami

    Crisp, fresh and steamed baby spinach in an aromatic sesame dressing. This is my recipe for the most delicious Japanese spinach and sesame salad!

    The sesame dressing comes with a high umami flavour

    Spinach is available seasonally and regionally almost all year round. And freshly harvested, it is particularly delicious and healthy. In my recipe for sesame and spinach salad, I steam the spinach. Depending on how you prefer your Japanese salad, you can steam it for a little longer or less, or not at all. In the photos, you can see it steamed for a few seconds and steamed for 1-2 minutes.

    The fresh spinach aroma harmonizes wonderfully with the sesame dressing. Because the dressing is high in umami flavour, a little acidity and a lot of tastyness.

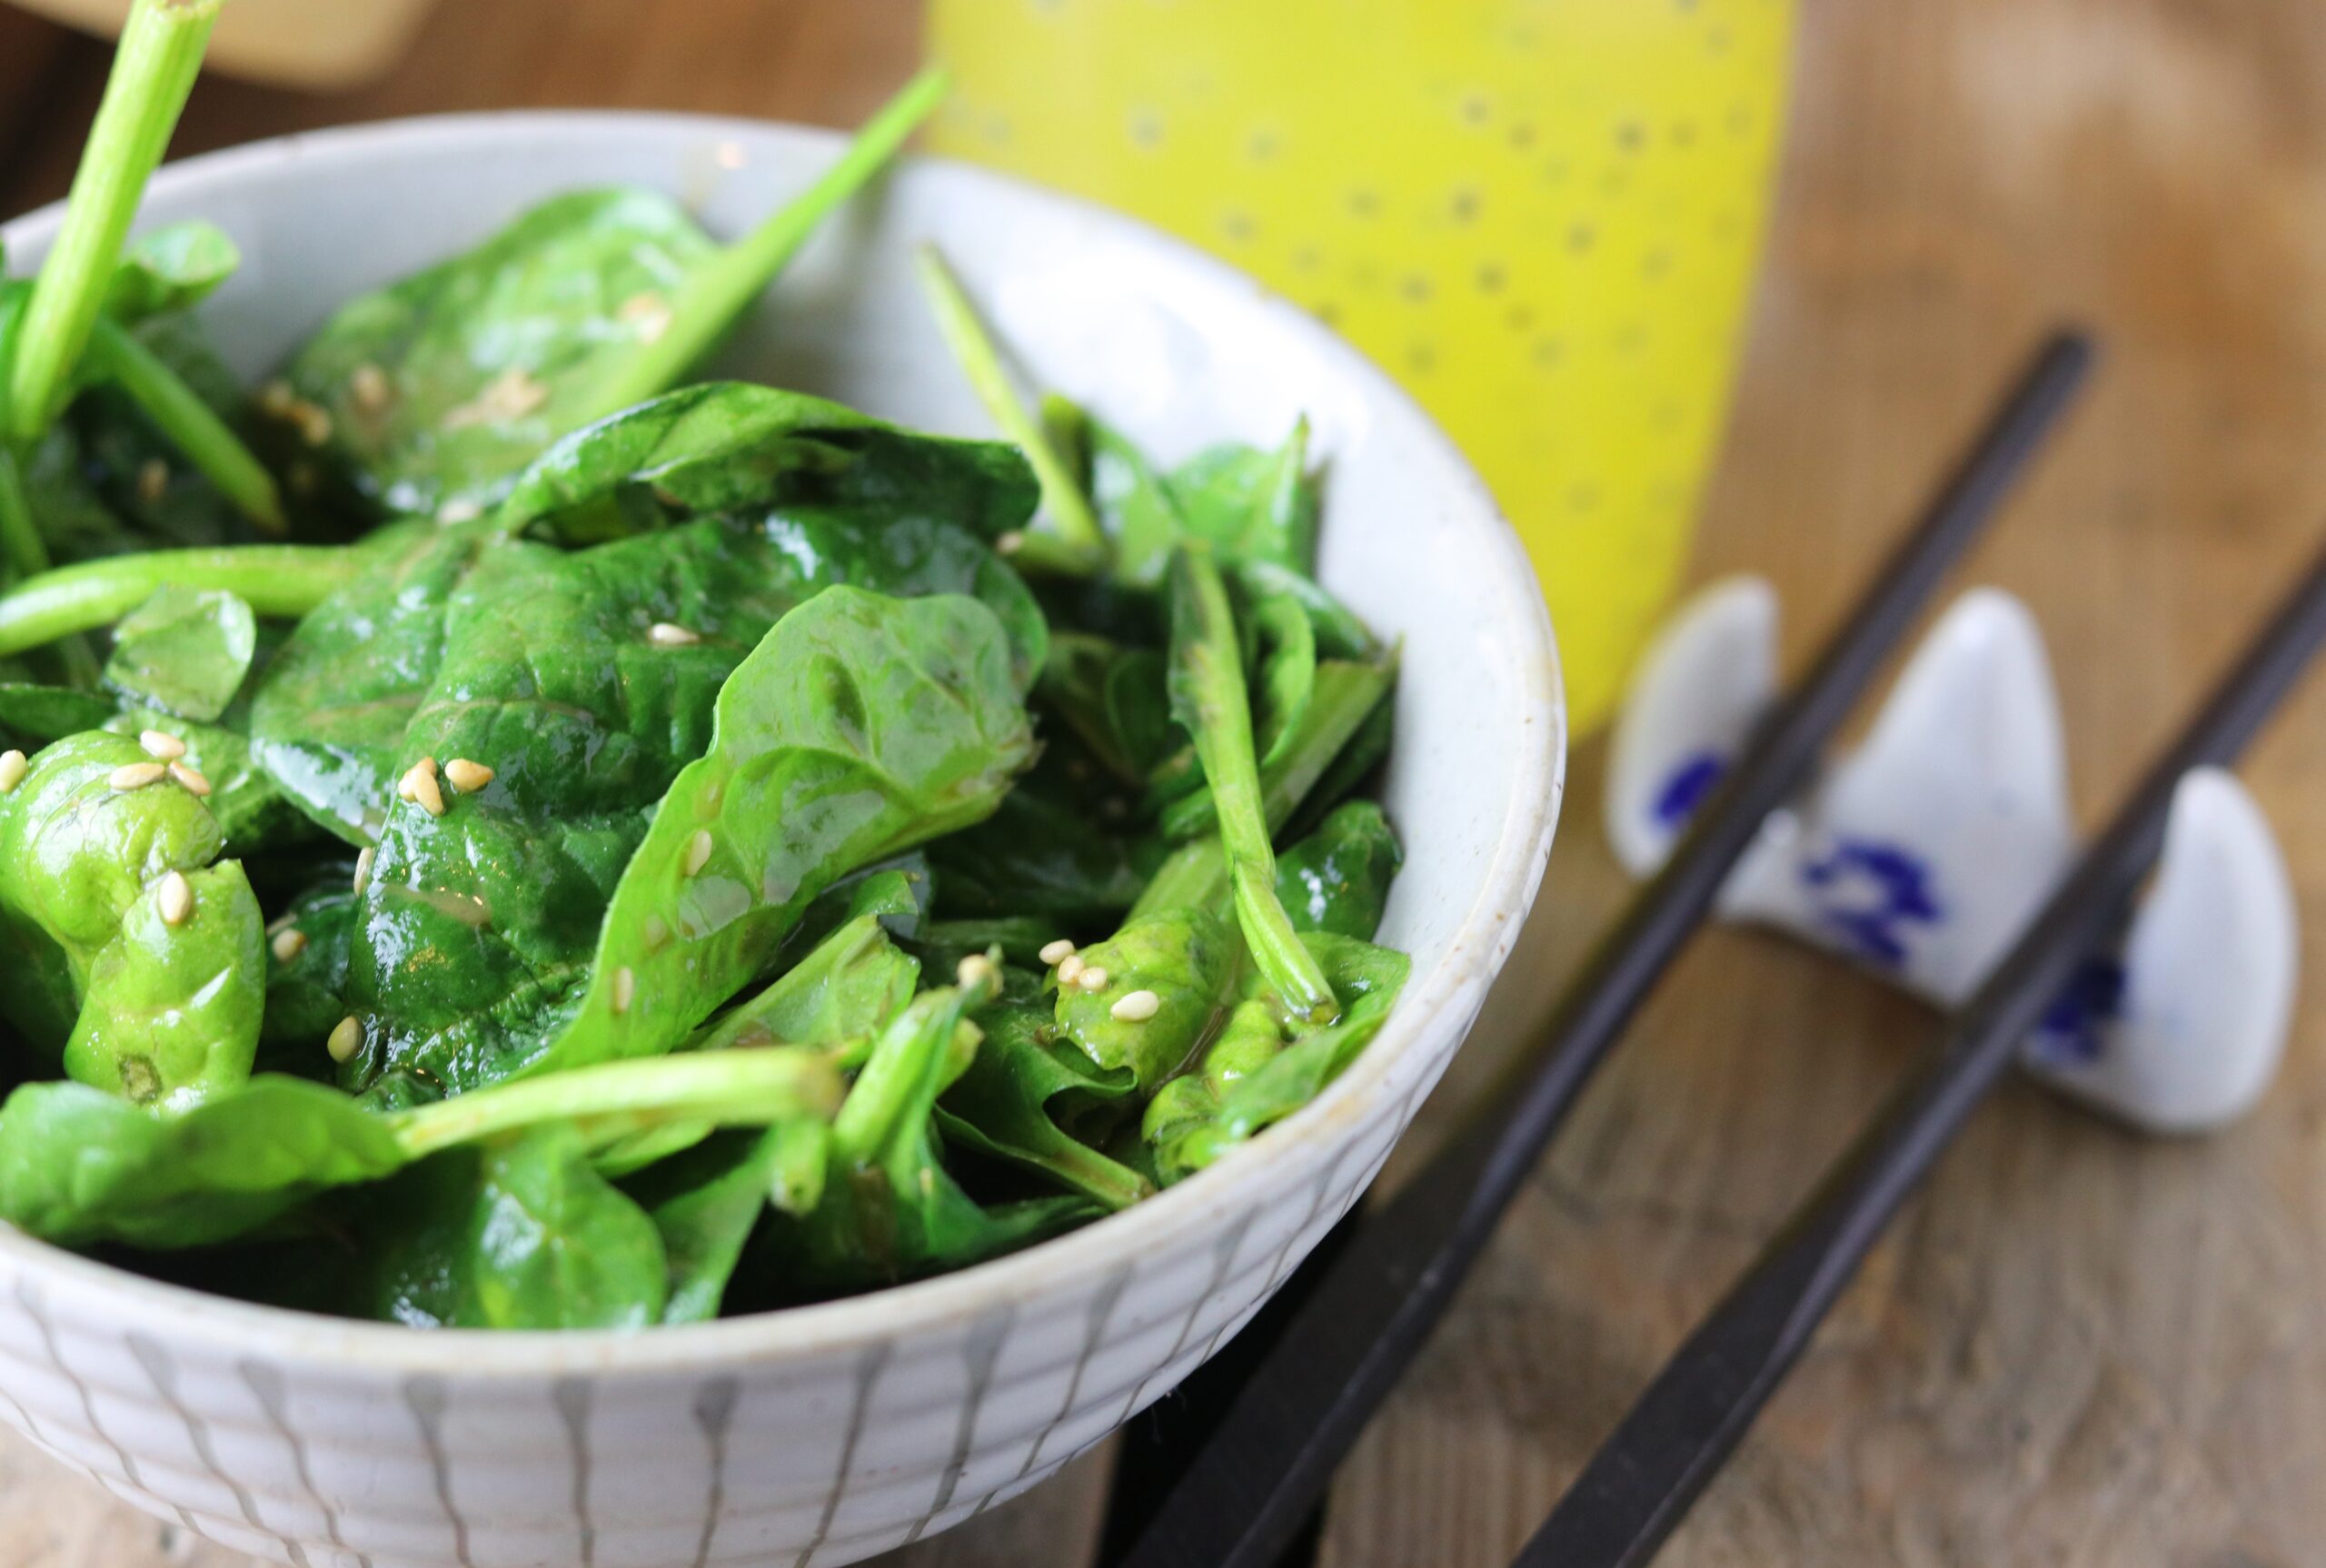
    Spinach and sesame salad in a bowl on a wooden table.
    The sesame dressing of this salad comes with a high umami flavour

    What does Japanese spinach and sesame salad match with as a side dish?

    This delicious, hearty salad goes very well as a side dish to many other Japanese dishes. It is very tasty simply as a snack all by itself. And it also complements many European dishes very well.

    This salad also complements many European dishes very well. For example, here are fried, vegan mozzarella balls based on my vegan mozzarella recipe.
    This salad also complements many European dishes very well. For example, here are fried, vegan mozzarella balls based on my vegan mozzarella recipe.

    Does spinach really contain so much more iron than other vegetables?

    Fun fact! Spinach is very healthy, but the immensely high iron content that made it so outstanding for years and even let to comic character creations like Pop Eye was unfortunately only the result of a calculation error in which a decimal point slipped. Many green vegetables have a comparatively high iron content, including spinach. But spinach is not as outstanding as an iron miracle as once believed.
    Nevertheless, it is of course very healthy and, above all, always delicious and versatile in its preparation options.

    Spinach-sesame-salad in a bowl on a wooden table with chop sticks.
    Although spinach contains less iron than was long thought, it is still extremely healthy.

    Spinach is a winter vegetable – perfect for a winter salad

    Did you know that you can sow spinach in the fall and harvest it right into the winter? In the greenhouse it even grows continuously, even when it’s freezing outside.
    With this recipe you can enjoy a delicious, fresh salad with spinach from regional produce or from your own garden, even in winter.

    Japanese spinach and sesame salad on a wooden table with chop sticks and a drink
    With this recipe you can enjoy a delicious, fresh salad even in winter.

    Show me your Japanese spinach and sesame salad

    Please follow me on Instagram or Facebook. And I’d be delighted if you prepared my Japanese spinach and sesame salad and posted a photo of it, tagging my account. Because I always find it really great and exciting to see how my recipes have been prepared in other kitchens!

    Spinach-sesame salad on a plate with vegan, fired mozzarella balls
    Show me your spinach-sesame salad

    Japanese spinach and sesame salad – preparation in pictures

    Here I’ll show you step by step in photos how to prepare spinach and sesame salad. Then we’ll go straight on to the recipe.

    A bamboo steamer and ingredients for a Japanese spinach and sesame salad.
    The spinach is briefly steamed, the dressing is stirred, both are mixed together and sprinkled with sesame seeds. Done.
    Japanese spinach and  freshly fried vegan mozzarella balls on a plate.
    Japanese spinach and sesame salad goes perfectly with freshly fried vegan mozzarella balls based on my plant based mozzarella.

    Ingredients for 4 portions of Japanese spinach and sesame salad:

    300 g spinach, young and fresh
    2 tbsp sesame
    2 tbsp tahini (sesame paste)
    3 tbsp soy sauce
    4 tsp sugar
    1 tbsp rice vinegar

    Preparation:

    Roasting the sesame

    1. Roast the sesame briefly and without fat in a hot pan.
    2. As soon as it turns brown, immediately remove it from the pan into a bowl and set aside.

    Steaming the spinach

    1. Blanch the spinach in a steamer for 30 seconds to 2 minutes. To do this, bring water to the boil in a pot and steam the spinach in a suitable steamer with a lid on top. A multi-level, Asian bamboo steamer is particularly suitable for this. Depending on how crunchy or soft you want the spinach, you can steam it shorter, longer or not at all.

    Spinach and sesame dressing

    1. Mix the tahini with the soy sauce, sugar and rice vinegar to make a dressing.
    2. Then mix with the steamed spinach.
    3. Sprinkle sesame seeds on top and serve.

    Enjoy your meal!

  • Kimchi, vegan, homemade and fermented

    Kimchi, vegan, homemade and fermented

    A very convincing taste experience: my recipe for homemade, fermented kimchi. Here on Daily Vegan, of course, as a vegan kimchi recipe.
    You’ll also learn some basics about fermentation in general in this delicious recipe.

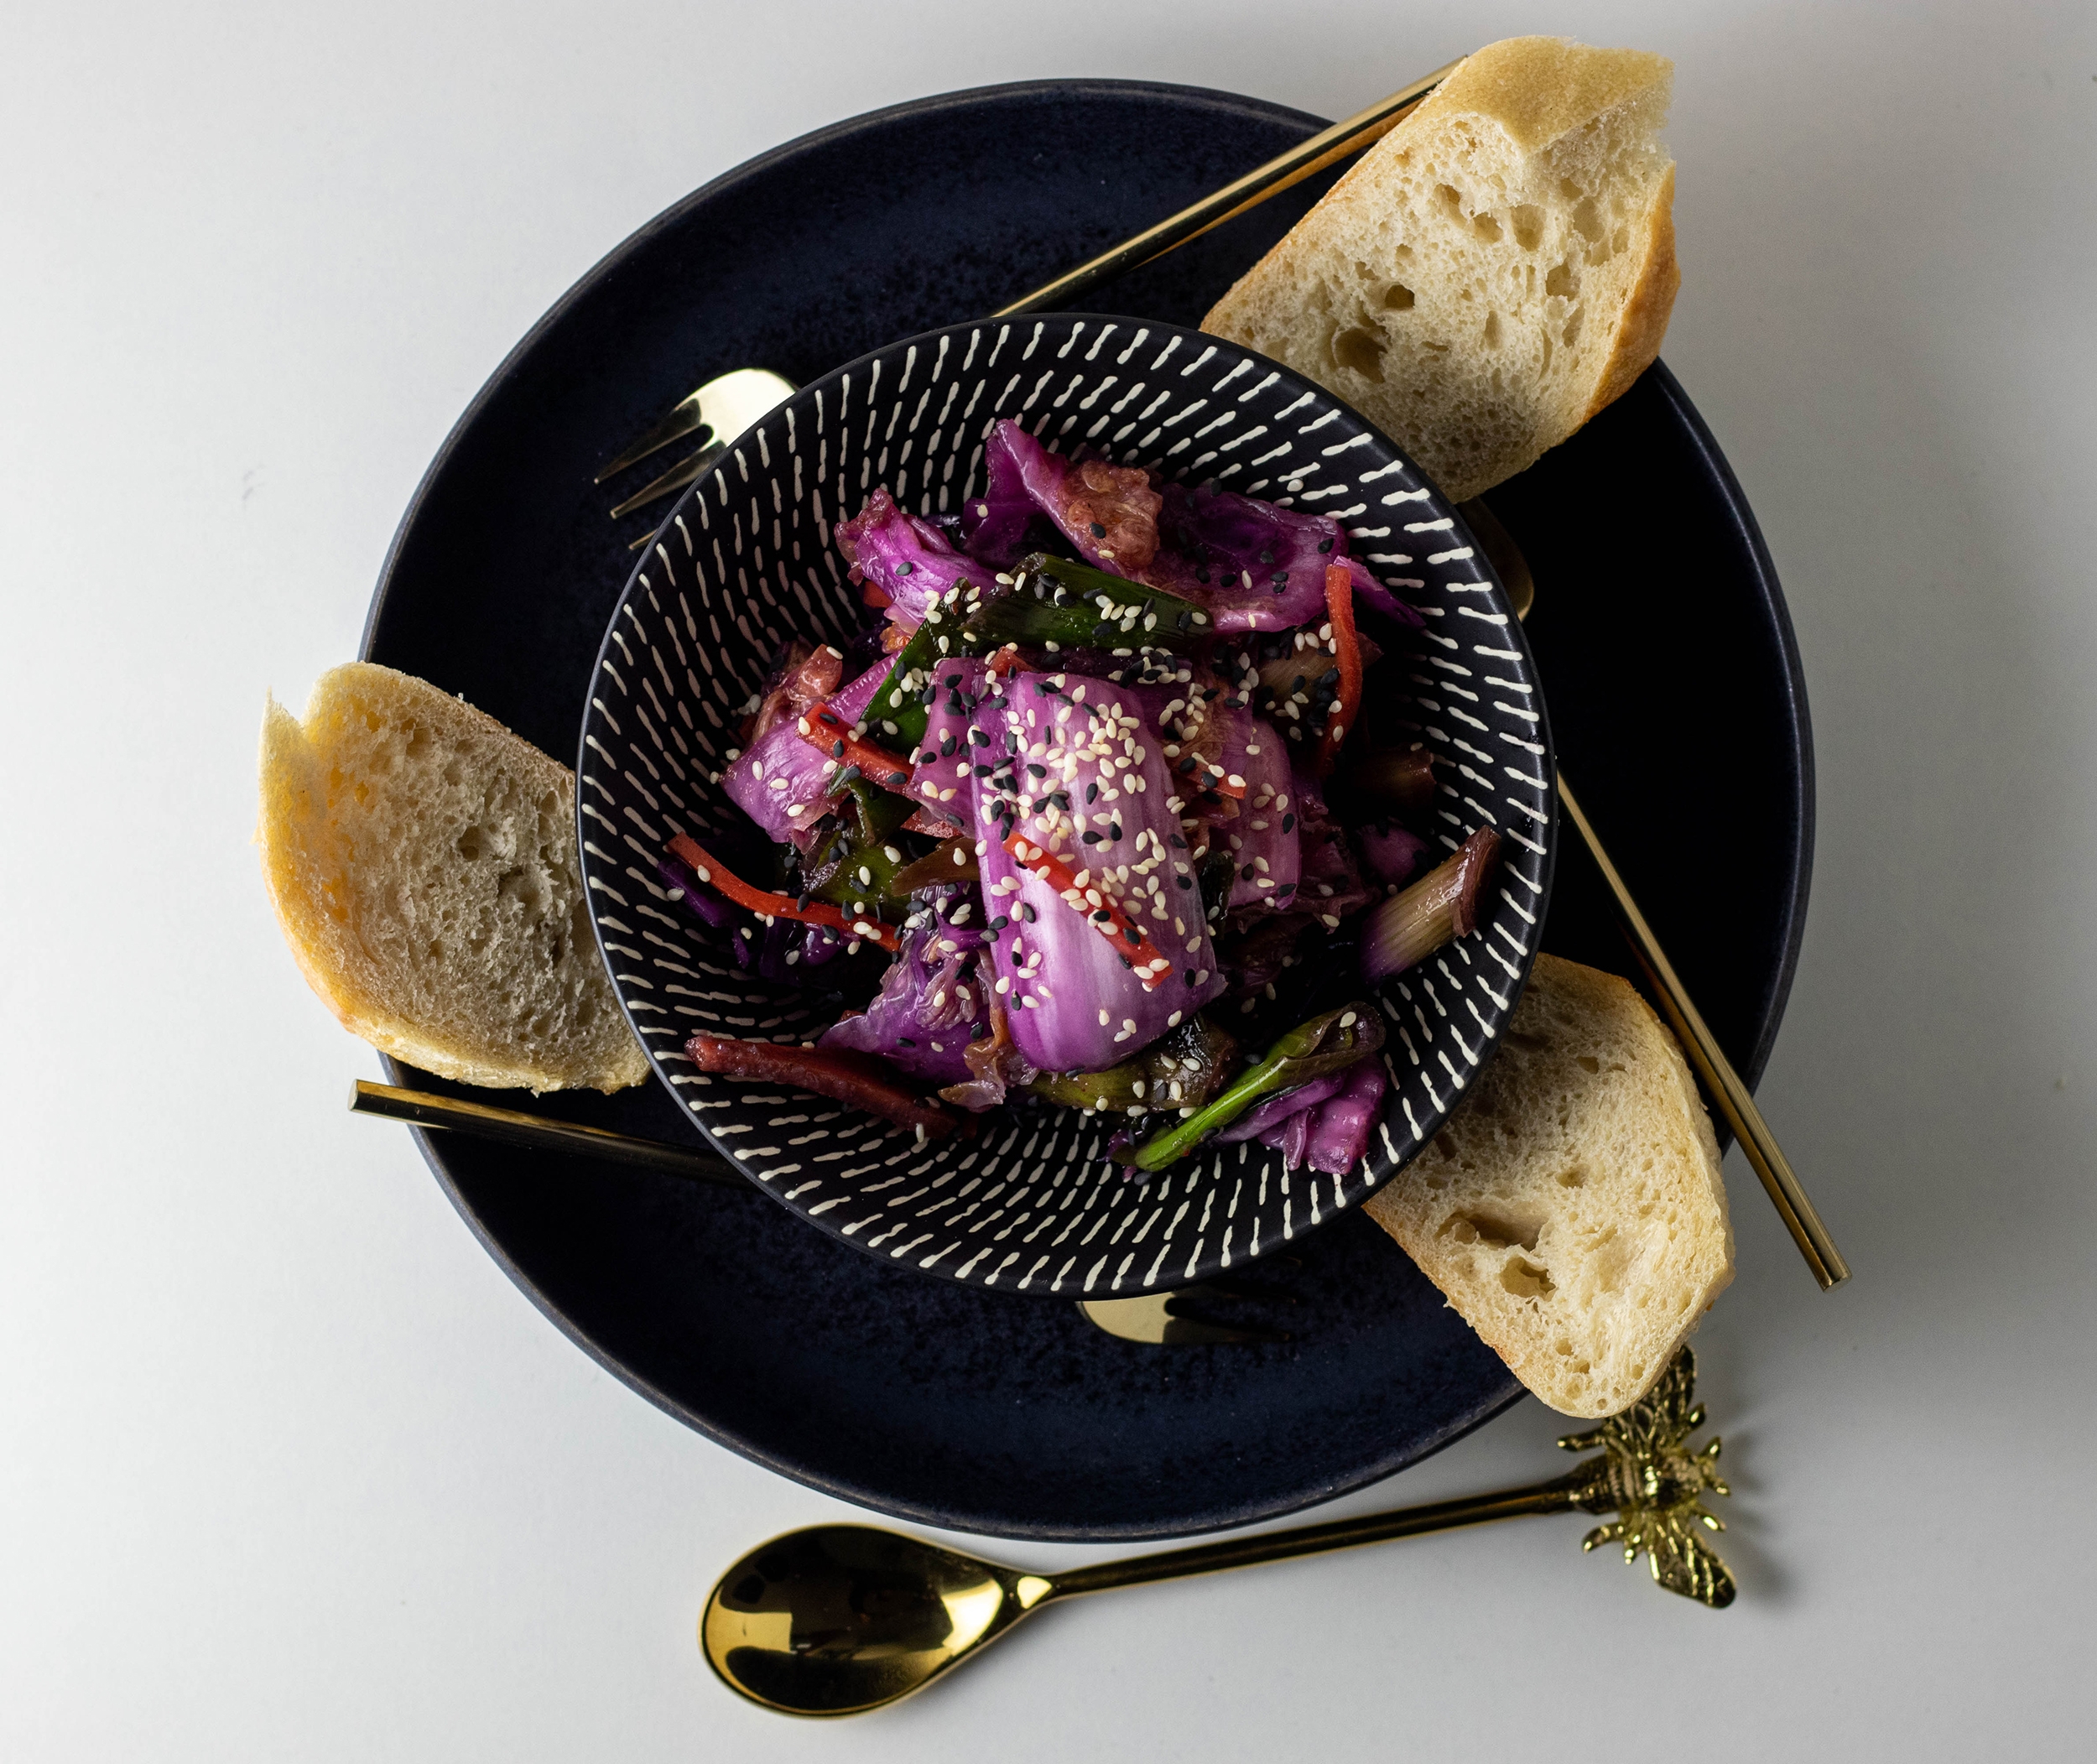
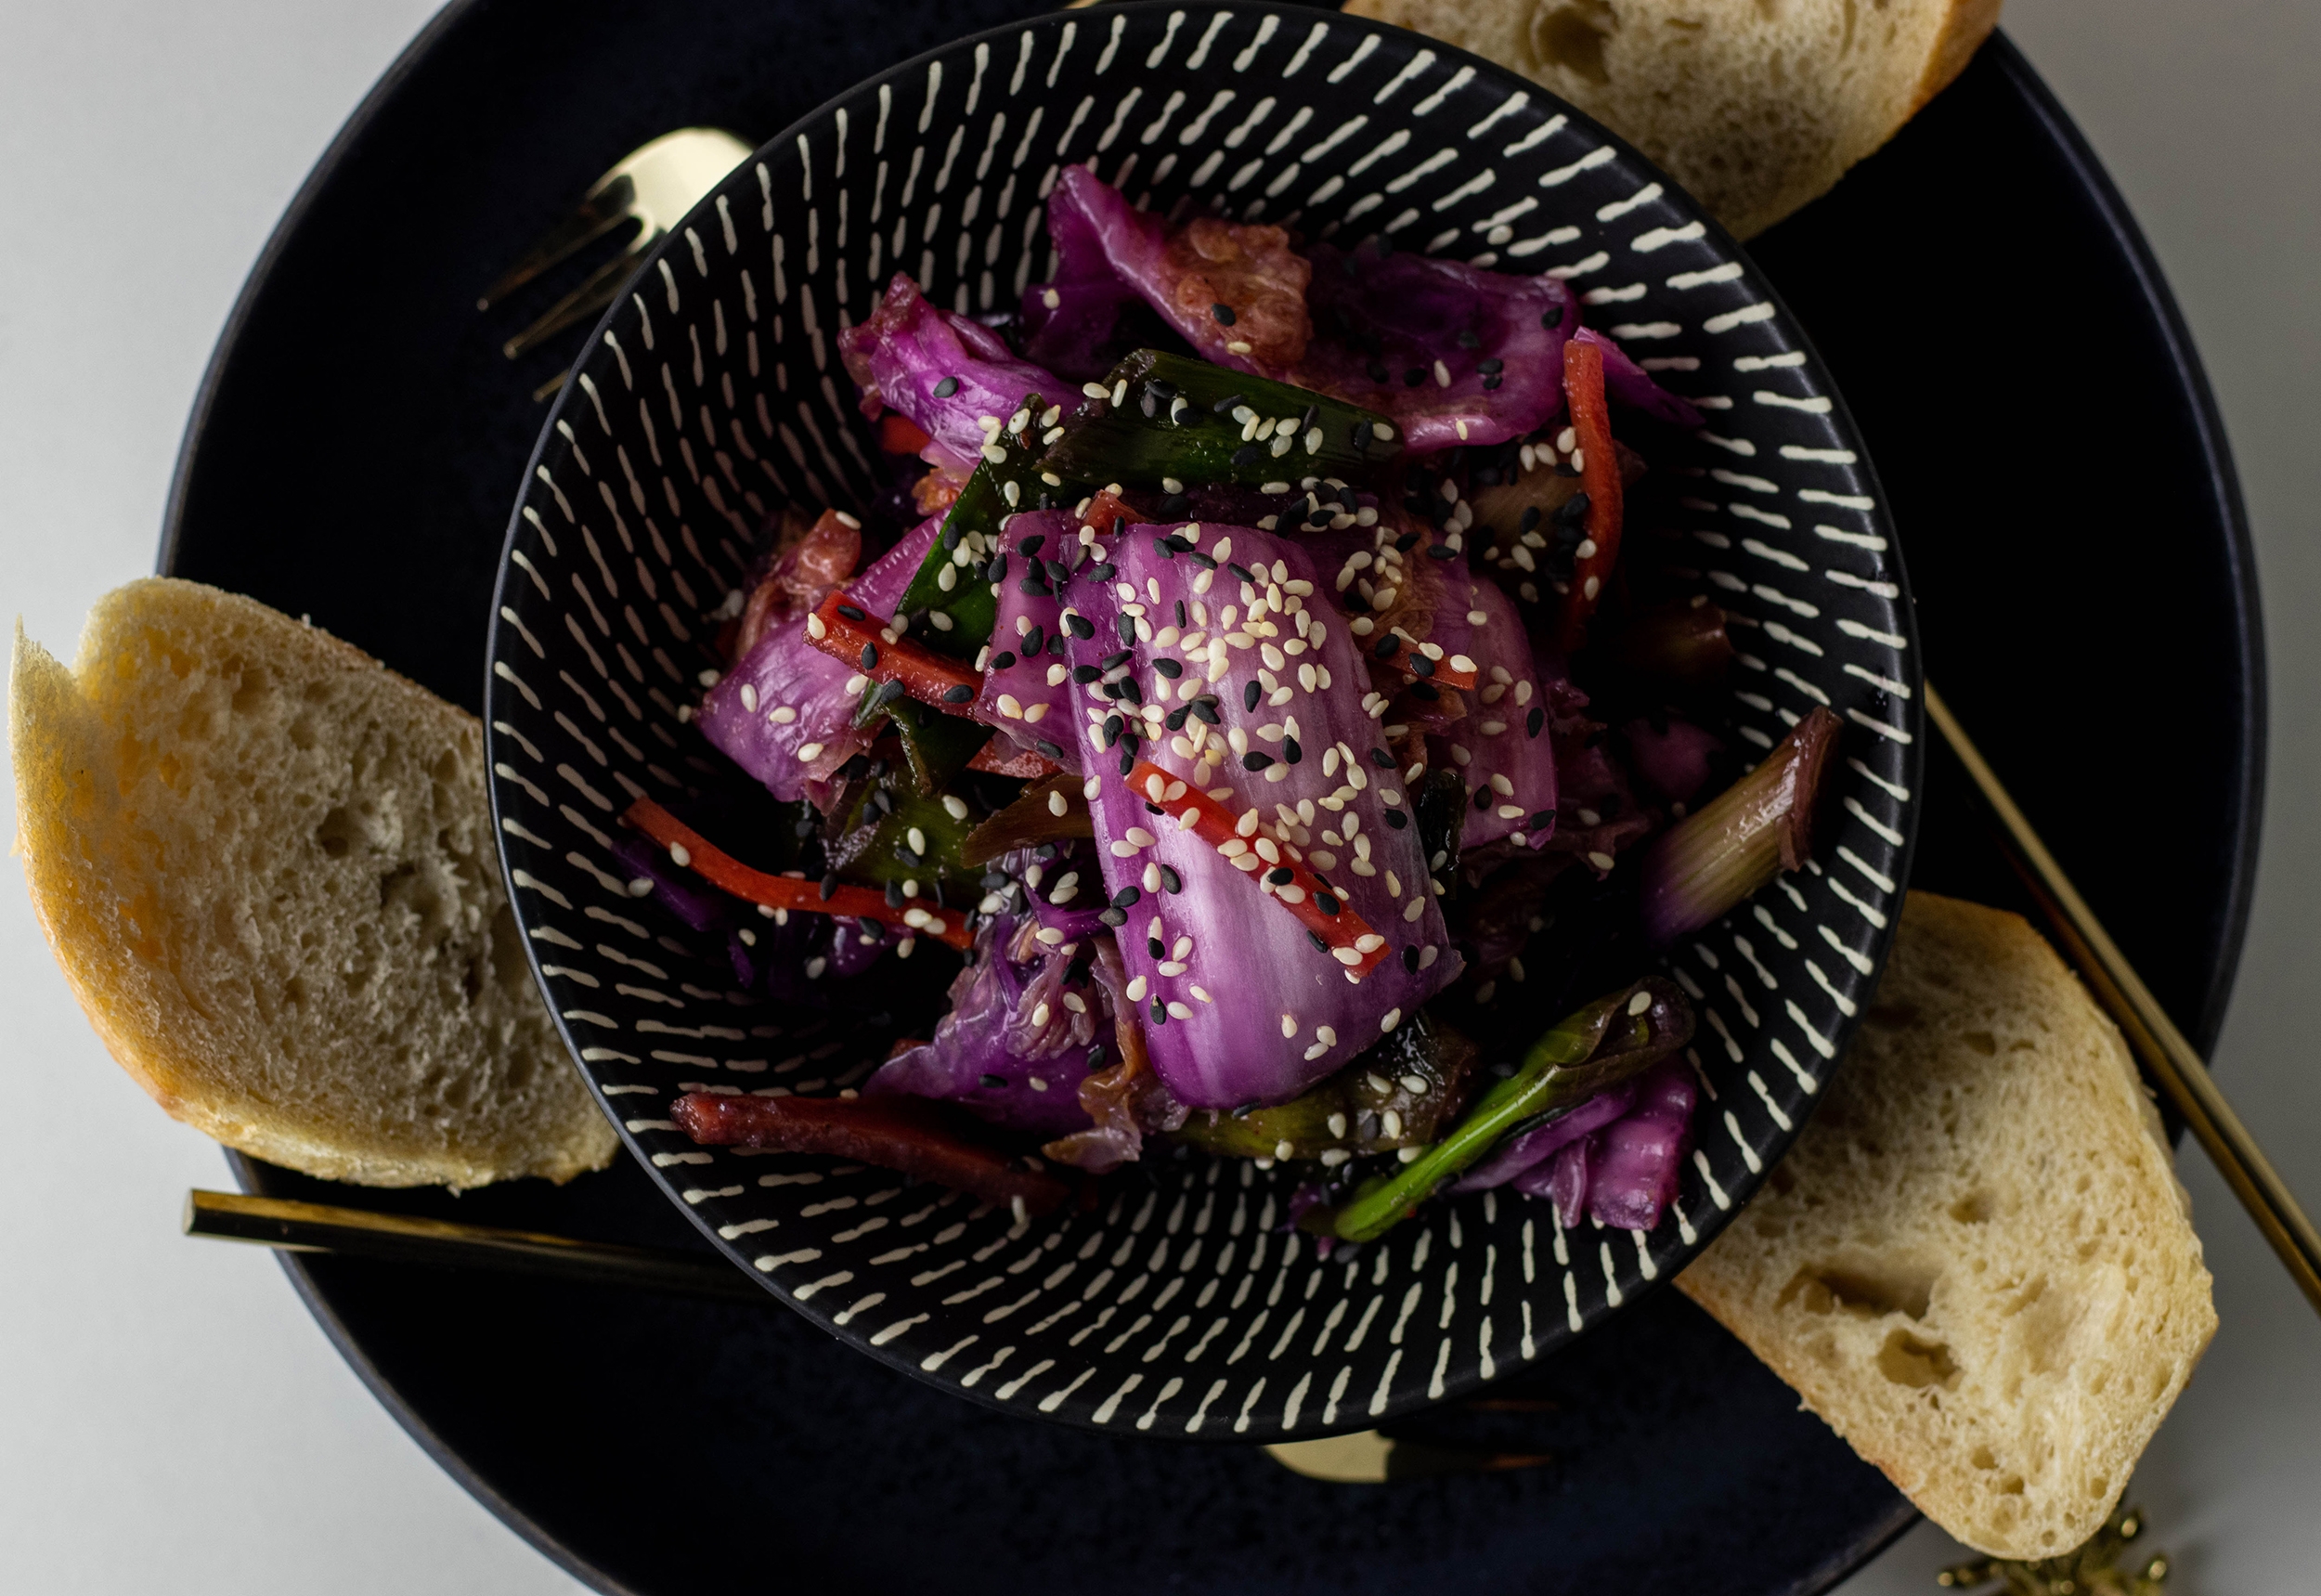
    Vegan kimchi in a bowl on a plate with bread.
    A convincing taste experience: my home-pickled and fermented kimchi.

    Kimchi has many health benefits

    Kimchi (or kimchee) is not only wonderfully delicious, but it is also very healthy. It contains a lot of vitamin A, B vitamins and vitamin C, few calories, hardly any fat but lots of healthy fiber.
    With this recipe it is easy to say: vegan for health!

    Vegan kimchi in a bowl on a plate with bread.
    Kimchi has many health benefits

    Vegan kimchi in the traditional Korean style

    I based my kimchi recipe on the traditional Korean way of preparing it. However, I don’t use radish, but instead use red cabbage, which gives my kimchi a great color and crunchiness. And of course I use vegan seasoning, and not fish, like in some traditional recipes.

    Vegan kimchi in a bowl on a plate with bread.
    Vegan kimchi in the traditional Korean style

    How is kimchi fermented?

    Kimchi fermentation is working with lactic acid bacteria, which grow on their own, since they basically exist everywhere and they are naturally vegan. They were just first discovered in milk, hence their name. This form of fermentation is also called lactofermentation or lactic acid fermentation.

    Unlike many harmful bacteria, lactic acid bacteria are salt-tolerant and they multiply on their own. However, untreated organic vegetables are better suited to lactofermentation than vegetables, that have been treated with pesticides or other chemicals.

    Vegan kimchi in a bowl on a plate with bread.
    Kimchi fermentation is working with lactic acid bacteria

    Lactofermentation for kimchi only takes a few days

    Lactic acid fermentation is completed after just a few days until you can enjoy your delicious kimchi. Depending on how strong you like it, you can ferment kimchi for between 5 and 10 days. Once sealed in the fridge afterwards, it will last for weeks or months. Which makes it also great for meal preparation.

    Vegan kimchi in a bowl on a plate with bread.
    Lactofermentation only takes a few days

    Tip: Never throw away the kimchi liquid!

    The fermentation liquid of kimchi is also a perfect umami contributor for a vinaigrette, other dressings or sauces. So I strongly recommend to not pour the kimchi liquid or the liquids from other ferments down the drain.

    And maybe you’d like to try out other ferments too. Like my fermented garlic.

    Vegan kimchi in a bowl on a plate with bread.
    The liquid of ferments is a perfect umami contributor for a vinaigrette, other dressings or sauces.

    General information on fermentation

    Hygiene is particularly important when fermenting, because we only want the good bacteria to work for us and avoid mold and germs. So only use clean surfaces and wash your hands thoroughly. Your kimchi container must also be very clean; it is best to rinse it out with boiling water shortly before usage.

    Lactic acid bacteria are used in kimchi fermentation. As with sauerkraut or other lactoferments, they provide the sour, fermented taste. The practical thing about lactic acid bacteria is that, unlike many germs, they tolerate salt. That is why salt is used in this type of fermentation; it not only contributes to the taste, but also prevents the food from spoiling.

    It is also important to use organic vegetables so that the vegetables are free of pesticides that may prevent fermentation.

    Vegan kimchi in a bowl on a plate with bread.
    You’ll also learn some basics about fermentation in general in this delicious recipe.

    Show me your homemade kimchi

    Feel free to follow me on Instagram or Facebook. And I’ll be delighted if you make my vegan kimchi and post a photo of it, tagging my account. Because I always find it really great and exciting to see how my recipes are prepared in other kitchens!

    Kimchi: the preparation in pictures

    Before we get to the recipe, I’ll show you my kimchi preparation on step by step photos.

    Unfermented ingredients for kimchi.
    1. The divided cabbage has been heavily salted and must be left to simmer.
    Preparing the seasoning paste.
    2. Preparing the seasoning paste.
    The finished seasoning paste in a mixer.
    3. The finished seasoning paste.
    Vvegetables are partially added to a seasoning paste in a bowl.
    4. The vegetables are partially added to the seasoning paste.
    Raw kimchi, called geotjori, in a jar. Ready for it's fermentation.
    5. The raw kimchi is called geotjori. Now it can ferment and in a few days it will become fully fermented, delicious kimchi.
    Vegan kimchi in a bowl on a plate with bread.
    Spicy fermented

    Ingredients for about 1 l vegan kimchi:

    1 medium-sized Chinese cabbage (organic, untreated)
    1 carrot (organic, untreated), peeled, cut into julienne strips
    5 spring onions (organic, untreated), in strips
    1/4 of a small red cabbage (organic, untreated), in strips
    1 heaped teaspoon rice flour
    100 ml water
    1 teaspoon cane sugar
    1 small onion, roughly chopped
    5 garlic cloves, peeled
    1 thumb-sized piece of ginger, roughly chopped
    2 heaped teaspoons nori flakes
    3 tablespoons soy sauce (gluten-free if necessary)
    1 teaspoon white miso paste
    5 heaped teaspoons chili flakes

    Sea salt, non-iodized

    Preparation:

    Prepare and ferment kimchi:

    1. Quarter the Chinese cabbage and divide it into its leaves.
    2. Then sprinkle the cabbage leaves thoroughly with sea salt and place them in a large bowl. Knead the leaves lightly.
    3. Cut the red cabbage into bite-sized strips, salt these too and let it steep together with the Chinese cabbage. Let it steep for a total of 2-3 hours until the cabbage has become soft and has released a lot of water. Turn the salted Chinese cabbage every 30 minutes.
    4. To make the seasoning paste for the kimchi smoother, I now cook a roux of rice flour and water. To do this, stir the rice flour into 100 ml of cold water.
    5. Bring to the boil in a small saucepan and simmer while stirring until a thick sauce has formed.
    6. Then stir in the cane sugar.
    7. Let this rice paste cool completely.
    8. Put the onion, garlic, ginger, chili flakes and nori flakes in a food processor with the soy sauce and miso paste and grind finely to create a homogeneous seasoning paste.
    9. Then add the rice paste and puree again.
    10. Knead in the carrot strips and spring onions with your hands, preferably with gloves.
    11. After the Chinese cabbage and red cabbage have been steeped in salt, drain the salt water from the cabbage, but fetch it.
    12. Wash the cabbage thoroughly under cold water, then optionally divide it into bite-sized pieces.
    13. Now mix the seasoning paste with the cabbage leaves and the collected cabbage water. To do this, spread the mixture onto the cabbage leaves with your fingers and knead everything well.

    Geotjori:

    1. The unfermented kimchi can now be put into jars. In Korea it is called geotjori in this state and is often eaten with rice. So you can try it now or set aside a small portion.

    Fermentation:

    1. Now fill the geotjori into one or more big screw-top jars or kimchi containers.
    2. Press the vegetable mixture firmly into the container so that any air bubbles are pressed out.
    3. Put the lid on the container, but do not close it tightly. When the kimchi starts to ferment, air must be able to escape.
    4. Leave it at room temperature for 3-7 days. From the 3rd day onwards, taste occasionally to see if the kimchi is strong enough for you. If you like kimchi very strong, you can ferment it for up to 10 days.
    5. While the vegetables are fermenting, press them down in their jar 1-2 times a day. To do this, press down the cabbage with a clean spoon so that the air bubbles that form can escape.
    6. As soon as the fermentation is to your taste, close the container tightly and store it in the refrigerator. It will keep there for a few weeks to months.

    Enjoy your homemade kimchi!

  • Pickled eggplants with olive oil and herbs

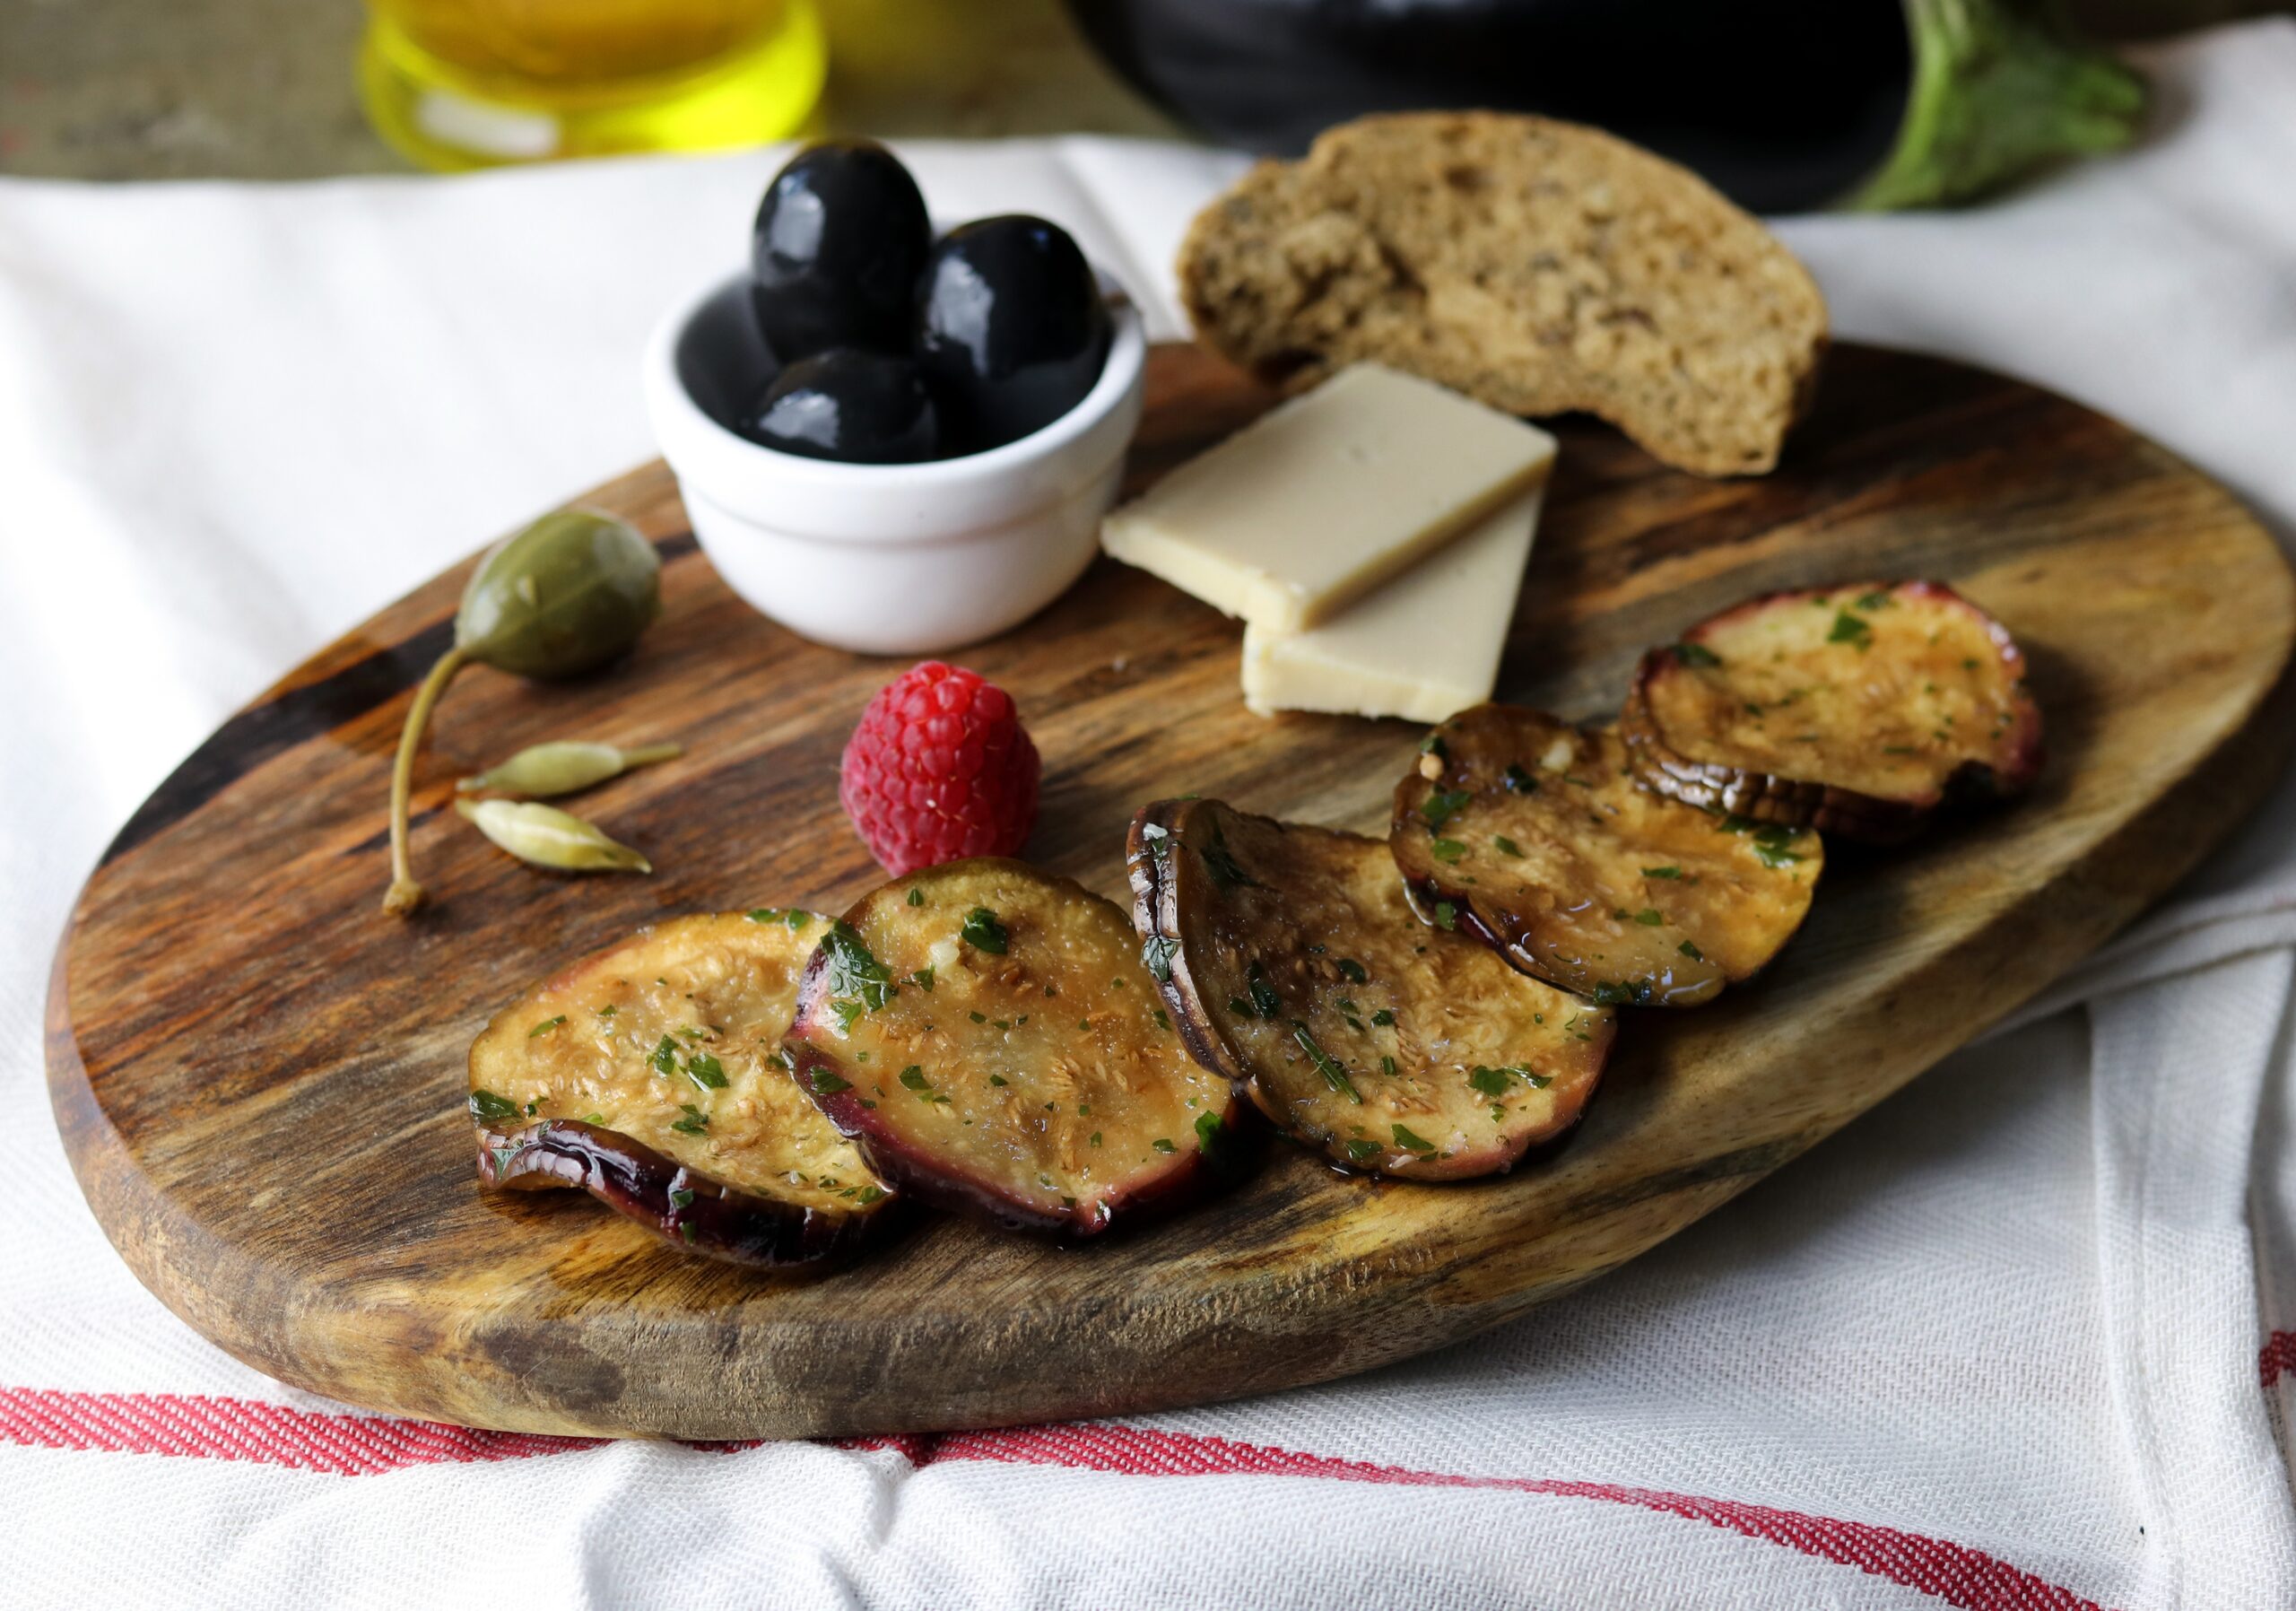
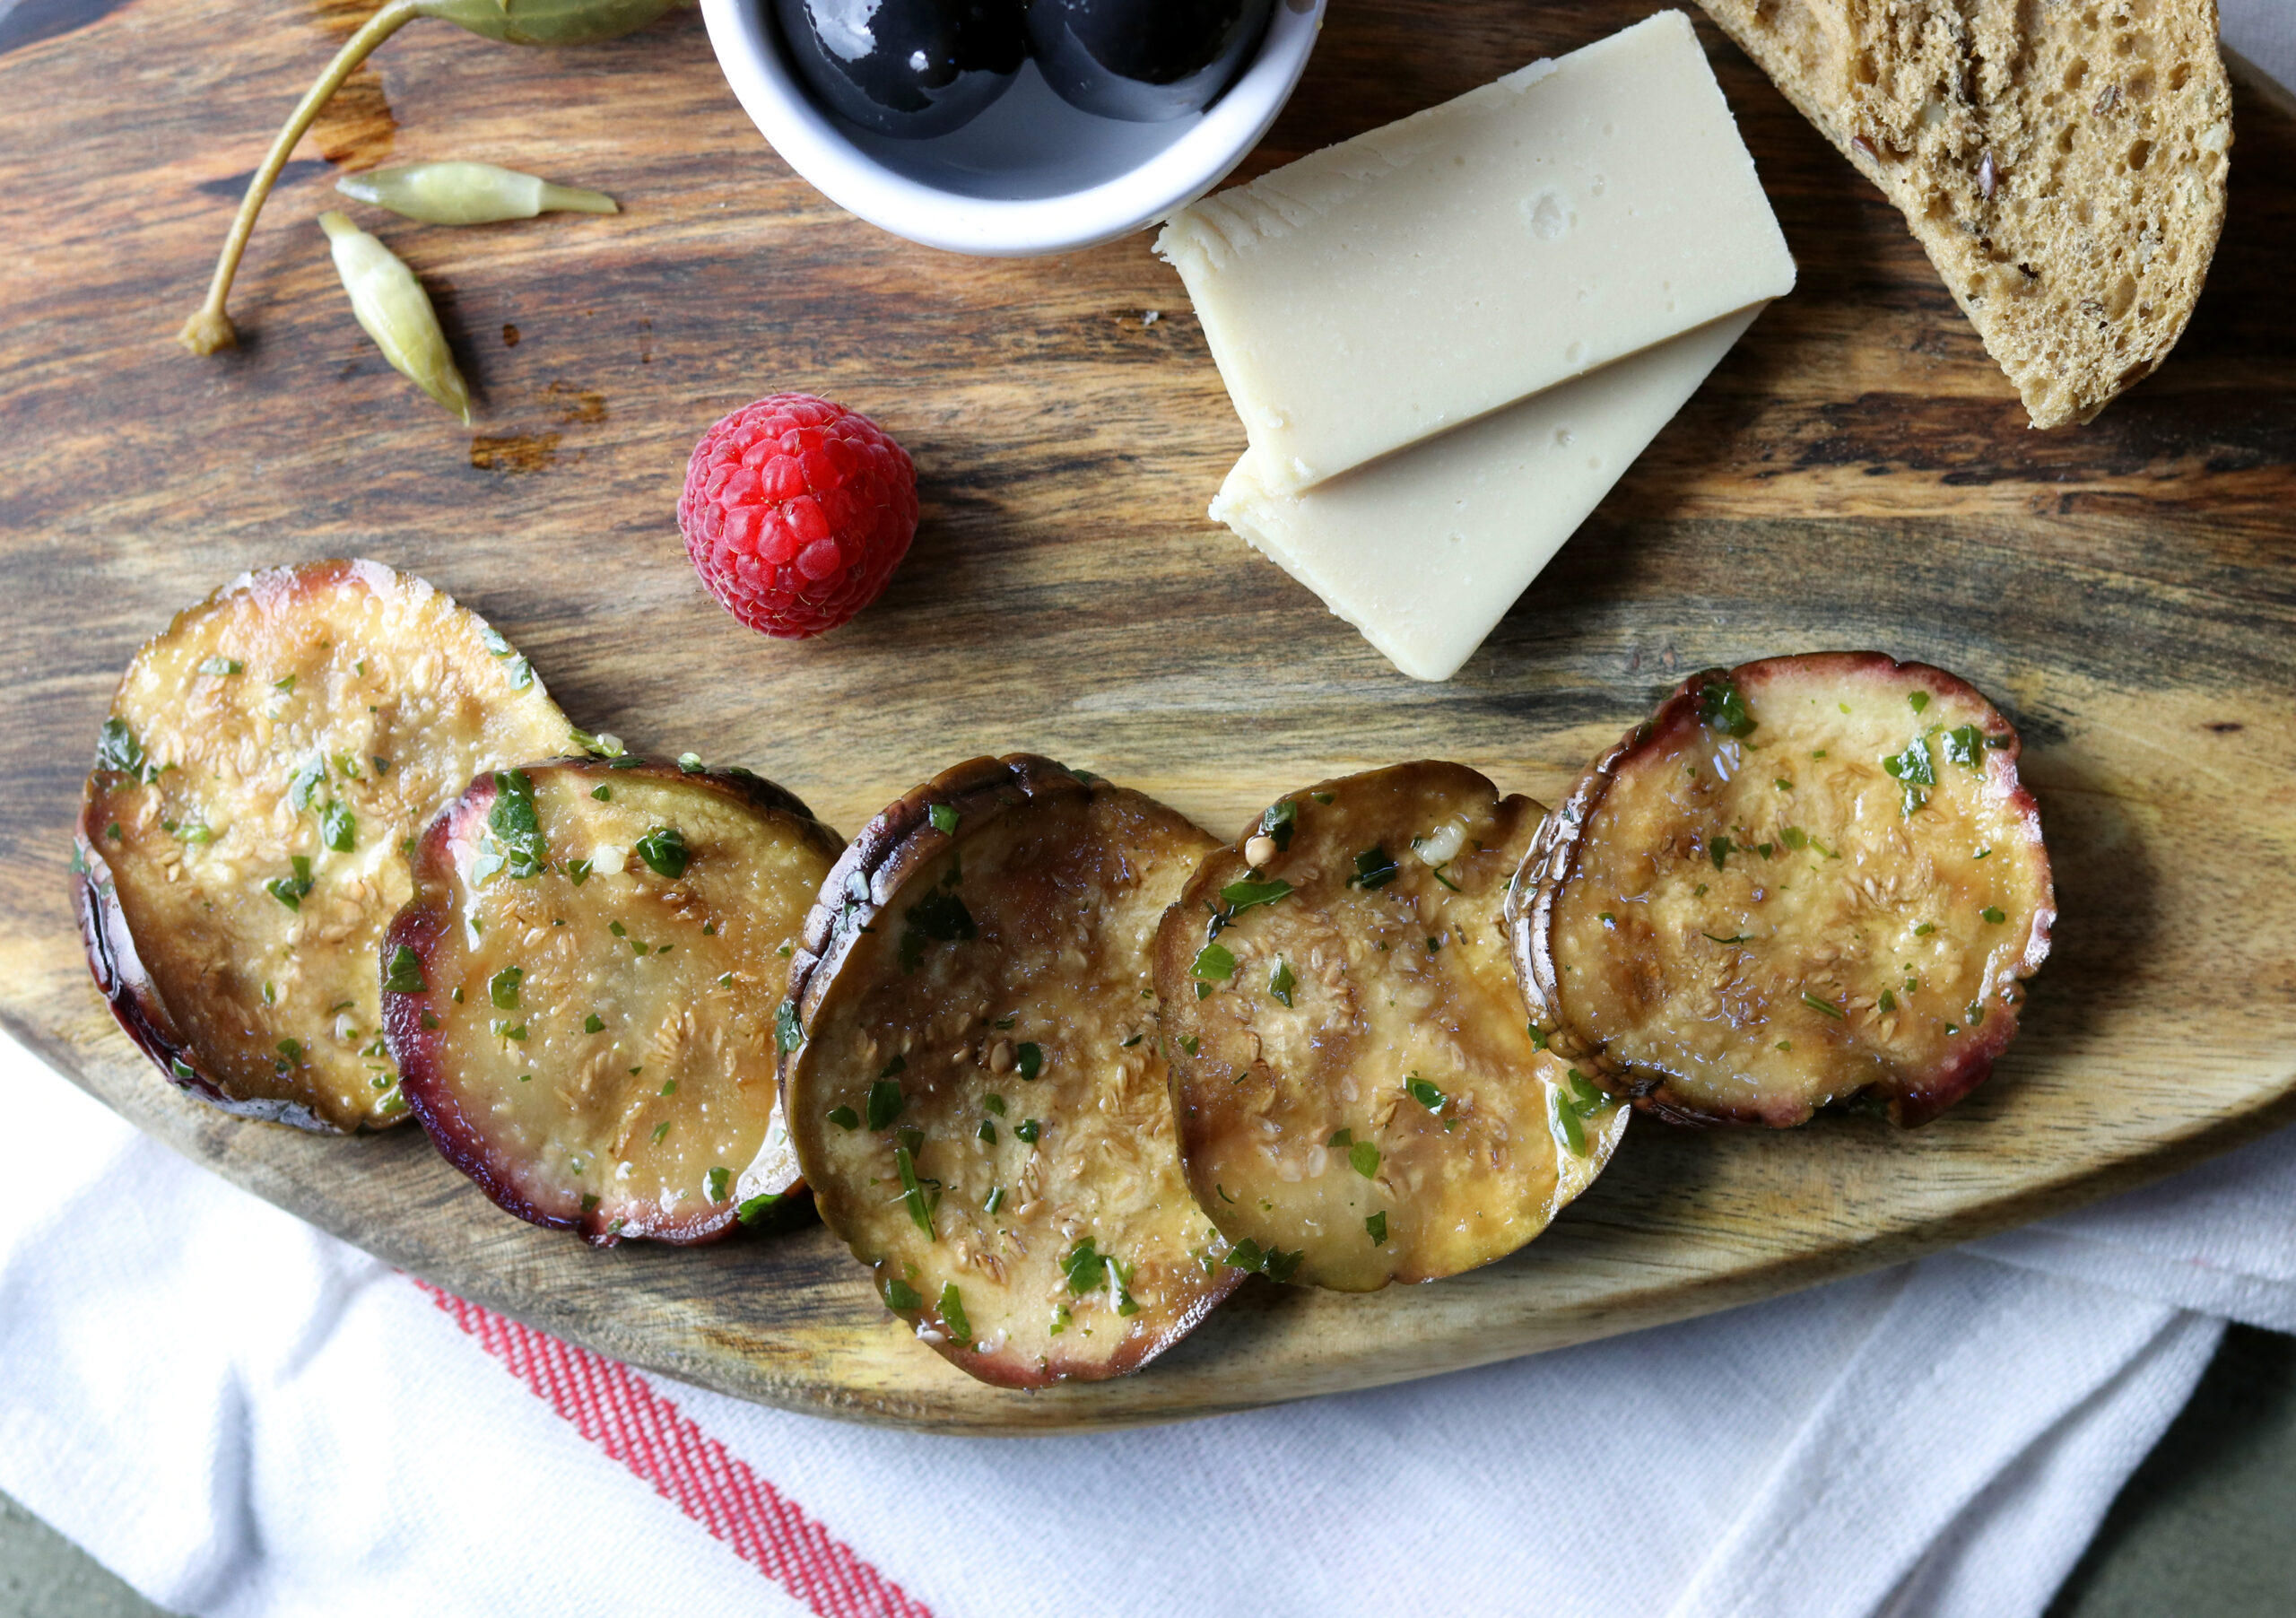
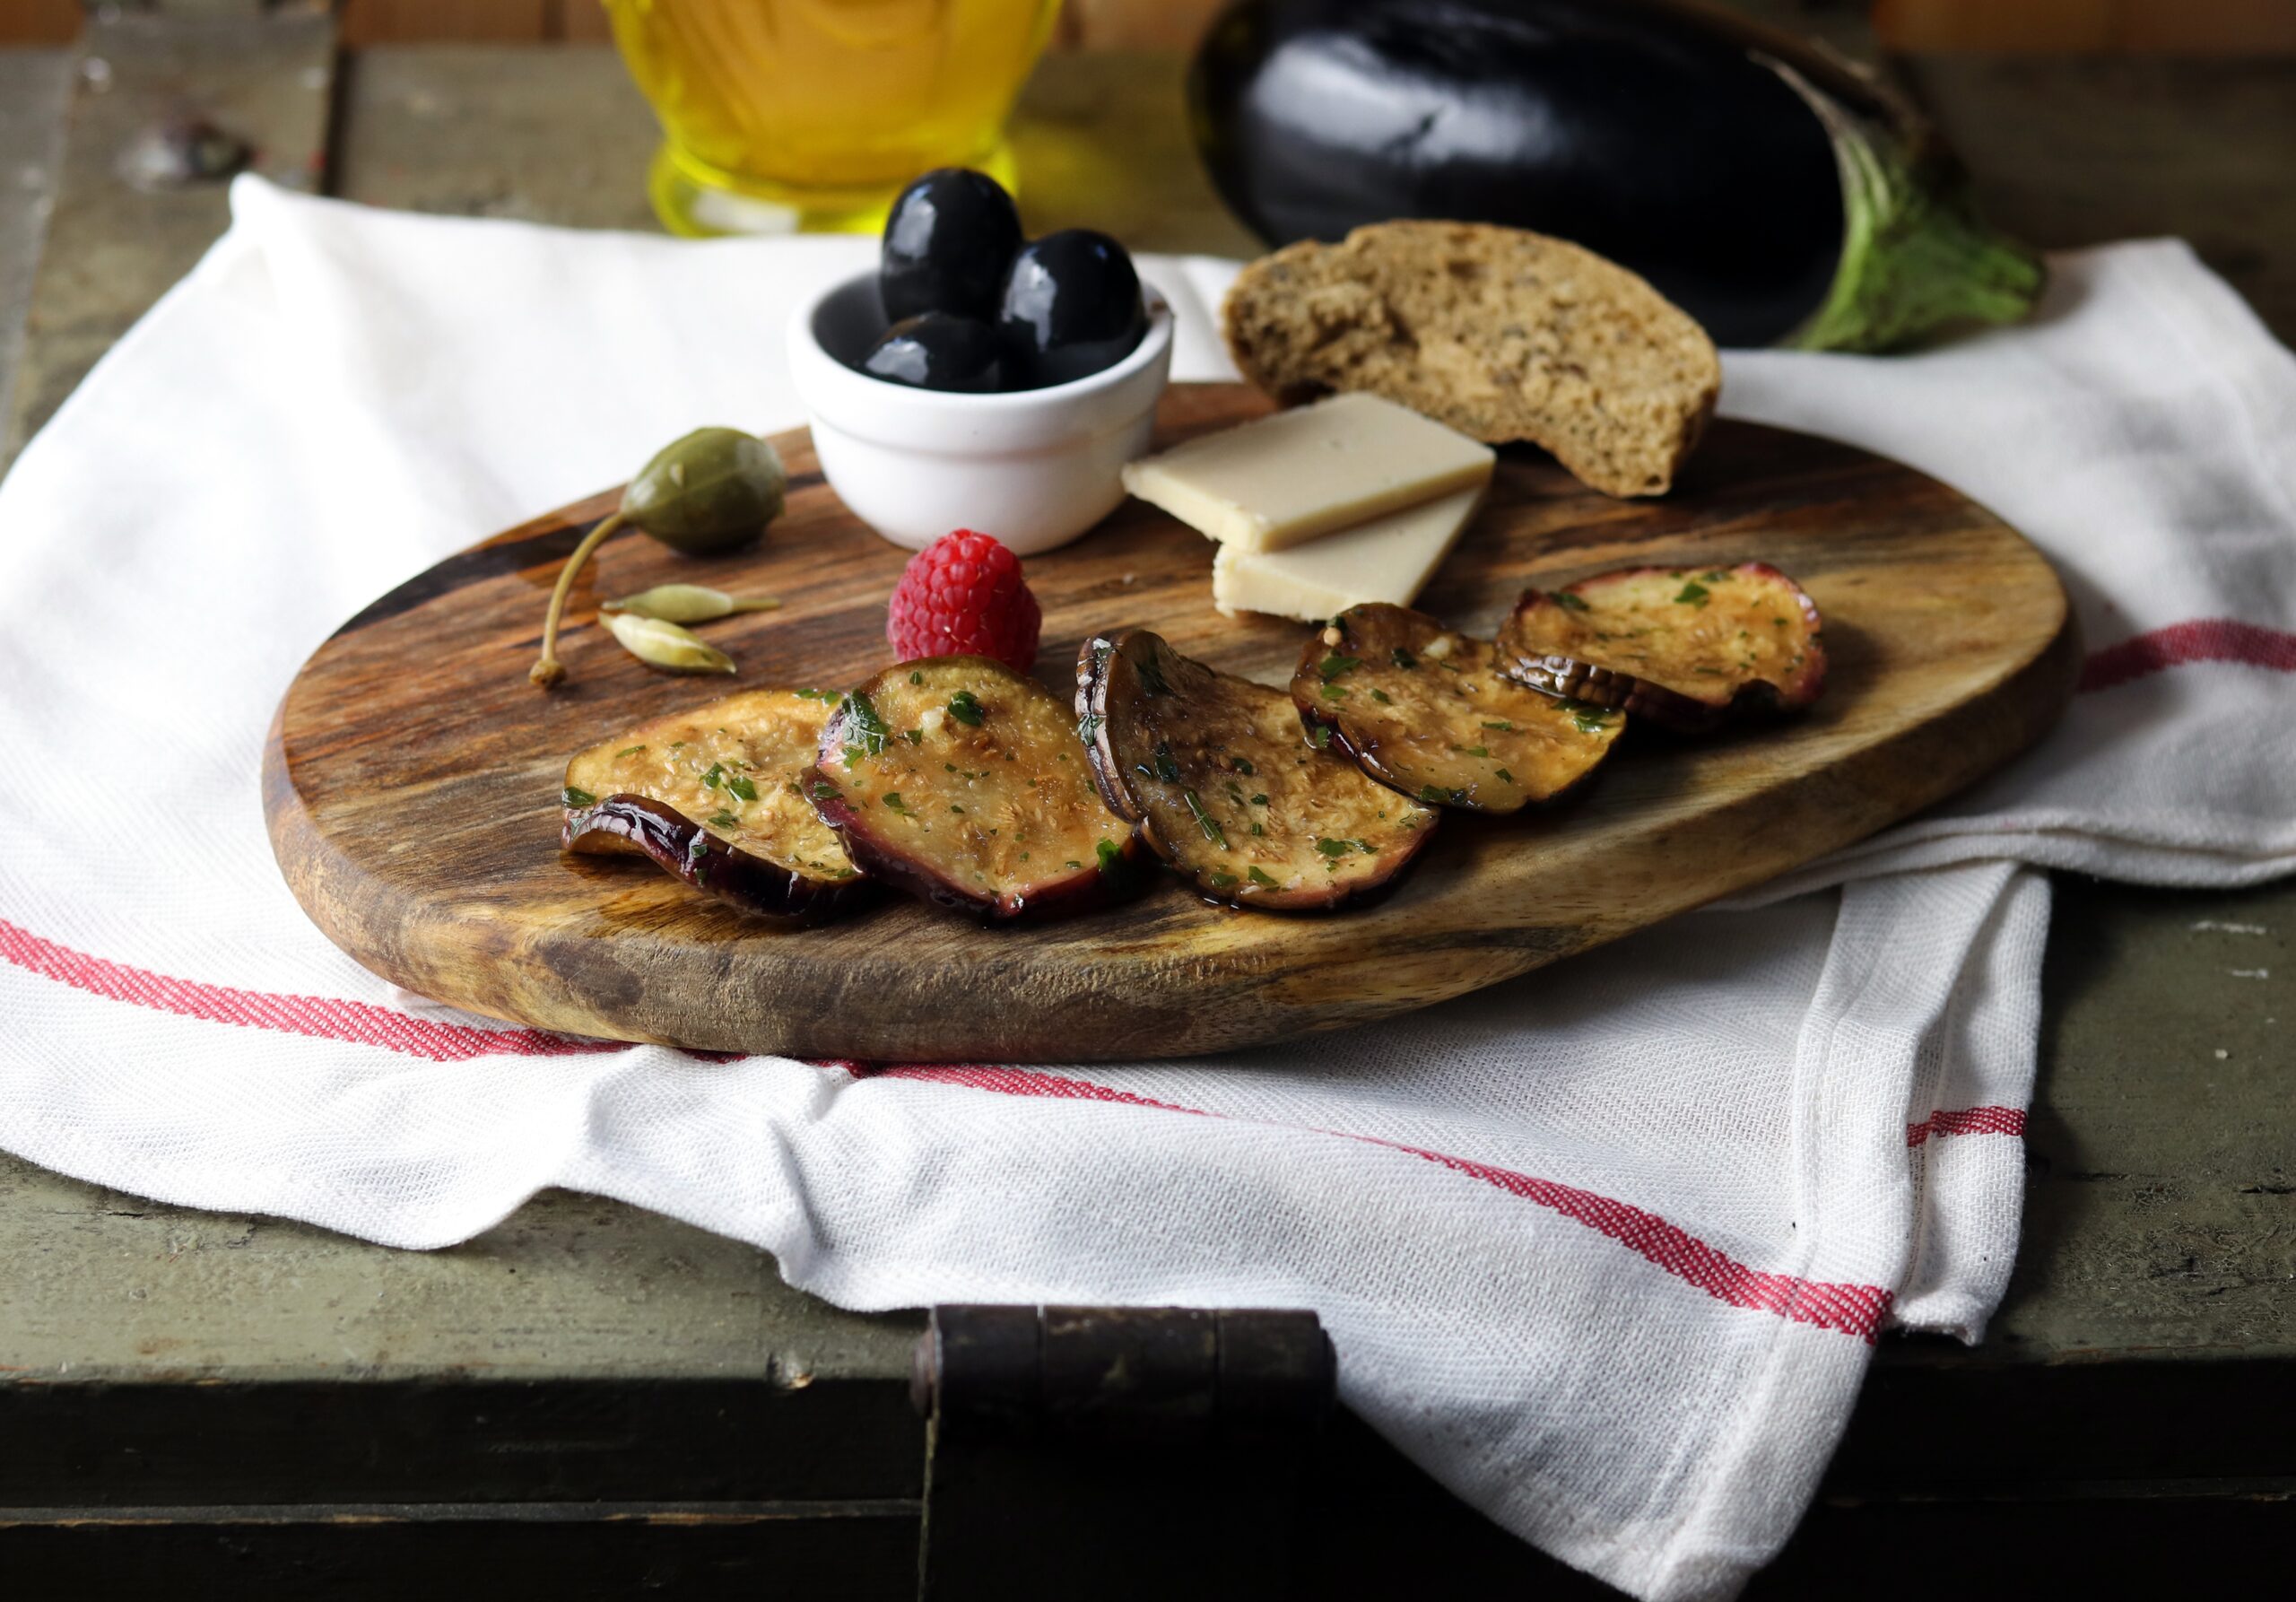
    Pickled eggplants with olive oil and herbs

    Pickled eggplants with good olive oil, garlic and fresh parsley. A hearty treat on bread, on a buffet or just as a small snack.
    Easy to prepare and no cooking or baking is required.

    Pickled eggplants are spicy and delicious
    Pickled eggplants are spicy and delicious

    Pickled eggplants – how does it actually work?

    To make delicious antipasti from eggplants, you can pickle them in oil, for example. Like in this recipe.
    To do this, the eggplants must first be cut and salted. To make the eggplants lose their bitterness, they must be cured in the salt for a while.
    Then they can be processed further. In this case, they are simply marinated in oil. To get the eggplants really aromatic in oil, parsley, garlic and a little vinegar are added.

    Fresh and juicy and easy to prepare: pickled eggplants
    Fresh and juicy and easy to prepare: pickled eggplants

    Why do you salt eggplants before processing them?

    As with many eggplant preparation methods, the eggplant is first cut into slices and salted in this recipe. The salt has an osmotic effect and draws fruit juice and bitter substances from the cut surface. The unpleasant bitter substances can then be easily washed off. If you salt the eggplant slices too briefly or too little, they can taste bitter and almost inedible.

    Pickled eggplants with good olive oil, garlic and fresh parsley.
    Pickled eggplants with good olive oil, garlic and fresh parsley.

    Tip: Are you looking for more delicious eggplant recipes?

    Do you really like eggplant? Then try these eggplant recipes from me:

    Pickled eggplants, simply homemade
    Pickled eggplants, simply homemade

    More recipes for pickling and preserving

    I love creating my own supplies. I ferment, boil or pickle. Here are some simple recipes that you can use to pickle your fruit or vegetables or otherwise preserve them:

    Perfect as part of a mezze platter
    Perfect as part of a mezze platter

    Pickled eggplants – delicious as part of a mezze platter

    By the way, my pickled eggplants are excellent as part of a Mediterranean mezze. Together with other vegan appetizers, you can create a great summer buffet. Or simply dine in a cozy group. With a mezze platter, everyone comes together at the table and helps themselves to the various components according to their taste.

    A mezze platter brings everyone together at the table. Pickled eggplant goes perfectly with it.
    A mezze platter brings everyone together at the table. Pickled eggplant goes perfectly with it.

    Show me your pickled eggplants

    Feel free to follow me on Instagram or Facebook. And I’ll be delighted if you make my pickled eggplants and post a photo of it. It’s best if you tag my account in it too. Because I always find it really great and exciting to see how my recipes are prepared in other kitchens!

    Aromatic with parsley and garlic
    Aromatic with parsley and garlic

    Ingredients for about 8 portions of pickled eggplant:

    1 medium-sized eggplant
    Salt
    4 tbsp olive oil
    2 tbsp white balsamic vinegar
    1 garlic clove, very finely chopped
    2 tbsp parsley, chopped (fresh or frozen)

    Preparation:

    1. Cut the eggplant into slices about 3mm thick and place in a sieve.
    2. Salt the slices generously on both sides and leave to soak for at least 45 minutes or longer. Place the sieve in a bowl or in the sink so that the bottom does not drip.
    3. Mix the remaining ingredients well with a whisk to create a homogeneous marinade.
    4. Wash the eggplant slices under running water, then pat them dry with a kitchen towel.
    5. The eggplant slices can now be thoroughly mixed with the marinade.
    6. Let them sit in an airtight container in the fridge for at least 5 hours or overnight.

    Pickled eggplants will last a few days in the fridge. So you can prepare them very well and preserve the fresh eggplant for longer by pickling it.

    Enjoy your meal!

  • Beetroot salad with apple, made from regional produce

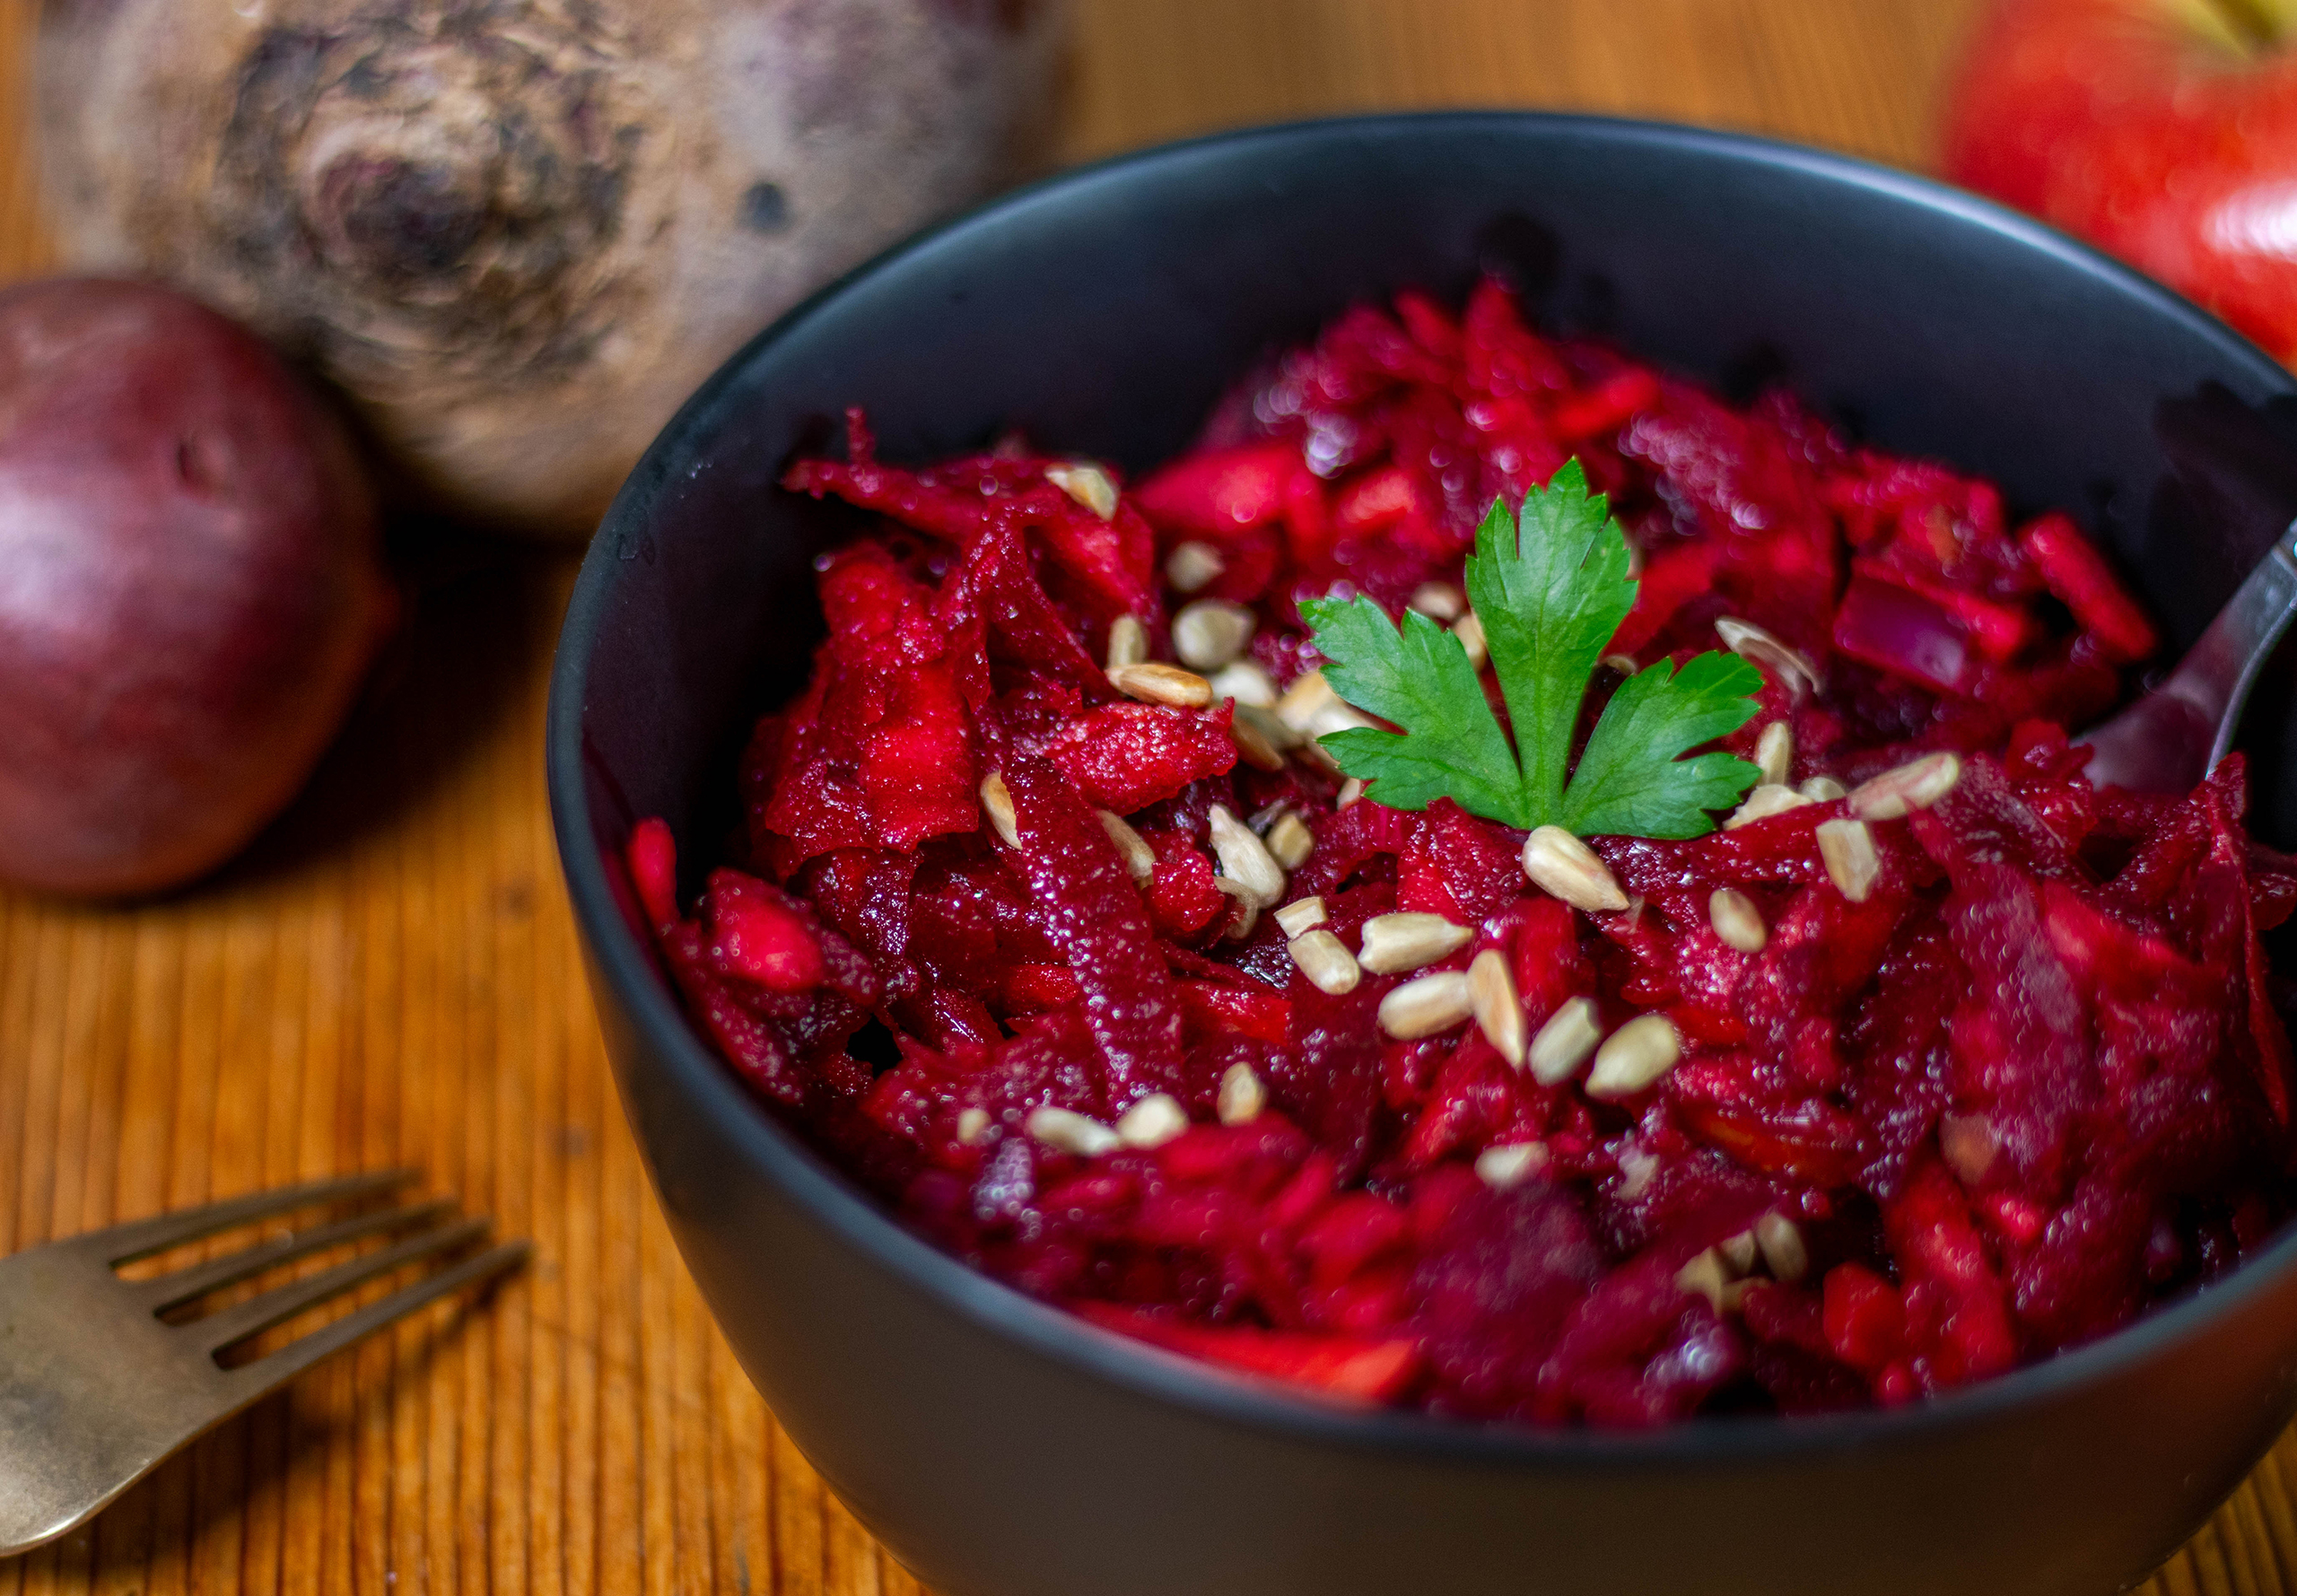
    Beetroot salad with apple, made from regional produce

    A crisp, fresh salad that you can prepare all year round made from local produce? Why not make yourself a quick raw beetroot salad. This is a salad with apple and local vegetables that are even in season in winter. Paired with an aromatic dressing and roasted sunflower seeds.

    A simple salad with just a few ingredients. Made in just 5 minutes.

    My raw beetroot is a salad that is really easy to prepare in just 5 minutes. You often have all the ingredients for it at home. This means you can quickly have a particularly aromatic side dish or a healthy snack on the table.

    This beetroot recipe only contains raw ingredients. That is often not the case with beetroot salads. However, I find raw beetroot in a salad much tastier than cooked ones. Because raw beetroot with apple is just incredibly tasty and fresh!

    A simple salad with few ingredients. Made in just 5 minutes.
    A simple salad with few ingredients. Made in just 5 minutes.

    Beetroot salad – winter vegetables as a salad, available regionally all year round

    Do you often long for a crispy salad made from regional produce in winter? Quickly make yourself this beetroot salad. A seasonal winter salad with regional produce

    This delicious, fresh raw vegetable salad consists mainly of beetroot, paired with carrots, apples and onions. Beets, carrots and onions are what are known as winter vegetables. Since they can be stored for a long time, you can always enjoy them fresh from regional cultivation all year round, and even in winter. The same applies to apples, which are also available from local cultivation in winter.
    Combined here to create an aromatic winter vegetable salad.

    Beetroot salad – a salad made from winter vegetables
    Beetroot salad – a salad made from winter vegetables

    Raw beetroot salad with apple: delicious, healthy and inexpensive

    Beetroot, carrots, onions and apples are available very cheaply all year round. And very healthy at the same time. Many important vitamins are lost during cooking. While raw vegetables are full of them. That’s why it’s great to eat beetroot and carrots raw more often. With this recipe, you can eat really good low-budget vegan food.

    Beetroot salad with apple
    Beetroot salad with apple

    More recipes with beetroot to try

    Here are some more of my recipes, that are containing beetroot:

    Show me your beetroot salad

    Feel free to follow me on Instagram or Facebook. And I’ll be delighted if you make my beetroot salad and post a photo of it. It’s best if you tag my account in it too. Because I always find it really great and exciting to see how my recipes are prepared in other kitchens!

    Beetroot salad – the preparation in pictures

    Here I show you step by step in photos how I prepare the beetroot salad. Then I’ll move on to the recipe.

    1. All ingredients for the beetroot salad.
    1. All ingredients for the salad.
    2. The dressing is mixed, the sunflower seeds are roasted and the vegetables are grated.
    2. The dressing is mixed, the sunflower seeds are roasted and the vegetables are grated.
    Beetroot salad
    Ready. Easy and quick.

    Ingredients for 4 portions of beetroot salad:

    2 red beetroots, grated or finely diced
    1-2 carrots, grated or finely diced
    1 apple, grated or finely diced
    1 small red onion, finely diced

    Dressing:

    2 tablespoons lemon juice
    1 tablespoon apple cider vinegar
    1 teaspoon maple syrup
    4 tablespoons olive oil
    1/2 teaspoon salt
    1/4 teaspoon pepper

    Roasted sunflower seeds:

    1 handful of sunflower seeds

    Preparation:

    1. First I roast the sunflower seeds. To do this, heat a pan without fat and roast the sunflower seeds in it. Turn them often. Be careful, the seeds burn quickly.
    2. Then mix all the ingredients for the dressing in a bowl.
    3. In a second bowl, mix all the ingredients for the salad.
    4. Then fold in the dressing.
    5. Leave to stand for at least 5 minutes.
    6. Put the salad on plates or into bowls to server and add the roasted sunflower seeds on top.

    Bon appetit!

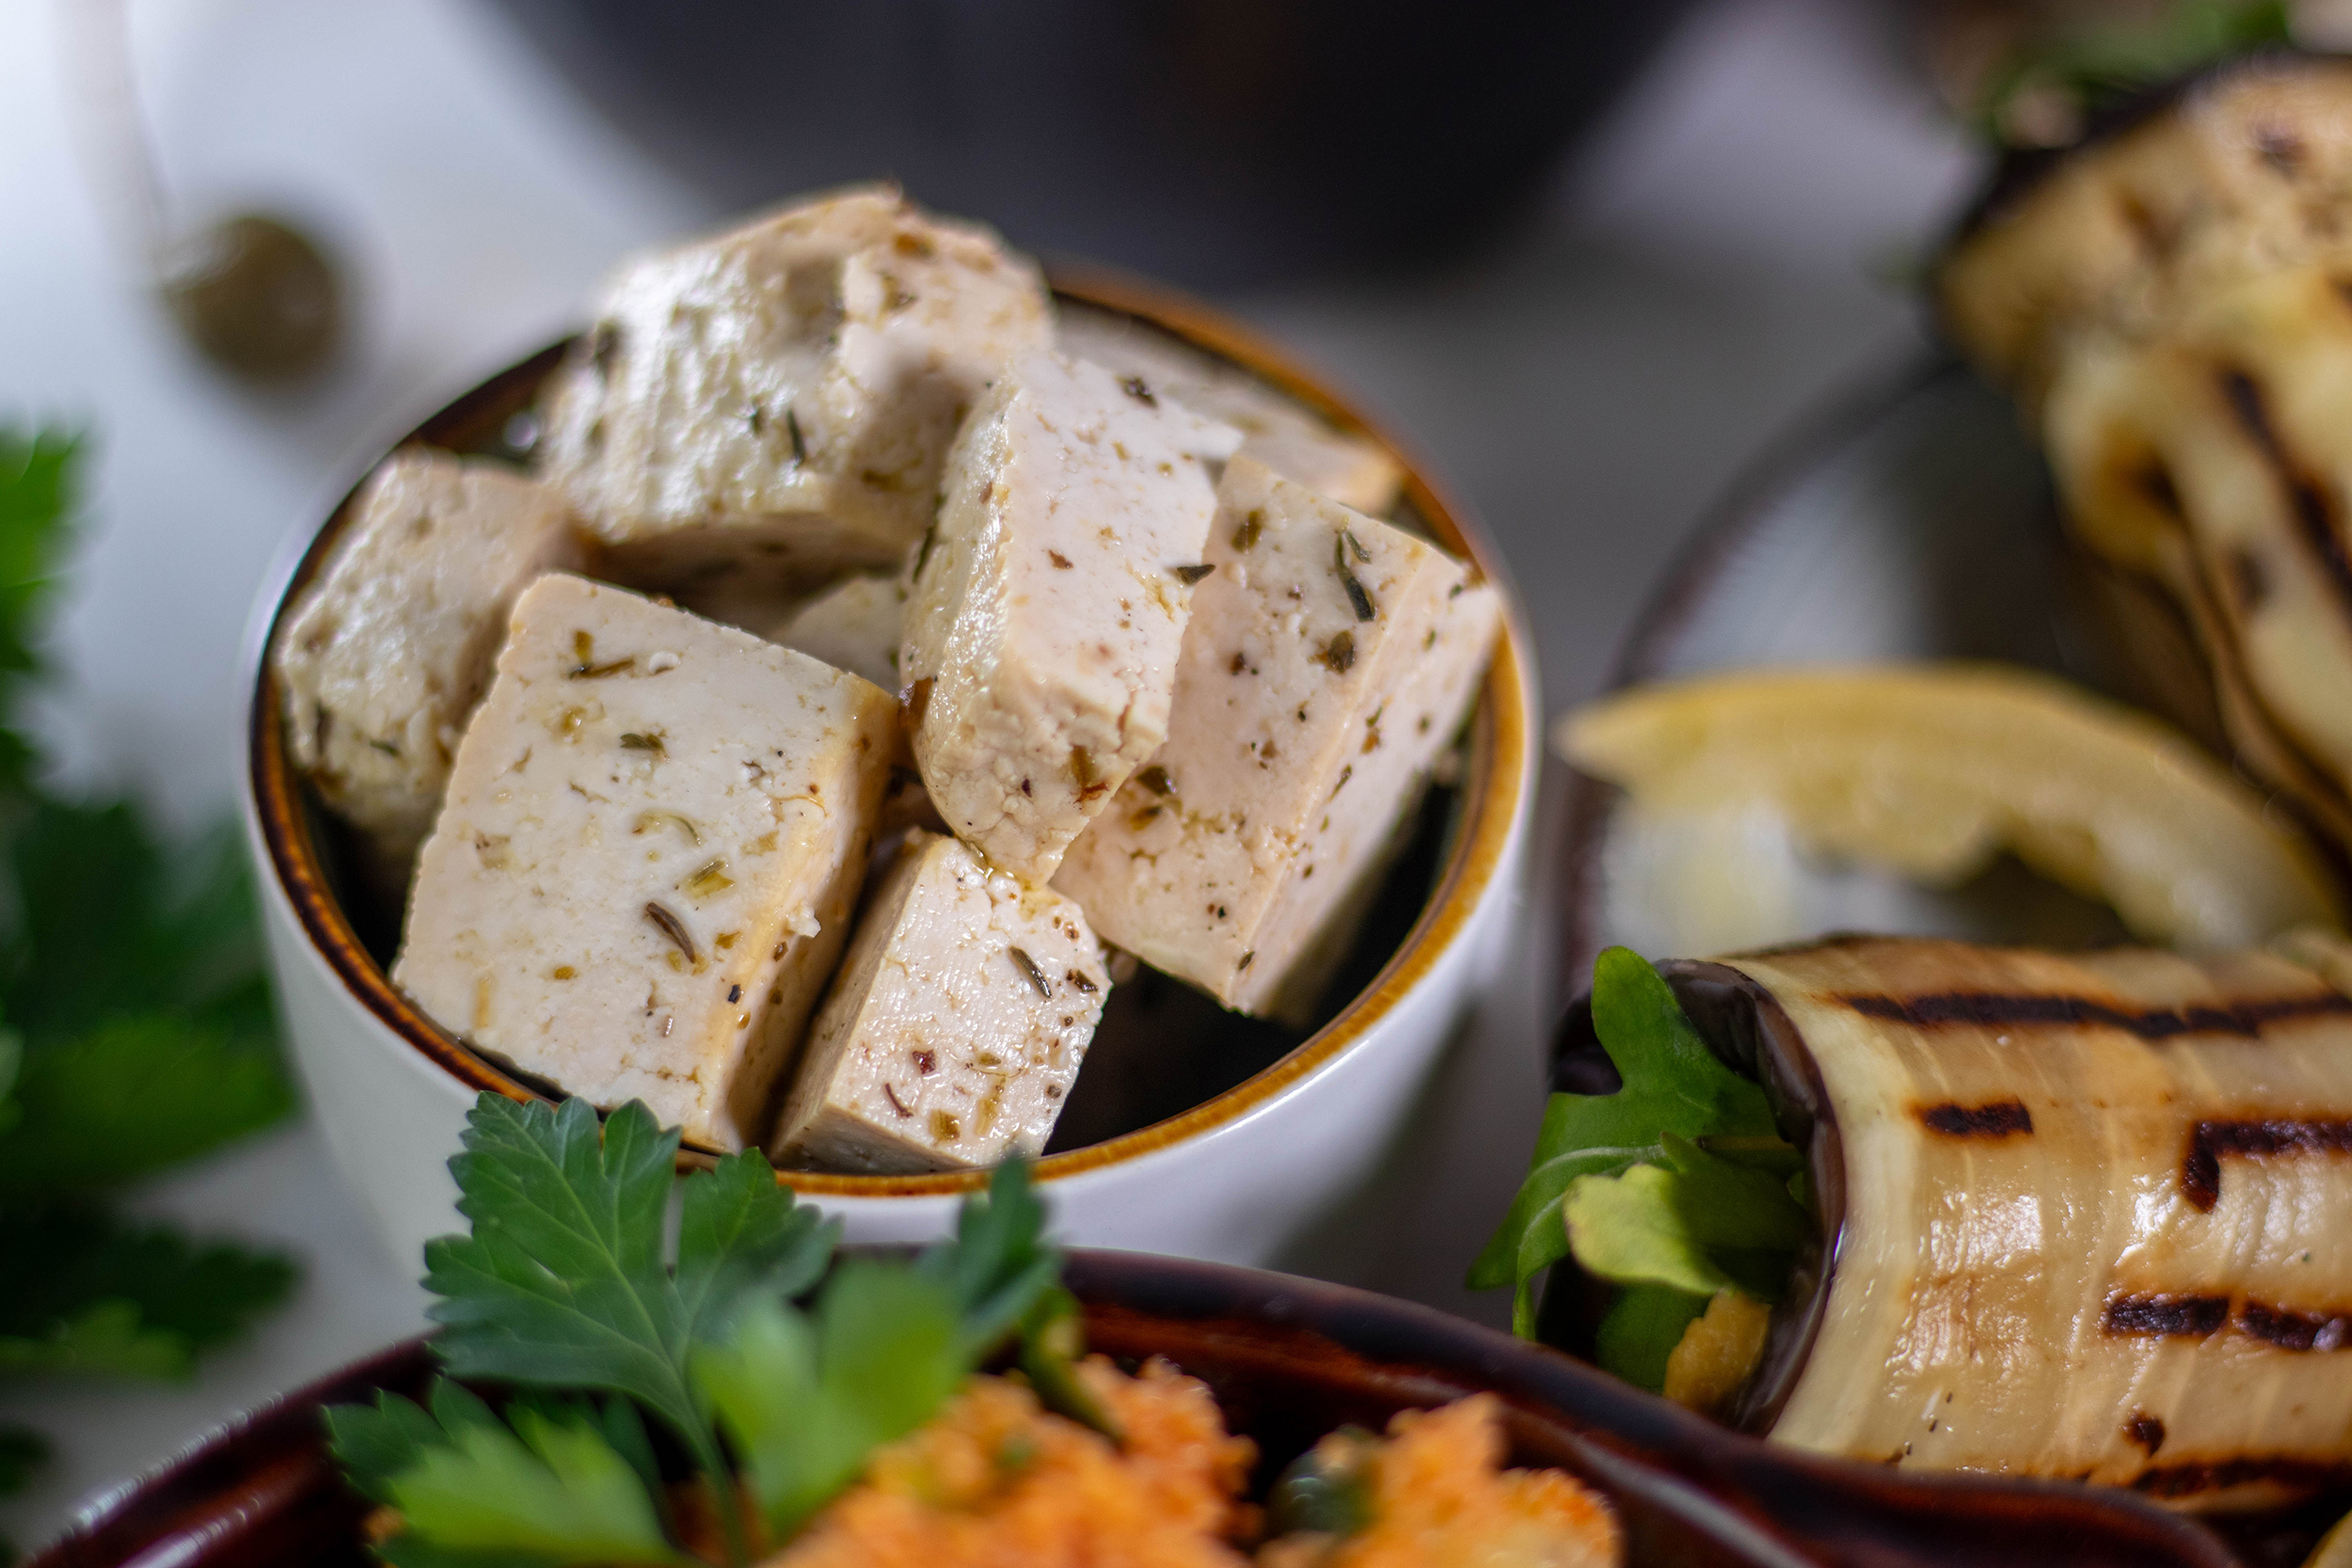
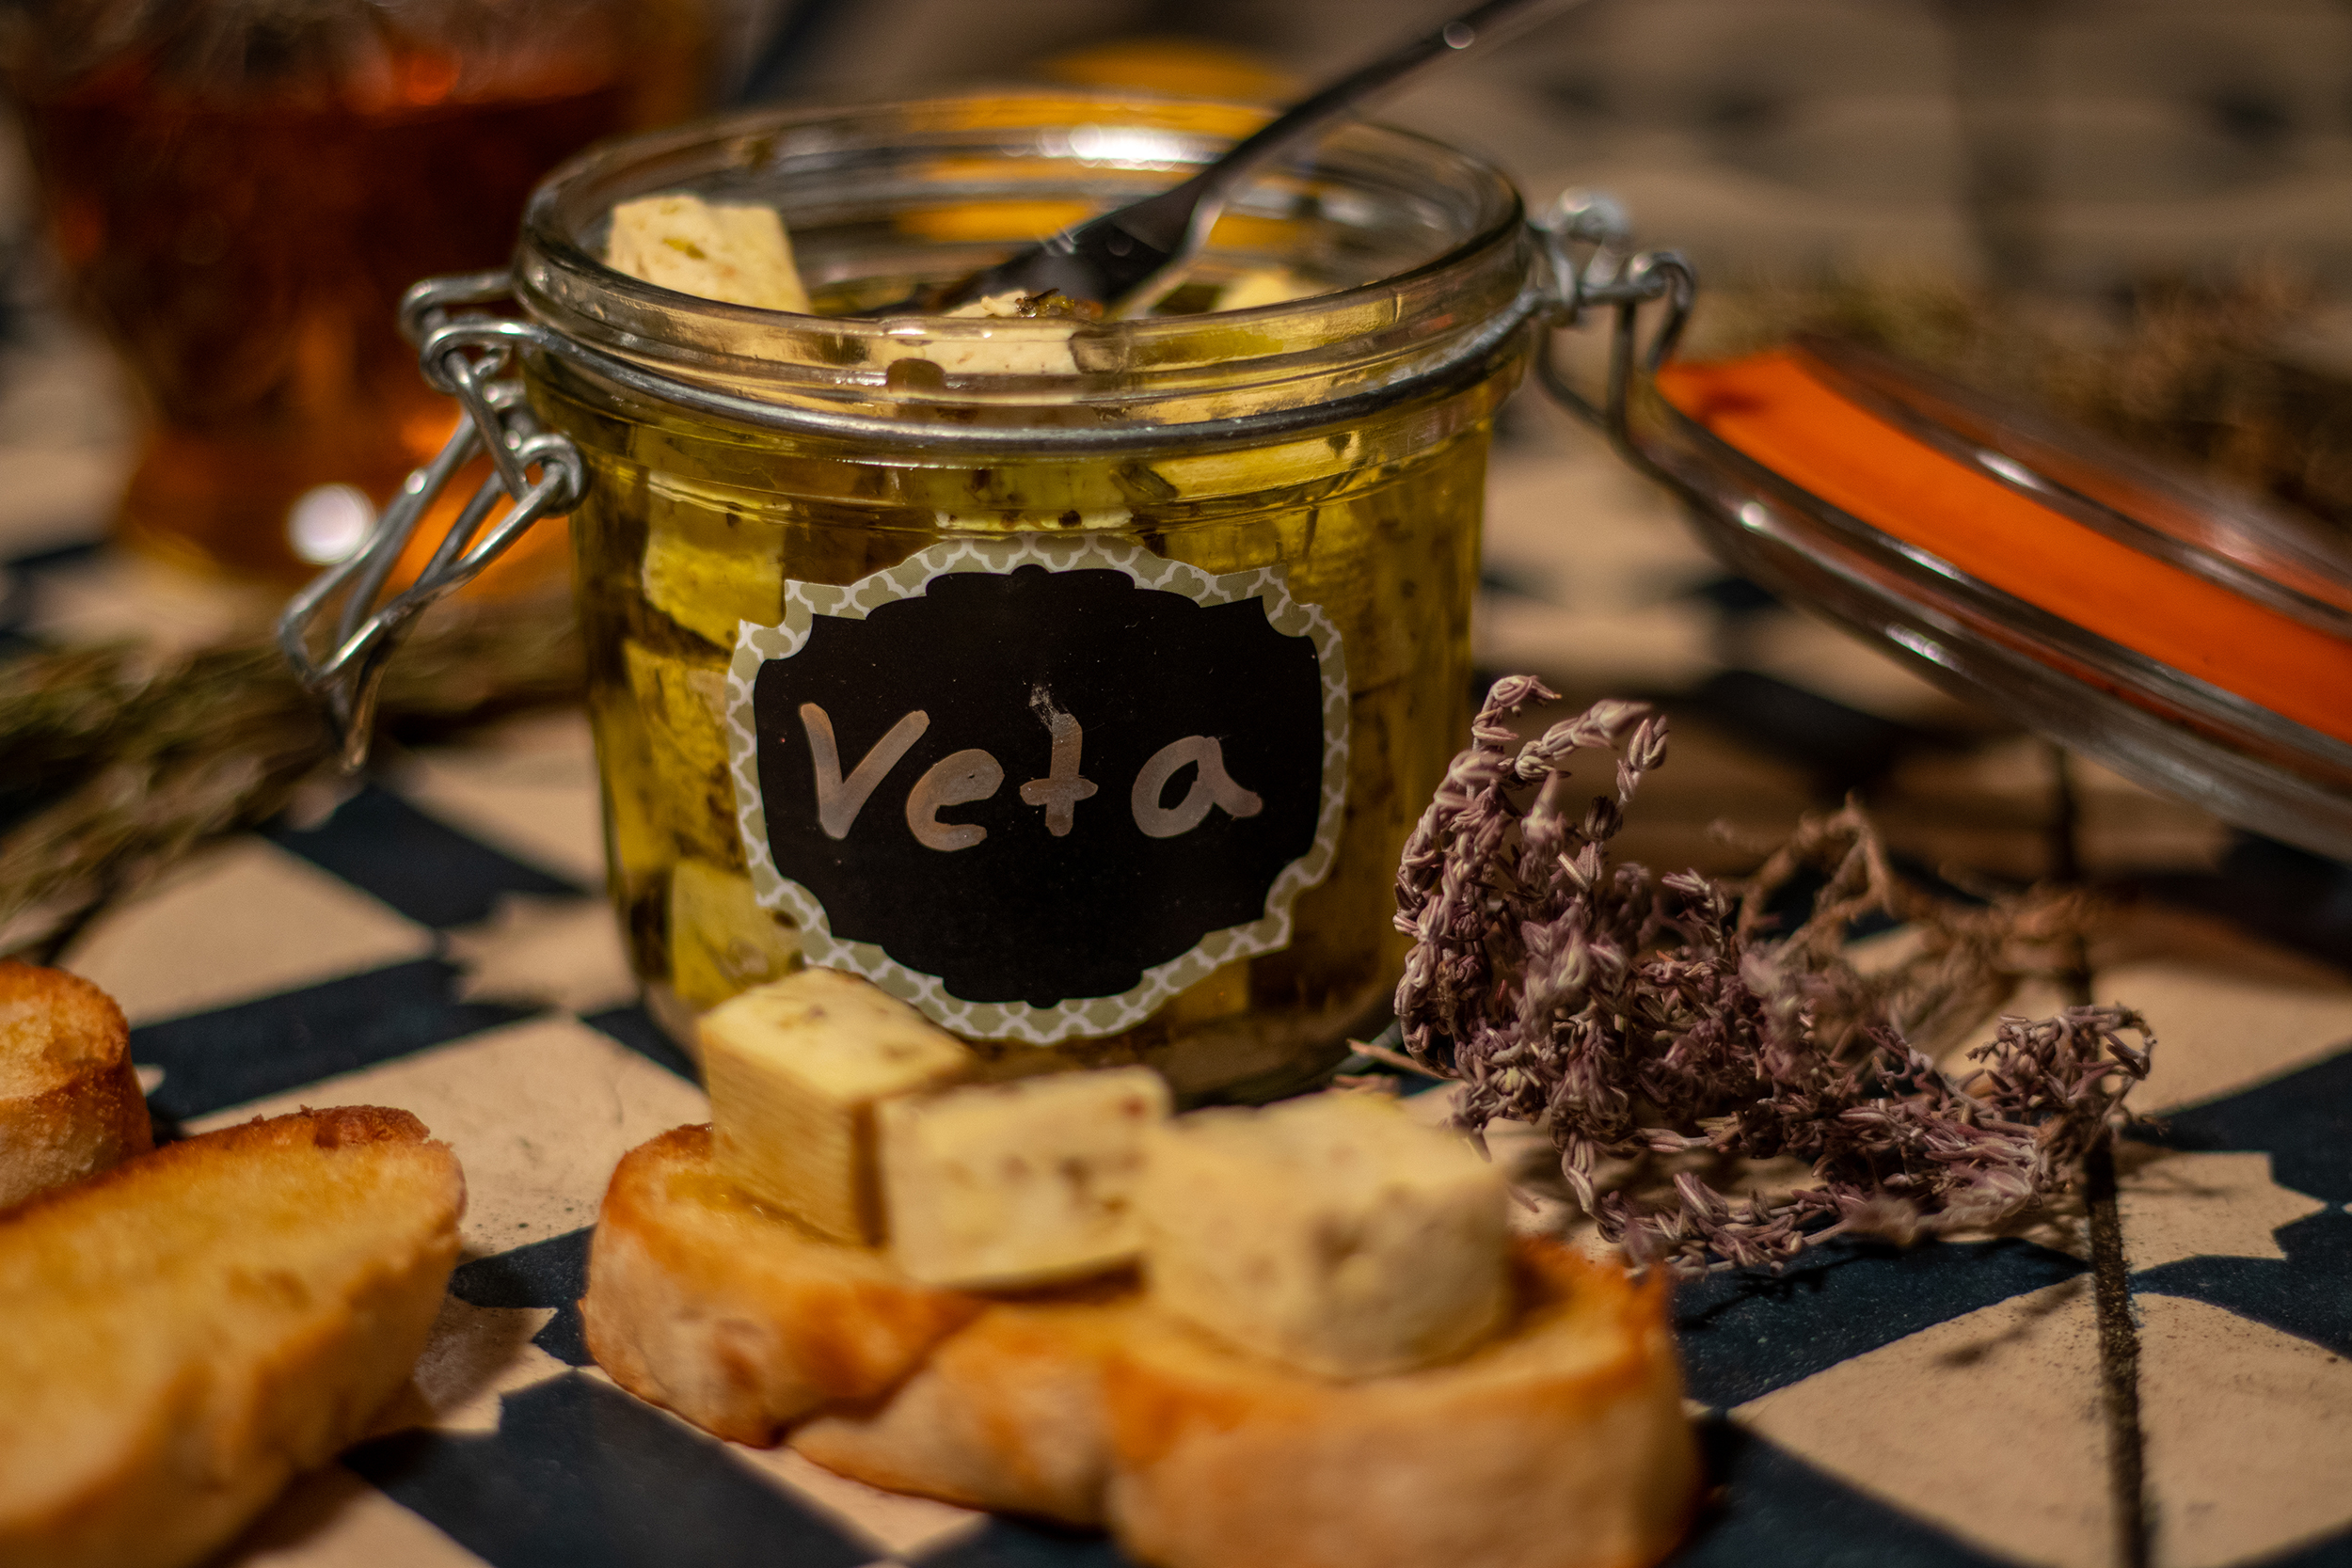
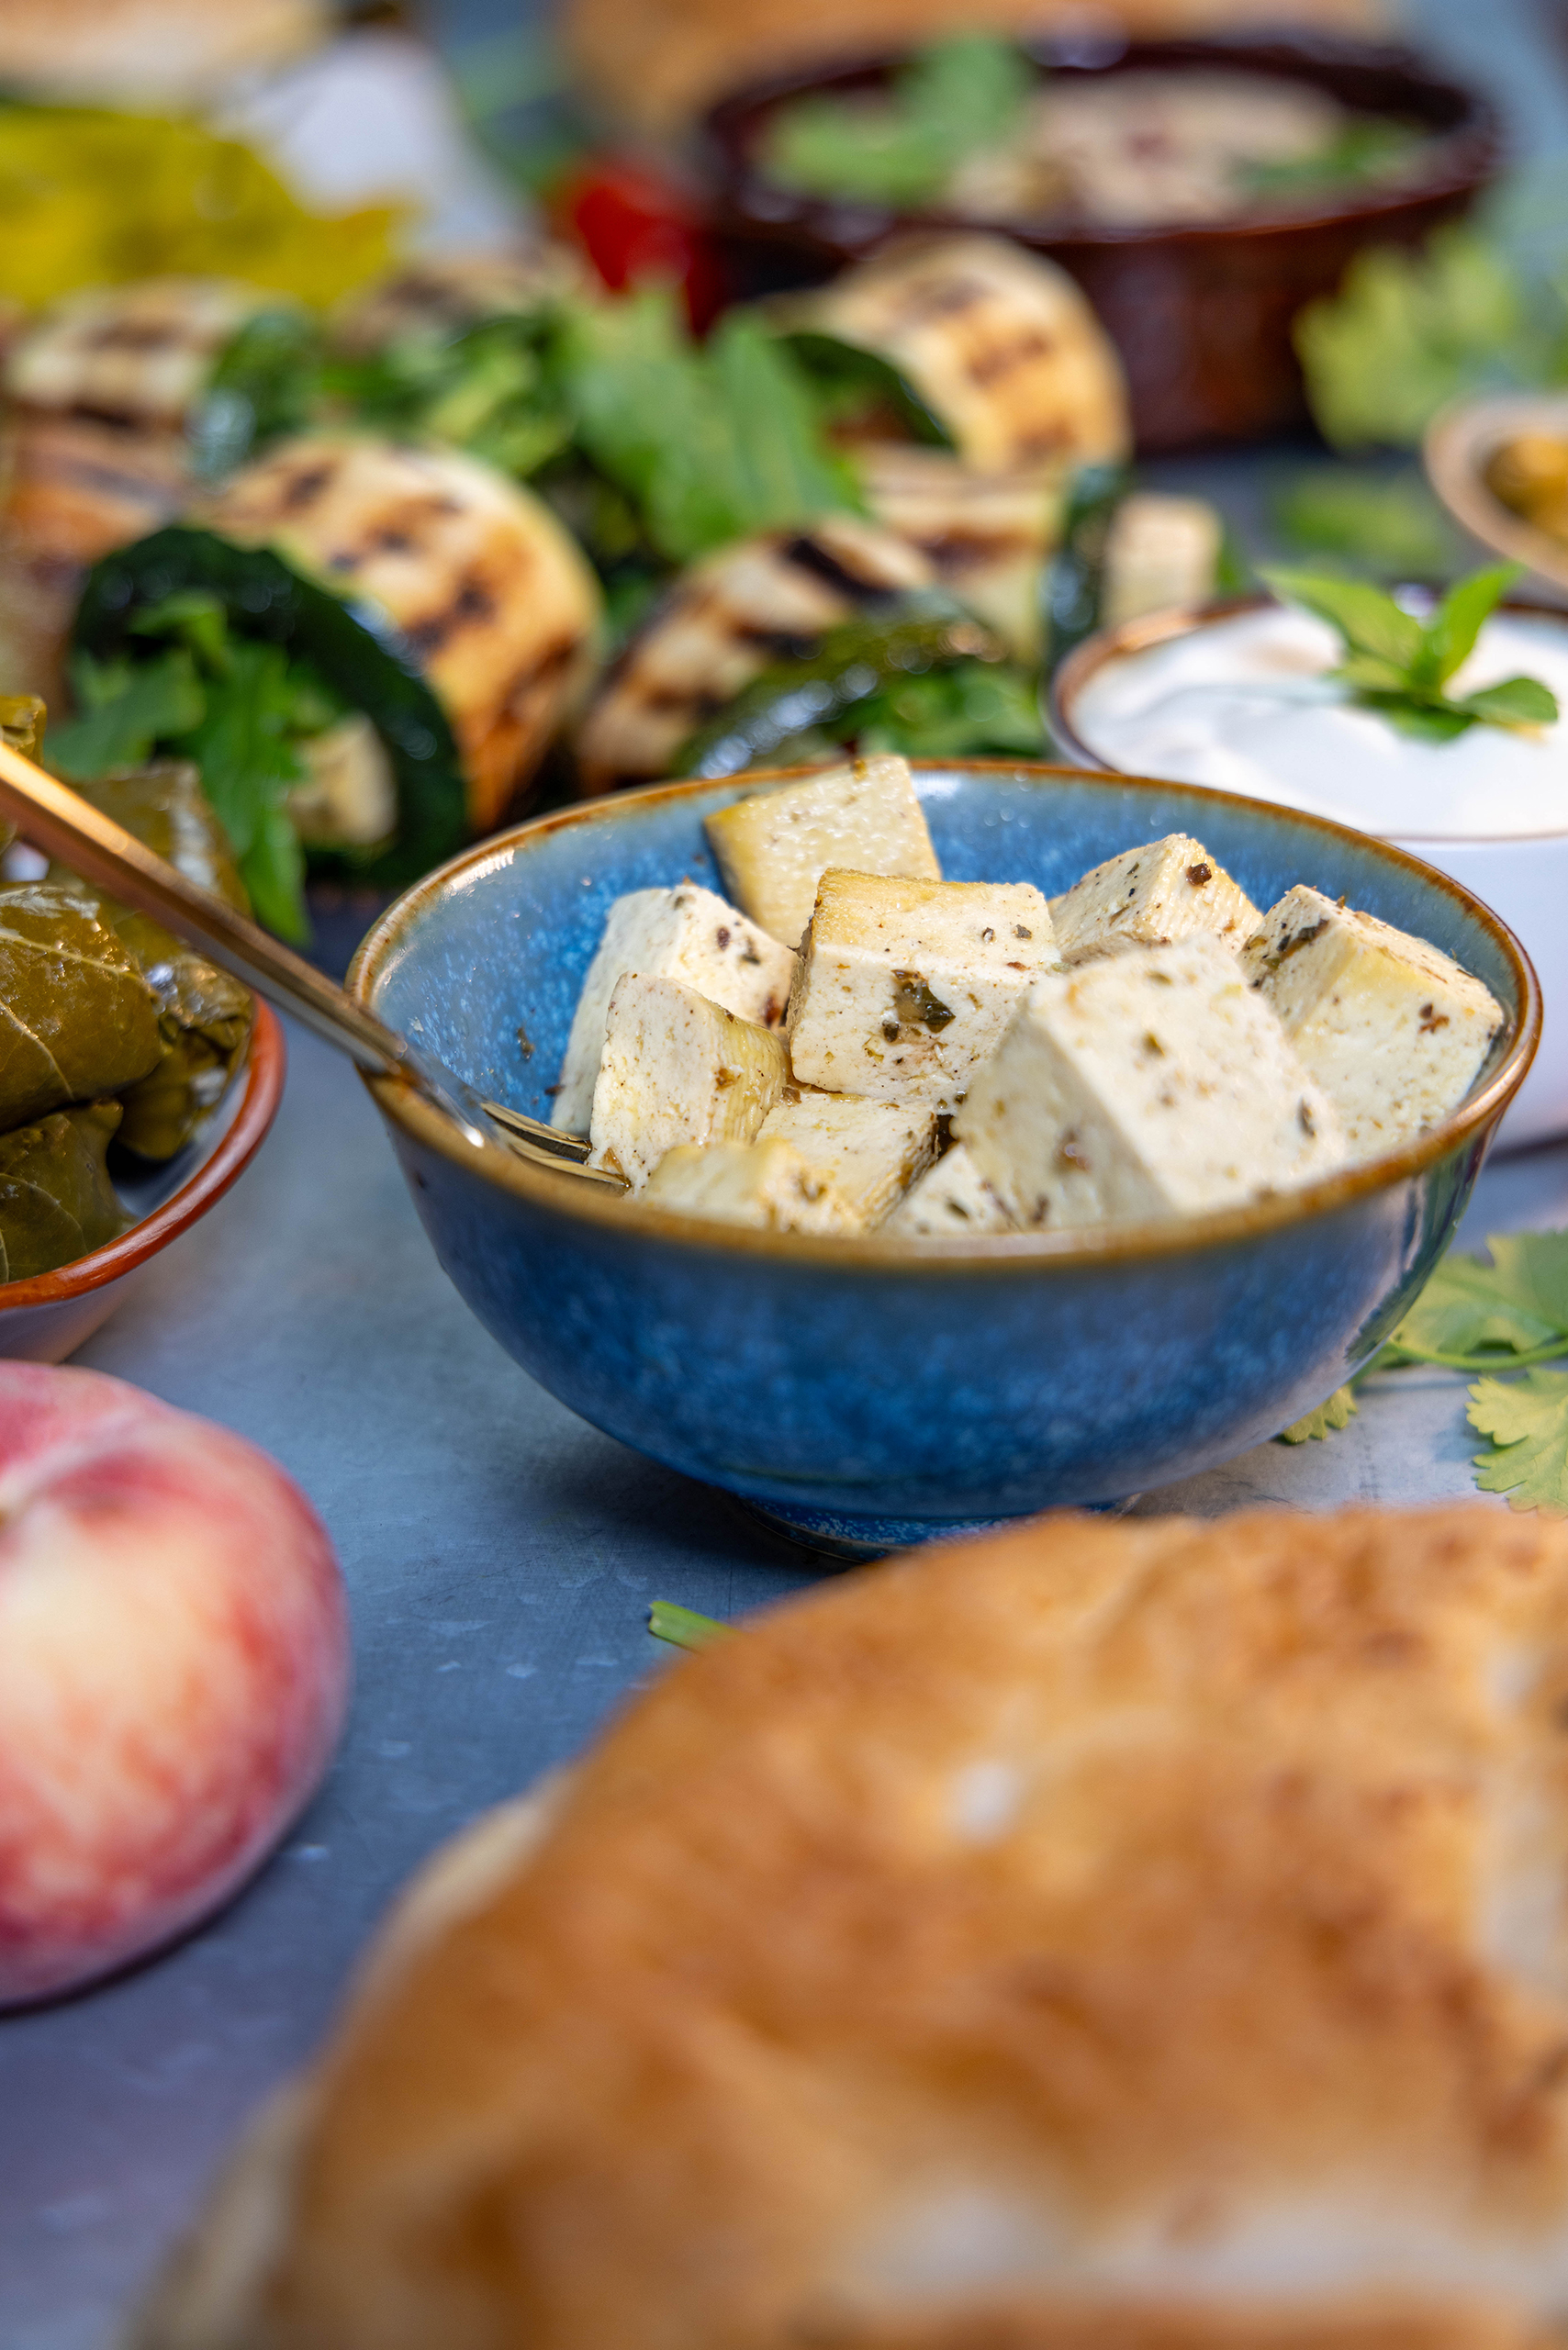
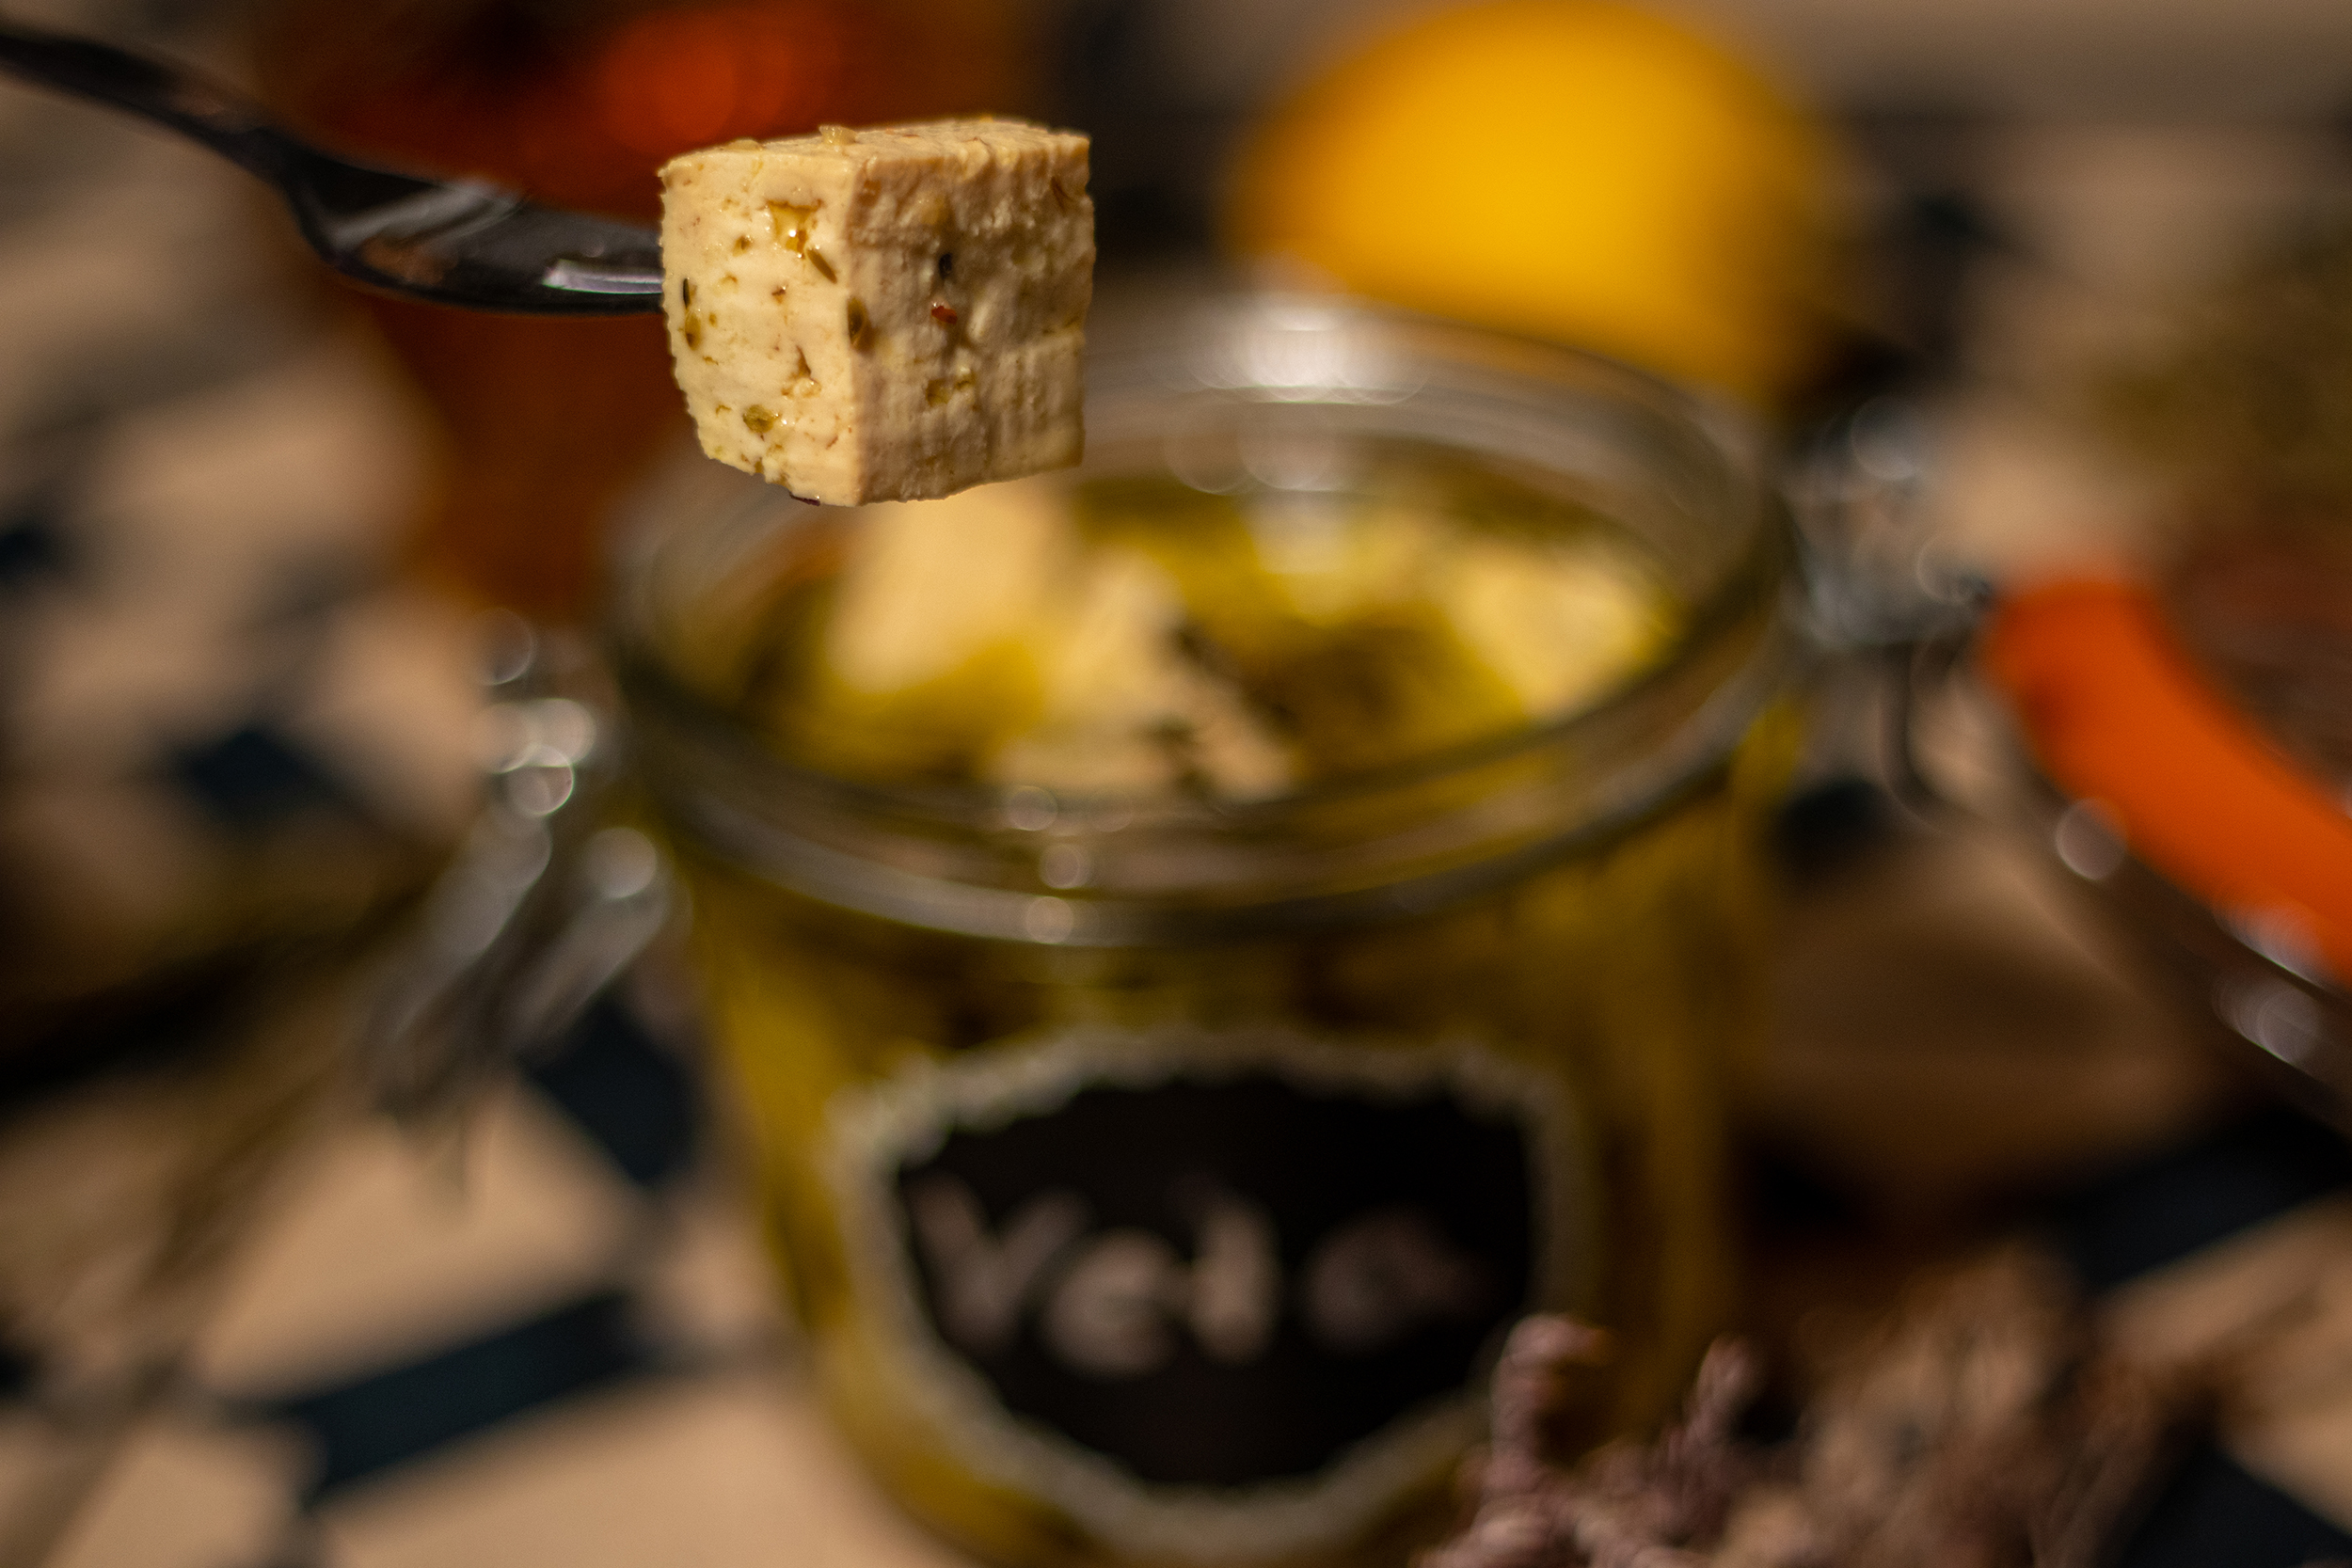
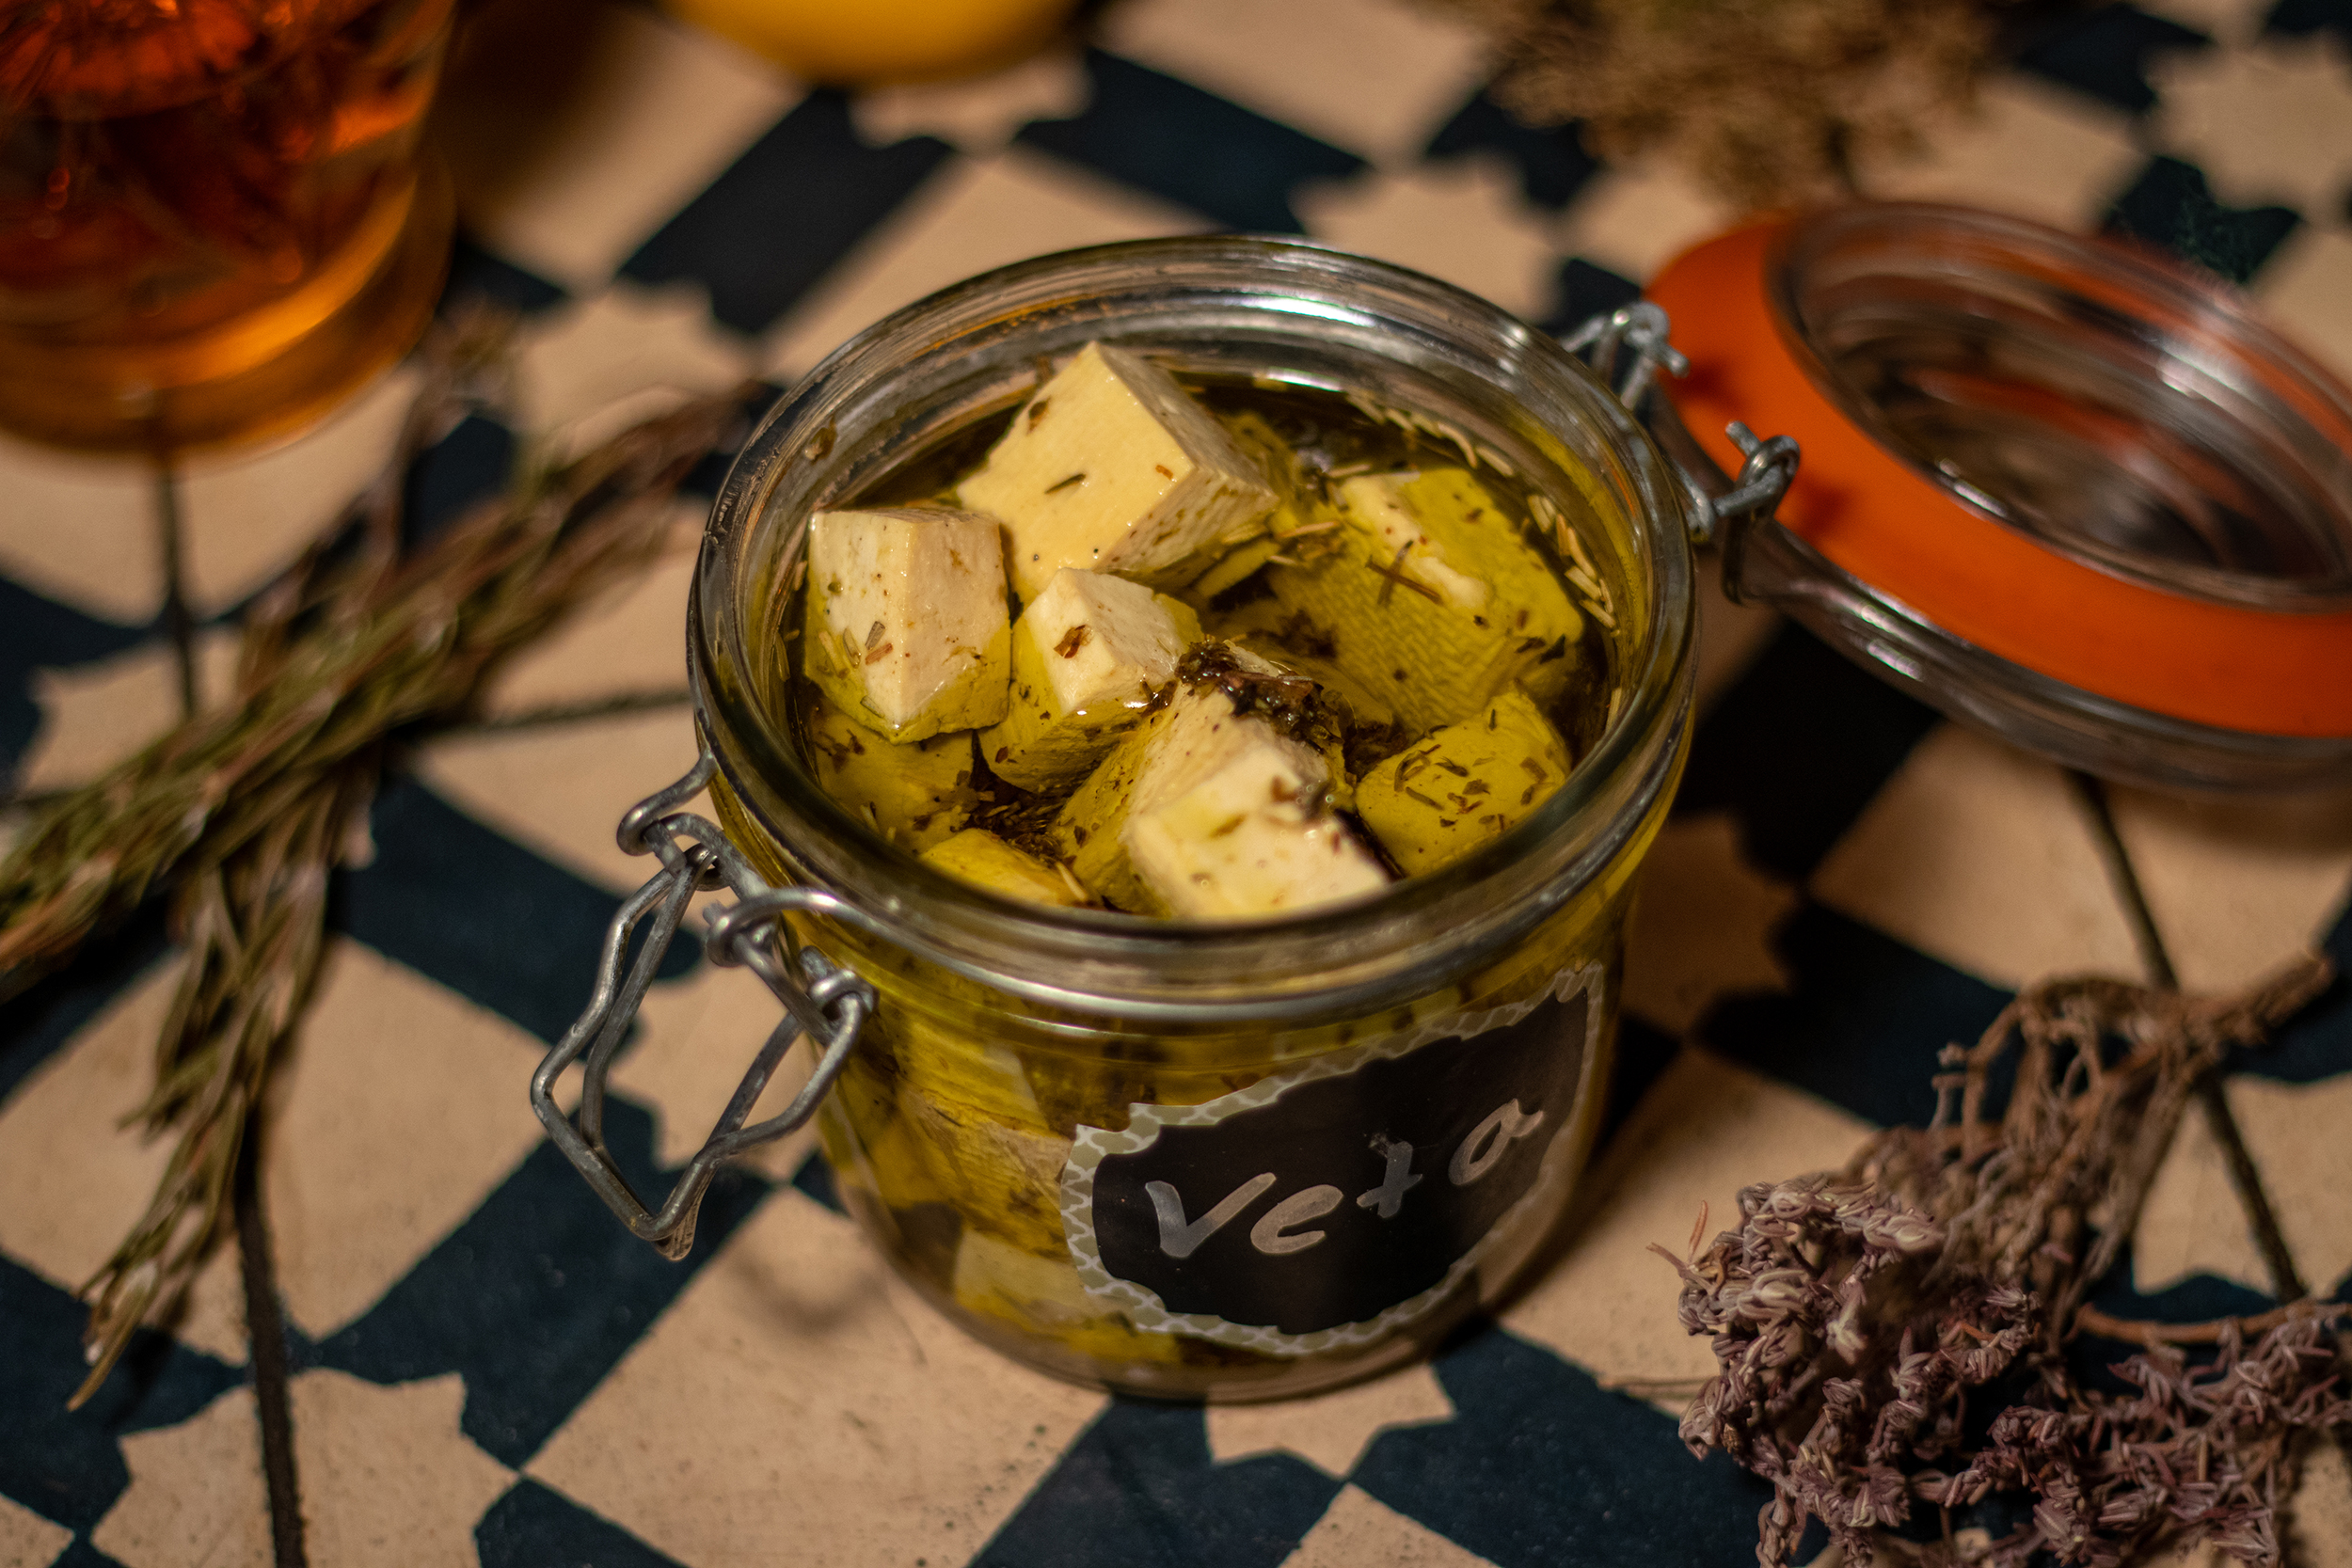
  • Veta – homemade vegan feta

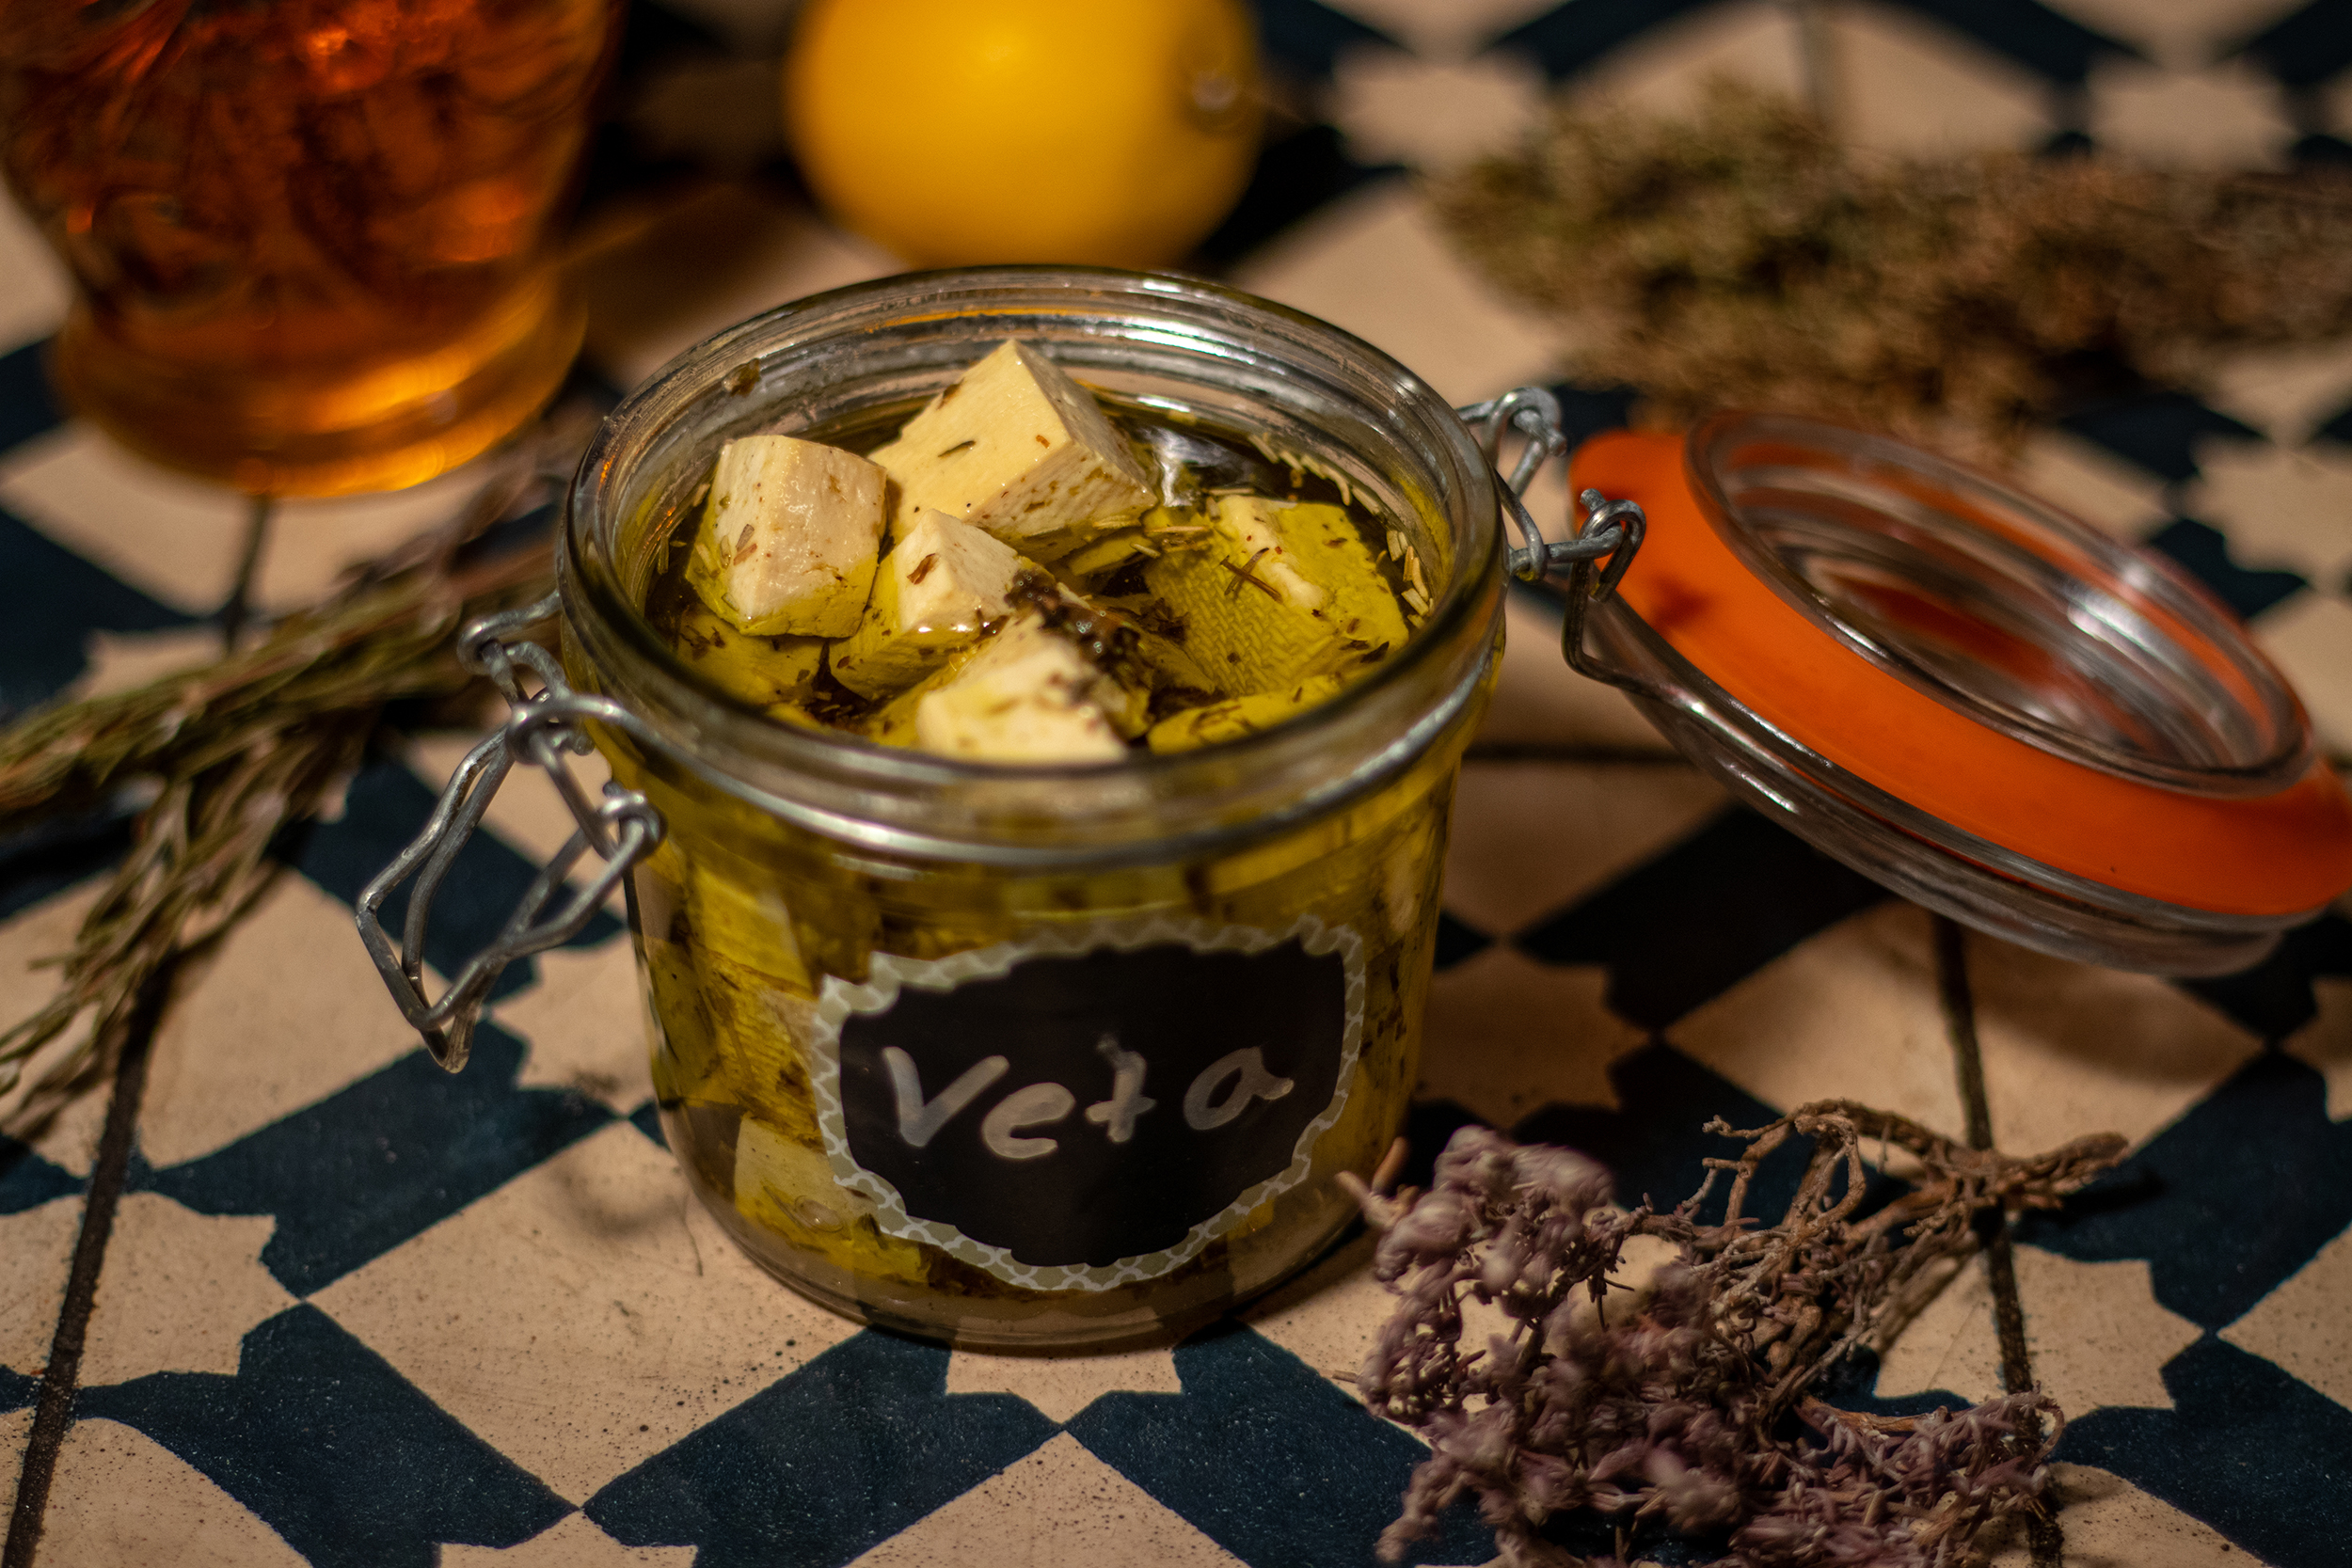
    Veta – homemade vegan feta

    Original feta is a brine-ripened white cheese made from sheep’s milk, that is sometimes mixed with goat’s milk. It is very spicy and aromatic and therefore popular all over the world. Because feta is so versatile, it is often deeply missed in vegan cuisine. That’s why I developed my Veta.

    Because feta is so versatile, it is often missing in vegan cuisine. That's why I created my Veta
    Because feta is so versatile, it is often missing in vegan cuisine. That’s why I created my Veta

    Veta is quick and easy to make and the best alternative to sheep’s cheese

    My Veta is a quick and easy alternative to feta, sheep’s cheese. It is full-bodied, spicy and aromatic and it can be used in all sorts of recipes instead of feta. A delicious, purely plant-based alternative.

    Unlike store-bought vegan sheep’s cheese alternatives, my Veta does not melt when heated. Store-bought vegan feta usually just melts into liquid fat, often palm oil-based. So you soak the food in fat and don’t have any feta with consistency left. My Veta, however, remains intact, so you can also use it for cooked, fried and baked dishes.
    And it has a long shelf life.

    It also tastes much more aromatic and flavorful. It is also more environmentally friendly because you save on packaging material.

    Vegan, homemade feta
    Vegan, homemade feta

    Vegan feta based on tofu

    I make my homemade vegan sheep’s cheese, Veta, based on tofu.

    In most cases, tofu is not really suitable for plant-based cheese making. However, tofu is perfect for Veta. The way I prepare it in this recipe gives it the right consistency and mouthfeel. And I add seasoning and flavour using an aromatic marinade.

    Veta – delicious on bread
    Veta – delicious on bread

    Vegan feta (Veta) is quick and easy to make

    If you have guests and are looking for a last minute recipe for a small party snack: here is my recipe for vegan feta. My Veta is quick and easy to make. Preparation takes about 5 minutes and the oven does the rest almost by itself.

    Veta goes well with bread, in salads, in casseroles and just about anywhere where feta cheese tastes good. Vegan Veta, climate-friendly, cruelty-free and simply delicious.

    Vegan feta has a long shelf life
    Vegan feta has a long shelf life

    Veta is very long lasting

    At the end of this recipe, I’ll show you how to properly marinate vegan feta so that it lasts a long time. This means you can keep it in the fridge for weeks, if not months, and snack on it again and again.

    Vegan feta (Veta) is quick and easy to make
    Vegan feta (Veta) is quick and easy to make

    Why make it yourself when there are now store-bought alternatives to feta?

    • My Veta tastes much, much better than the store-bought alternatives
    • My vegan feta is much healthier
    • The fat content is much lower and is made from good olive oil
    • Homemade is easy and saves a lot of money
    • You save on packaging waste
    • This Veta doesn’t melt away. Store-bought ones usually melt into liquid fat
    With this homemade, vegan sheep's cheese you have a healthy alternative.
    With this homemade, vegan sheep’s cheese you have a healthy alternative.

    Veta: a simple, long-lasting, vegan alternative to feta

    With this homemade, vegan sheep’s cheese you have found a healthy alternative. Perfect for a quick Greek salad, as well as Greek and Turkish cuisine in general. Or simply as a snack between meals.

    Pickled, vegan feta will last for several weeks in the fridge. This means it can be prepared very well and used in portions.

    Vegan minced steaks. With homemade Veta in the filling.
    Vegan grilled minced steaks. With homemade Veta in the filling.

    I use my Veta in many recipes

    The attentive German readers among you probably already know my Veta as an ingredient in some recipes on Daily Vegan. Because I really like to use it in many dishes.
    So far I’ve translated this recipe into English using vegan feta:

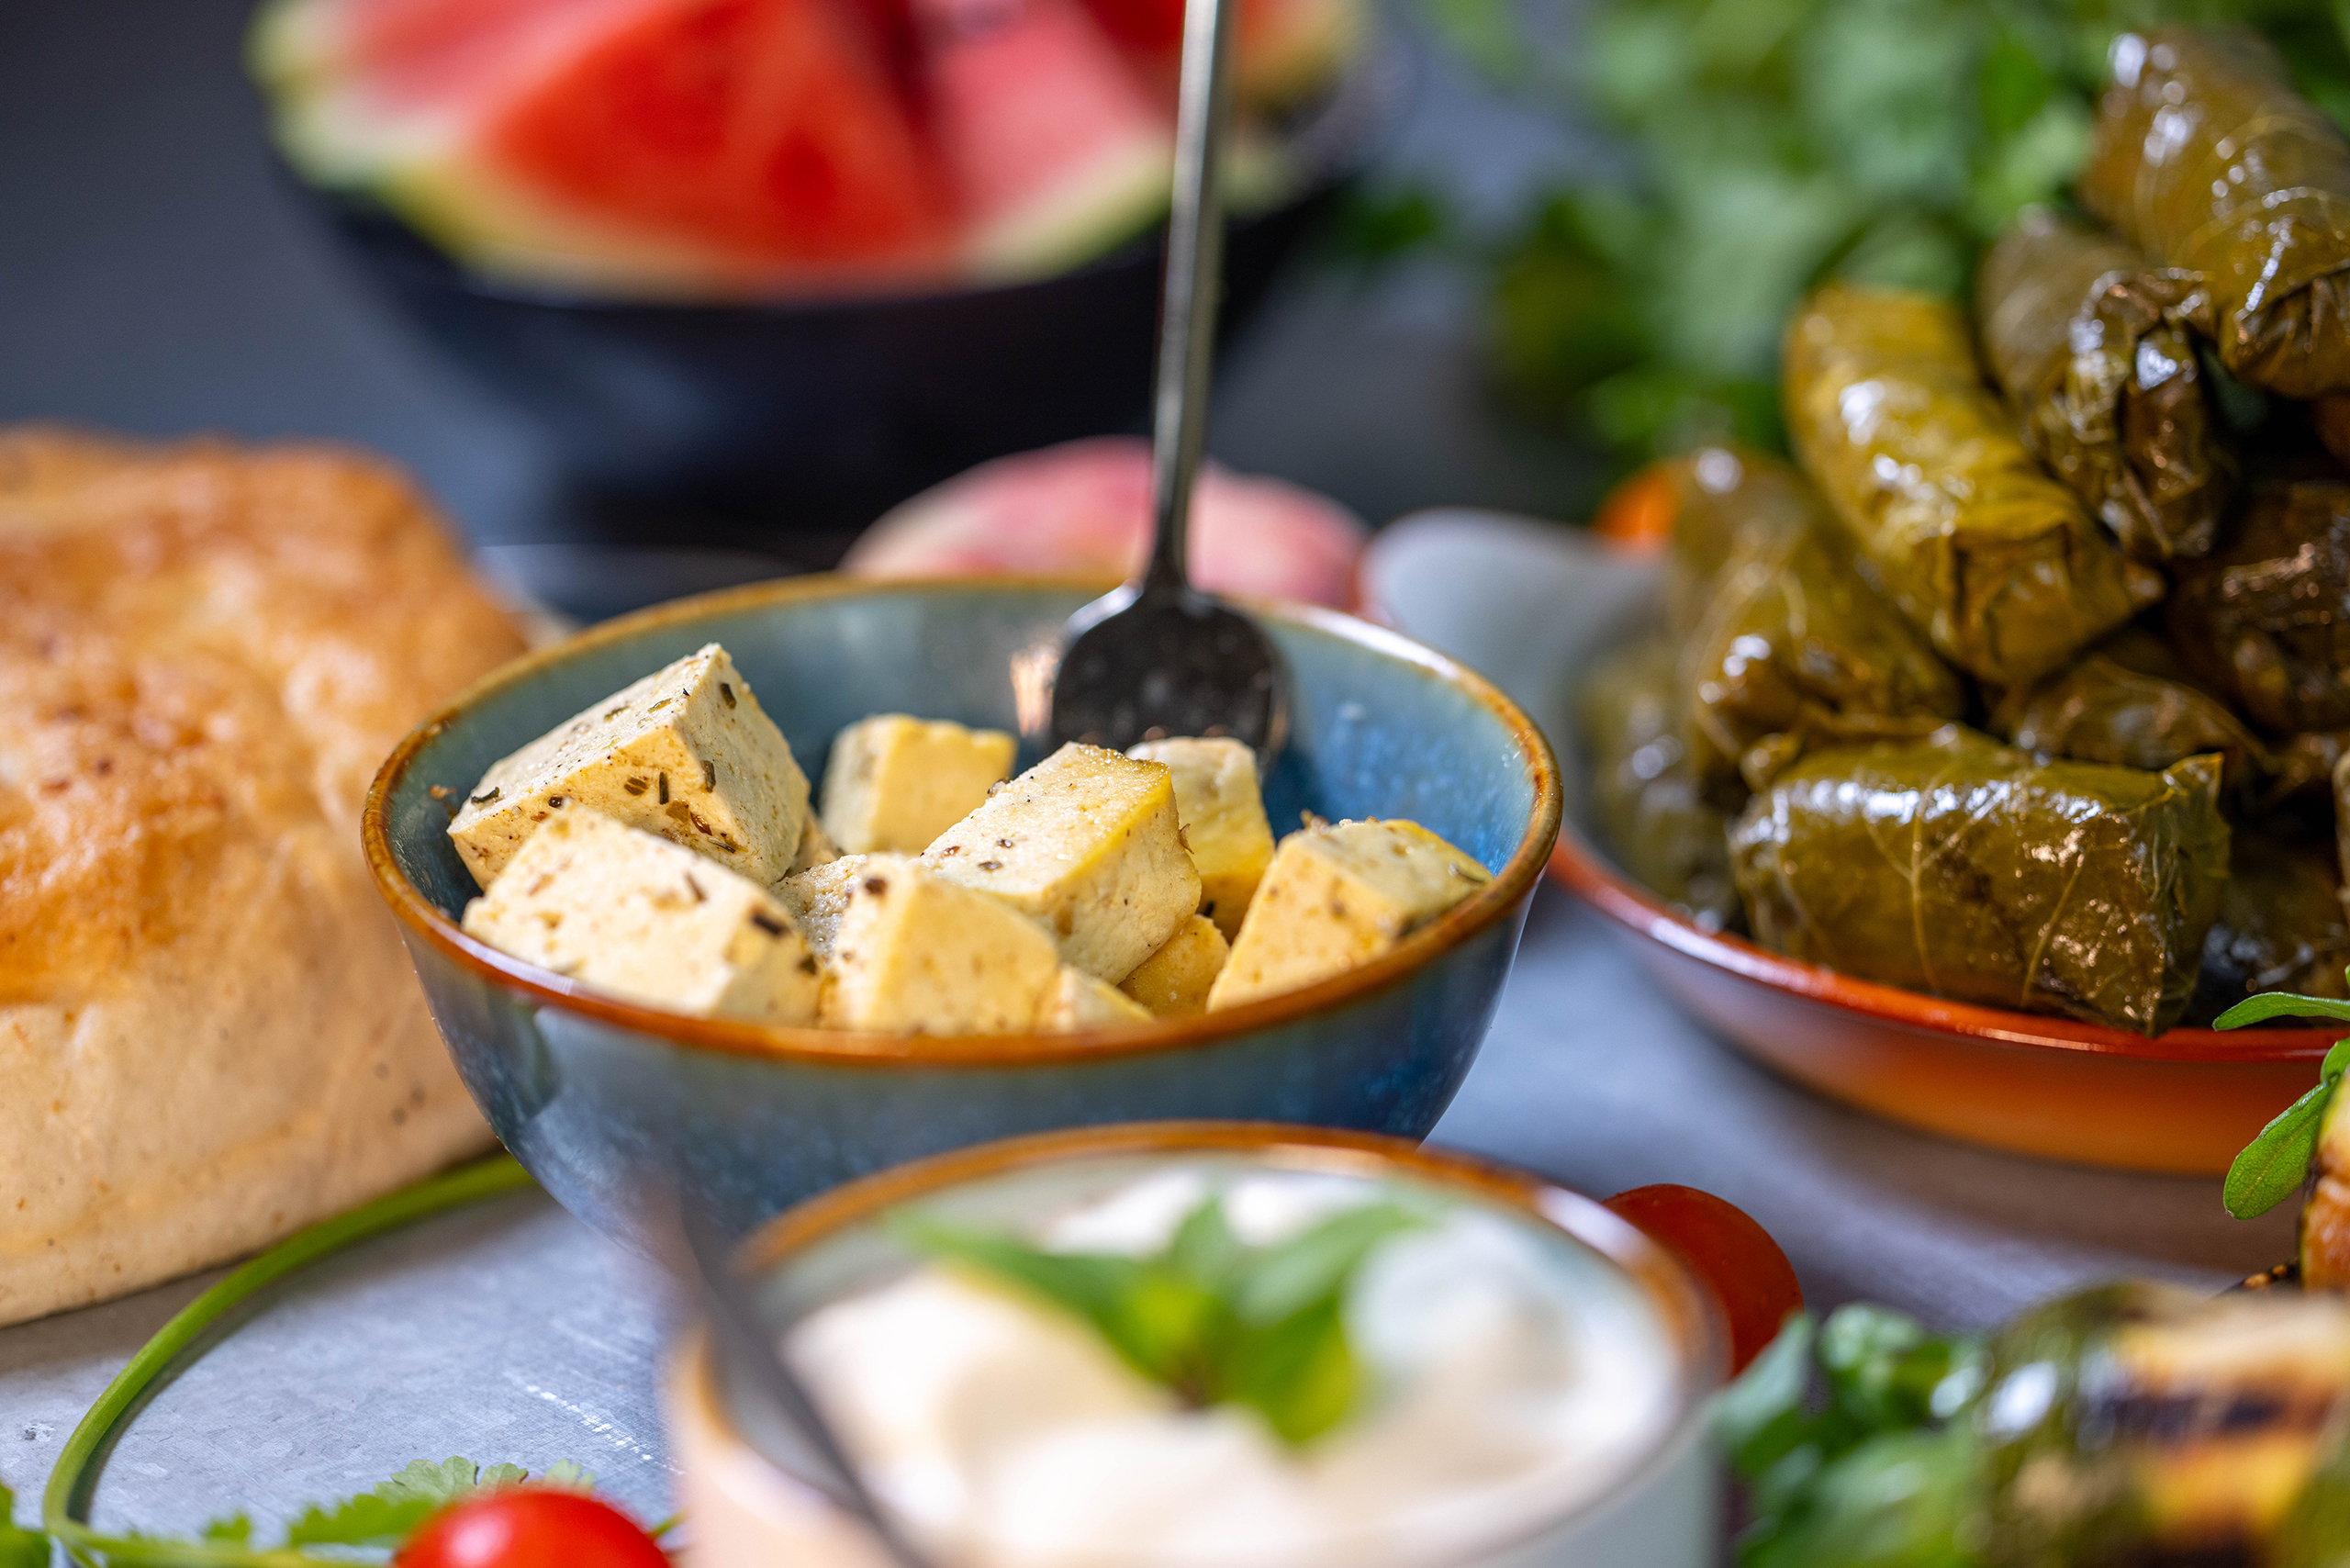
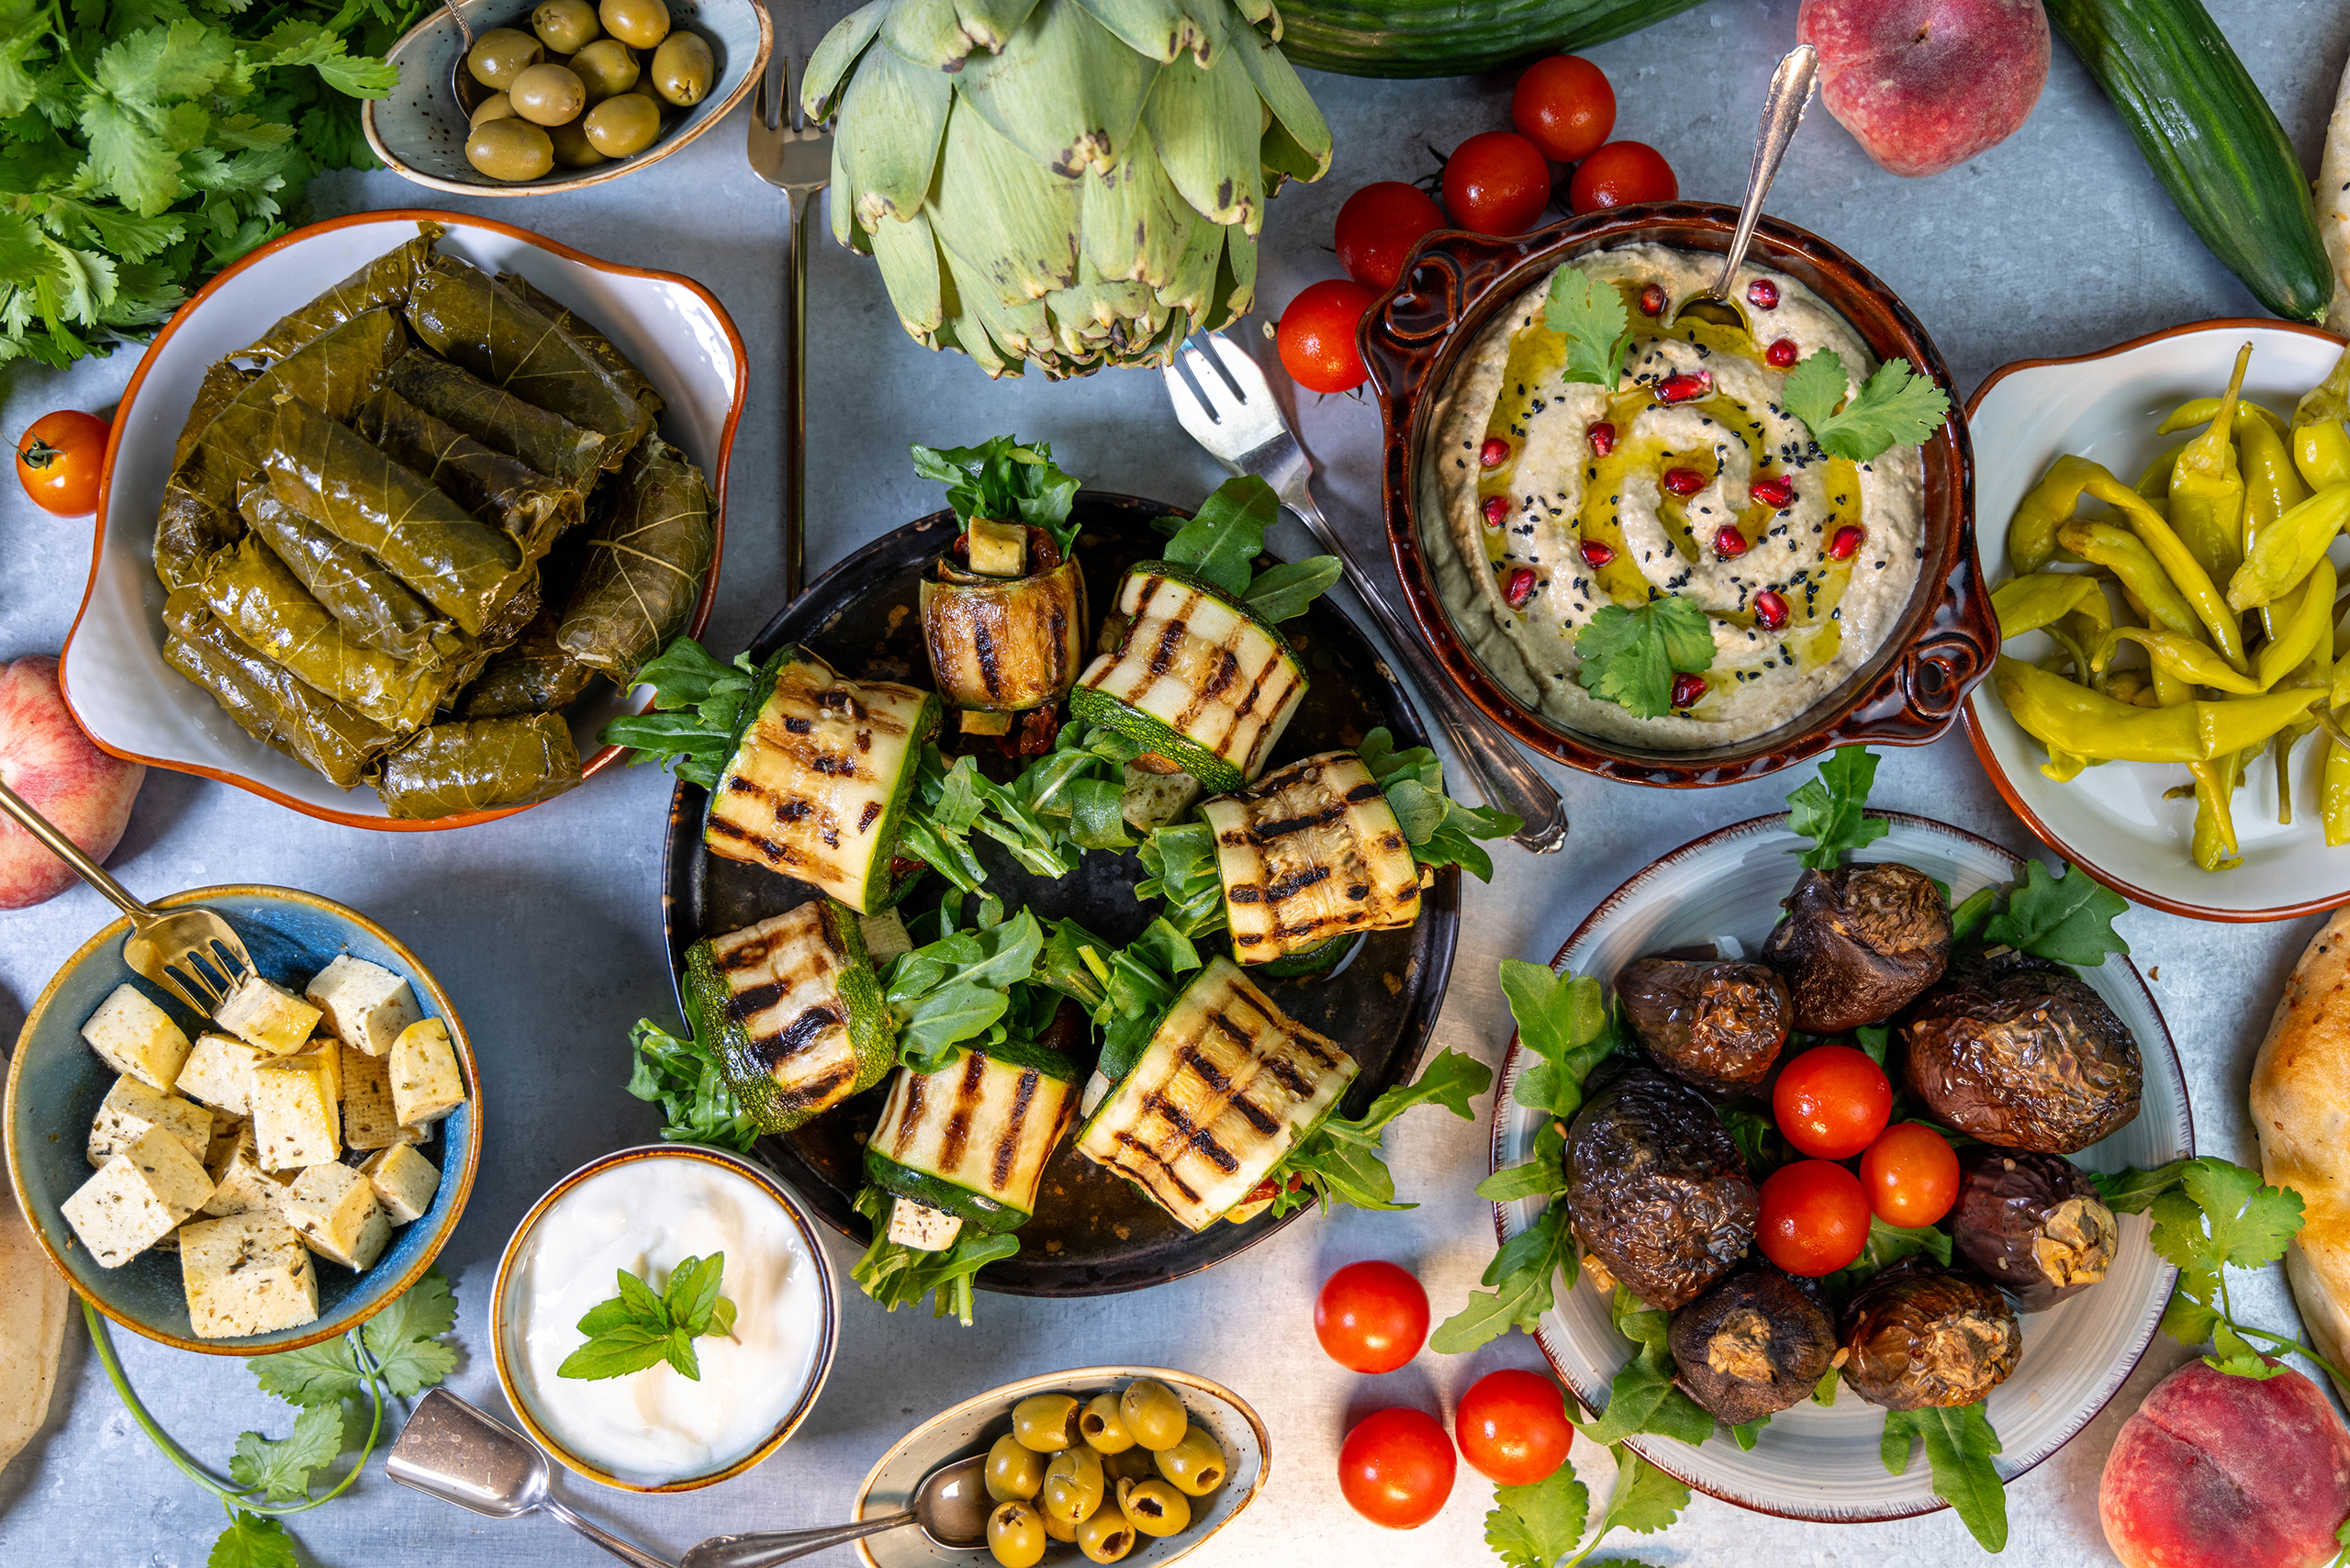
    Veta goes very well on a mezze buffet. Here with vine leaf dolma, eggplant dolma, grilled zucchini rolls, baba ganoush, yoghurt dip, fruit, vegetables and flatbread.
    Veta goes very well on a mezze buffet. Here with vine leaf dolma, eggplant dolma, grilled zucchini rolls, baba ganoush, yoghurt dip, fruit, vegetables and flatbread.

    Show me your vegan feta cheese

    Feel free to follow me on Instagram or Facebook. And I’ll be delighted if you make my Veta and post a photo of it. It’s best if you tag my account in it too. Because I always find it really great and exciting to see how my recipes are prepared in other kitchens!

    Veta – the preparation in pictures

    Here I show you in photos how I prepare the vegan tofu-based feta. Then I’ll go straight on to the recipe.

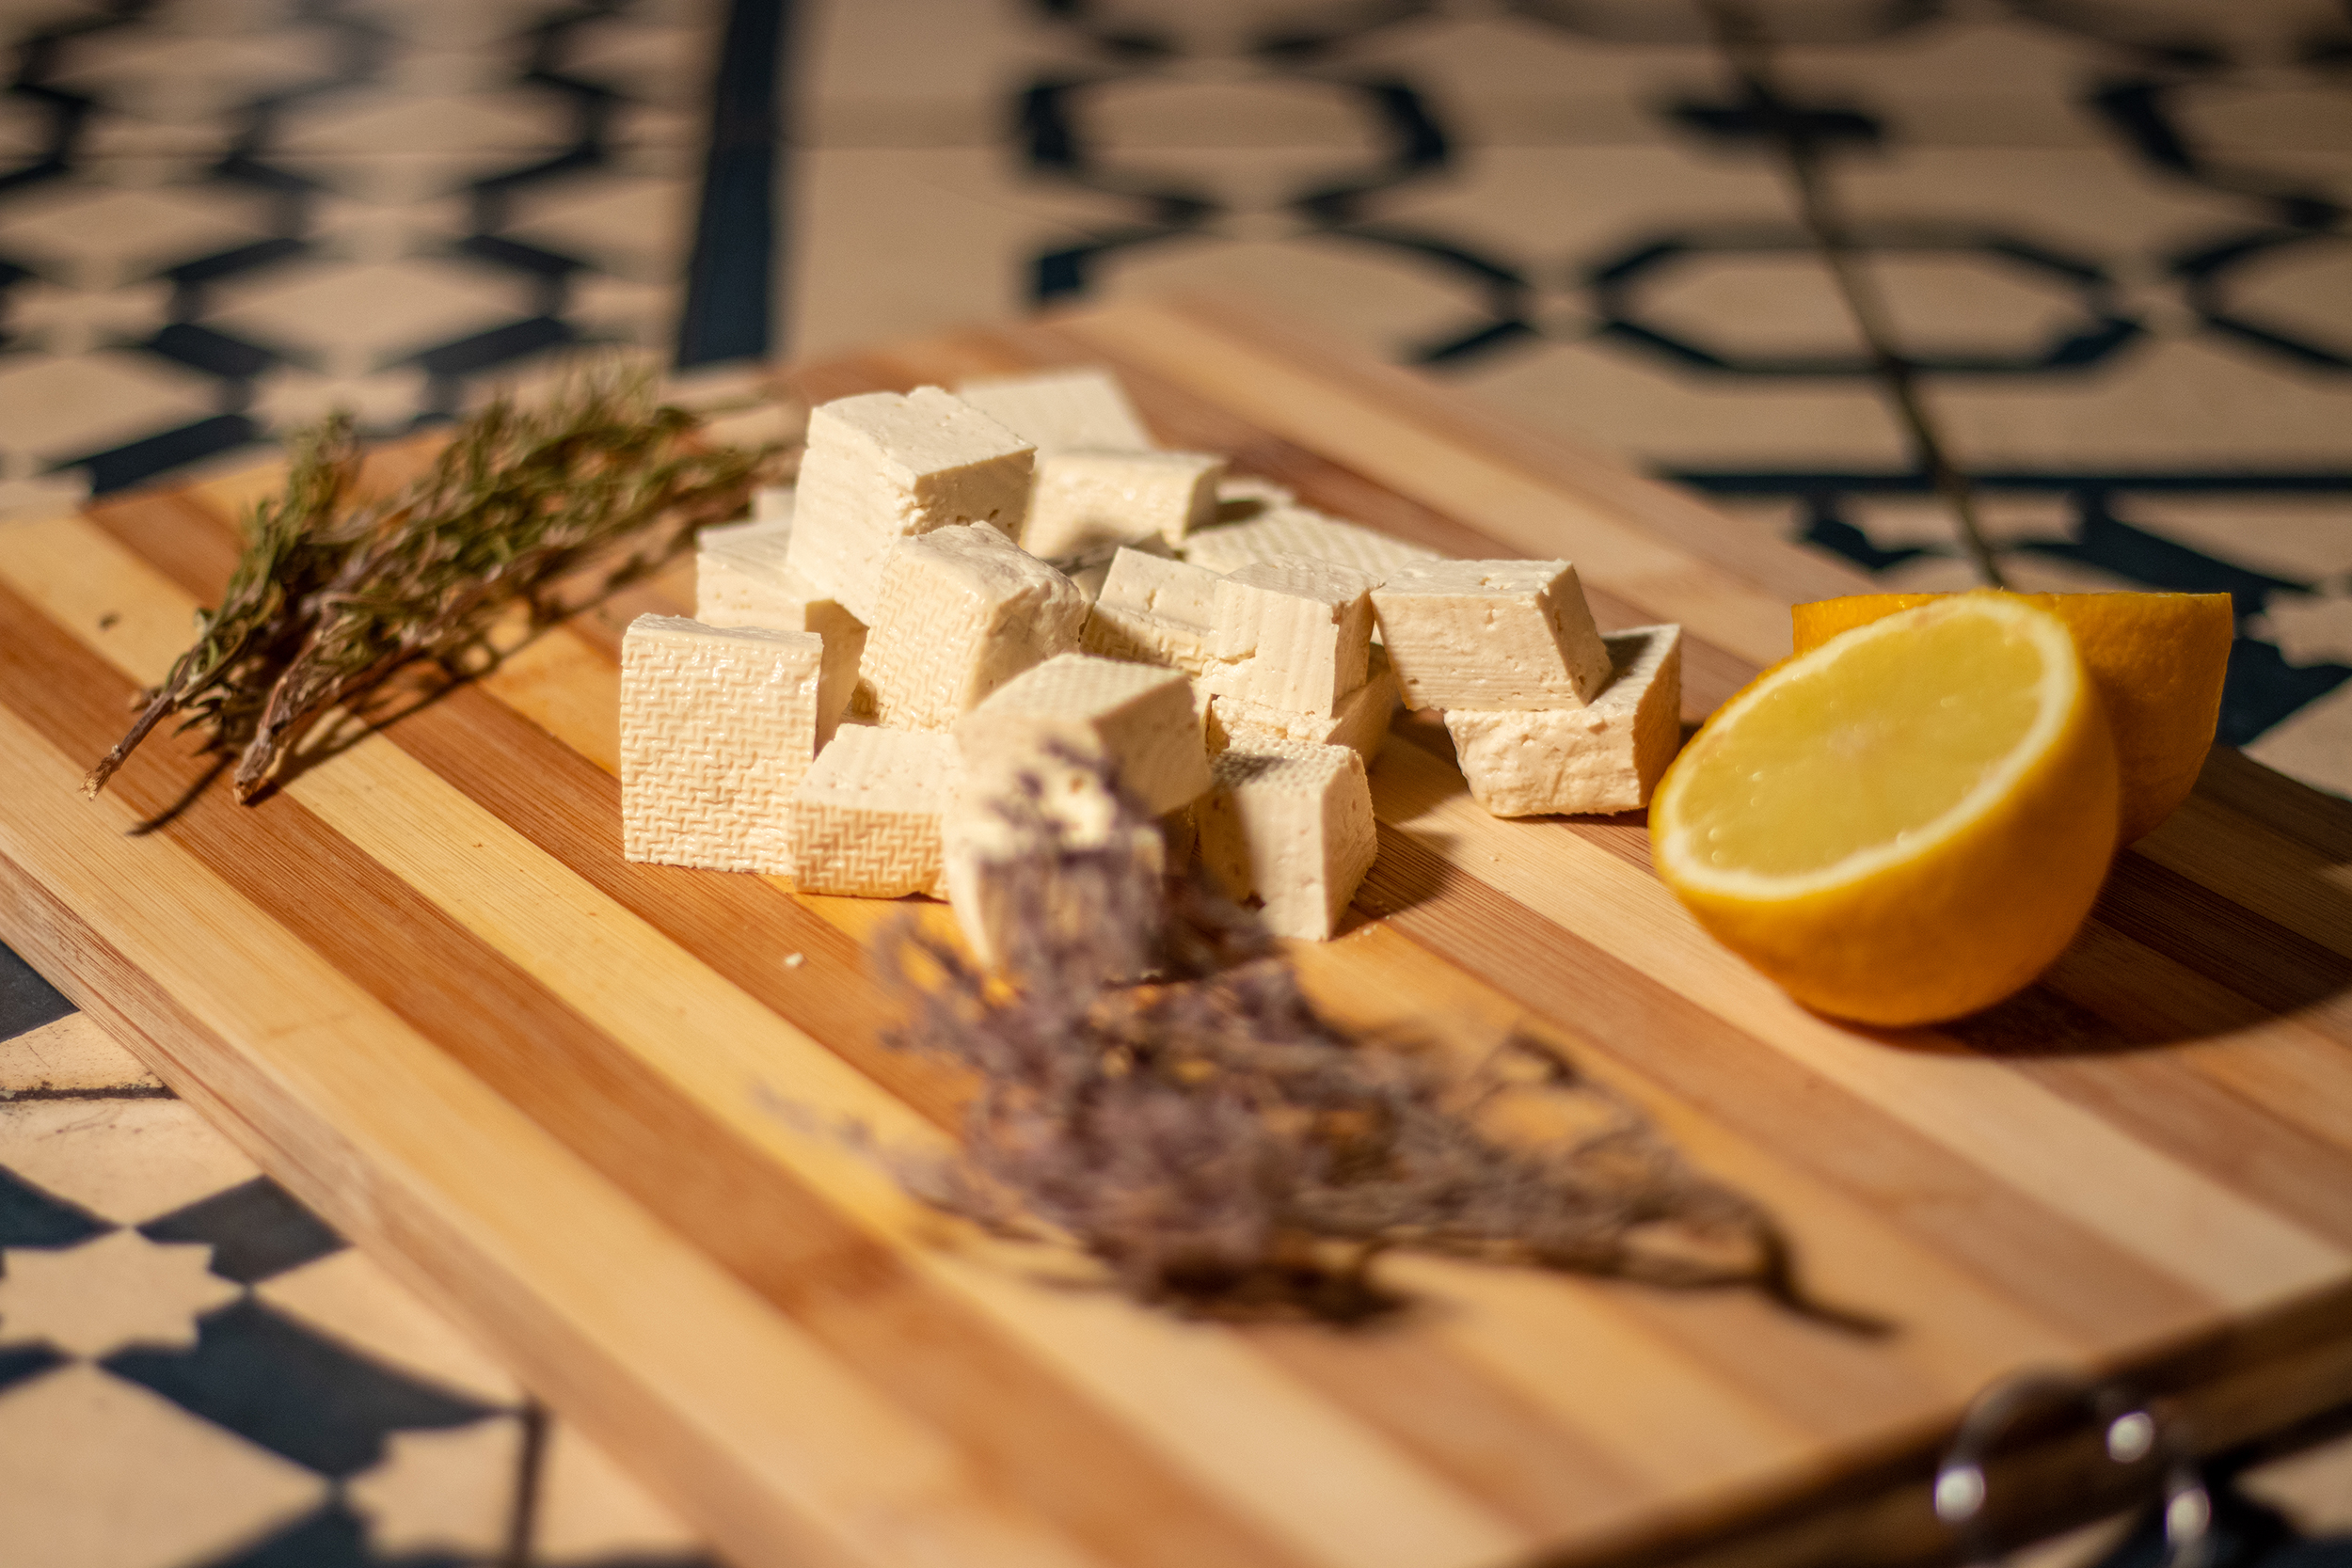
    1. Dice the tofu. Then my Veta is seasoned with Mediterranean herbs and lemon. With salt and olive oil in an aromatic marinade.
    1. Dice the tofu. Then my Veta is seasoned with Mediterranean herbs and lemon. With salt and olive oil in an aromatic marinade.
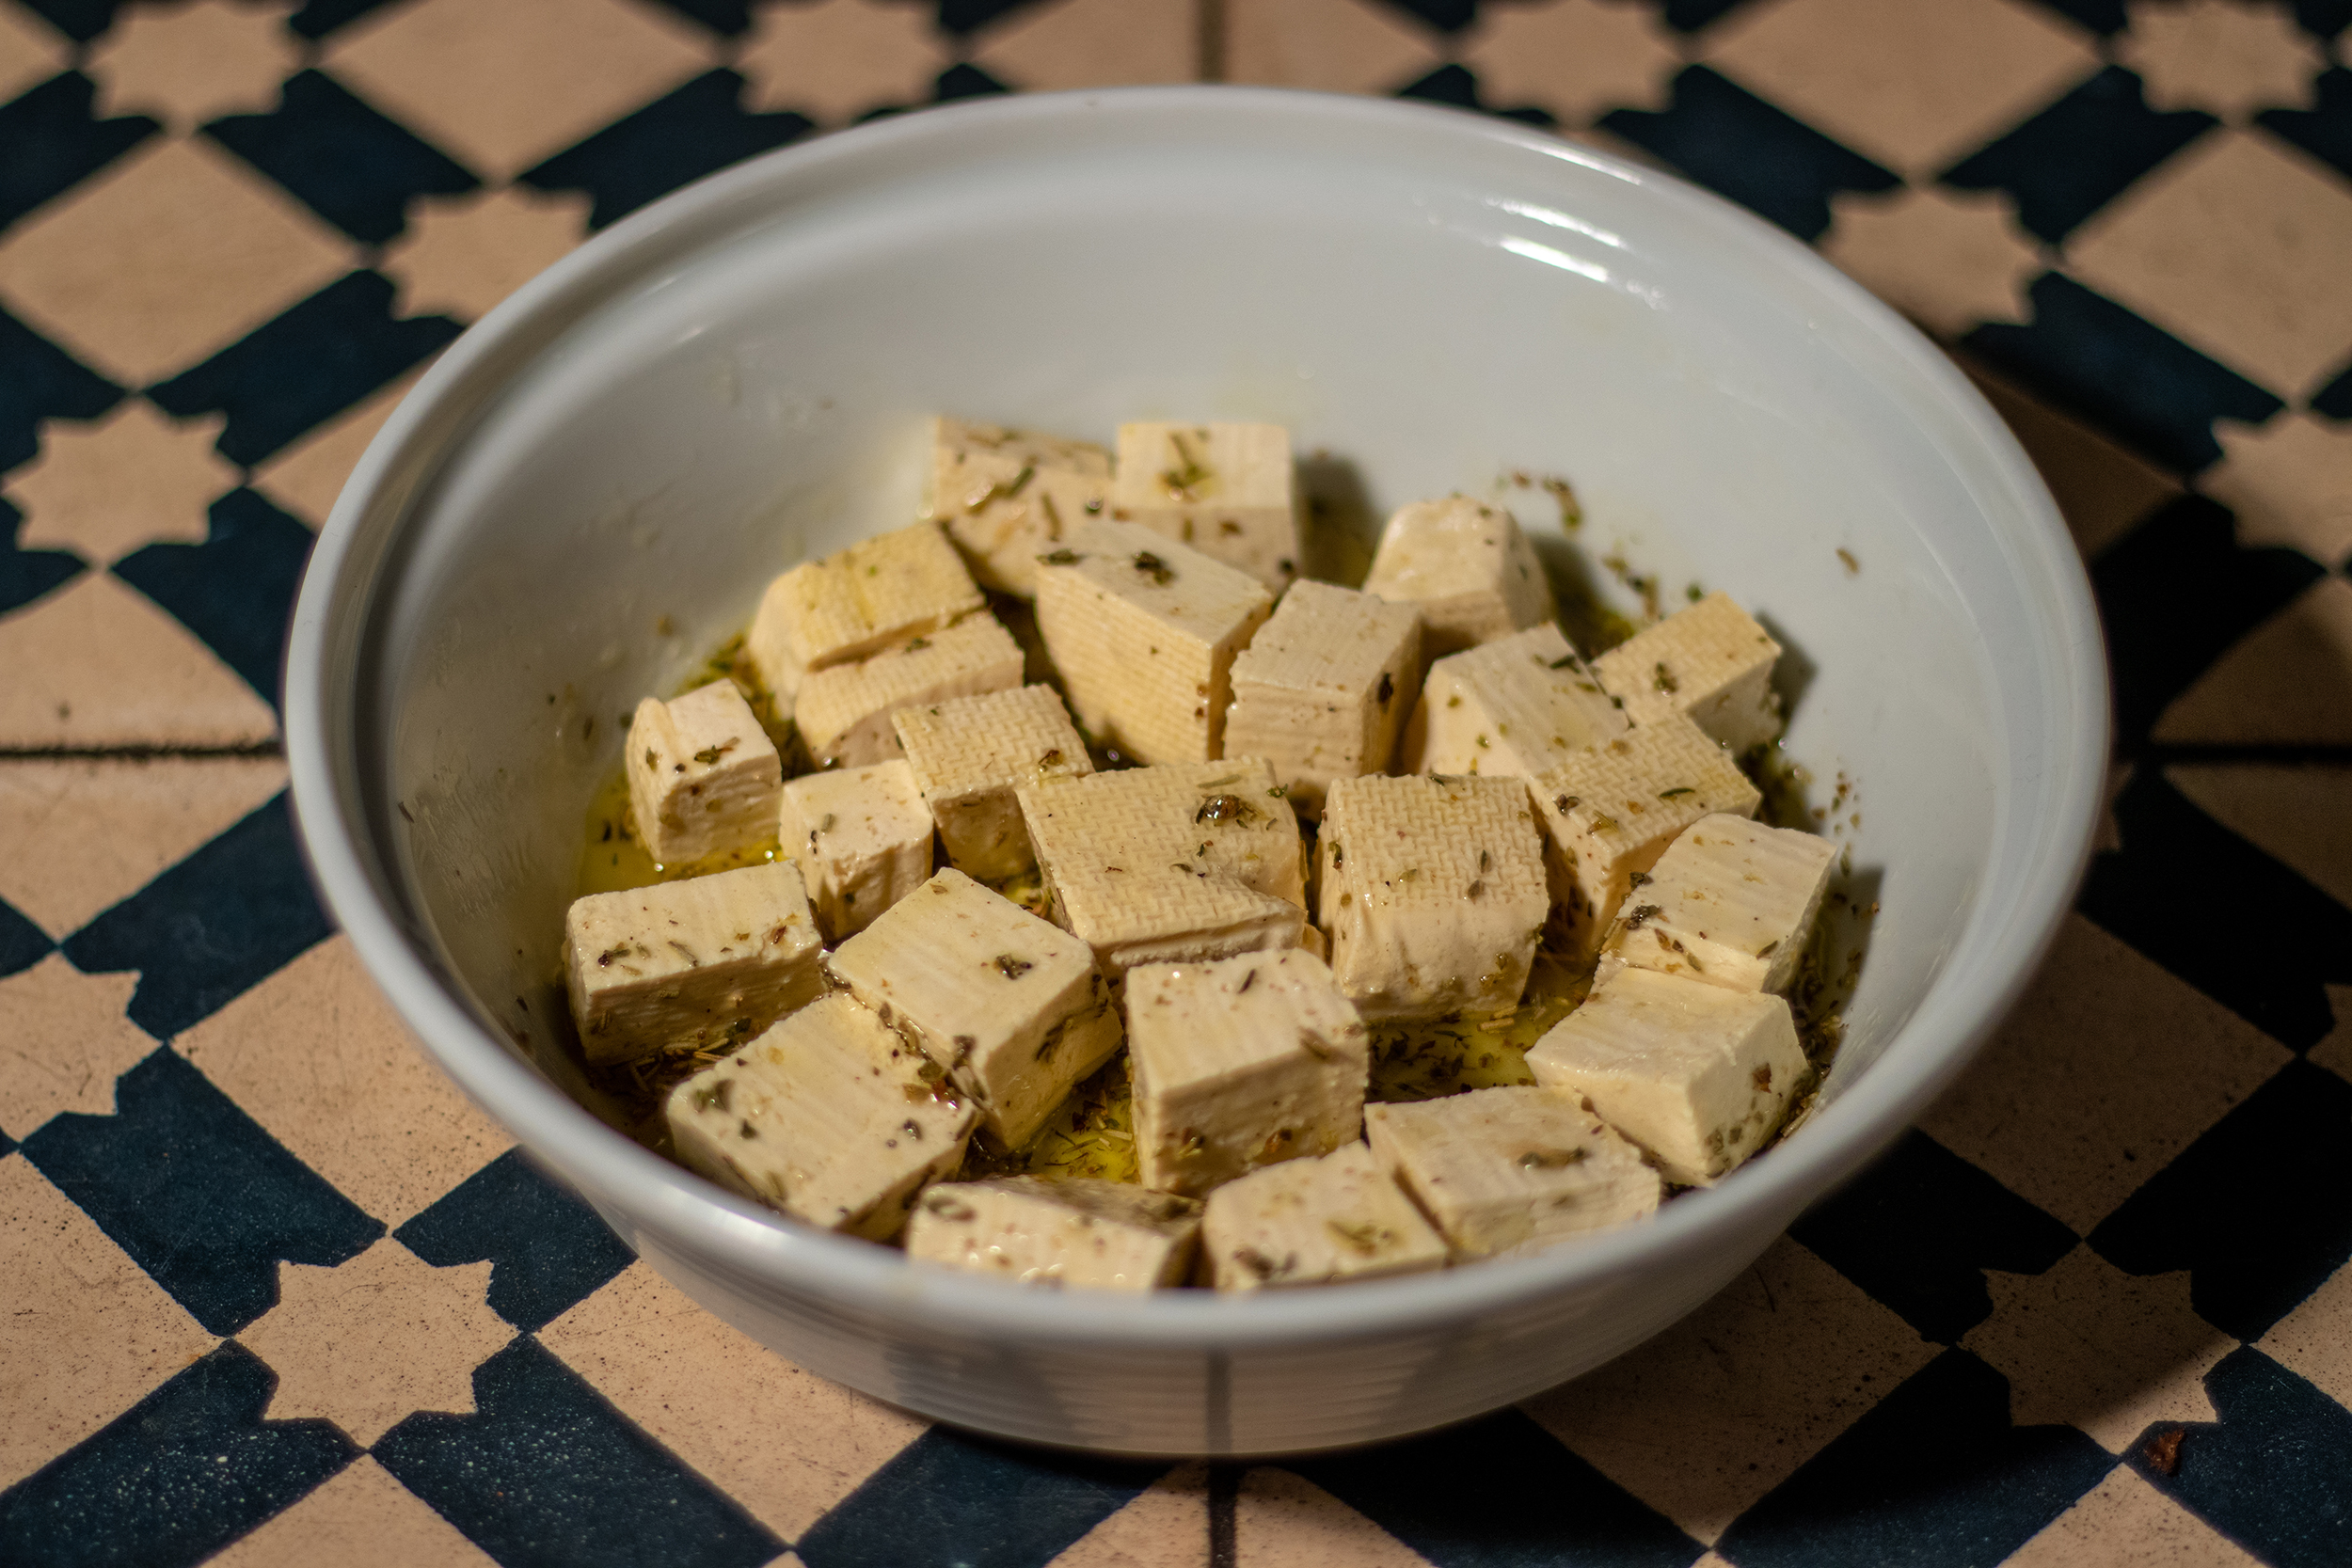
    2. The Veta cubes are in the marinade and ready for the oven
    2. The Veta cubes are in the marinade and ready for the oven
    Fresh, homemade, vegan feta as part of a mezze board
    Fresh, homemade, vegan feta as part of a mezze board

    Ingredients for vegan feta cheese:

    1 block of firm tofu, cut into approximately 1-2 cm cubes

    Olive oil

    Feta marinade:

    1 lemon, the juice
    2 heaped teaspoons of salt
    1 heaped teaspoon of oregano
    1/2 teaspoon of black pepper
    1 heaped teaspoon of thyme
    1 heaped teaspoon of rosemary
    3 tablespoons of olive oil

    Preparation:

    Vegan feta:

    1. Preheat the oven to 170°C (340°F) top and bottom heat.
    2. First mix all the ingredients for the feta cheese marinade.
    3. Then cut the tofu into 1-2 centimeter cubes and put them in a small casserole dish.
    4. Then pour the marinade over it, nd turn the tofu cubes in in it.
    5. Bake it in the oven at 170° for 30 minutes. Turn it over after 15 minutes.
    6. After the cooking time, take it out of the oven and let it cool completely.

    The Veta can now be used immediately. The vegan feta cheese already tastes fantastic.

    Preserving vegan feta cheese

    1. To preserve the feta in the fridge for several weeks, put the vegan feta cubes and the rest of their marinade in a small screw-top jar or mason jar.
    2. Fill this jar with olive oil until the feta is completely covered.
    3. Preserved in this way, the vegan feta cheese can be stored in the fridge for a long time. You can snack it or use it in salads, eat it on bread, add it to casseroles and much more.

    Enjoy!

  • Elderflower tea – foraged and dried at home

    Elderflower tea – foraged and dried at home

    Aromatic elderflower tea, with hand picked elderflowers. Foraged in the woods or on meadows and dried at home. A precious product from nature, for free and right on our doorstep. Delicious tea, regional, seasonal, with no packaging waste and without leaving a carbon footprint.

    Delicious tea, regional, seasonal, without packaging waste and without leaving a CO2 footprint.
    Delicious tea, regional, seasonal, without packaging waste and without leaving a CO2 footprint.

    This elderflower tea is delicious and sweet on its own and simply delicious as a blend.

    This tea is delicious and sweet on its own, but it also has a wonderful aroma in tea blends, such as with green tea.

    It is also a delicious cold refreshment. Also perfect to take outside, especially in summer.

    Tasty and sweet, this elderflower tea is simply delicious both pure and as a blend
    Tasty and sweet, this elderflower tea is simply delicious both pure and as a blend

    Elderflower tea is a tried and tested natural medicine

    Elderflower tea not only tastes fantastic, it is also a tried and tested natural medicine. It has been proven to have a healing effect on colds and is very effective against flu viruses. It is soothing for a cold that has already broken out, but especially when a cold or runny nose is just coming up. As soon as you feel the first symptoms, it is recommended, that you drink 2-3 cups of elderflower tea a day.
    The tea should be drunk as warm as possible. As it induces sweating, it is also effective against fever.

    Elderflower tea is healthy, it helps against colds and flus
    Elderflower tea is healthy, it helps against colds and flus

    Elderflower tea contains many valuable ingredients such as flavonoids, essential oils and tannins.

    It’s teatime! Tea made from elderflowers is not only delicious, but also a proven remedy in natural medicine
    It’s teatime! Tea made from elderflowers is not only delicious, but also a proven remedy in natural medicine

    When is the best time to harvest elderflowers?

    Elderflowers begin to bloom in May and continue to blossom until late June.

    Elderflowers are most aromatic on a warm and sunny day. It is best to pick them in the early afternoon when they have already received a lot of sun and are still in the sunshine.

    You should shake the elderflowers gently immediately after picking them if there are still insects in them. To preserve the aroma, do not wash the umbels. Therefore, you should not pick them too low on the bush.

    Rainy days are not suitable for picking elderflowers, as wet flowers have significantly less aroma.

    It is advisable to harvest elderflowers early in the season. This is because the umbels are also very popular with aphids and other small animals. The longer the season has been going on, the more likely it is that the flowers are already infested.

    Elderberry grows and blooms everywhere along the roadside
    Elderberry grows and blooms everywhere along the roadside

    Elderflowers for elderflower tea – a climate-friendly, regional ingredient

    Elderflowers grow everywhere, in the forest, in parks and on the side of the road. This means that it is free for everyone and easily accessible locally. With elderflowers you can forage a regional, seasonal, sustainable, climate-friendly and practically carbon-free ingredient. You can easily collect and dry the flowers for this exquisite tea yourself. And elderflowers also offer an outstanding, very healthy taste experience.

    Freshly brewed elderflower tea
    Freshly brewed elderflower tea

    More delicious recipes with elderflowers and other ingredients from the wild

    I love cooking with foraged handpicked ingredients. If you do too, feel free to try out some of my other recipes:

    Home-harvested elderflower tea
    Home-harvested elderflower tea

    Elderflower tea: preparation in pictures

    1. An elderflower in full bloom. These umbels must be picked first.
    1. An elderflower in full bloom. These umbels must be picked first.
    2. Spread the flowers loosely and dehydrate them.
    2. Spread the flowers loosely and dehydrate them.
    3. Freshly dried elderflowers. As long as the flowers are completely dry, you can pack them airtight.
    3. Freshly dried elderflowers. As long as the flowers are completely dry, you can pack them airtight.
    4. The freshly dried elderflower tea can now be brewed and enjoyed until the next season.
    4. The freshly dried elderflower tea can now be brewed and enjoyed until the next season.
    Elderflower tea: foraged and then dried at home. Delicious with a little lime
    Elderflower tea: foraged and then dried at home. Delicious with a little lime

    Making tea: Harvesting the flowers and drying the tea

    You can find elderflowers in parks or in nature on the side of the road. Elderflowers prefer to grow on stony ground. Elderflower bushes or trees that are near busy roads are not suitable for harvesting due to the pollution.

    Pick about 40 umbels or more. Be careful not to squeeze them too much. After harvesting, they should be processed quickly.

    Carefully rip the flowers off the stems for the tea. If small, thin connections remain between the flowers, that’s not a problem. Thicker, green stems should not be put in the tea, however.

    Now spread the detached flowers out on several baking trays lined with parchment paper. The flowers should not lie too close together, but spread out thinly.

    There are two methods of drying elderflowers. The most environmentally friendly and energy-saving is to let the flowers dry on their own in a dark, warm place. A sunny attic or a warm, dry boiler room would be very suitable for this. Depending on the temperature and humidity, drying using this method can take several weeks, and the flowers should be turned every few days.

    It goes much faster if you have a dehydrator or use the oven.

    Set the oven to 40-50°C, put the trays in and leave to dry for several hours. Let the moisture escape from the oven every 30 minutes. Here too, the flowers must feel completely dry, then they are ready.

    No matter how you dry the flowers, they must be completely dry so that no residual moisture can escape, which could cause mold.

    When the flowers are dry, fill them into a dark, airtight jar or tin. The container must be opaque, as the flowers would spoil in the light.

    Elderflower tea: wonderfully scented with elderflower
    Elderflower tea: wonderfully scented with elderflower

    Preparation for a cup of elderflower tea:

    Ingredients:

    1 tbsp elderflowers, dried, in a tea infuser or tea filter
    200 ml boiling water

    Preparation:

    Pour the hot water over the elderflower tea in a cup and let it steep, covered, for 5-10 minutes.

    Enjoy!

  • Elderflower vinegar, homemade, easy with 2 ingredients

    Elderflower vinegar, homemade, easy with 2 ingredients

    I always harvest the fresh elderflowers for my elderflower vinegar as early in the year as possible. It needs four weeks to infuse and I want to enjoy it as quickly as possible. My aromatic, deliciously fragrant elderflower vinegar enhances any salad. It adds a wonderful note to marinades and reductions. And if stored in a cool, sealed container, it will last until the next season.

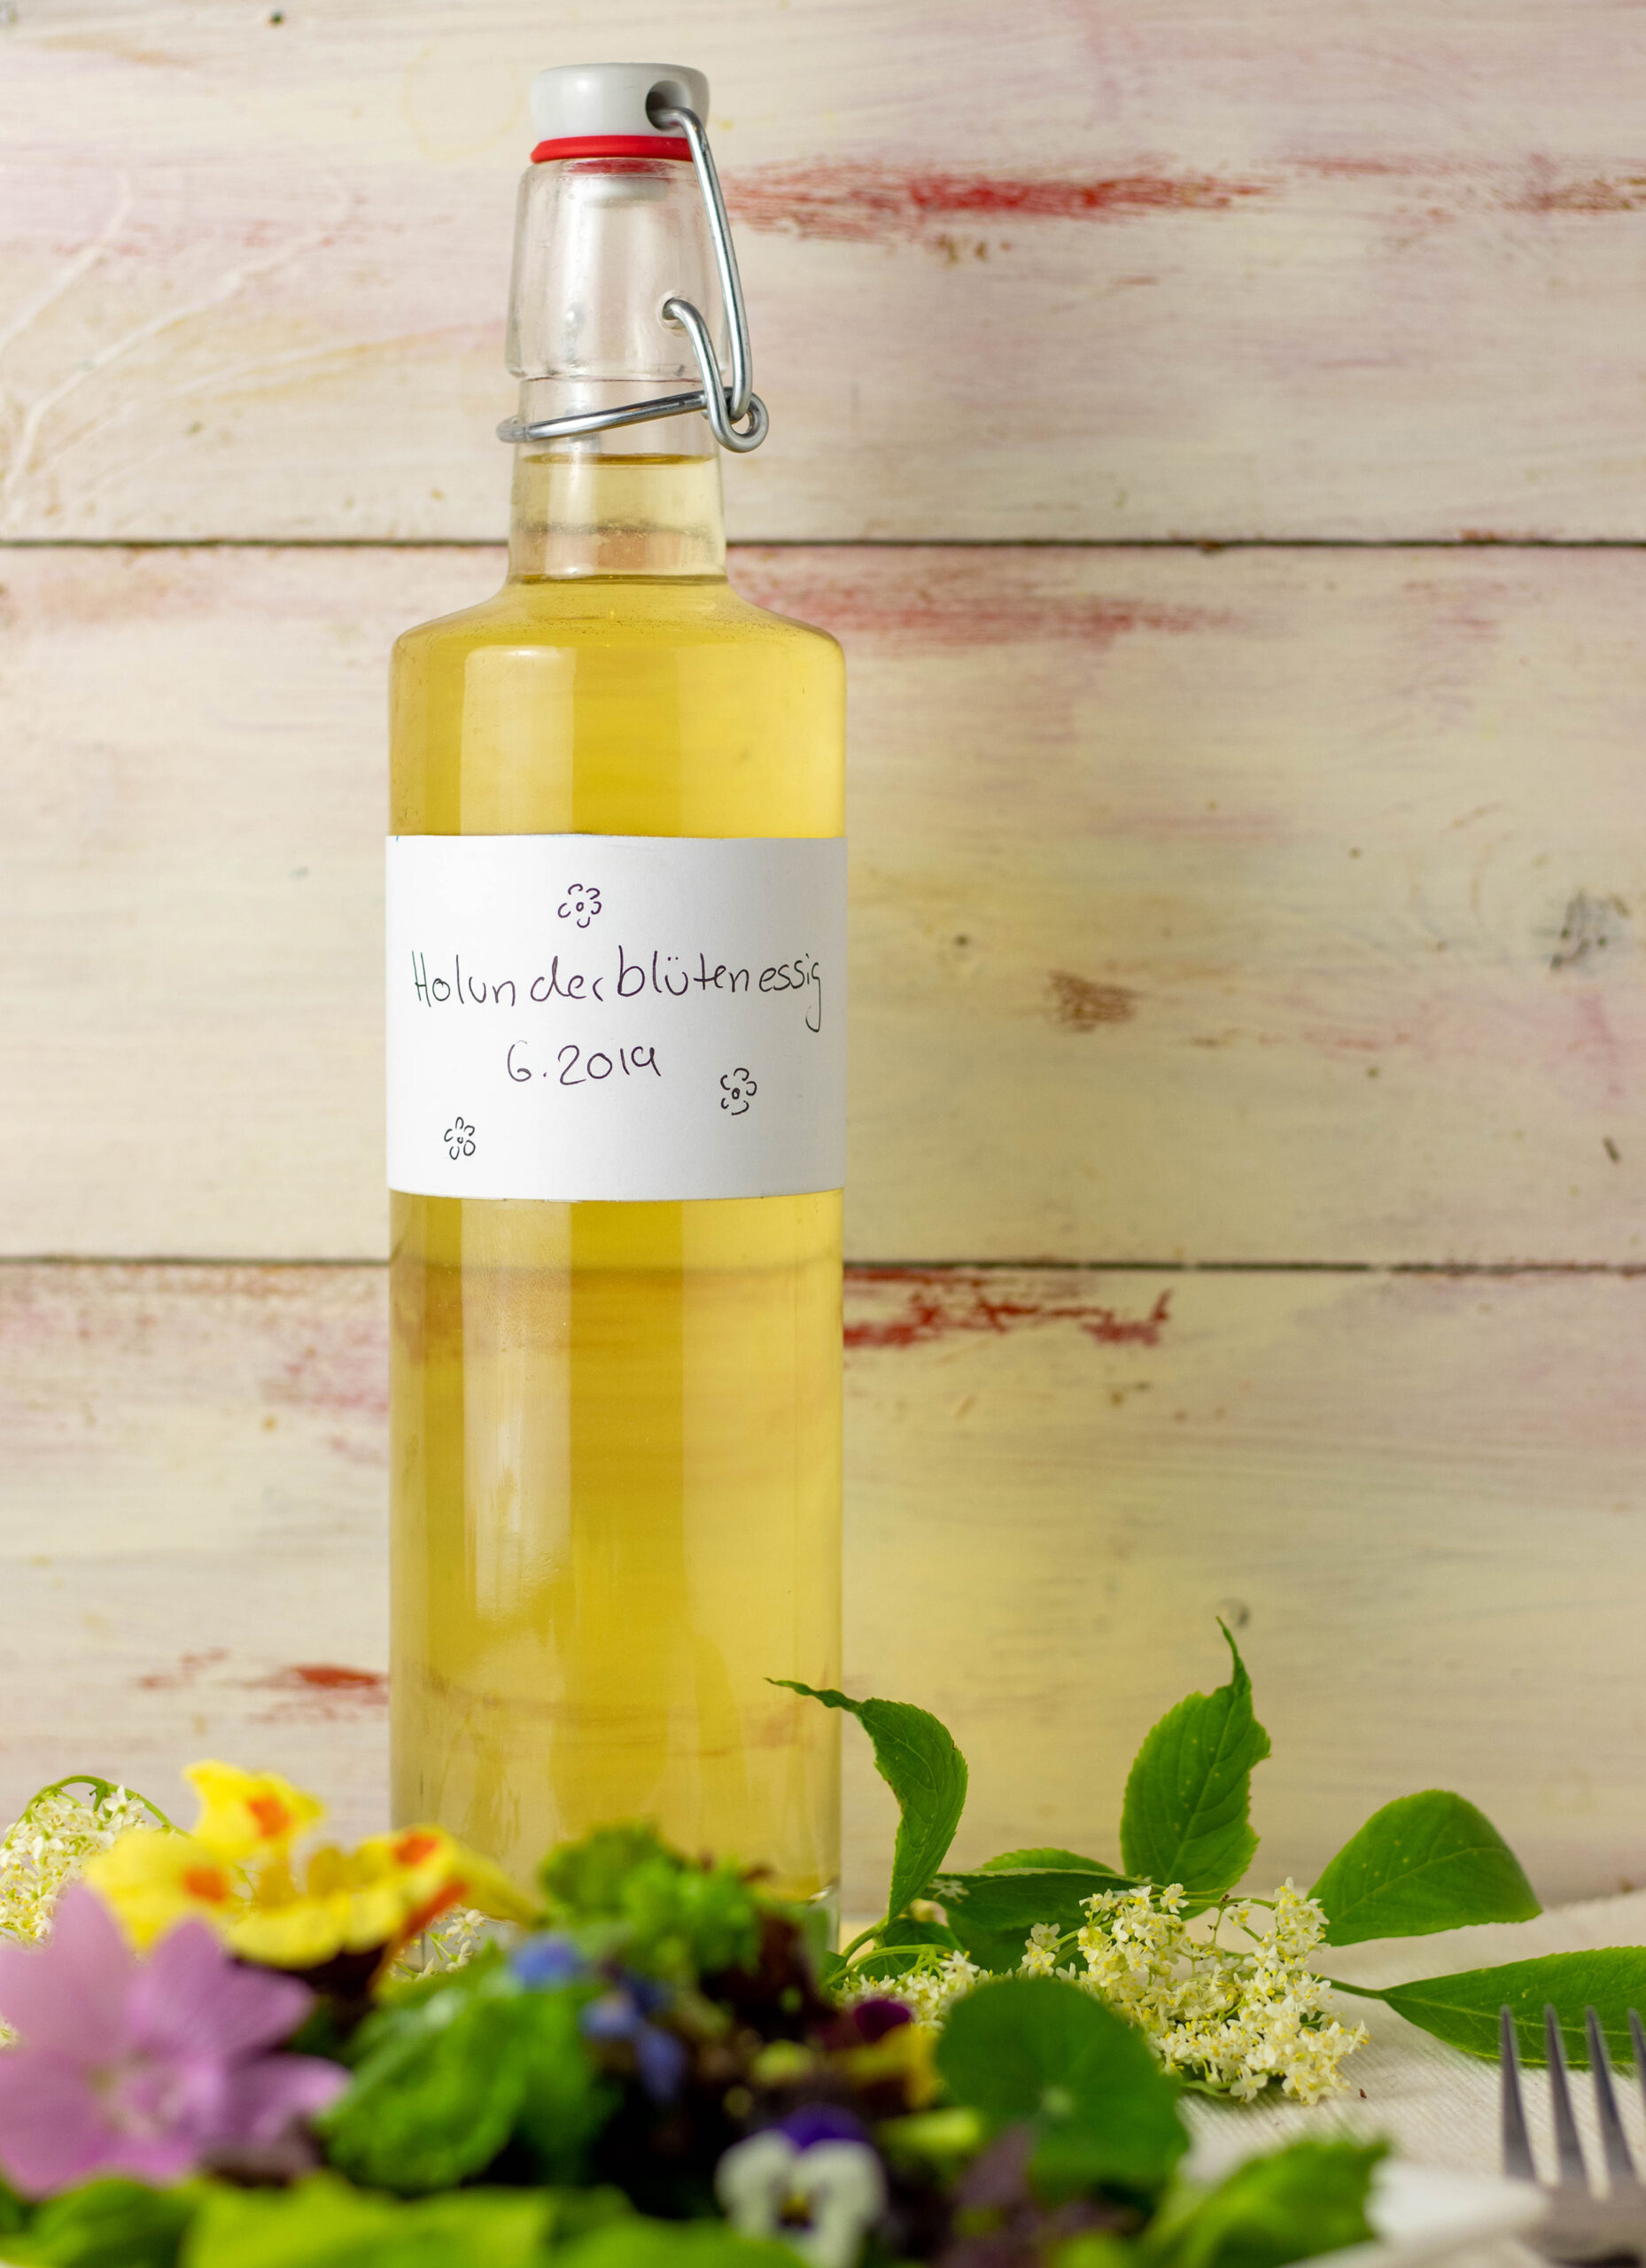
    Homemade elderflower vinegar
    Homemade elderflower vinegar

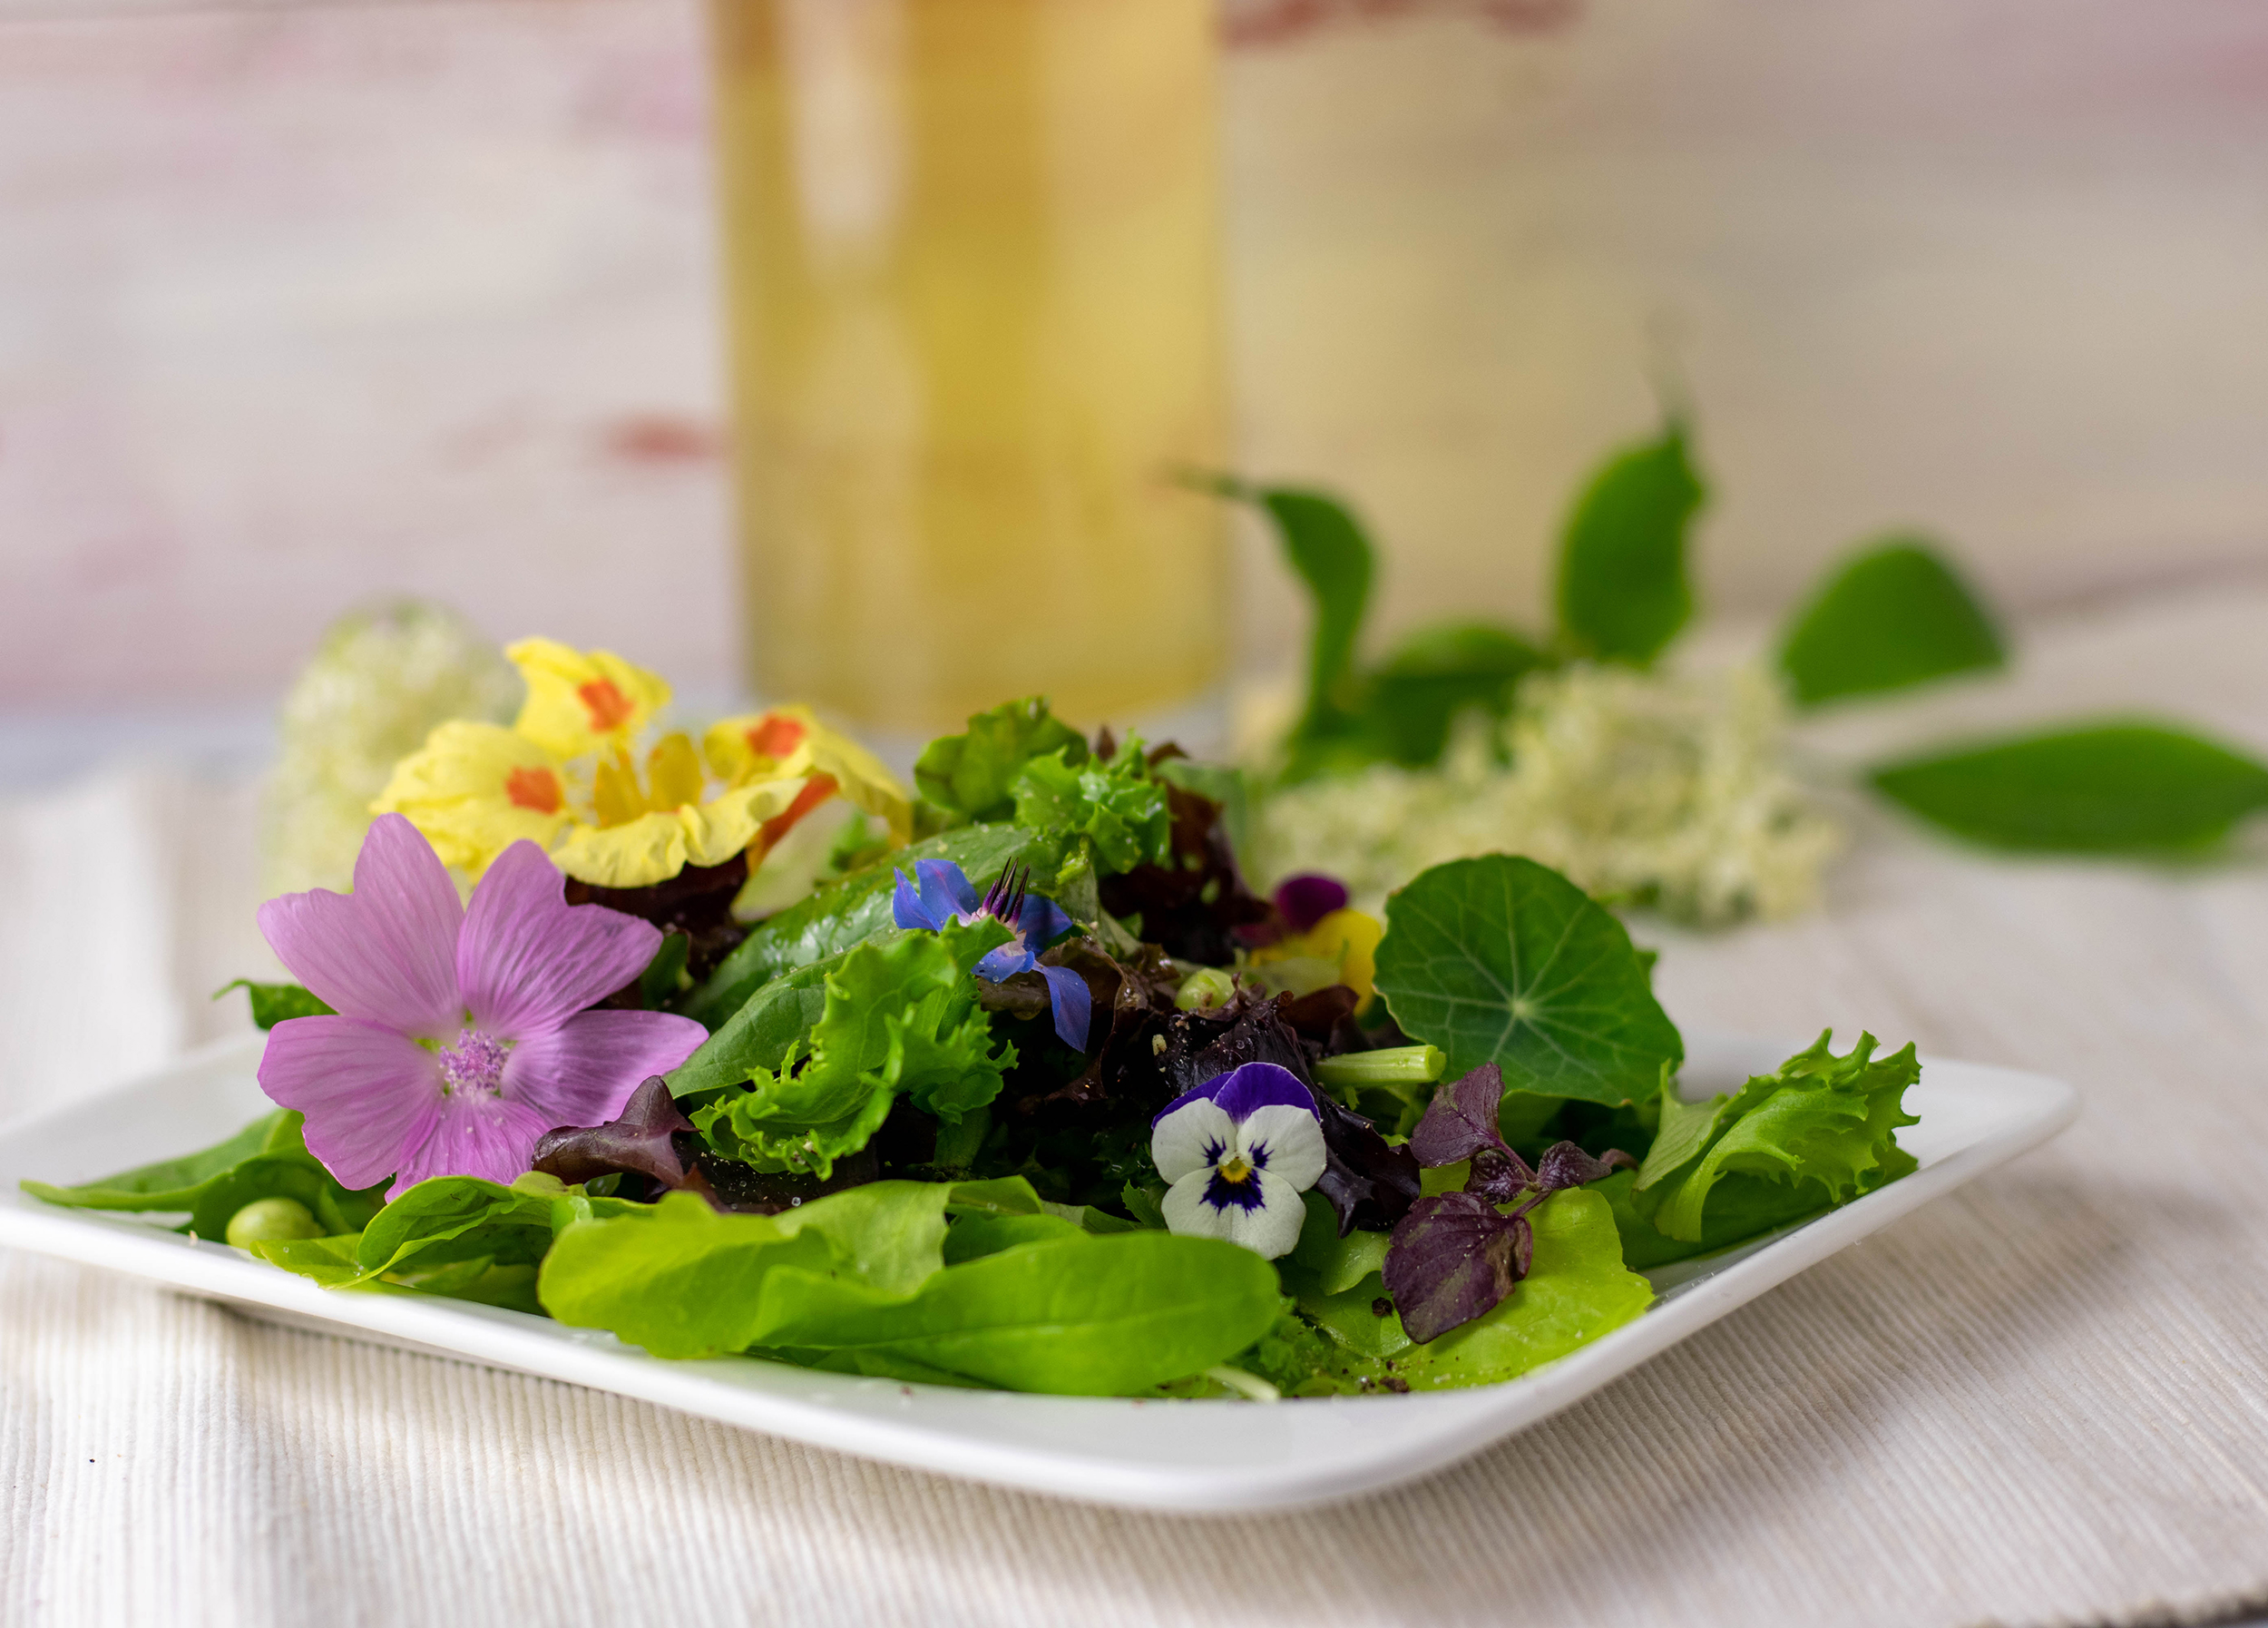
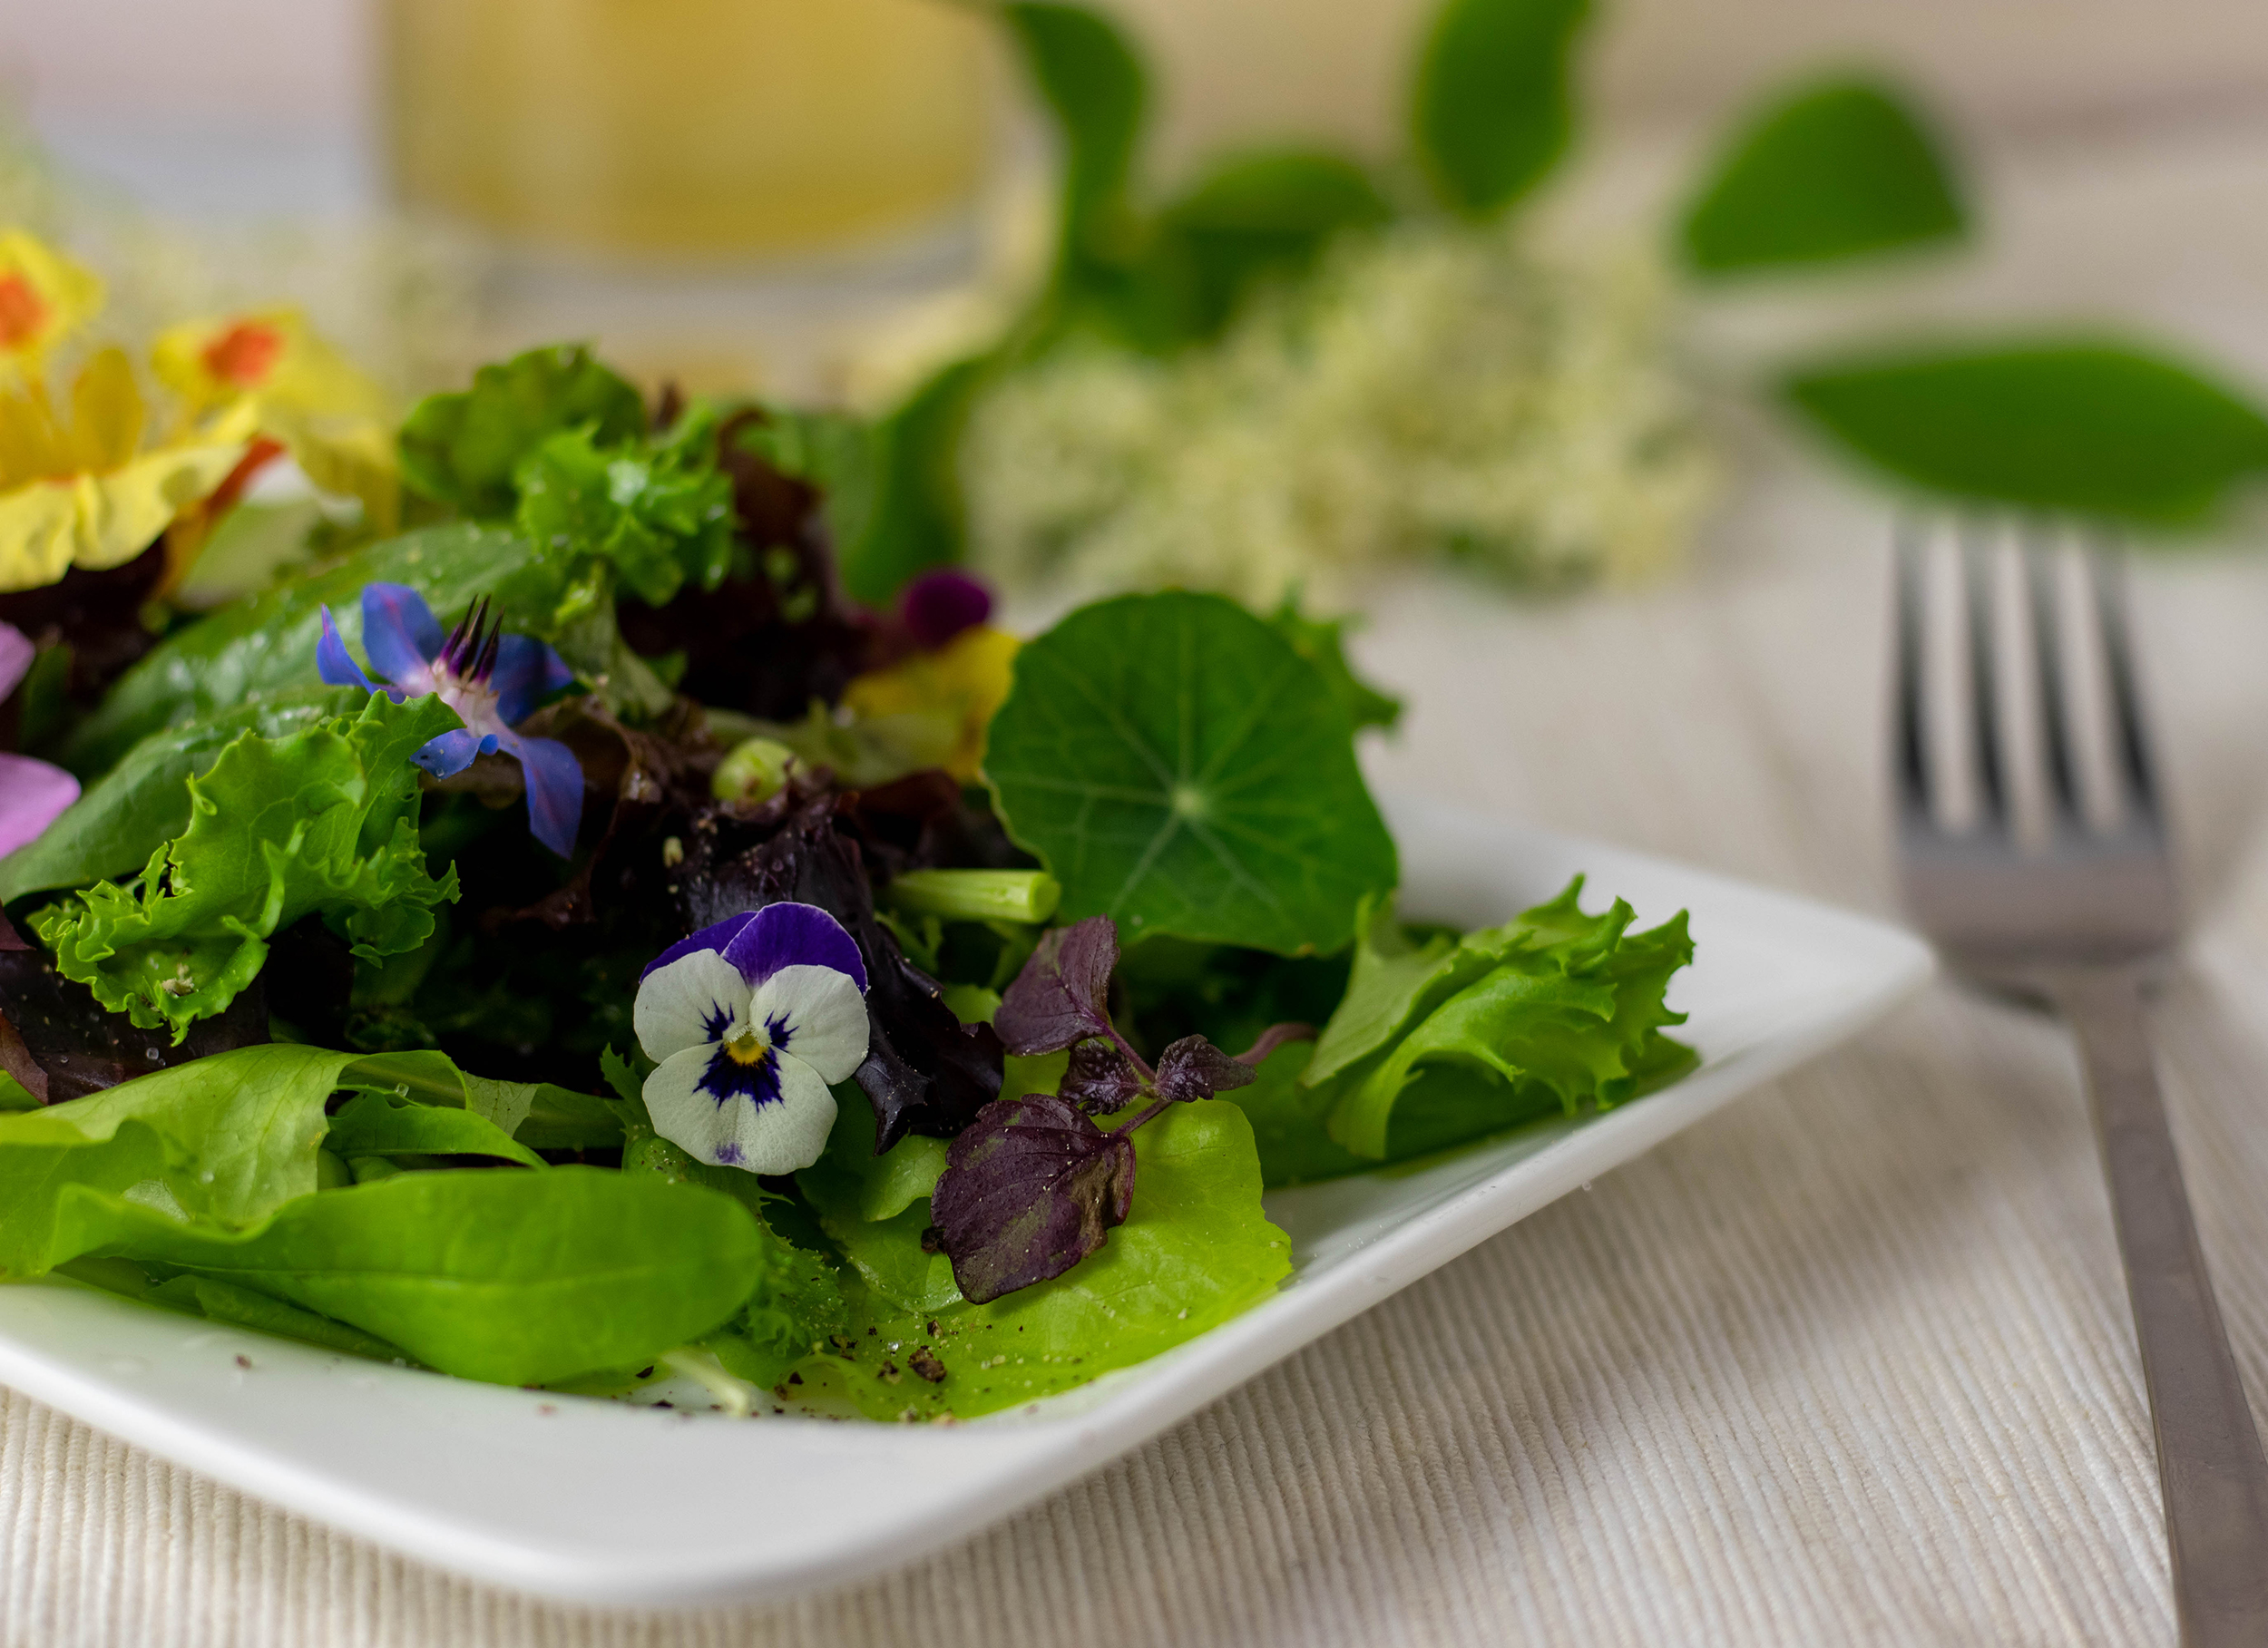
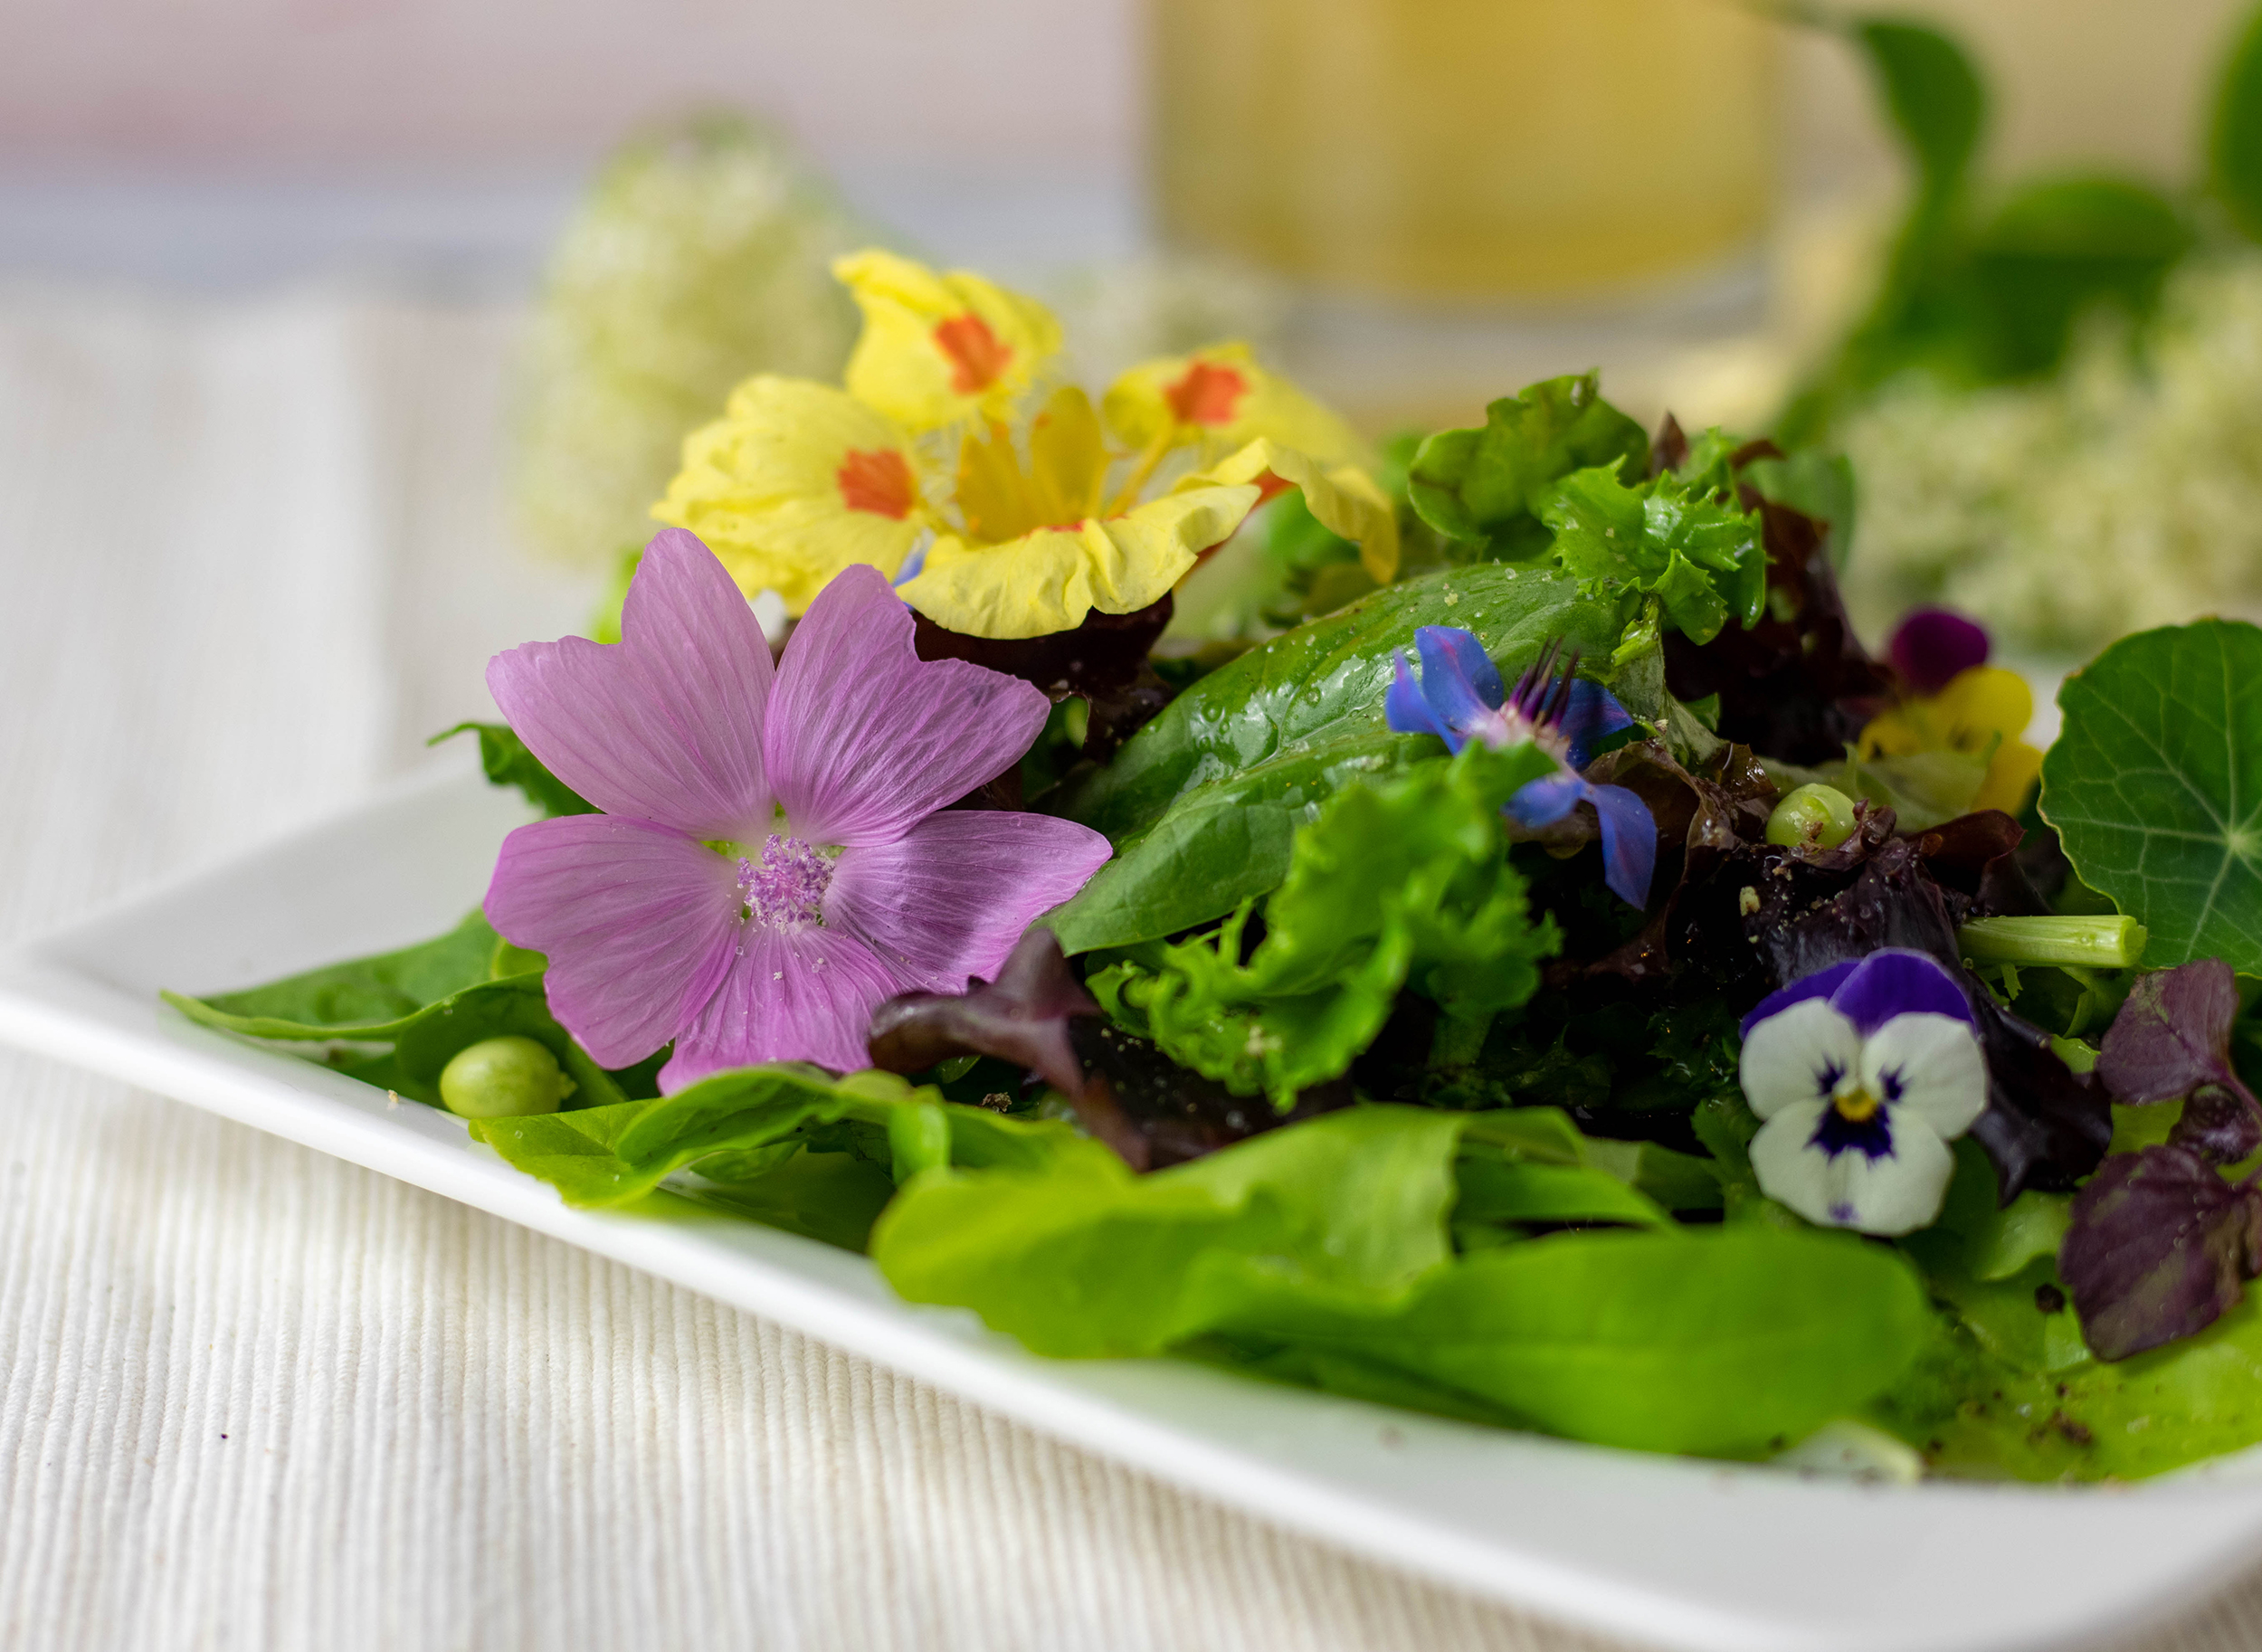
    Home-grown lettuce and edible flowers with homemade elderflower vinegar

    The salad in the pictures was harvested entirely from my balcony. With lettuce, nasturtiums and a few peas, fresh from the pod. Garnished with edible flowers of mallow, pansys, nasturtiums and borage. Incredibly good!

    And on top a simple dressing made of this tasty vinegar, olive oil, salt and pepper. Very simple and fantastic.

    Home-grown lettuce, edible flowers and homemade elderflower vinegar
    Home-grown lettuce, edible flowers and homemade elderflower vinegar

    What does elderflower vinegar go with?

    My elderflower vinegar tastes fantastic and its sweet and sour aroma enhances many dishes.

    Of course, you can make various salad dressings with it, from simple vinegar and oil dressings to herb dressings and yogurt or mustard dressings.

    My elderflower vinegar is also ideal for marinades and reductions. Its floral, slightly fruity note goes very well with various vegan meat dishes.

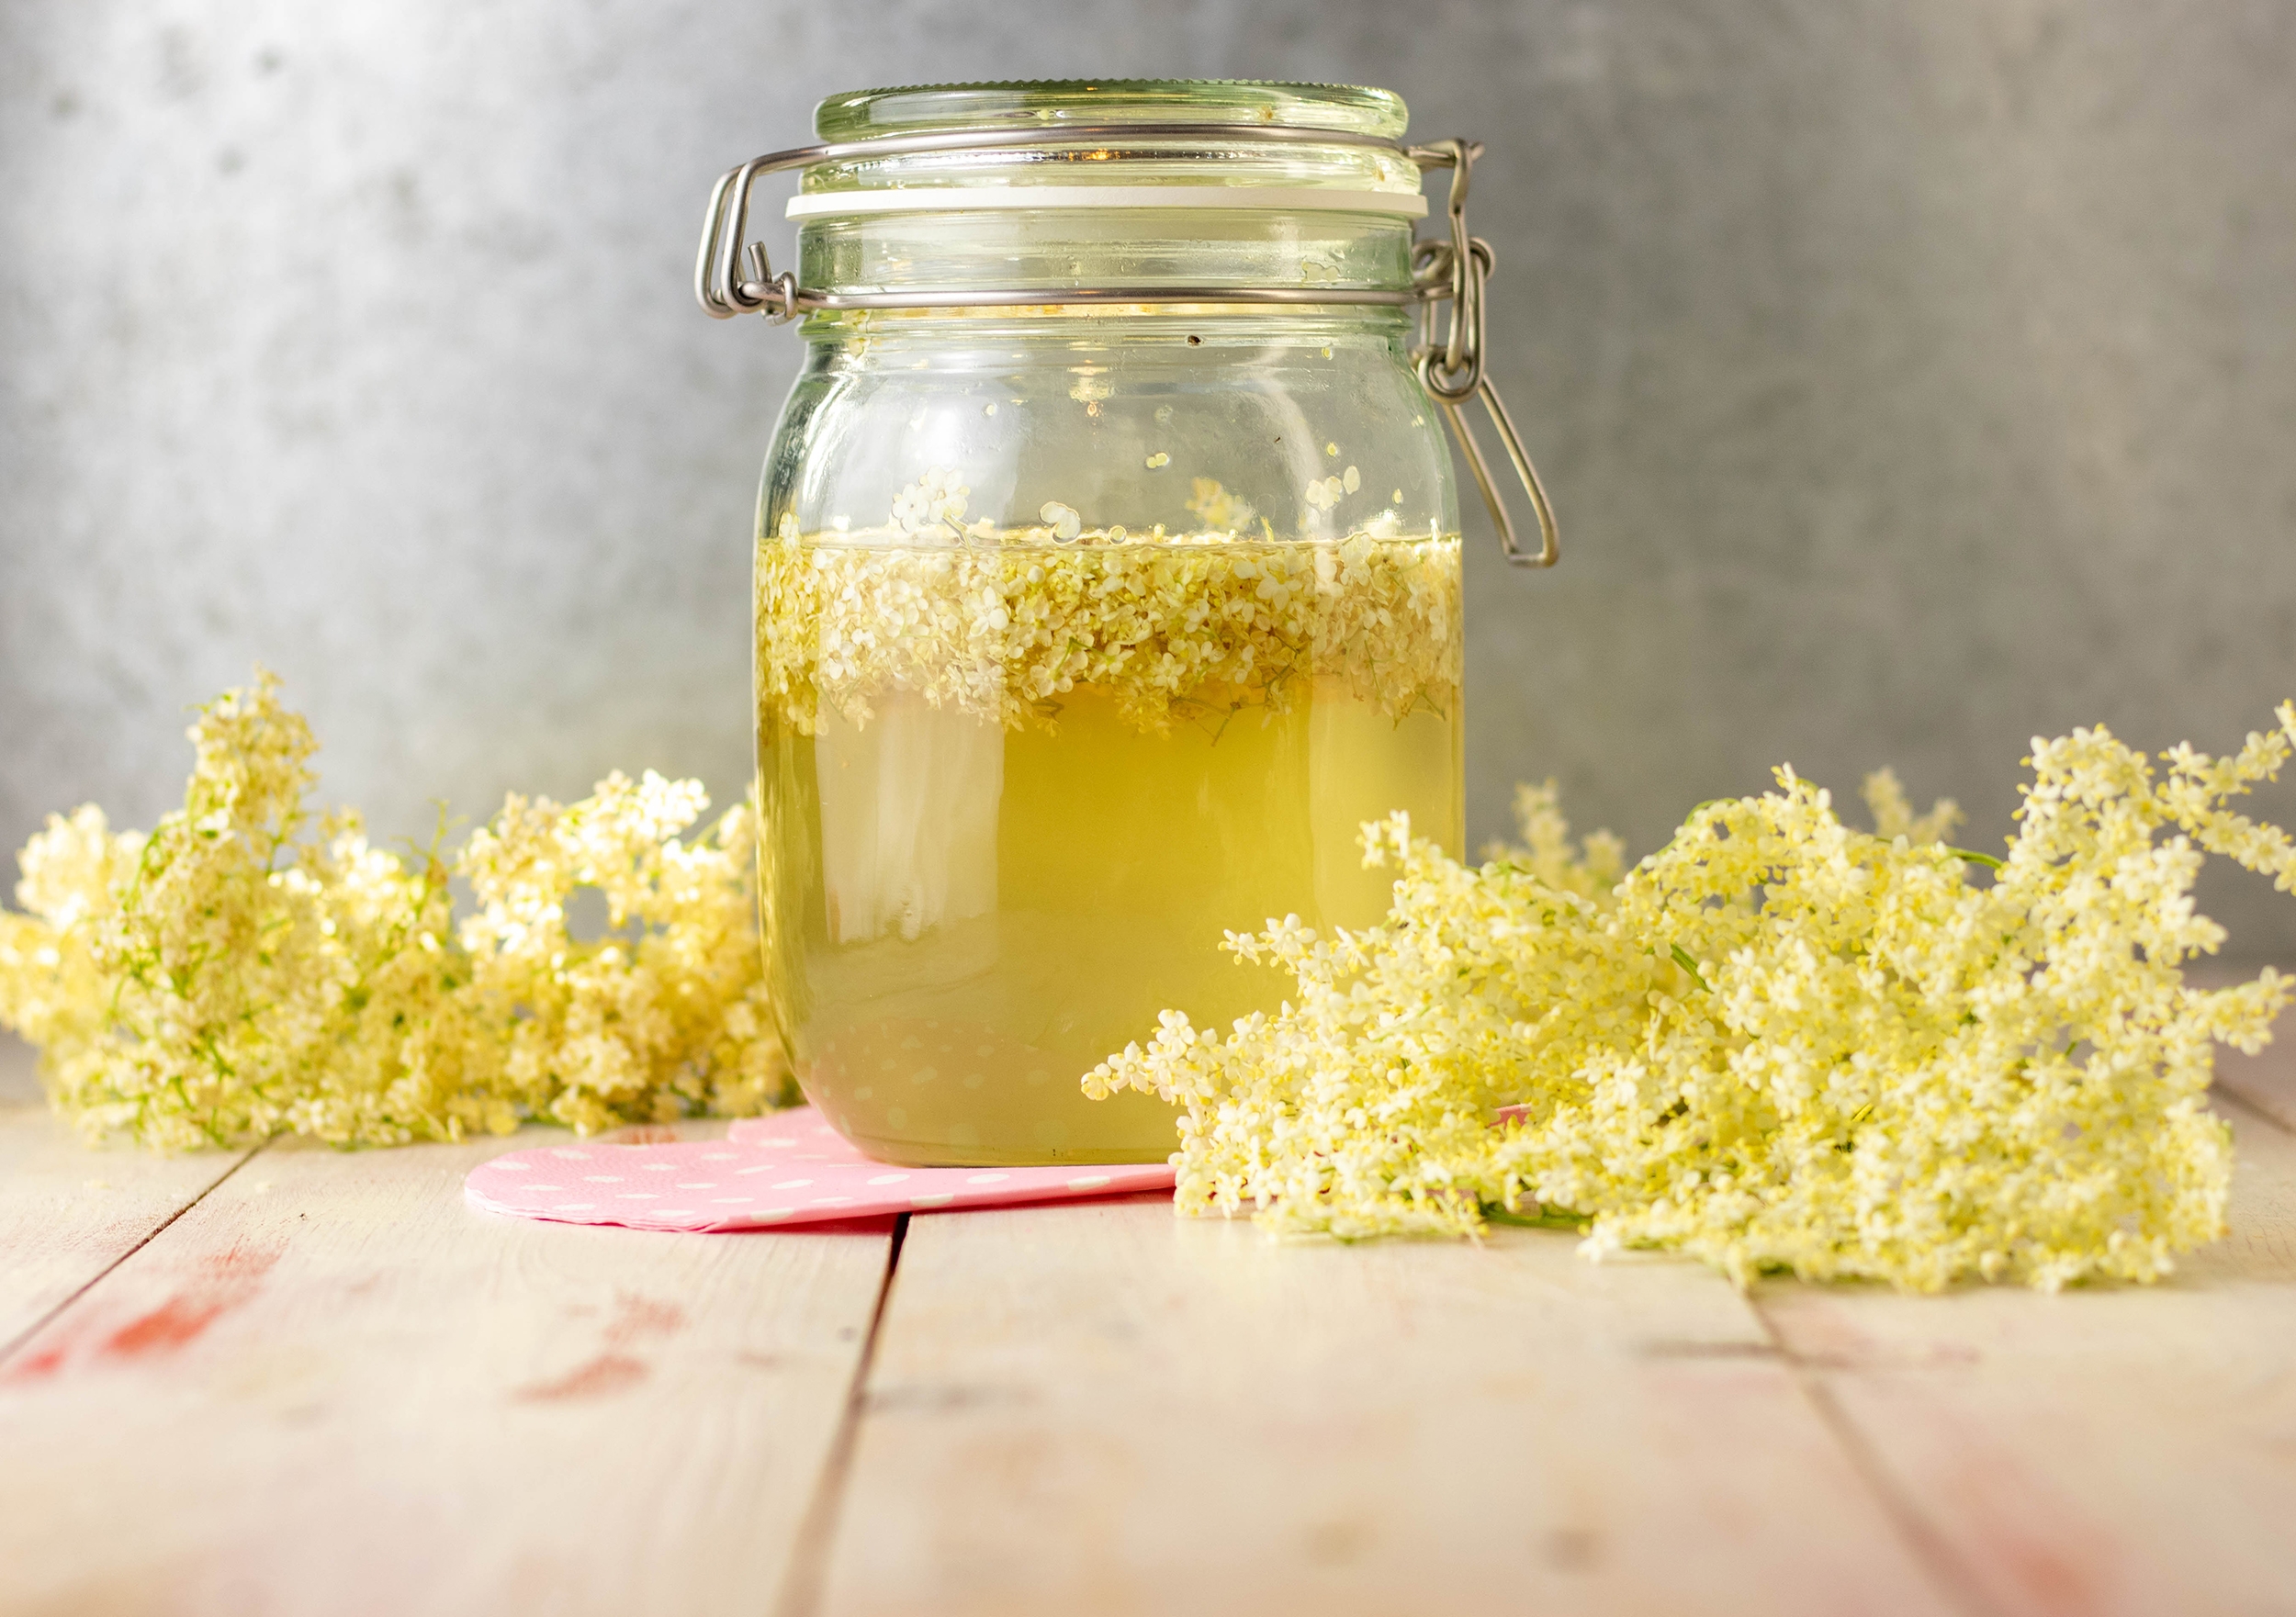
    Elderflower vinegar made from fresh elderflowers
    Elderflower vinegar made from fresh elderflowers

    Elderflower vinegar is very easy to make from just 2 ingredients

    My elderflower vinegar is very quick to make yourself in just a few steps. And you only need 2 ingredients.
    Then a little patience until the vinegar has infused, and then it is strained and can be enjoyed all year round.

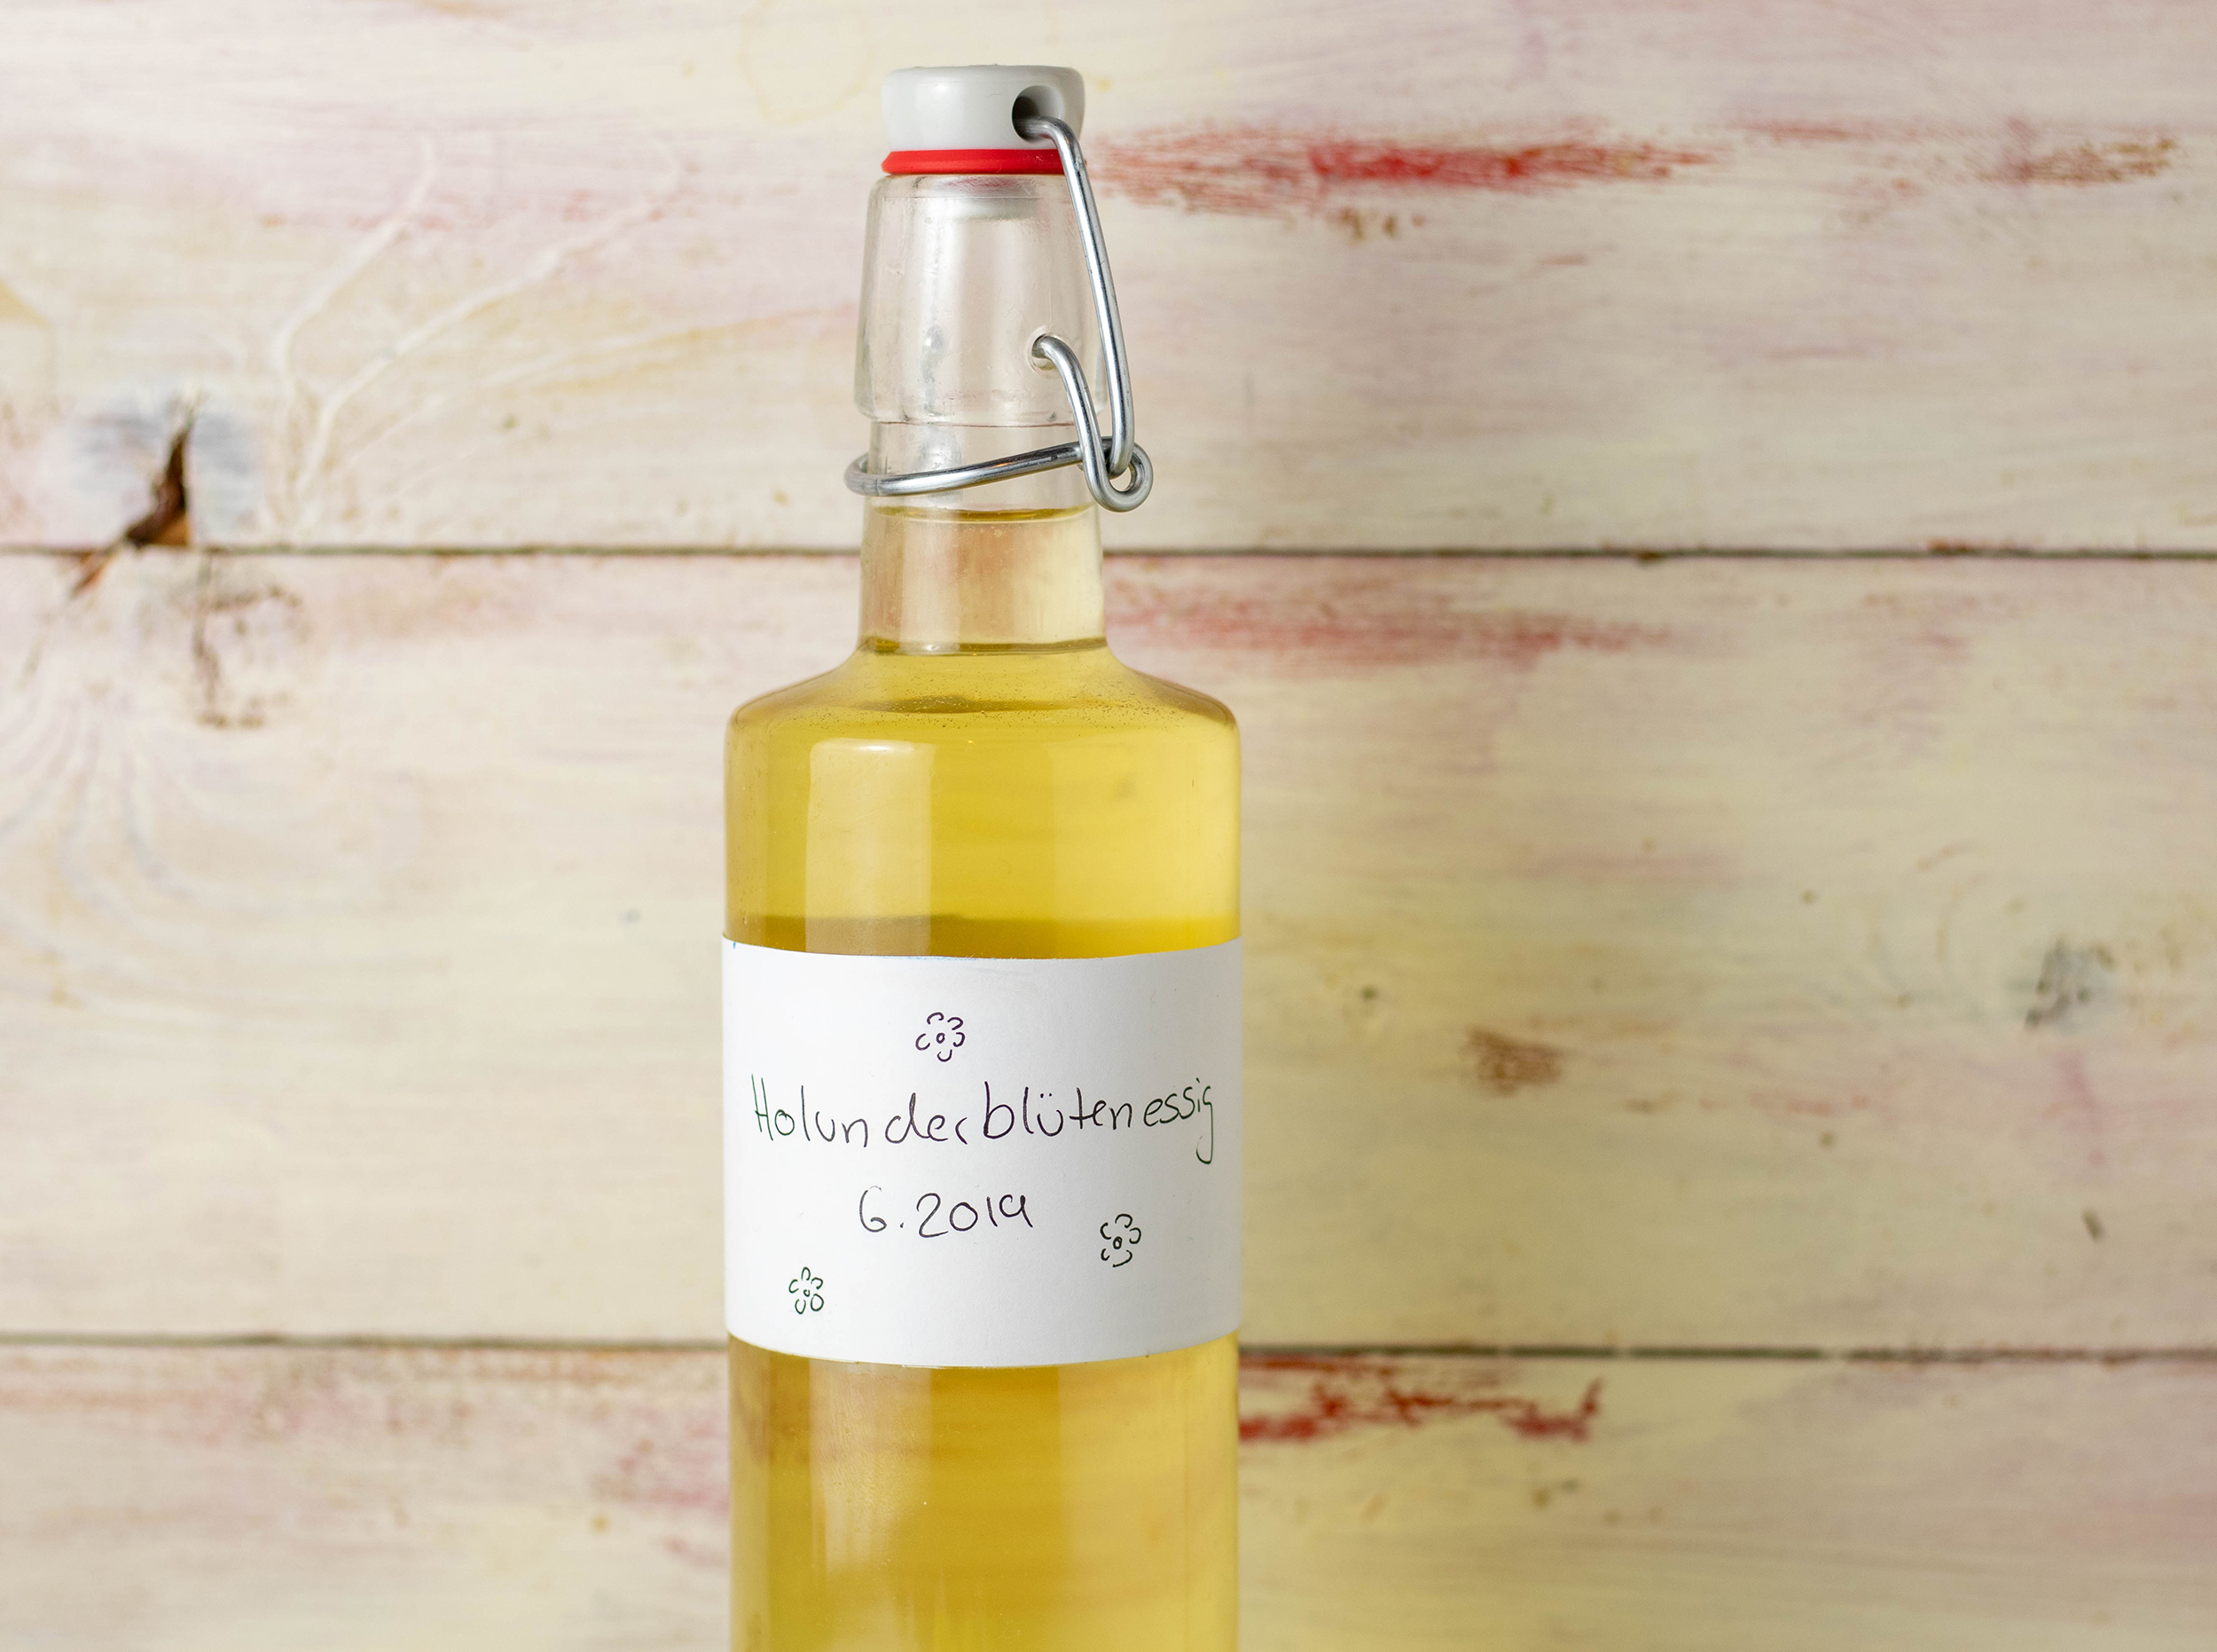
    Holunderblütenessig

    Capture the scent of elderflower and preserve it for the whole year

    Stored in a cool, dark place, my fragrant elderberry vinegar will last all year round until the next elderflower season. This way, you can capture the scent of elderberry and preserve it. And give your salads that little extra something with the brilliant taste of elderberry.

    This aroma! Stored in a cool, dark place, my fragrant elderflower vinegar will last all year until the next elderflower season.
    This aroma! Stored in a cool, dark place, my fragrant elderflower vinegar will last all year until the next elderflower season.

    Foraging ingredients yourself, climate-friendly delights

    I love foraging ingredients in nature myself and then processing them. Conjuring up seasonal, regional dishes that cannot be prepared with ingredients from the supermarket. This results in environmentally friendly delights!

    Sean Moxie picks elderflowers
    Sean Moxie picks elderflowers

    When is the best time to harvest elderflowers?

    Elderflowers begin to blossom in May and continue to bloom until late June.

    Elderflowers are most aromatic on a warm, sunny day. It is best to pick them in the early afternoon when they have already received a lot of sun and are still in the sunshine.

    You should shake the elderflowers gently immediately after picking them if there are still insects in them. To preserve the aroma, do not wash the umbels. Therefore, you should not pick them too low on the bush.

    Rainy days are not suitable for picking elderflowers, as wet flowers have significantly less aroma.

    It is advisable to harvest elderflowers early in the season. This is because the umbels are also very popular with aphids and other small animals. The longer the season has been going on, the more likely it is that the flowers are already infested.

    4 weeks of waiting… Then you can enjoy the elderflower vinegar.
    4 weeks of waiting… Then you can enjoy the elderflower vinegar.

    More delicious recipes with ingredients from the wild

    I love cooking with foraged handpicked ingredients. If you do too, feel free to try out some of my other recipes:

    Vinegar made from elderflowers: delicious on salad
    Vinegar made from elderflowers: delicious on salad

    Looking for vegan salad recipes?

    Take a look at the ‘Salad’ category here on Daily Vegan. You’ll find lots of fresh inspirations there.

    Ingredients for 750 ml elderflower vinegar:

    5 elderflowers umbels
    750 ml white balsamic vinegar

    Preparation:

    1. The elderflowers should be harvested on a dry, sunny day. Elderflowers are most aromatic on sunny days at midday or in the afternoon. When they have already had a few hours of sun. And we want a full aroma for our flower vinegar.
    2. Put the white balsamic in a bottle or jar with a wide lid.
    3. Pluck the flowers from the umbels and place them in the vinegar. When plucking the flowers, shake off the bumbels. This will prevent any small creatures from getting into the vinegar.
    4. Let the flavored vinegar steep for four weeks.
    5. Then strain the finished elderflower vinegar through a cloth or a very fine sieve.
    6. Now pour the vinegar into a sealable bottle. Stored in a cool, dark place, the homemade vinegar will last for many months.

    The elderflower vinegar is ready. Easy, right?

    Have fun with it! And enjoy!

  • Elderflower and strawberry jam – enticing sweet summer joy

    Elderflower and strawberry jam – enticing sweet summer joy

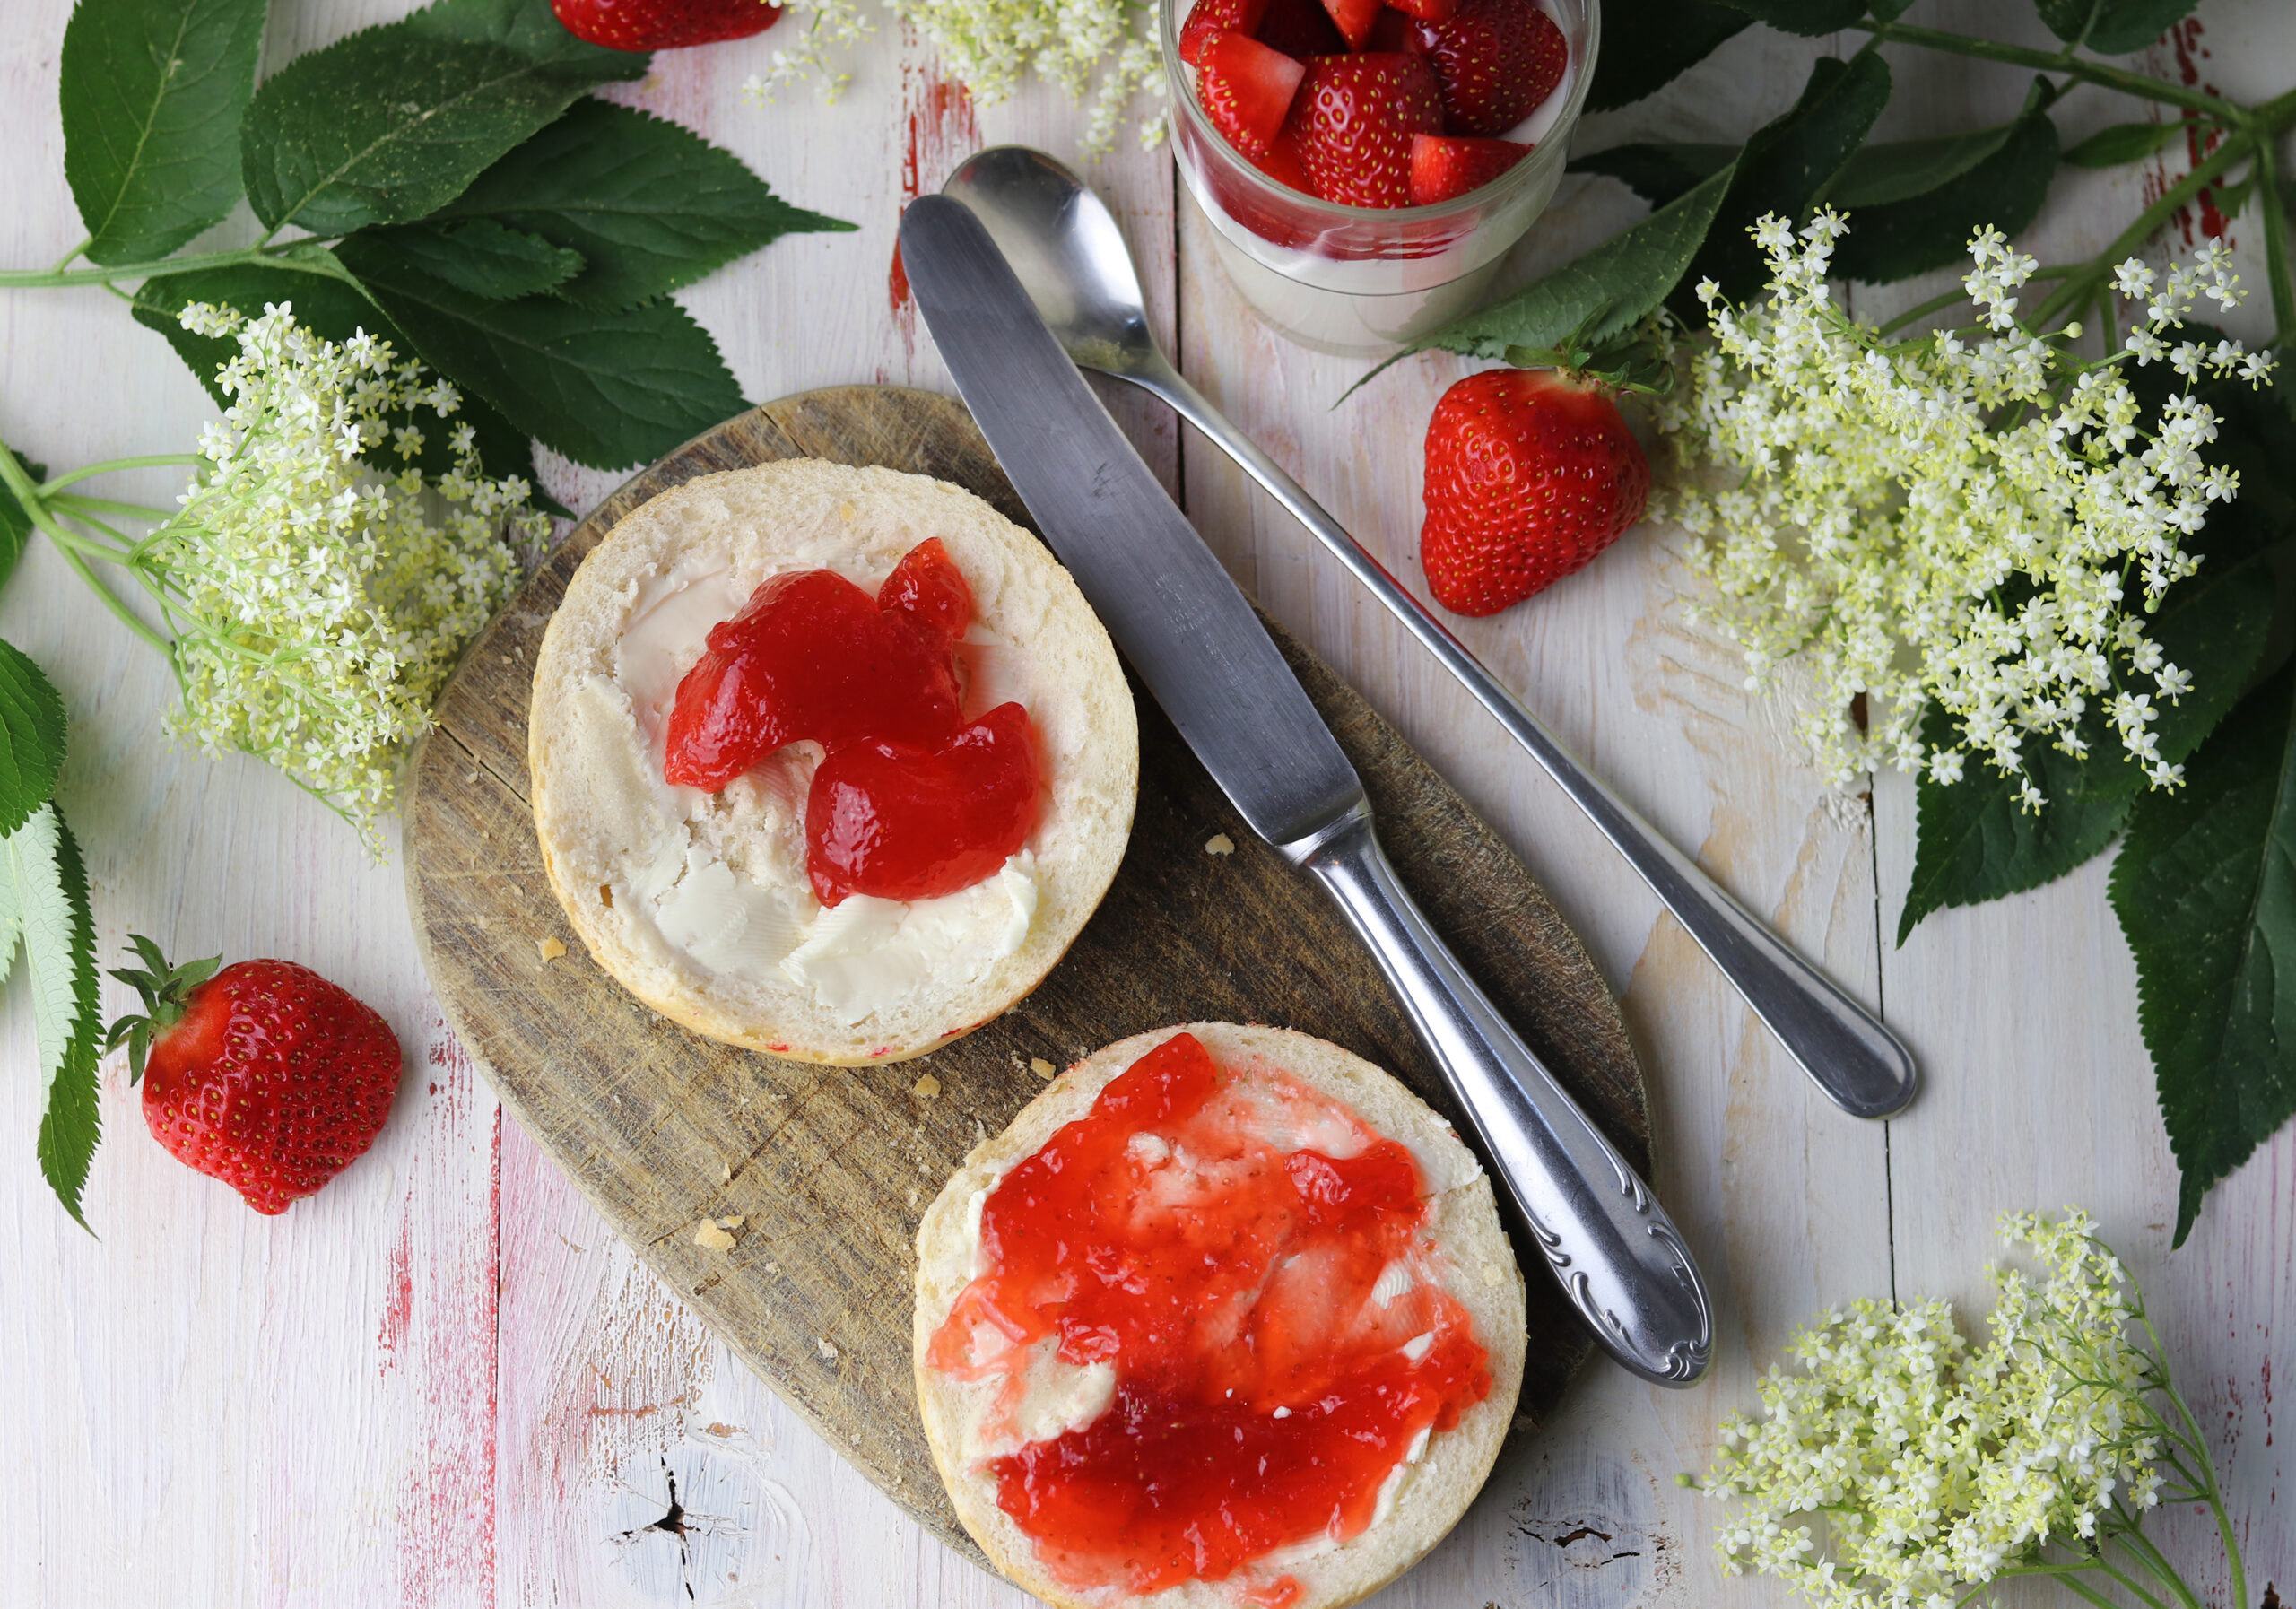
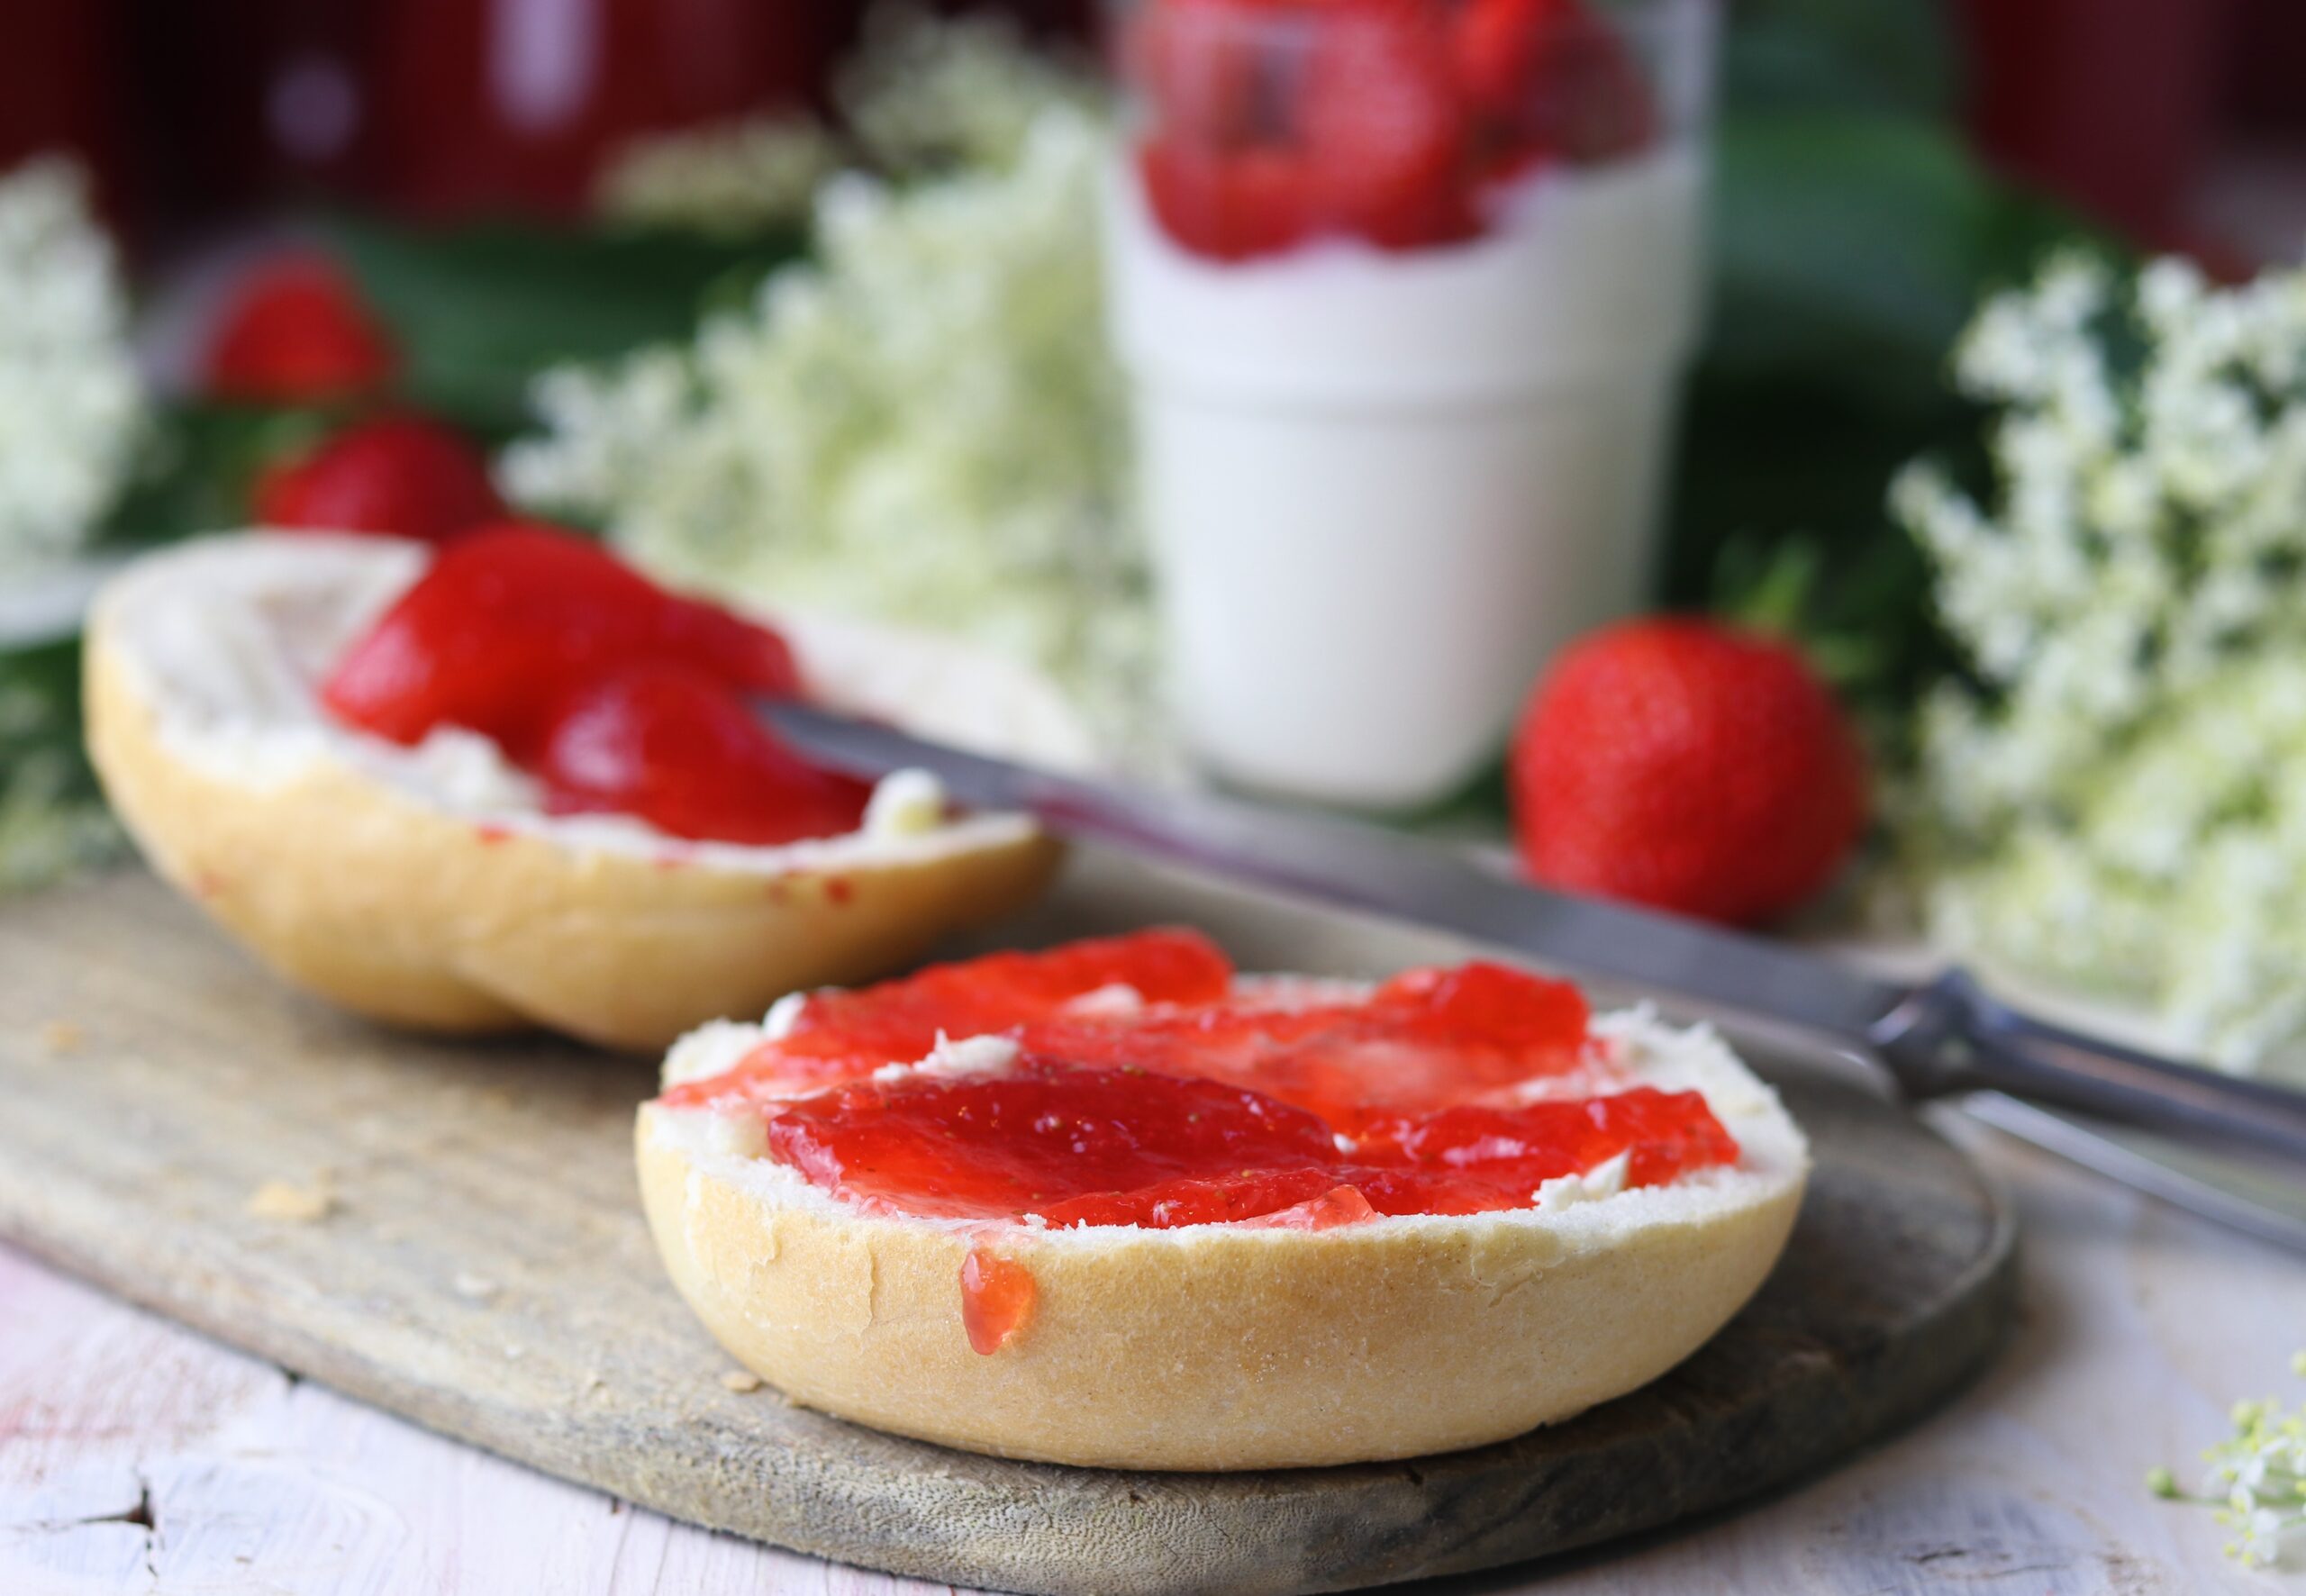
    If I had to assign a taste to being in love, it would be this jam. It smells just lovely of elderflower, it has a wonderful velvety texture combinde with sweet and fruity strawberries. My elderflower and strawberry jam.
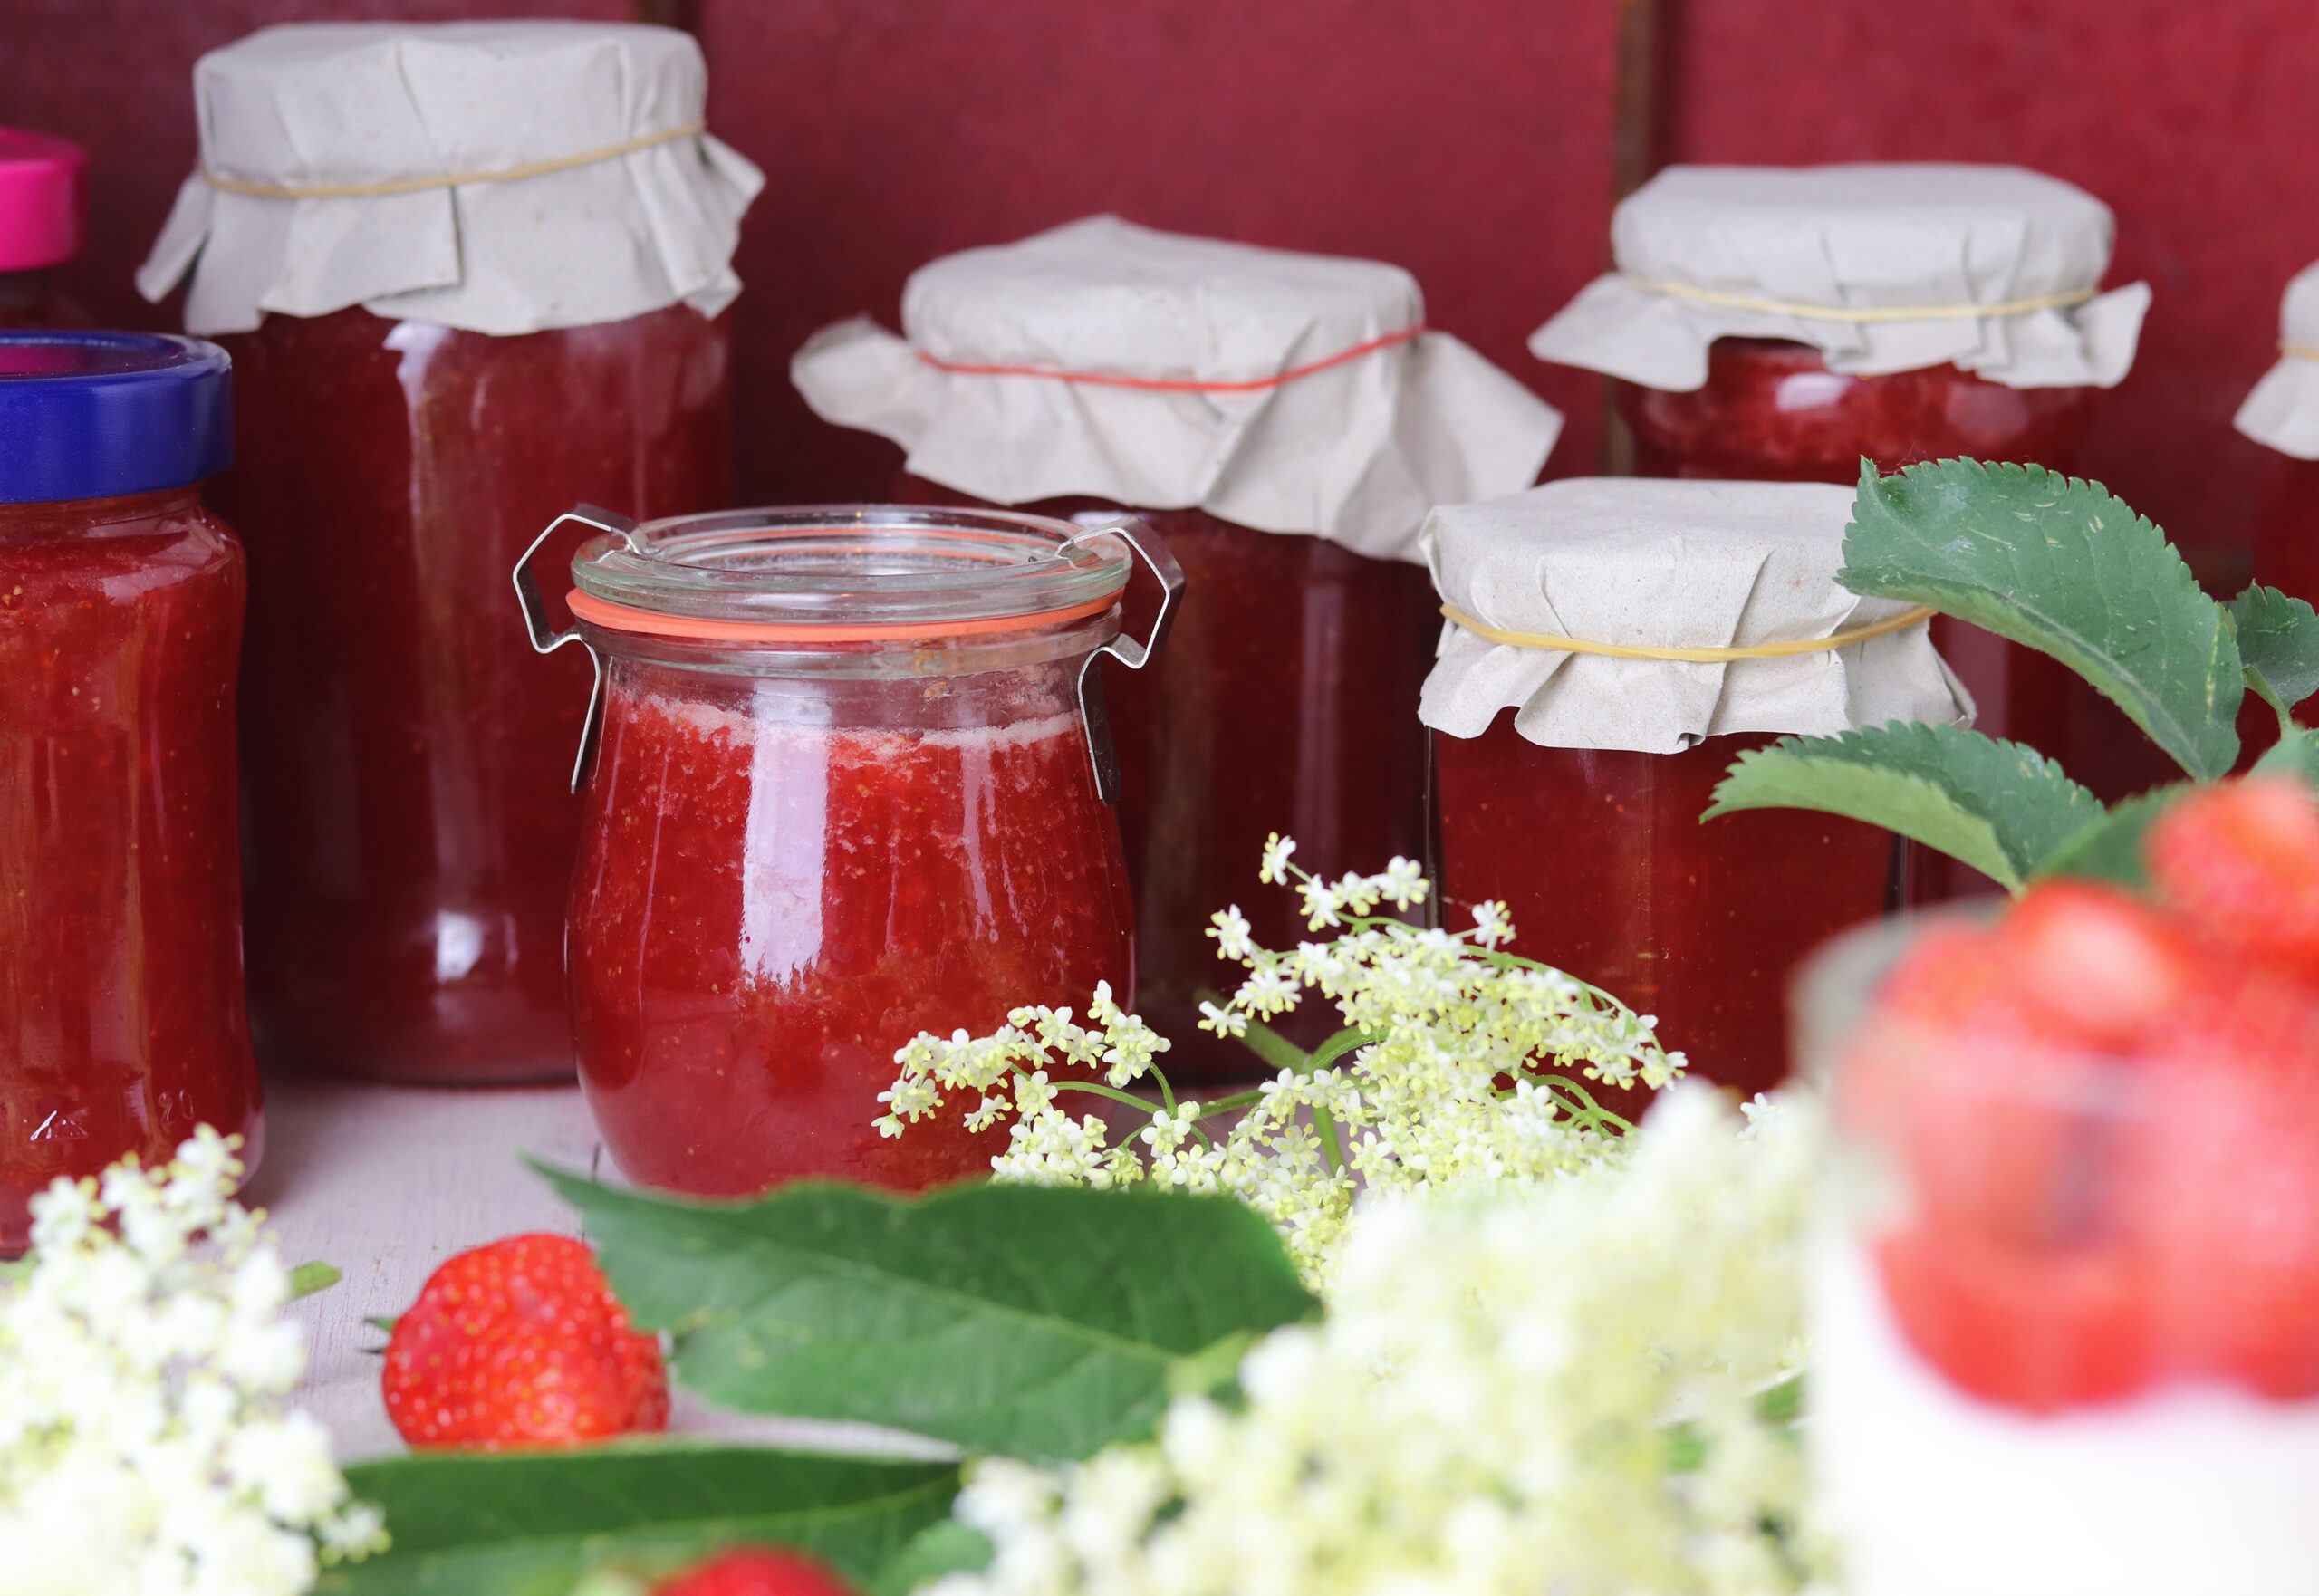
    I usually make enough to last the whole year and as a gift for friends.

    If I had to assign a taste to being in love, it would be this jam.
    If I had to assign a taste to being in love, it would be this jam.

    Elderflower and strawberry jam: an absolute favourite

    This jam tastes so good that a former roommate of mine spooned it straight out of the jar a few years ago. Unfortunately, he did that to all the jars in no time…

    My elderflower-strawberry jam is an absolute favorite jam among my friends. And so I have given away many jars of it every year. And our visitors at home are always delighted when I put this jam on the breakfast table.

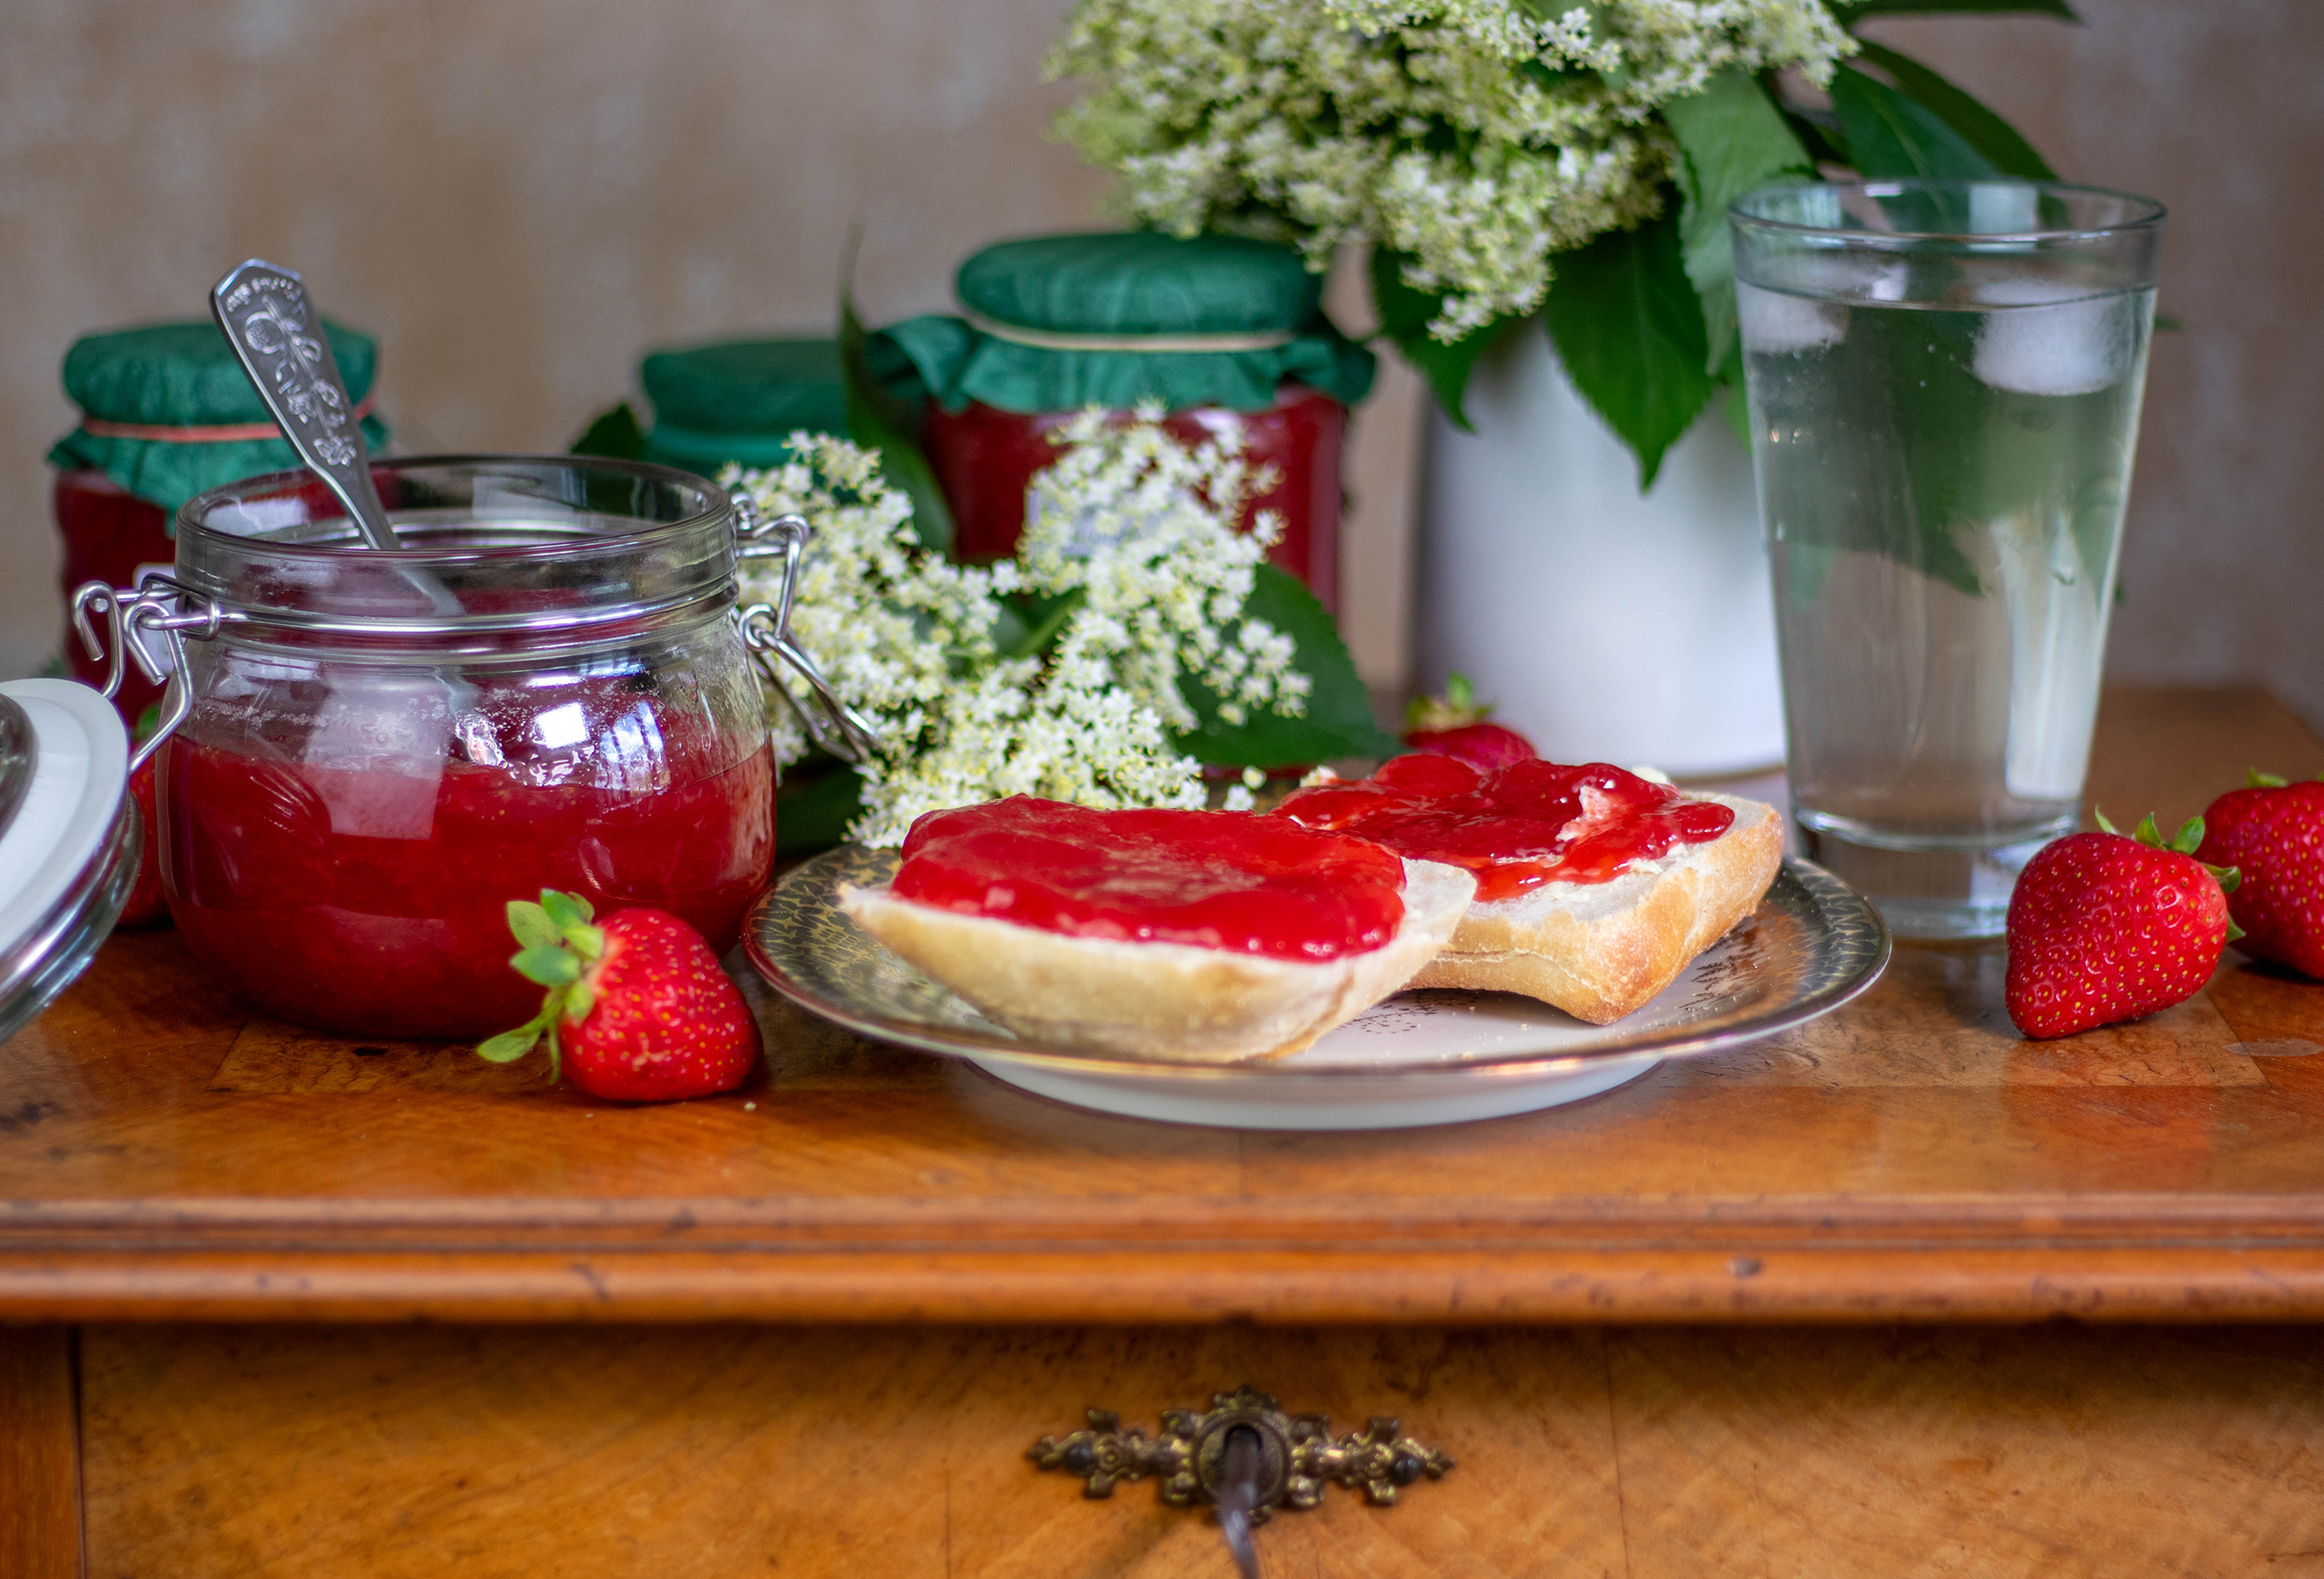
    Velvety and fragrantly delicious: elderflower and strawberry jam: an absolute favorite jam
    Velvety and fragrantly delicious: elderflower and strawberry jam: an absolute favourite jam

    Elderflower and strawberry jam: enjoy jam in a climate-friendly way. With seasonal, regional ingredients

    Nature has arranged it in a fantastic way, that tasty strawberries and fragrant elderflowers are in season at the same time.
    This means that you can easily make this wonderfully delicious jam from regional and seasonal, home-grown ingredients. This jam gives you the opportunity to enjoy your breakfast roll with a very low carbon footprint.

    Elderflower-strawberry jam. Enjoy jam climate-friendly with seasonal, regional ingredients
    Elderflower-strawberry jam. Enjoy jam climate-friendly with seasonal, regional ingredients

    Collect small jars from supermarket purchases: this is how you can store jam for free and in an environmentally friendly way

    Tip: I always save screw-top jars that I collect from shopping goods. Those, in which vegetables were pickled, for example. These twist-off jars come free with their contents and you can use them again and again. For example, to store my homemade elderflower and strawberry jam in them.

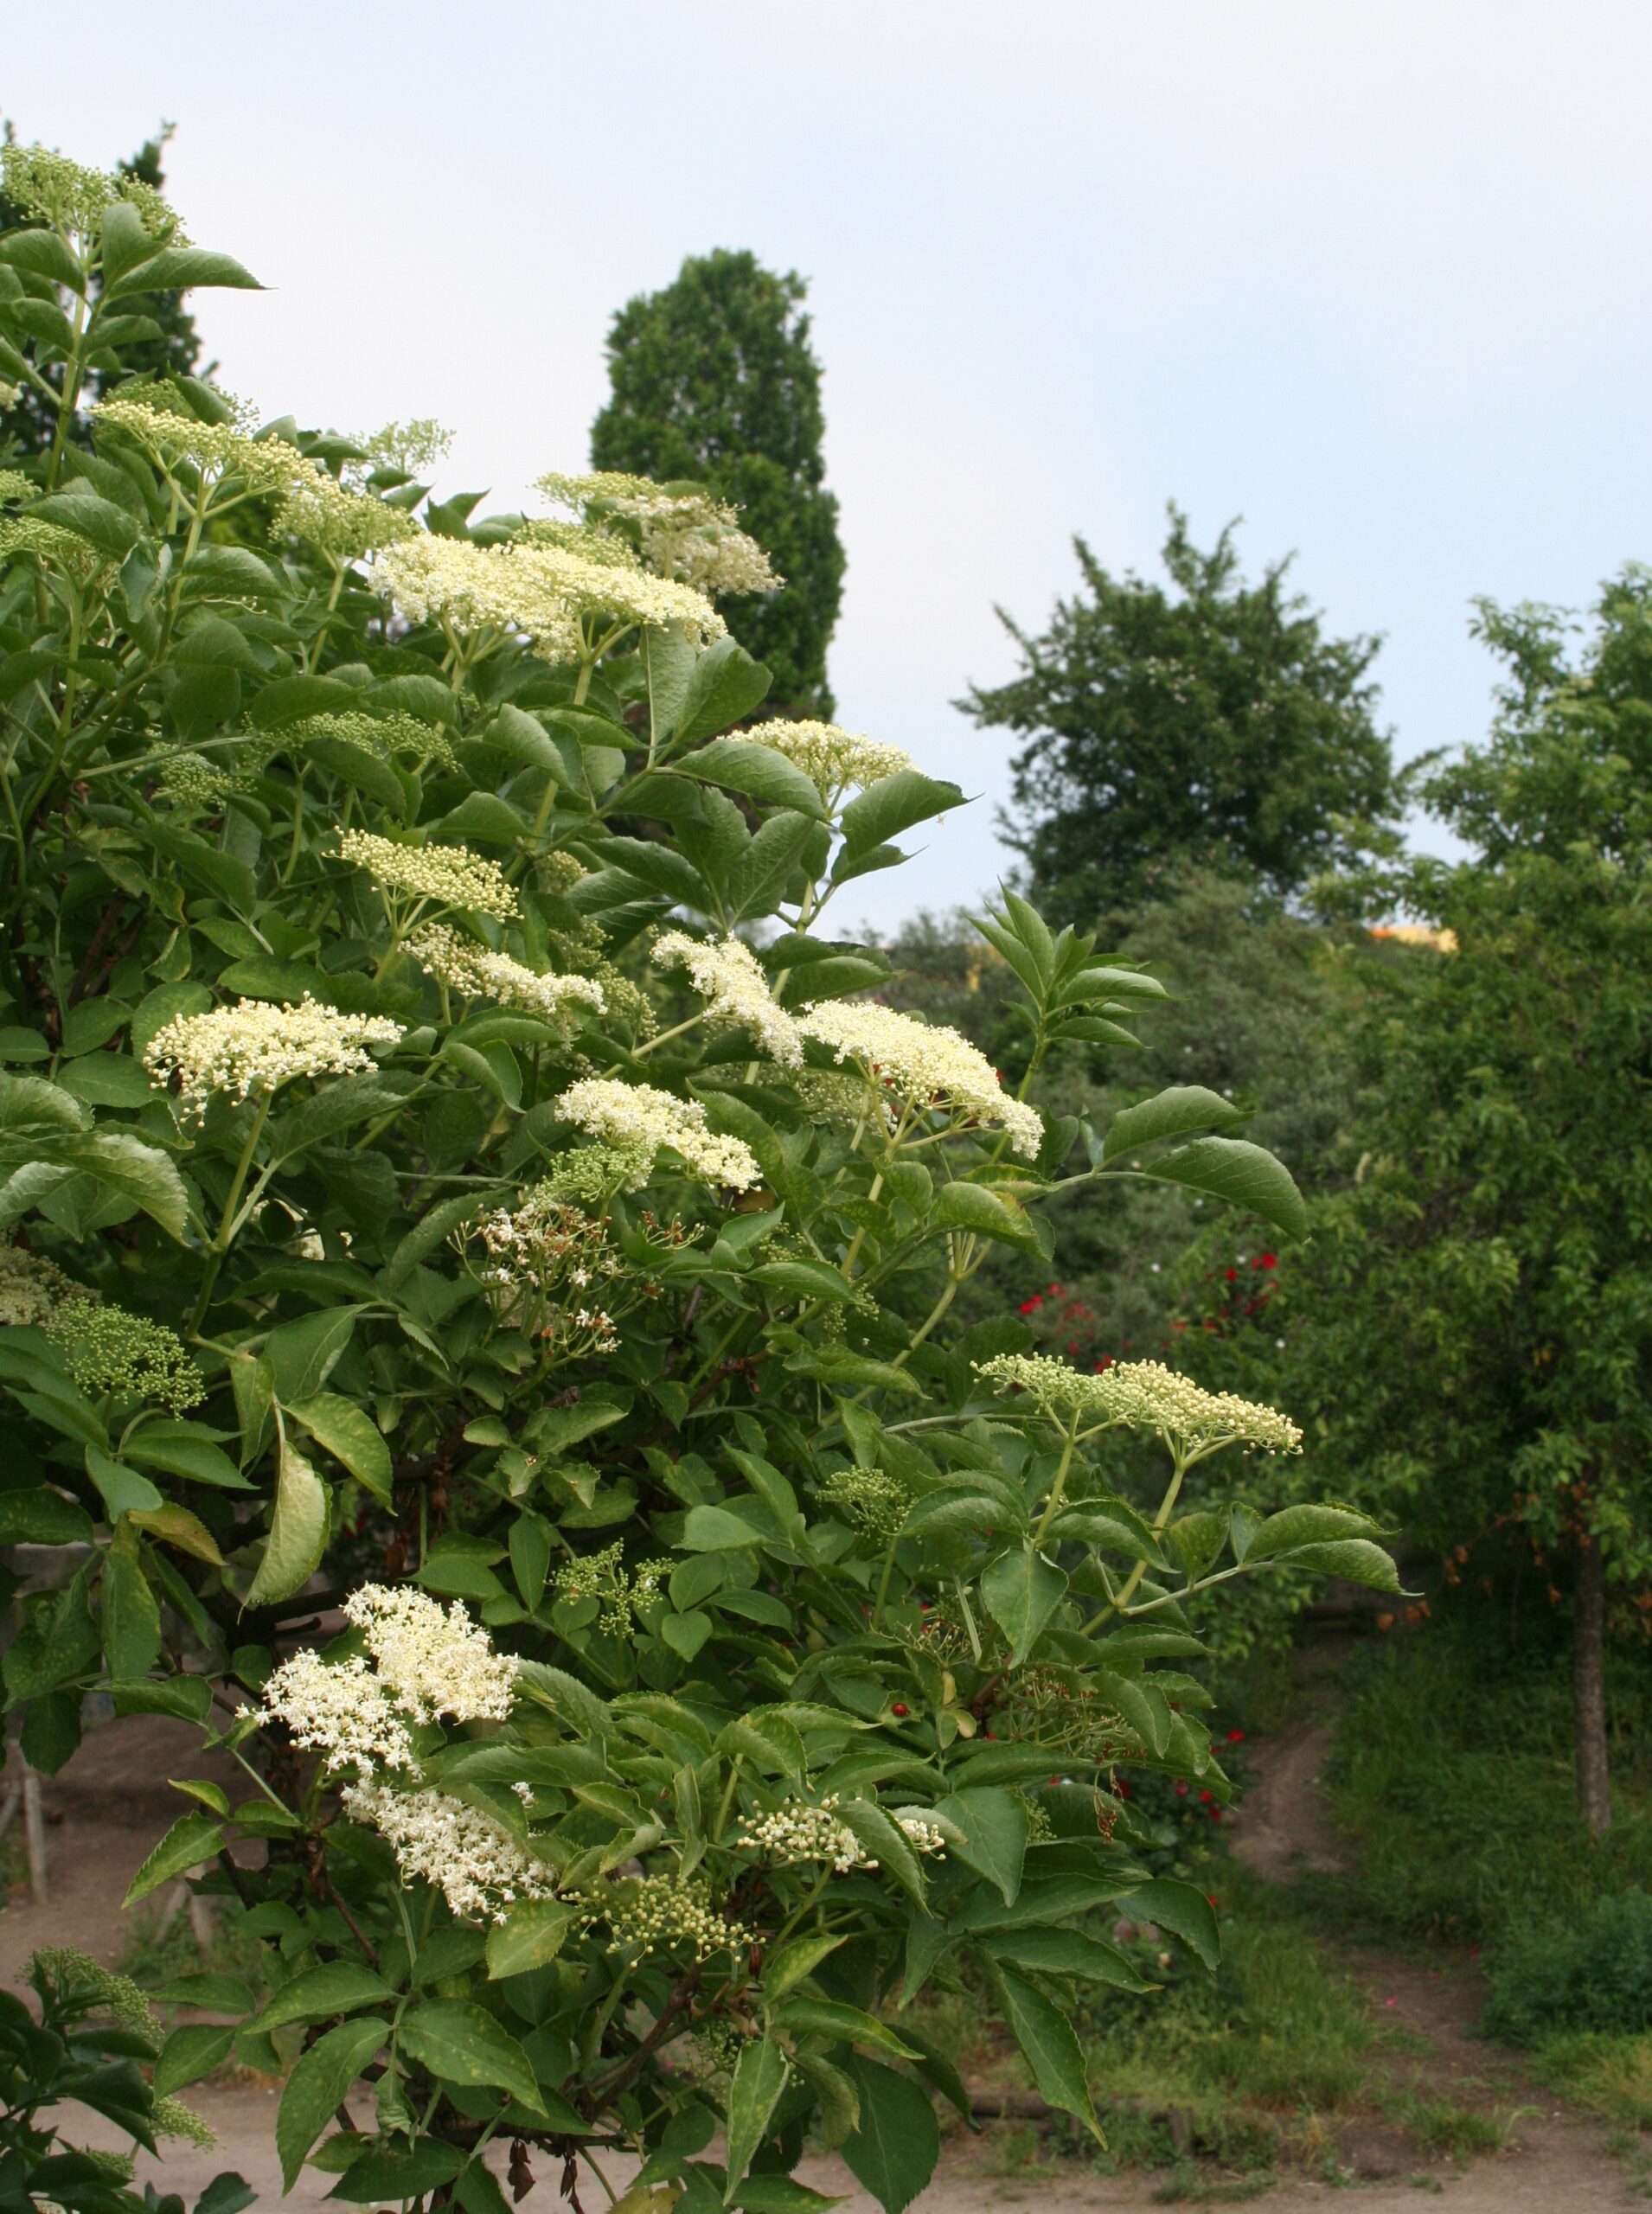
    Flowering elderberry in Berlin's Mauerpark. It is best harvested outside the city, but it is still beautiful and fragrant.
    Flowering elderberry in Berlin’s Mauerpark. It is best harvested outside the city, but it is still beautiful and fragrant.

    When is the best time to harvest elderflowers?

    Elderflowers begin to bloom in May and continue to blossom until late June.

    Elderflowers are most aromatic on a warm, sunny day. It is best to pick them in the early afternoon when they have already received a lot of sun and are still in the sunshine.

    You should shake the elderflowers gently immediately after picking them if there are still insects in them. To preserve the aroma, do not wash the umbels. Therefore, you should not pick them too low on the bush.

    Rainy days are not suitable for picking elderflowers, as wet flowers have significantly less aroma.

    Harvest the elderflowers away from busy roads so that the pollution is low.

    It is advisable to harvest elderflowers early in the season. This is because the umbels are also very popular with aphids and other small animals. The longer the season has been going on, the more likely it is that the flowers are already infested.

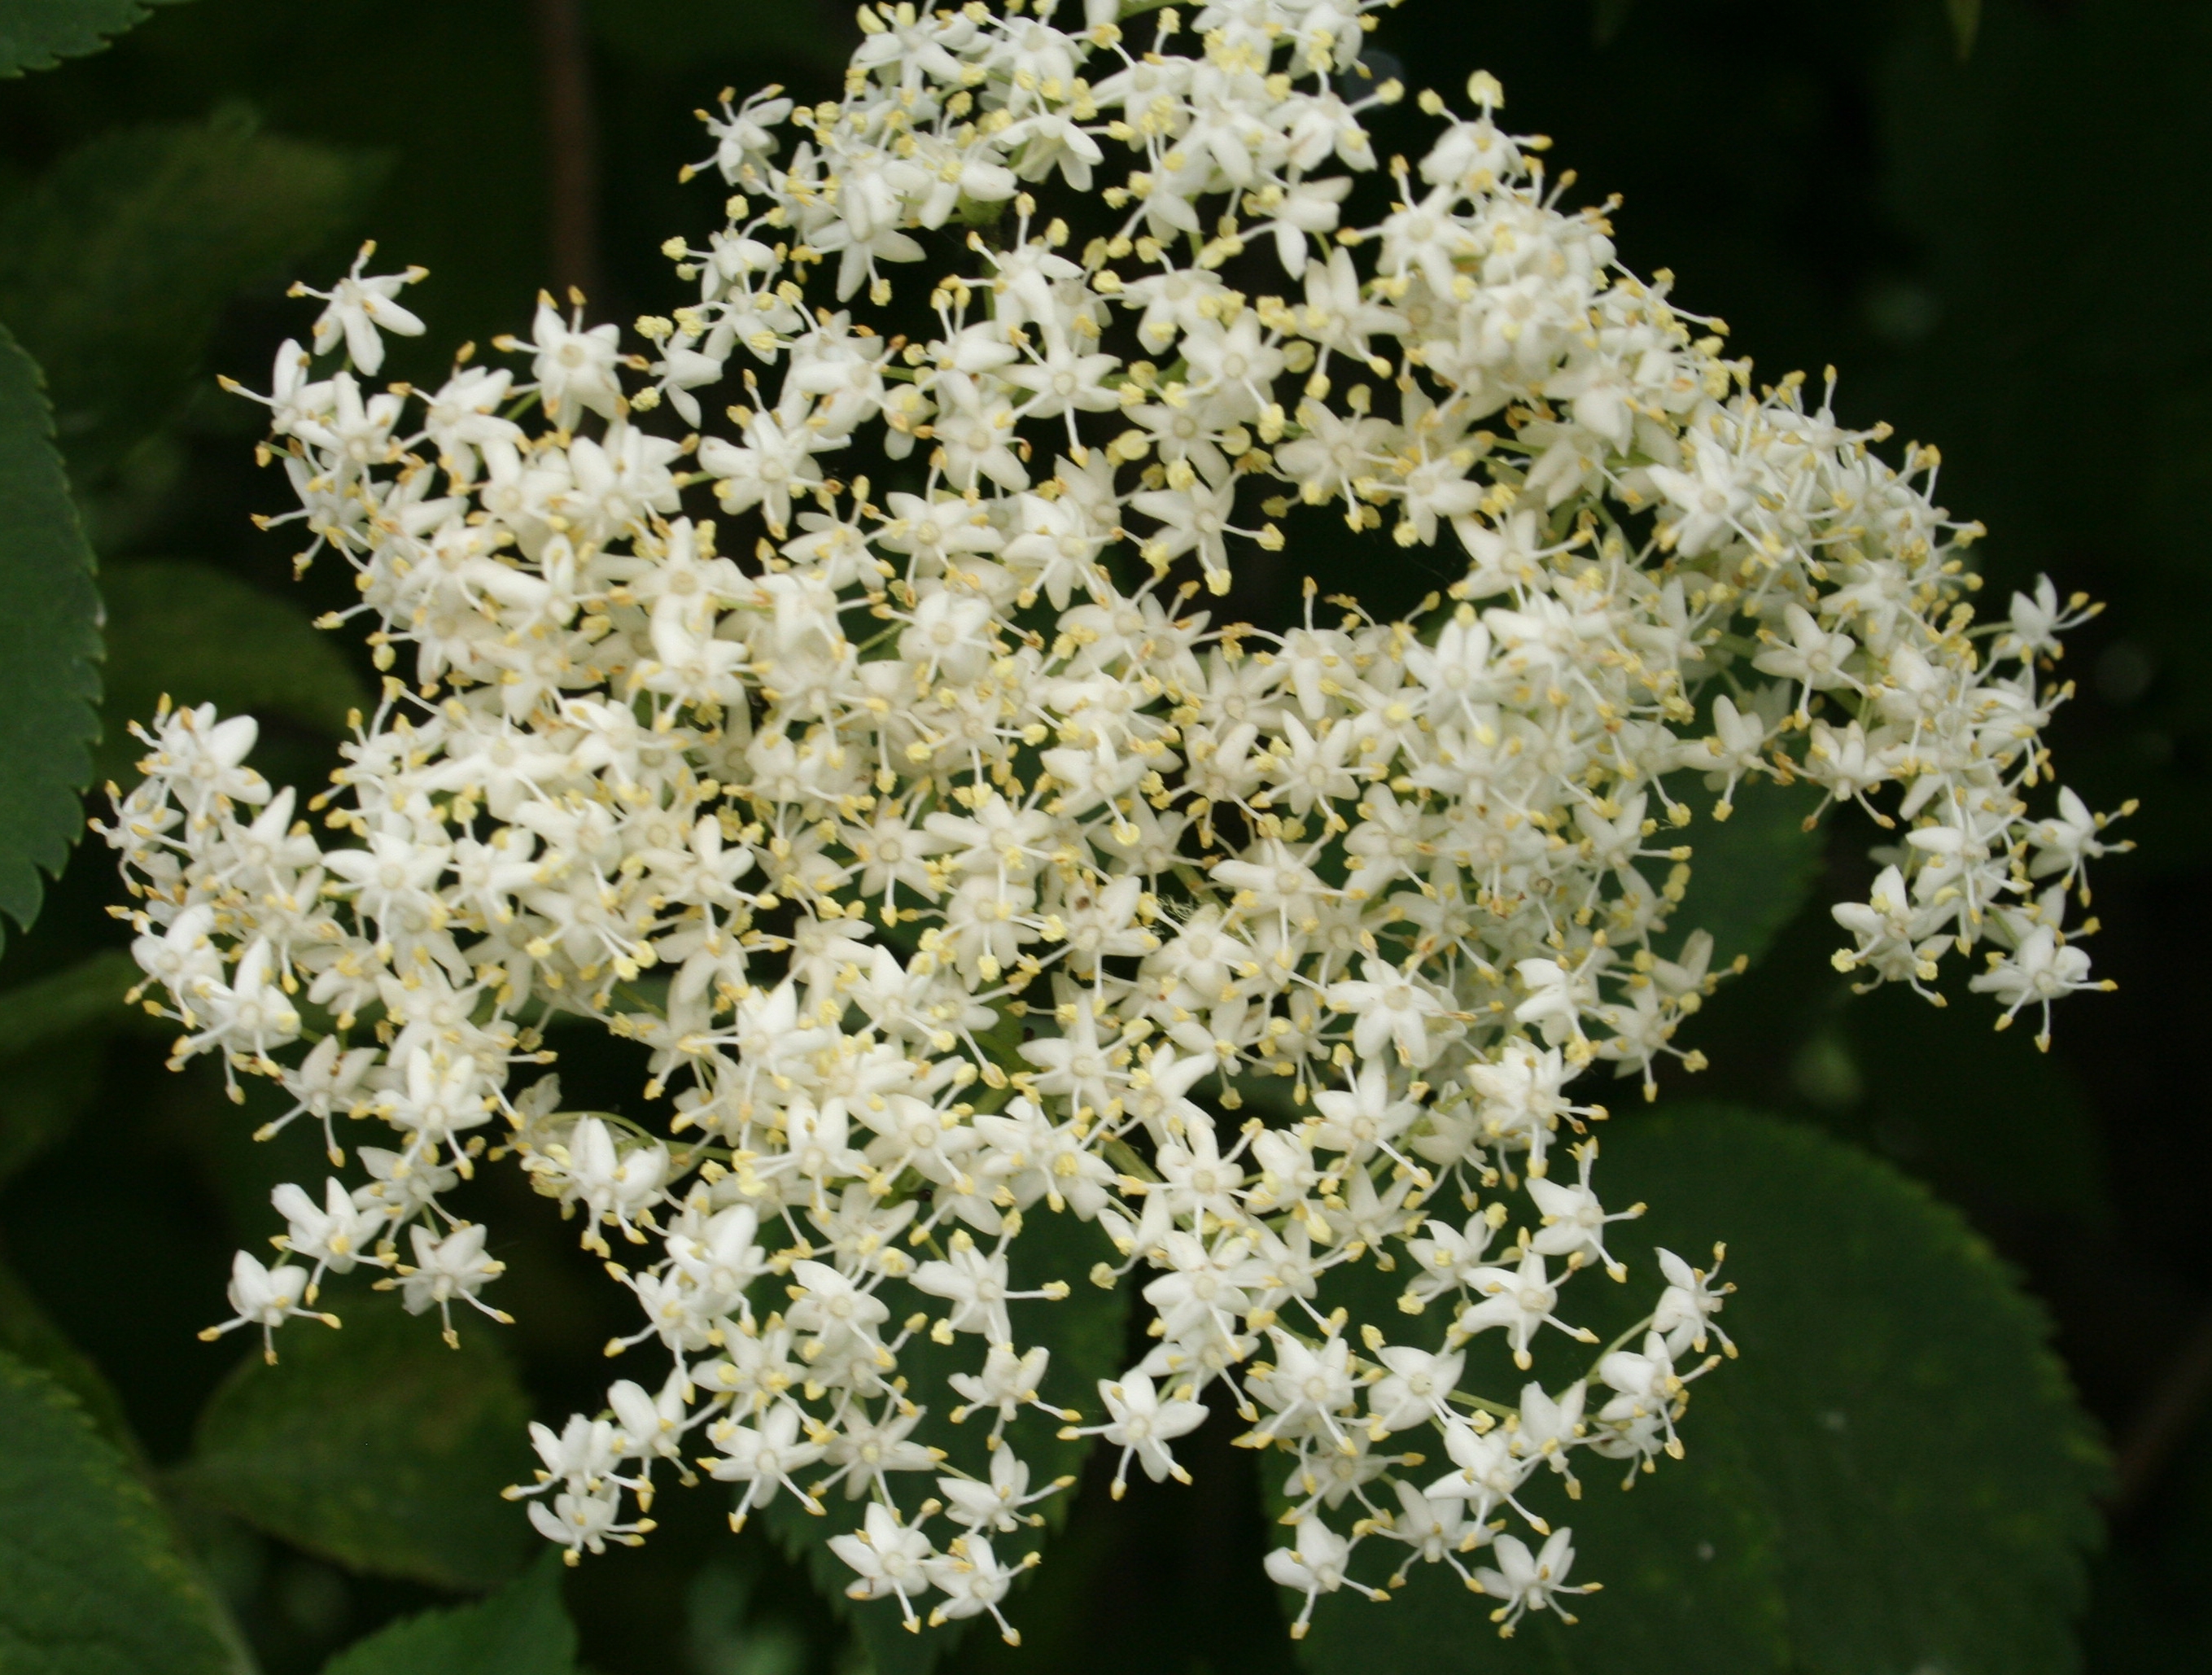
    Eine Holunderblüte in voller Pracht
    Elderflower in full bloom

    Strawberry-elderberry jam in a short video

    Here you can watch my elderberry-strawberry jam in a short video. The video ist in German, but the youtube subtitles should work just fine. Feel free to subscribe to my YouTube channel for recipe videos, short food clips for my recipes and videos about foraged ingredients from the wild.

    Strawberry elderberry jam: it’s best to make a year’s supply

    Like all jams, my strawberry elderflower jam lasts a very long time. You can keep the jam for at least a year and enjoy it again and again.
    This way you can easily make a year’s supply of this fantastic jam and enjoy the fragrant aroma of elderflowers and strawberries until the next season.

    Like all jams, my strawberry-elderflower jam lasts a very long time.
    Like all jams, my strawberry-elderflower jam lasts a very long time.

    Tips for using elderflower and strawberry jam

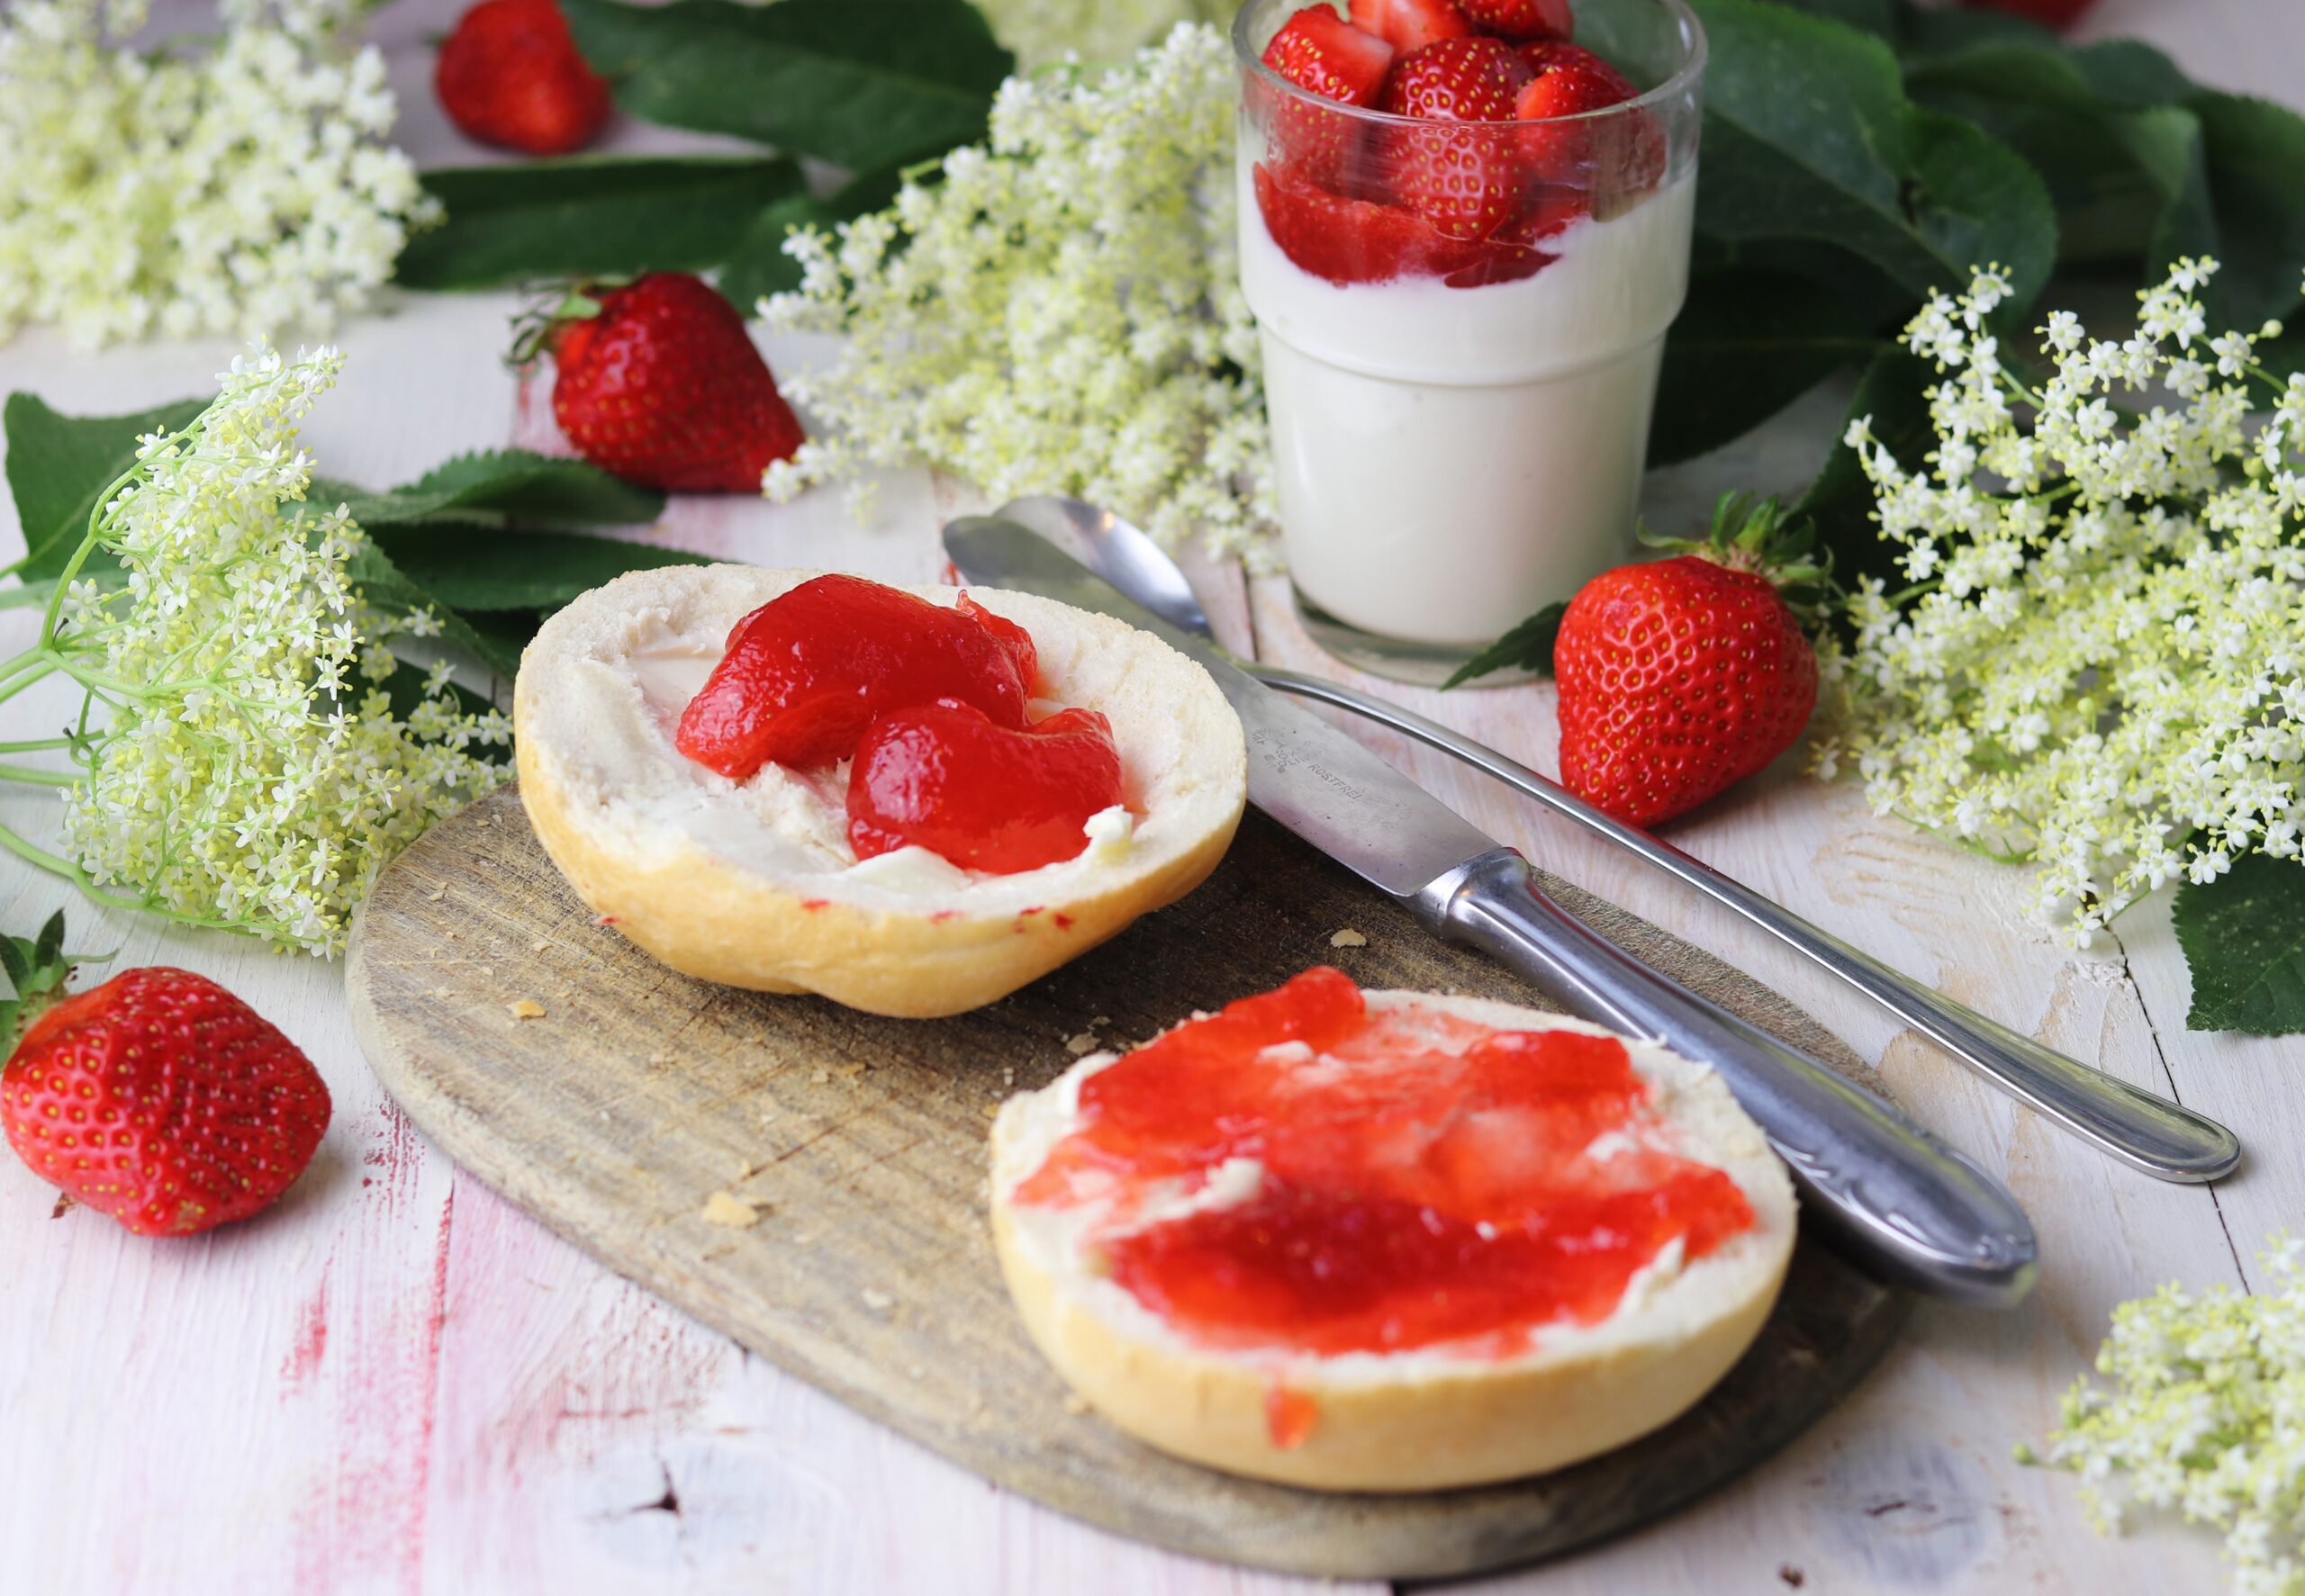
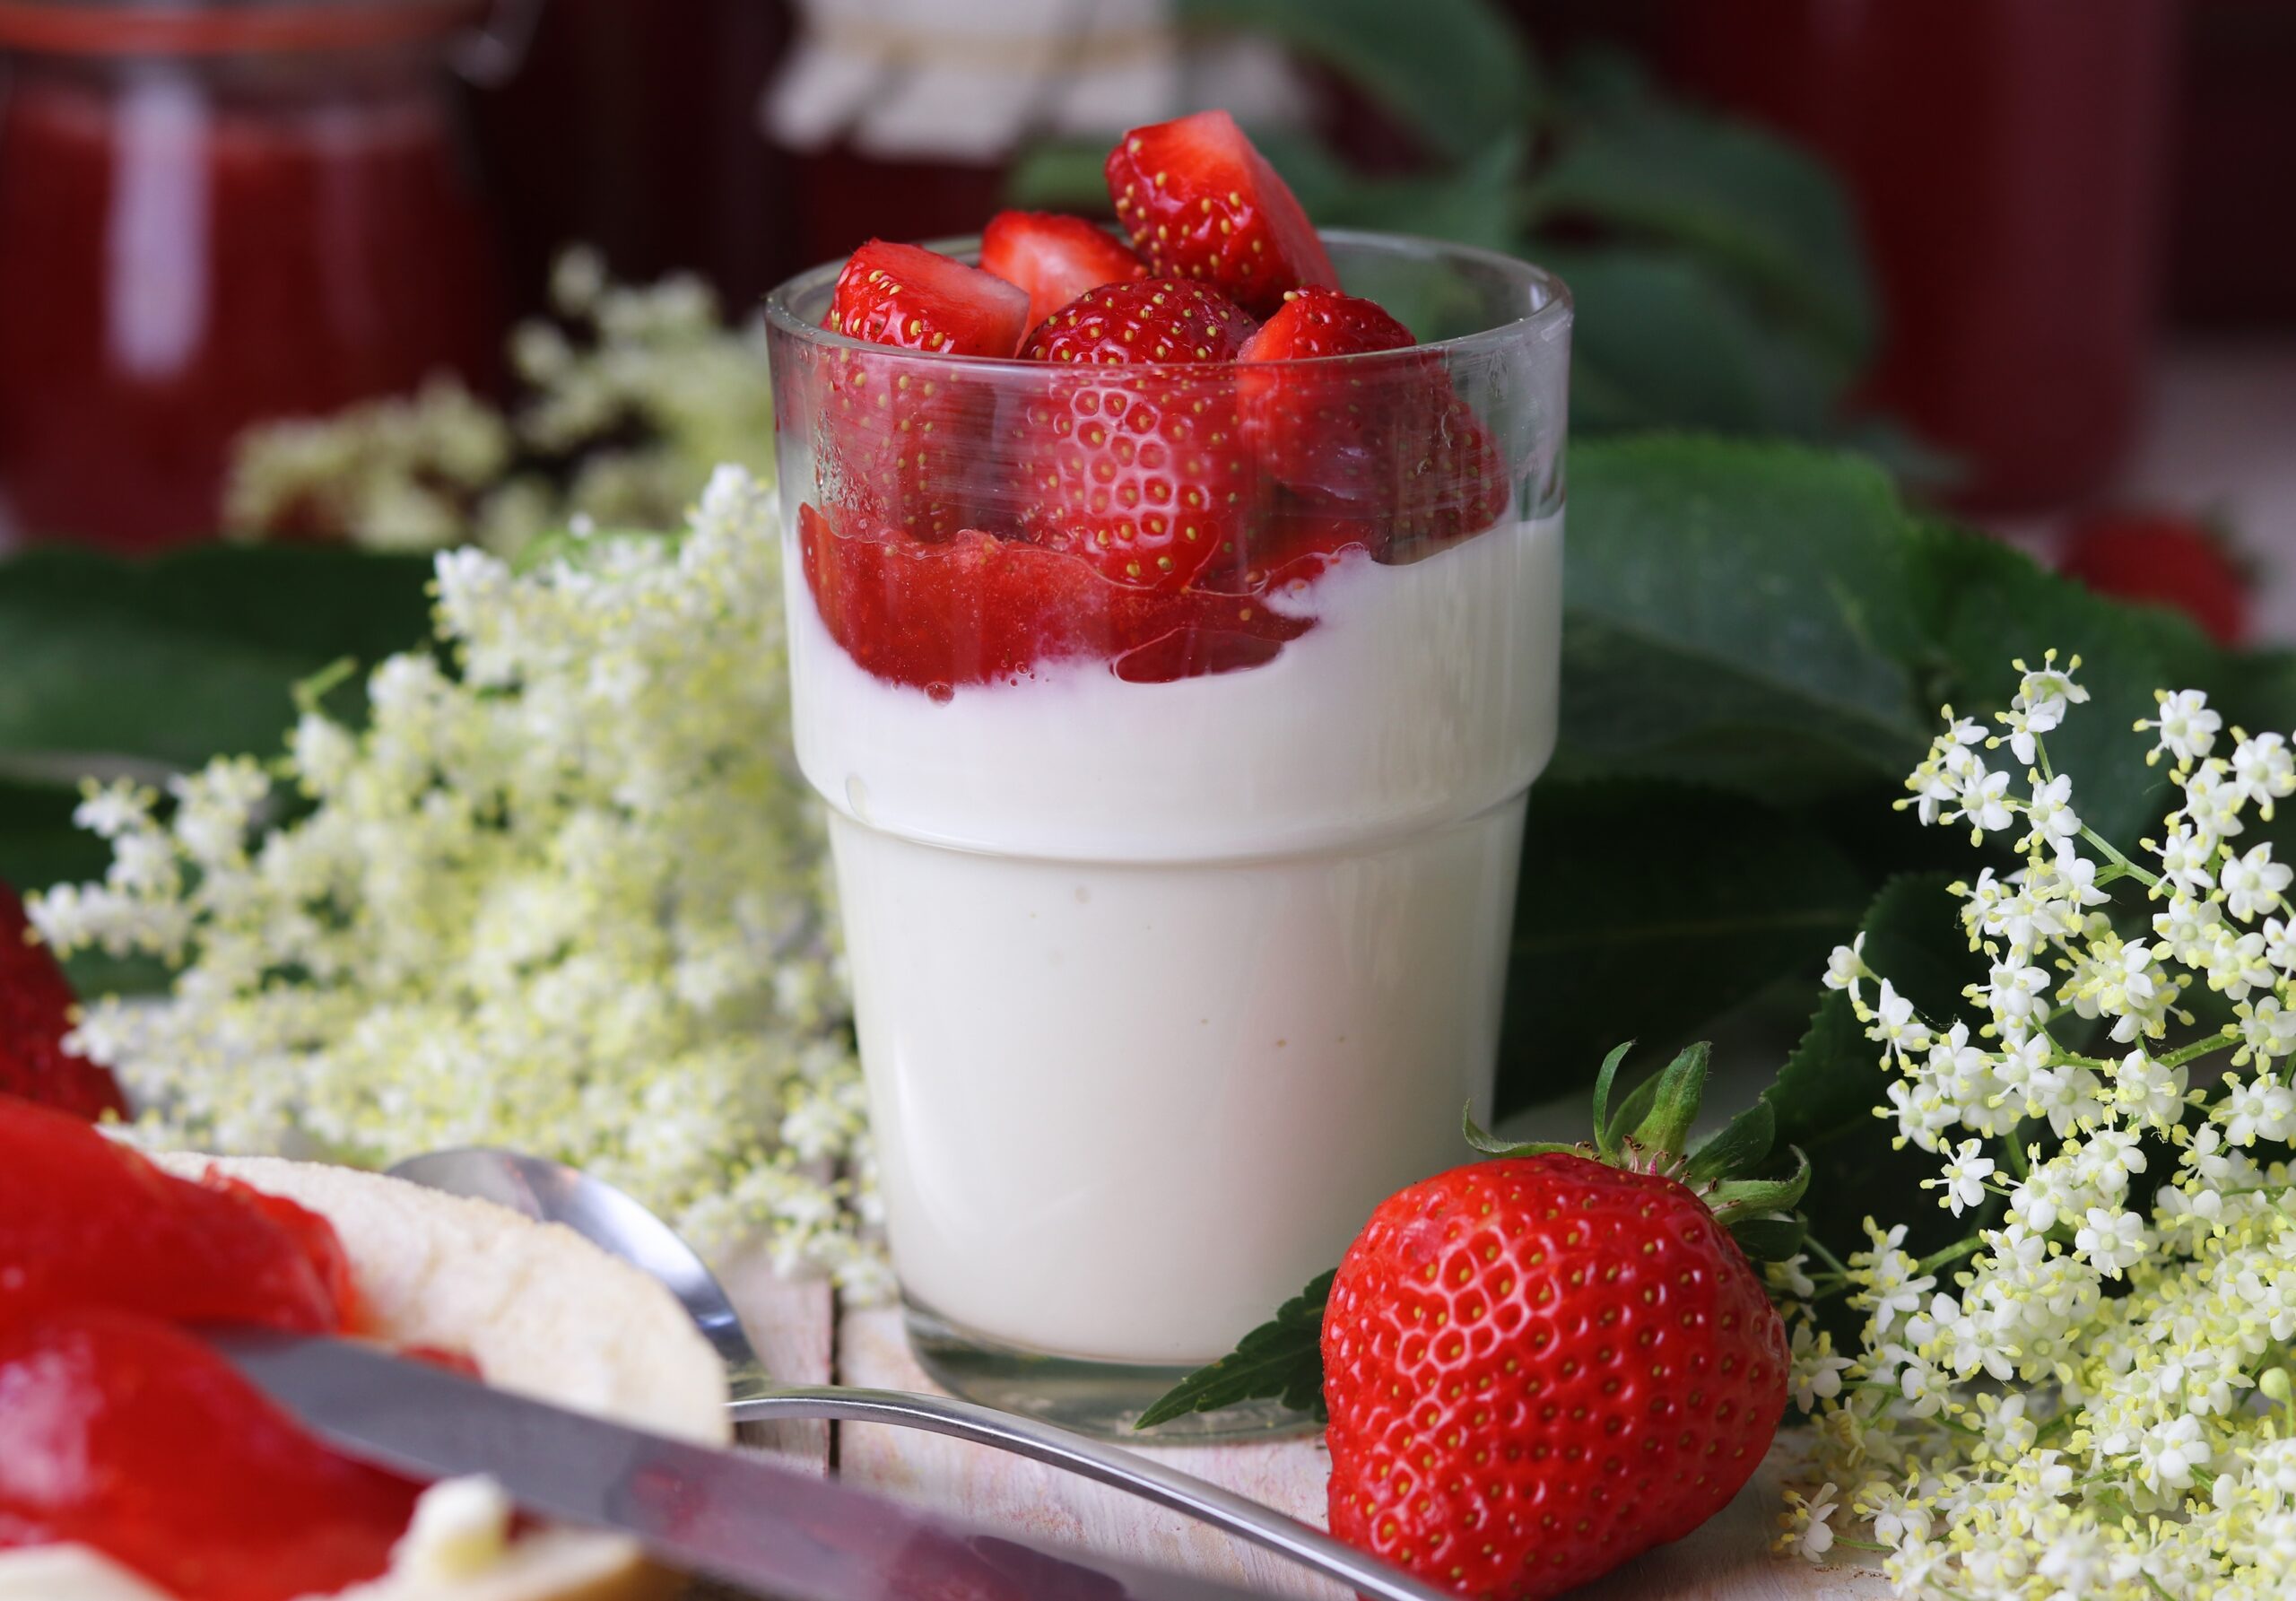
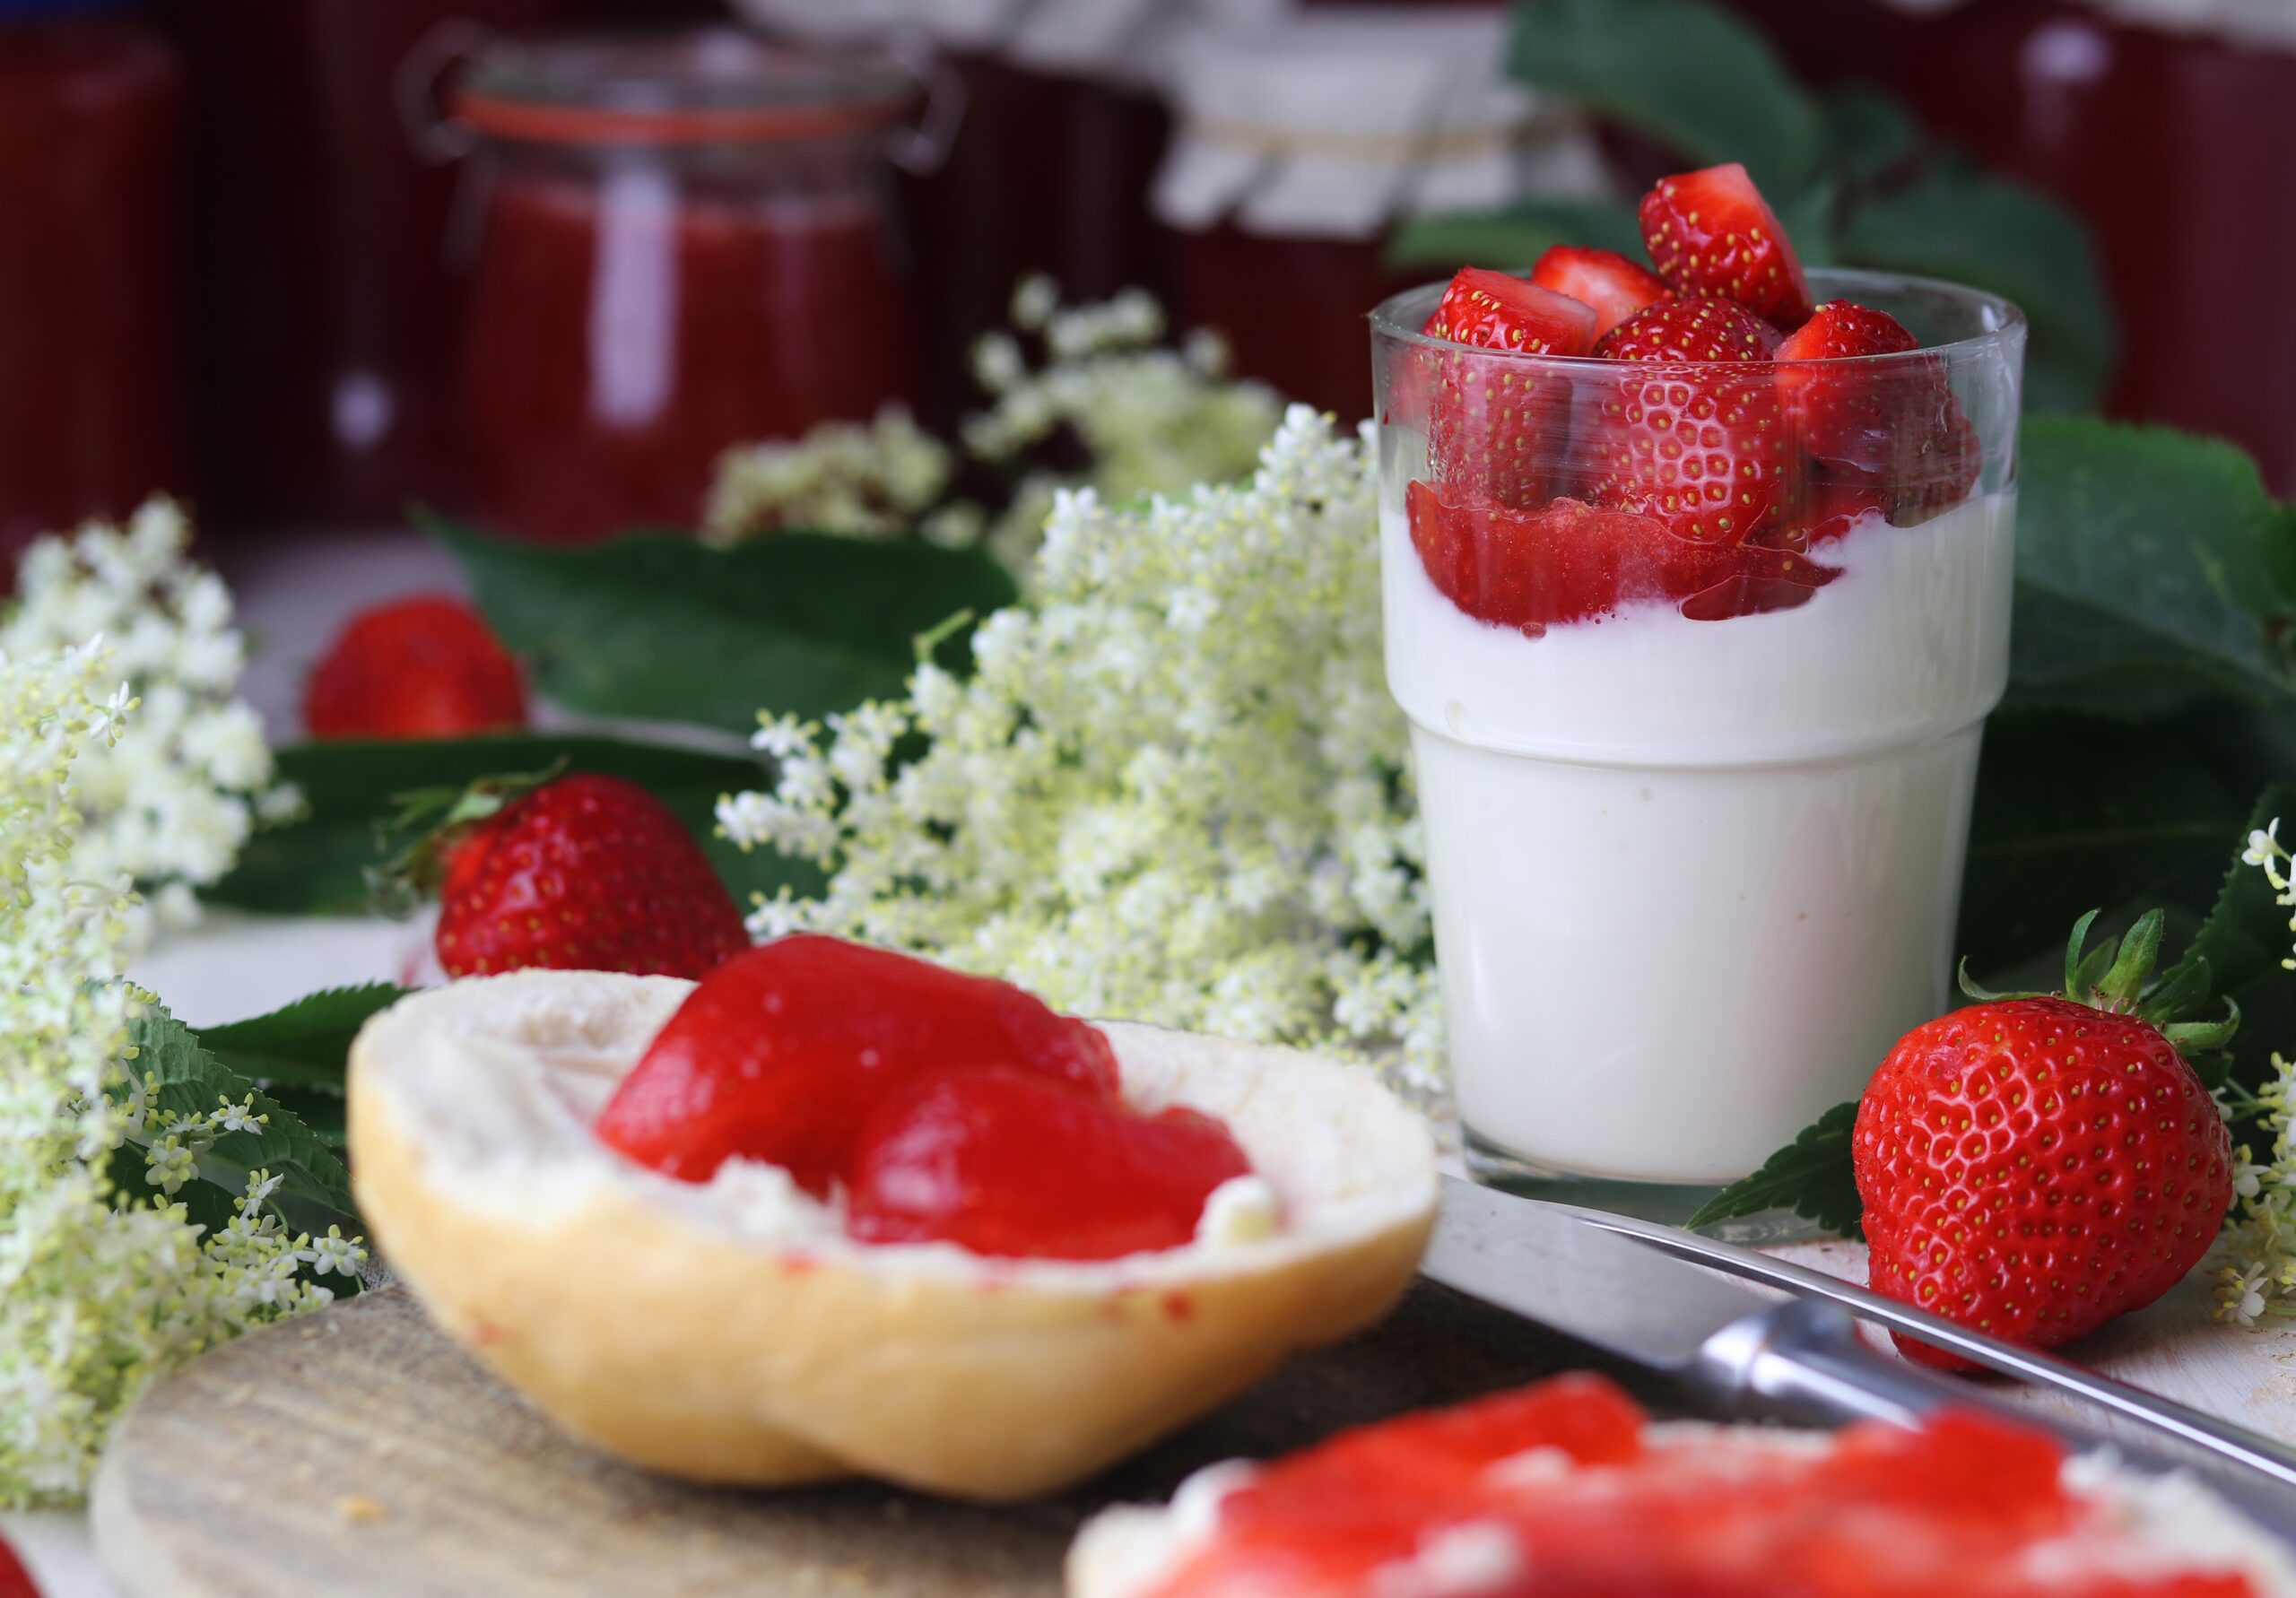
    The strawberry and elderflower jam also tastes great stirred into vegan yogurt or with semolina pudding and rice pudding.
    To prevent the jam from fading so quickly and to keep its great, bright color, I recommend storing it in a dark place. Preferably in a cool place, such as a cellar.

    Strawberry-elderflower jam also tastes very good stirred into vegan yoghurt or with semolina pudding and rice pudding.
    Strawberry-elderflower jam also tastes very good stirred into vegan yoghurt or with semolina pudding and rice pudding.

    More sweet vegan recipes

    For those of you with a sweet tooth I recommend to also give these wonderful, vegan, sweet recipes a try.

    Elderflower-strawberry jam: it has a lovely scent of elderberry and is velvety and sweet with fruity strawberries.
    Elderflower-strawberry jam: it has a lovely scent of elderberry and is velvety and sweet with fruity strawberries.

    Elderflower and strawberry jam: the preparation in pictures

    Here I show you step by step on photos how I prepare the elderflower and strawberry jam. Then I’ll go straight on to the recipe.

    1. First, apple juice is flavored with elderberry and lemon.
    1. First, apple juice is flavoured with elderberry and lemon.
    2. Let the elderflowers and lemon slices flavour the apple juice for 2 hours.
    2. Let the elderflowers and lemon slices flavour the apple juice for 2 hours.
    3. After 2 hours, bring the apple-lemon-elderflower juice to the boil briefly and leave to steep again overnight.
    3. After 2 hours, bring the apple-lemon-elderflower juice to the boil briefly and leave to steep again overnight.
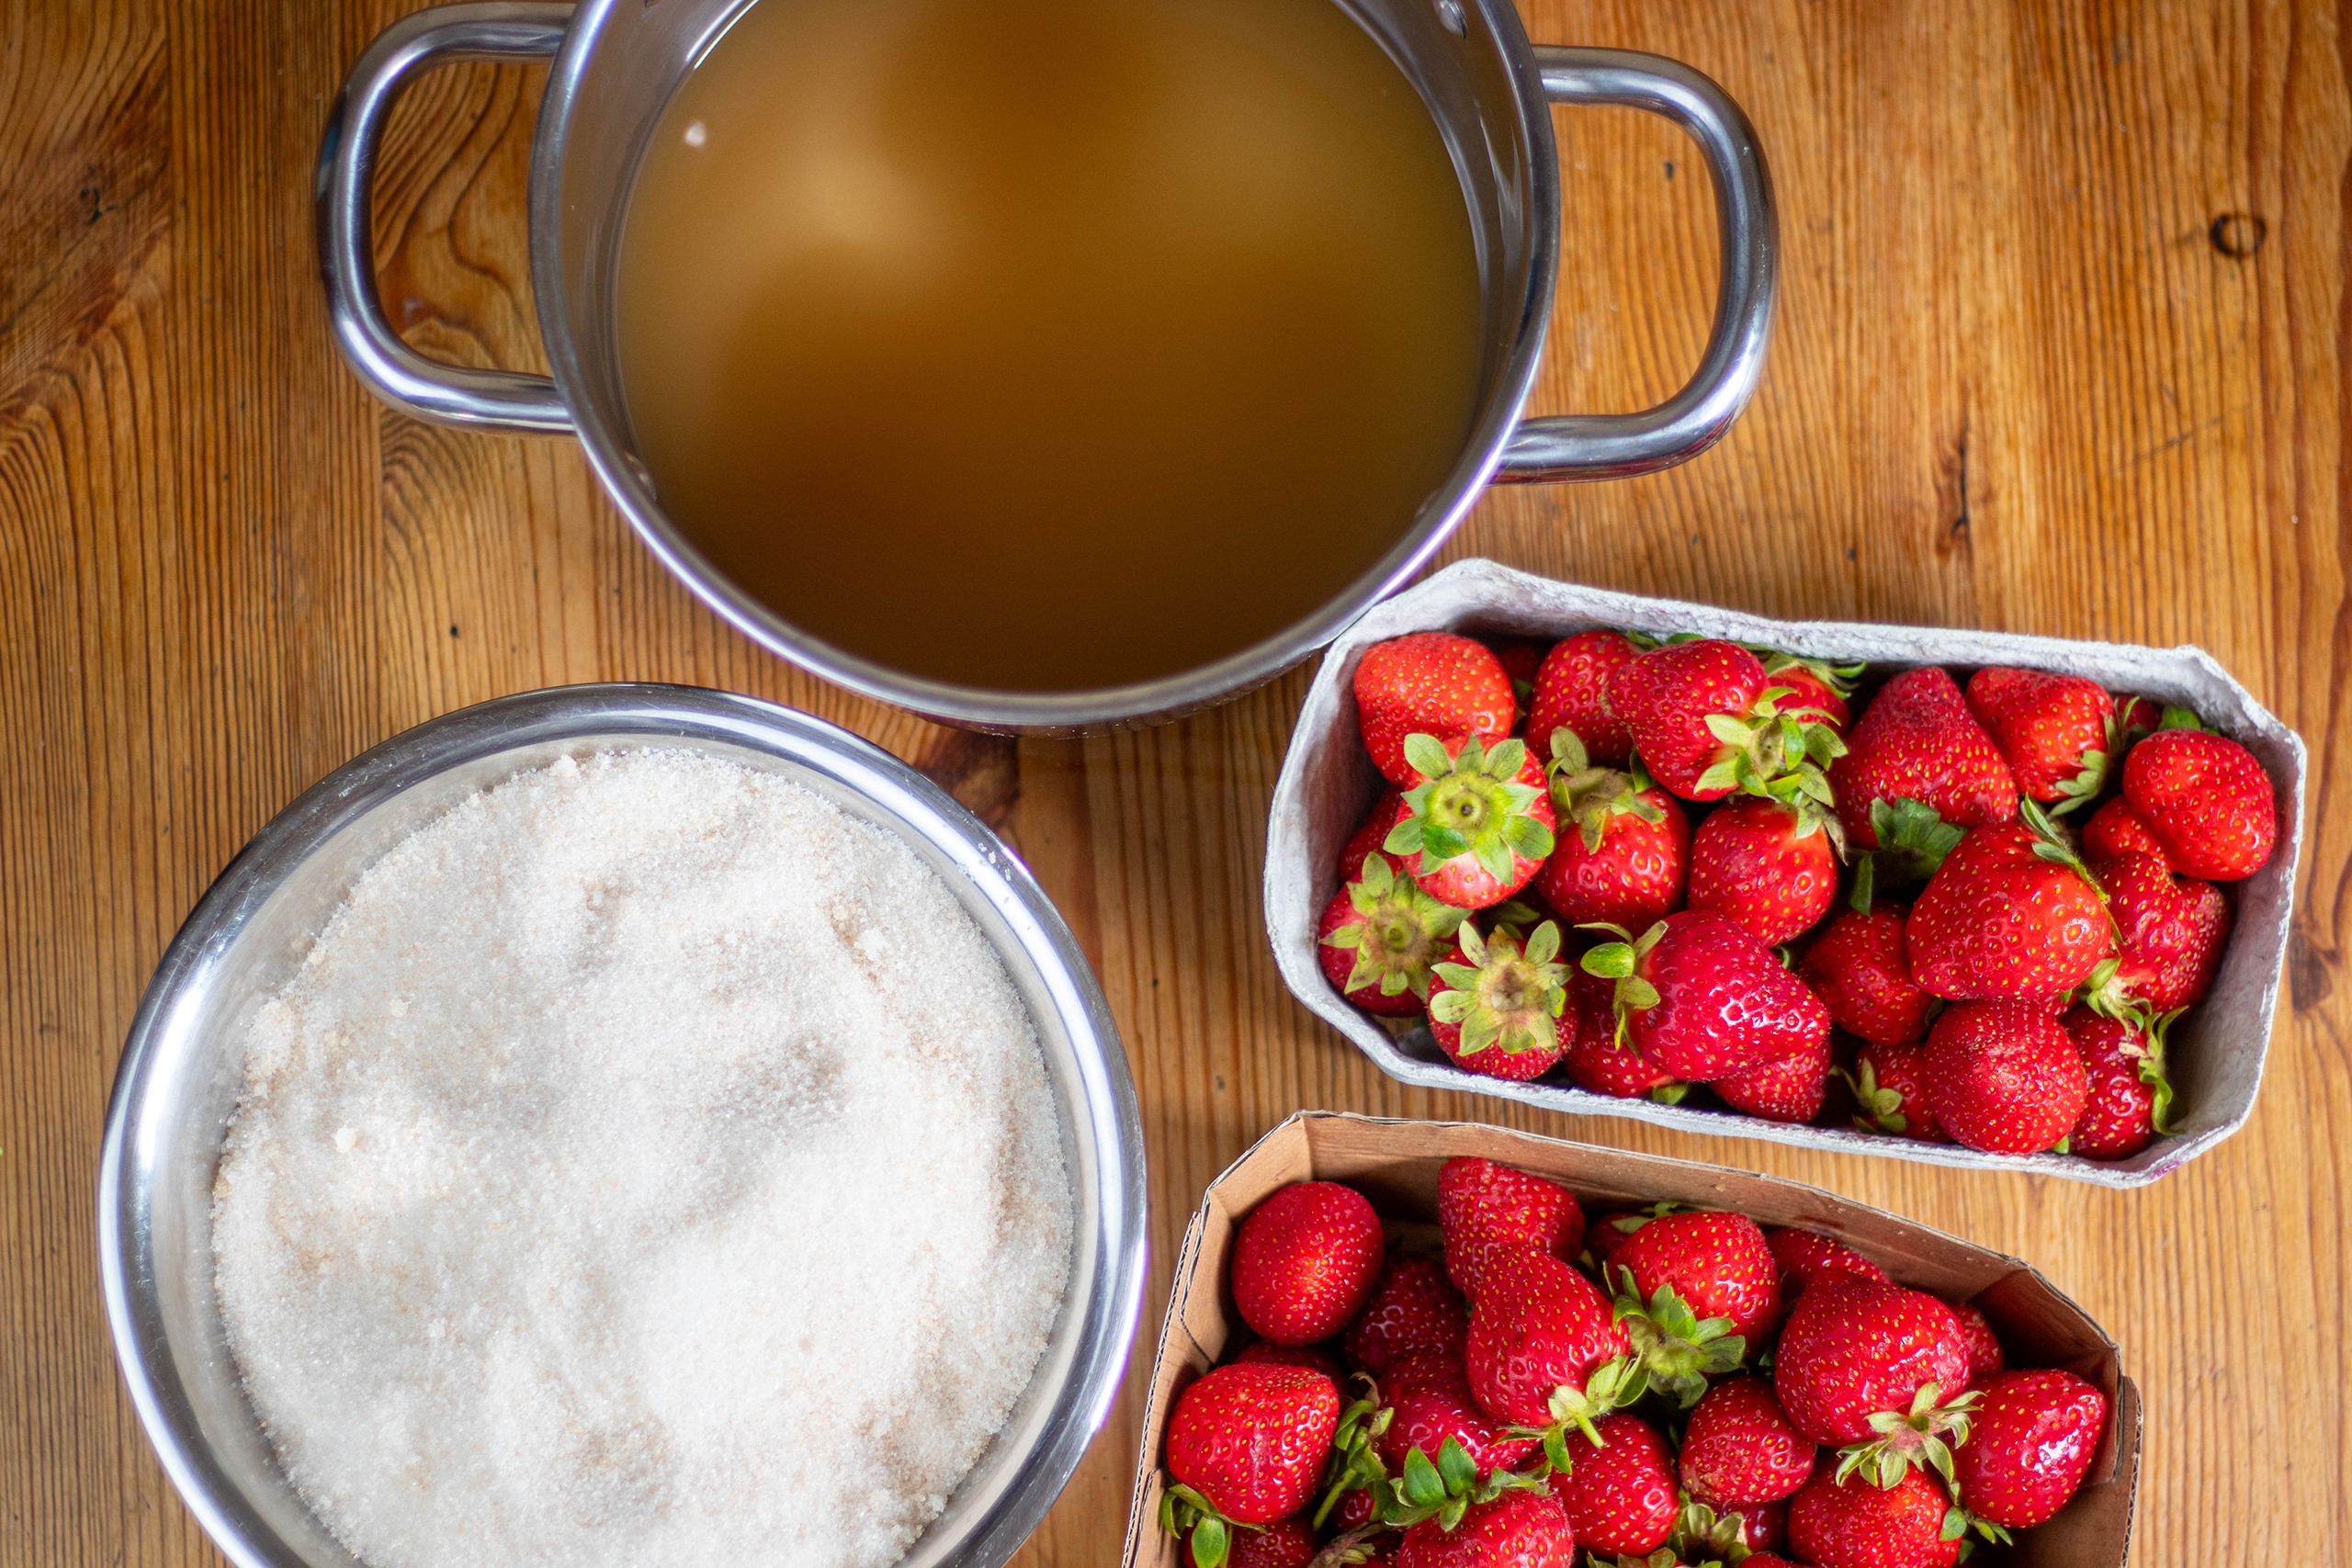
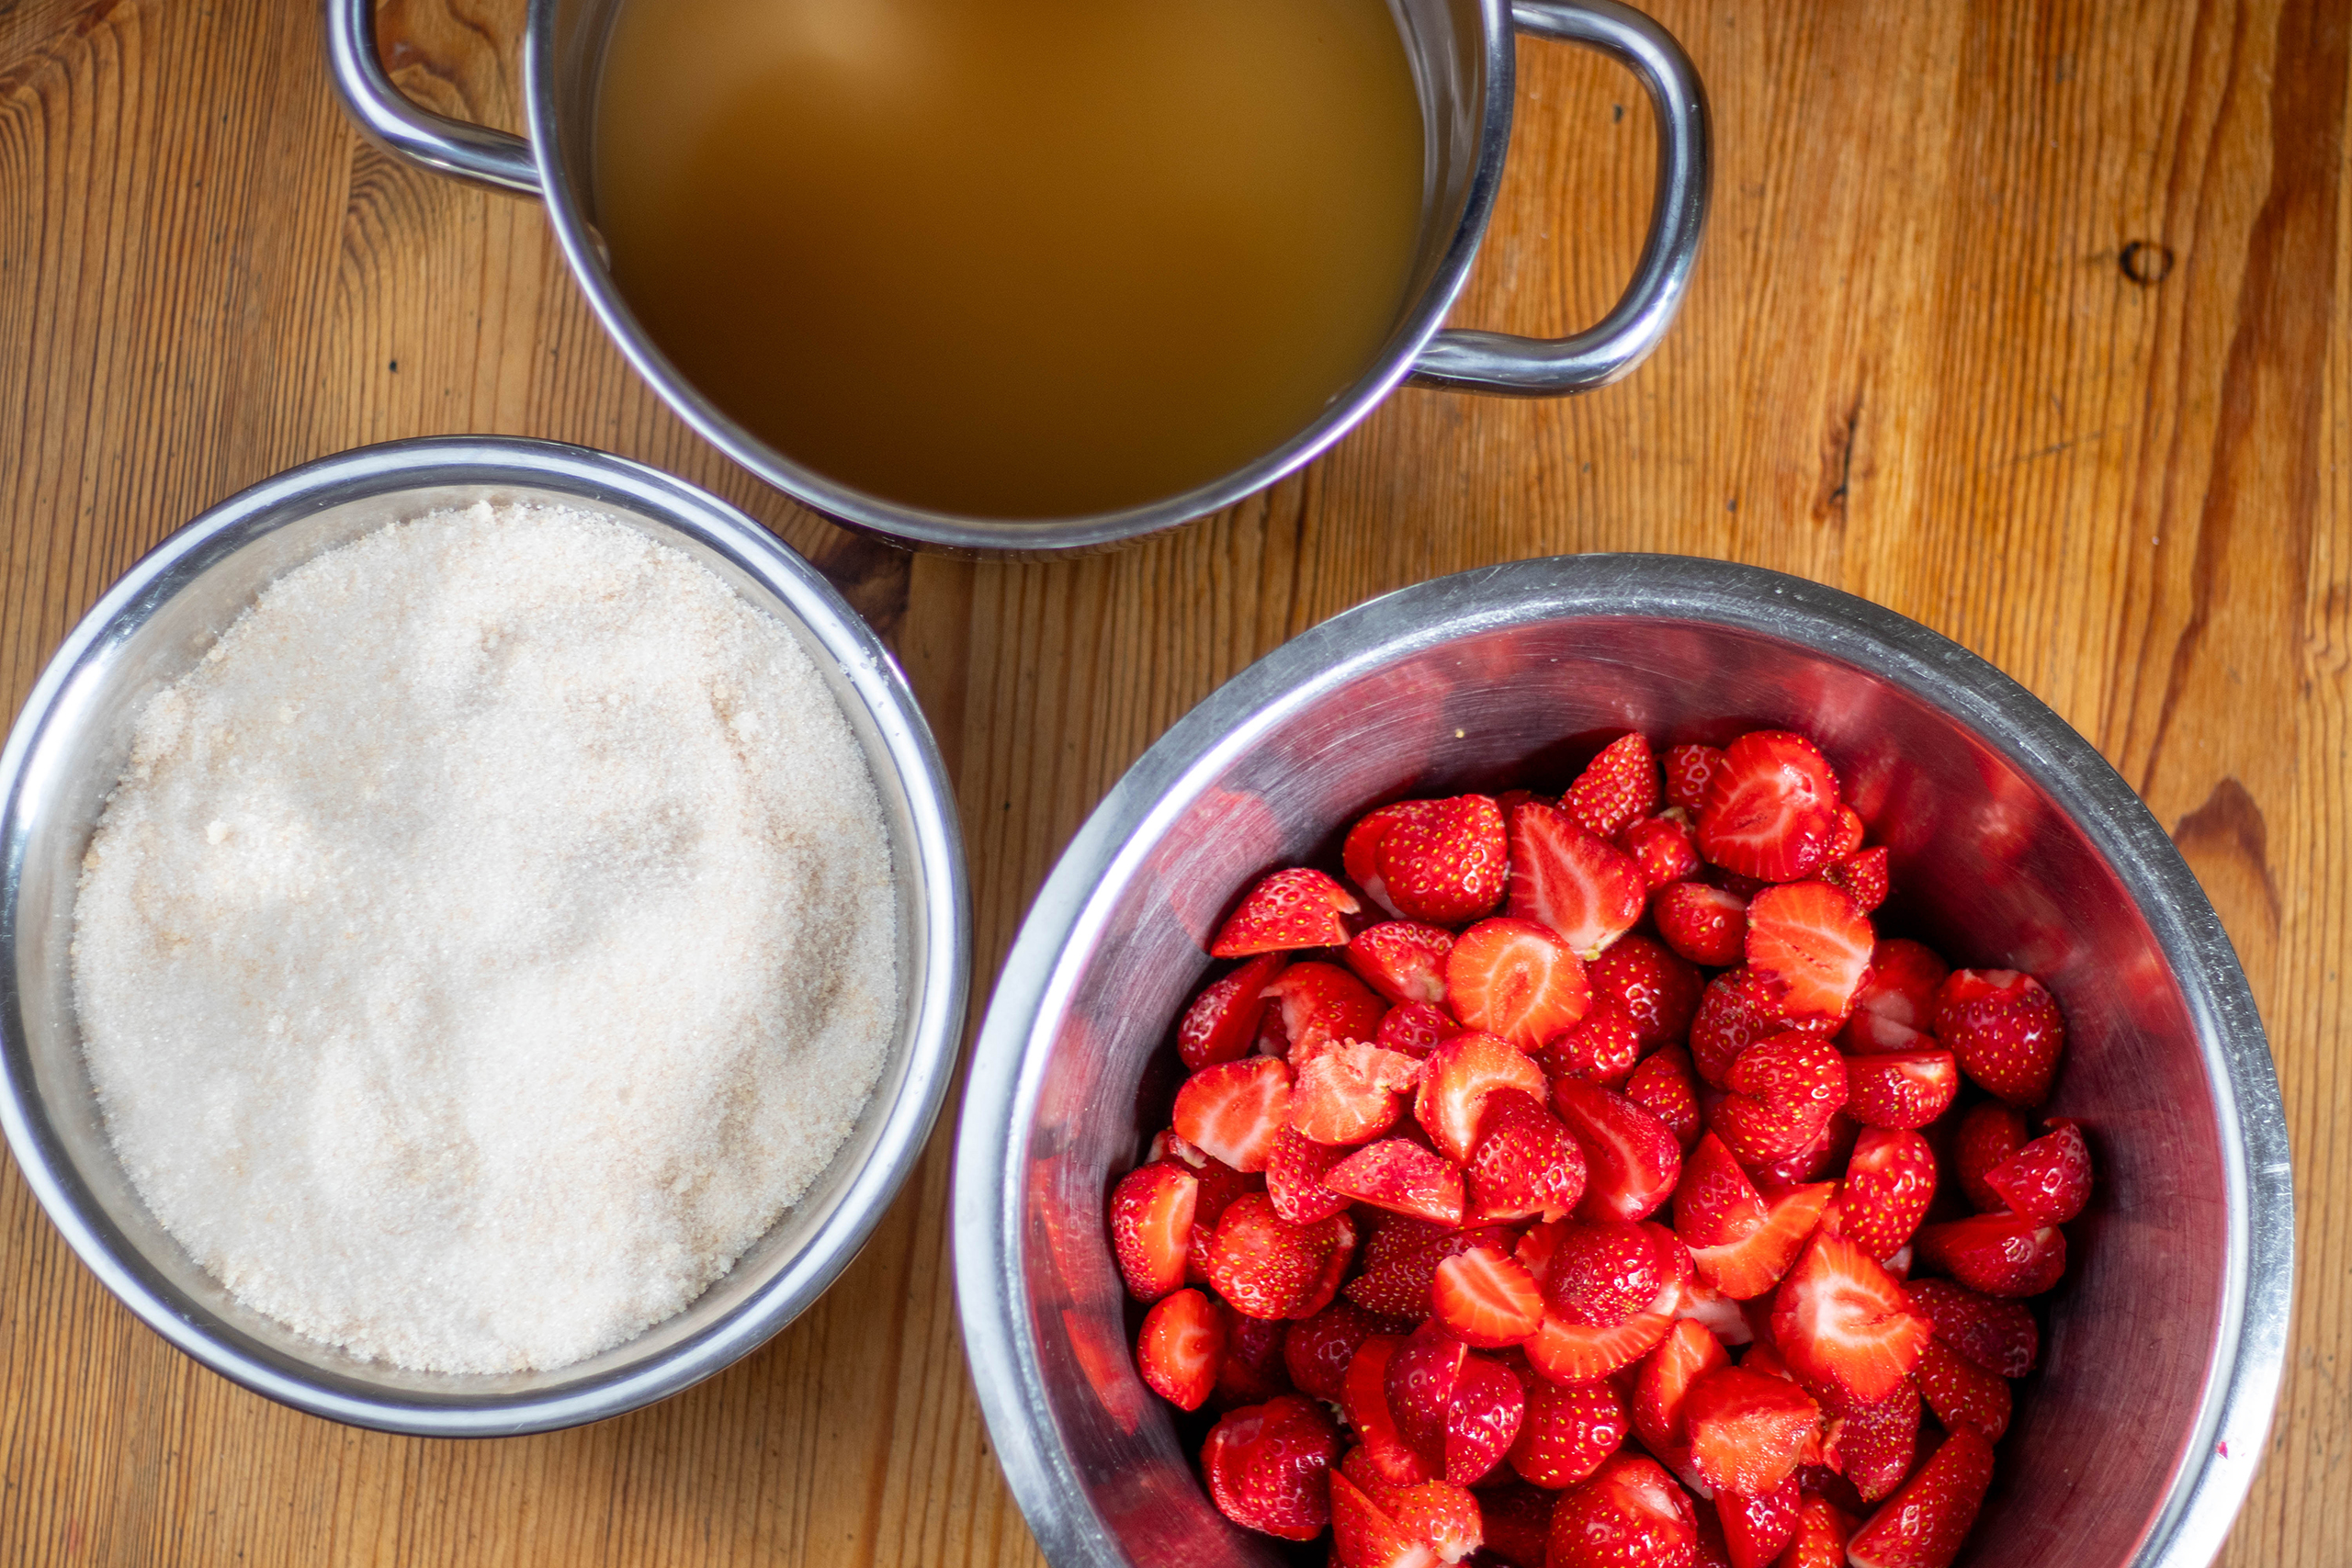
    4. The ingredients for the jam: strawberries, gelling sugar and the previously prepared apple-lemon-elderflower juice.
    4. The ingredients for the jam: strawberries, gelling sugar and the previously prepared apple-lemon-elderflower juice.
    5. When cleaning the strawberries, remove the green parts and roughly chop them.
    5. When cleaning the strawberries, remove the green parts and roughly chop them.
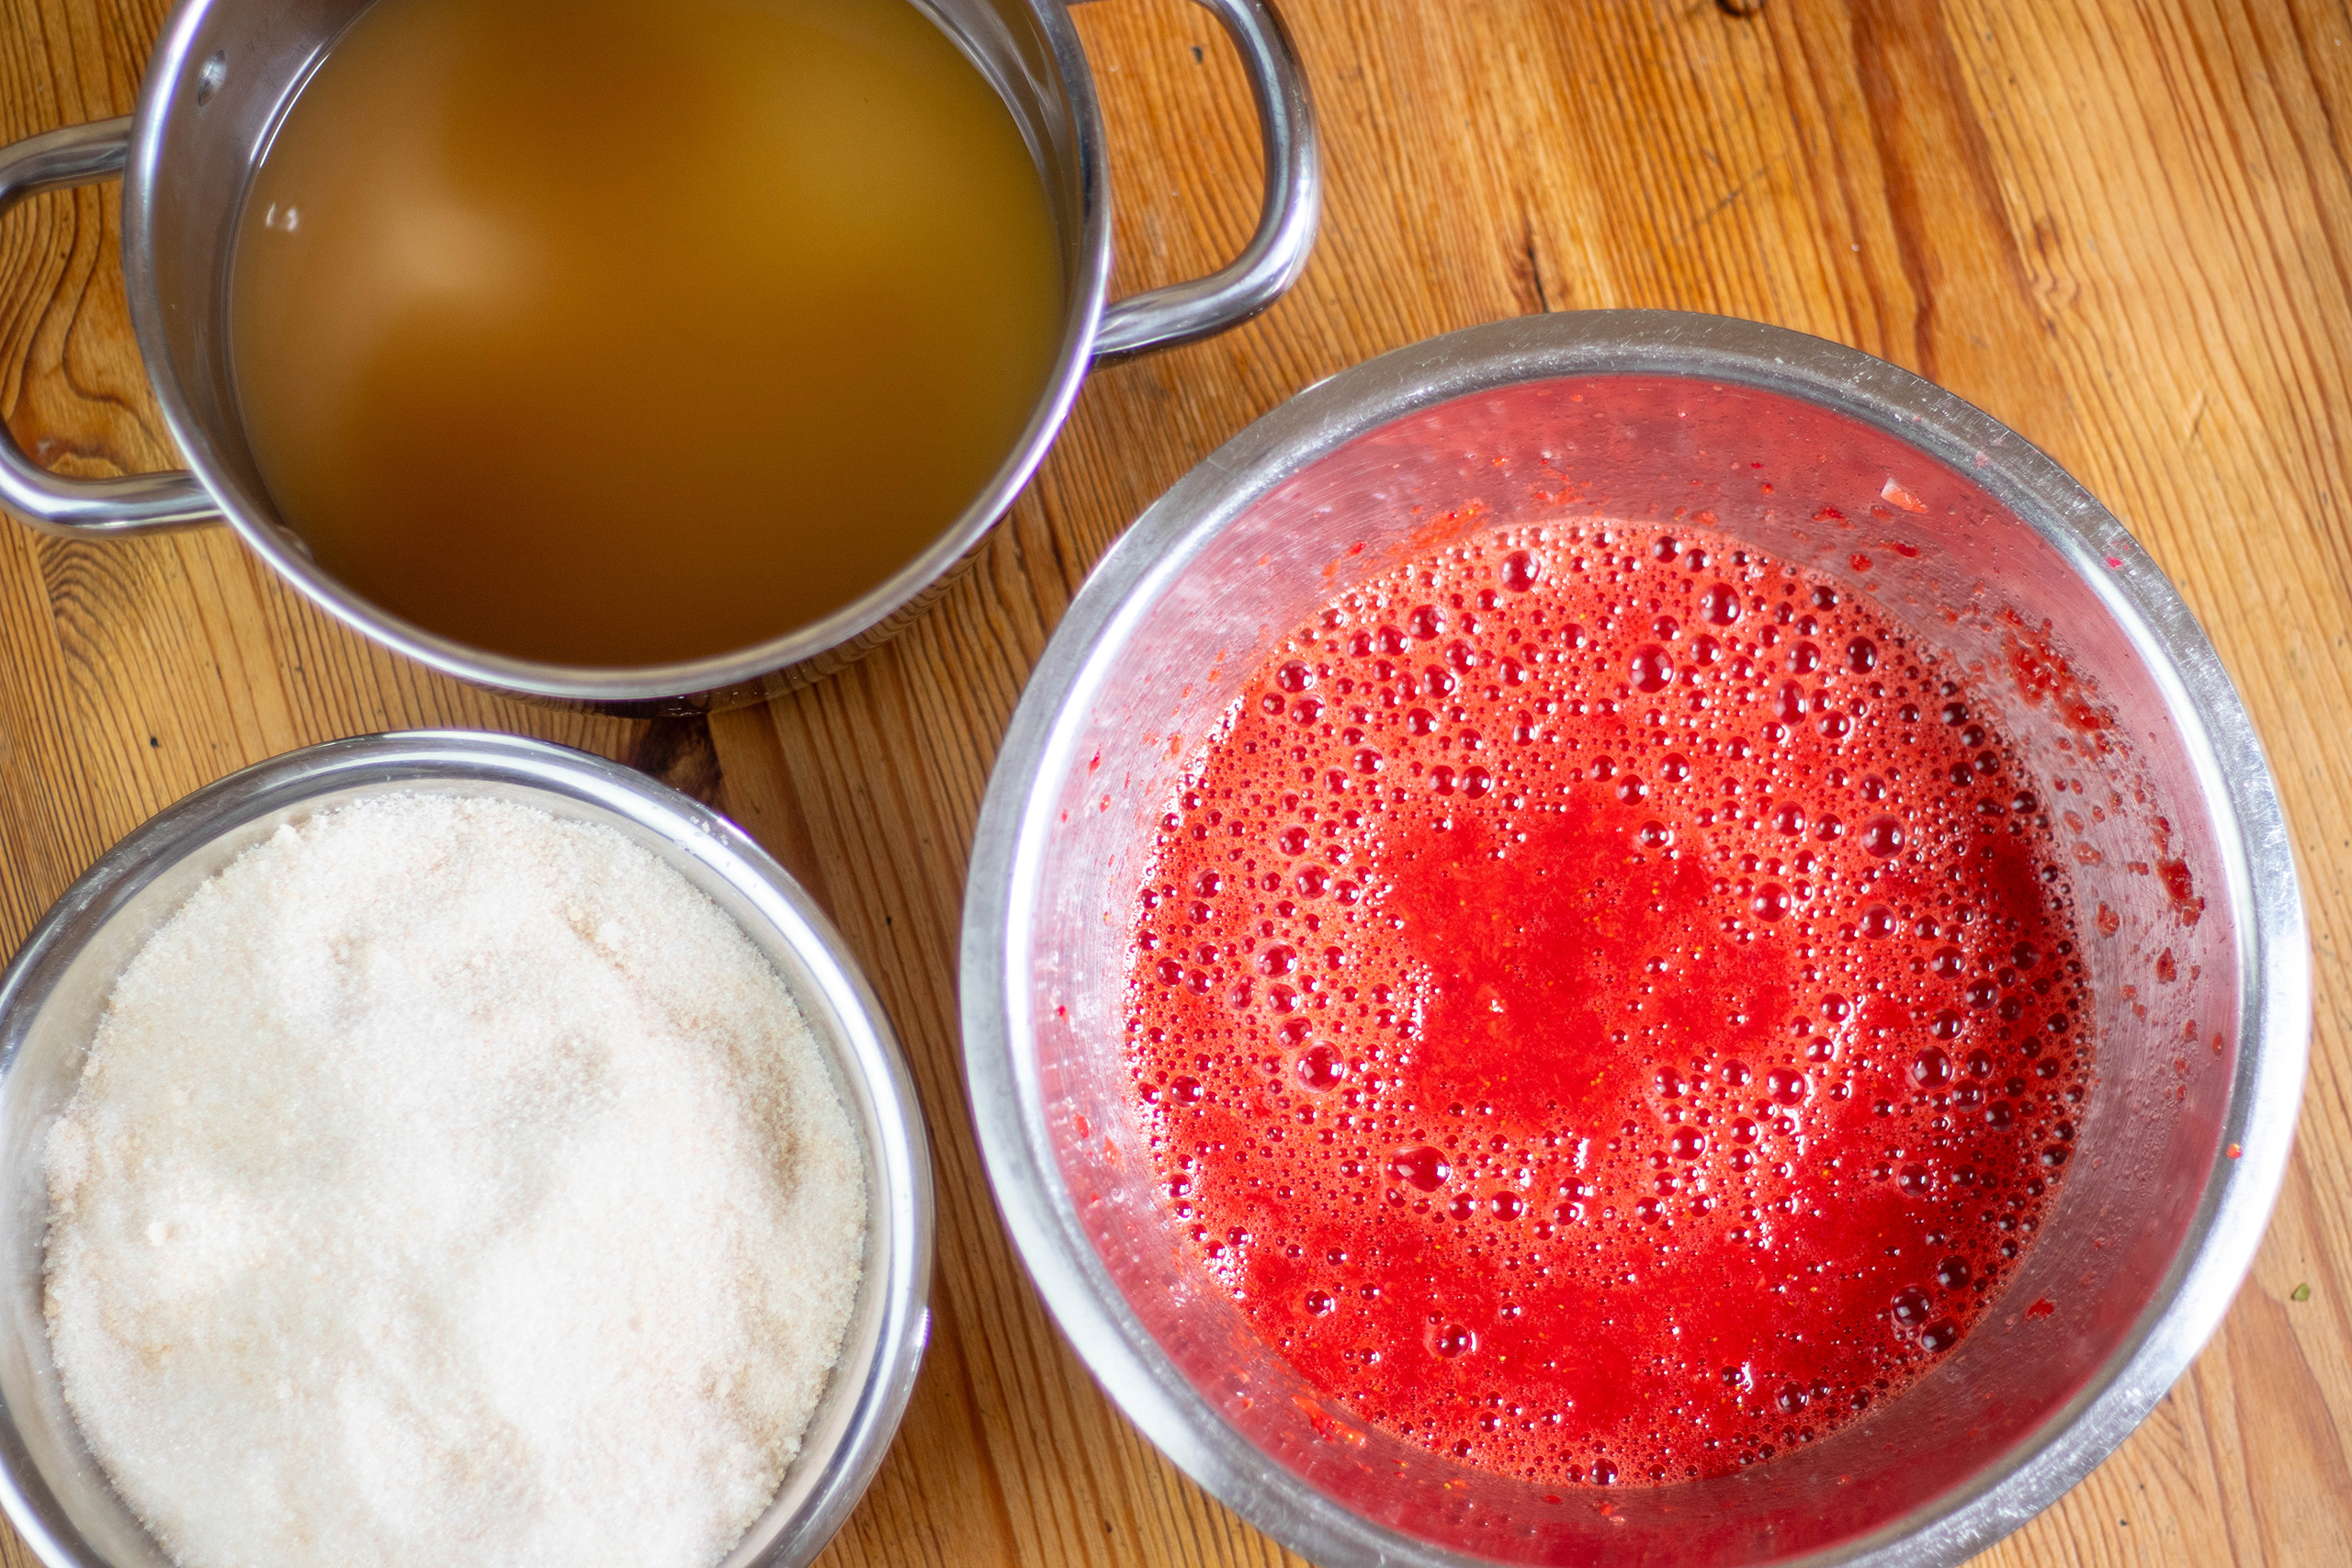
    6. The strawberries are roughly pureed, now the jam can be boiled.
    6. The strawberries are roughly pureed, now the jam can be boiled.
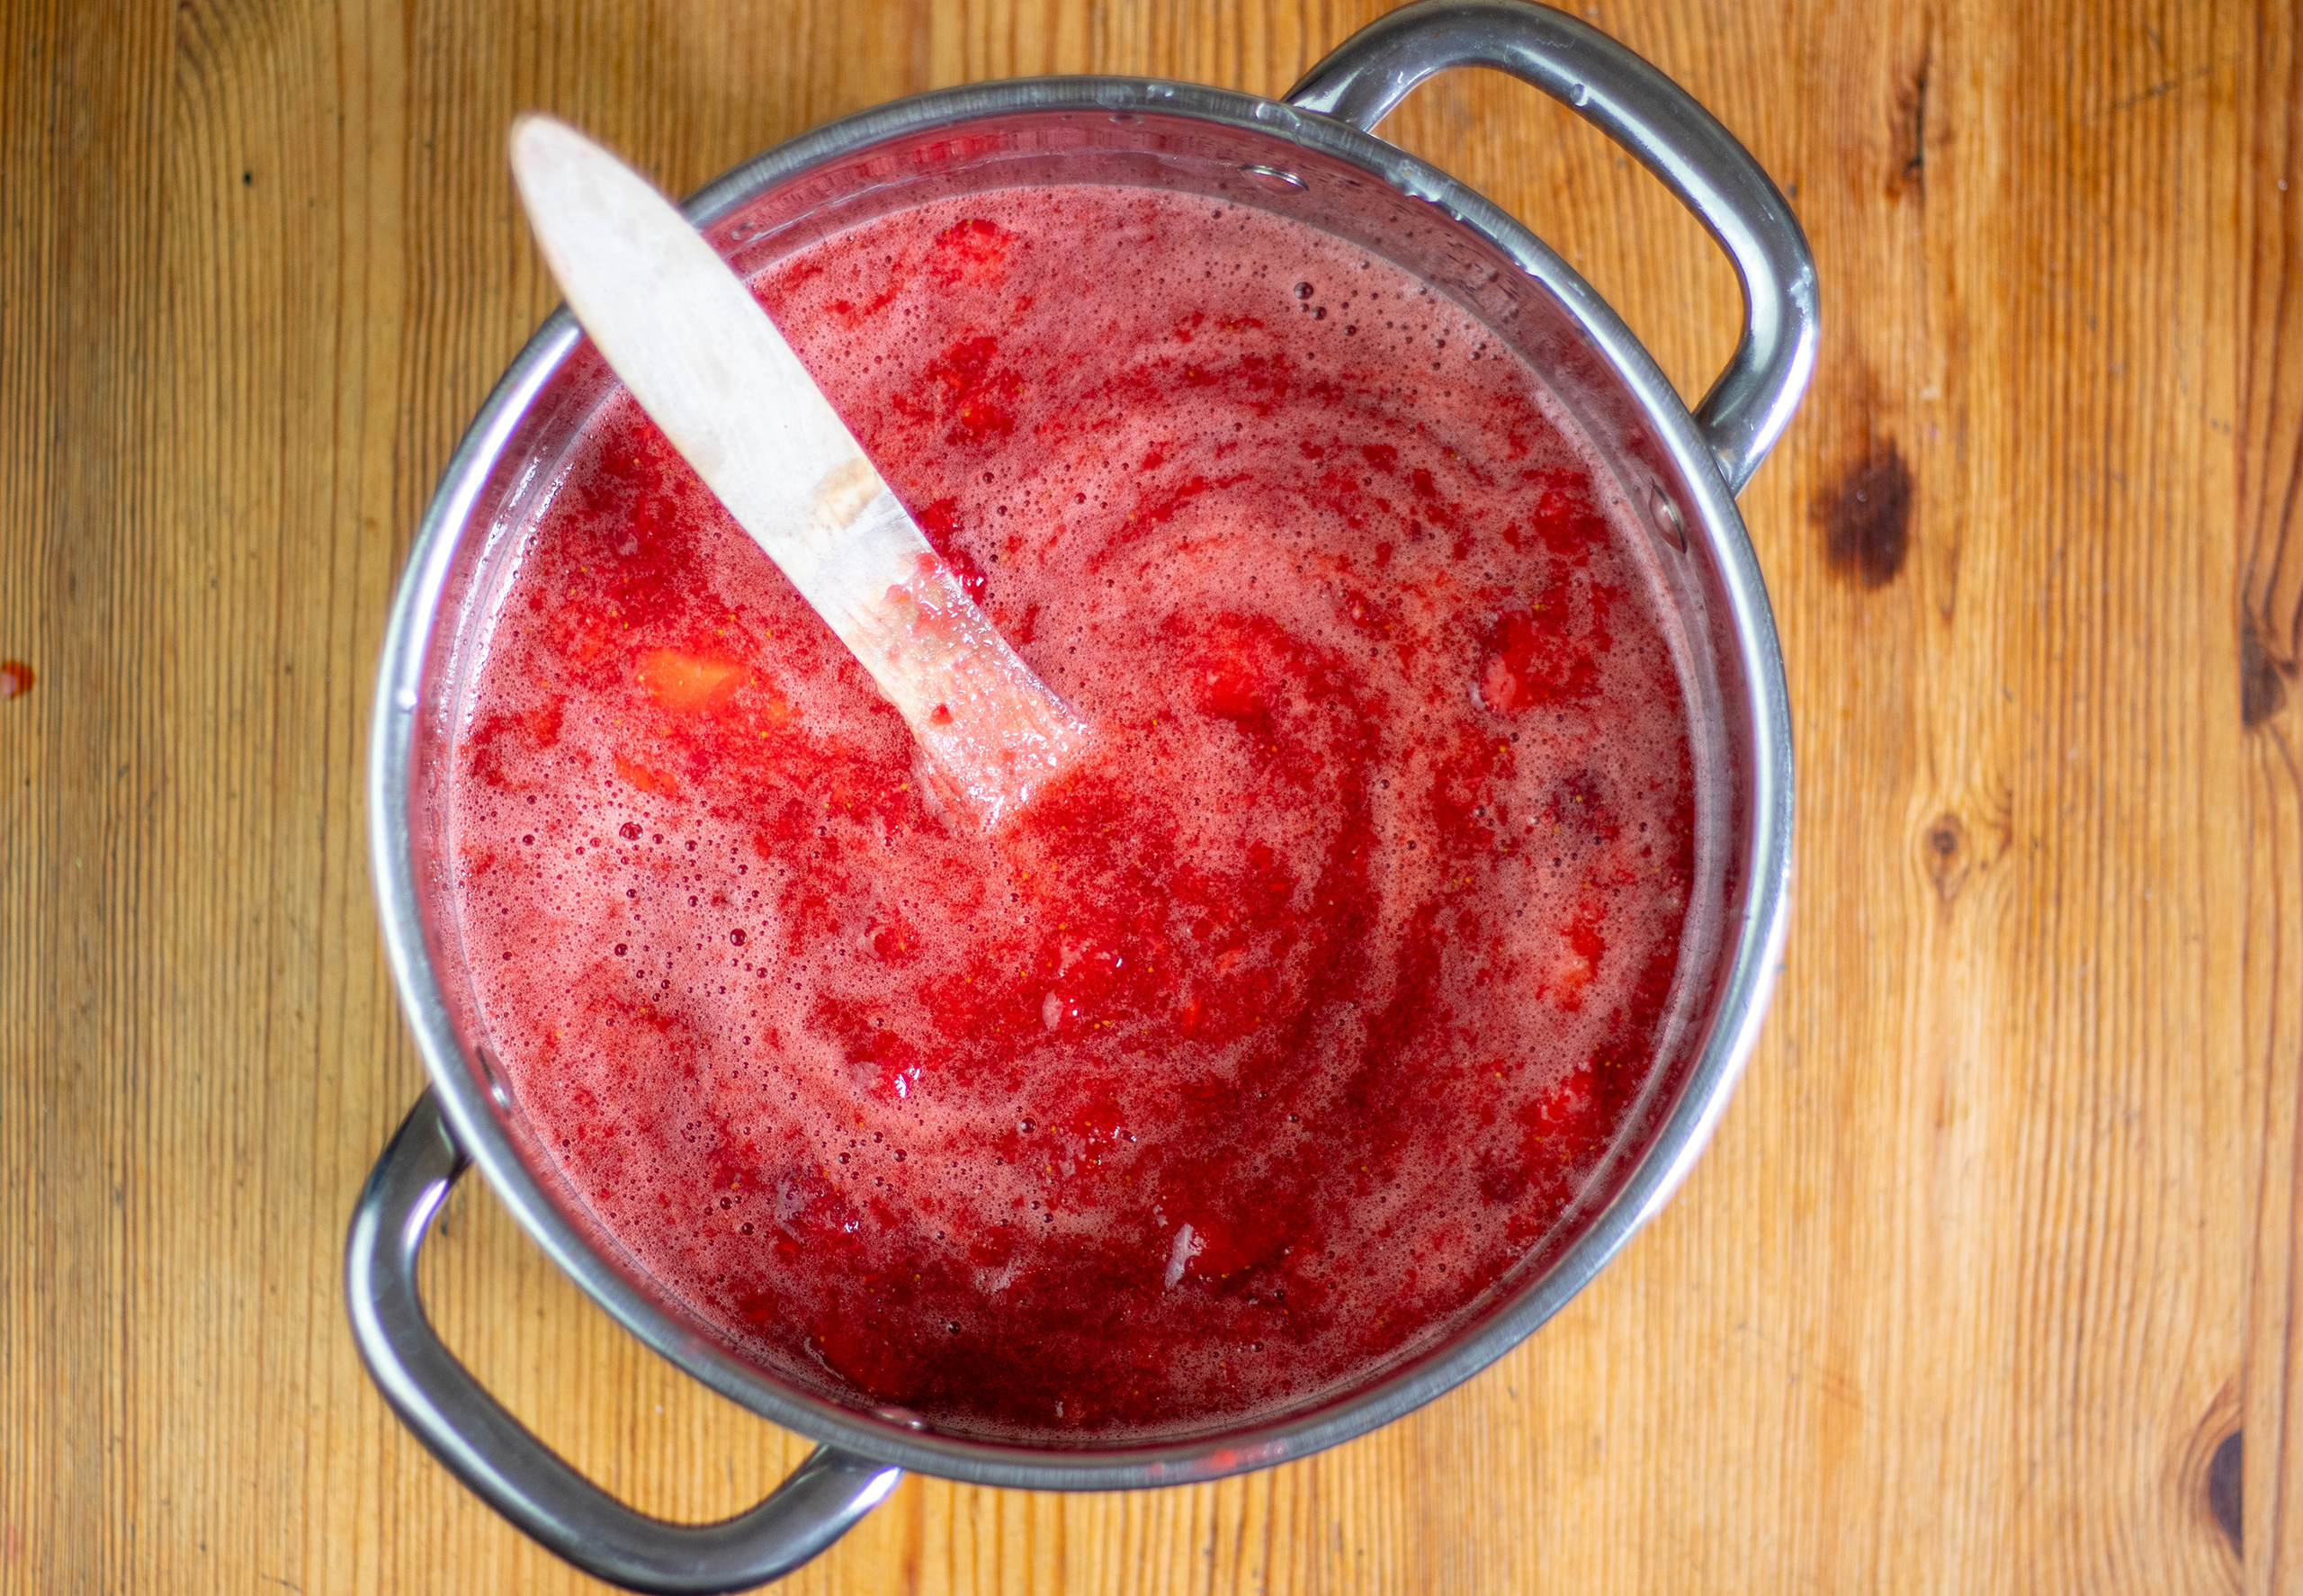
    7. The elderflower-strawberry jam is boiled for a few minutes and then bottled.
    7. The elderflower-strawberry jam is boiled for a few minutes and then bottled.
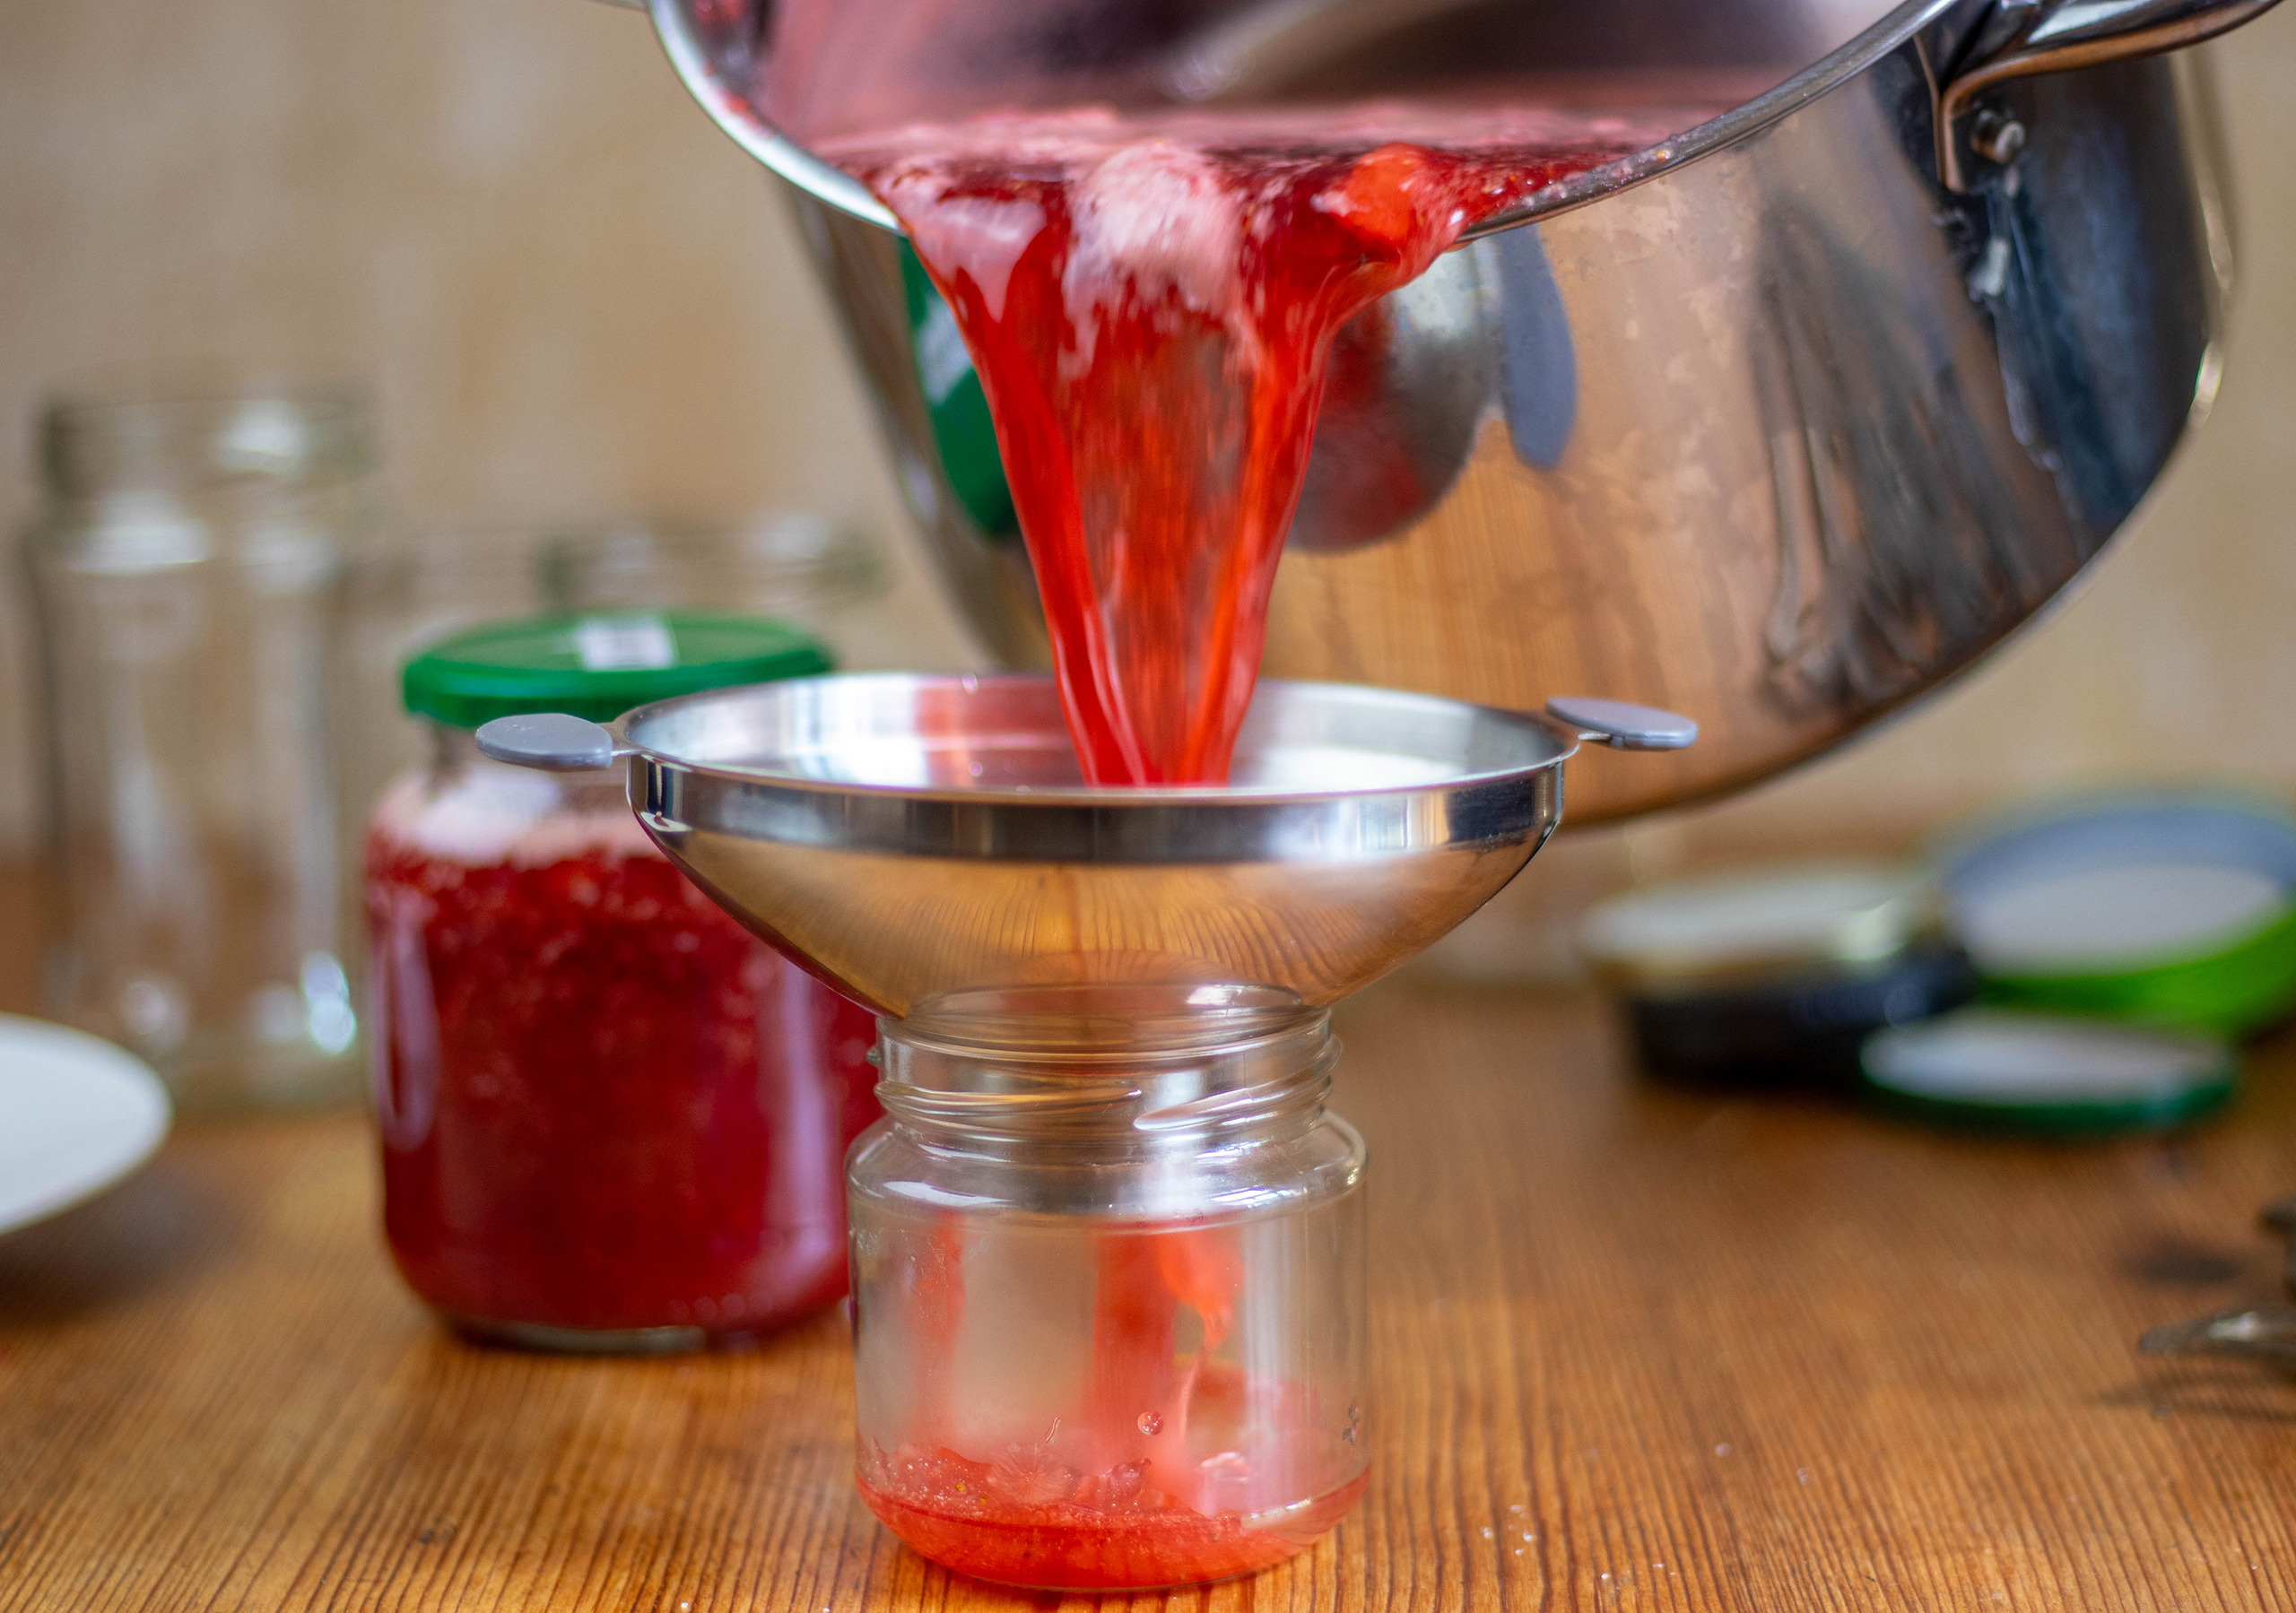
    8. The jam is filled into jars while still boiling hot and then sealed immediately.
    8. The jam is filled into jars while still boiling hot and then sealed immediately.
    Freshly bottled strawberry-elderberry jam. The result is impressive!
    Freshly bottled strawberry-elderberry jam. The result is impressive!
    Elderflower-strawberry jam: fragrant, aromatic and simply fantastic
    Elderflower-strawberry jam: fragrant, aromatic and simply fantastic

    Ingredients for about 3 liters of elderflower and strawberry jam:

    1 litre of apple juice (vegan, some are filtered in a non-vegan way)
    1 lemon, sliced ​​(organic and untreated)
    16 elderflower umbels
    1000 g gelling sugar 2:1 (jam sugar 2:1)
    1 kg strawberries

    Preparation:

    1. Add the lemon slices and elderflowers to the apple juice.
    2. Let it steep for two hours.
    3. Bring it to the boil briefly and then leave it to steep overnight.
    4. Strain it the next day.
    5. Clean the strawberries and roughly chop them. Then puree them, but let small pieces remain.
    6. Add the strawberries and gelling sugar to the juice.
    7. Bring the elderflower and strawberry jam to the boil.
    8. Boil for about 4 minutes while stirring.
    9. Put some jam on a cold plate and do a gelling test. If the strawberry-elderberry jam remains too runny, stir in a little more lemon juice and continue to simmer until the desired consistency is achieved when testing for gelling.
    10. Immediately pour the finished elderberry-strawberry jam into clean screw-top jars that have been rinsed with boiling water.
    11. Immediately screw the jam jars tightly shut and leave to cool.
    12. Stored in a dark place that is not too warm, the jam will last for at least a year.

    Enjoy your hoemade jam!