In the ‚Snacks‘ category on Daily Vegan you will find many delicious snack ideas, for in between meals, to take with you or for a party buffet and a picknick.
The whole vegan snack world – ready to cook at home.
These snack recipes are easy to make and offer a variety of flavours and textures, from sweet to savory to refreshing. Perfect when you get a little hungry.
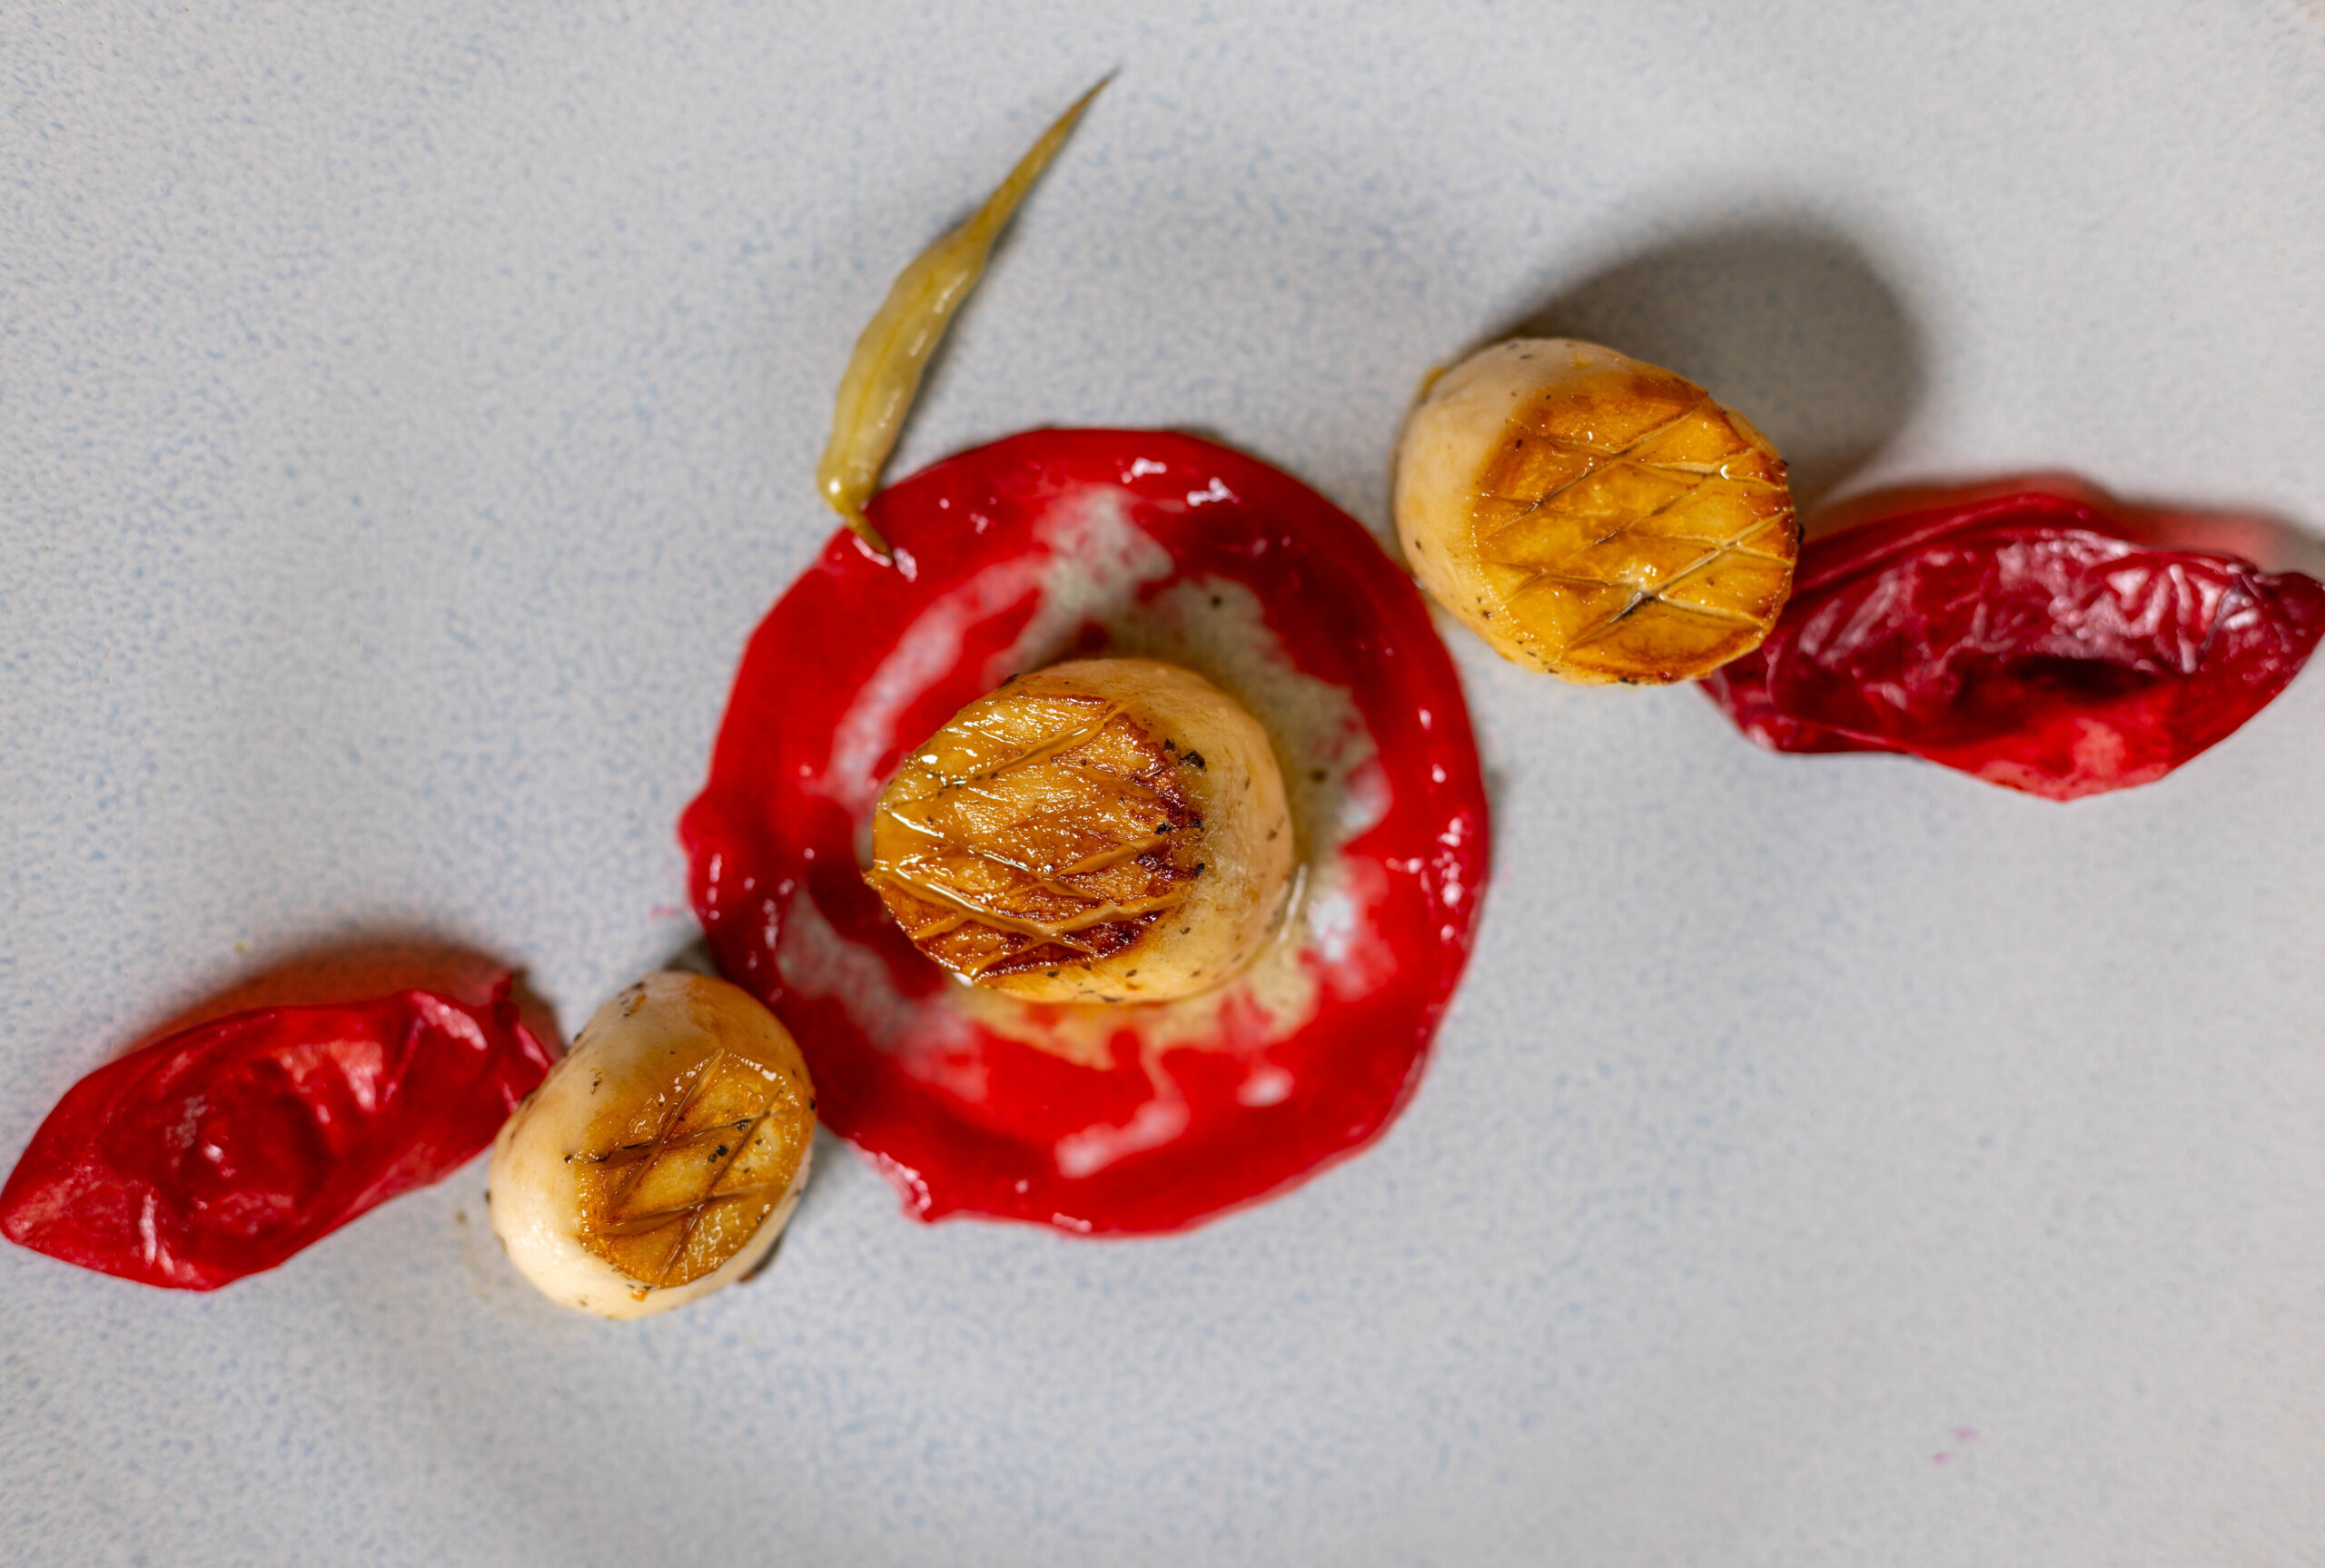
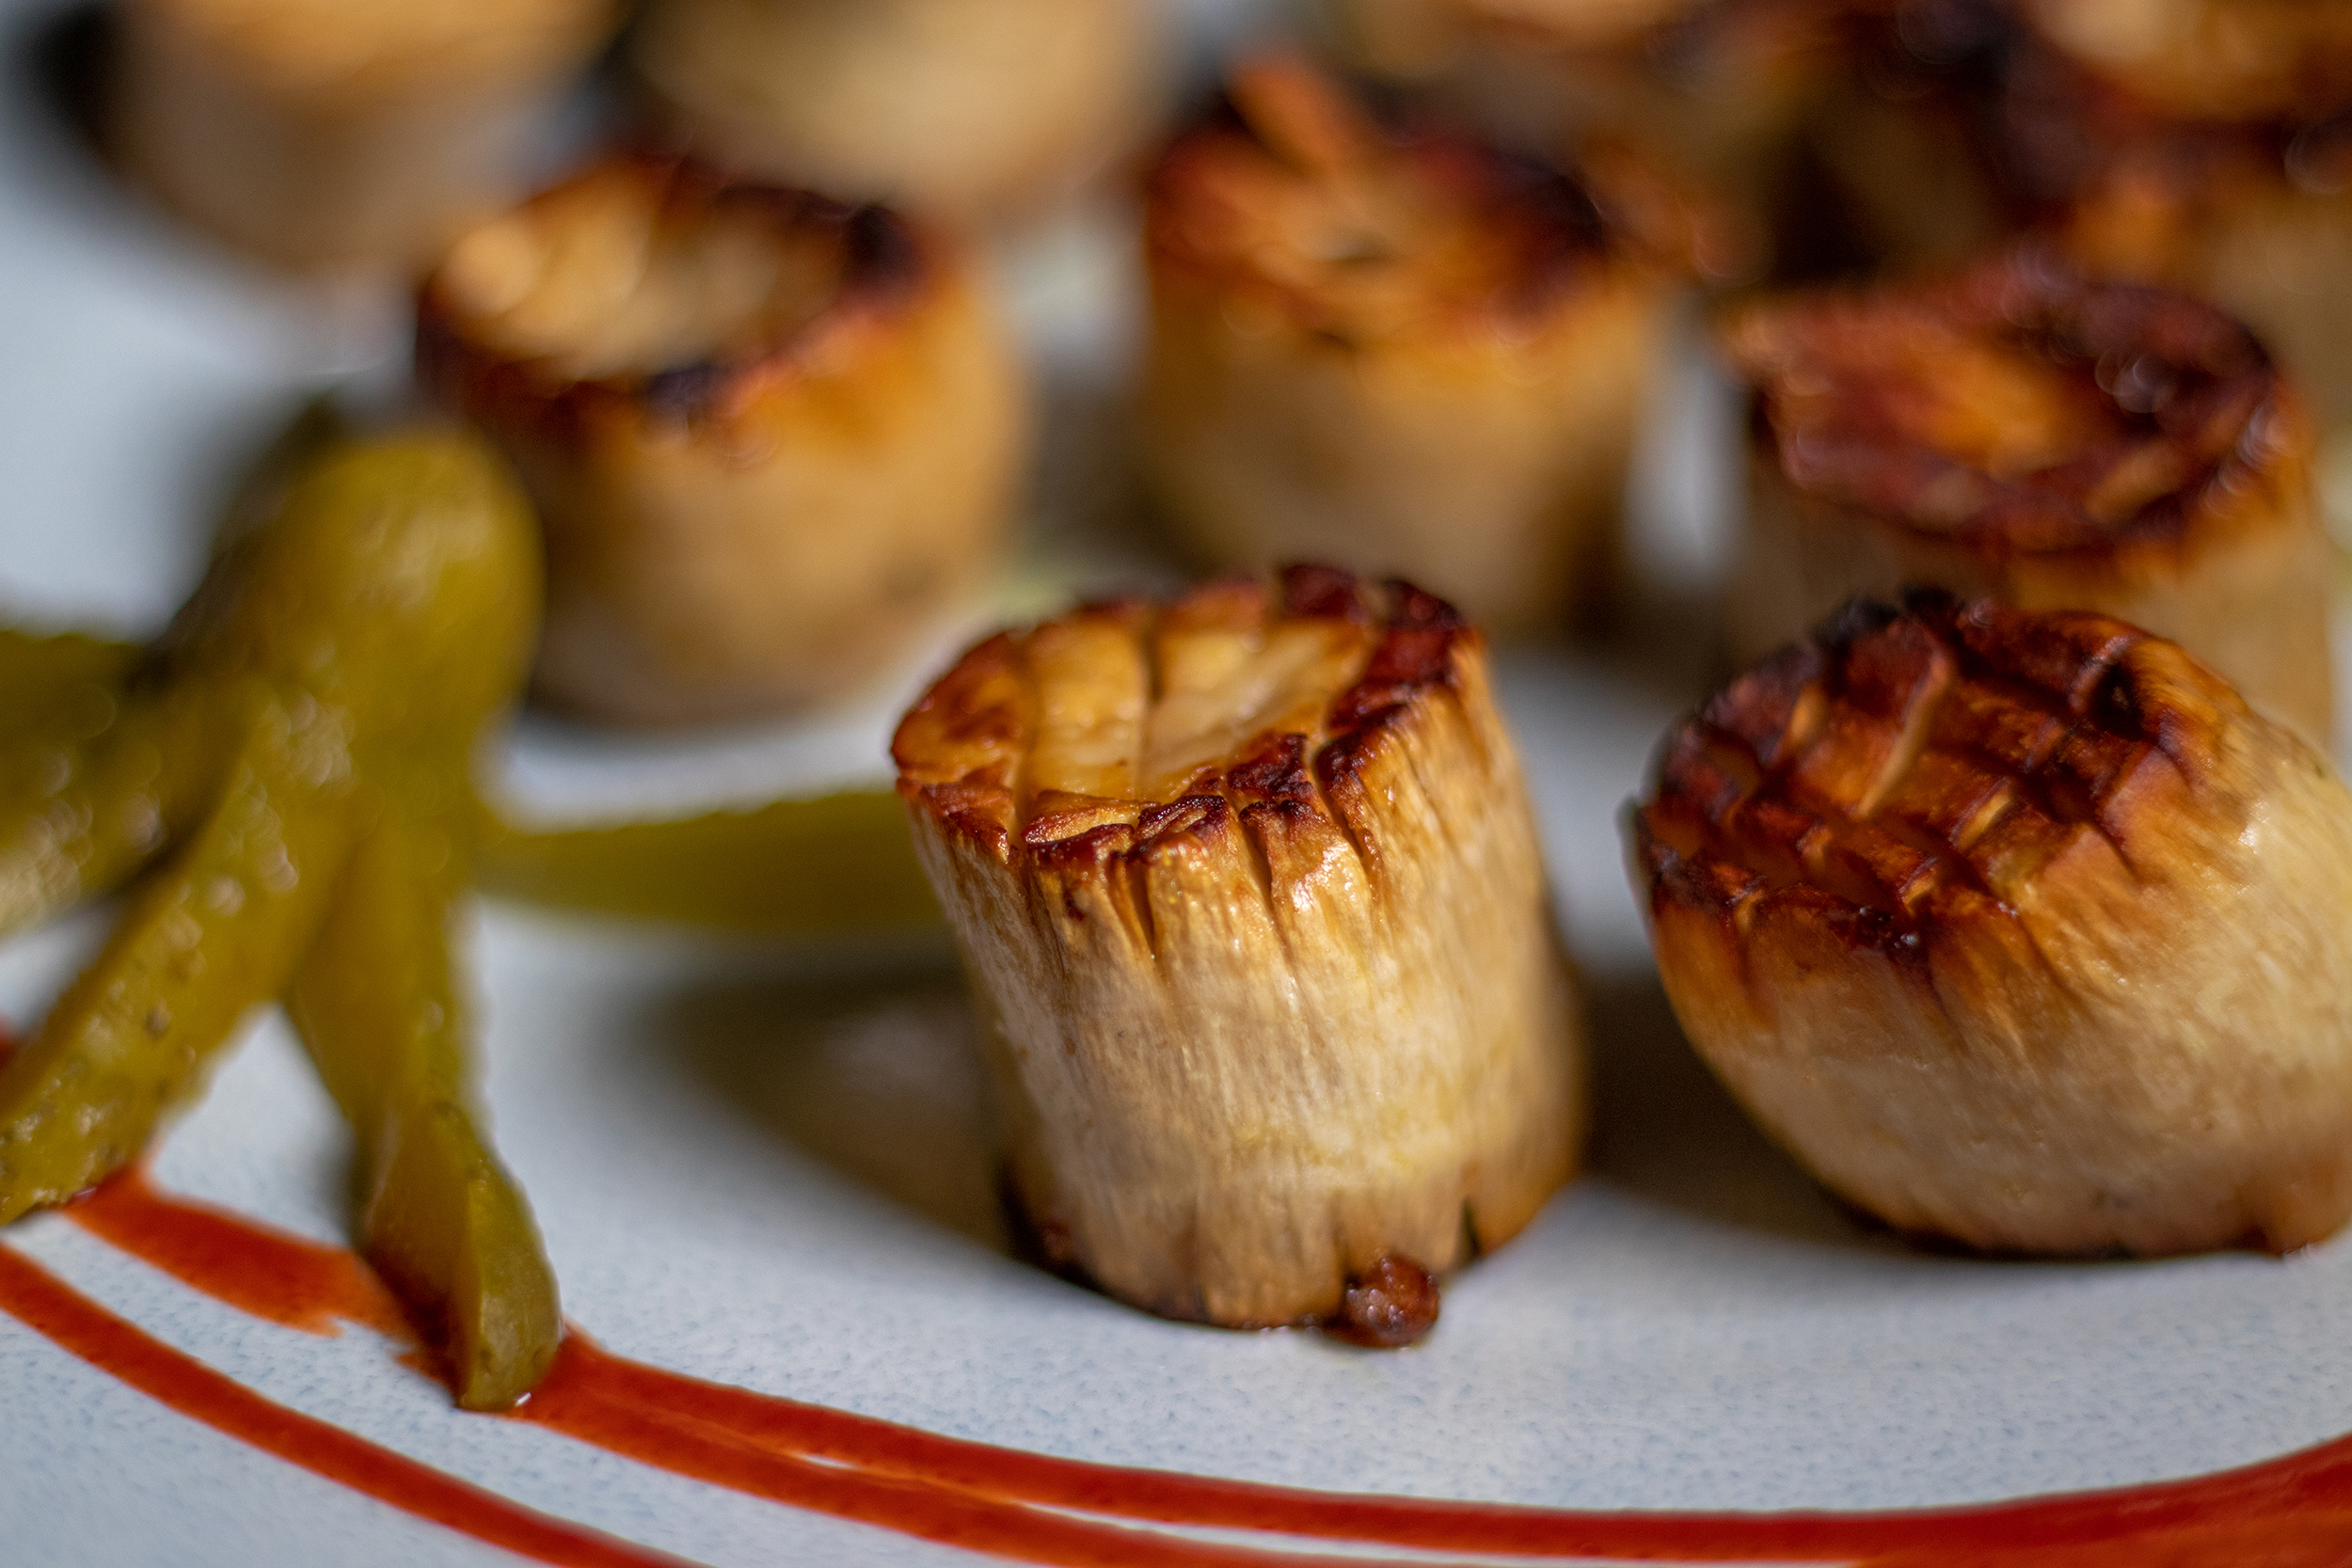
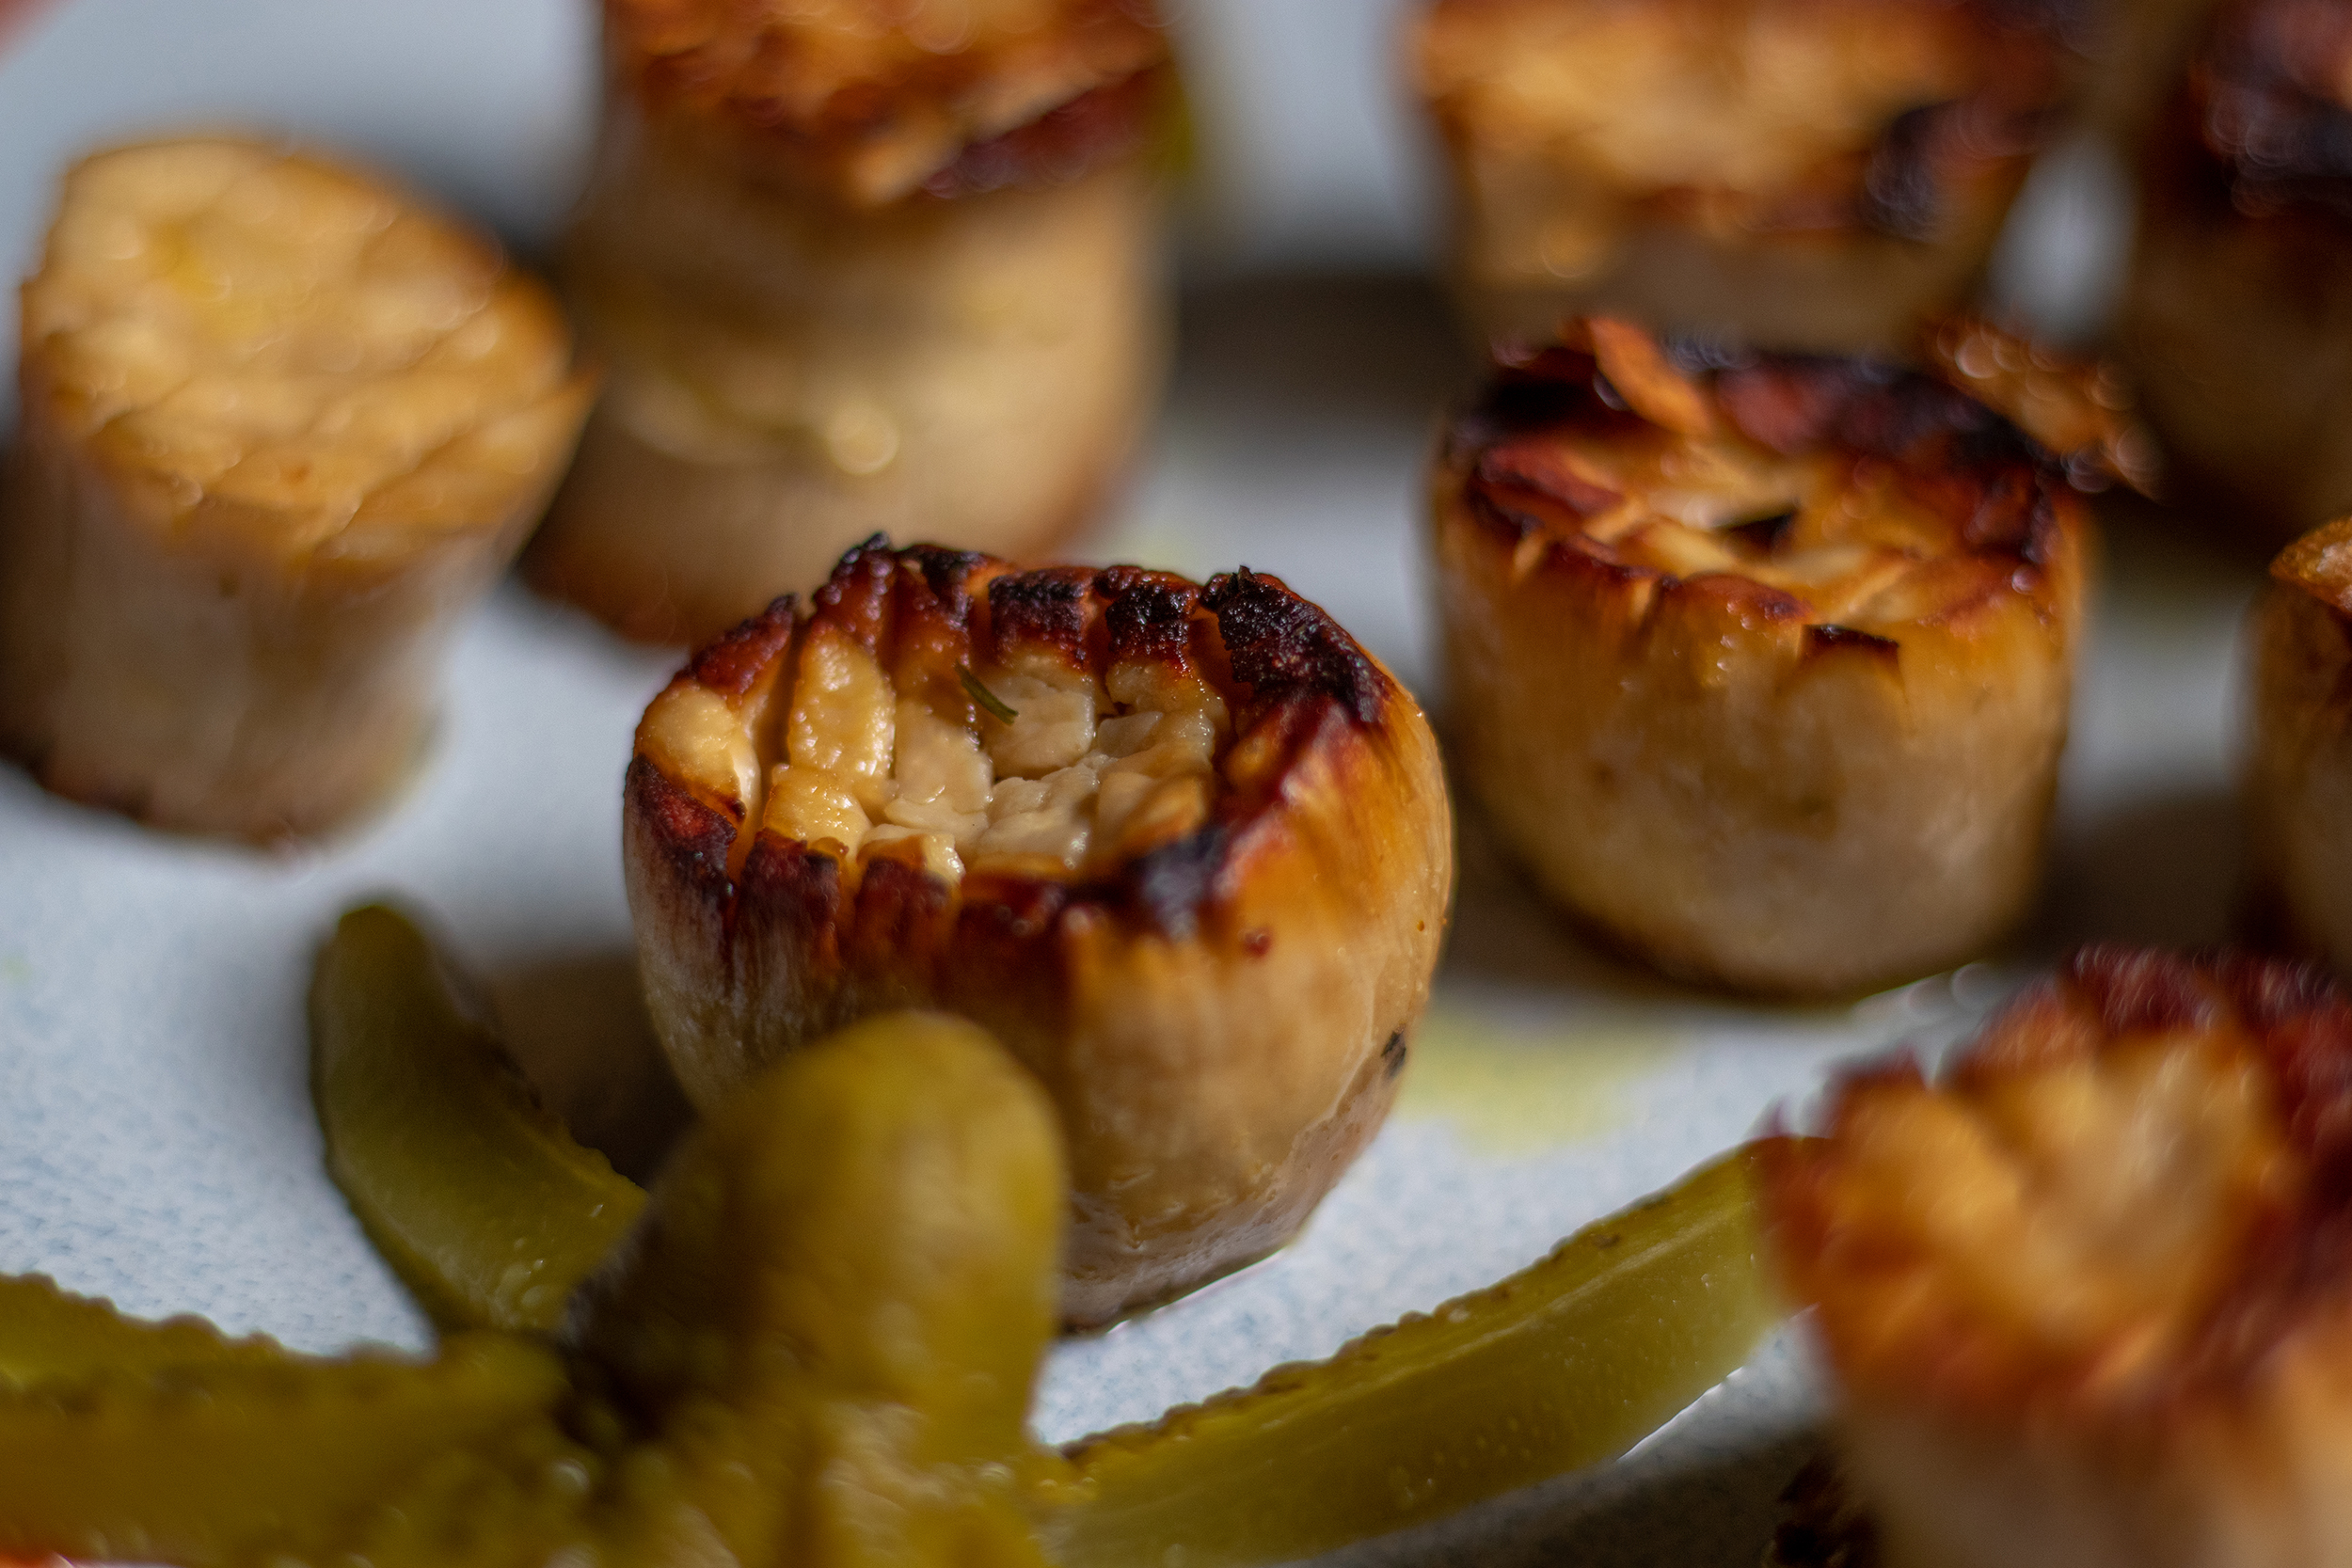
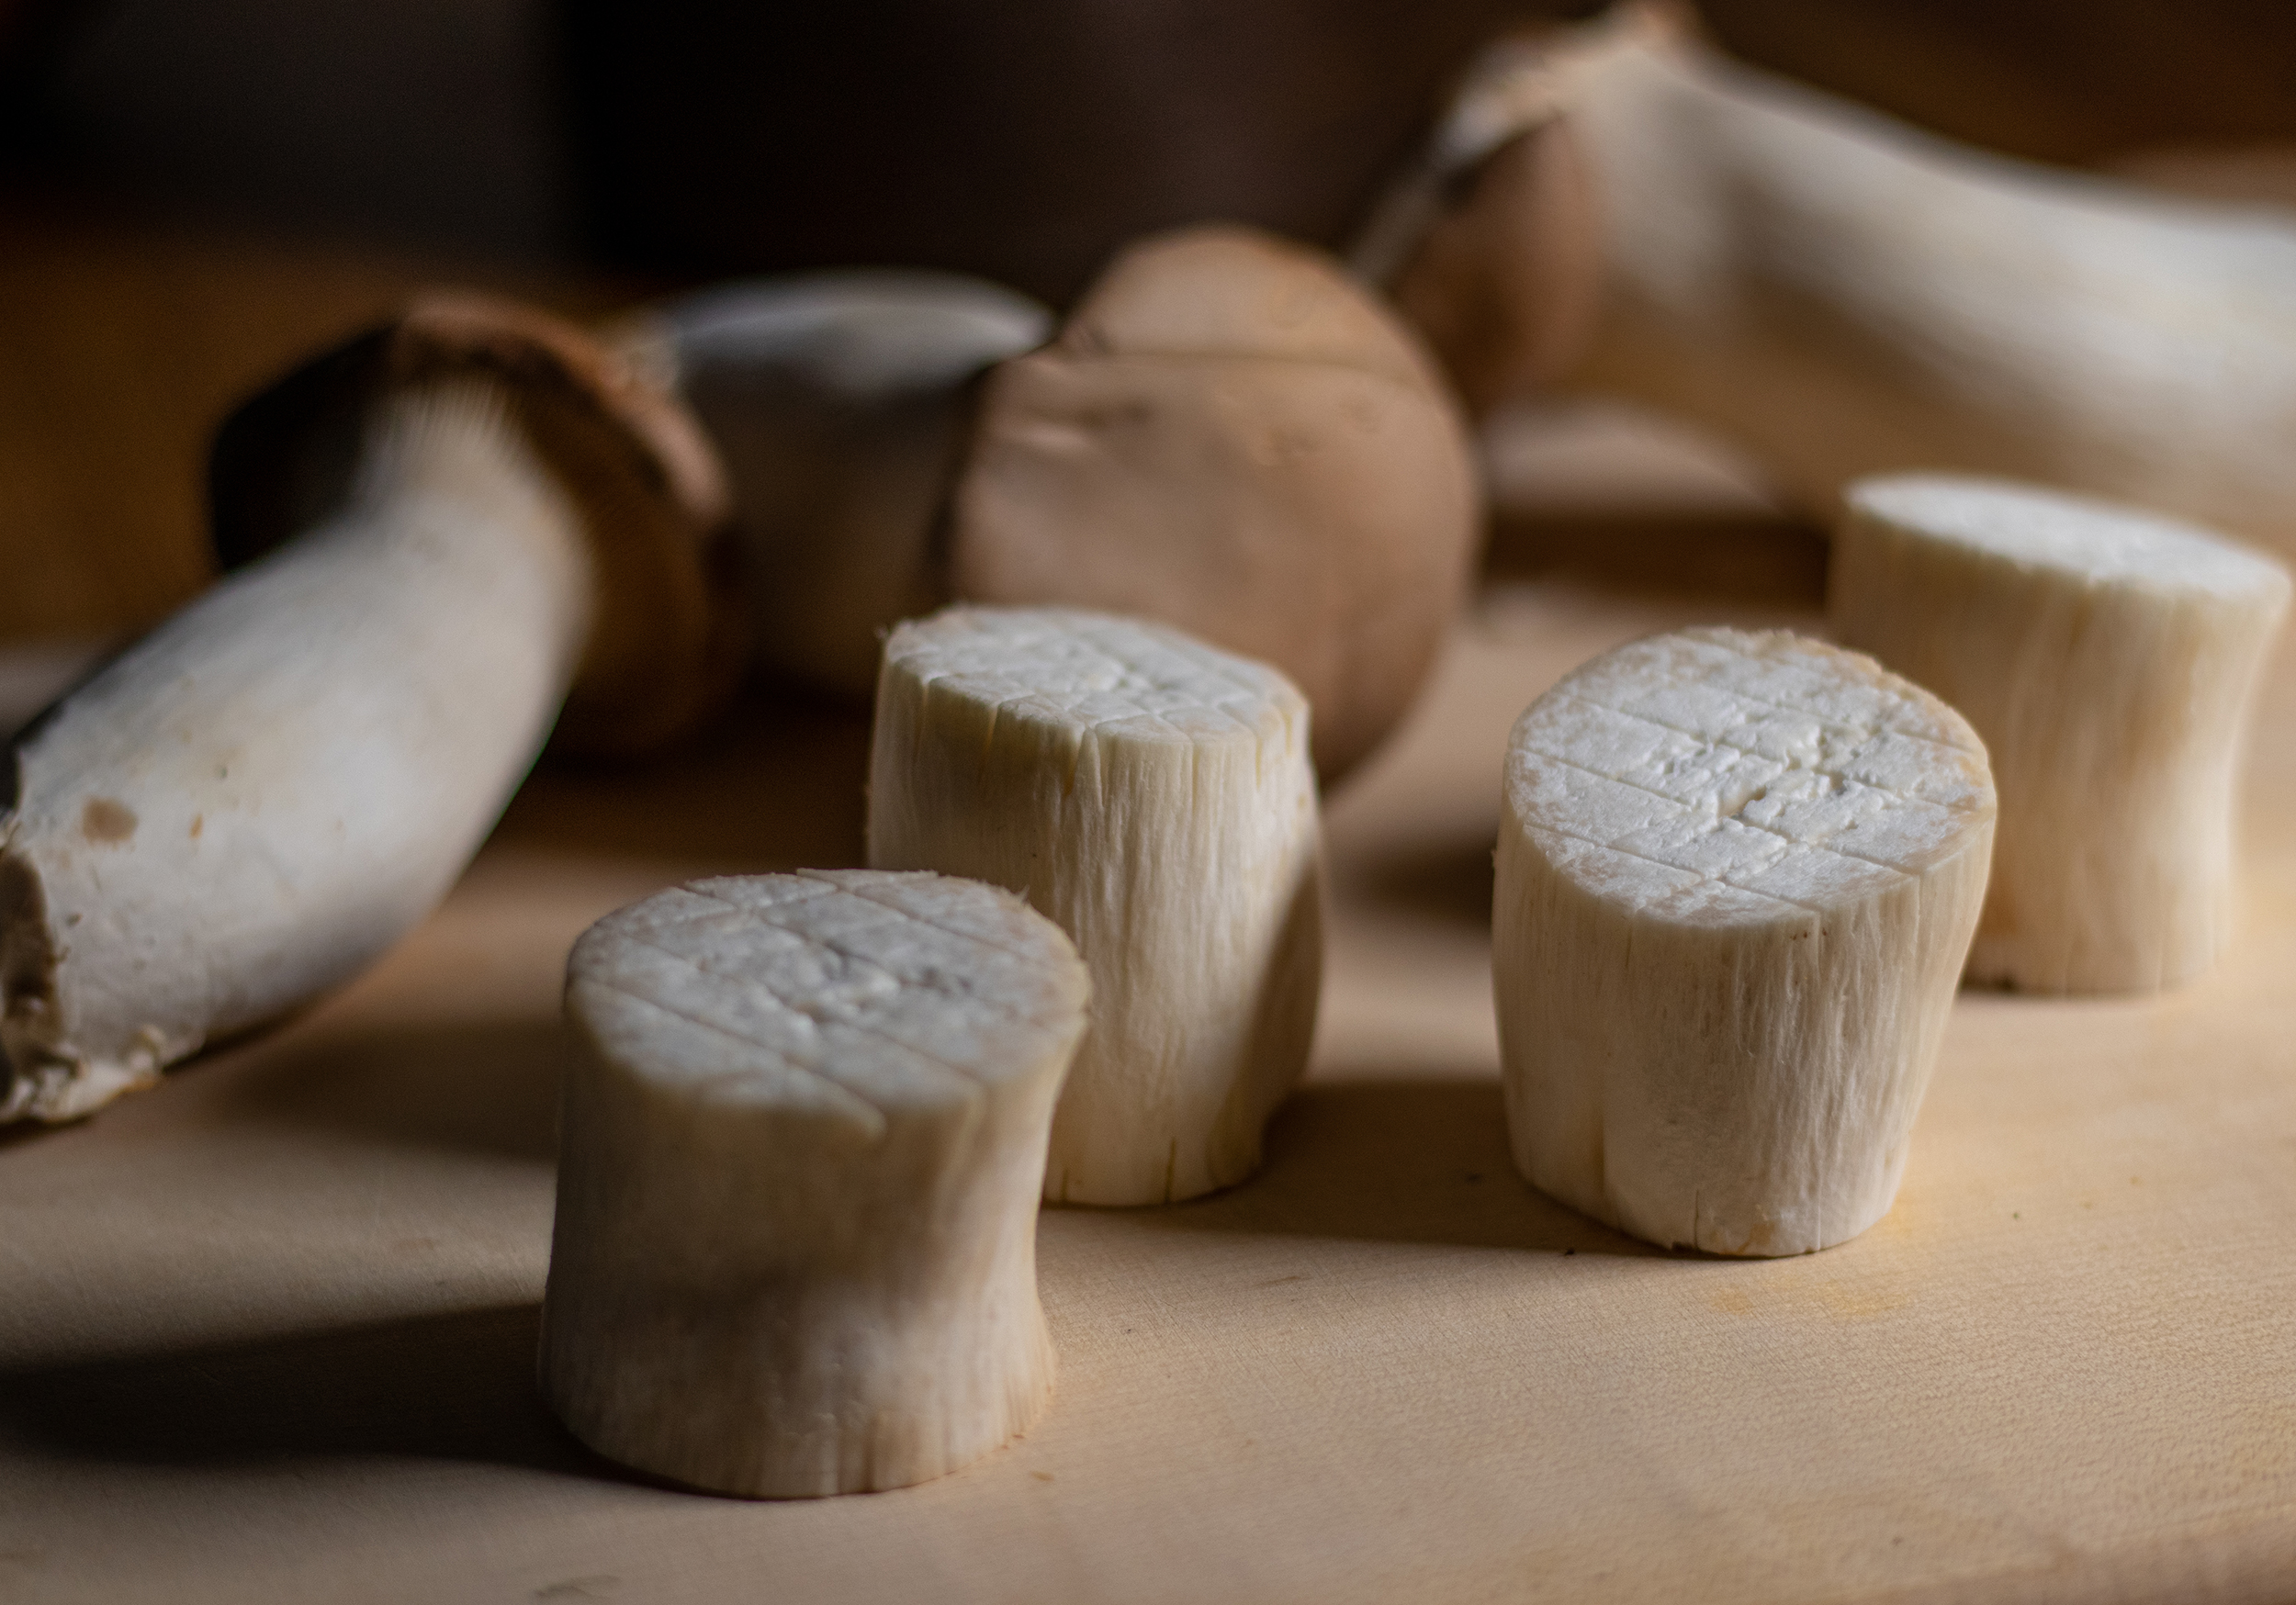
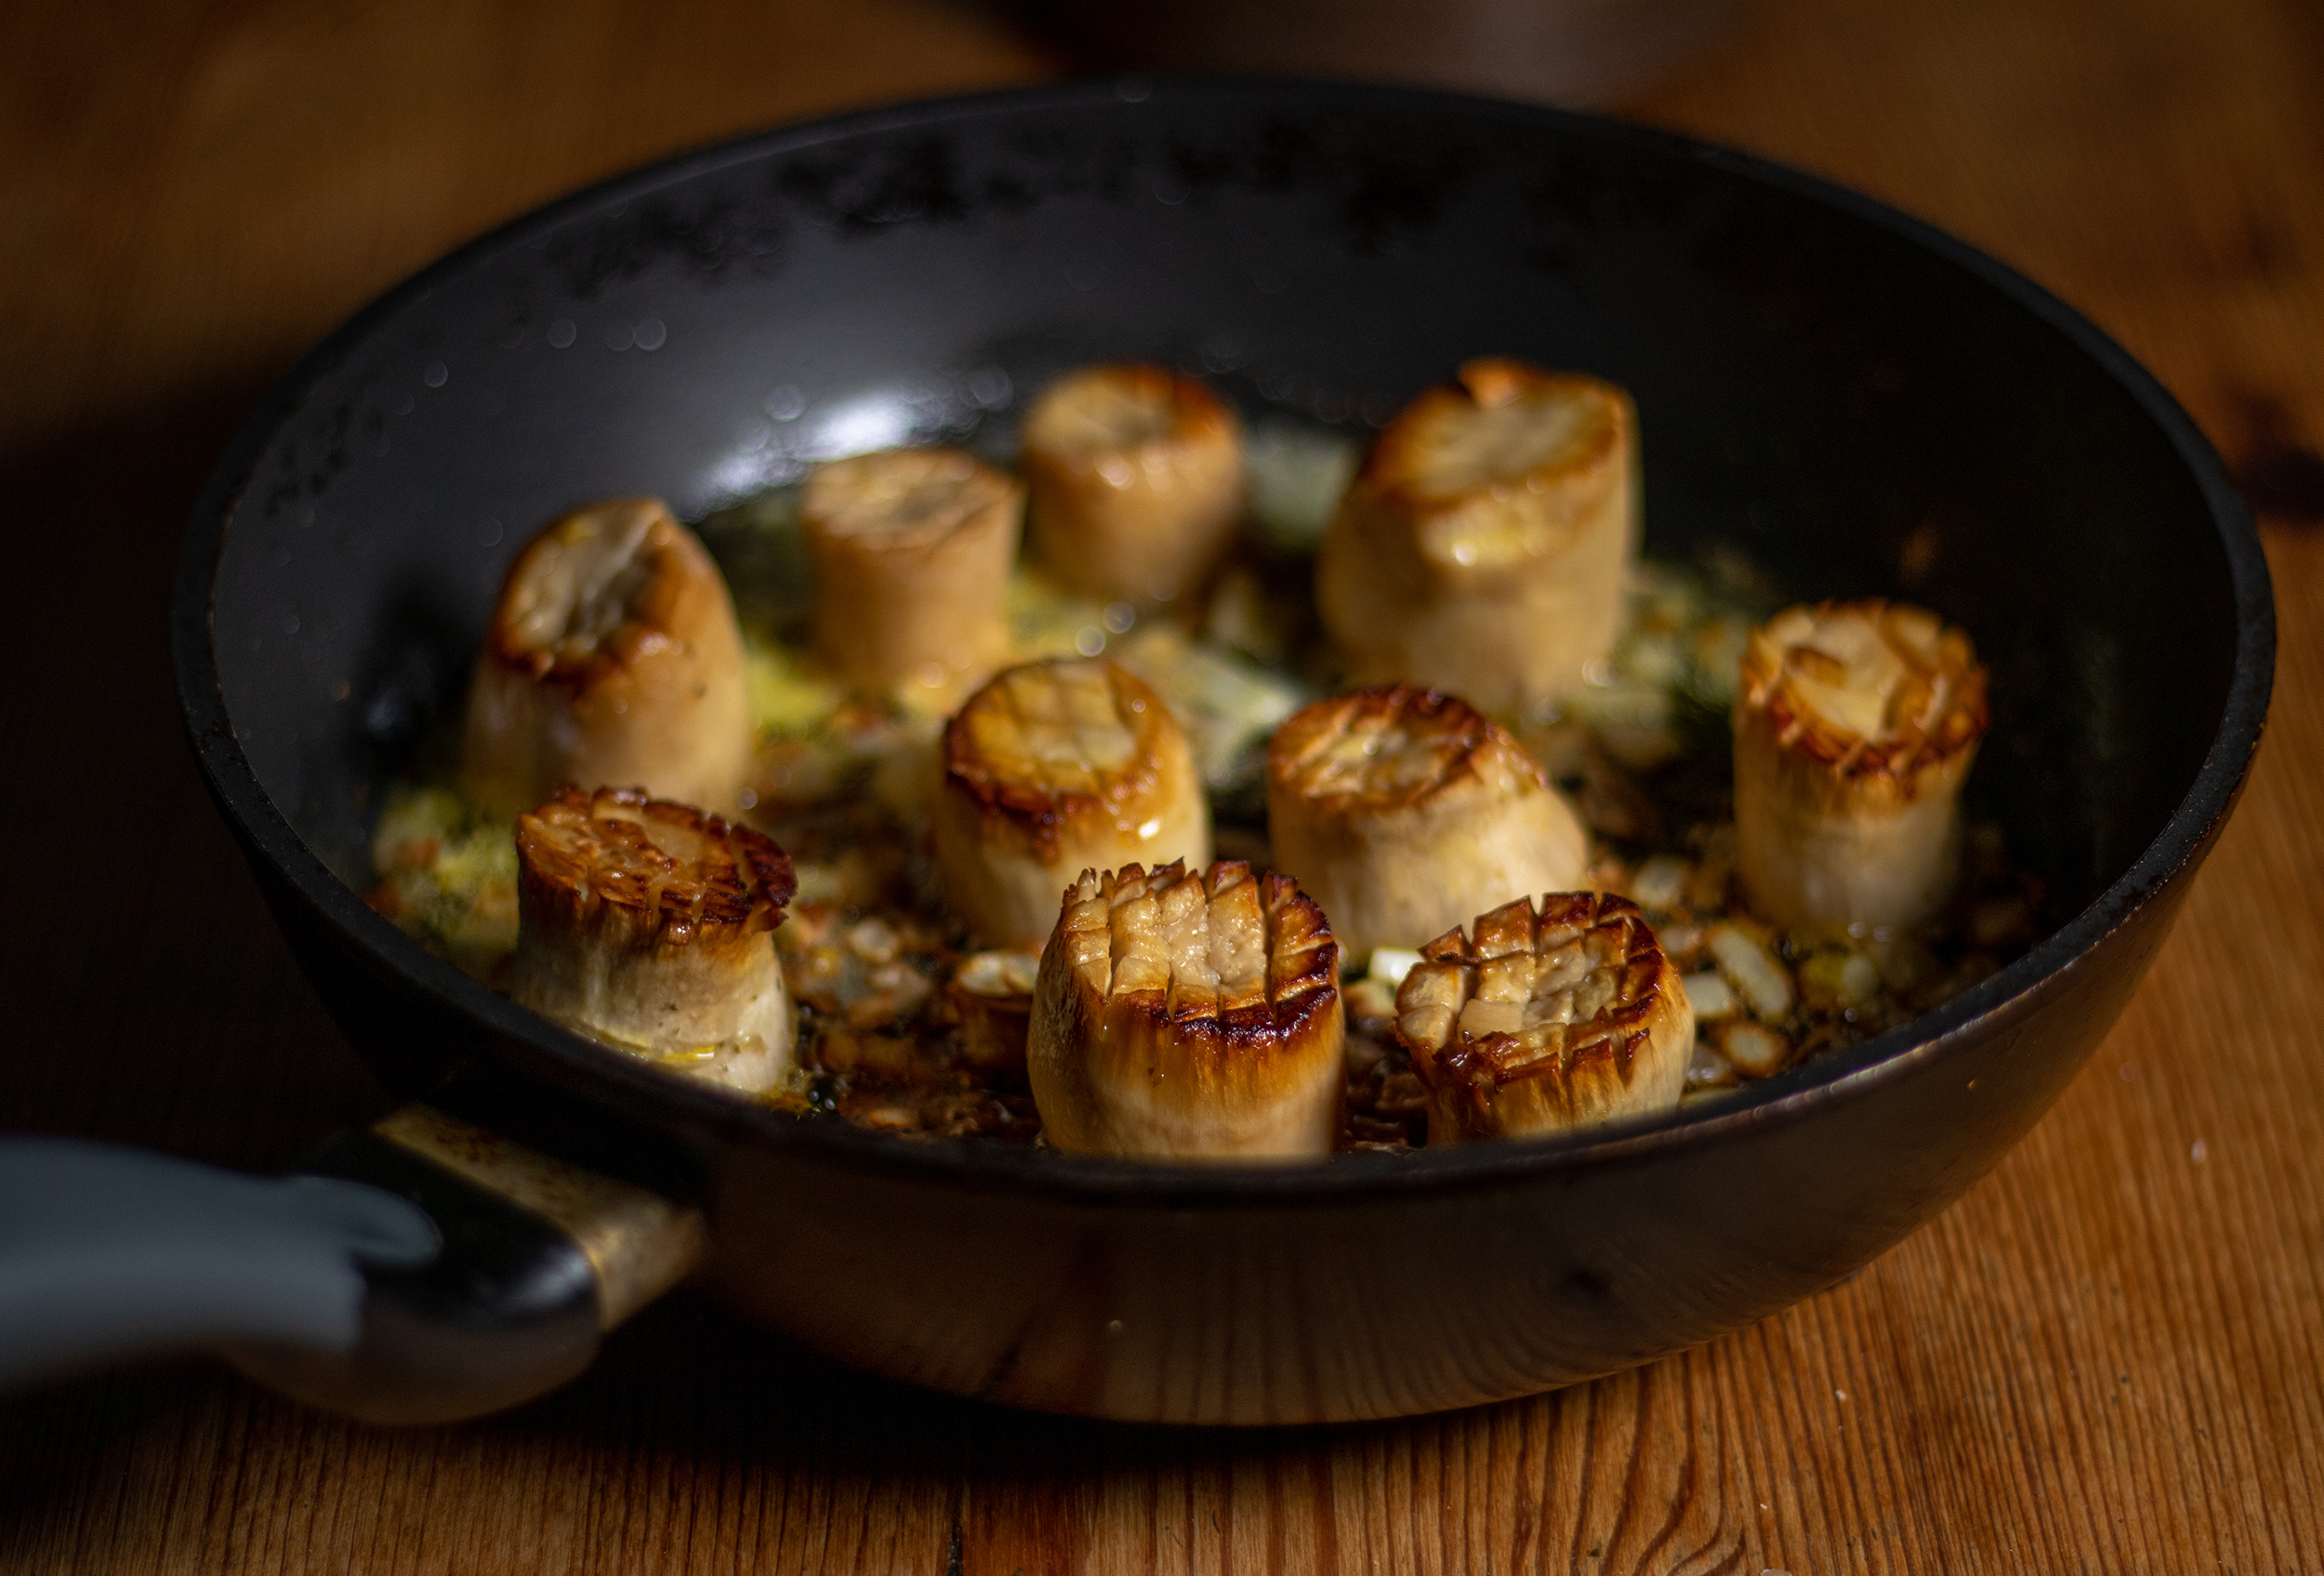
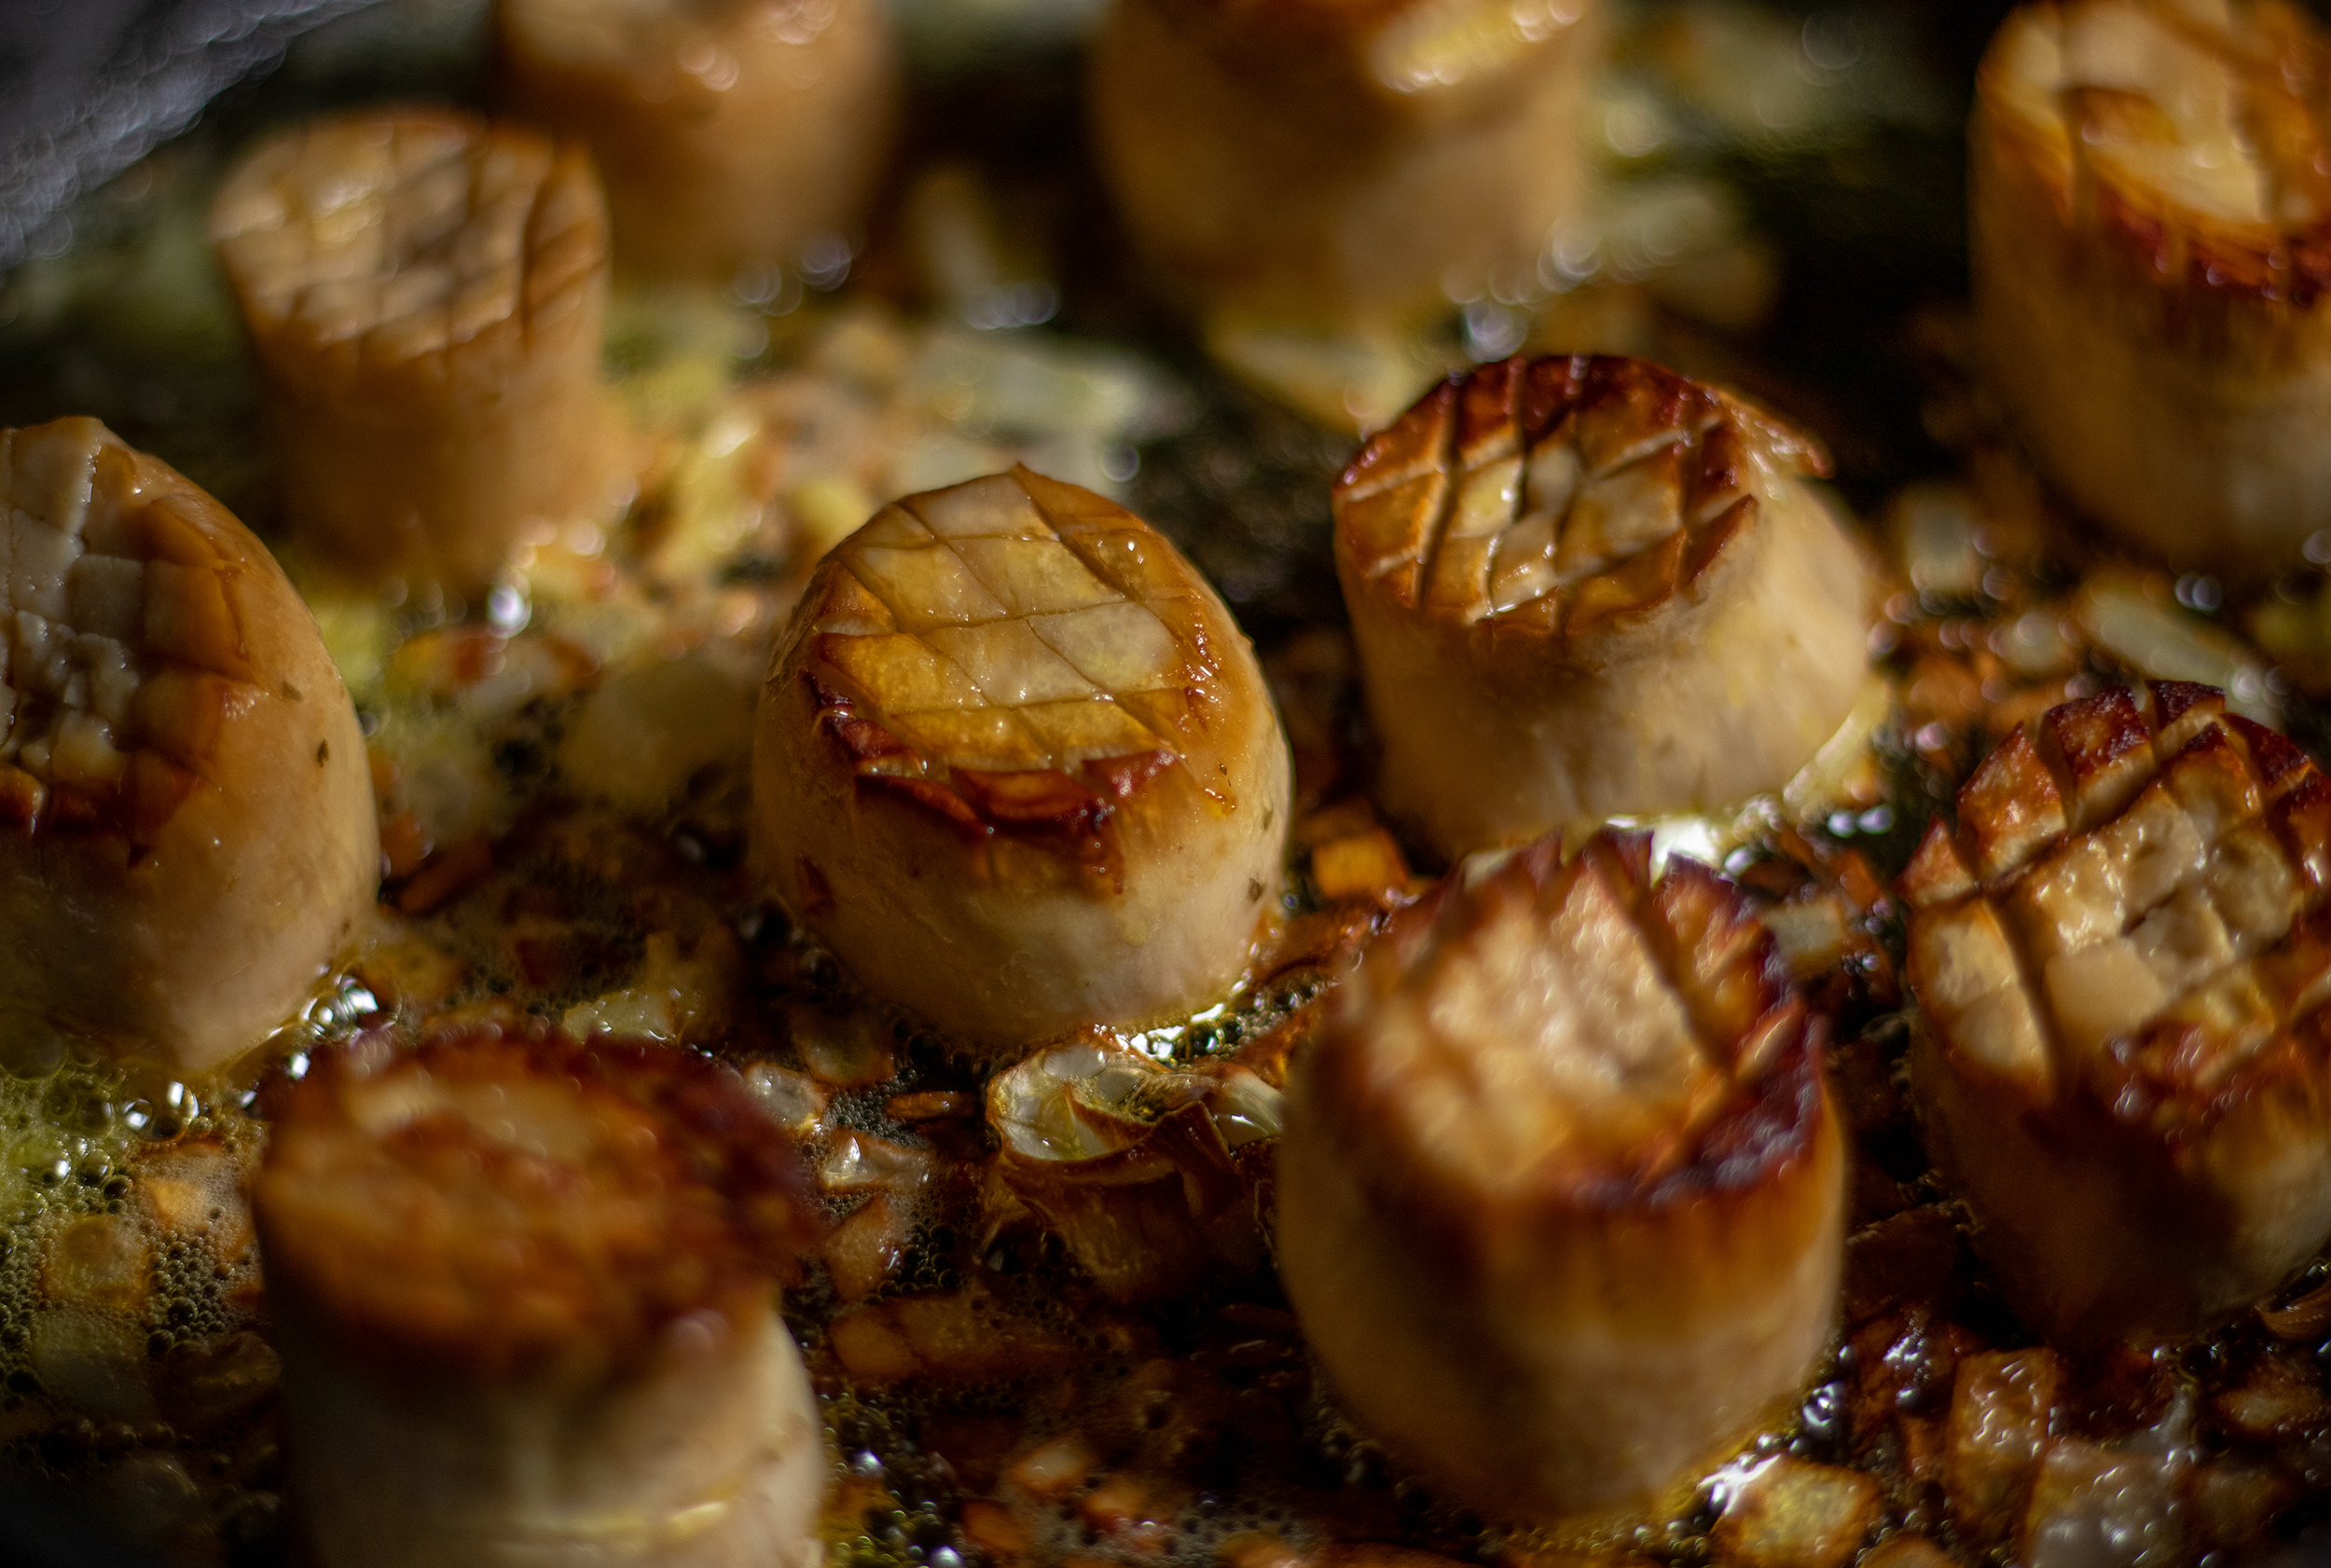
Here’s my ever-popular recipe for vegan scallops made from king oyster mushrooms. Aromatic, flavorful, with a breeze from the sea and a wonderful texture. Perfect for all sorts of dishes!
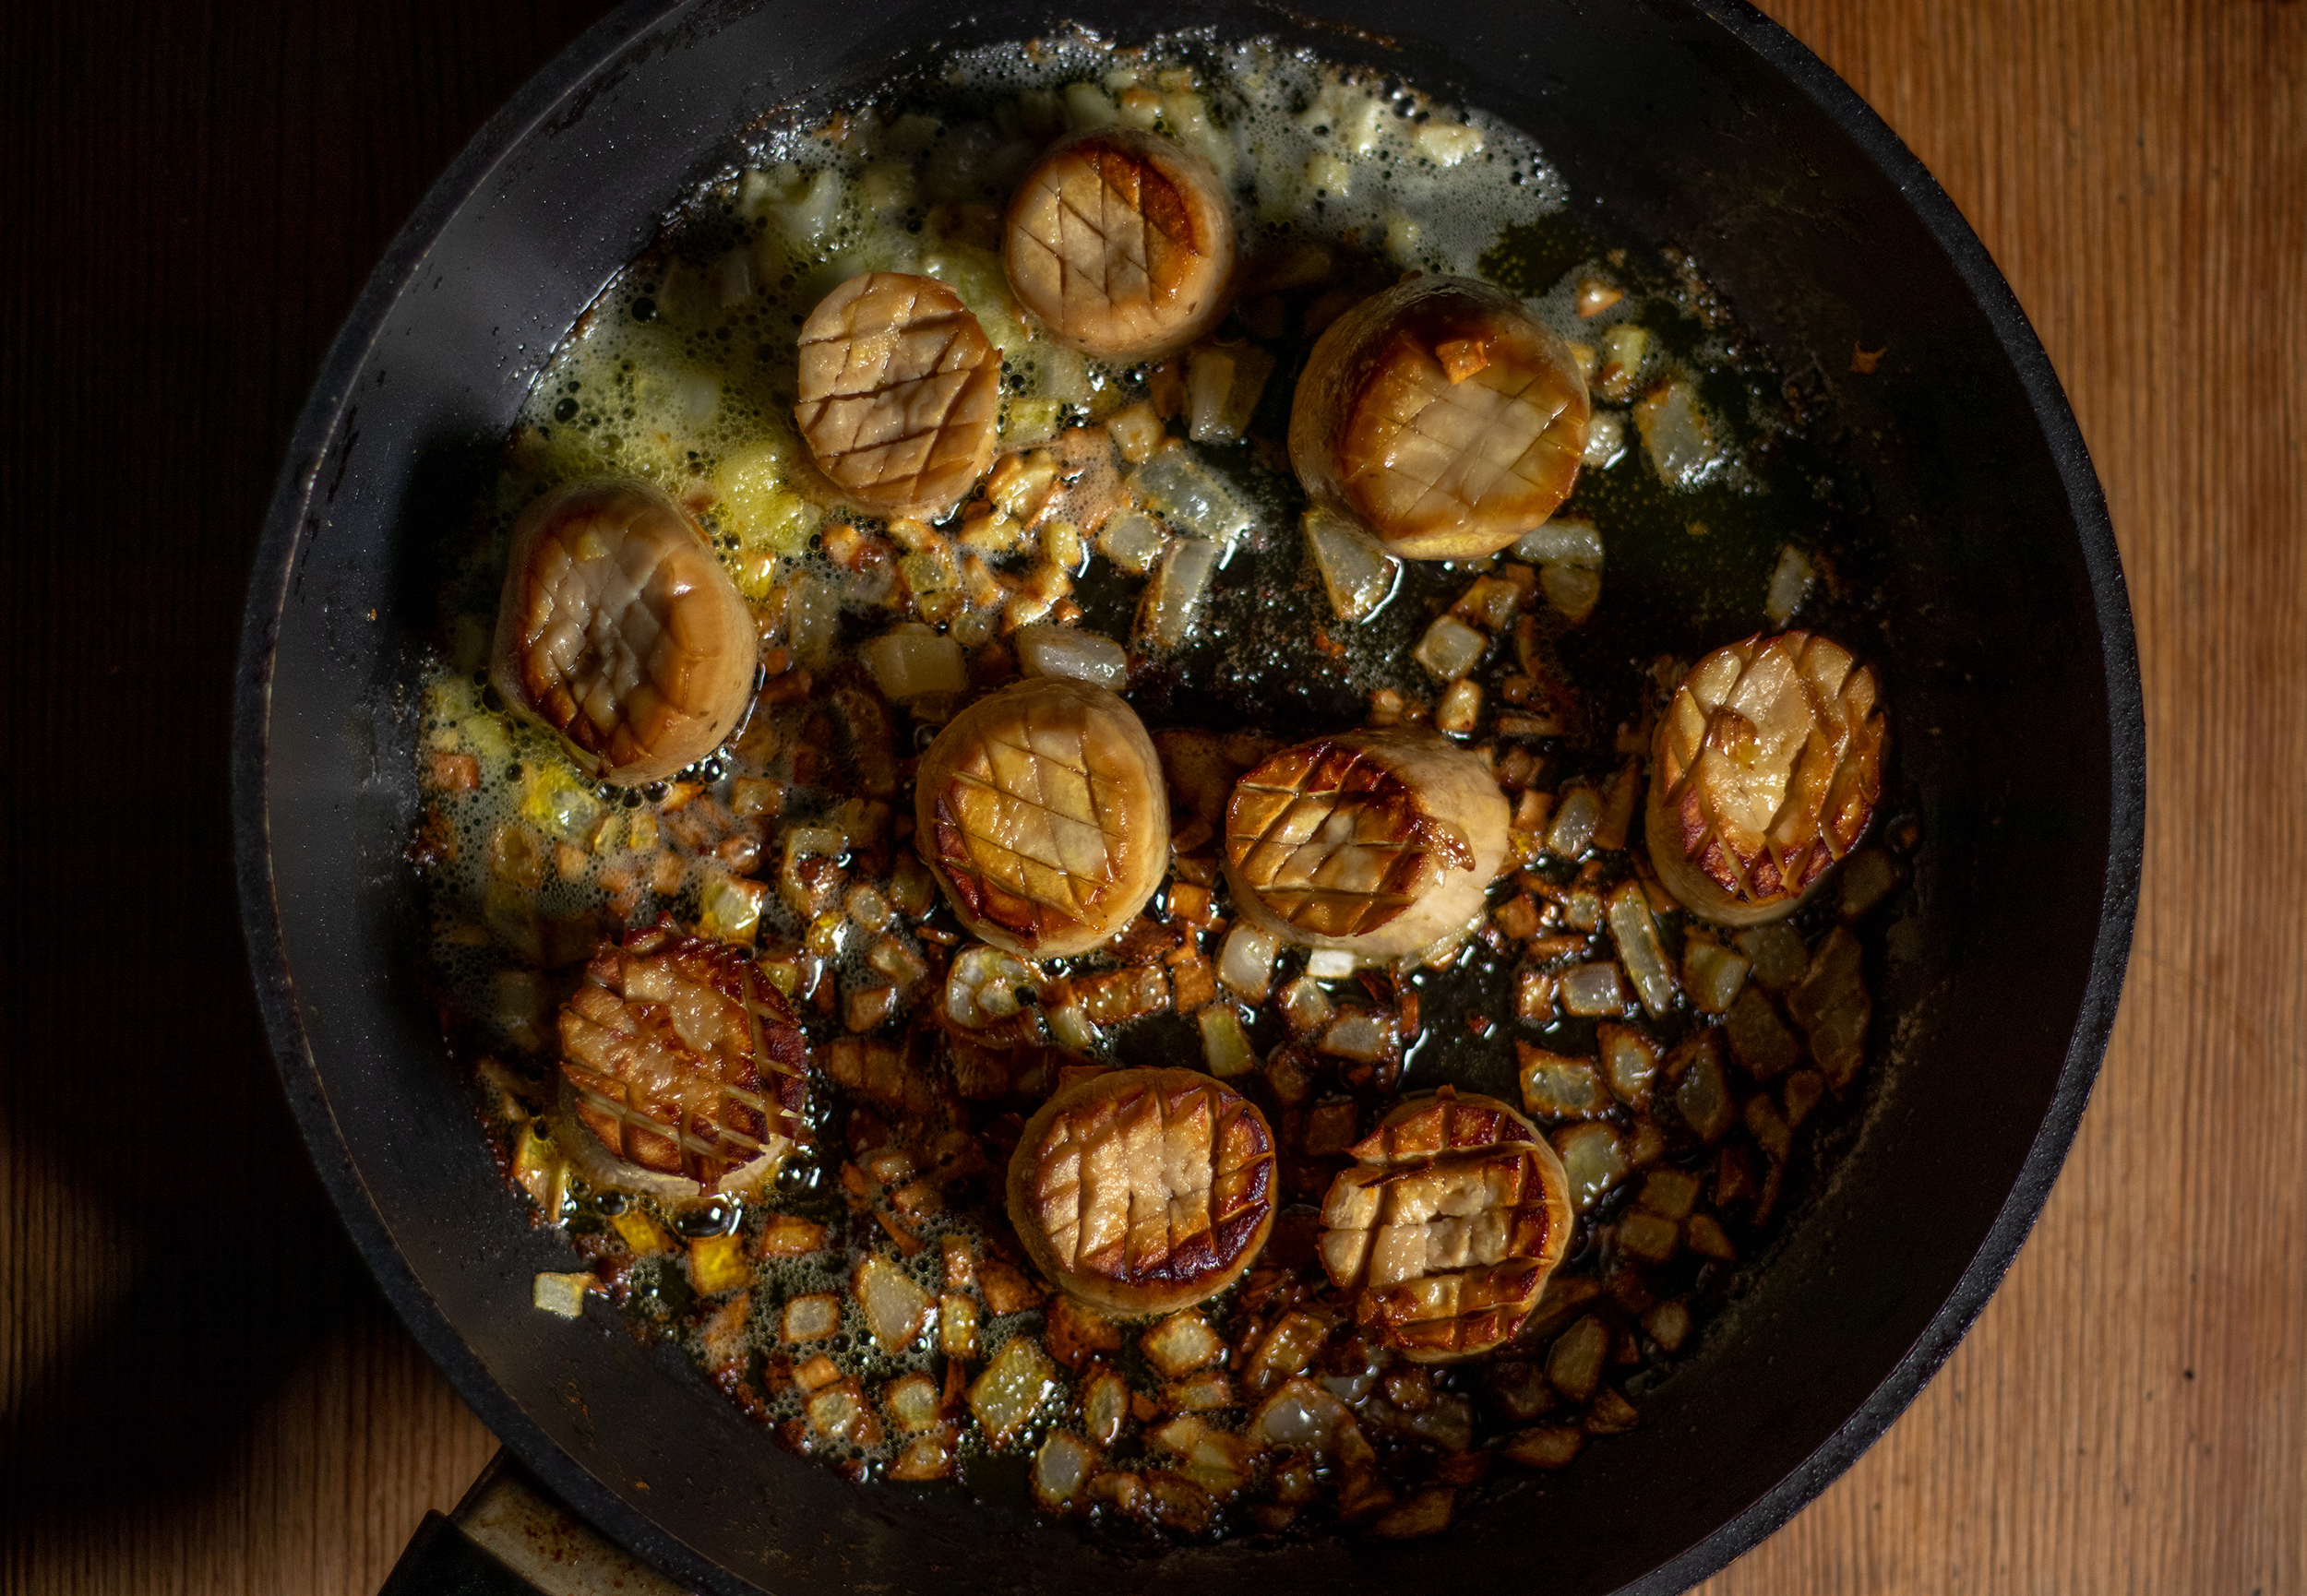
By adding seaweed and using my special cooking method, I create a result in this recipe that’s almost indistinguishable from real scallops in both taste and texture. Sautéed with onions and garlic, these vegan scallops are wonderfully hearty and not just a visual highlight on the plate.
Vegan scallops – juicy and aromatic, made from king oyster mushrooms
I use my vegan scallops in various recipes
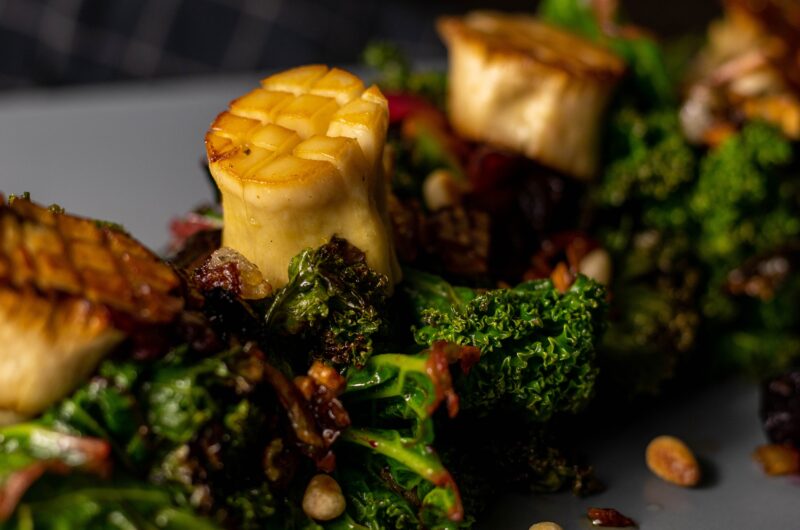
I love combining my vegan scallops with other recipes. For example as a topping for kale salad, I love wrapping scallops in vegan bacon, or as a soup garnish for my sopa de ajo. However, since I’m frequently asked for the recipe for the vegan scallops, I’m publishing it in this recipe.
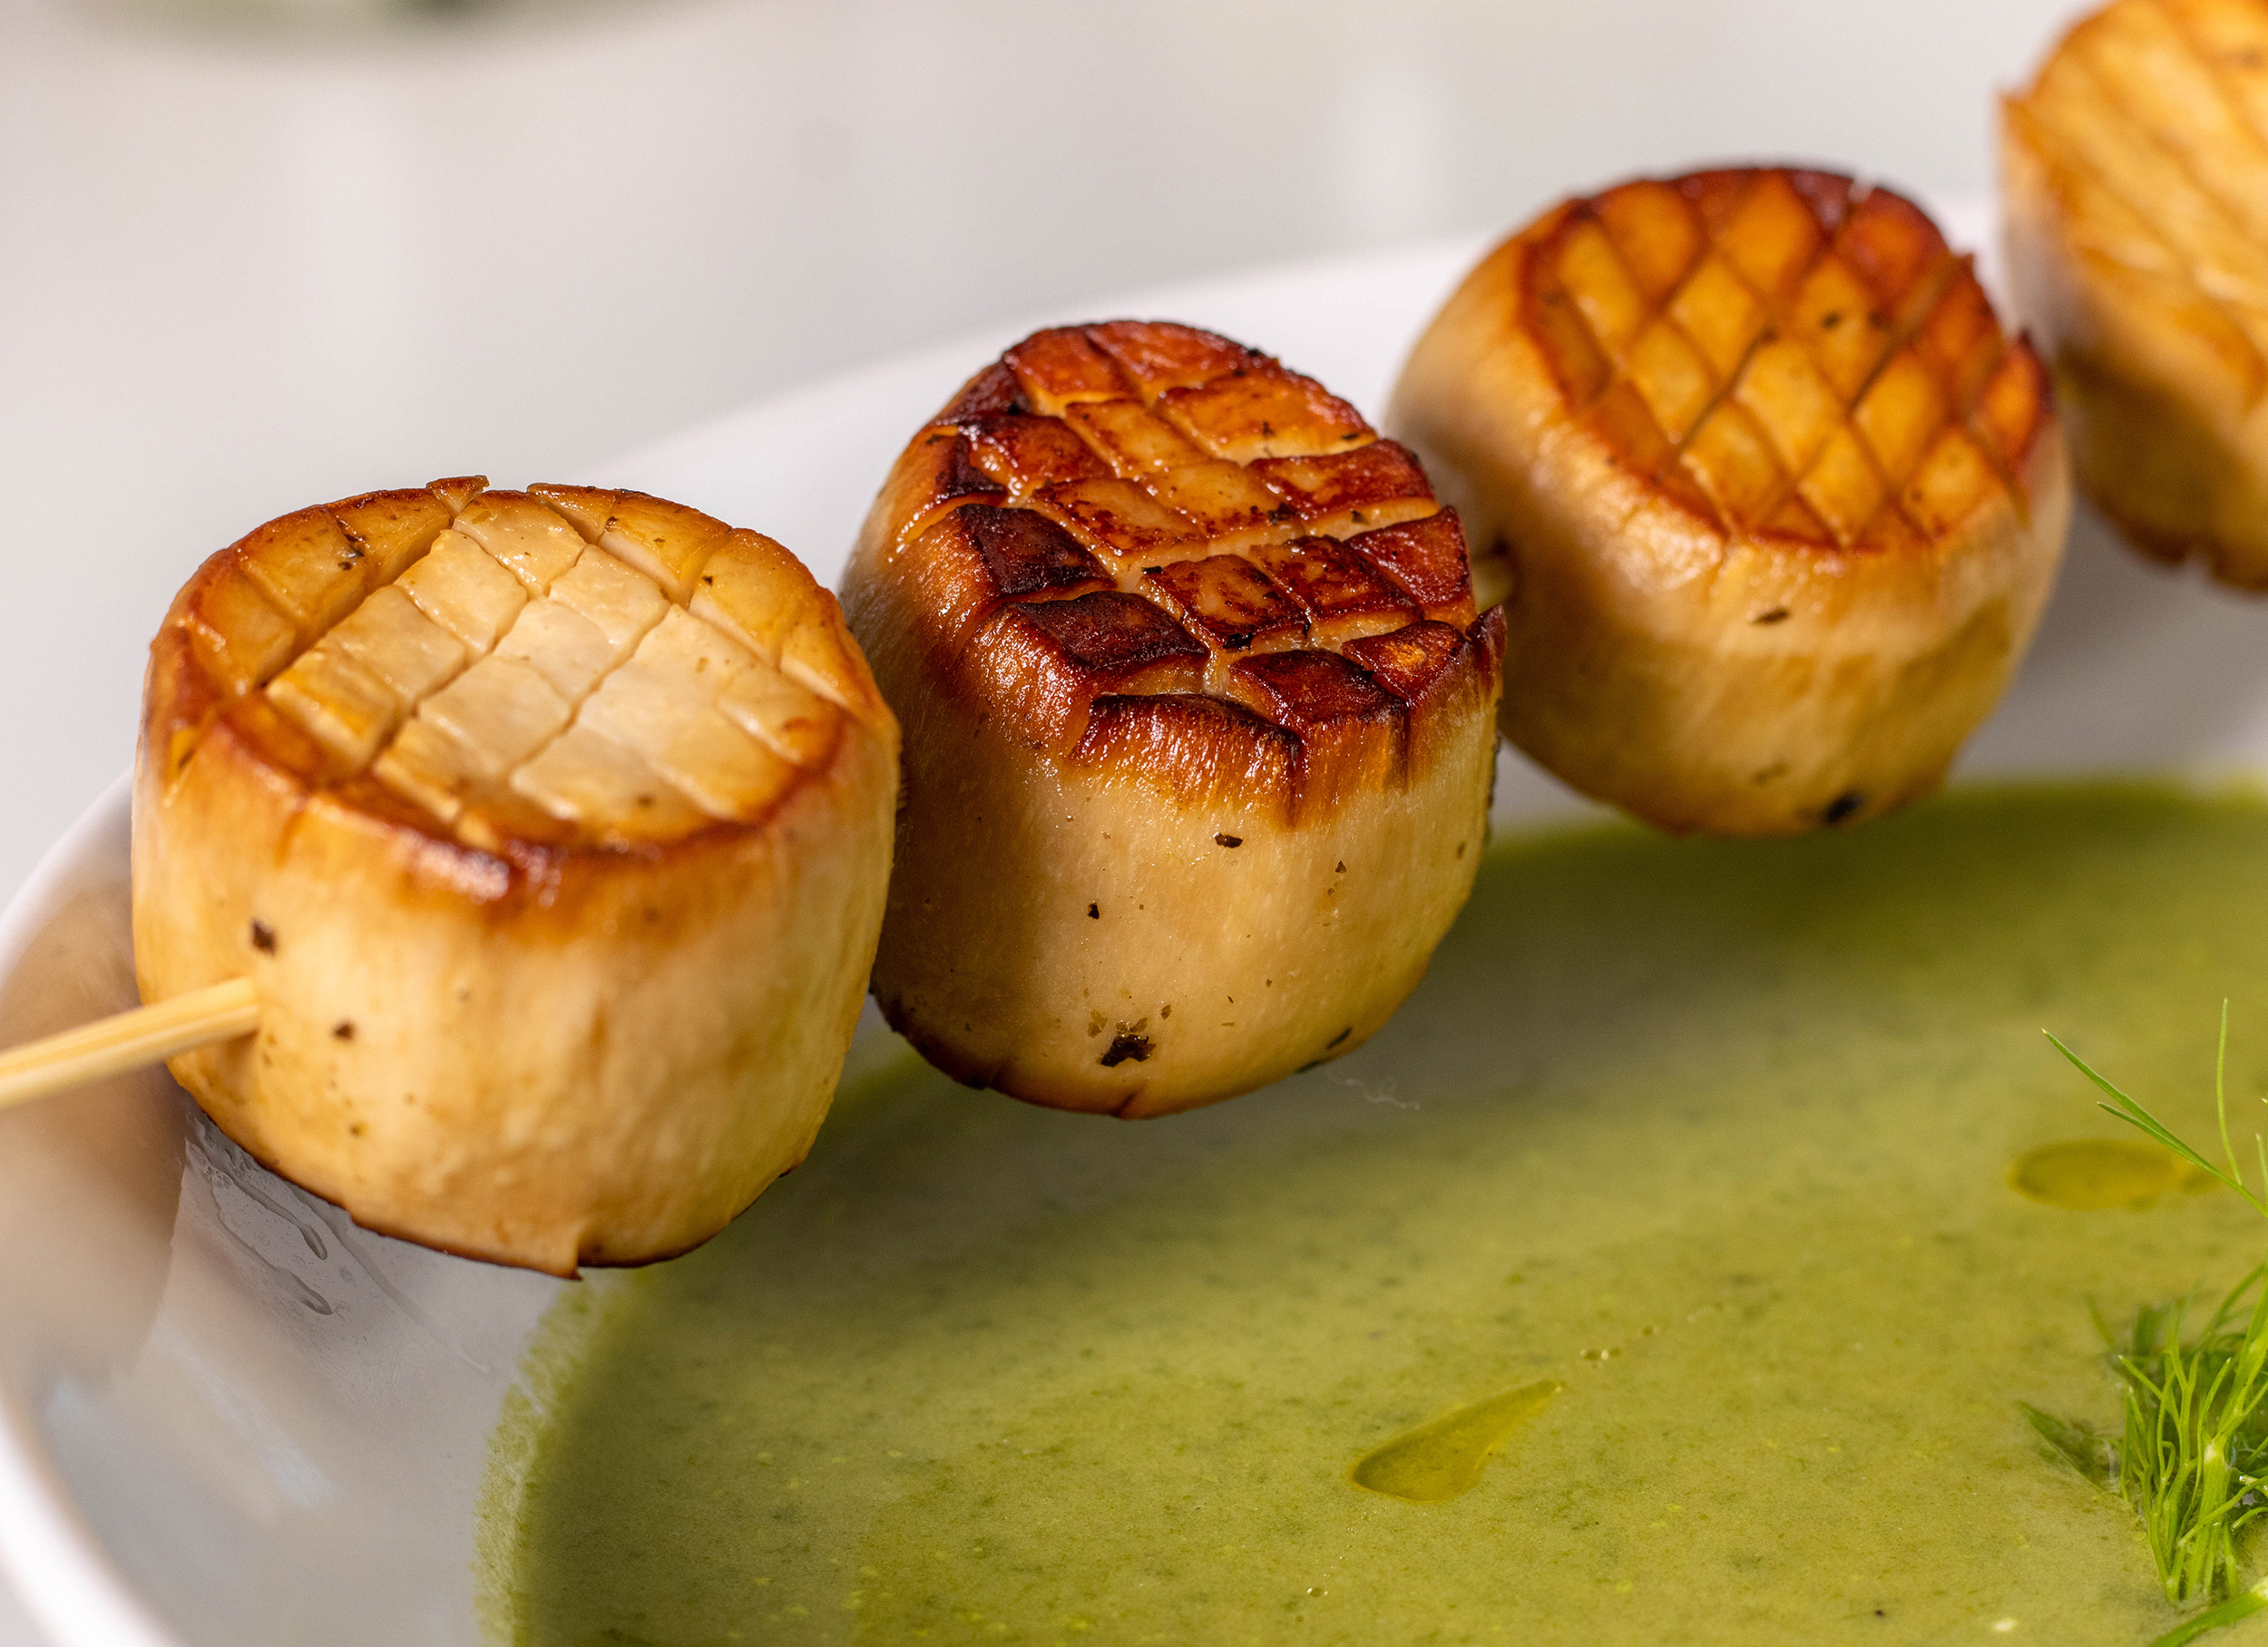
Vegan seafood flavour from mushrooms. Scallops as a soup garnish for wild garlic and fennel soup.
Plant-based scallops are a wonderful addition to seasonal cuisine.
King oyster mushrooms are related to oyster mushrooms. Oyster mushrooms are among the native winter mushrooms. From November to March, they can be found in nature on dead wood and old trees.
King oyster mushrooms as we know them, however, are a cultivated variety and can be grown year-round. This makes them available all year and they are a perfect complement to seasonal winter cuisine, which often lacks many fresh ingredients.
There are also wild king oyster mushrooms, that are quite common in Southern and Eastern Europe. Wild king oyster mushrooms grow on dead wood like oyster mushrooms and have a much thinner stem than the cultivated variety. The cap is also much broader.
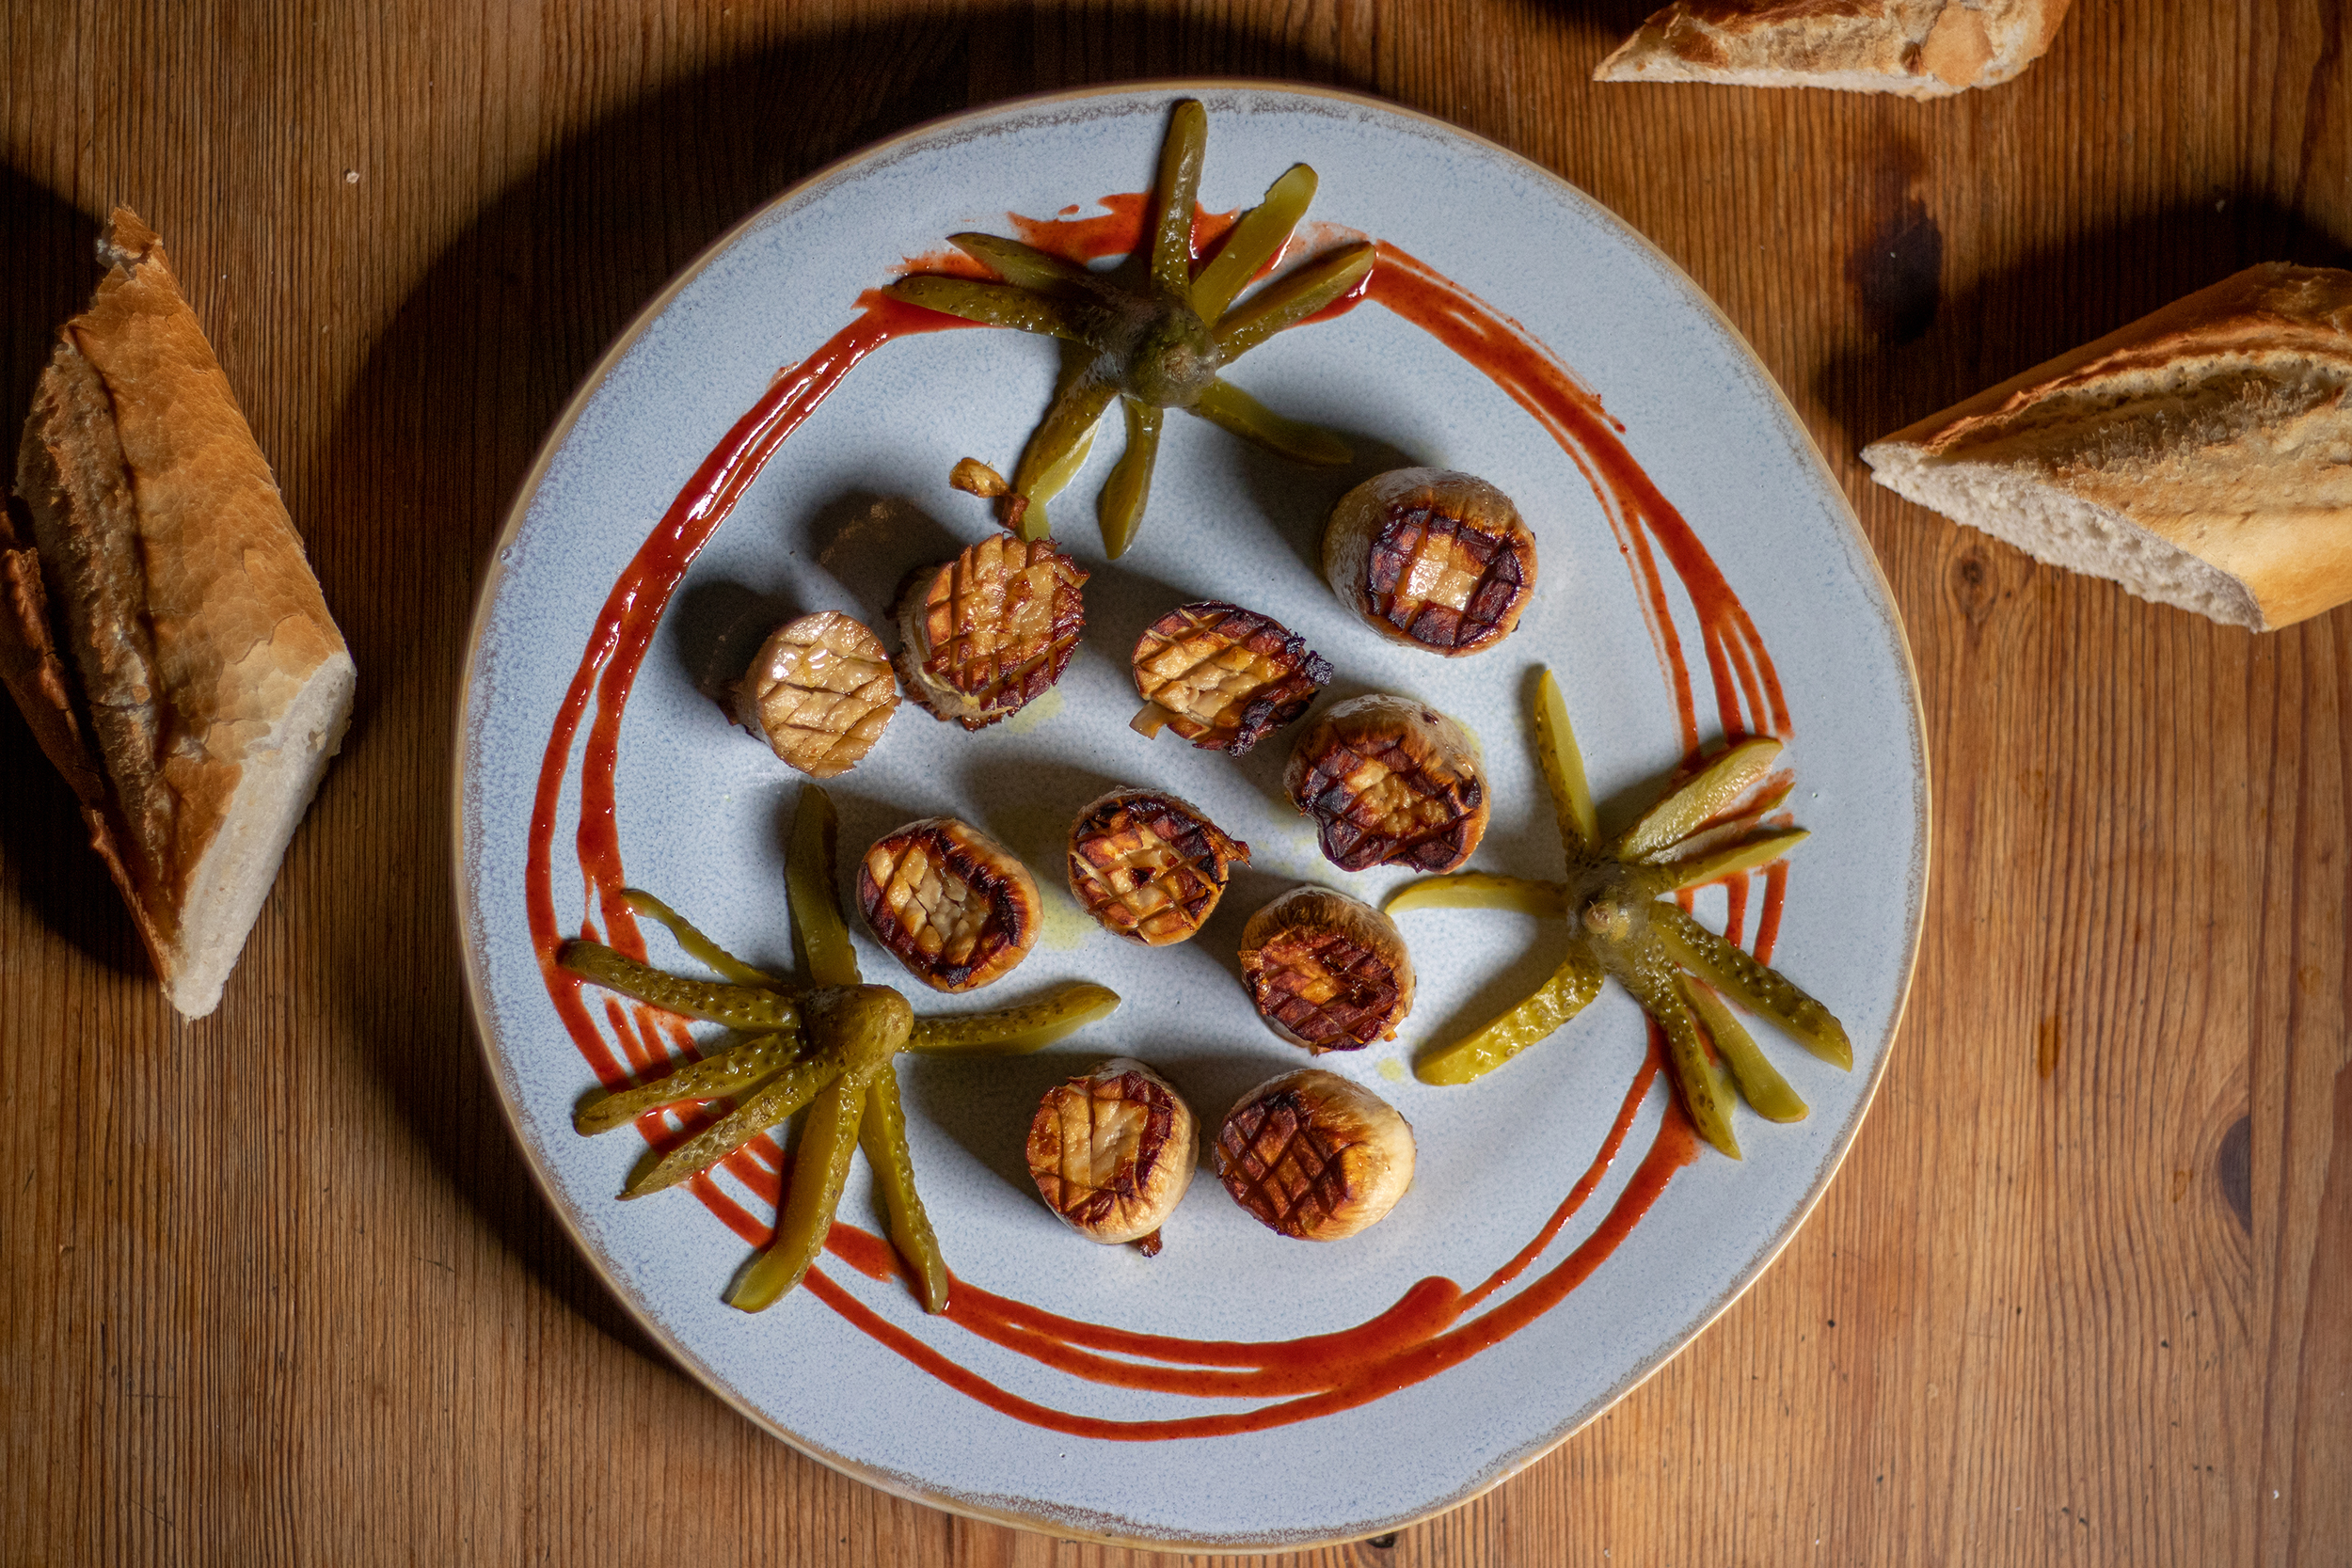
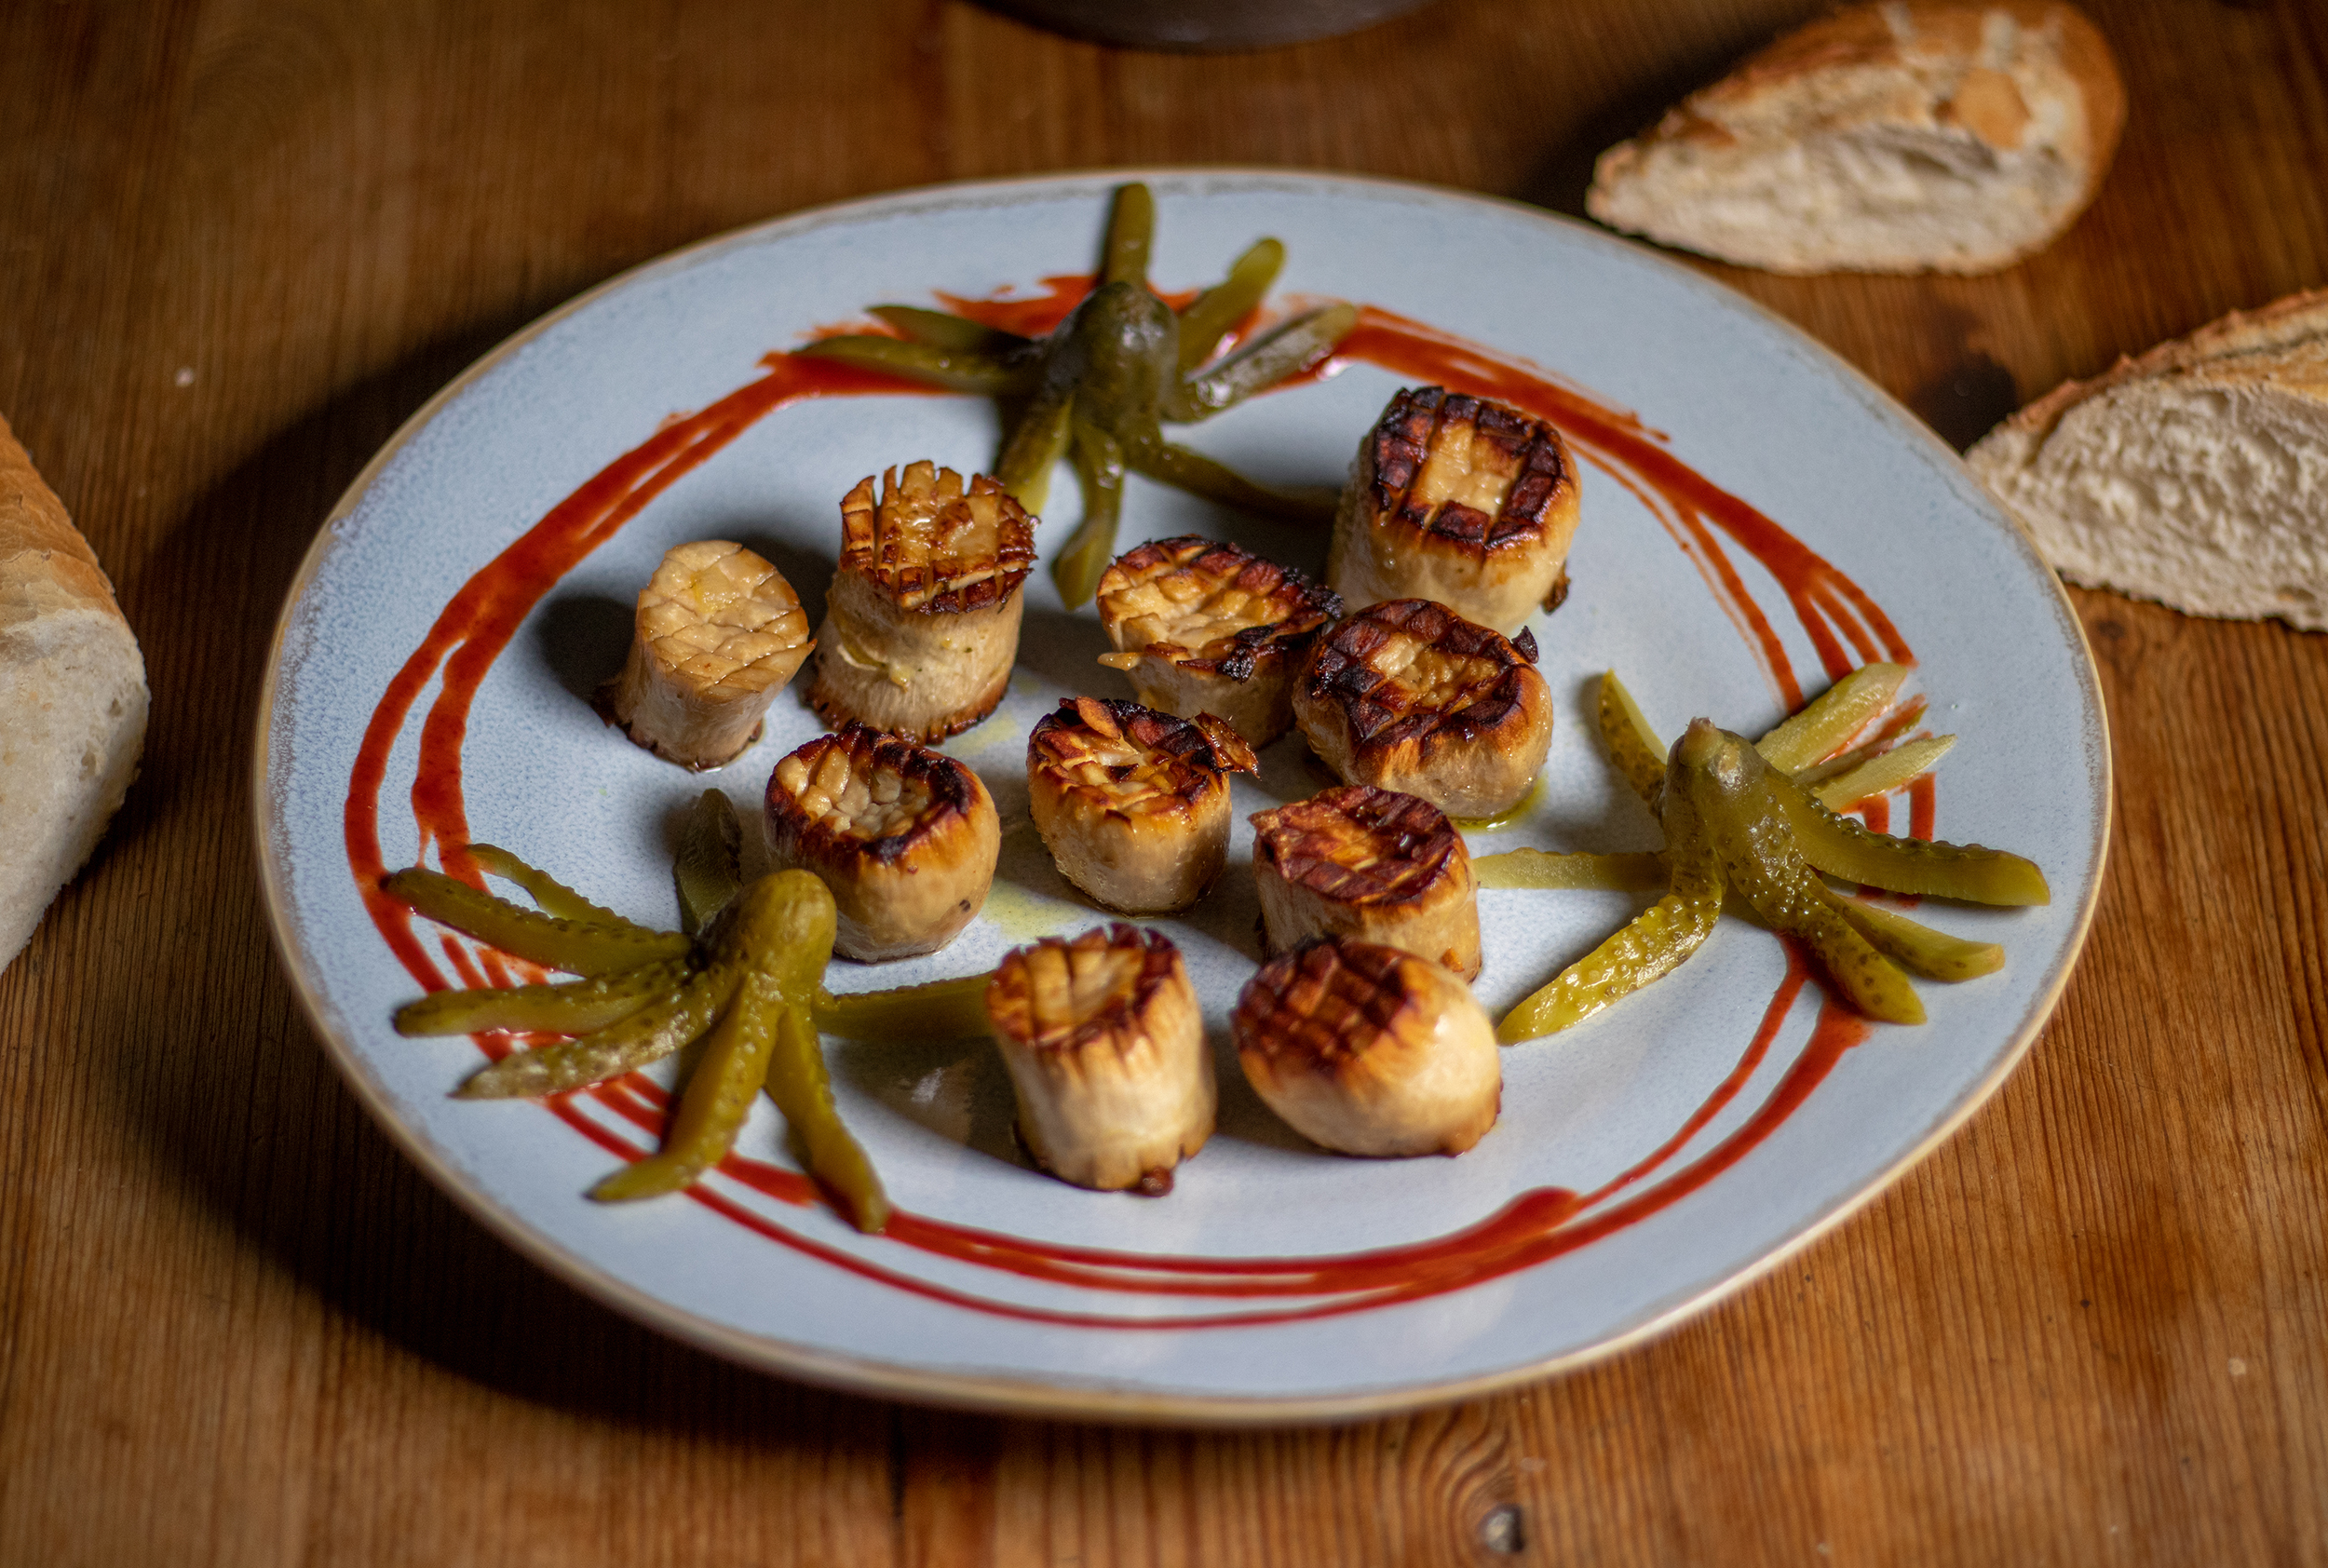
Vegan scallops, here with funny pickled cucumber squids
Why are king oyster mushrooms so healthy?
King oyster mushrooms are very healthy because they contain lots of protein. This is especially interesting for vegans who exercise a lot. Besides their high protein content, king oyster mushrooms also contain many other beneficial nutrients. They contain important minerals: potassium, calcium, and phosphorus. They also contain prebiotics, which stimulate intestinal function and thus contribute to overall health. These beneficial nutrients make king oyster mushrooms not only delicious but also very healthy.
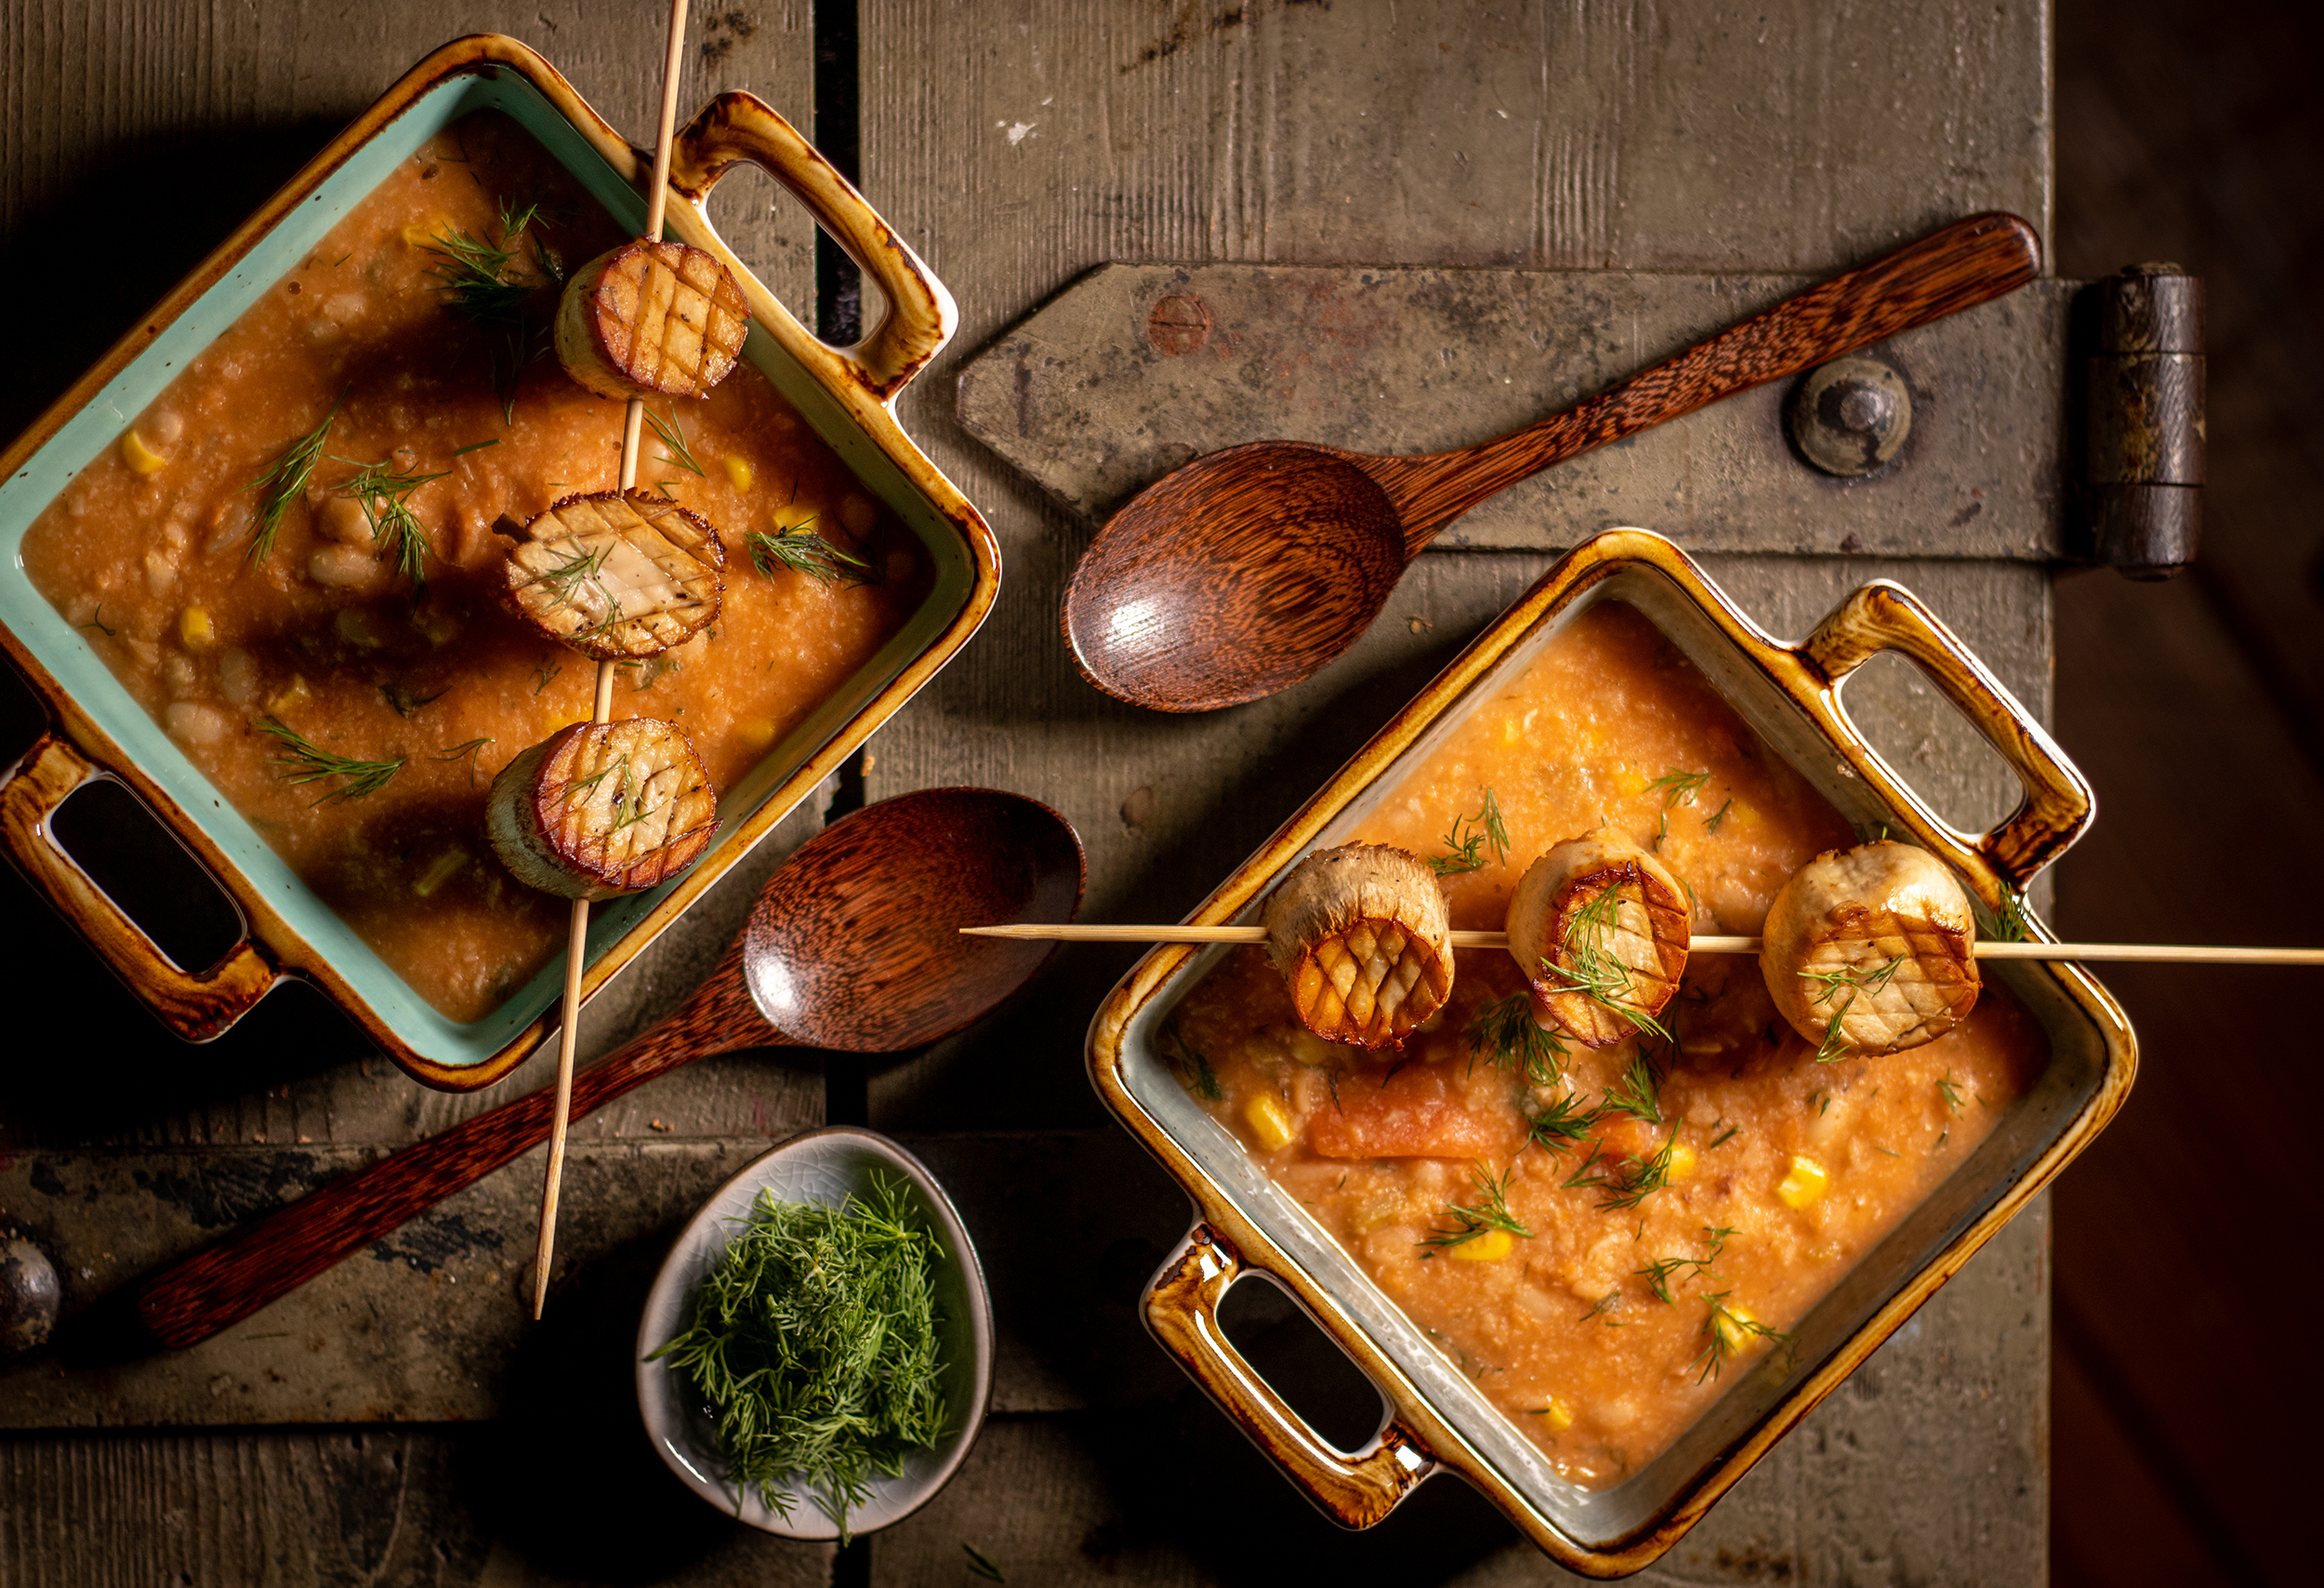
White bean soup with corn and vegan scallops on a skewer
Vegan scallops are perfect for many dishes.
My vegan scallops are a perfect match for a wide variety of dishes. They make a wonderful warm topping for salads. They also add a savory bite as an ingredient or skewer to soups. Served as a fish course with some greens, they enhance a sophisticated vegan menu and are a great side dish for many savory meals.
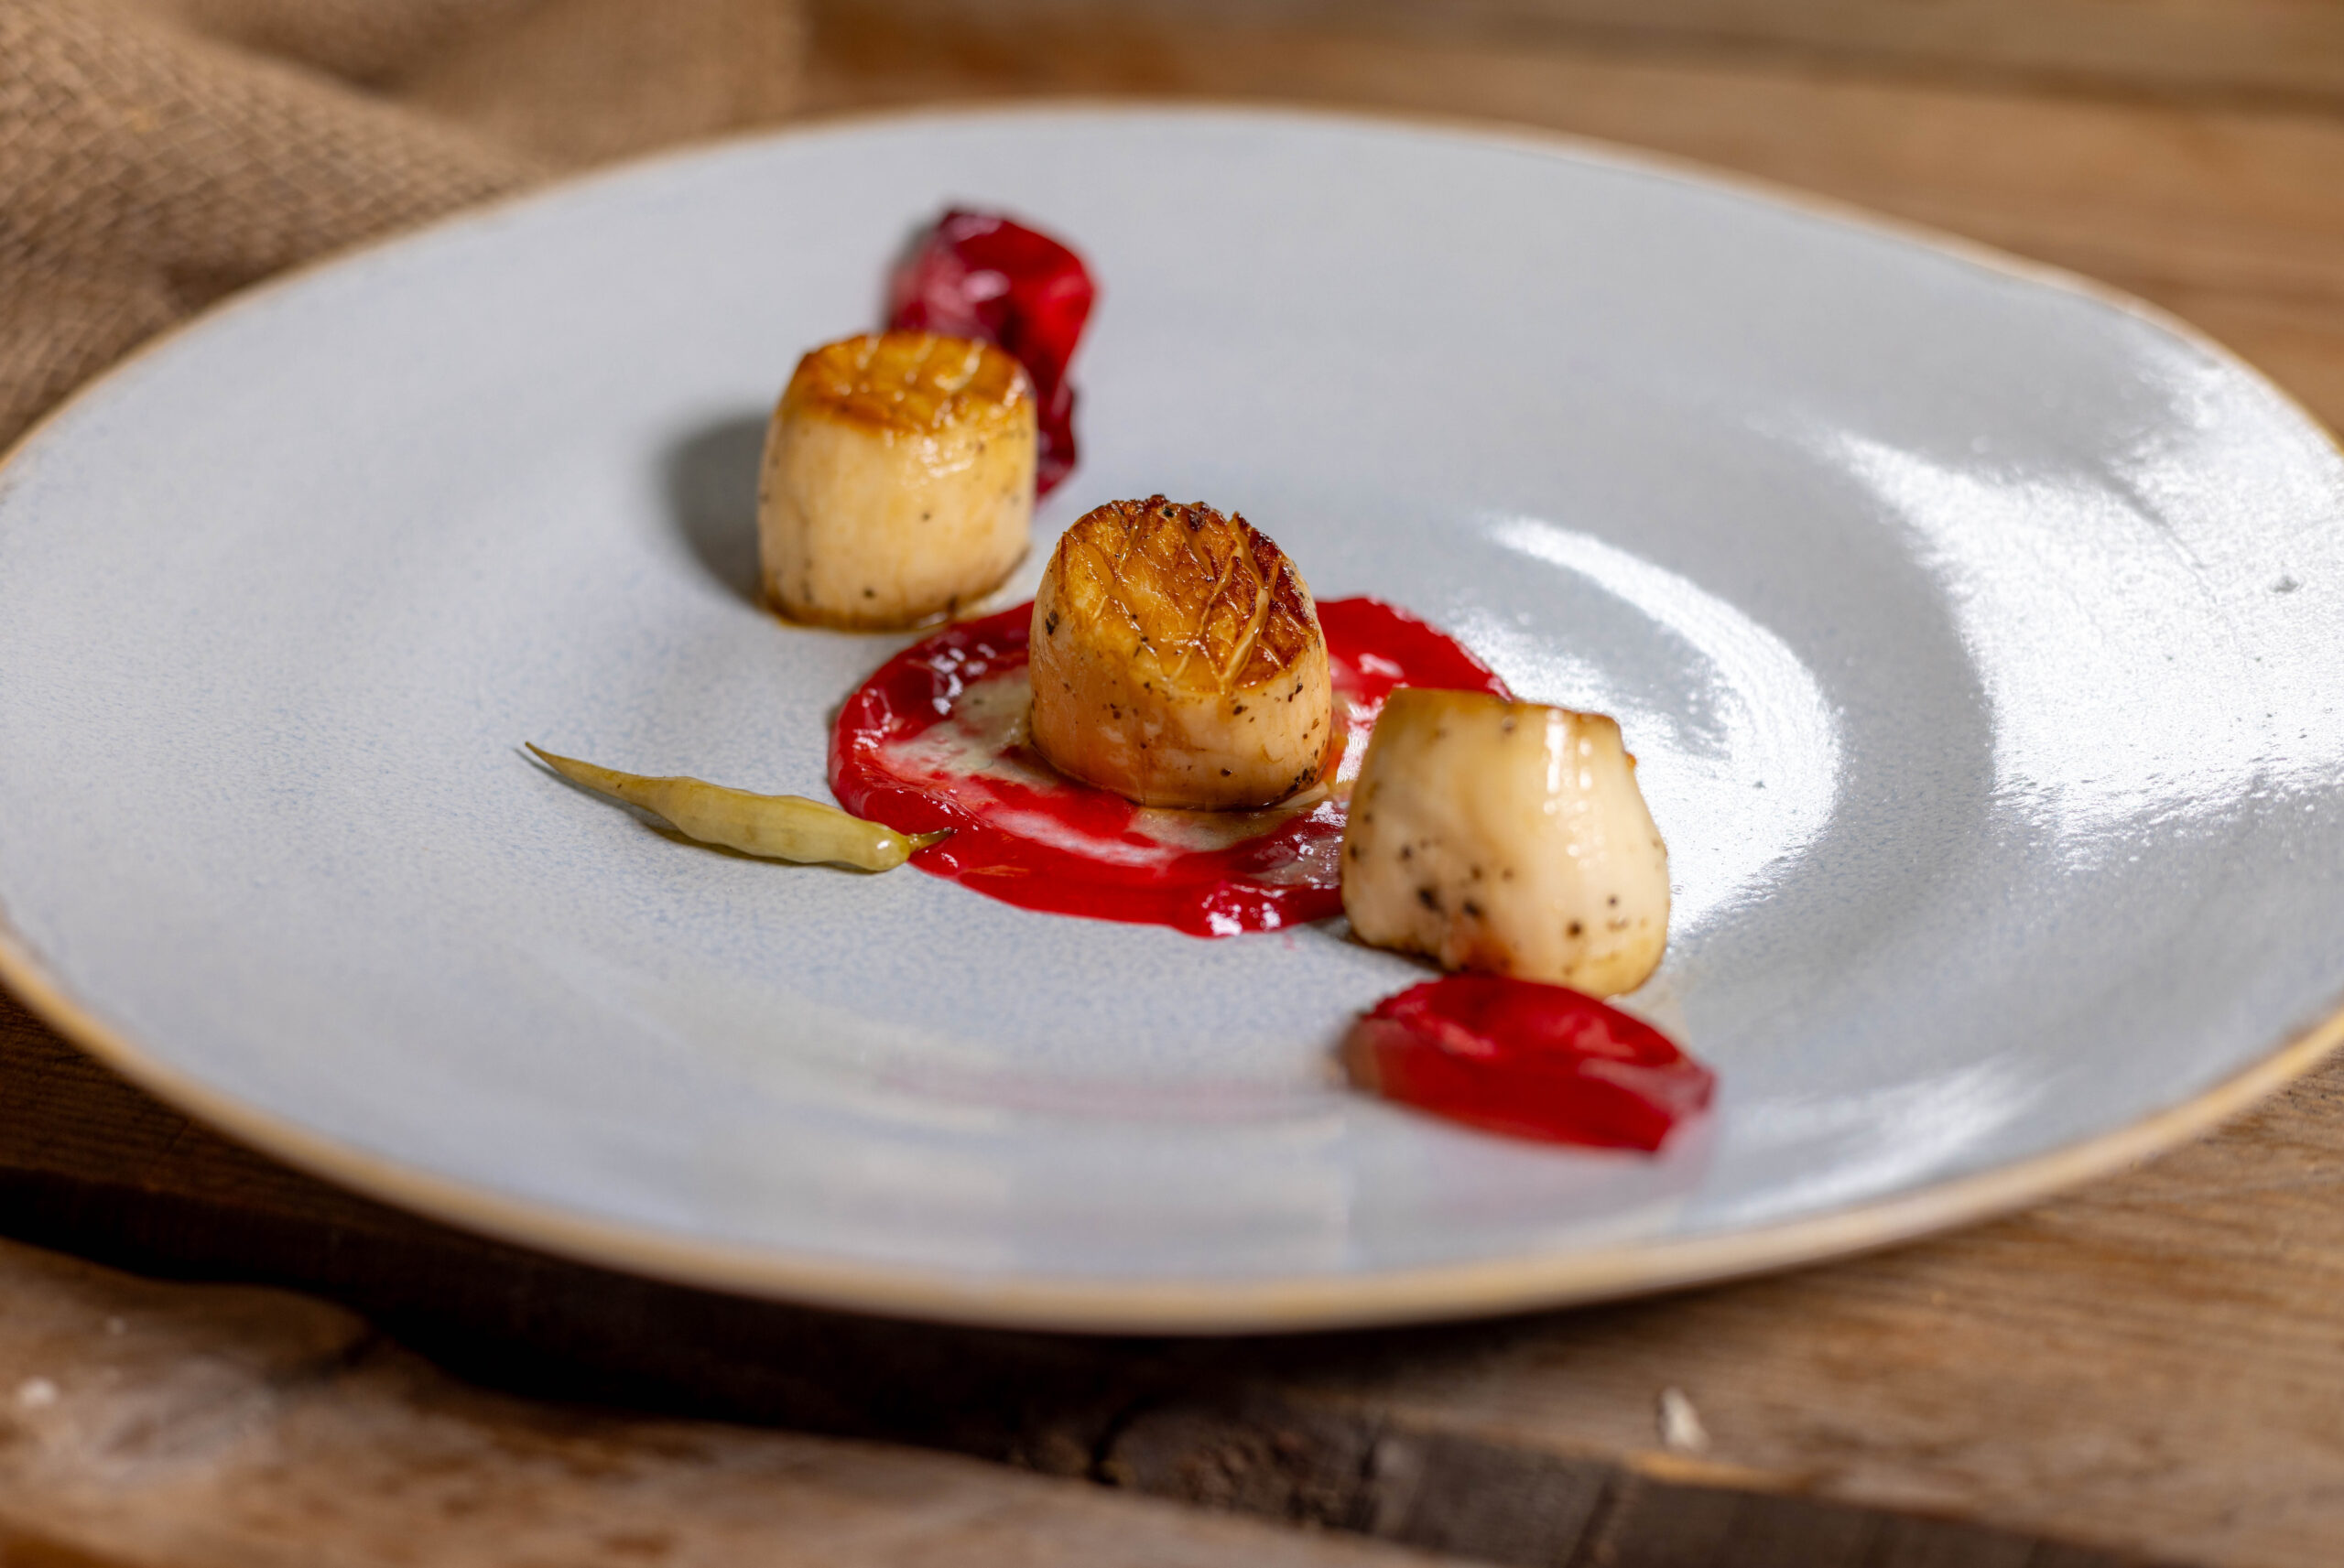
Vegan scallops with pulp from Lacto Fermented Plums, Lacto Plum Chips and Pickled Radish Pods
More Vegan Fish and Seafood Recipes
Looking for more vegan fish and seafood recipes? Then browse my ‘V Fish‘ category right here on Daily Vegan.
Please follow me on Instagram or Facebook. And I’d be delighted if you made my vegan scallops and posted a photo of it, tagging my account. Because I always find it really great and exciting to see how my recipes have been prepared in other kitchens!
Vegan scallops made from regional king oyster mushrooms
Vegan Scallops – Preparation in Pictures
Here I show you step by step with photos how I prepare vegan scallops. Then we’ll move directly to the recipe.
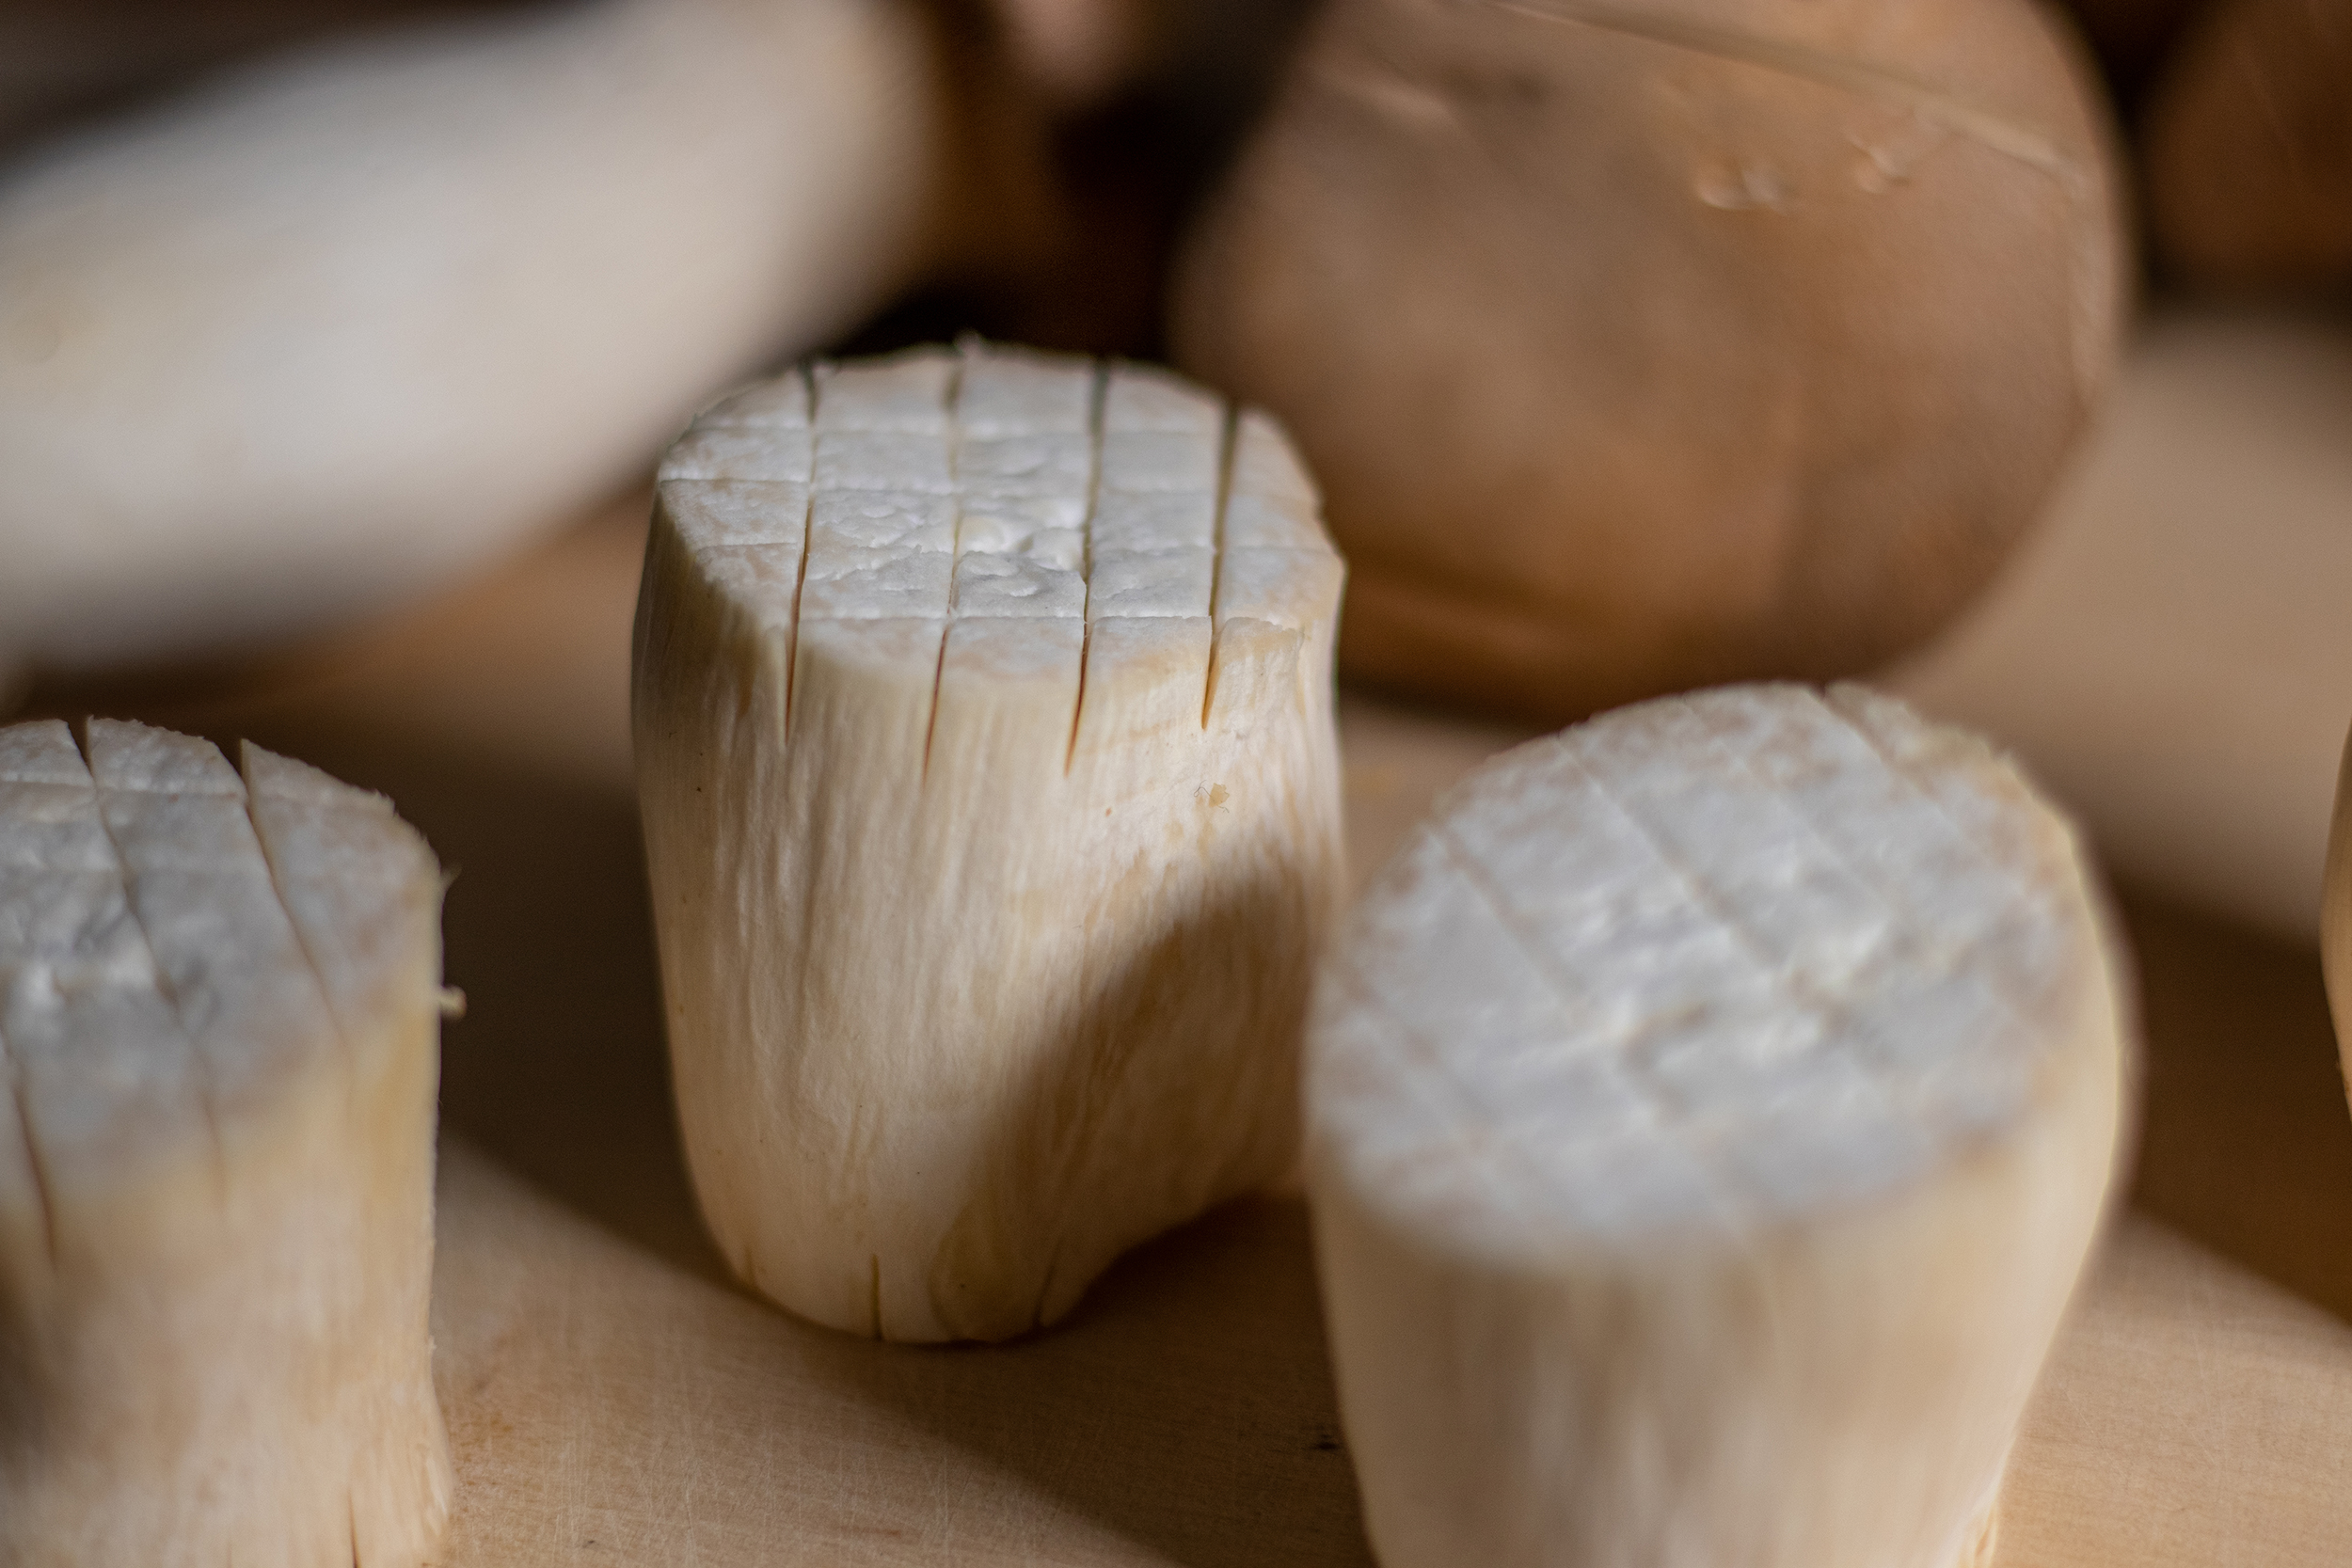
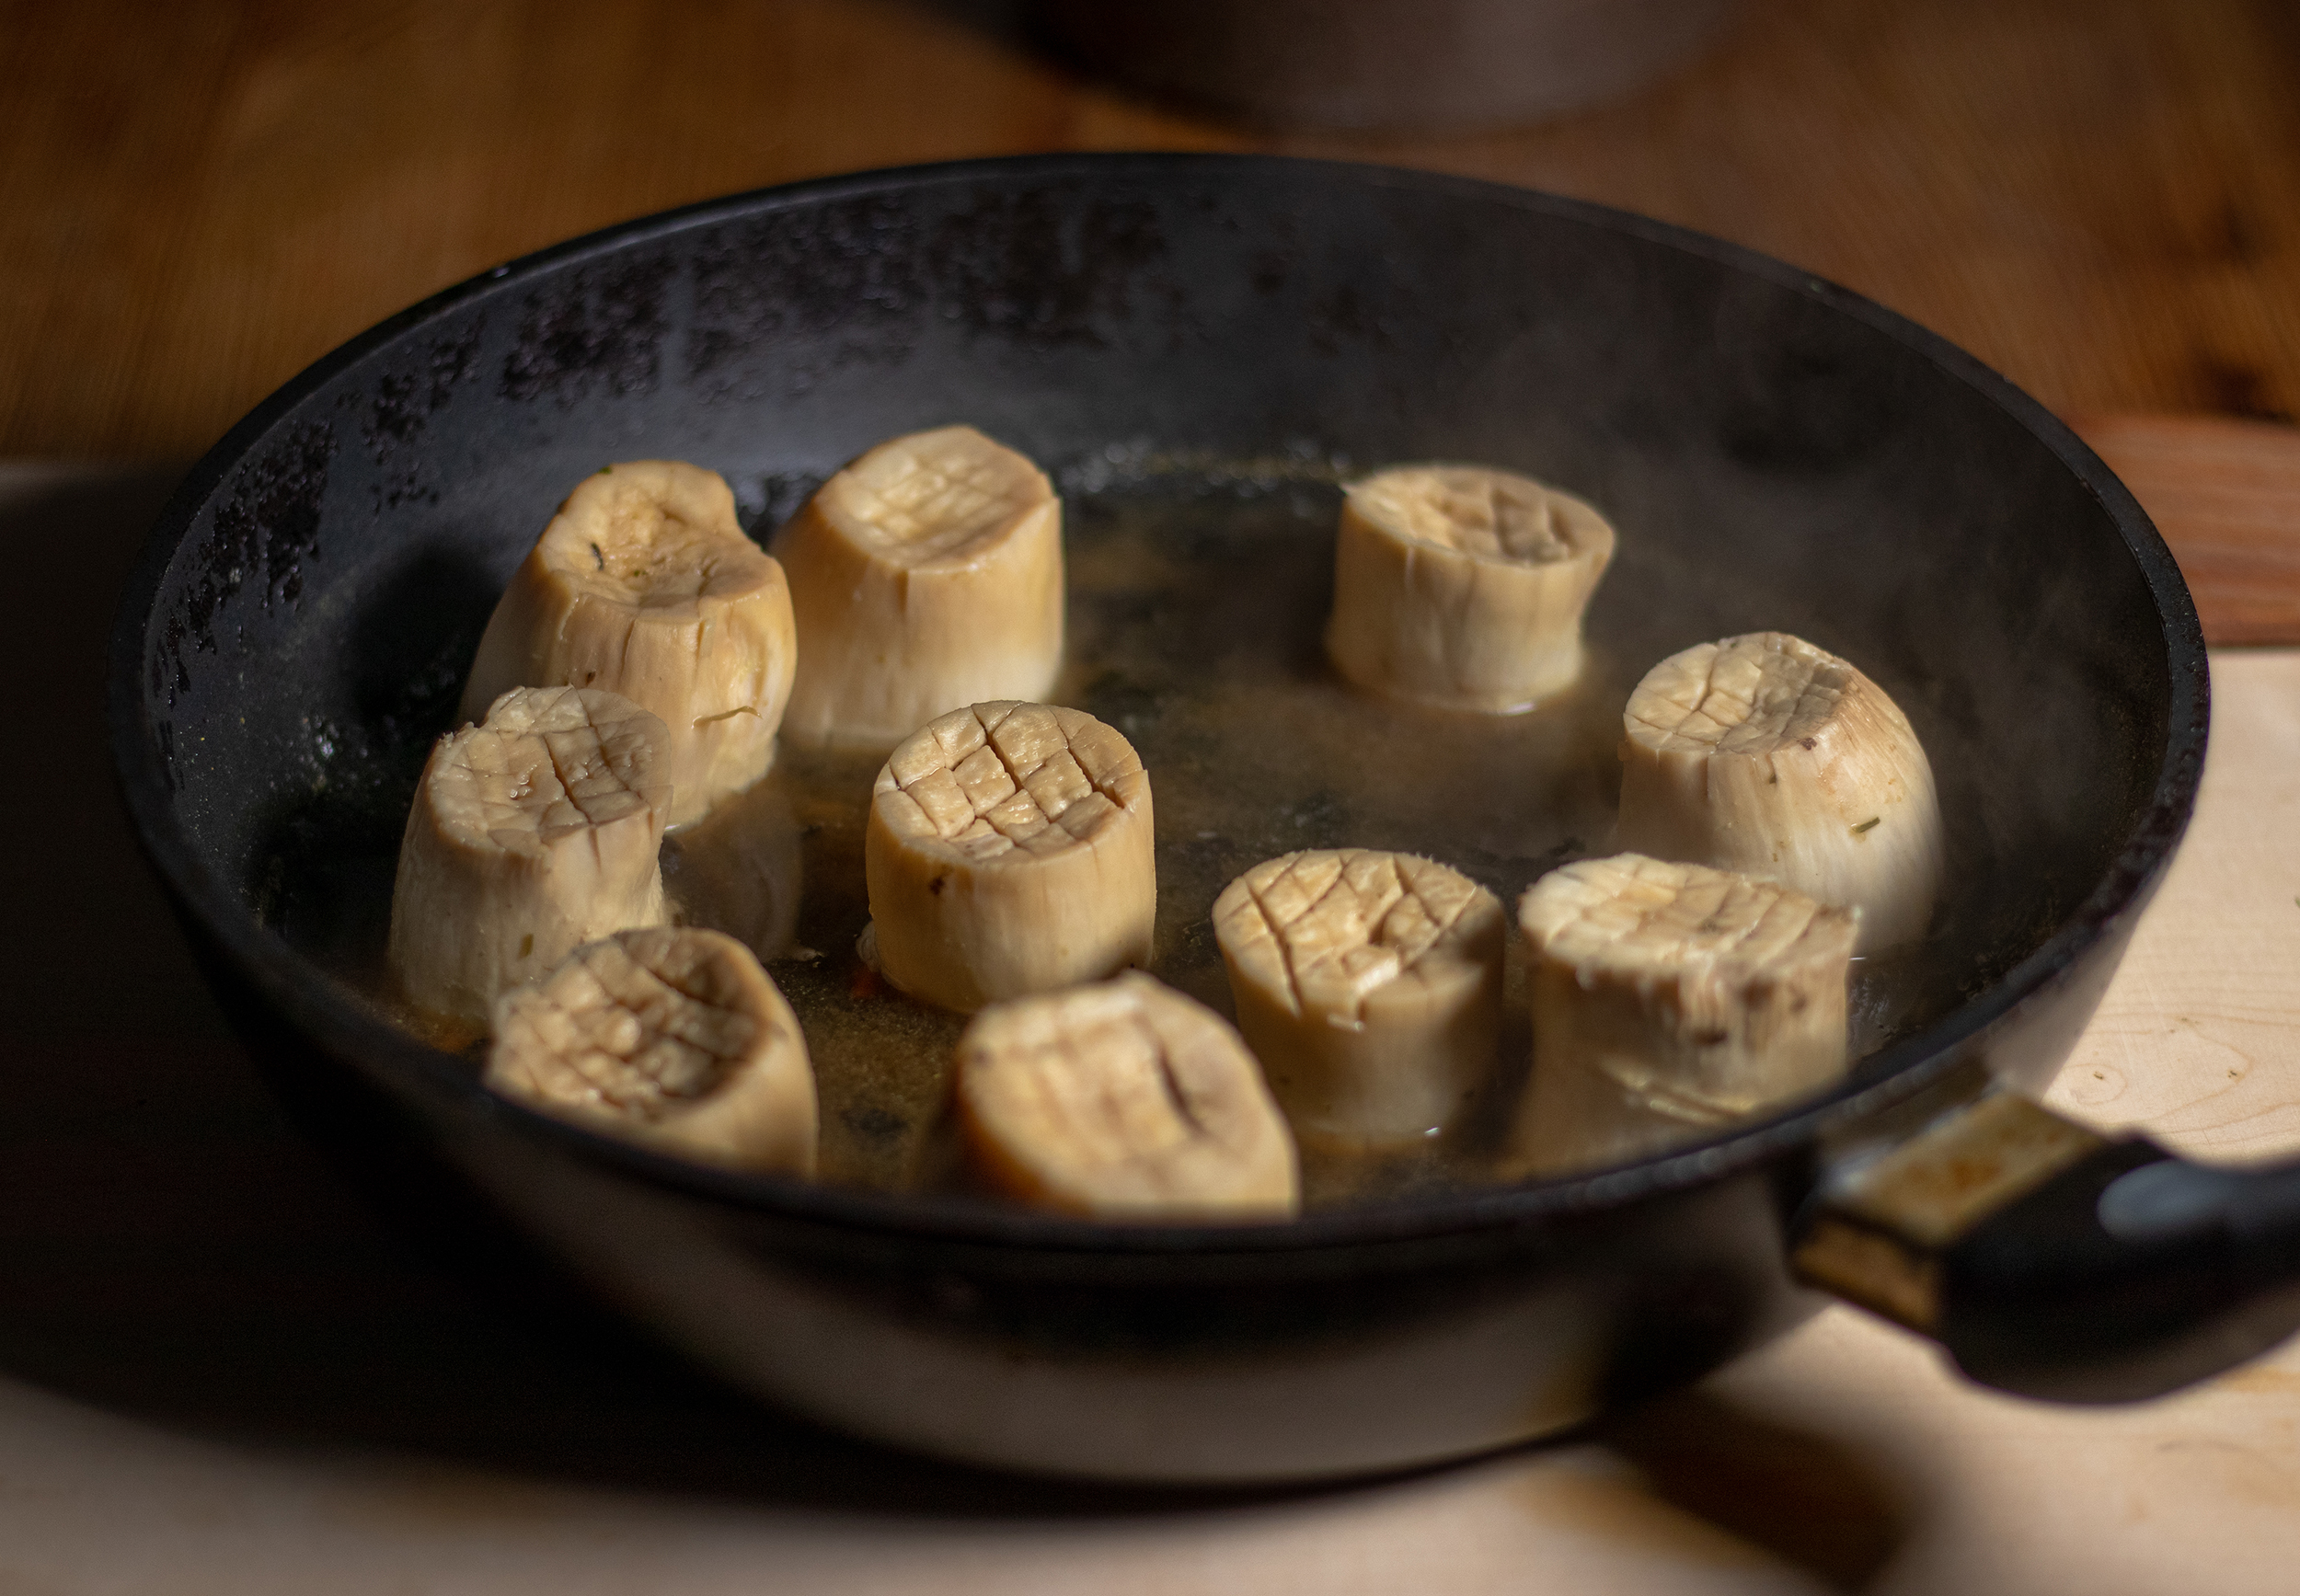
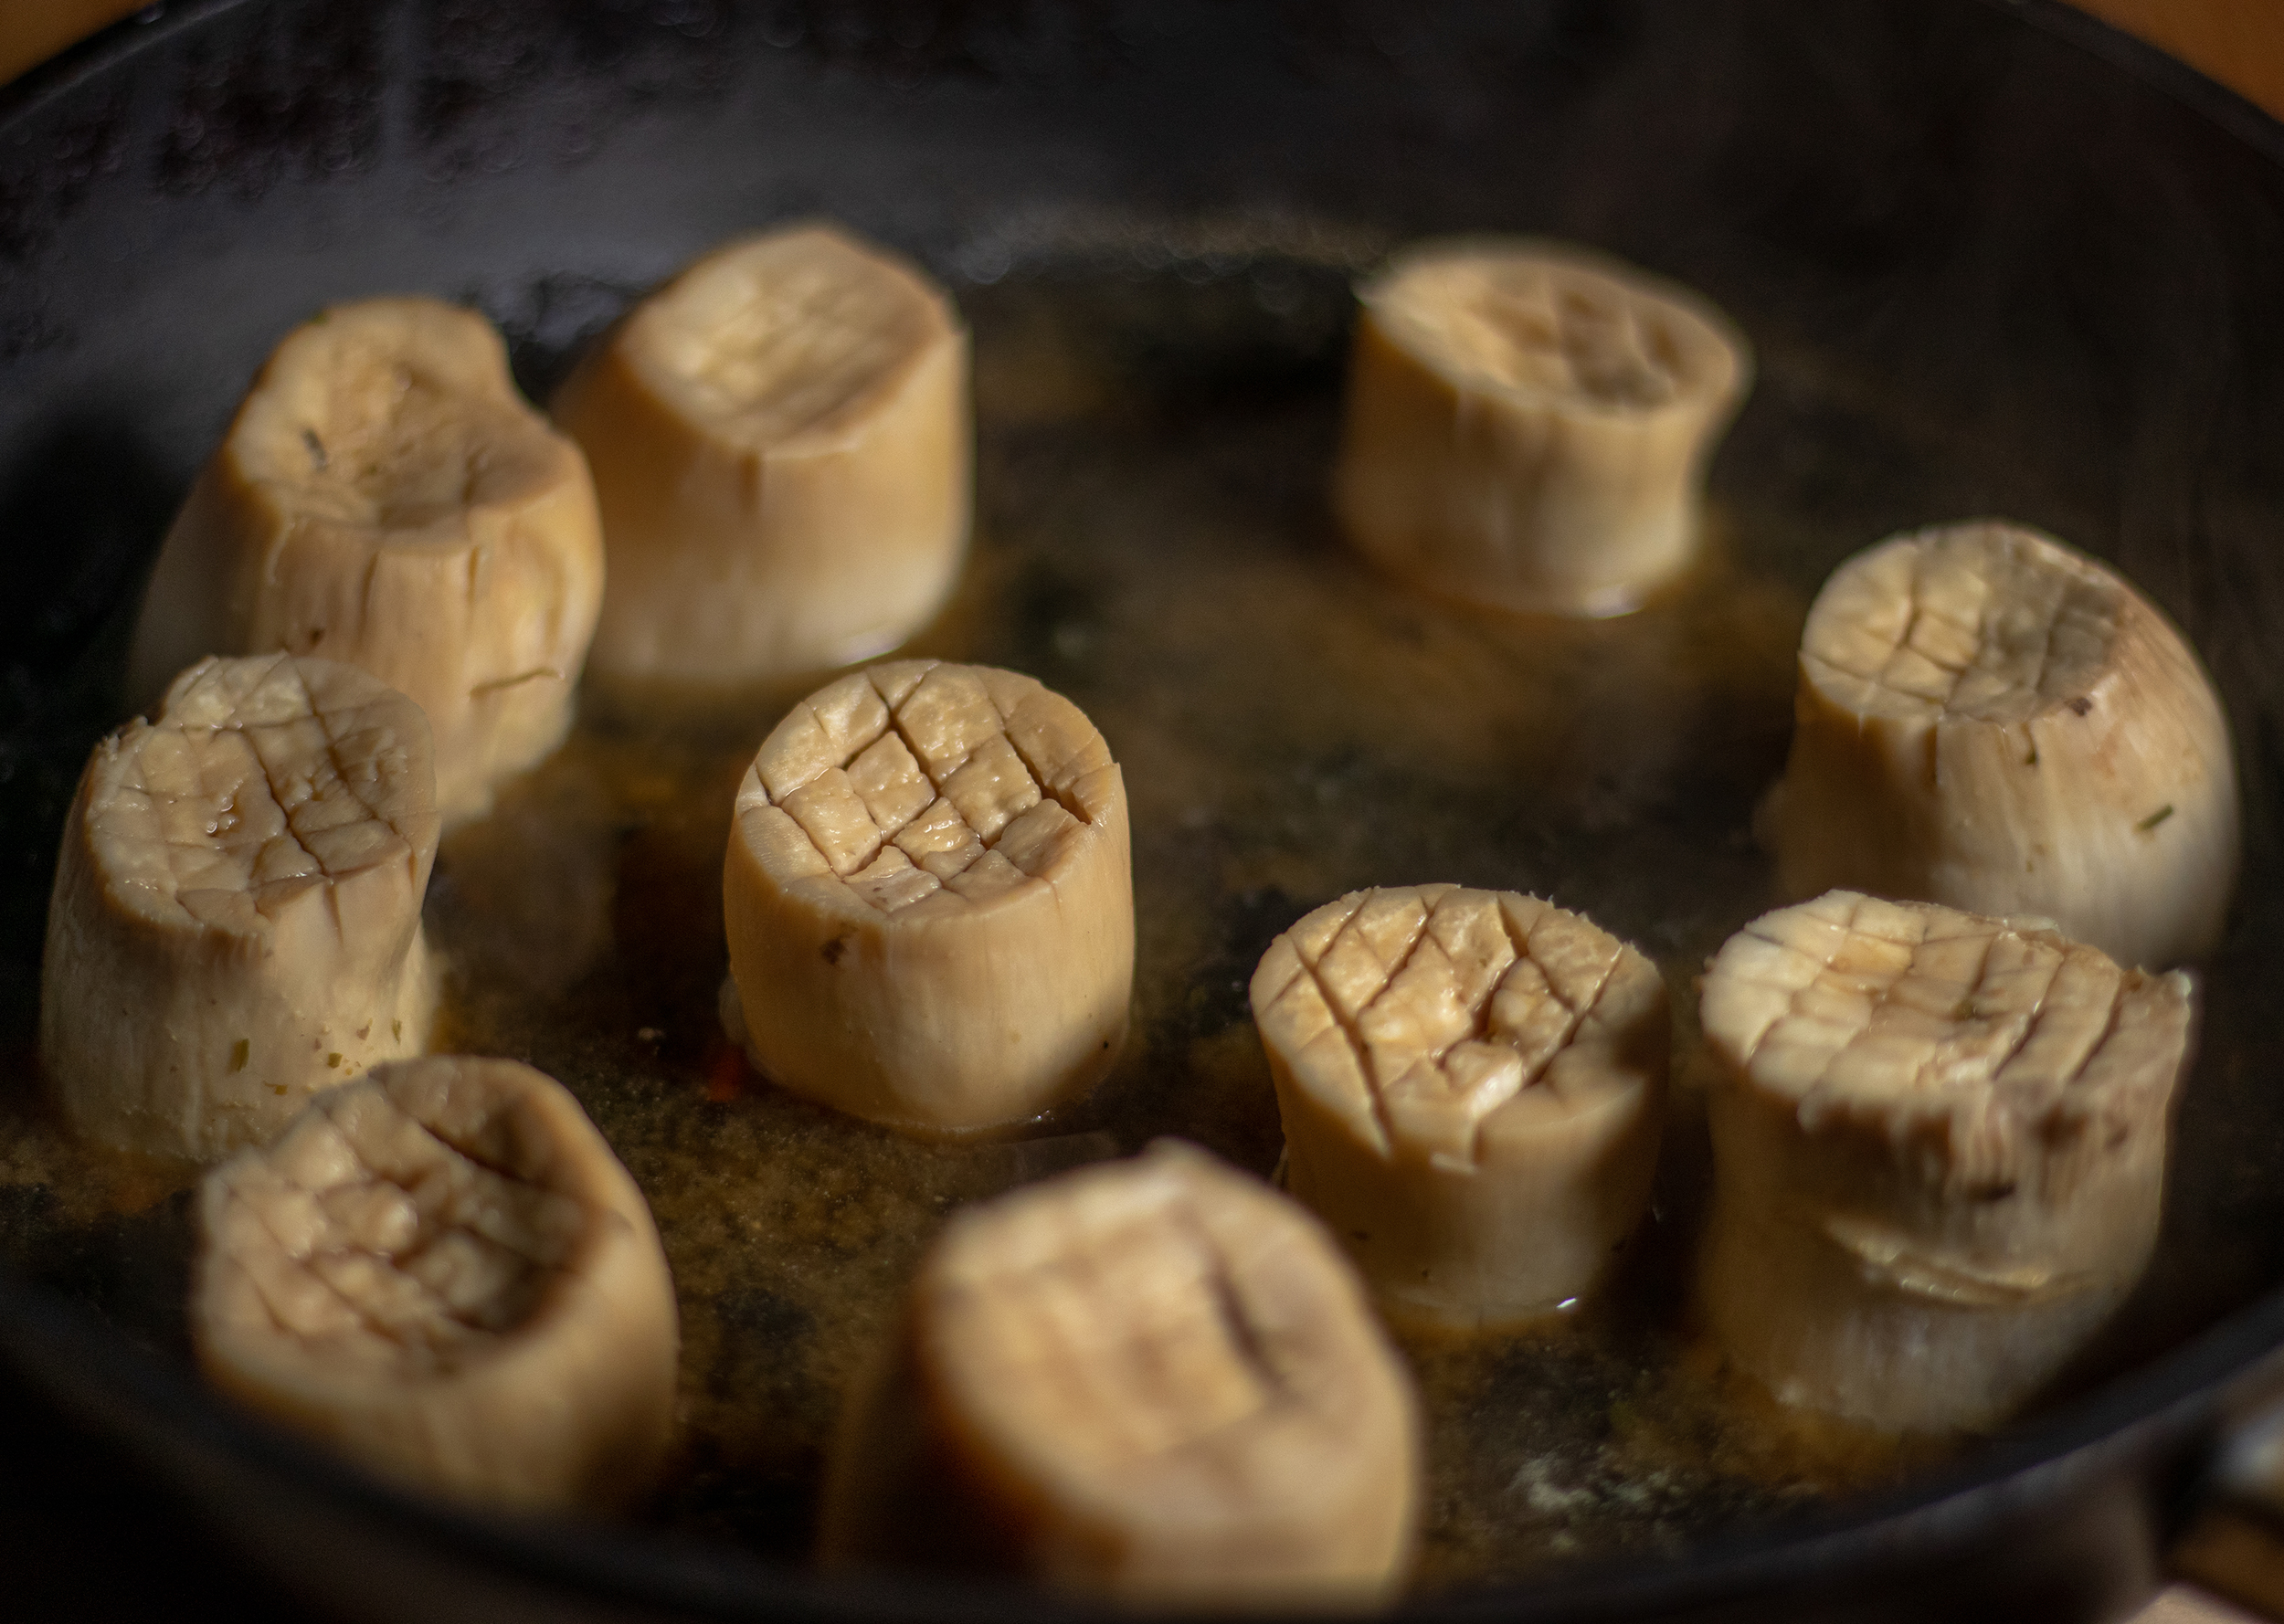
1. How to make vegan scallops from king oyster mushrooms. Cut the king oyster mushrooms into thick slices and score them.2. Make cross-shaped incisions about half a centimeter deep in the thick pieces of king oyster mushrooms.3. The king oyster mushrooms cook in their broth, thereby acquiring the consistency and aroma of the desired mussels.4. Vegan scallops; the mushrooms absorb the aroma of the broth.5. Sear on both sides with garlic and shallot.6. With garlic and onion in a panVegan scallops – perfect flavour for fish dishes
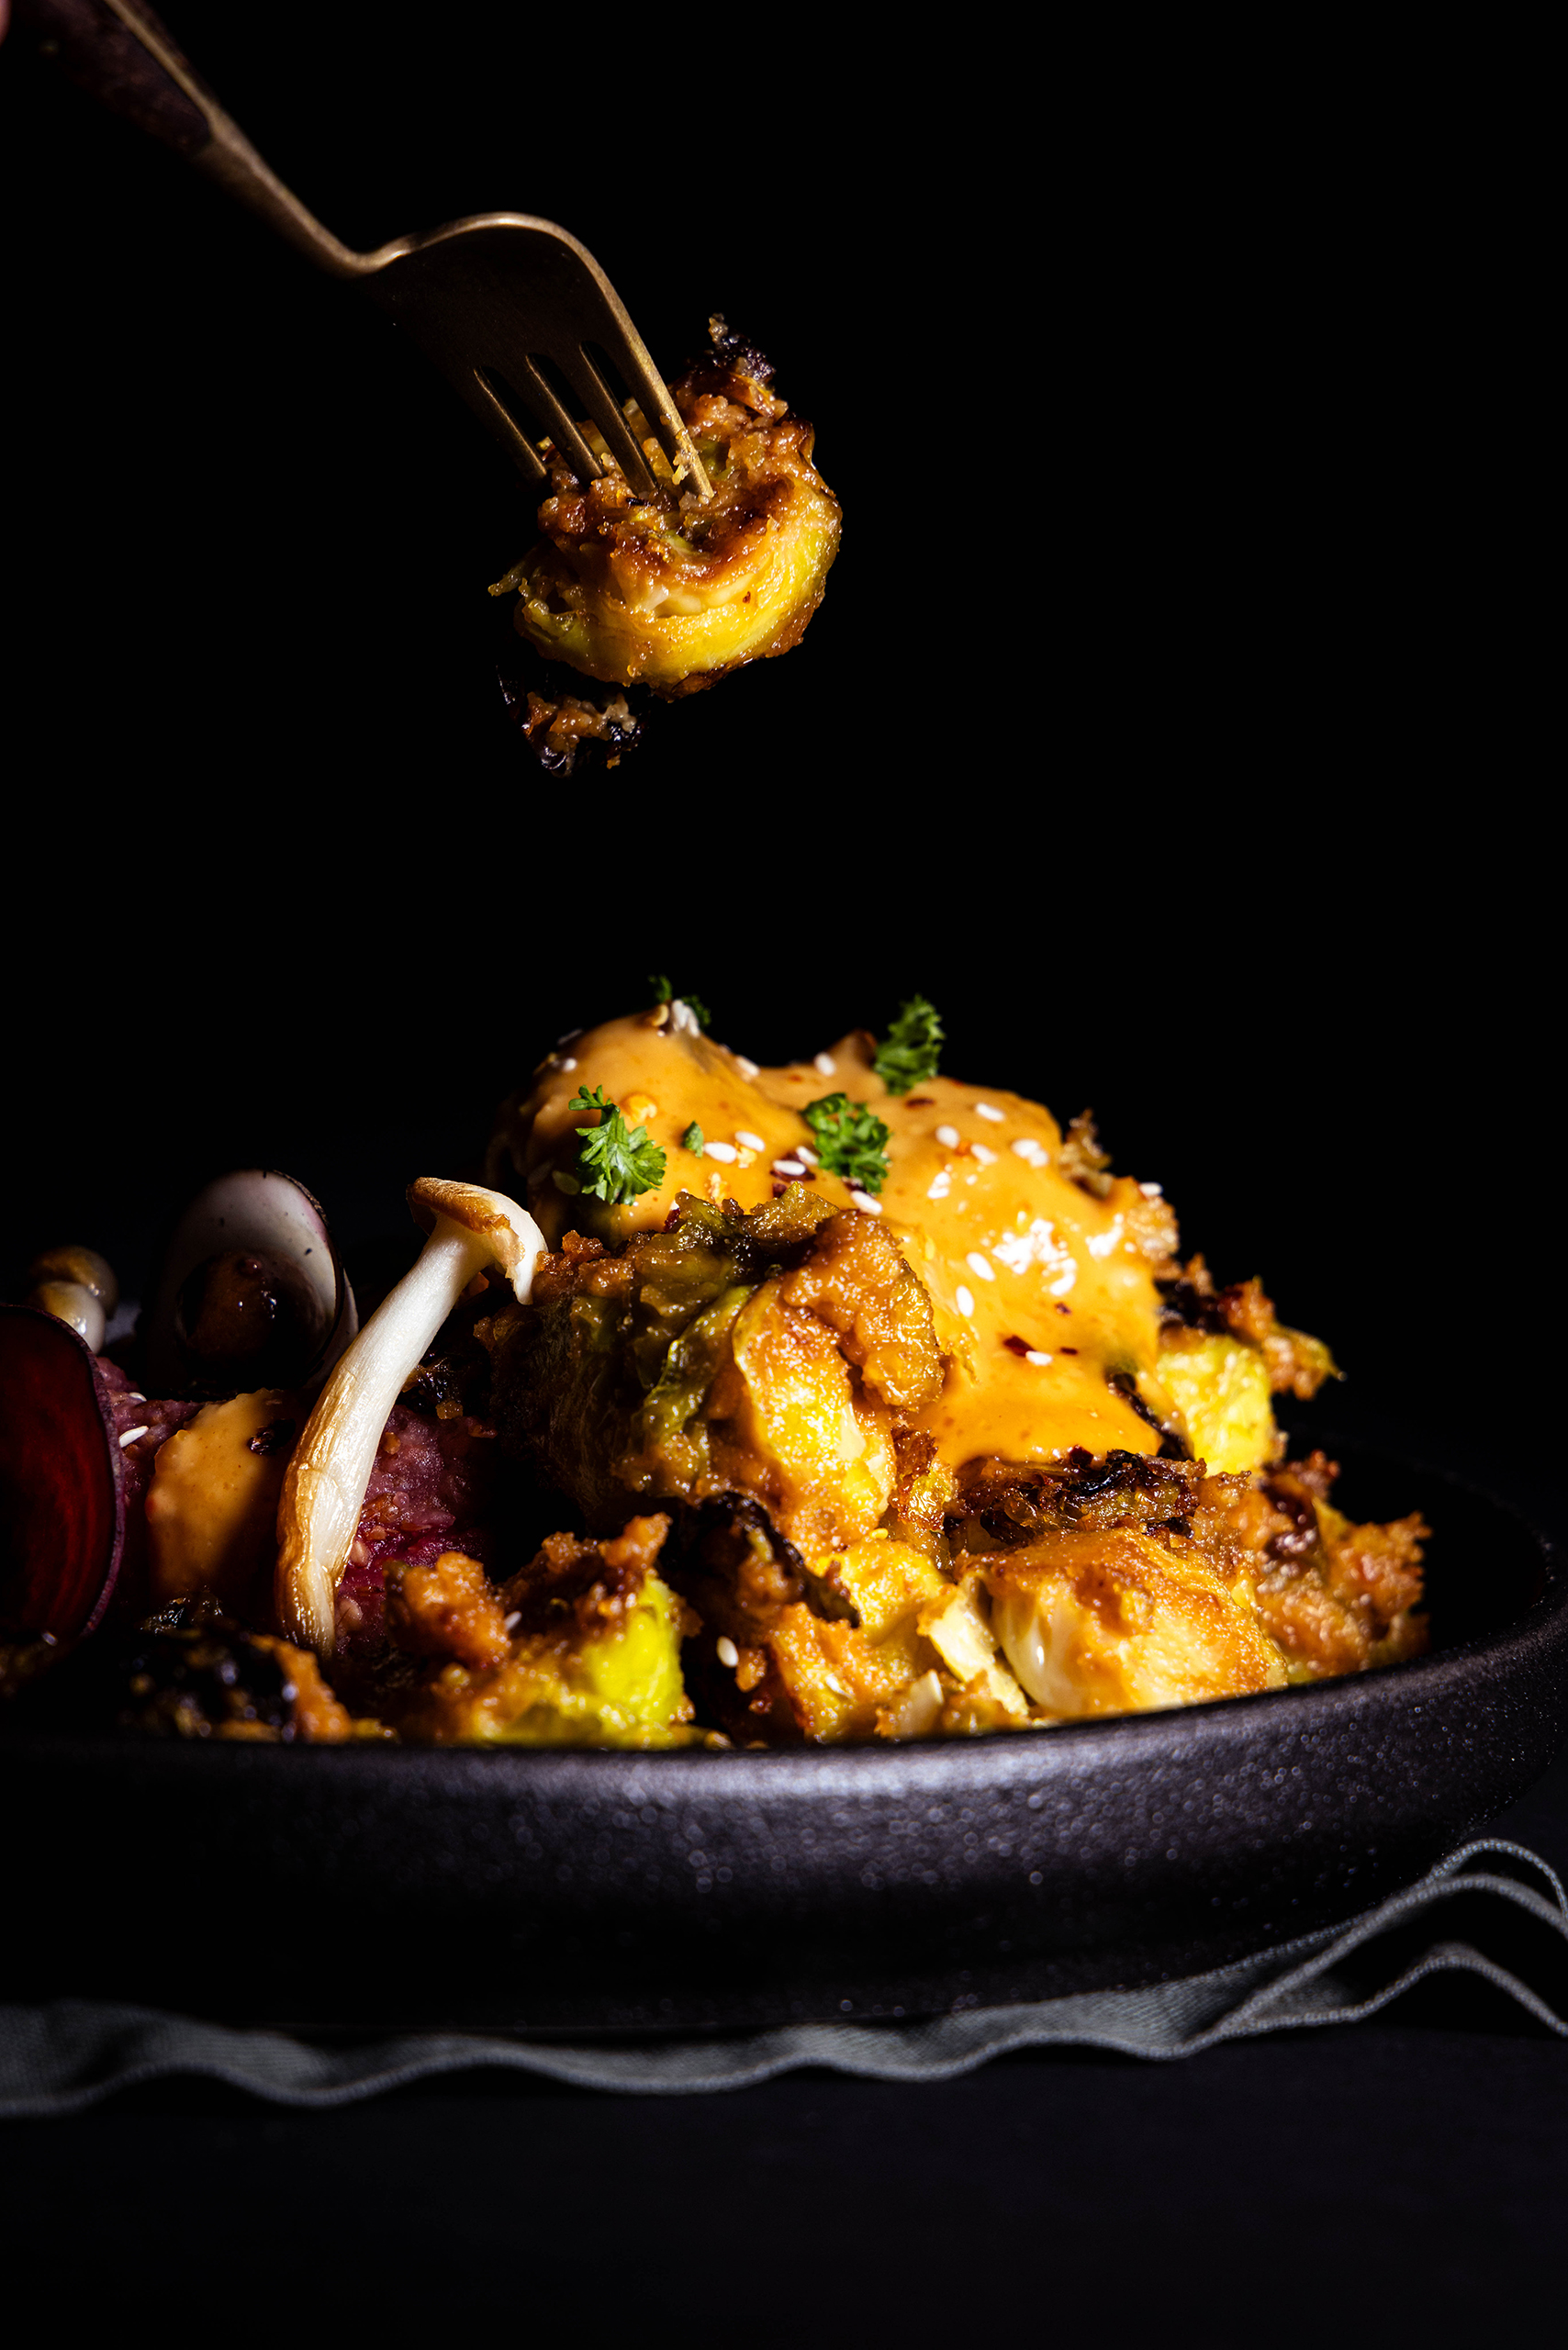
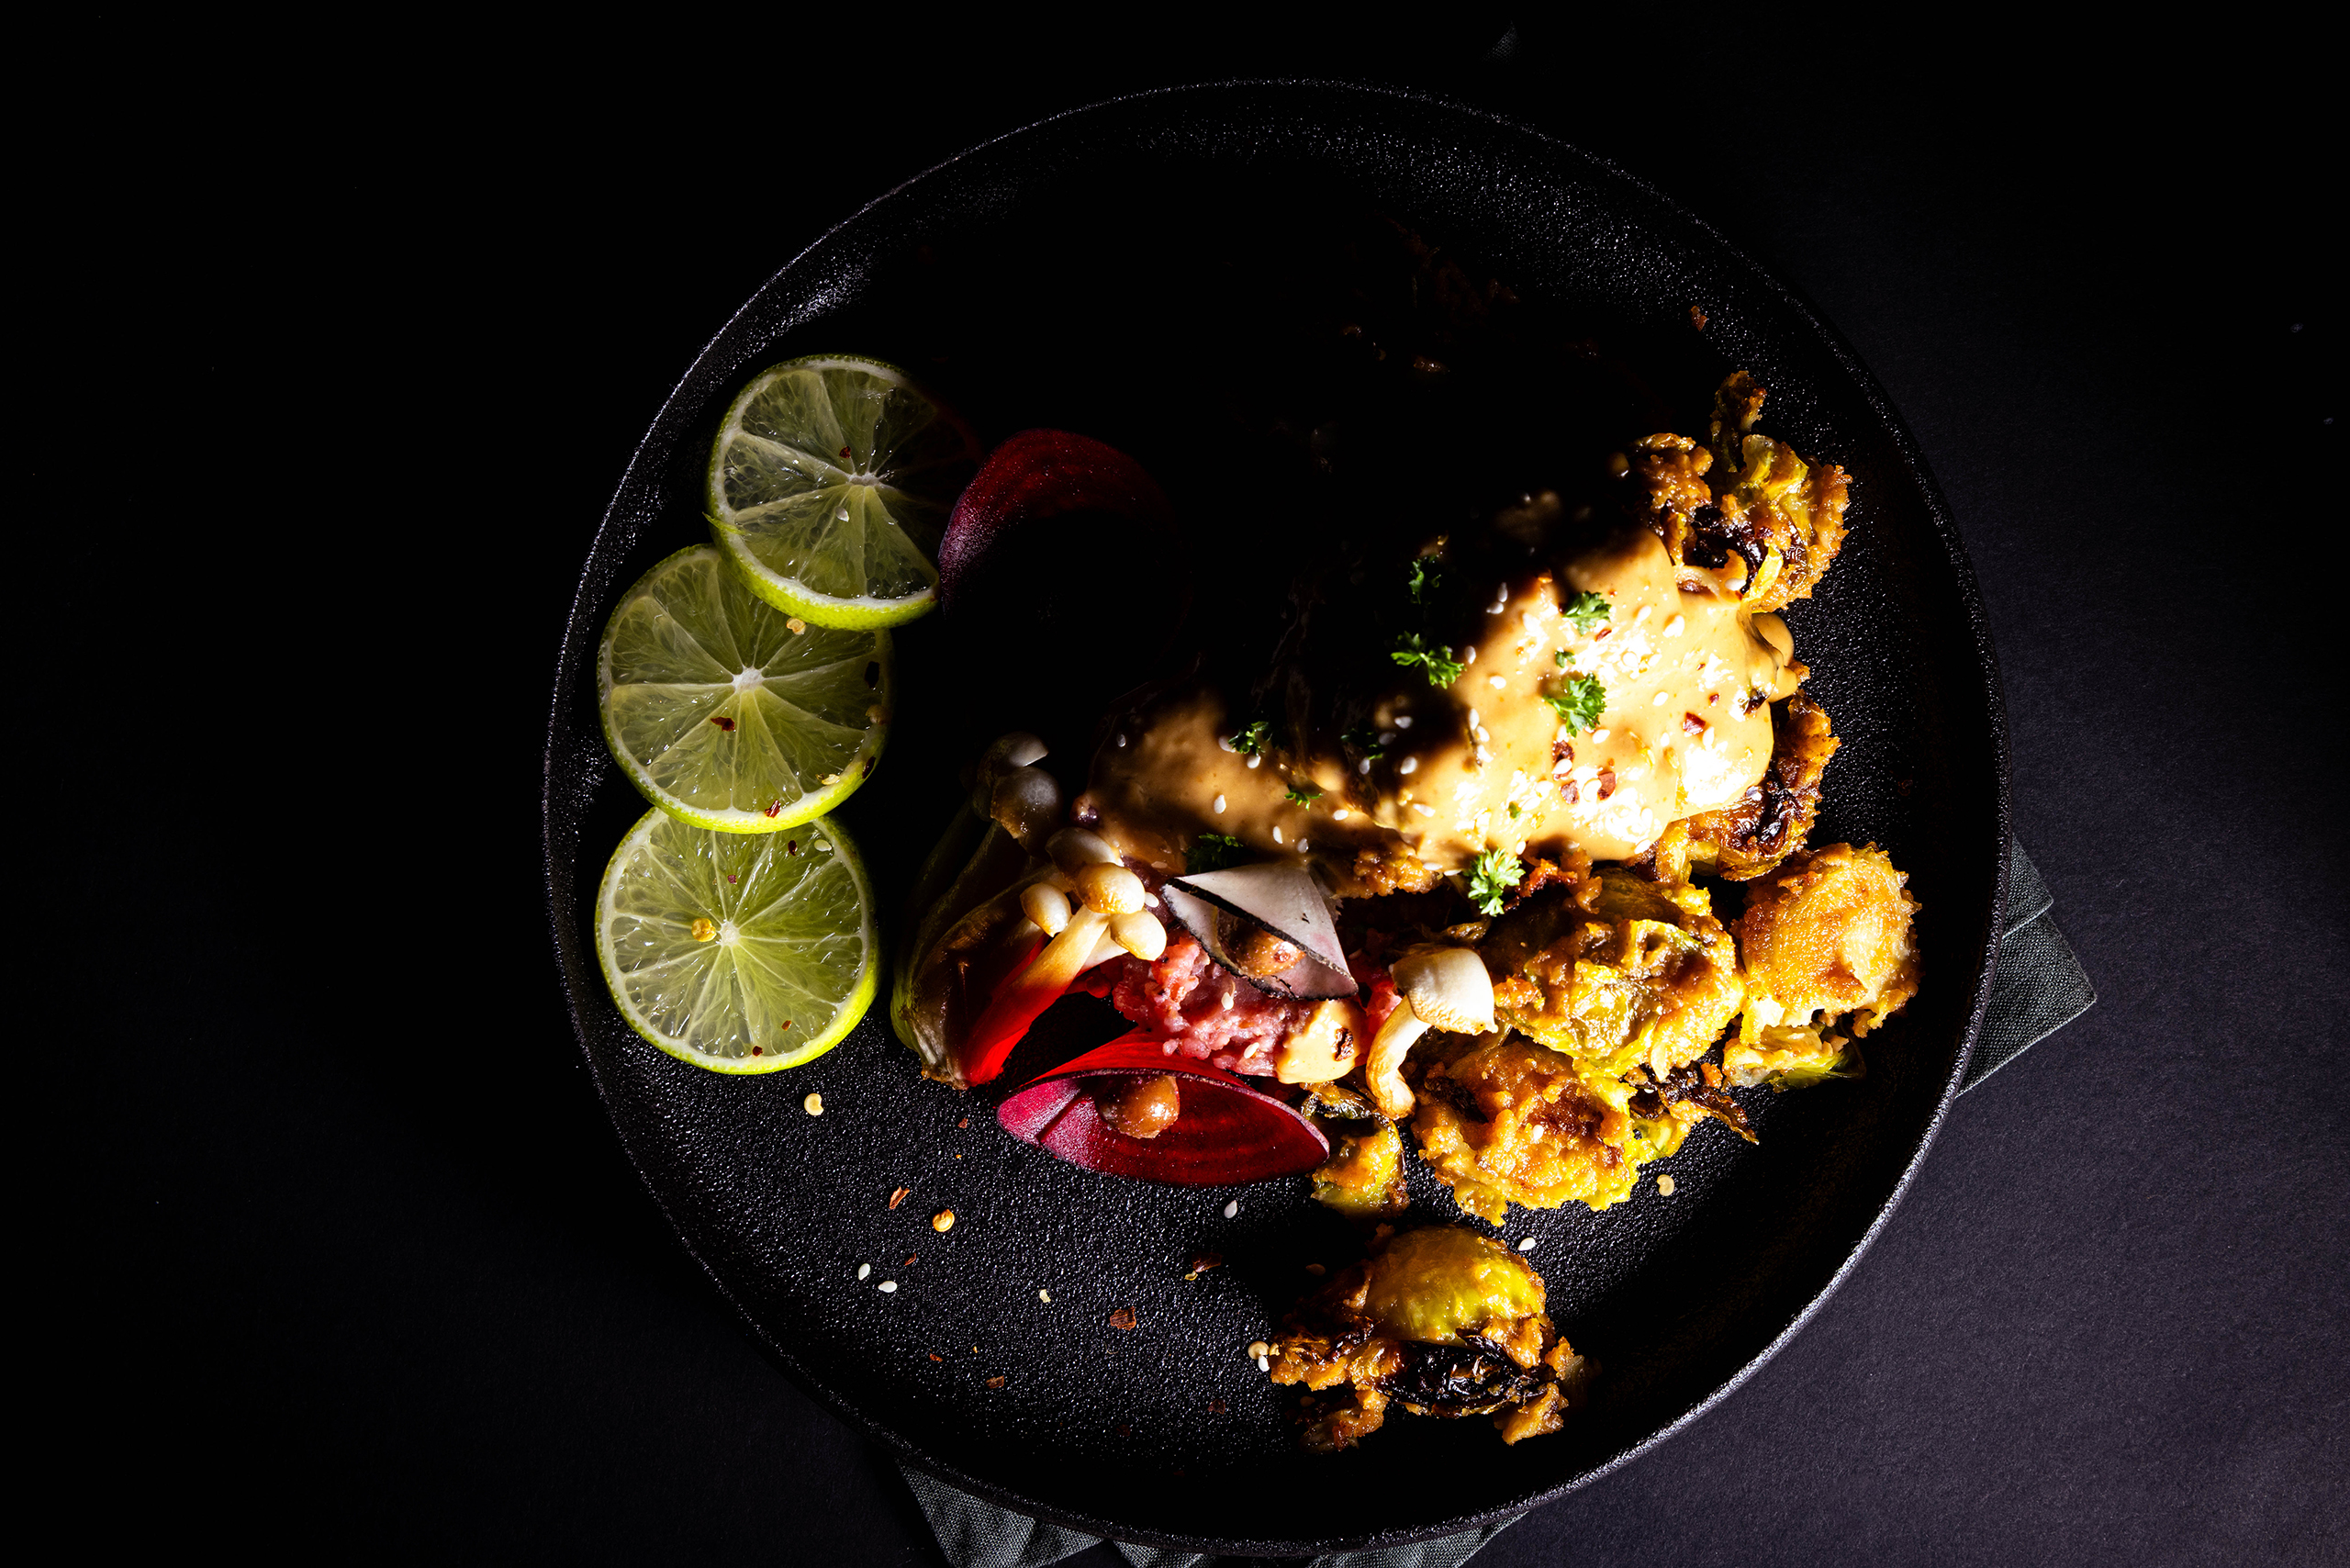
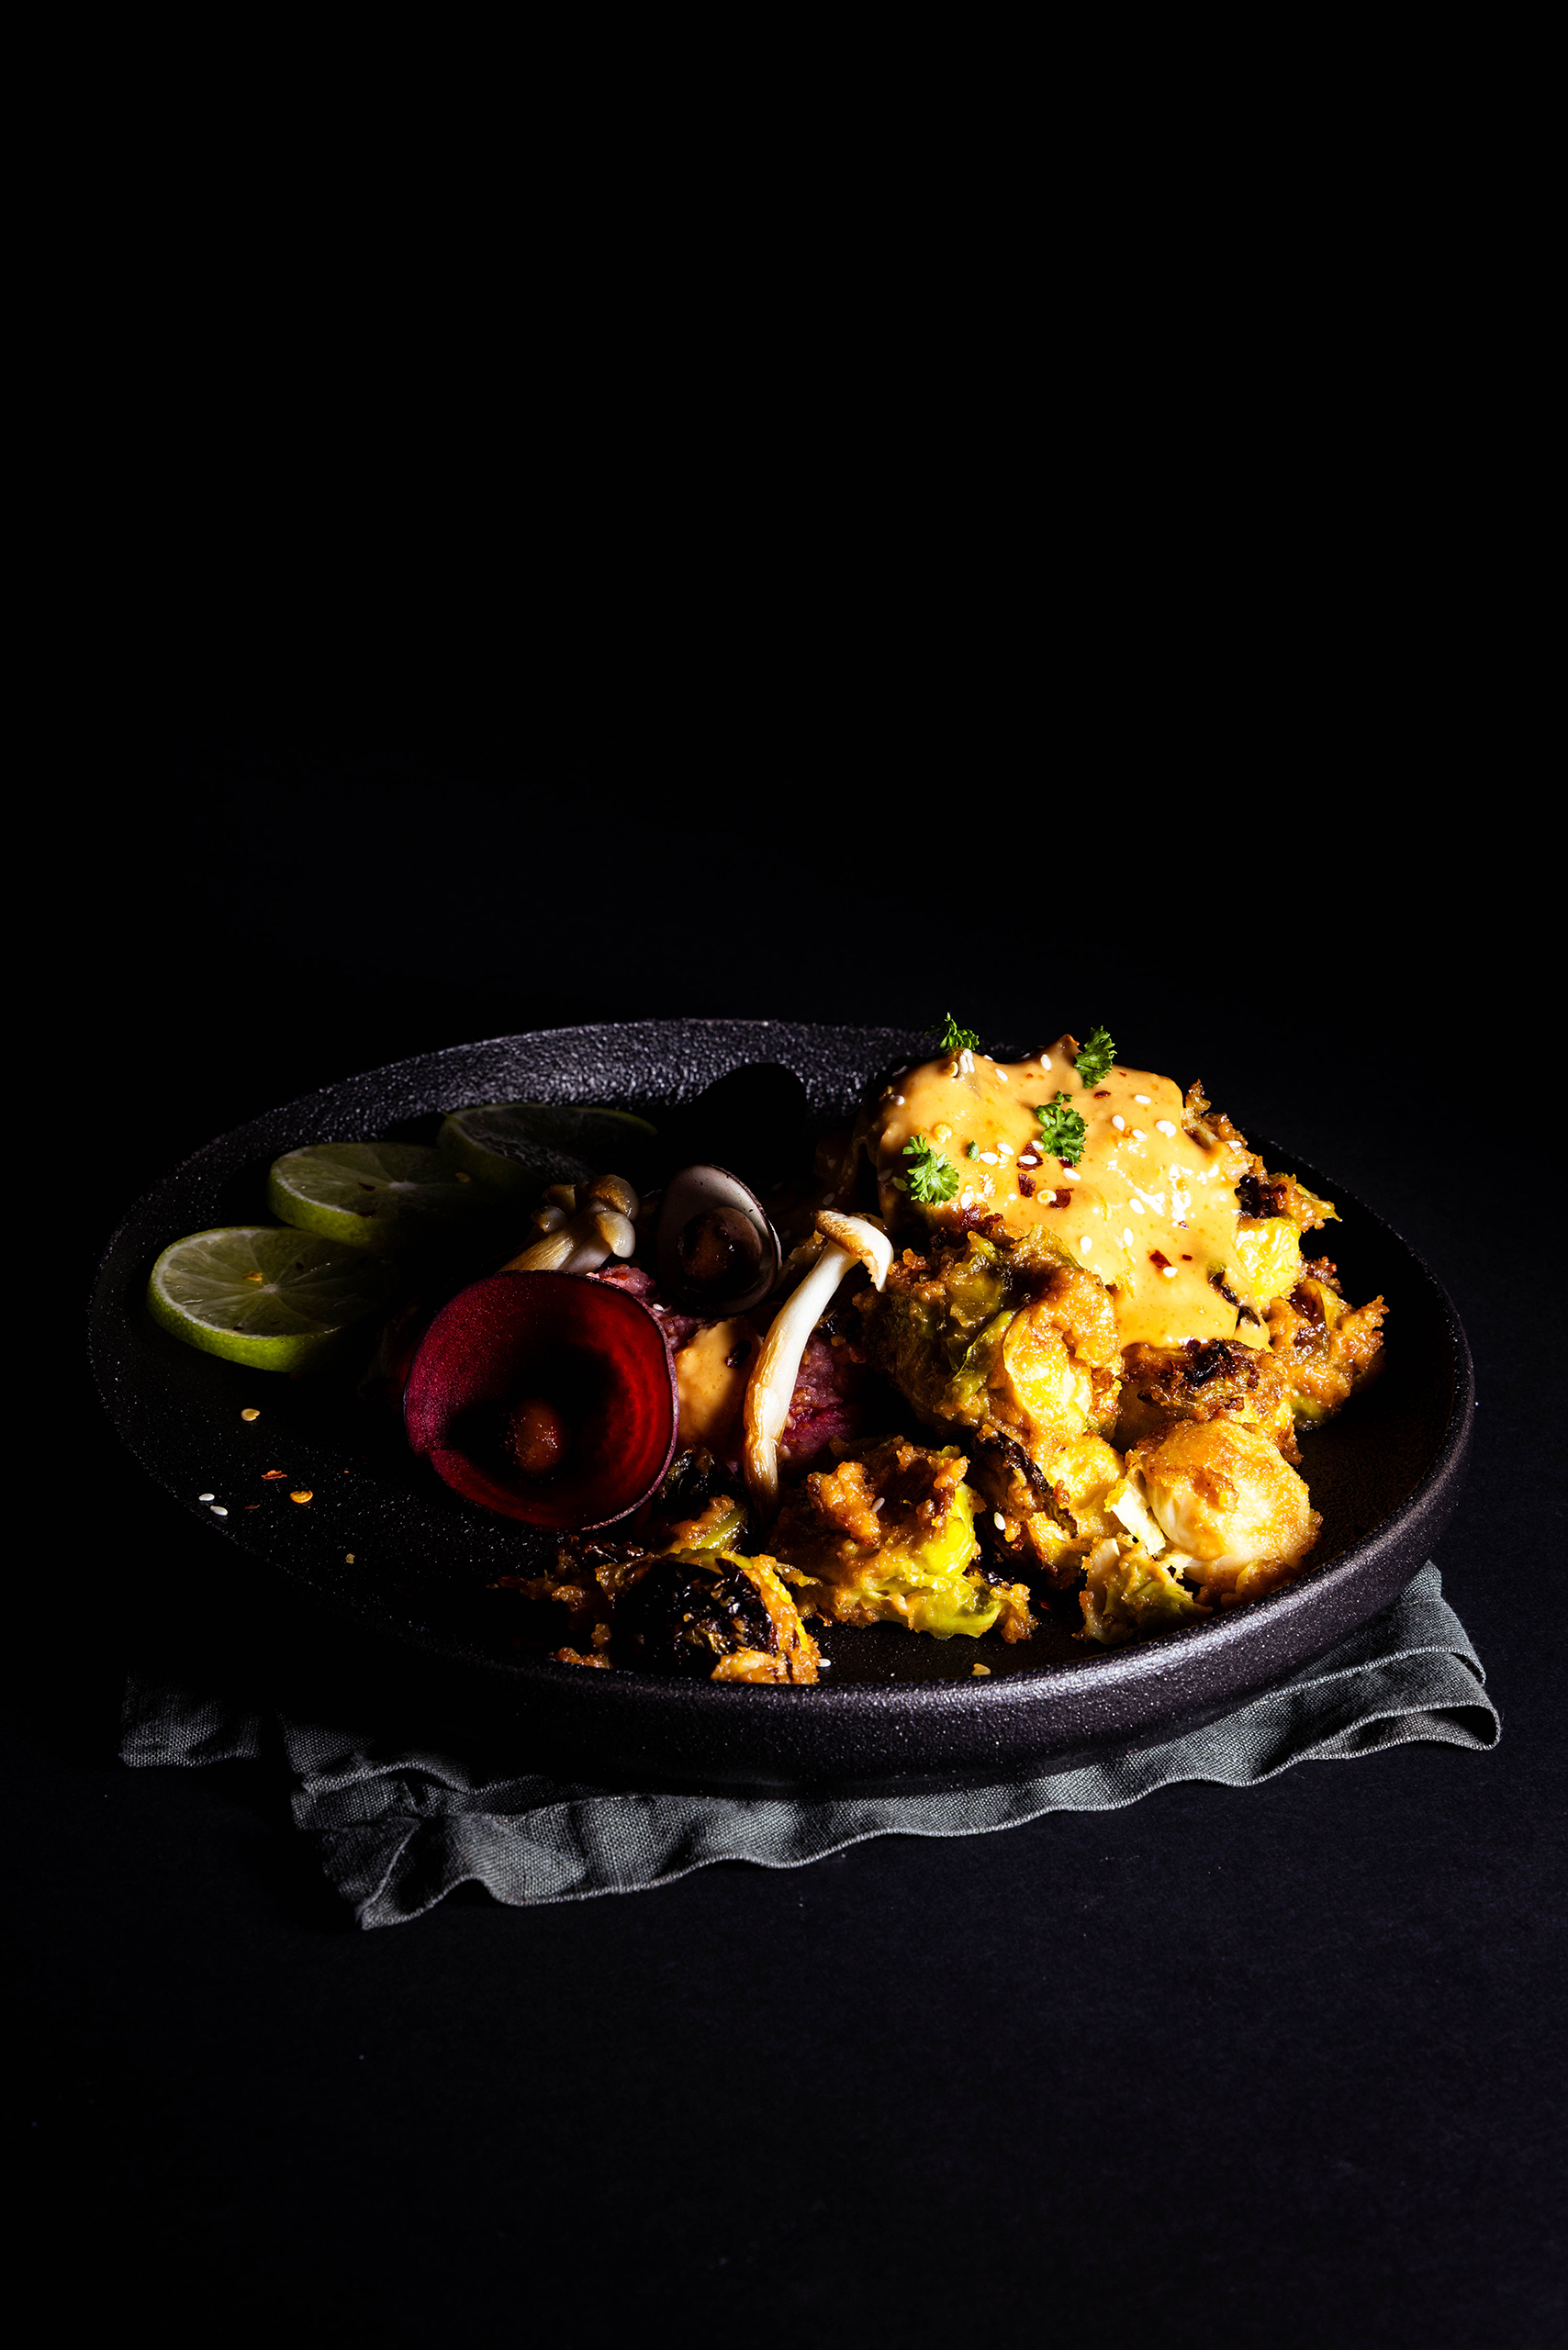
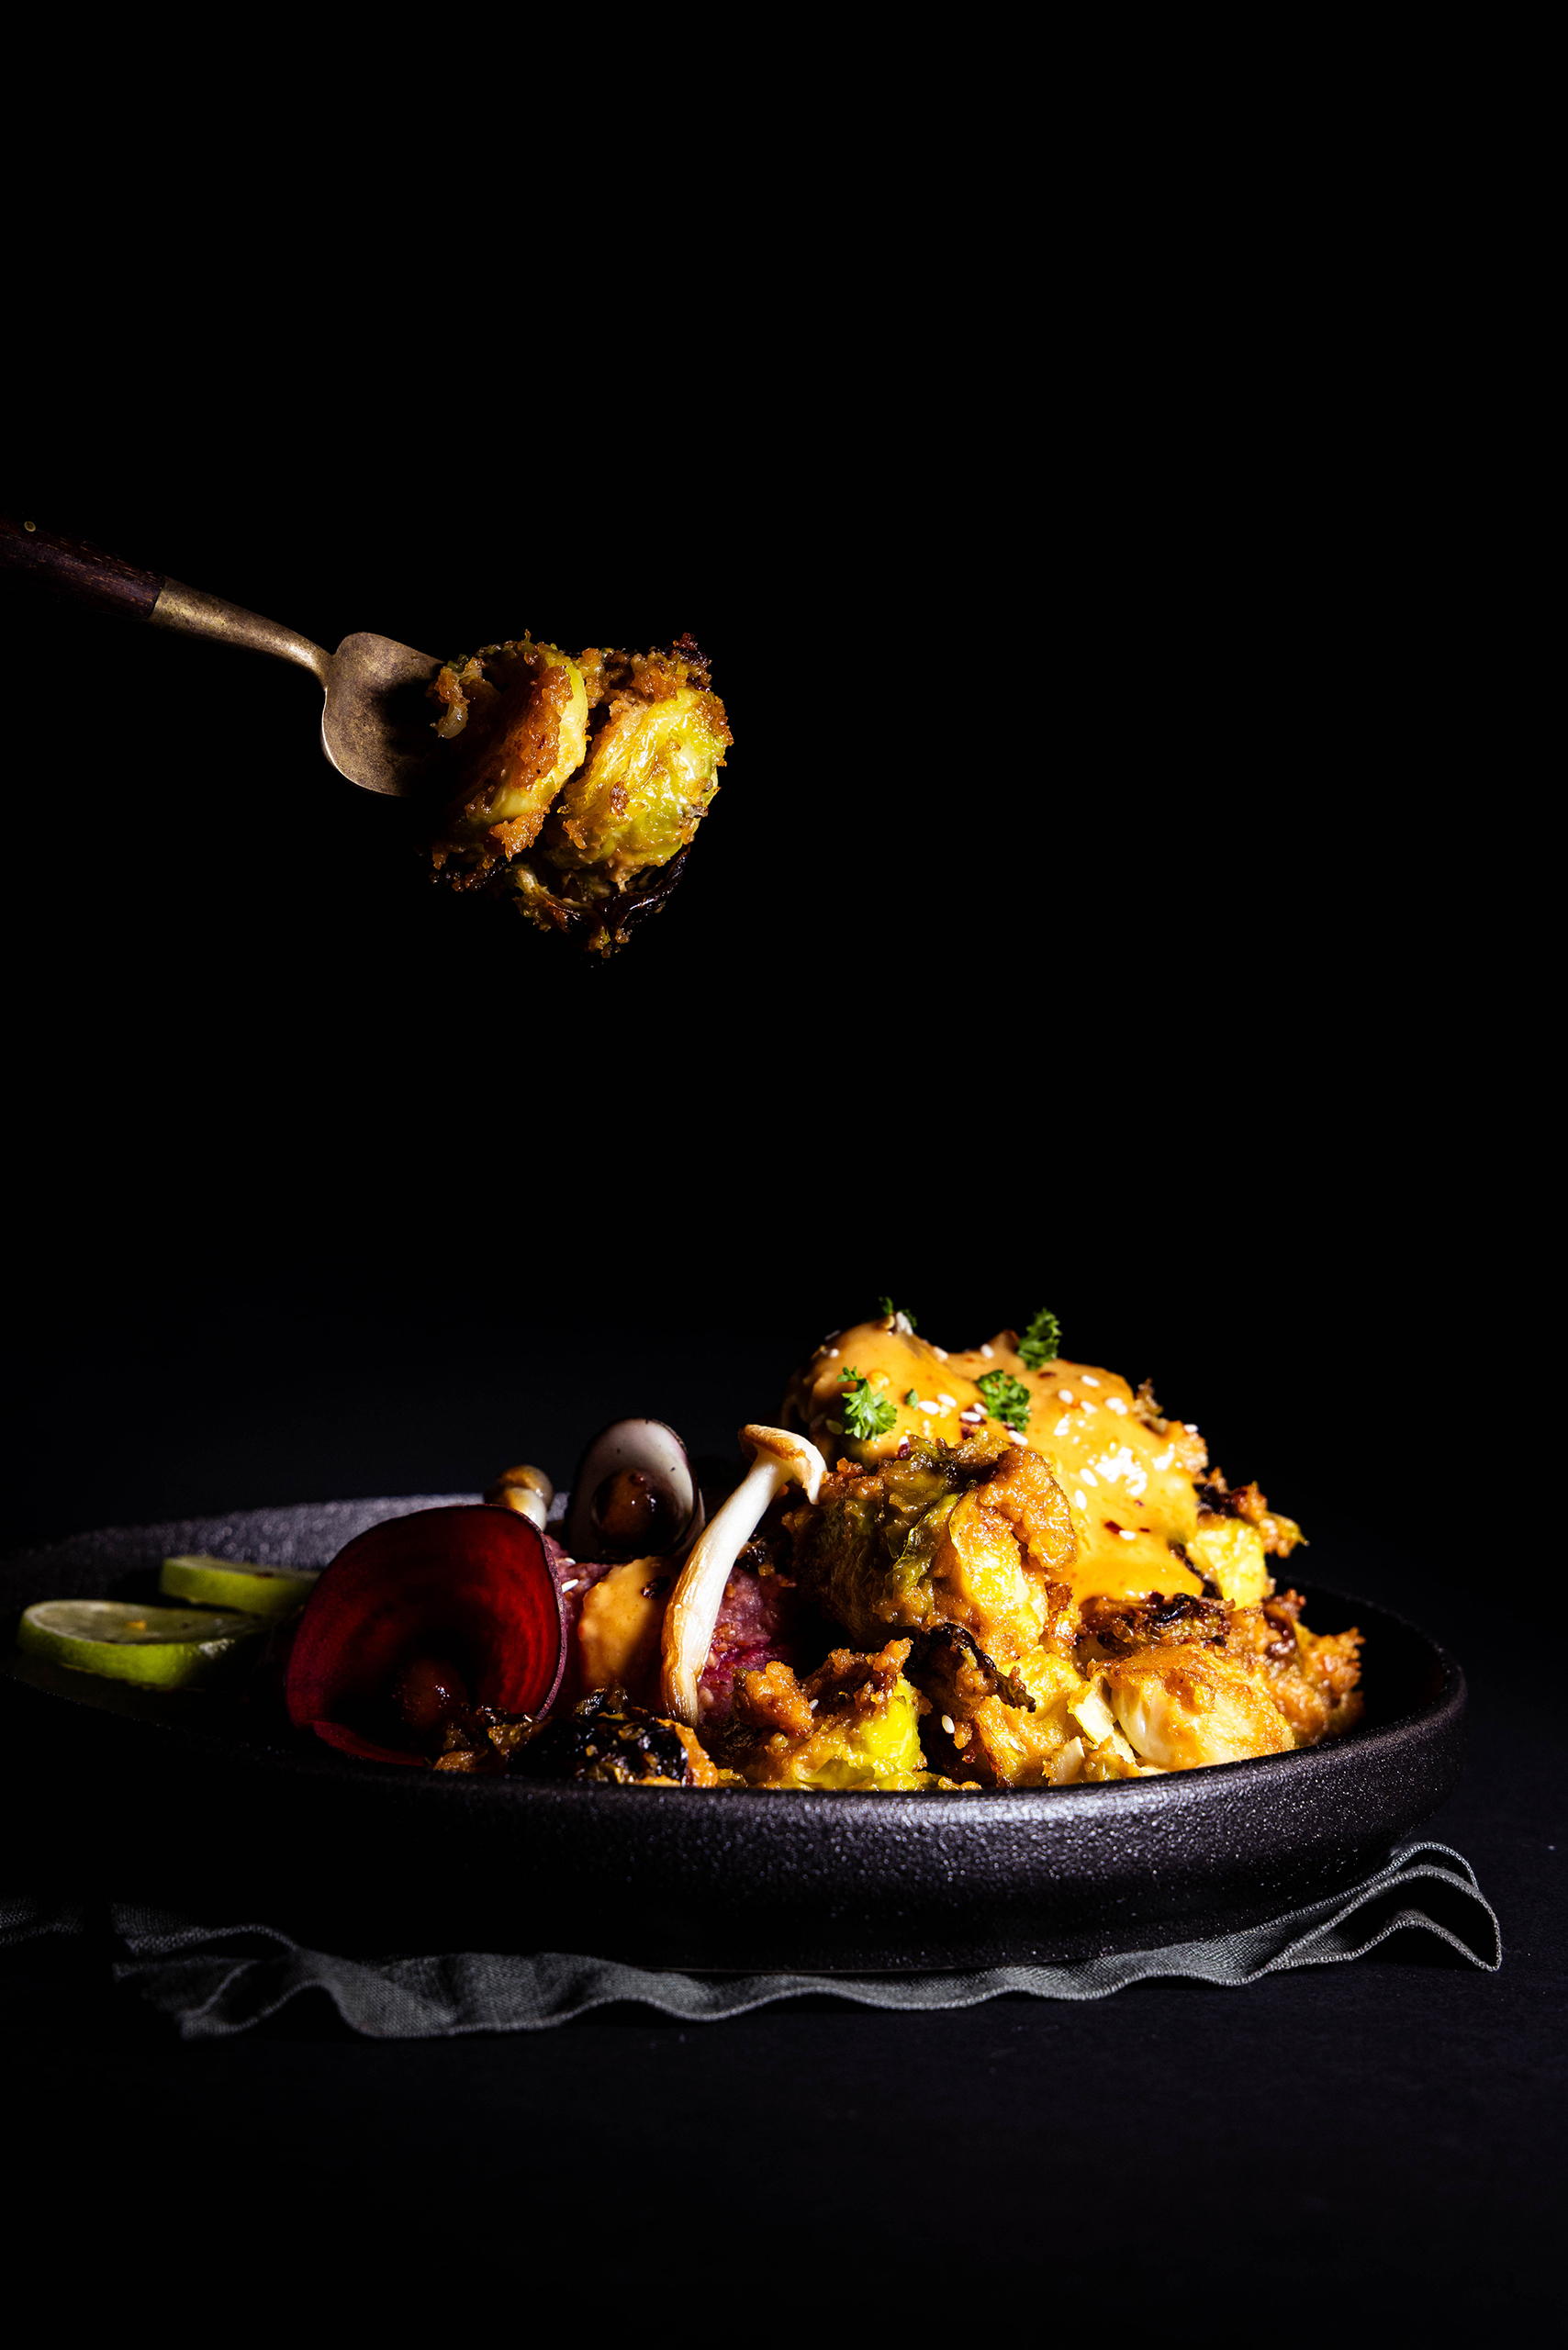
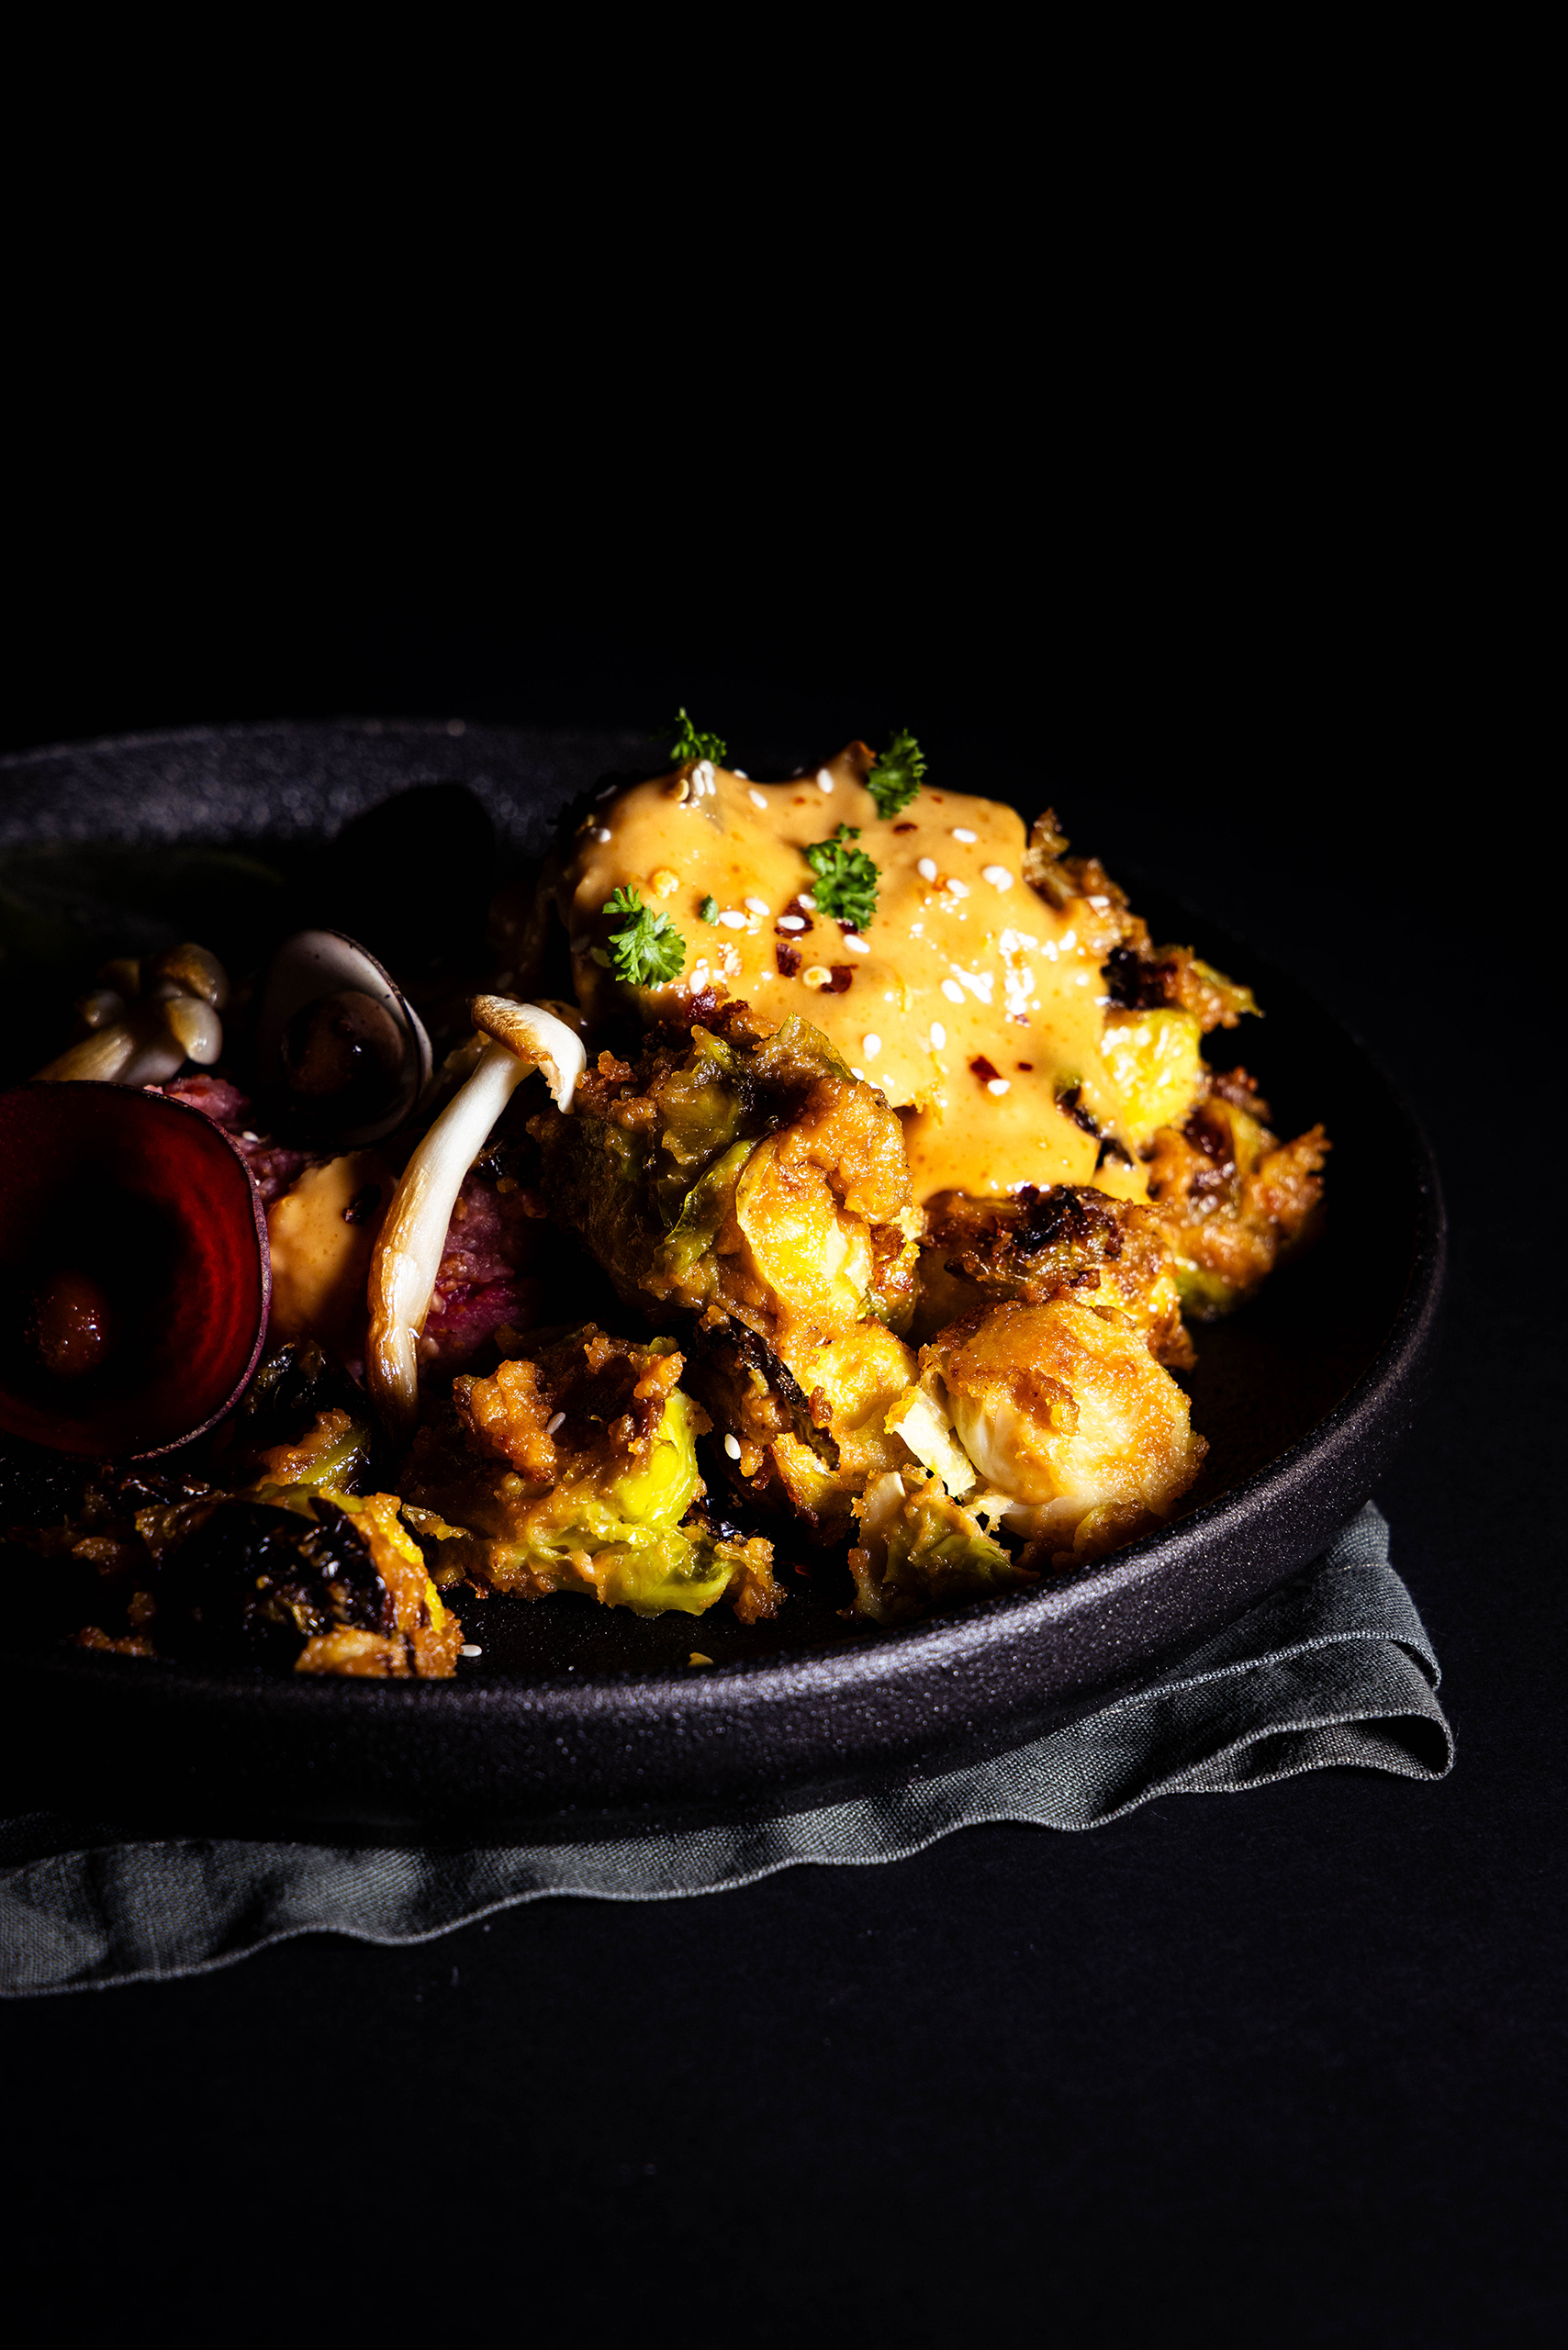
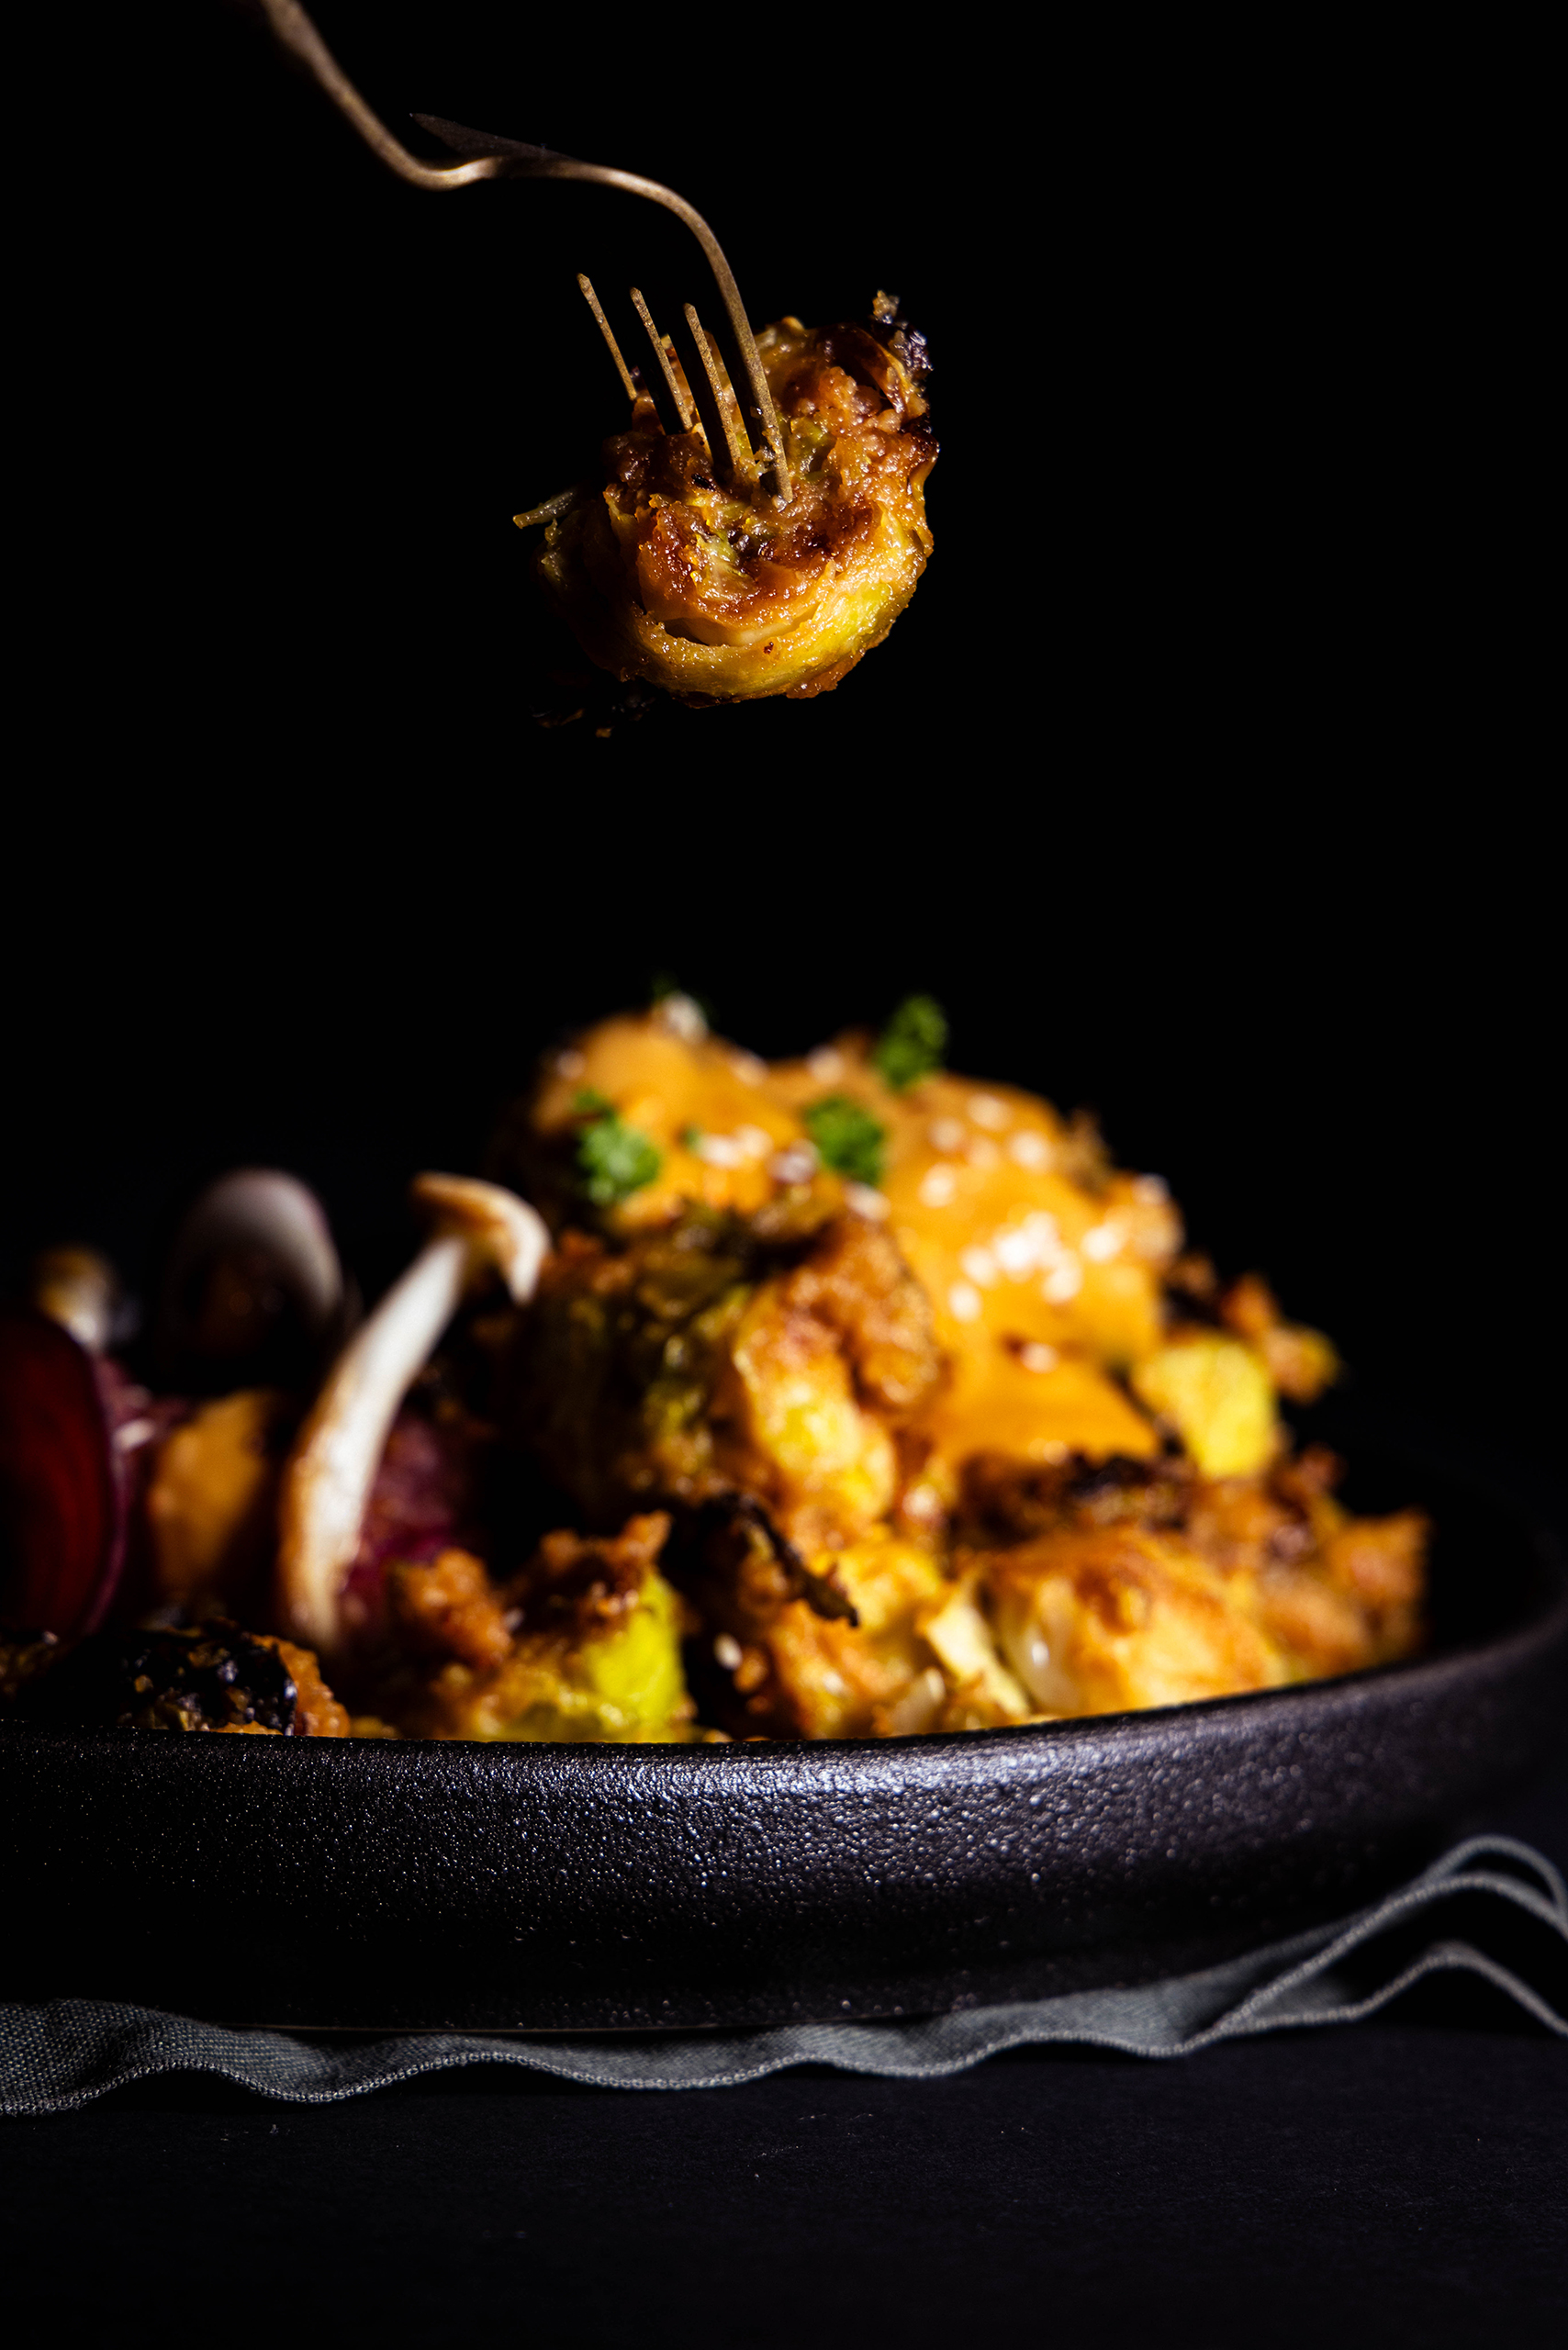
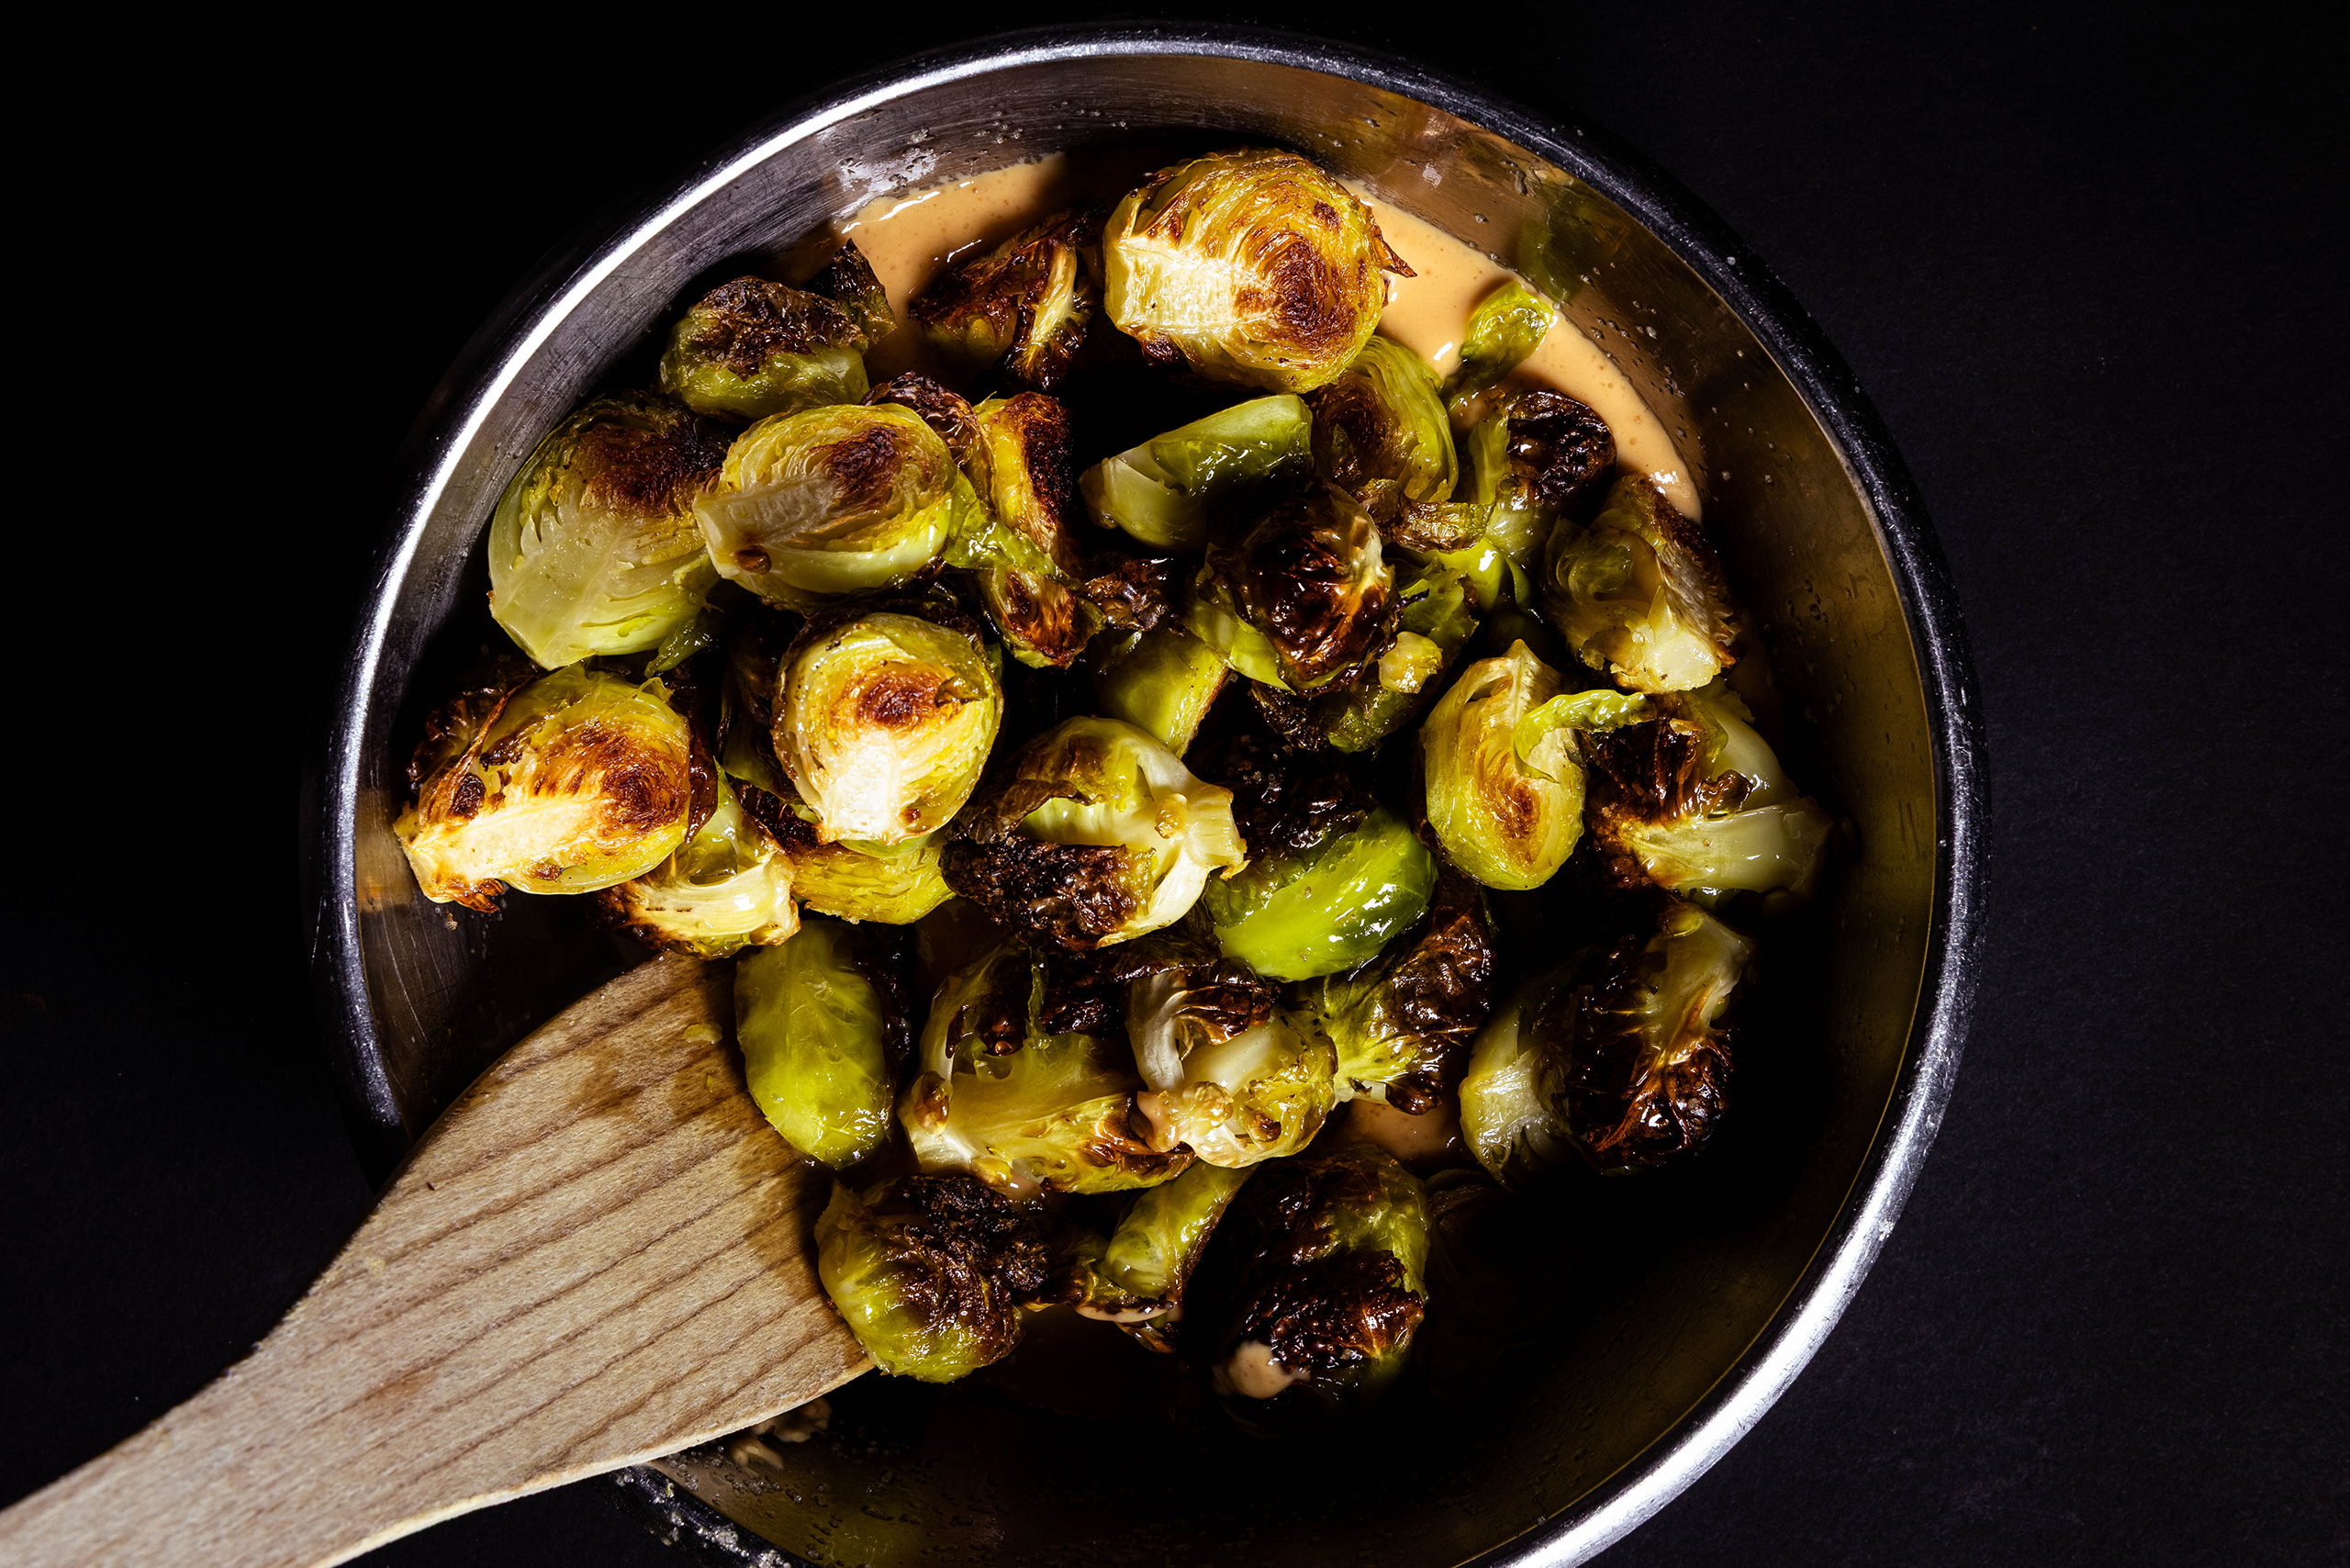
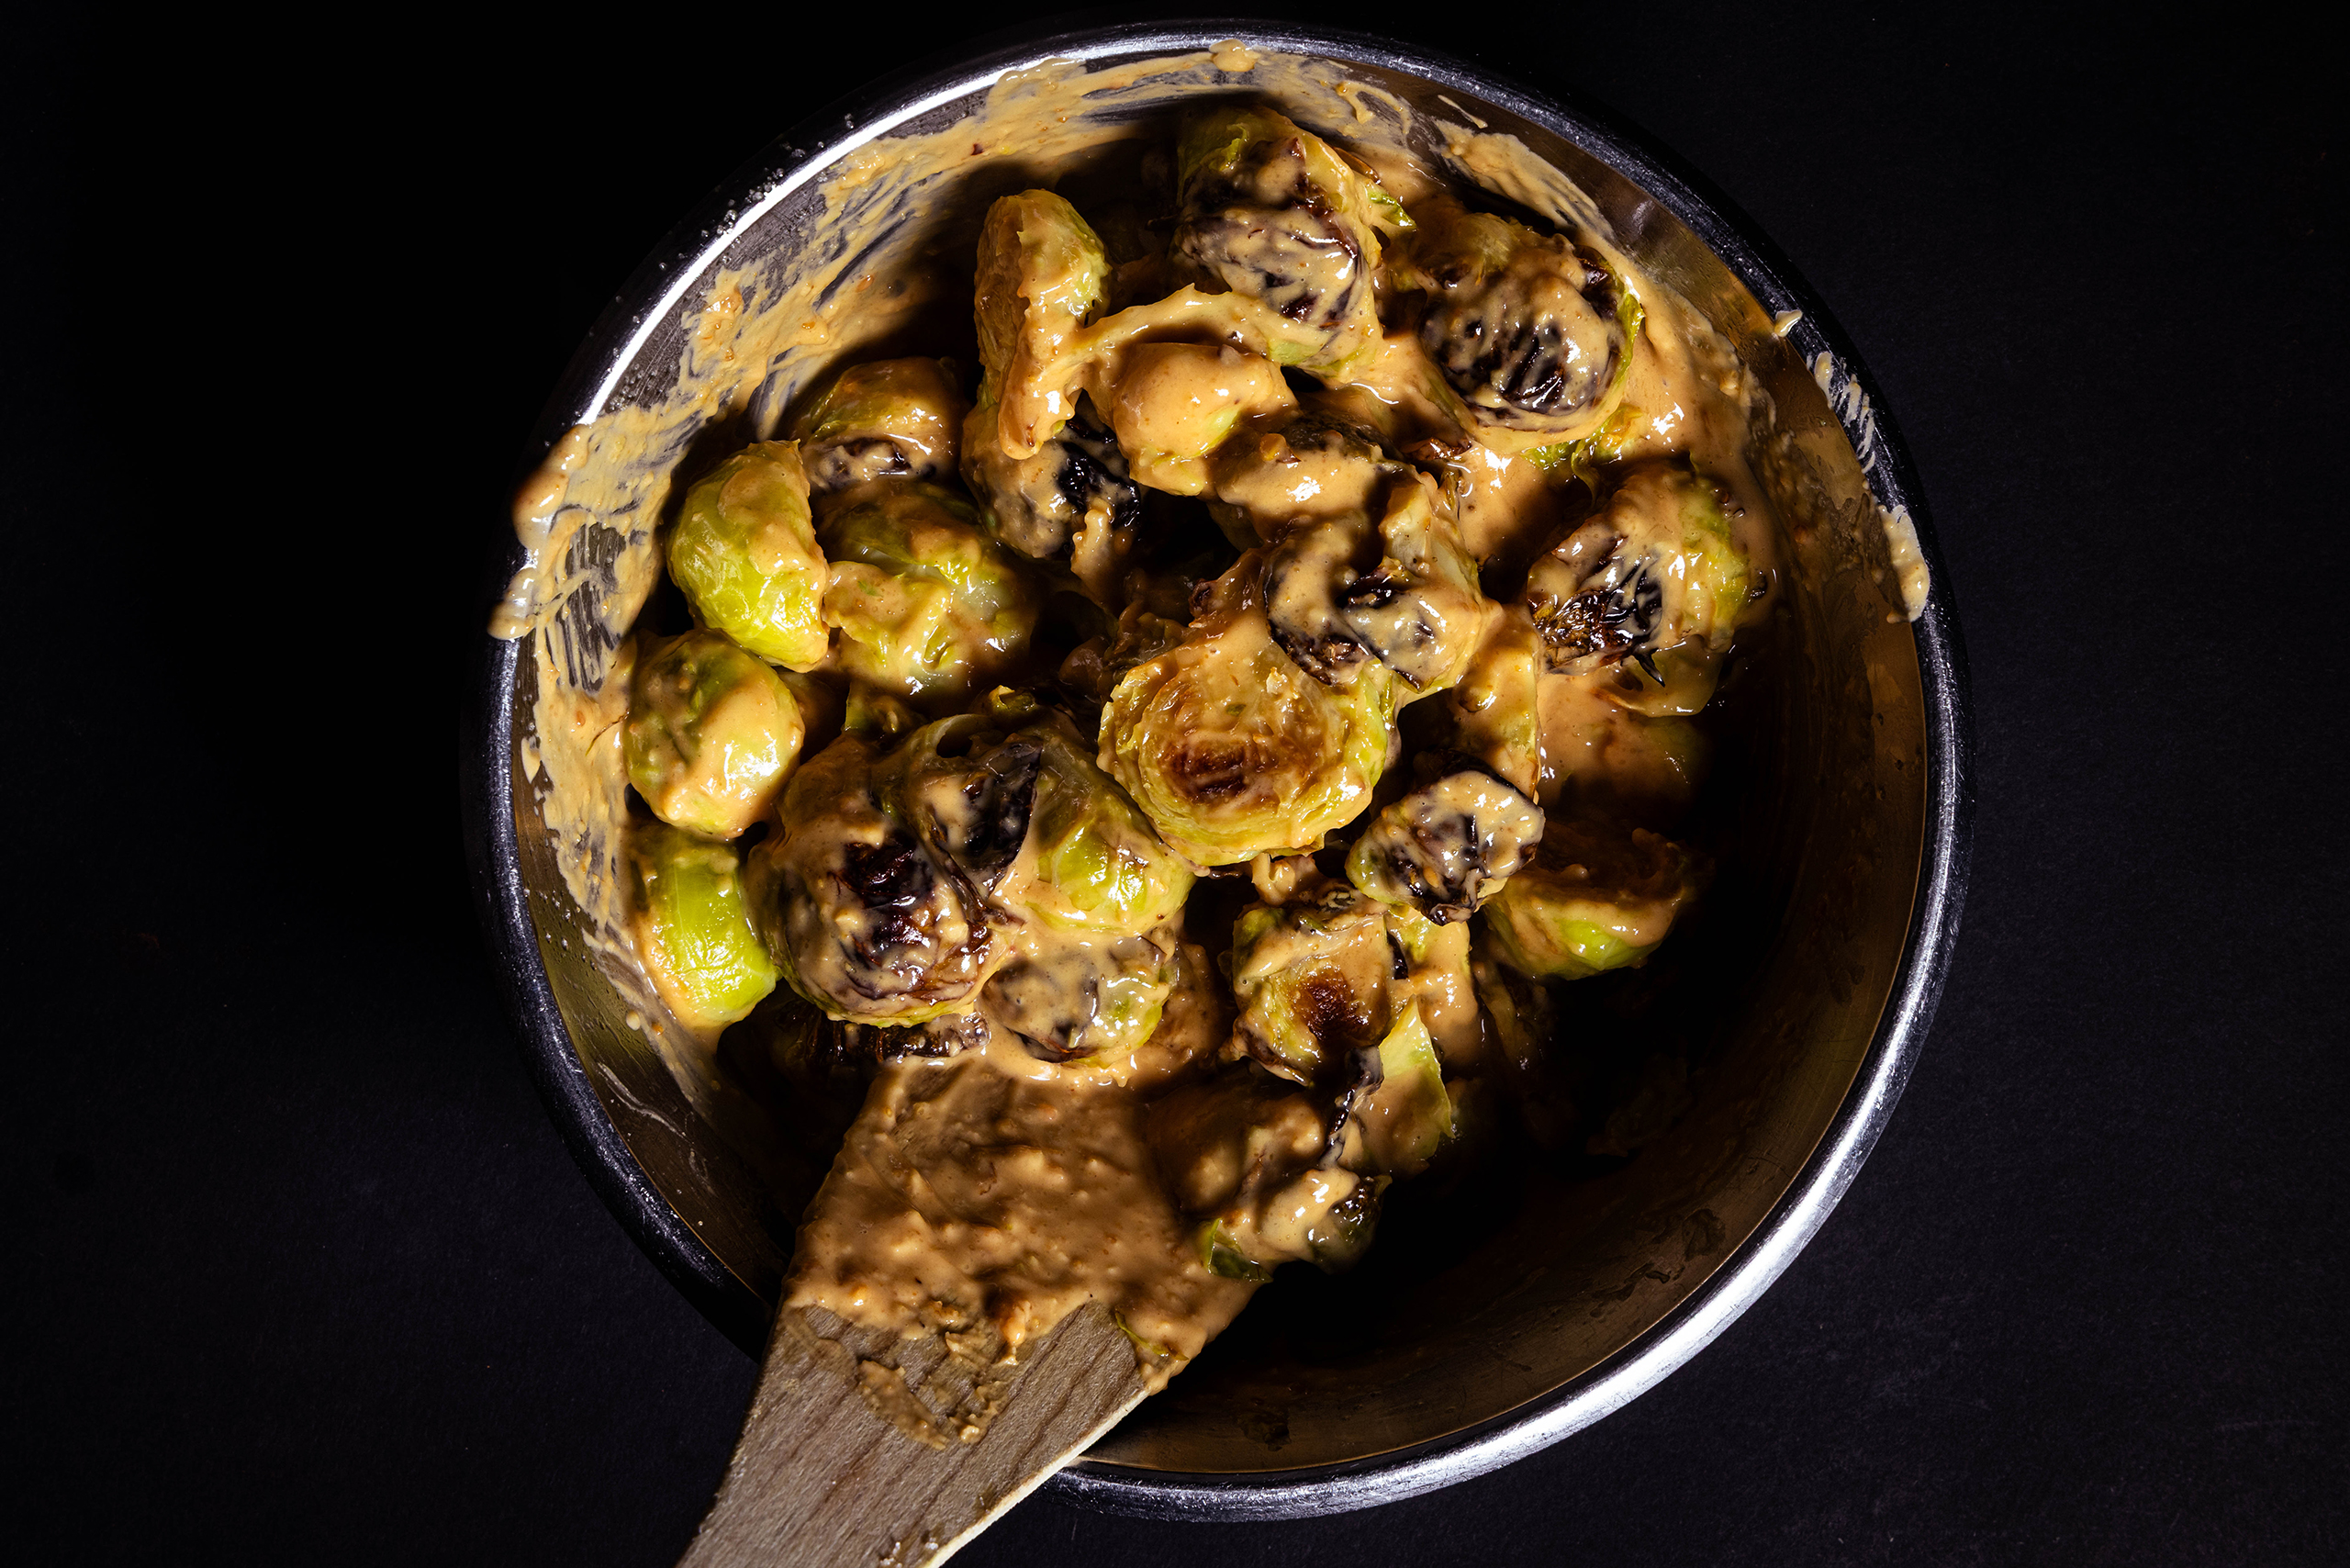
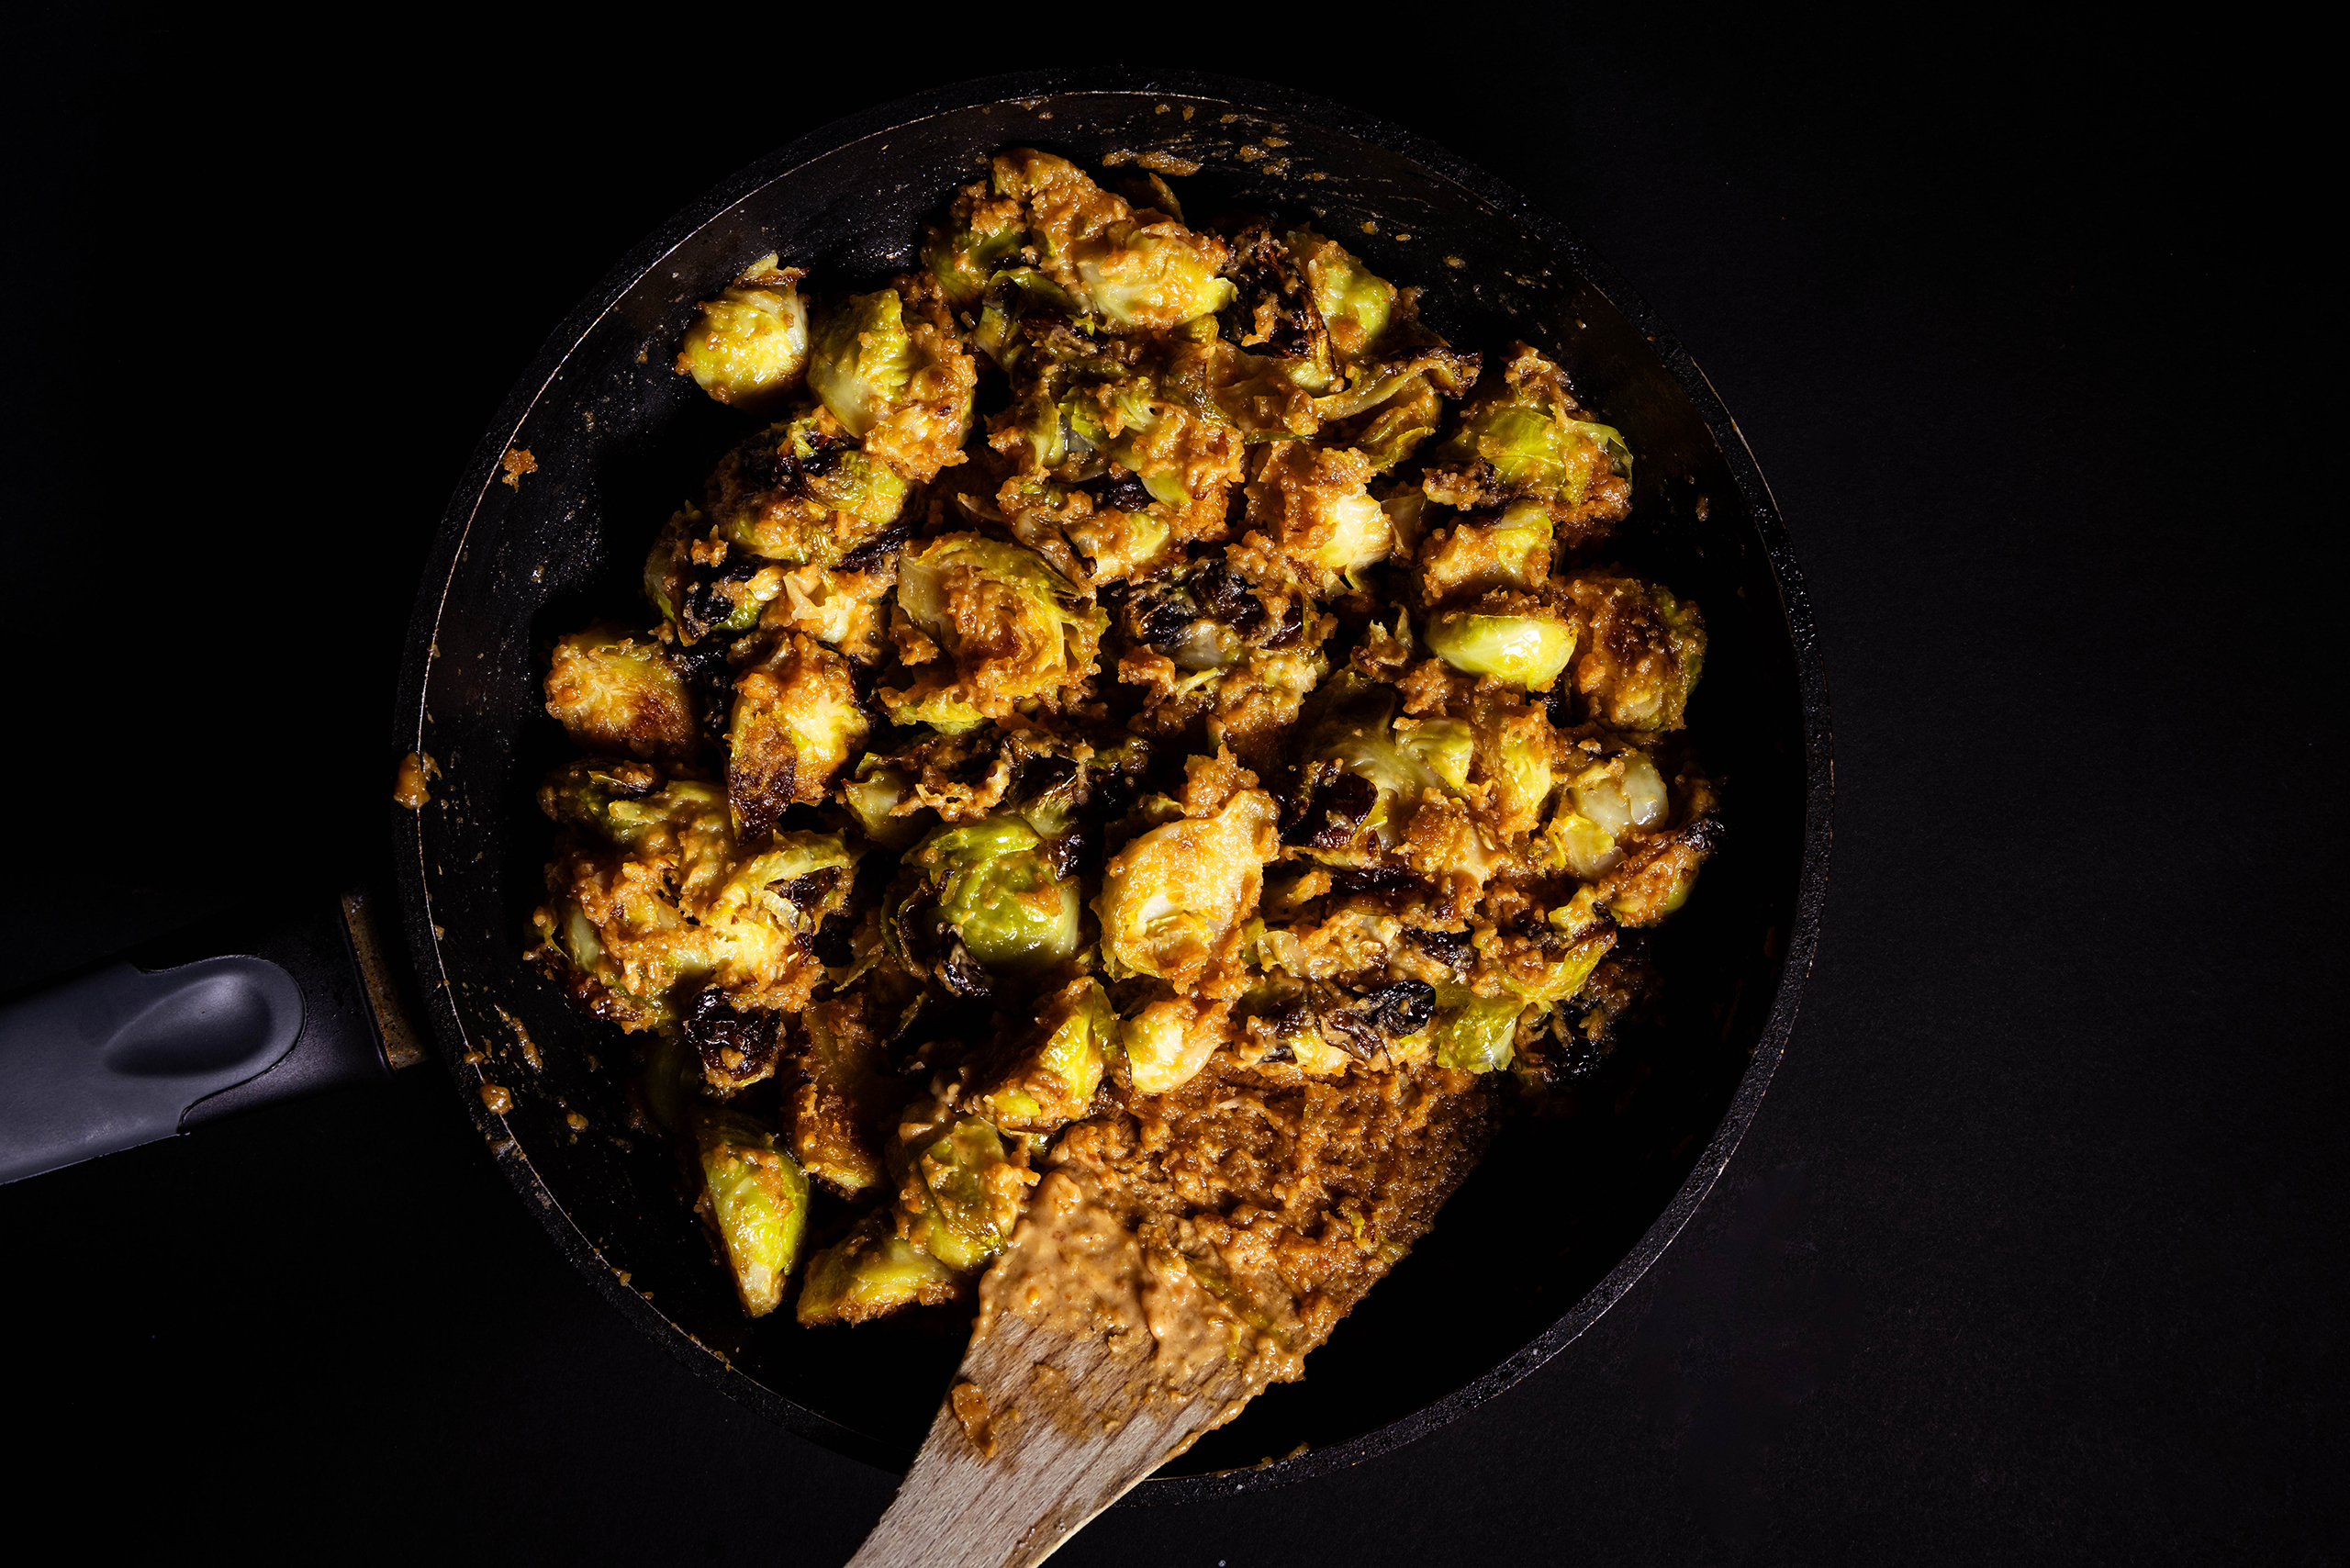
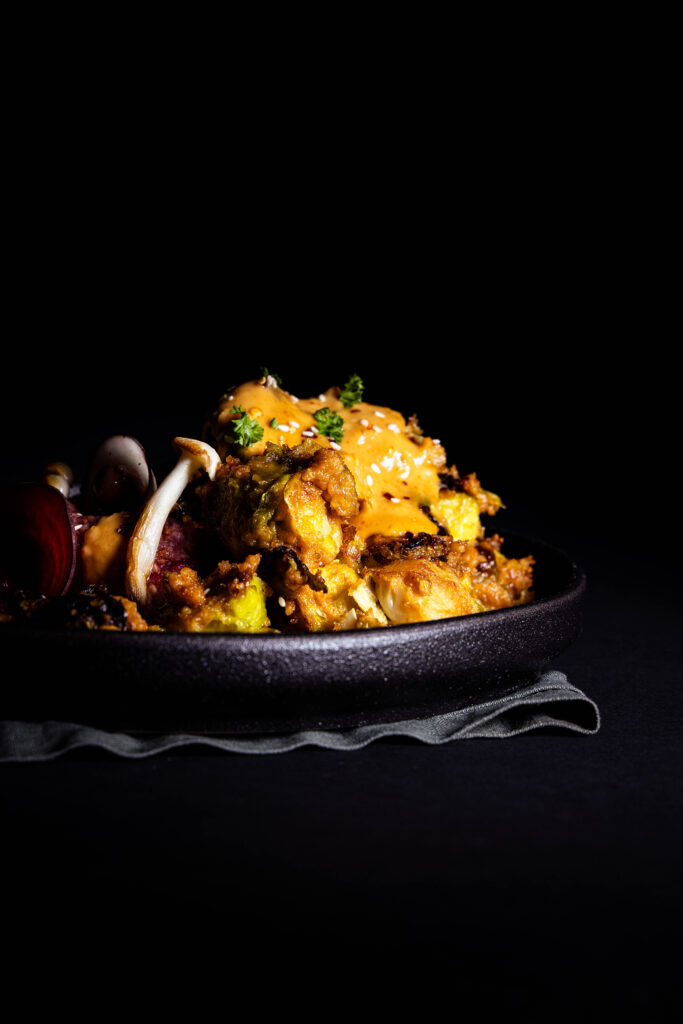
Roasted Brussels sprouts in peanut sauce. Sounds unusual, but I highly recommend it! The slightly bitter, earthy flavours of the Brussels sprouts create a wonderful contrast to the nutty, creamy, and spicy peanut sauce. The result is a harmonious flavour pairing that you wouldn’t expect.
Sometimes I devlope recipe ideas that make me wonder why I didn’t think of them earlier. I could have been enjoying this fantastic combination for much longer! This recipe for Brussels sprouts covered in a creamy, nutty peanut sauce is one of those ideas!
Roasted Brussels sprouts deep-fried in peanut sauce. Sounds unusual, but I highly recommend it!
Brussels sprouts in peanut sauce – a dish that surprises
This is a dish that surprises – in a good way. The small, often underestimated winter vegetable is given a whole new dimension by the creamy, aromatic peanut sauce. Where Brussels sprouts are usually accompanied by hearty accompaniments, here they encounter a warm, slightly unusual flavor that showcases their best qualities. This combination elevates Brussels sprouts to a new level: warm, savory, creamy, and with a touch of freshness.
Peanut Brussels sprouts – a dish that surprises
Brussels sprouts in peanut sauce – perfect as a main component, as a side dish, in bowls and with Asian dishes
This Brussels sprouts recipe is not only incredibly delicious, but also very versatile:
As the main component of a dish, for example, on rice, bulgur, or buckwheat groats.
As a side dish to hearty, savoury meals. The intense peanut sauce adds a fantastic twist to many dishes.
In bowls. A flavorful highlight with rice, salad, raw vegetables, and other bowl components.
With Asian dishes. Satay sauce (peanut sauce) is an important part of some Asian cuisines. It’s especially popular in Singapore. With my Brussels sprouts in satay sauce, you can create amazing fusion dishes.
As a snack. This recipe is so delicious that you can simply enjoy the peanut-roasted Brussels sprouts on their own.
Perfect as a main component with various side dishes.
Do Brussels sprouts lead to disagreement at your table? Try them like this!
Team Brussels Sprouts? Or Team “Keep that away from me!”? If you have both of them at home, try feeding this recipe to the Brussels sprout haters! It’s guaranteed to change a few opinions! And anyone who already likes Brussels sprouts will love this recipe!
Does Brussels sprouts divide opinions at your table? Try them like this!
More vegan recipes with Brussels sprouts
You might also want to try this tasty Brussel sprouts recipe. Right here on Daily Vegan.
Please show me your Brussels sprouts in peanut sauce
Please follow me on Instagram or Facebook. And I’d be delighted if you made my yummy vegan Brussels sprouts in peanut sauce and posted a photo of them, tagging my account. Because I always find it really great and exciting to see how my recipes have been prepared in other kitchens!
Please show me your Brussels sprouts in peanut sauce sometime.
Roasted Brussels Sprouts in Peanut Sauce – Preparation in Photos
In the following pictures, you’ll see step-by-step how I prepare this dish. Then we’ll continue directly with the recipe.
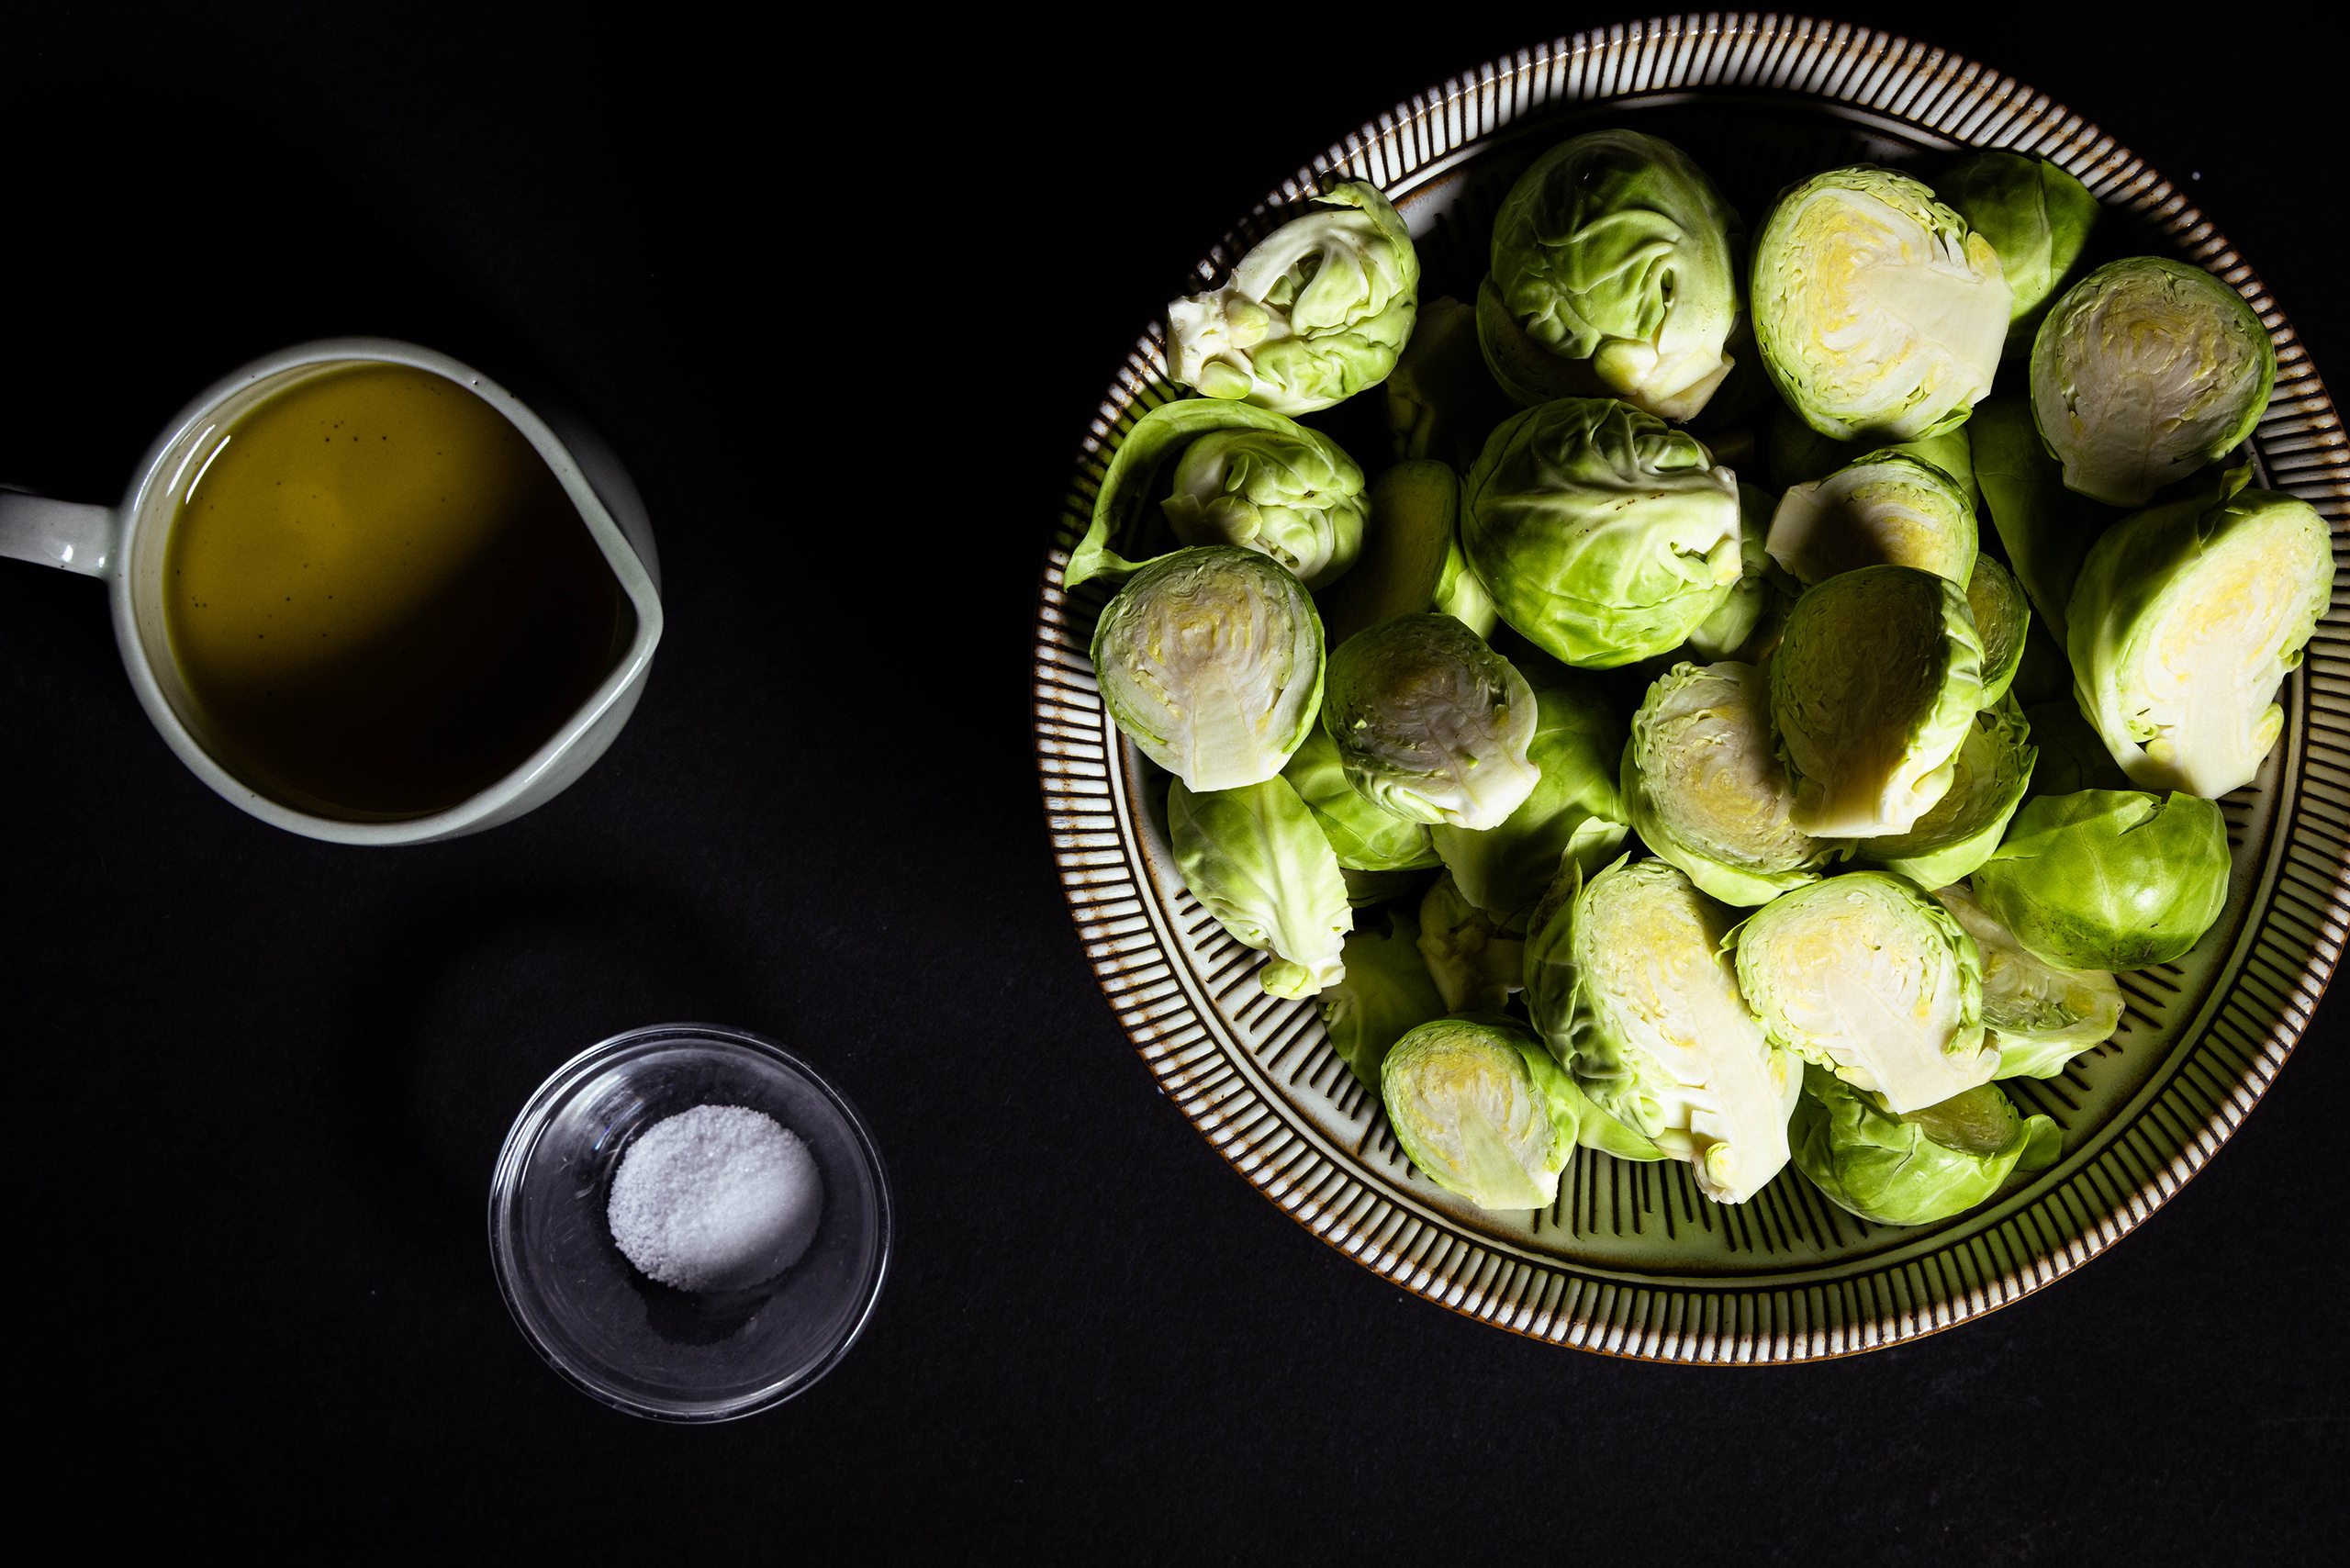
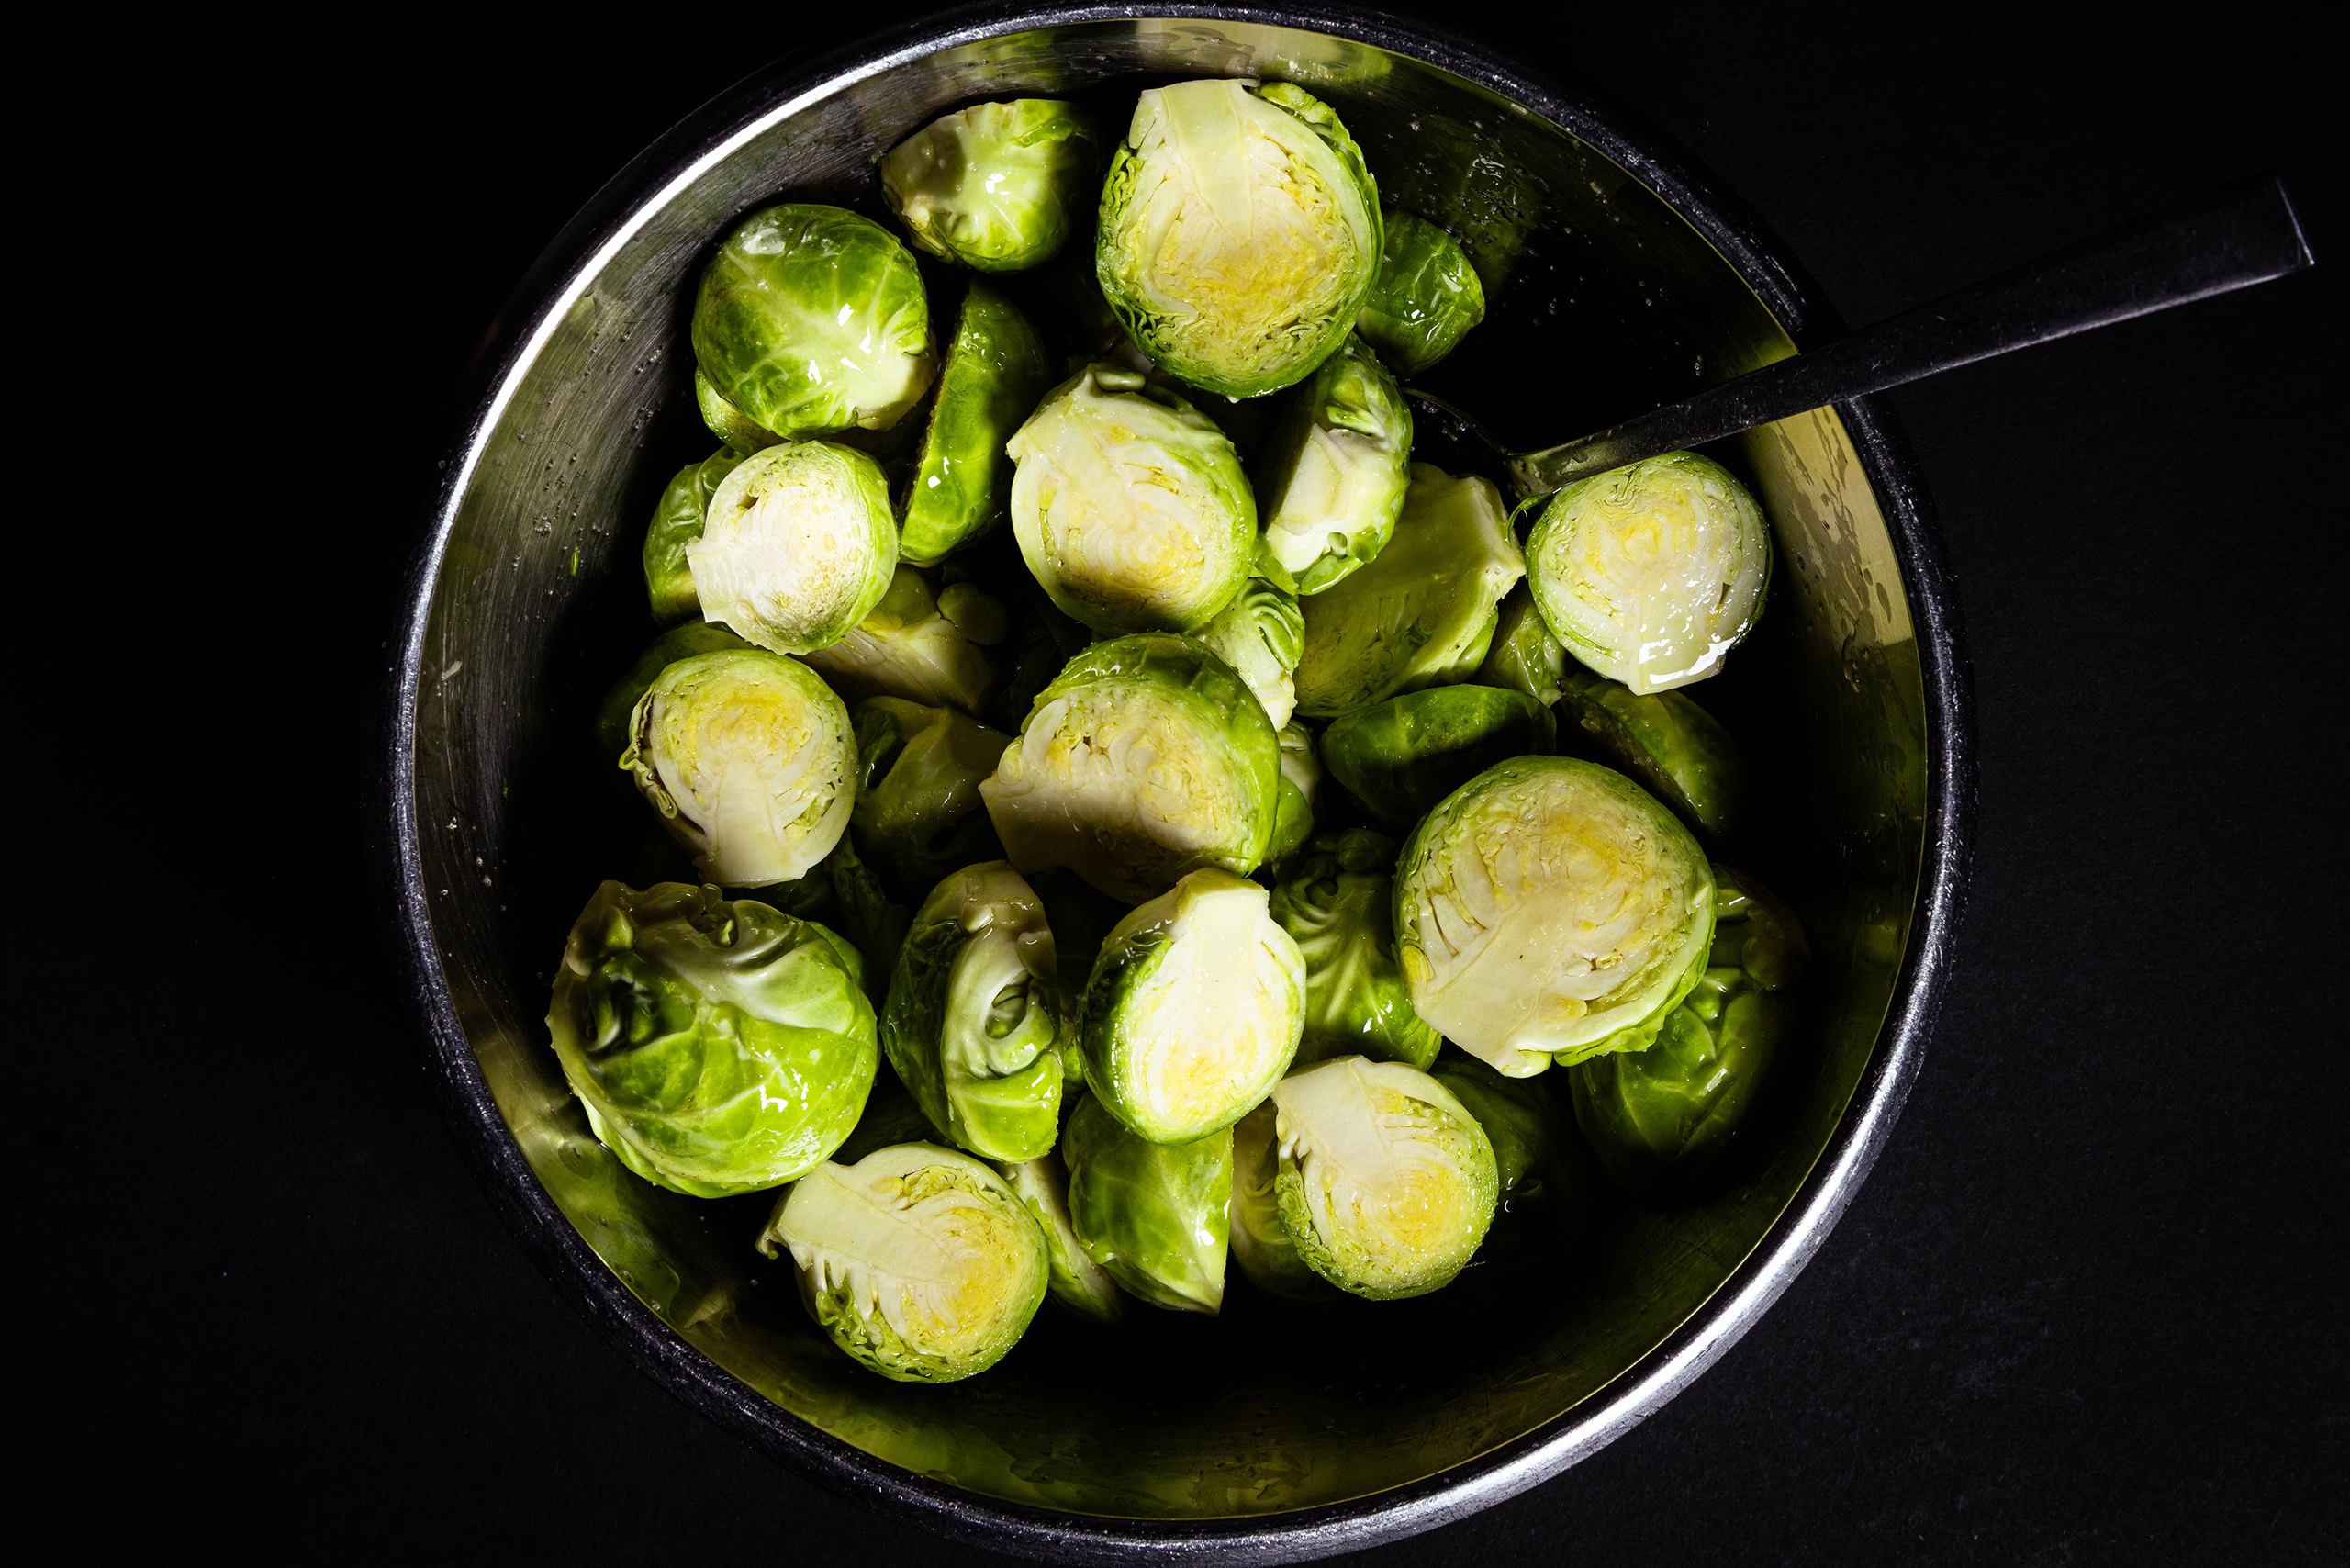
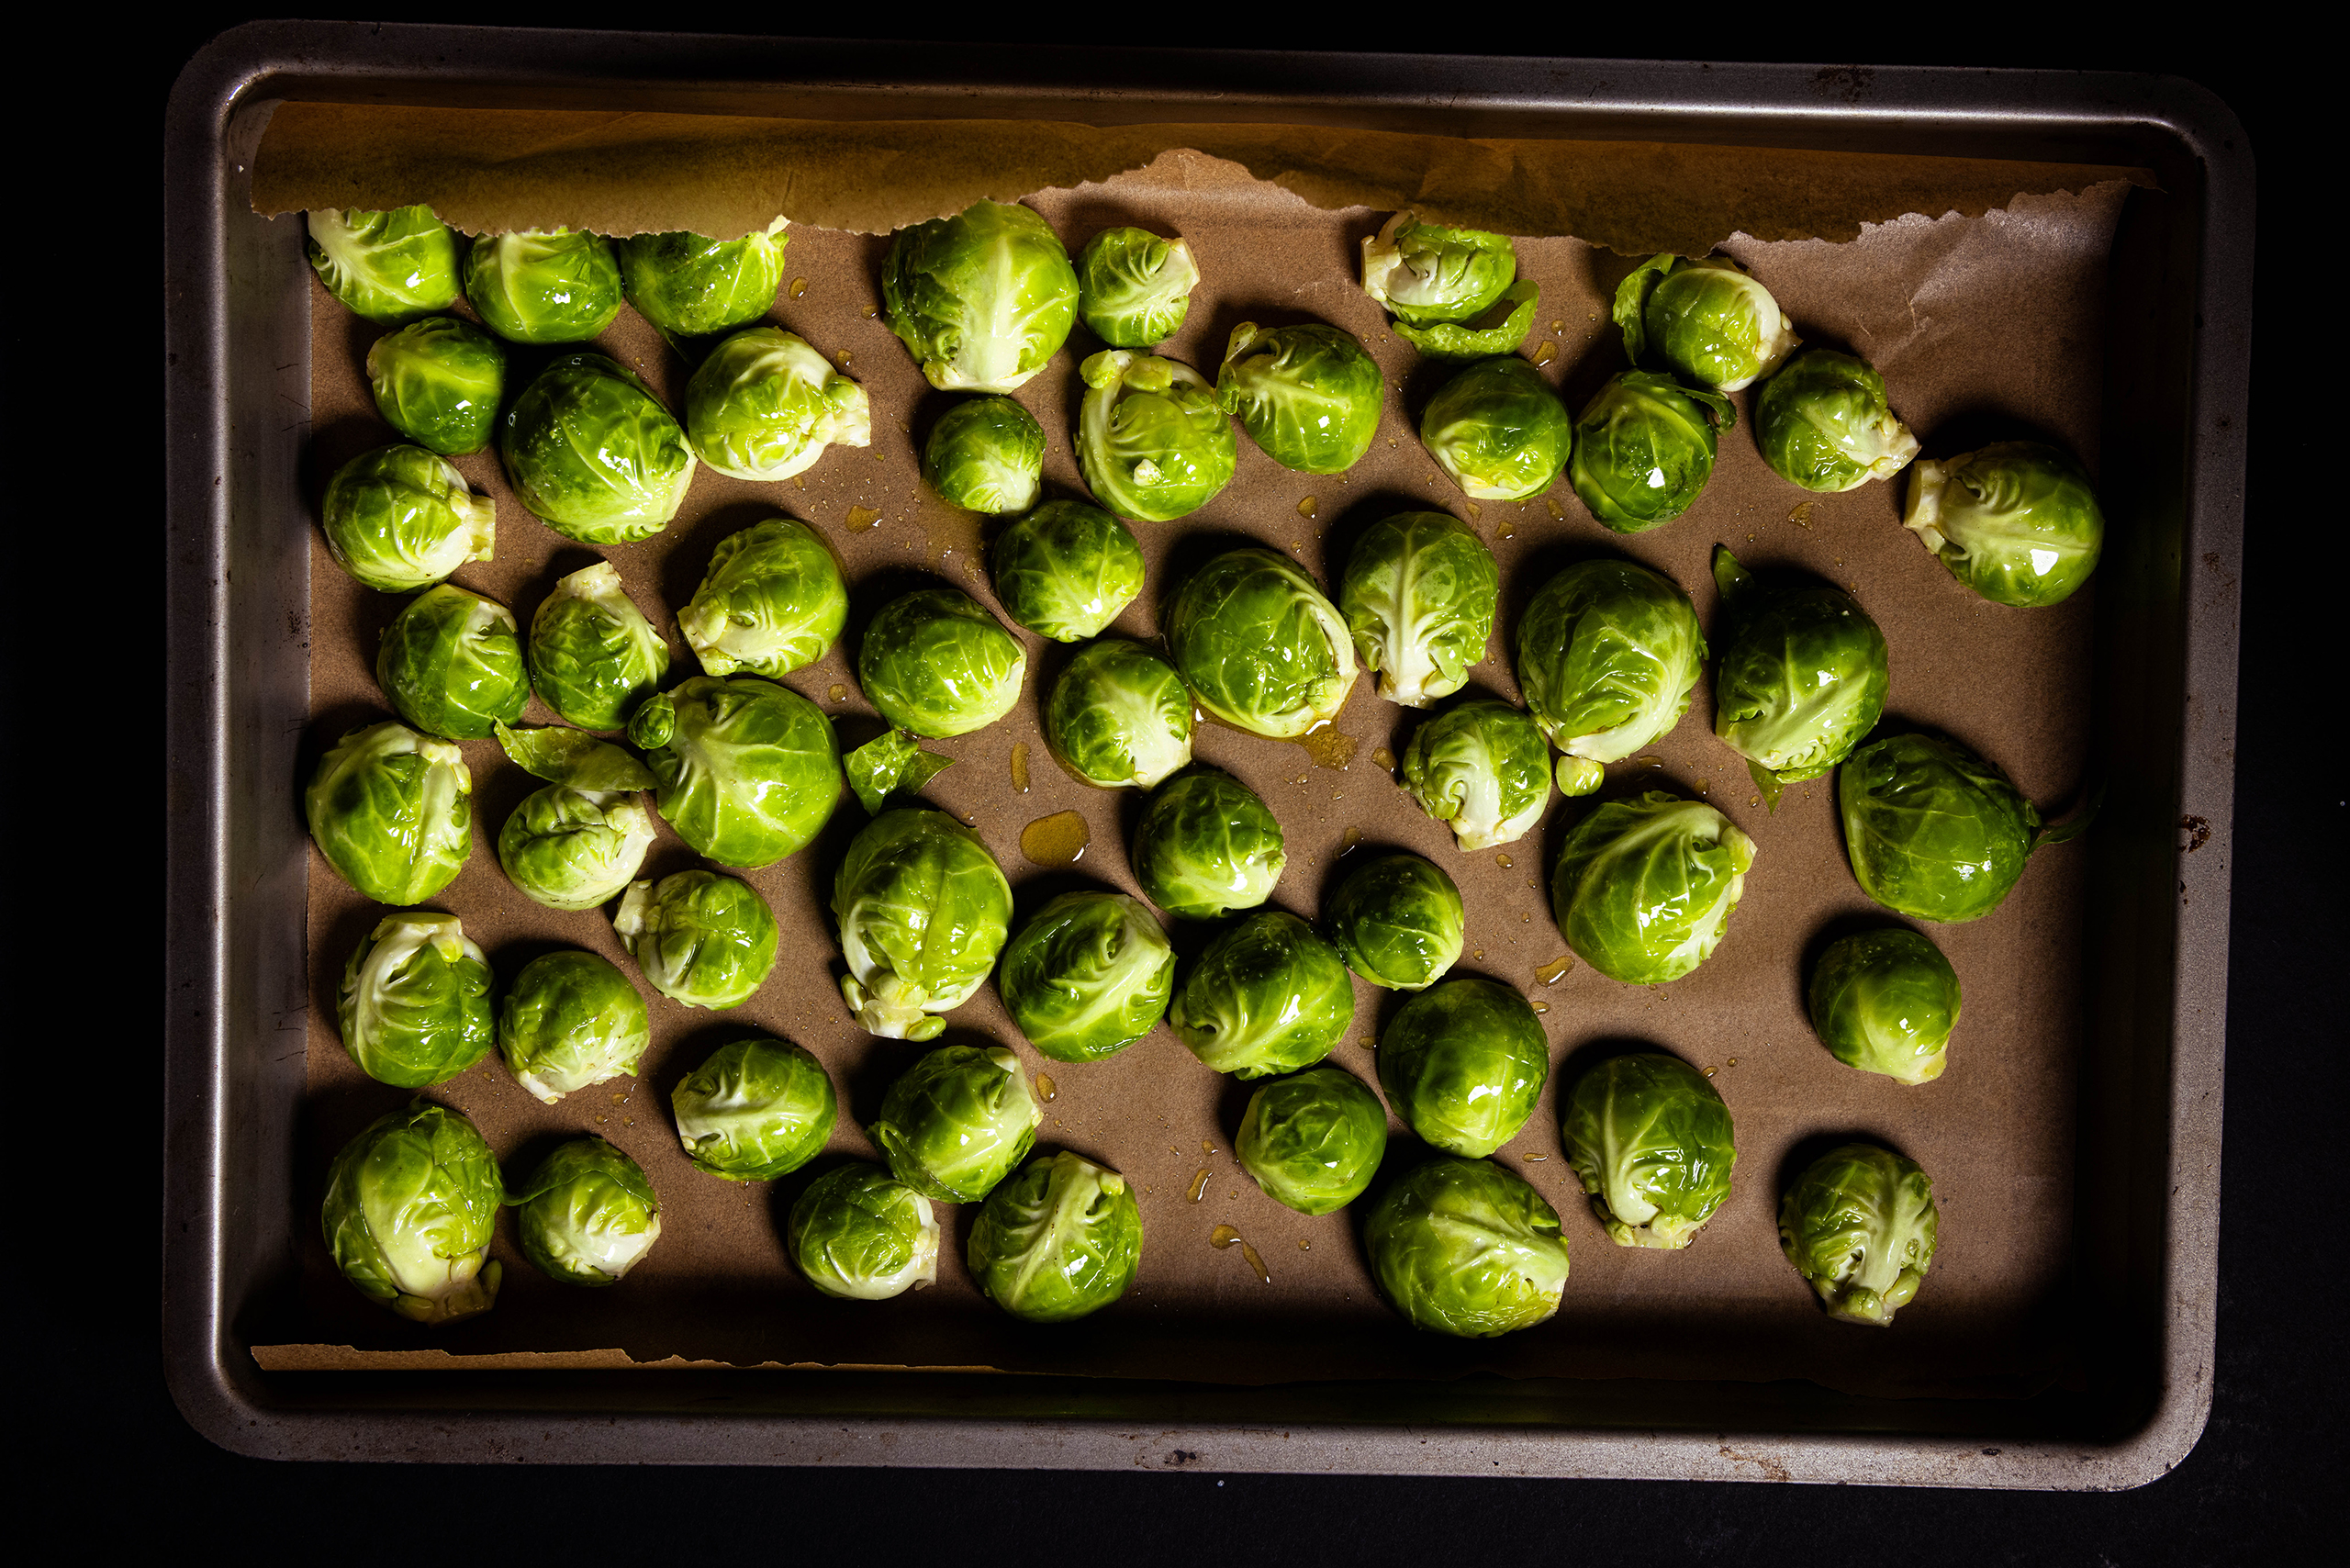
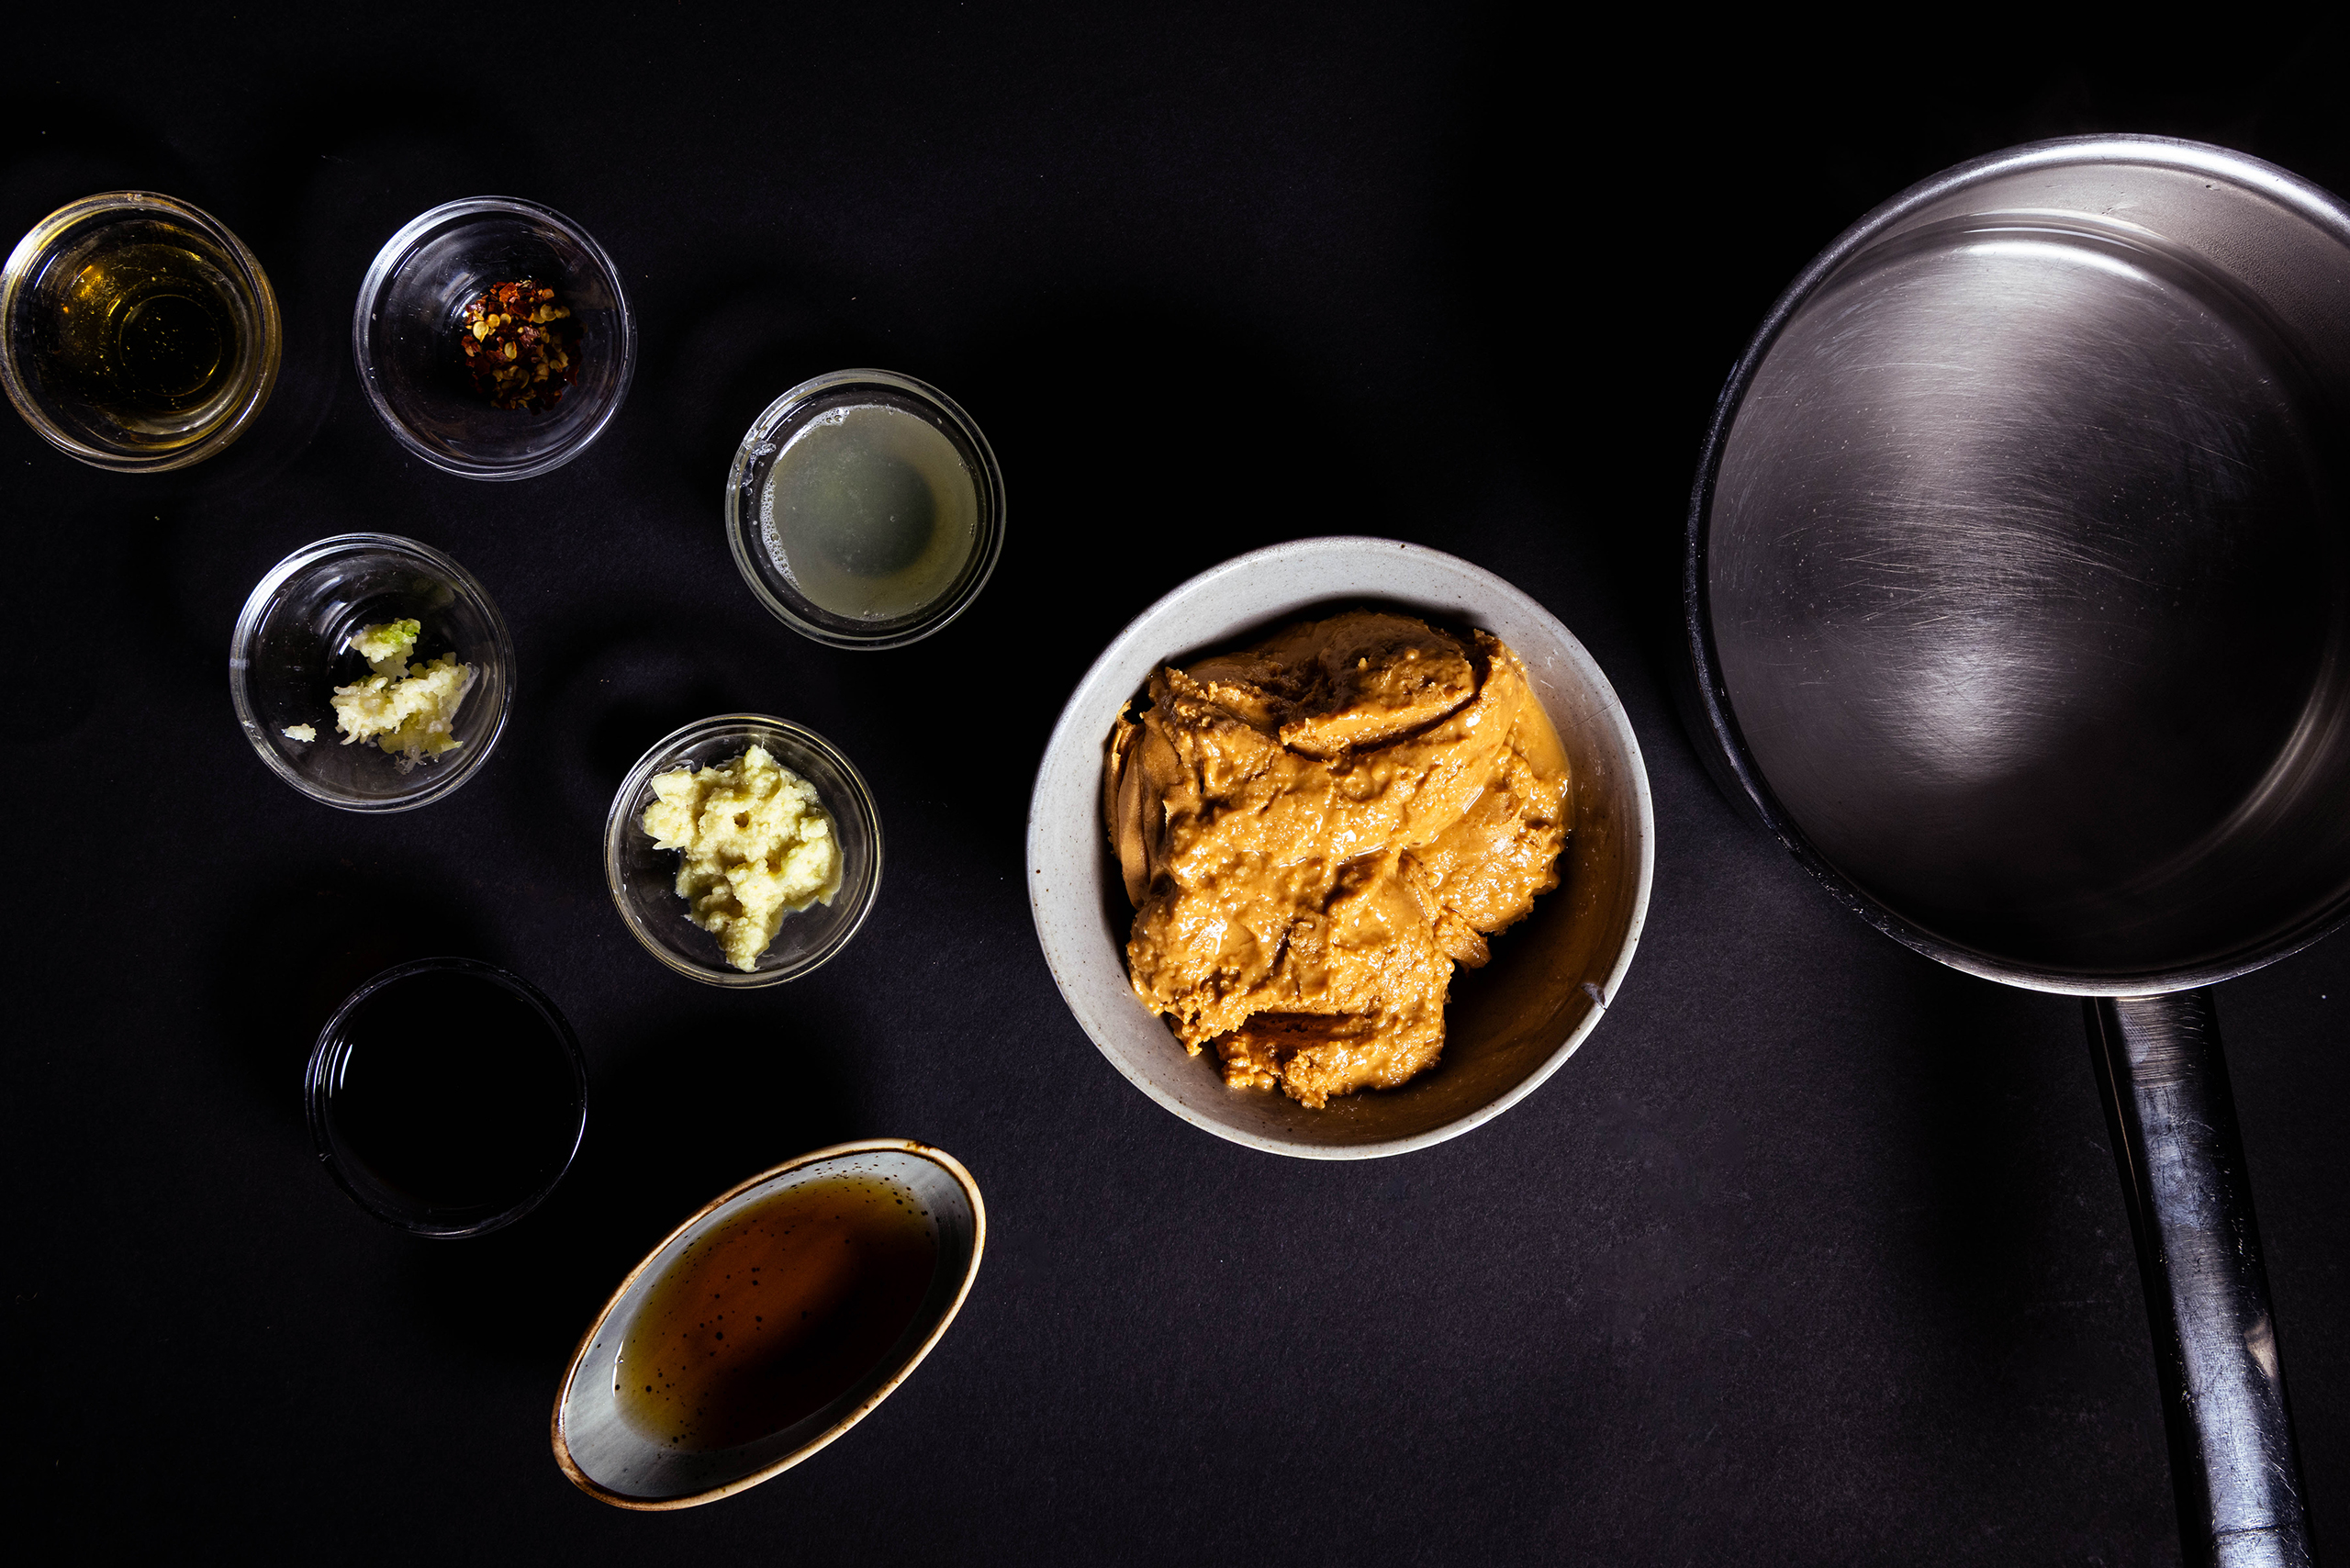
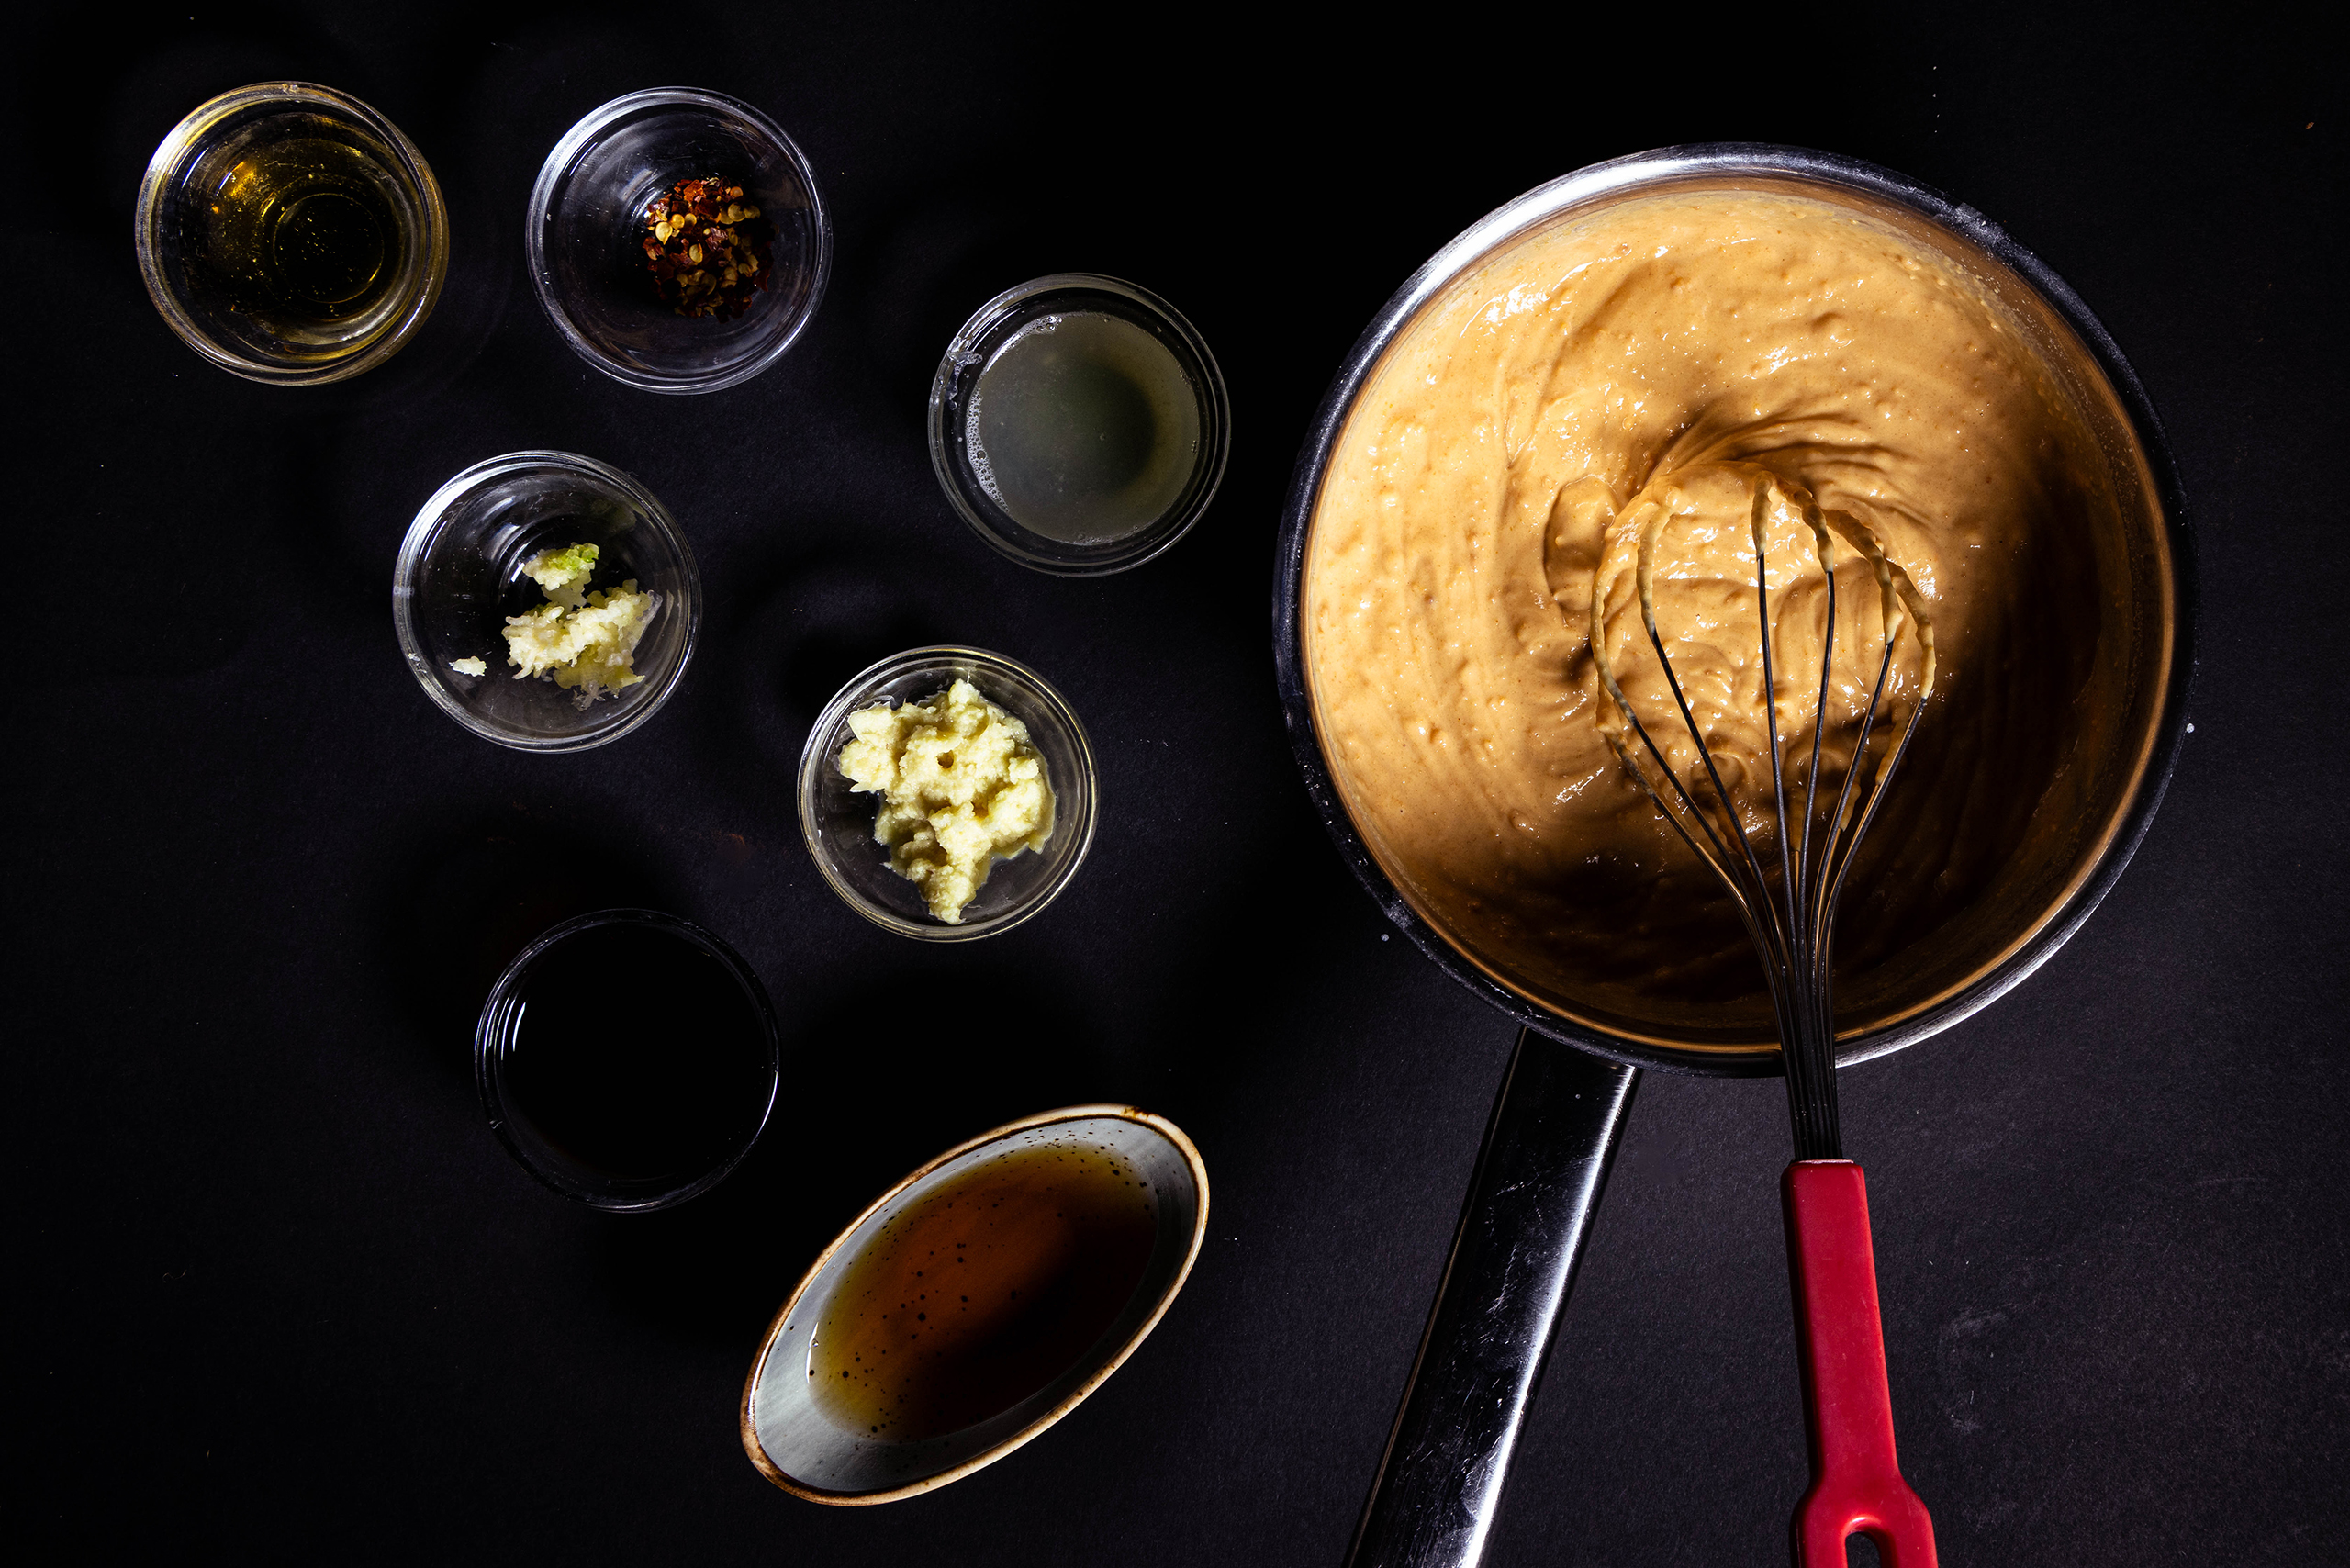
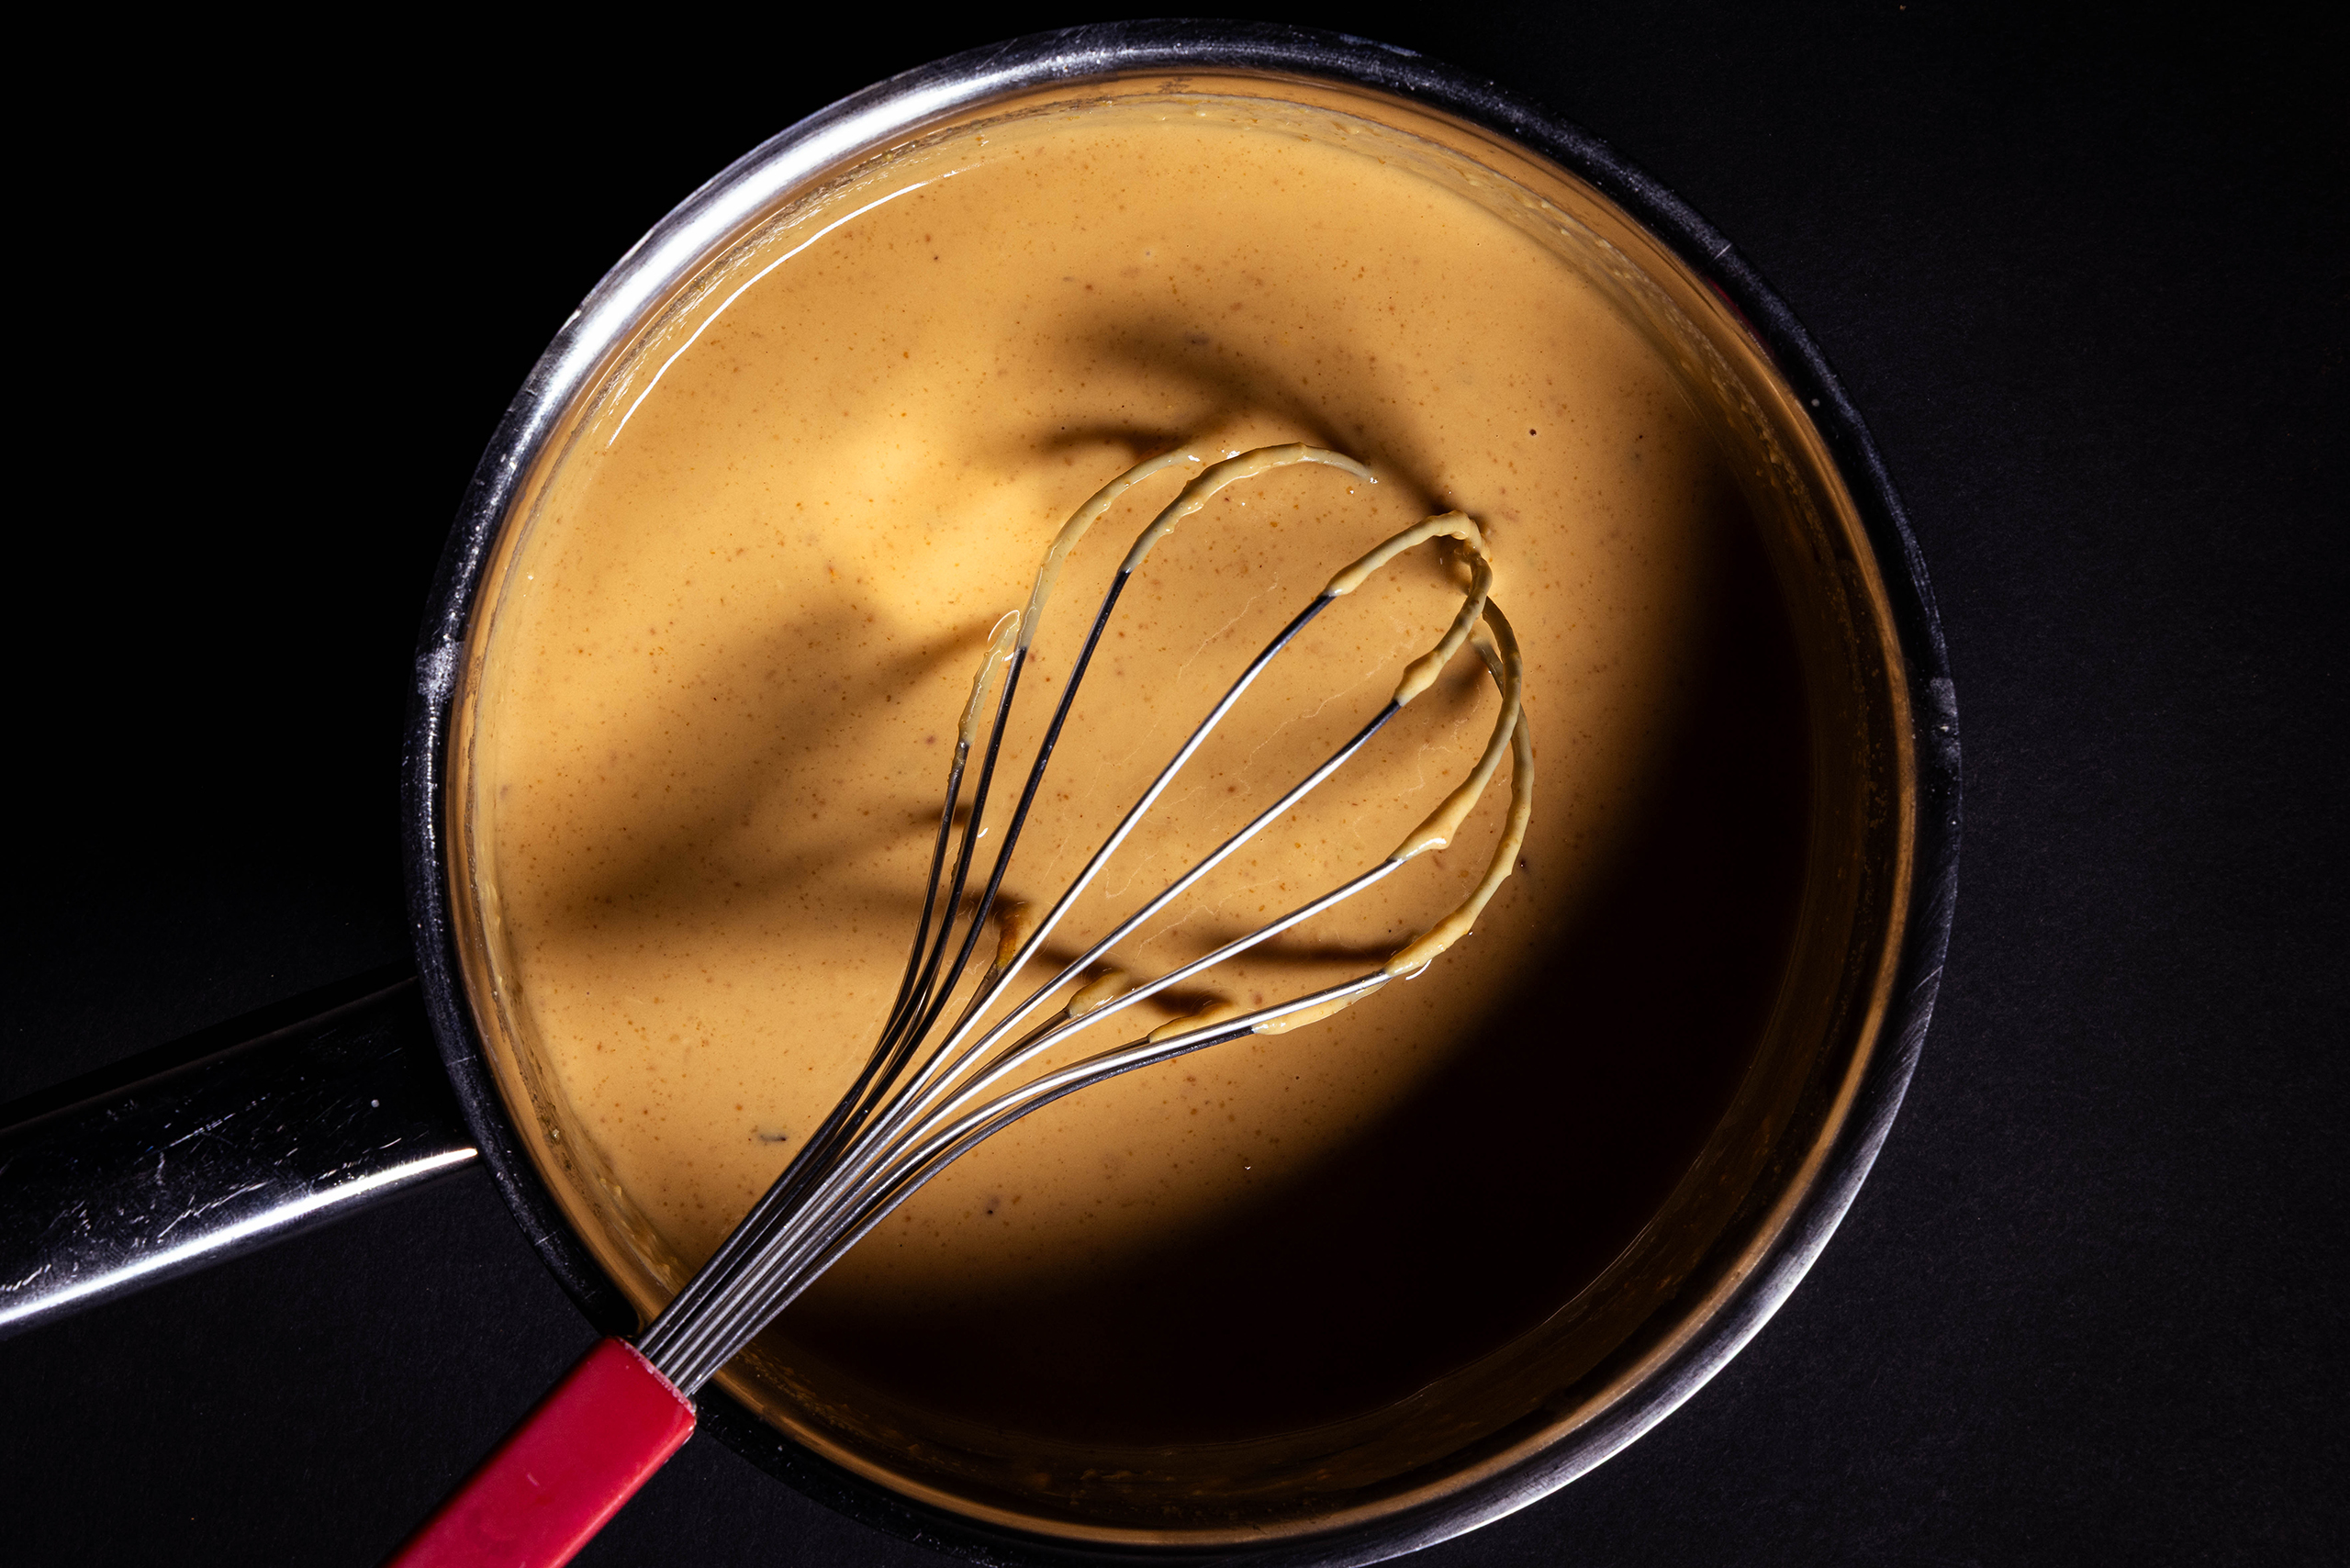
1. All the ingredients for the roasted Brussels sprouts.2. Mix the Brussels sprouts with the olive oil and salt.3. Arrange the Brussels sprouts, cut side down, on a baking sheet lined with parchment paper. Then roast them in the oven.4. All the ingredients for the peanut sauce.5. Mix the peanut butter with the boiling hot water.6. Then stir in all the remaining sauce ingredients.7. Add the hot, roasted Brussels sprouts to half of the peanut sauce.8. Mix with the peanut sauce.9. Fry in a pan. Then arrange on plates and serve with the remaining peanut sauce.
My recipe for vegan pierogi, the famous polish and russian dumplings. With homemade, all-plant-based pierogi dough and three savory, aromatic, and delicious fillings! First, a hearty sautéed mushroom and mince filling made with vegan soy mince. Second, I make the Polish classic among pierogi fillings: a quark and potato filling. Of course, this one is also vegan. And third, there’s a rich sauerkraut and mushroom filling, bursting with flavor and umami.
Homemade pierogi: a hearty winter meal
Vegan pierogi – homemade filled in three traditional ways
Pierogi – vegan – filled with mushrooms and minced meat
A classic pierogi stuffing is a hearty, sautéed mushroom and minced meat filling. Of course, in my recipe, this is vegan, made with soy mince.
Vegan pierogi with minced meat and mushroom filling
Pierogi – vegan – filled with quark and potato
Next, I’m making the Polish classic among pierogi fillings: a quark and potato filling. As always, my recipe is veganized.
Tip: I cannot get quark or skyr in my part of the world – here is an easy substitue
If you are not able to purchase vegan quark or skyr where you live, just purchase vegan yogurt instead. Put the yogurt in a sieve with a cheese cloth or kitchen towel and let it strain for 3-4 hours. It is going to get thicker and it will be just like quark.
Pierogi with vegan potato and quark filling
Pierogi – vegan filled with sauerkraut and mushrooms
And third, I prepare a full-bodied sauerkraut and mushroom filling, rich in flavor and umami.
Pierogi filled with sauerkraut and mushrooms
How to present vegan pierogi in a delicious way: what goes well with pierogi?
Pierogi can be enjoyed as a main course or as a side dish. Here are some ideas on how to serve them:
Pierogi with fried vegan bacon
I love eating pierogi very simply. For example, just with some fried strips and cubes of my homemade vegan smoked bacon and a few caramelized onions. I simply use this as a topping for my pierogi.
Pierogi as a side dish to braised cabbage with meatballs
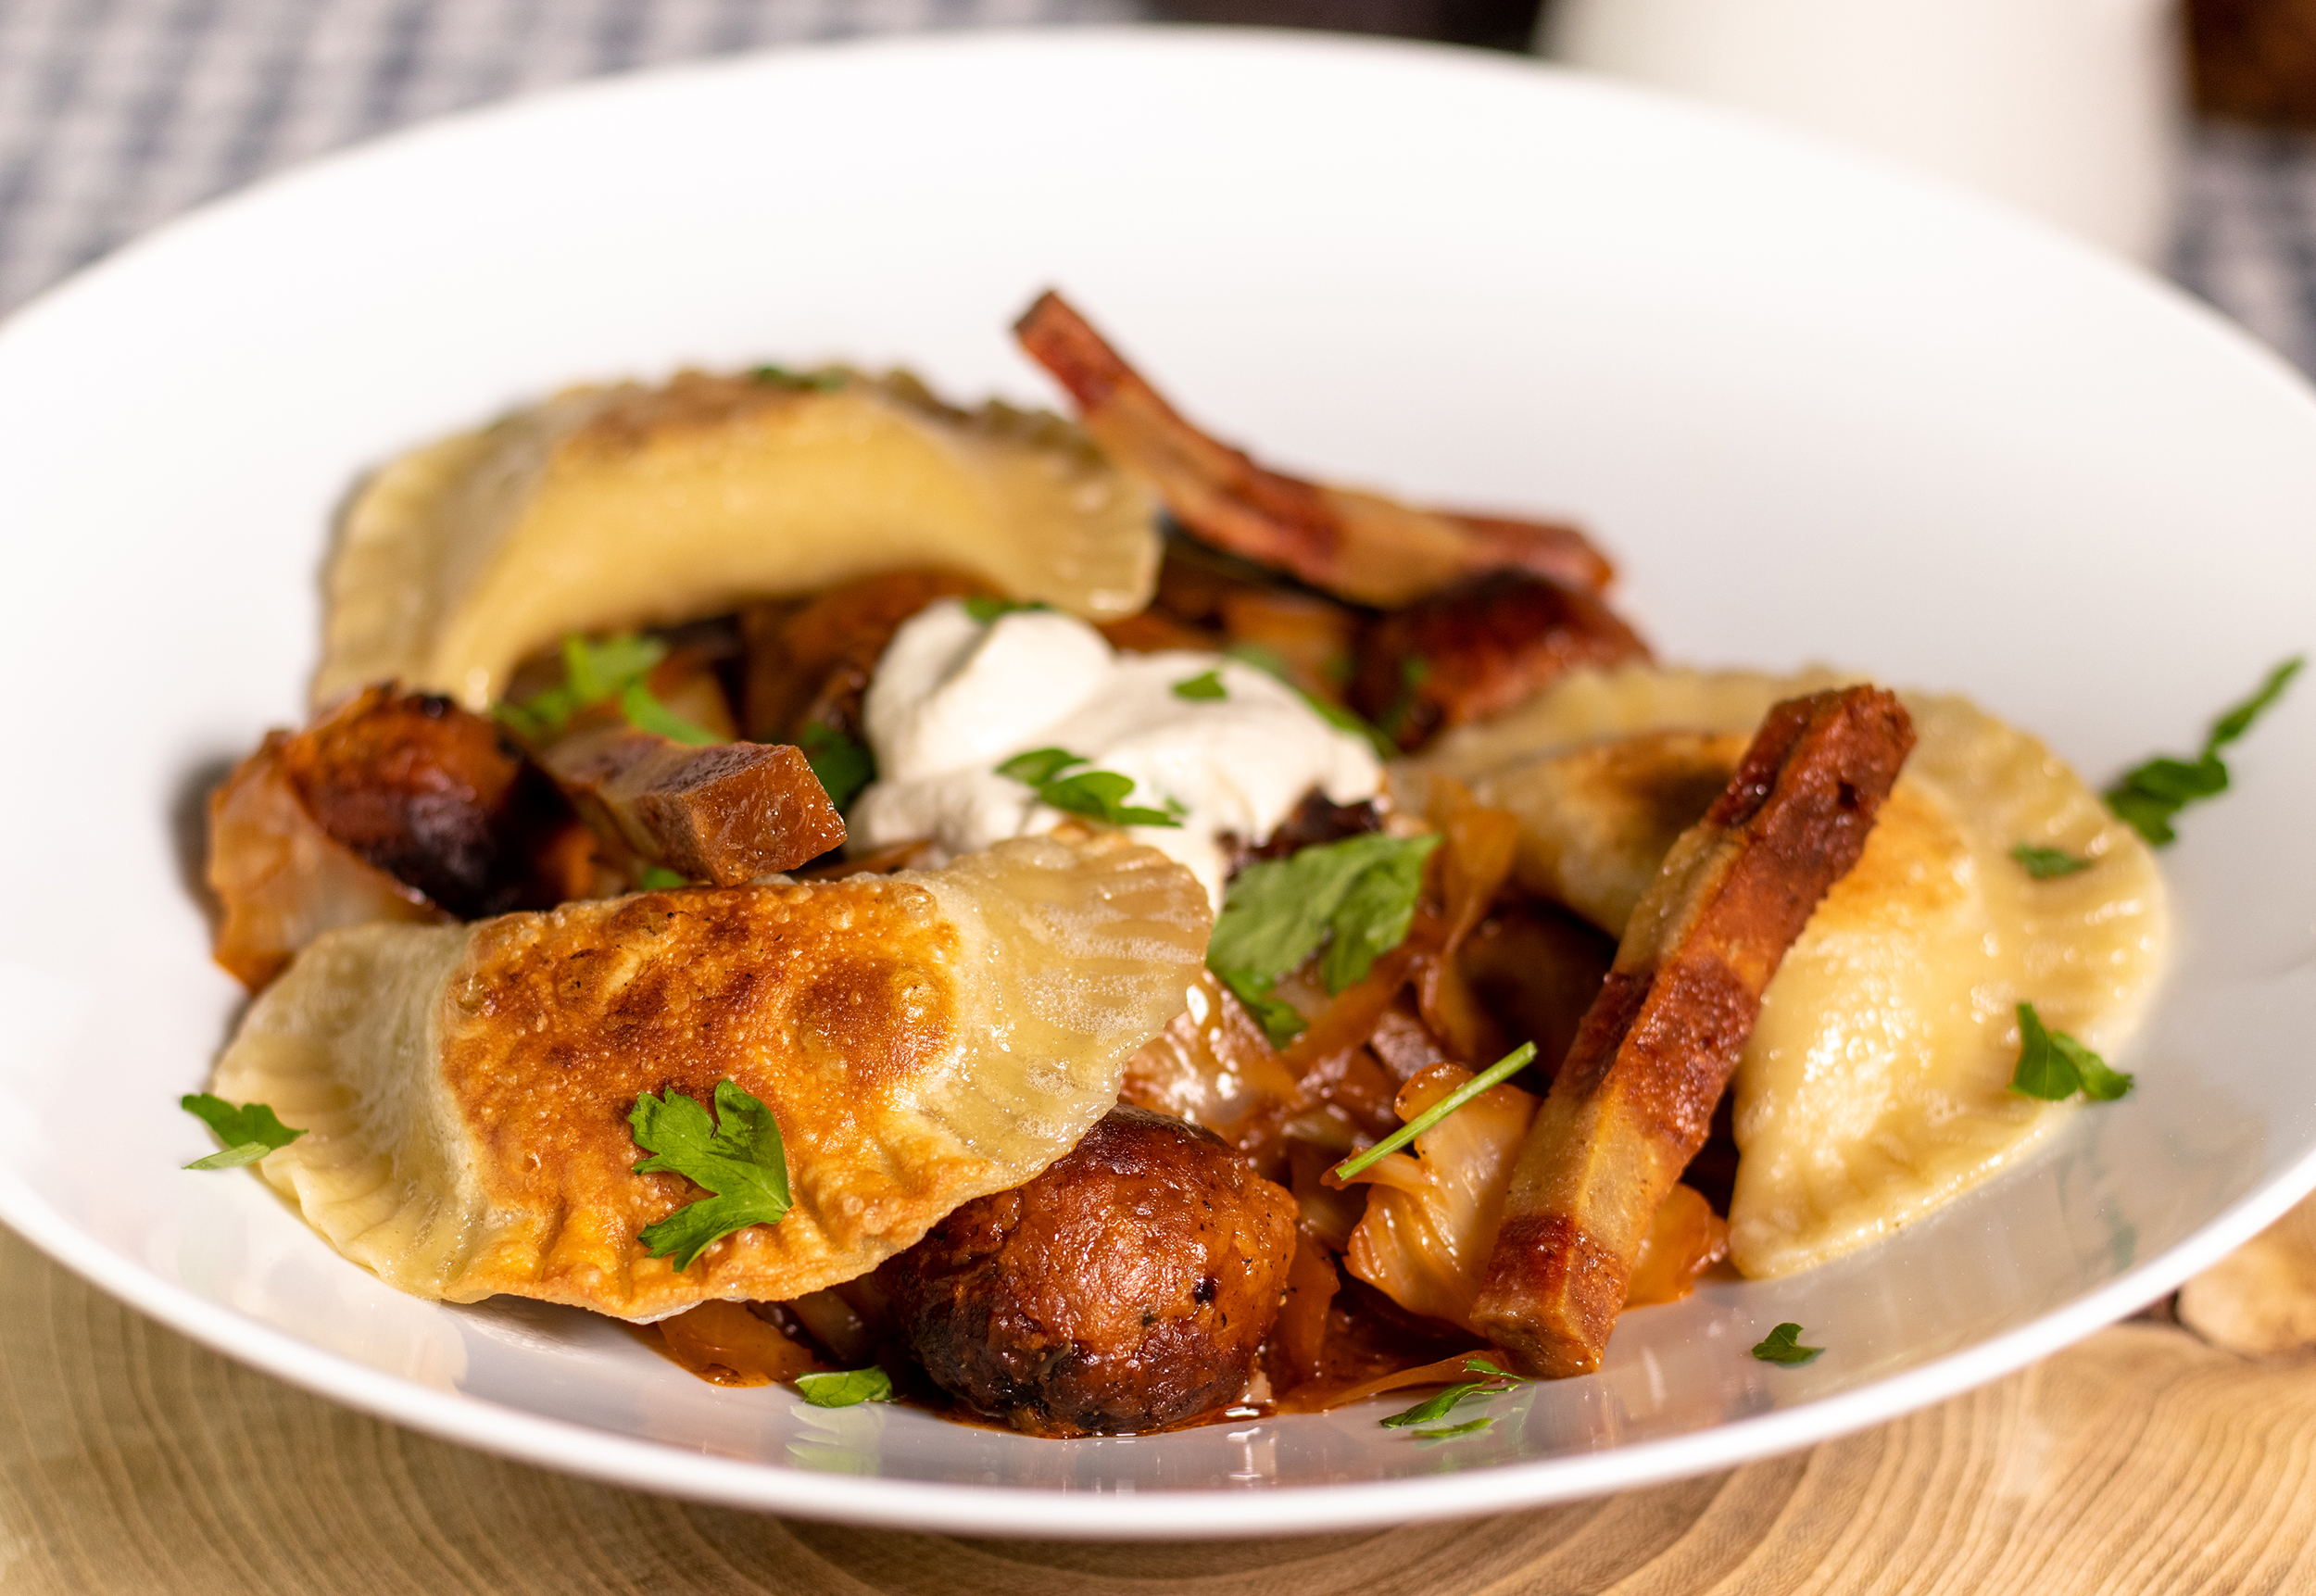
I also love pierogi as a side dish to my vegan braised cabbage with meatballs. With my homemade pierogi, fried in vegan butter in a pan, I create a hearty winter meal using mostly seasonal and regional ingredients. A dollop of homemade vegan sour cream and some fresh parsley on top, and the meal is perfect. Now that’s a truly royal feast!
Vegan pierogi, fried until crispy, as a side dish for braised cabbage
What are pierogi?
Pierogi (also spelled pieroge) are filled dumplings. The version in my recipe is a bit similar to the southern German Maultasche, made with homemade pasta dough. However, the preparation method and fillings vary regionally. Pierogi can also be made with yeast dough or puff pastry, and sometimes even sweet. Piroggi are particularly common in Polish, Russian, and Finnish cuisine, but also in many other Eastern European regions.
The pierogi (also pieroge, pierogi) is a filled pastry.
Pierogi – delicious winter cuisine
Pierogi are becoming increasingly popular here in Germany, especially in winter. They can be easily made from seasonal, regional ingredients even during the colder months. This is not only delicious but also very climate-friendly, as regional ingredients have short transport routes.
Vegan pierogi with 3 fillings – completely homemade
More vegan winter recipes with seasonal ingredients
Do you love cooking seasonally with fresh, regional ingredients? Then try these vegan winter recipes from me (Sean Moxie). Right here on Daily Vegan.
Please follow me on Instagram or Facebook. And I’d be delighted if you made my yummy vegan pierogi and posted a photo of them, tagging my account. Because I always find it really great and exciting to see how my recipes have been prepared in other kitchens!
Please show me your vegan pierogi too!
Pictures of the preparation of the vegan pierogi
Here I’ll show you step-by-step with photos how I prepare my vegan pierogi with three fillings. Then we’ll move directly to the recipe.
The vegan pierogi fillings
While the pierogi dough is in the refrigerator, I prepare the vegan pierogi fillings, then they can cool down while I continue processing the dough.
Vegan minced meat and mushroom filling for pierogiPurely plant-based sauerkraut and mushroom filling for pierogiVegan potato and quark filling for pierogi
Make, fill, and shape vegan pierogi dough
Knead the dough according to the recipe, let it rest in the refrigerator and then roll it out thinly.
1. Roll out the vegan pierogi dough to a thickness of approximately 2-3 mm and cut out circles about 8 cm in diameter. Place a small amount of filling in the center of each dough circle.2. Savory fillings are placed in homemade pasta dough, then the dough circles are folded over.3. I seal the edges of the pierogi with the handle end of a fork.4. The edges of the pierogi must be tightly sealed.5. Filled, raw pierogi with a tightly closed, decorated edge
Vegan pierogi with 3 fillings – easy to make yourself
Recipe by Sean MoxieCourse: Main, SnacksCuisine: Eastern European, SeasonalDifficulty: Medium
Portionen
4
Portionen
Prep time
20
minutes
Cooking time
20
minutes
Resting time
2
hours
Total time
2
hours
40
minutes
Vegan pierogi. With homemade pierogi dough and three savory fillings! Mushroom and minced meat, quark and potato, and sauerkraut and mushroom filling.
Ingredients for approximately 20 vegan pierogi
Vegan pierogi dough:
400 g flour
2 tsp salt
50 ml oil
100 ml soy milk
2 heaped tbsp chickpea flour, mixed with 6 tbsp water
Cold water
Flour for the work surface
Vegan mushroom and mince filling (for approx. 20 pieces):
50 g fine soy granules (TVP)
1 tbsp soy sauce
100 g mushrooms, cleaned and finely diced
1 onion, finely diced
2 garlic cloves, pressed
2 tbsp chickpea flour, mixed with 6 tbsp water
1 pinch allspice
1 pinch caraway seeds
Salt
Pepper
Oil
Vegan potato and quark filling (for approx. 20 pieces):
3 medium-sized floury potatoes
200 g vegan quark or skyr (if you cannot get those in your area, read tip above)
1 finely diced onion
Salt
Pepper
Sweet paprika powder
A little oil
Vegan sauerkraut and mushroom filling (makes about 20):
150 g sauerkraut, ready to serve
100 g mushrooms, cleaned and finely diced
1 onion, finely diced
Salt
Pepper
Oil
Kitchen utensils:
Chef’s knife
Kitchen scale
Measuring cup
Frying pan
Rolling pin
Bowls
Cling film
Large saucepan
Round cookie cutter (8 cm diameter), or alternatively, use the rim of a glass.
Zubereitung
Vegan pierogi dough:
First, whisk together the salt, oil, soy milk, and prepared chickpea flour in a large bowl.
Then, knead in the flour. Knead for a long time and thoroughly.
Gradually knead in cold water, one tablespoon at a time. The dough should be firm and pliable, and not sticky. If the dough becomes too sticky, work in a little more flour.
Wrap the finished dough in plastic wrap and let it rest in the refrigerator for 2 hours.
While the dough is chilling, you can prepare your chosen pierogi filling.
3 fillings for vegan pierogi
Vegan mushroom and mince filling:
Heat a little oil in a pan.
Then fry the dry soy granules (TVP) in it over high heat.
Fry until the soy mince is lightly browned. Then add the onion, mushrooms, and garlic to the pan.
Continue frying until the mushrooms no longer release their juices and everything is cooked through.
Add allspice, caraway seeds, and the prepared chickpea flour to the pan.
Continue frying for a few more minutes, stirring occasionally.
Season with salt and pepper.
Vegan potato and quark filling:
First, boil the potatoes until tender.
Then let them cool.
Heat a little oil in a pan and sauté the diced onions.
As soon as the onions are translucent and lightly browned, remove them from the heat and let them cool.
Peel the potatoes.
Then mash them in a bowl and mix with the vegan quark and the sautéed onions.
Season with salt, pepper, and paprika.
Vegan sauerkraut and mushroom filling:
Heat a little oil in a pan.
Sauté the diced onion and mushrooms until the onions are translucent to browned.
Then stir in the sauerkraut and simmer for 10 minutes.
Season with salt and pepper to taste.
Shaping and cooking the pierogi:
Bring a large pot of salted water to a boil.
Dust a work surface with flour and roll out the plant-based pierogi dough to a thickness of about 2-3 mm.
Cut out circles from the dough using a glass or cookie cutter. These dough circles should have a diameter of approximately 8 centimeters.
After cutting out the circles, knead the remaining dough again, roll it out once more, and cut out new circles. The dough is enough for about 20 pierogi.
Place a small amount of filling in the center of each dough circle, then fold it over and press the edges firmly together. Seal the edges with the handle of a fork or a spoon. You can also refer to the photo tutorial for pierogi preparation.
Finally, add the finished vegan pierogi to the boiling salted water. Don’t cook too many pierogi at once, so they don’t stick together.
Simmer gently until the pierogi float to the surface. They are then cooked.
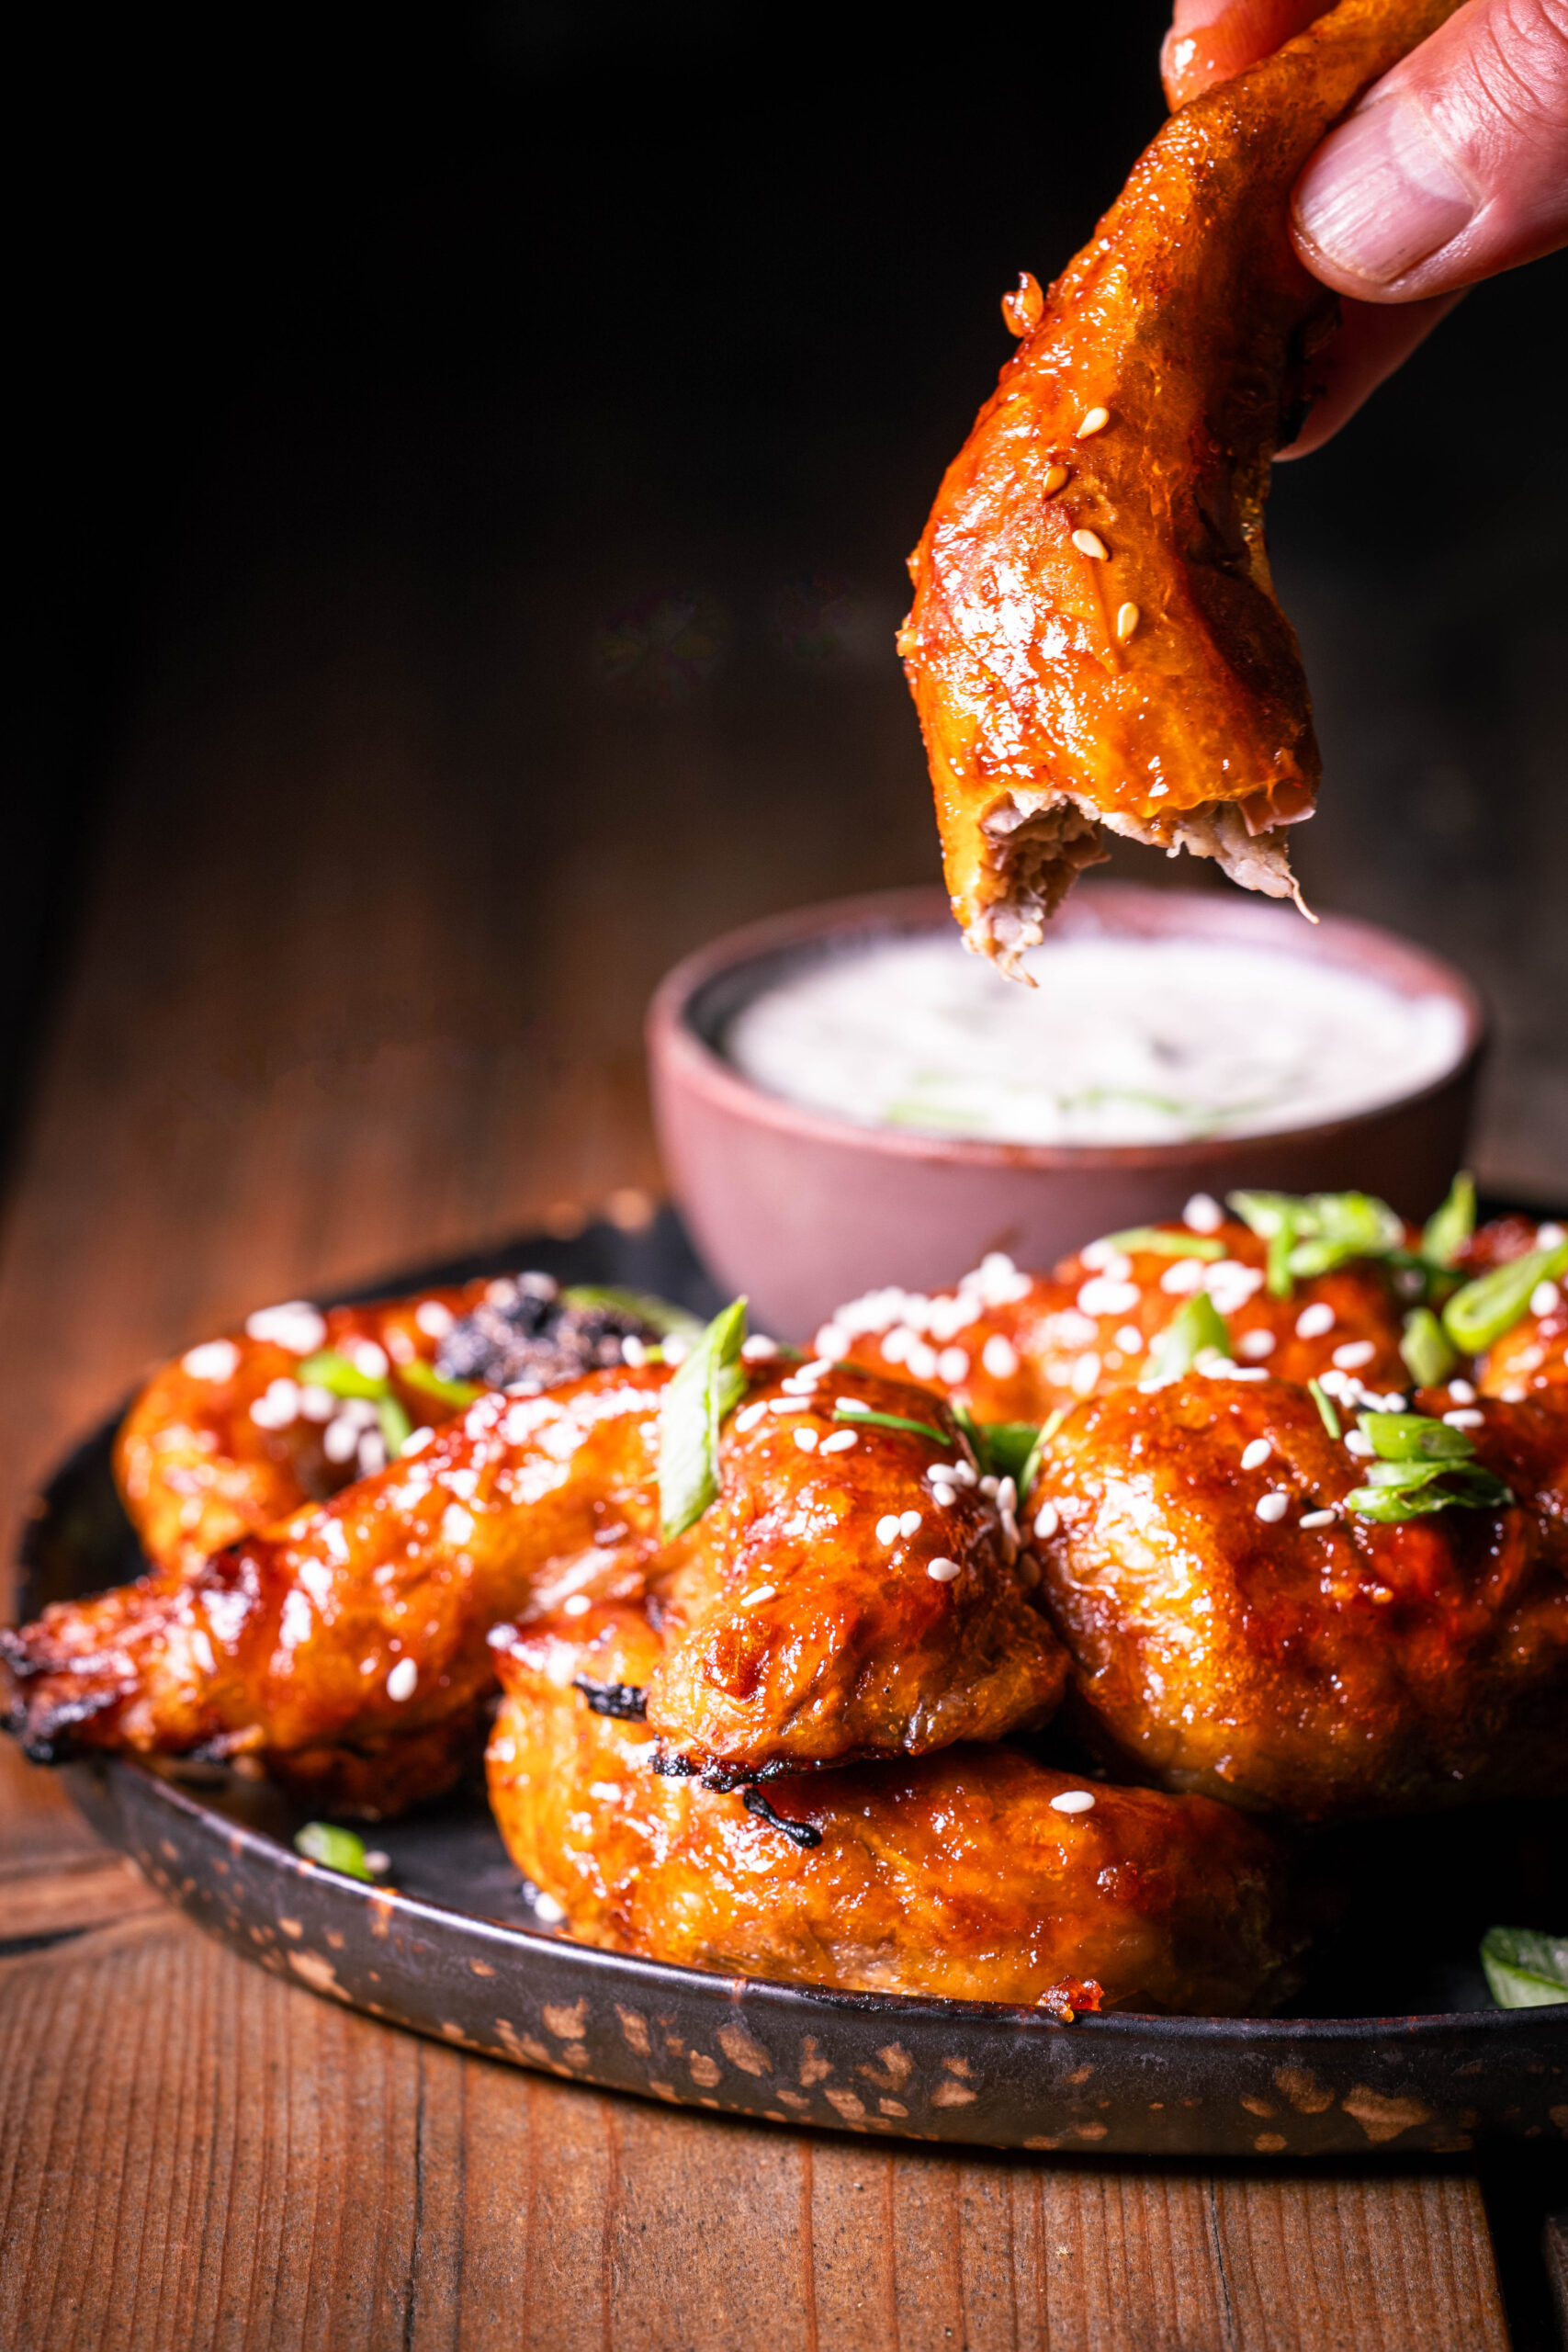
Vegan Sticky Wings – Crispy, sticky, and incredibly flavorful – sticky wings are the embodiment of a finger-licking, munching-on snack. In my recipe, I naturally make vegan chicken wings, made from seitan and jackfruit, with juicy meat and skin. The tender vegan chicken wings are coated in an irresistibly glossy glaze: sweet, salty, spicy, and full of umami flavors – with notes of honey, soy sauce, garlic, chili, and ginger.
Sticky, spicy, sensational. Try it once – you’re hooked forever!
Vegan Sticky Wings – vegan chicken wings roasted in marinade
My vegan chicken wings, in the form of delicious sticky wings, are absolutely authentic in their meat, taste, and texture. If you liked sticky wings, you’ll love my vegan version! Juicy, purely plant-based chicken meat, coated in marinated vegan chicken skin, sticky and incredibly flavorful!
Vegan Sticky Wings – vegan chicken wings roasted in marinade
What are sticky wings?
Sticky wings are chicken wings marinated in a sticky, spicy sauce and then baked. The word “sticky” describes the glossy, caramelized glaze that clings to the wings as they cook—sweet, savory, and often with a hint of heat.
Whether you like the marinade American, Asian, or Buffalo-style—sticky wings are a feast for all the senses. Caramelized on the outside, juicy on the inside, with a spicy crust that leaves you wanting more. In my recipe, I developed a marinade that’s a blend of the Asian and spicy versions, with a hint of vegan honey. I serve it with a delicious vegan blue cheese dip. The recipe for that will follow.
In my recipe, I naturally make vegan chicken wings, made from seitan and jackfruit, with juicy meat and skin.
Best recipe for vegan sticky wings
My vegan sticky wings are the perfect combination of crispy, sweet, spicy, and juicy—ideal for sharing, snacking, or simply enjoying without restraint.
I’ve only found cauliflower sticky wings recipes online, a certainly delicious vegetable dish, but of course I wanted the real thing. And now you can enjoy that too with this recipe!
The best recipe for vegan sticky wings
Classical with blue cheese dip – vegan too, of course
Sticky wings with blue cheese dip – a popular combination in American sticky wings recipes. A pure explosion of flavor in a game of contrasts:
The vegan chicken wings are crispy caramelized on the outside, coated in a spicy, glossy glaze, slightly hot, with a wonderful umami flavor. Every bite brings juicy meat, followed by the tender crackling of the crust.
And then the highlight: the vegan blue cheese dip – creamy, cool, intense. Its tart, intensely aromatic cheese flavor perfectly balances the sweet spiciness of the wings. Together, the result is a sophisticated mix of hot & cold, sweet & salty, crunchy & creamy.
A dish that packs a culinary punch – wild, spicy, irresistible.
I’ll post the recipe for the vegan blue cheese dip on Daily Vegan soon and set a link to it here.
Classical with blue cheese dip – vegan too, of course
Vegan chicken wings – based on my famous chicken drumstick recipe
You’re probably familiar with my vegan chicken leg recipe with juicy meat, crispy skin, and even bone-in. A recipe that went absolutely viral when I first published it.
From the first week of its release, it was copied by countless blogs, in cookbooks, and on social media. Unfortunately, usually without credit and often with the claim that the person had developed it themselves, which I find a bit strange, the least to say. Because something like vegan chicken with authentic meat and even skin had never existed before back then.
I based my recipe for vegan sticky wings on my chicken leg recipe. It follows the same technique for meat and chicken skin. In an incredible sticky wings version.
Vegan chicken wings – based on my famous chicken drumstick recipe
More vegan poultry, meat and fish recipes
Did you love poultry, meat and fish? Are you looking for vegan recipes? Then you have to try these homemade, vegan poultry, meat and fish recipe alternatives:
Sticky, spicy, sensational. Try it once – you’re hooked forever!
Show me your homemade vegan chicken wings
Please follow me on Instagram or Facebook. And I’d be delighted if you made my vegan sticky wings and posted a photo of them, tagging my account. Because I always find it really great and exciting to see how my recipes have been prepared in other kitchens!
Please show me your homemade vegan chicken wings
Vegan Sticky Wings – preparation in pictures
The following photos show me step by step how to prepare my vegan sticky wings. Then I’ll jump straight to the recipe.
1. All ingredients for the vegan chicken wings.2. Remove the hard corners from the jackfruit pieces and chop them into small pieces.3. Heat the broth in a pan and add the jackfruit. Simmer in the broth for about 15 minutes.4. Mix the vital wheat gluten with the spices.5. First knead the mixed chickpea flour, then the seitan mix with the jackfruit fibers.6. Instructions for making vegan chicken wings with skin.7. Place the vegan chicken wings next to each other in a large baking dish or bowl.8. All ingredients for the sticky wings marinade.9. Mix all ingredients for the marinade together.10. Turn in the marinade and let stand for 10 minutes.11. Place on a baking tray lined with baking paper.12. Bake for 25 minutes, then brush with the marinade again. Repeat after another 10 minutes, then finish baking.
Recipe by Sean MoxieCourse: Main course, SnacksCuisine: AmericanDifficulty: Medium
Portions
4
Portionen
Preparation
30
minutes
Cooking
1
hour
Resting Time
10
minutes
Total
1
hour
10
minutes
Vegan Sticky Wings – Crispy, sticky, incredibly flavorful – a finger-licking snack. Made from seitan and jackfruit, with skin.
Ingredients for 16 vegan sticky wings
Vegan Chicken Wings:
2 cans of jackfruit (in brine, available at Asian stores, approx. 500g gross weight per can)
360ml light broth
2 heaped tablespoons chickpea flour, mixed with 4 tablespoons water
90g vital wheat gluten
2 teaspoons nutritional yeast
1 teaspoon onion powder
1 teaspoon smoked salt
1/2 teaspoon salt
16 sheets rice paper
Sticky marinade:
1 small onion, very finely chopped
3 garlic cloves, crushed
80 ml ketchup
2 tbsp rice vinegar
1 tbsp mirin
1 tbsp hoisin sauce
1 tsp freshly grated ginger
2 tbsp sriracha sauce
3 tablespoons dandelion honey or other vegan honey alternative, or maple syrup
3 tablespoons soy sauce
1 tablespoon lime juice
1/2 teaspoon salt
1 tablespoon sesame oil
Kitchen utensils:
Bowls
Frying pan
Food processor or kitchen knife
Dish towel
Kitchen scissors
Large casserole dish
Baking tray
Paring paper
Pastry brush
Preparation
Drain the cans of jackfruit and trim the hard ends from the jackfruit pieces. Then gently squeeze the jackfruit.
Finely shred the hard ends with a food processor and add them to the separated jackfruit fibers. If you don’t have a fod processor, you can also use a knife.
Now heat the broth in a pan and add the jackfruit. Simmer in the broth for about 15 minutes, until the jackfruit has broken down into its fibers and the broth has been absorbed or evaporated. Stir frequently and mash the pieces with a wooden spoon. Remove from heat and let cool.
Mix the seitan mix with the nutritional yeast, onion powder, smoked salt, and salt for the filling.
Knead the jackfruit fibers with the stirred chickpea flour. Then gradually sprinkle in the seitan and knead it in. This makes the meat for the vegan chicken wings truly authentic, tender, textured, and delicious.
Dampen a dish towel and place it on a work surface.
Fill a large bowl with water. Place a piece of rice paper inside and soak it in the water for about one minute until the rice paper is soft. Then place the rice paper on the damp towel.
Fold the rice paper in half, doubled to form a semicircle.
Place approximately 1/16 of the jackfruit mixture in the center of the rice paper semicircle to form a chicken wing. Form the mixture into a thin strip with a n angle in the middle. Fold the rice paper over the meat at one end and then wrap it evenly around it. Twist the excess rice paper slightly and trim with scissors. (See photos for individual steps.)
Shape all the remaining vegan chicken wings in the same way.
Mix all the ingredients for the Sticky Wings marinade together.
Toss the vegan chicken wings in the Sticky Wings marinade and let them sit for 10 minutes. This works best in a large casserole dish where the vegan wings aren’t touching each other too much.
While the vegan wings are marinating, preheat the oven to 180°C (top and bottom heat).
Line a baking sheet with parchment paper.
Remove the chicken wings from their marinade, let them drain slightly, and spread them out on the baking sheet. Reserve the remaining marinade.
Bake on the middle rack for 45–50 minutes. Brush with the marinade again after 25 and 35 minutes. After the second brushing, increase the oven temperature to 210°C. At the end of the baking time, the vegan wings should develop well-toasted, crispy spots.
Optionally, sprinkle with sesame seeds or scallion rings and serve immediately with vegan blue cheese dip or other dips.
Homemade vegan marshmallows? Here’s how! Sweet, with a hint of vanilla, fluffy, foamy, and soft. Perfect for roasting, desserts, snacking, and in hot chocolate.
With this recipe, I’ll show you how to make marshmallows in your own kitchen. Delicate foam clouds of sugar that enchant the senses. Their versatility will transport you to a sweet, sugary, vegan wonderland.
The versatility of using vegan marshmallows will take you to a sweet sugar wonderland.
Make your own vegan marshmallows
Vegan marshmallows are very easy to make at home. However, I wouldn’t say this recipe is suitable for absolute beginners in the cooking and baking field. You definitely need a kitchen thermometer, and it’s very helpful to have a food processor at hand, as well as a hand mixer. The fluffy, vegan marshmallow mixture will be mixed on high for around 20 minutes. You also have to follow the recipe exactly when it comes to measurements and preparation steps. This recipe is therefore less suitable for people who just glance at a recipe and then just start cooking as they please.
However, if you follow all the steps and ingredients, it’s not difficult at all to make marshmallows yourself.
Marshmallows are easily made at home.
Buy vegan marshmallows?
These days, vegan marshmallows are becoming available for purchase more and more often. Until a few years ago, you had to order them online, which was complicated, or they weren’t available at all. What hasn’t changed is their exorbitant price for very small quantities. Considering that marshmallows are a light, airy sugar mass that’s very easy to produce industrially, they’re incredibly expensive. That’s why I prefer to make vegan marshmallows myself using this recipe.
Sweet, slightly vanilla, fluffy, foamy, and soft. Perfect for roasting, desserts, snacking, and hot chocolate.
Marshmallows without gelatin: vegetarian and vegan marshmallows
Marshmallows are usually made primarily of sugar, corn syrup, egg whites, and gelatin. The gelatin and egg whites are responsible for the fluffy, foamy texture that makes marshmallows so characteristic.
Of course, I don’t want to use gelatin in my marshmallows, because then they wouldn’t even be vegetarian. Gelatin is made from pork or beef bones. Since I only cook vegan meals, my marshmallow recipe must also be vegan. Therefore, the challenge is to replace gelatin and egg whites. Added to that are the temperature measurements, which are crucial for these substances, but also for preparing sugar pastes. After some experimentation, I succeeded very well in this recipe, and my vegan marshmallows are in no way inferior to the original.
Marshmallows without gelatin or egg white: vegetarian and vegan marshmallows
The best recipe for vegan marshmallows
Since I’m very involved in veganizing classic dishes both professionally and privately, I wanted to develope not just a vegan marshmallow recipe, but one that’s indistinguishable from the original in taste and consistency. To achieve this, the marshmallows need to soften when heated and they need to be able to work as s’mores.
After some experimentation, replicating the properties of animal gelatin, and replacing egg white with plant-based protein, I’ve succeeded in creating the ultimate vegan marshmallows.
I truly recommend this recipe for the best vegan marshmallows.
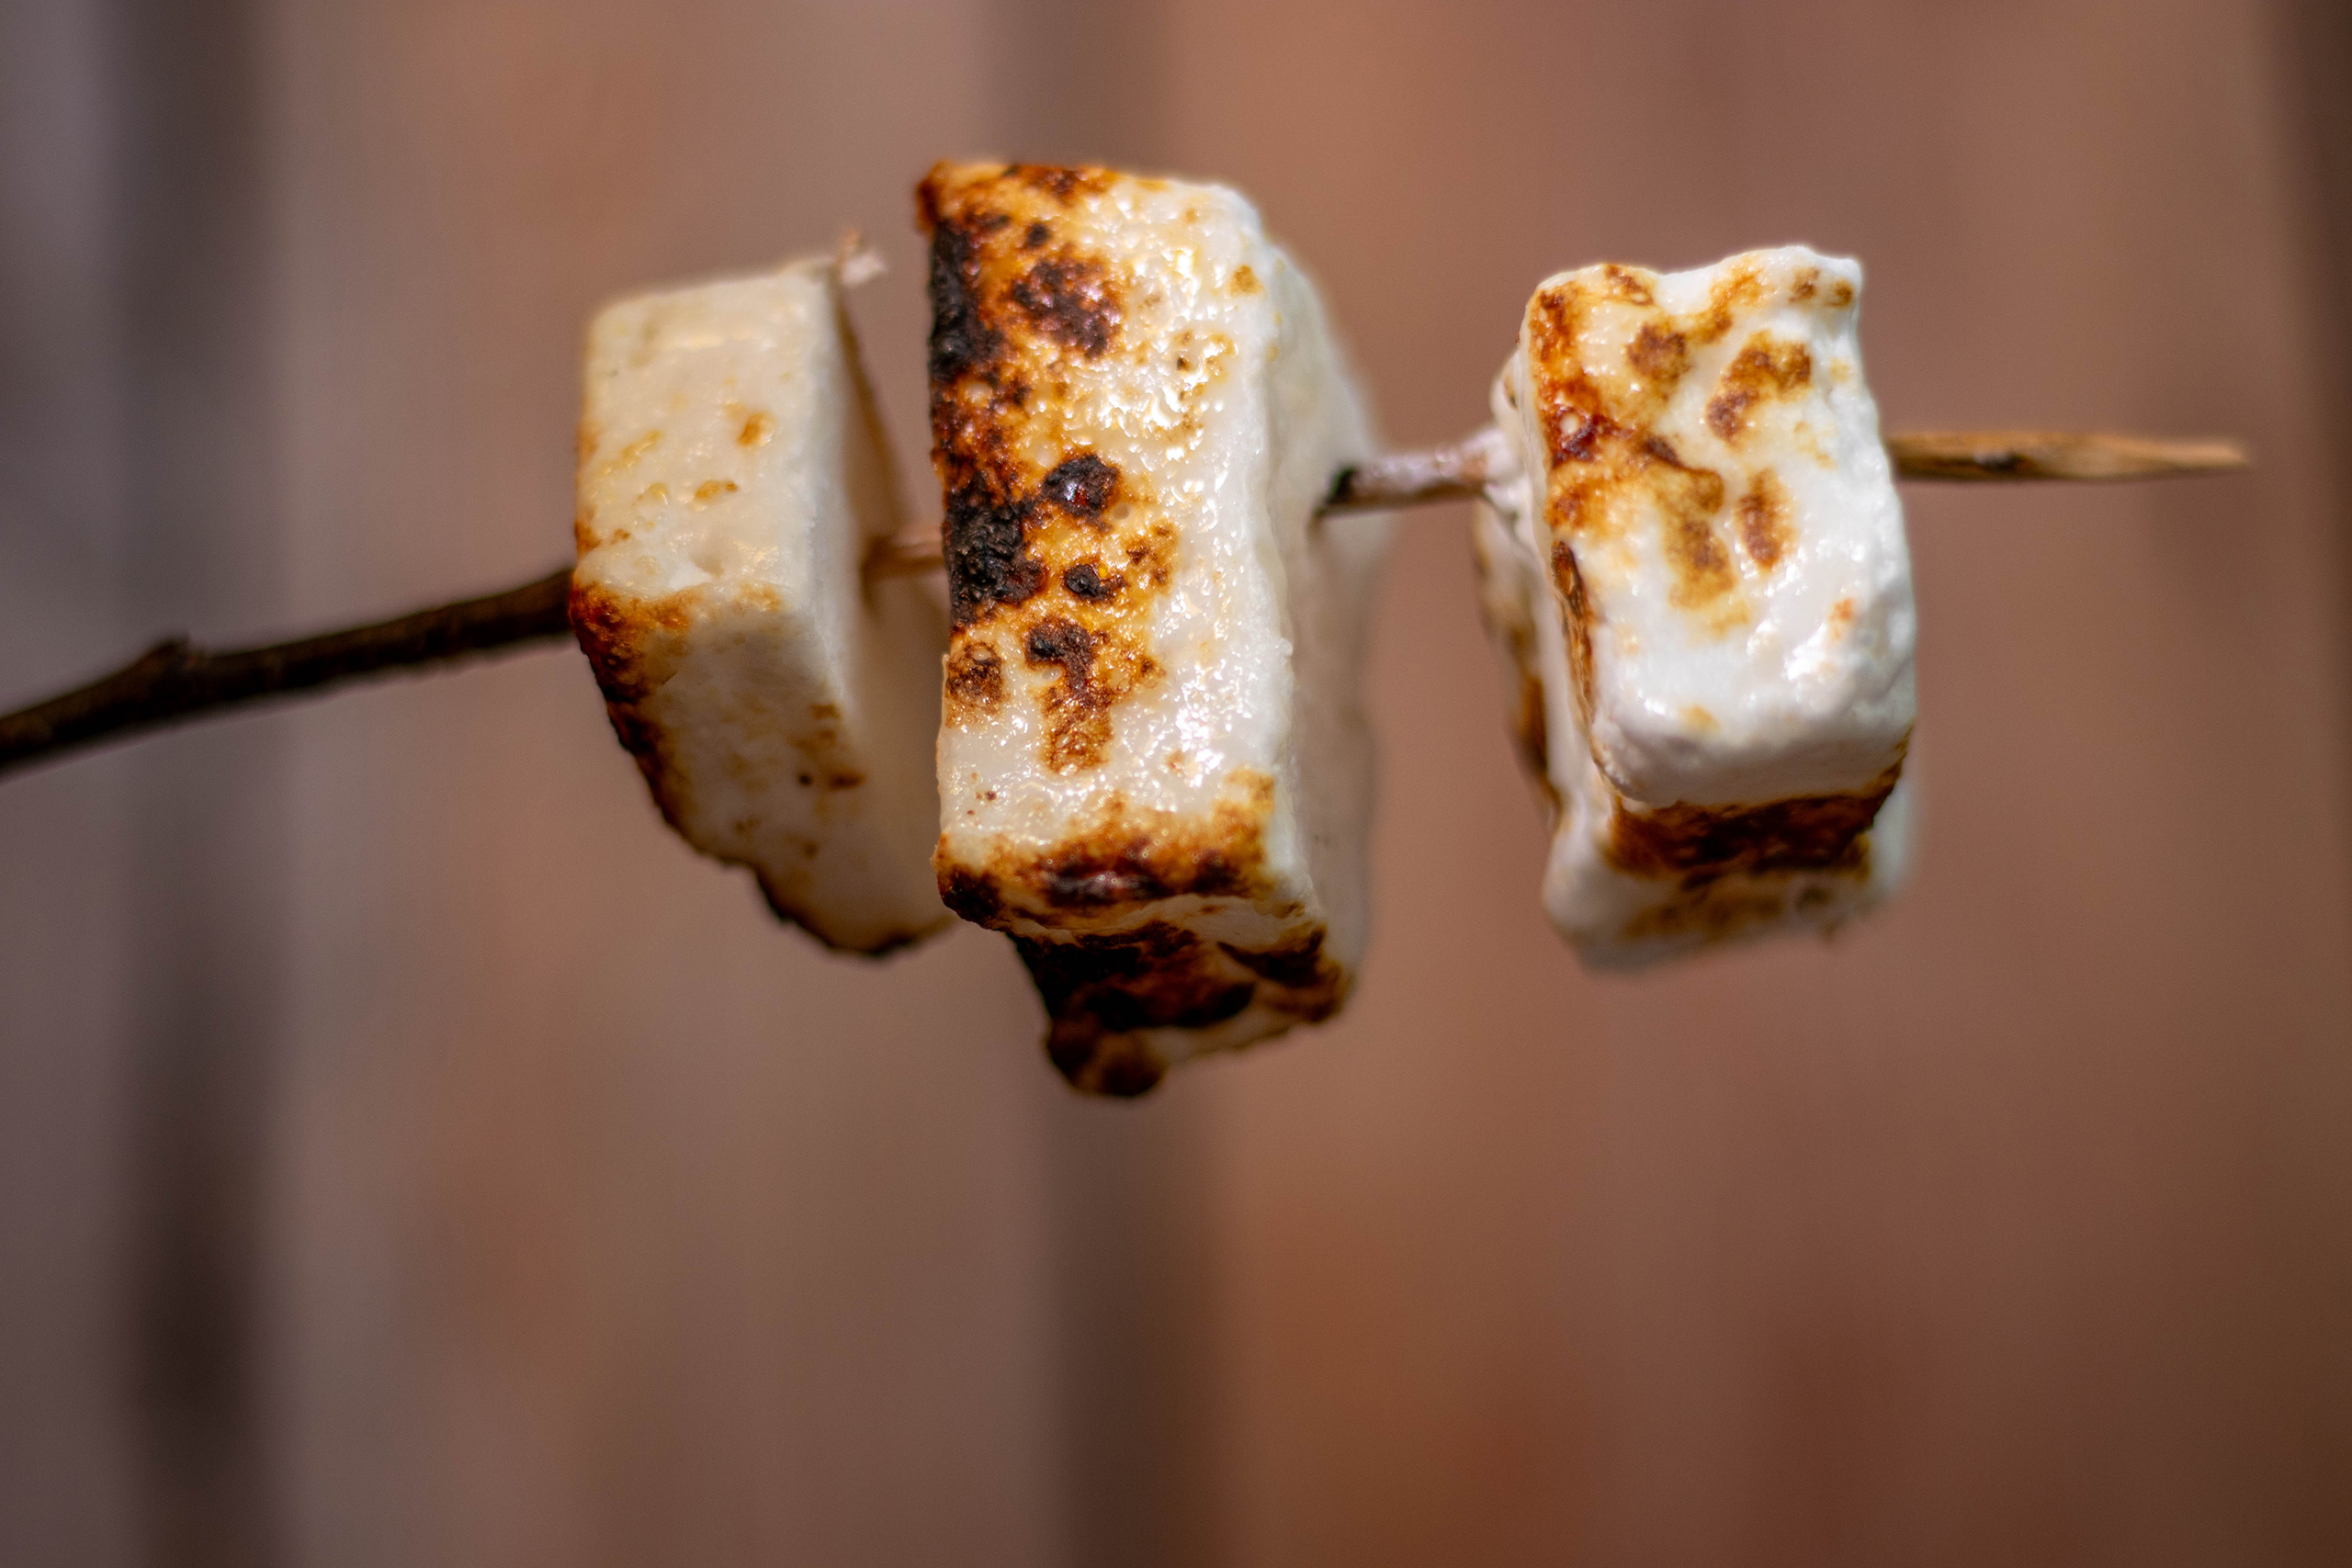
Roasted plant based marshmallows
Grilling vegan marshmallows
My homemade, vegan marshmallows grill just as well over an open fire as gelatin marshmallows. They bubble up nicely, caramelize, and if you’re not careful, they’ll catch fire, just like you remember when you roasted marshmallows on sticks over a campfire as a child.
I’ve generally had good experiences with store-bought vegan marshmallows in terms of their roastability. However, over the years, I’ve occasionally encountered products that immediately shriveled or melted when exposed to heat. These were then unsuitable for roasting over a fire.
My homemade vegan marshmallows are just as good for grilling as marshmallows with gelatin.
What can I do with Marshmallows?
Marshmallows, both vegan and non-vegan, are extremely versatile and used in a variety of preparations. They are a popular ingredient in sweets, desserts, and hot drinks like hot chocolate. Marshmallows are often roasted over open fires, especially by children while camping, as so-called s’mores. Here are some ideas for what you can make with homemade, vegan marshmallows:
Perfectly roasted, irresistibly delicious: Enjoy the ultimate campfire feeling! My vegan marshmallows turn wonderfully golden brown and slightly crispy as they dance over the flames. For the best s’mores experience!
Hot chocolate on a rainy day: Dip a few marshmallows into your hot chocolate and experience the irresistible pleasure. Slowly melting and velvety soft, they add a vanilla sweetness to your hot chocolate.
Versatile and creative: Marshmallows aren’t just for roasting or eating on their own. Use them in desserts, baked goods, or as a topping for ice cream.
The perfect gift: Treat your loved ones with a sweet treat! Marshmallows are ideal for gifting. Simply package them in a pretty screw-top jar or mason jar.
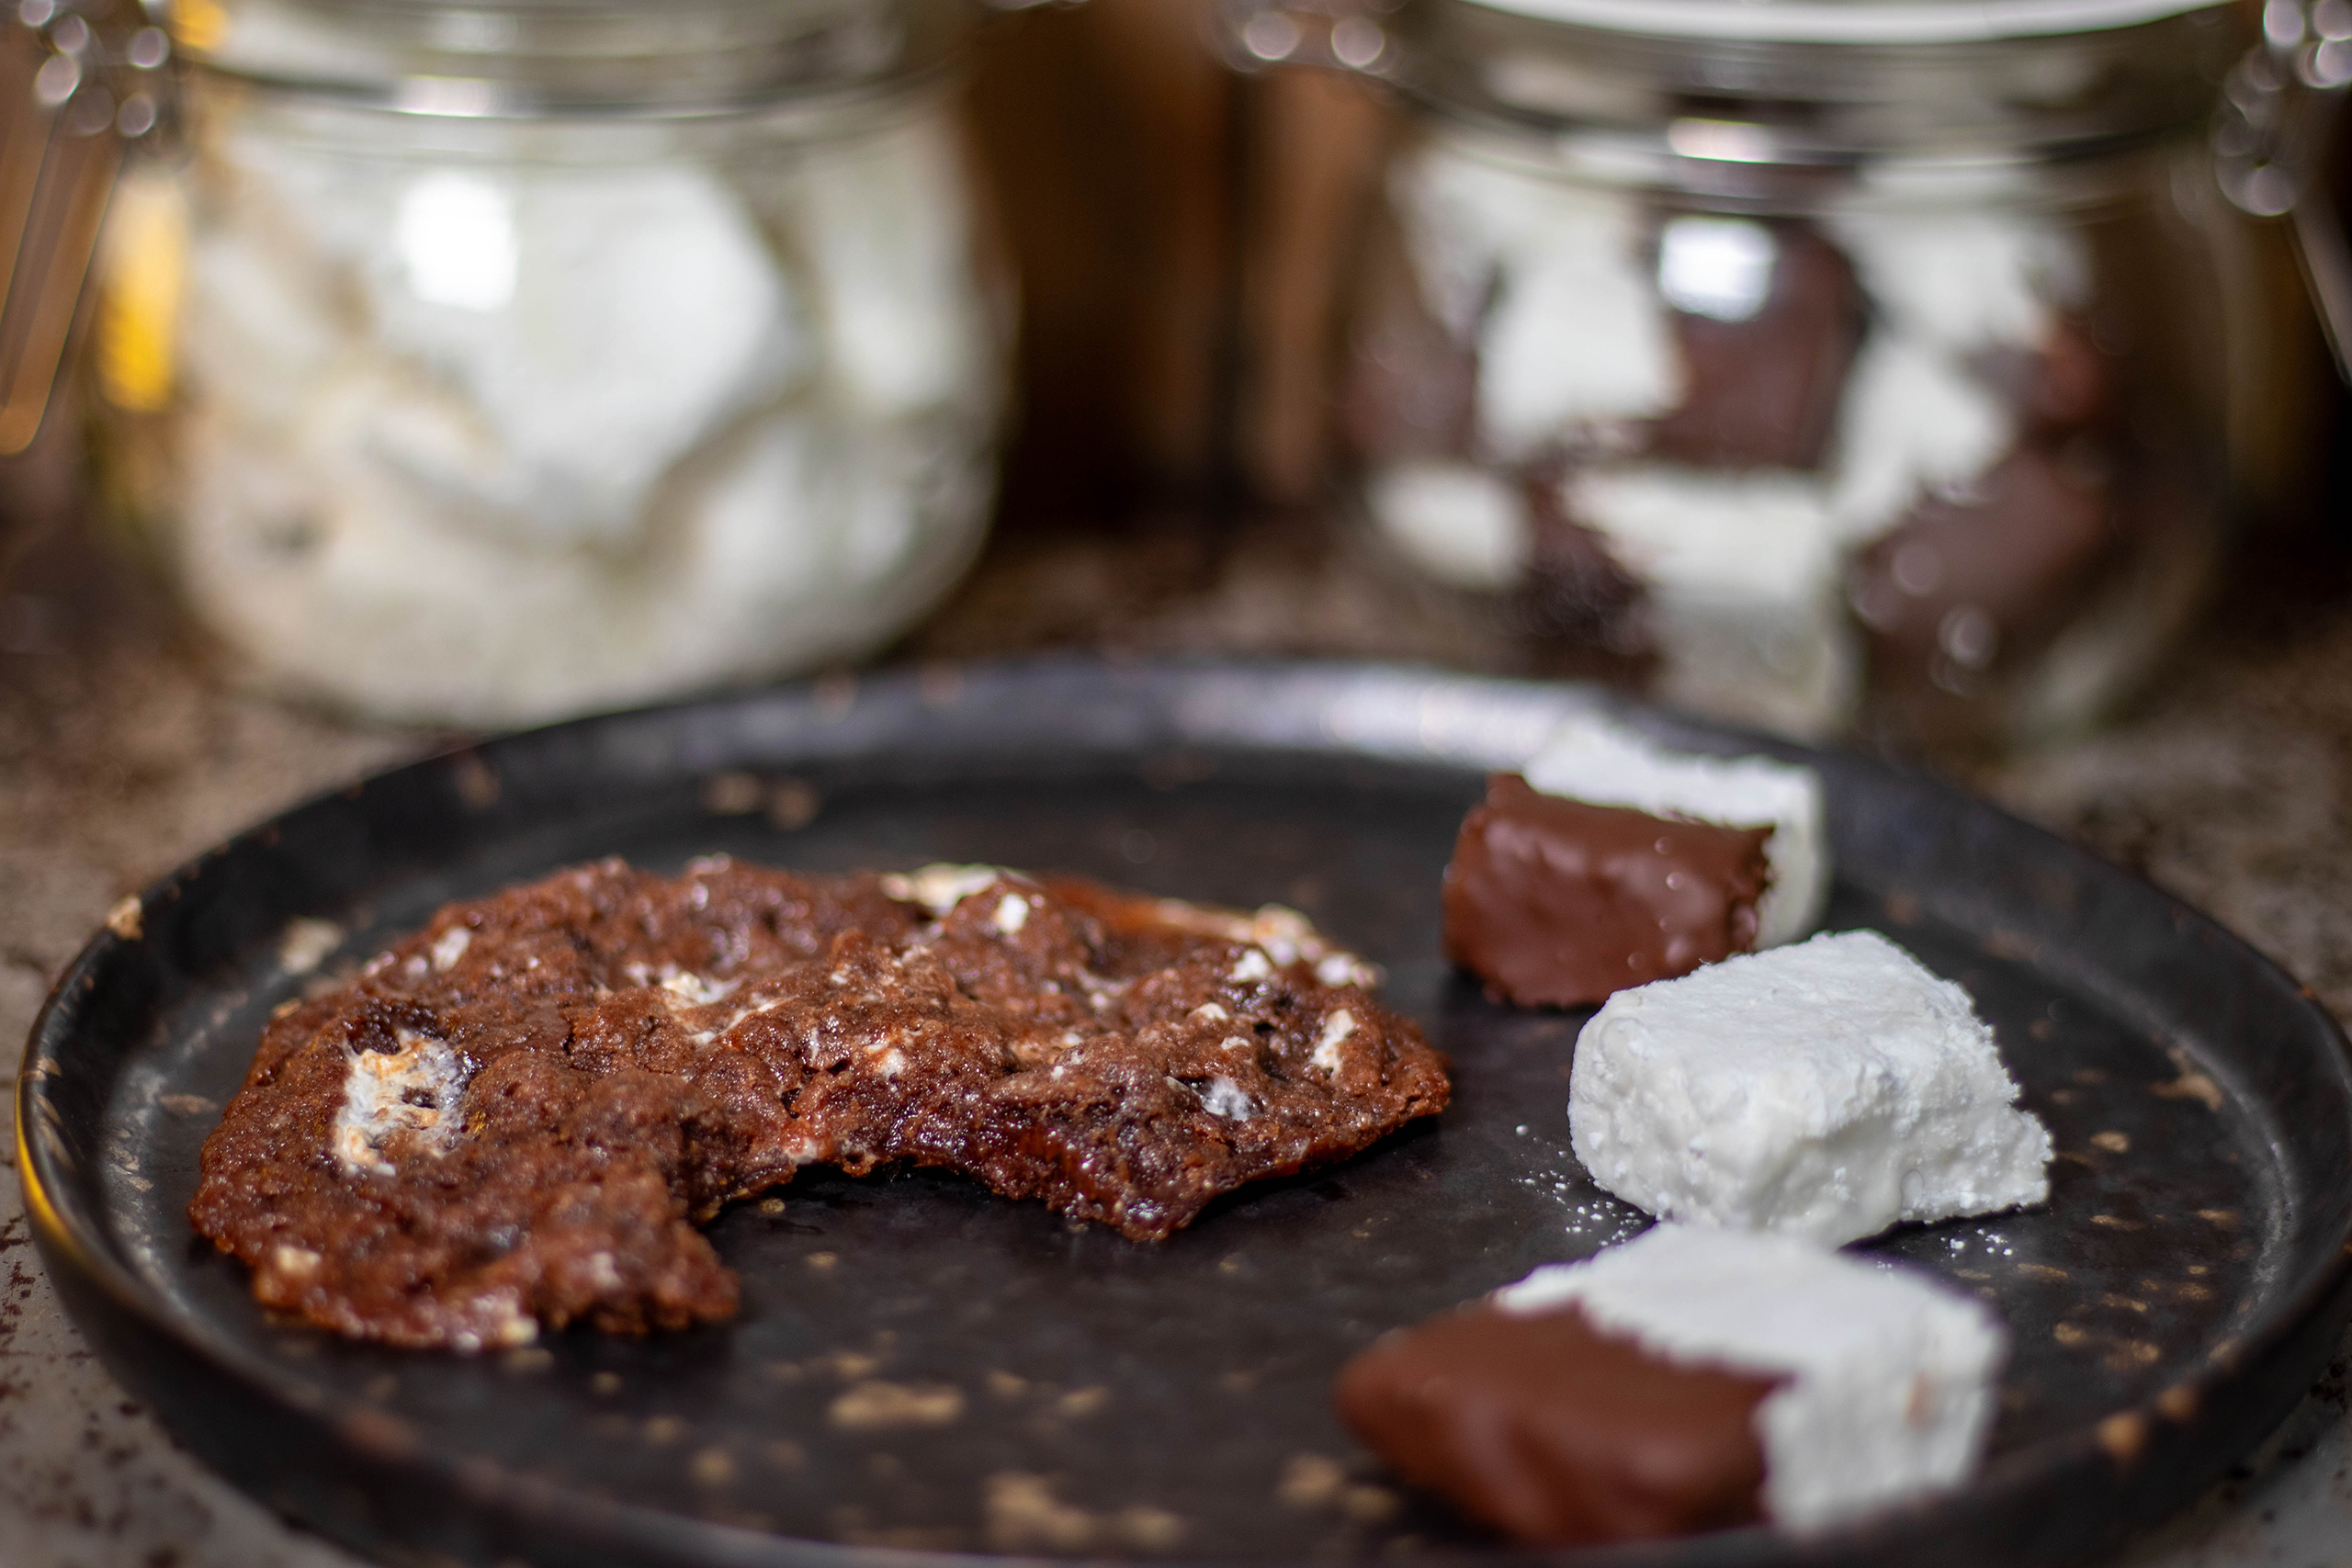
My homemade marshmallows baked in Double Chocolate Chip Marshmallow CookiesMarshmallows are ideal as a little gift. Simply package them in a pretty screw-top or mason jar.
Show me your marshmallows
Please follow me on Instagram or Facebook. And I’d be delighted if you made my vegan marshmallow recipe and posted a photo of it, tagging my account. Because I always find it really great and exciting to see how my recipes have been prepared in other kitchens!
Marshmallows in hot chocolate with hedgehog biskuits.
Make your own vegan marshmallows. The preparation in pictures:
Here you can see in pictures how I prepare the homemade marshmallows. After the preparation photos we’ll go straight to the recipe.
1. The ingredients, mainly sugar and starch2. Dust the baking tray with powdered sugar and starch.3. Heat the sugar mixture to 100°C (210°F).4. The firmly beaten aquafaba.5. The still liquid marshmallow mixture.6. The marshmallow mixture must now dry for 10 hours.7. Dust the mixture with powdered sugar and starch.8. Divide the marshmallow mixture into bite-sized pieces.9. Roll again in powdered sugar and starch.Ready-made, homemade, vegan marshmallows, partially chocolate-coated.Sliced, homemade marshmallow. Nice and fluffy.
Recipe by Sean MoxieCourse: Baking and sweets, Gluten free, On a budget, SnacksCuisine: Baking and sweets, Candy, AmericanDifficulty: Mittel
Preparation
20
minutes
Cooking
10
minutes
Resting
10
hours
Total time
10
hours
30
minutes
Homemade vegan marshmallows? Here’s how! Sweet, with a hint of vanilla, fluffy, soft. For roasting, desserts, snacking, and in hot chocolate.
Ingredients for approximately 100 vegan marshmallows:
140 g powdered sugar
75 g cornstarch
180 g aquafaba (the boiling water from chickpeas from a jar or can)
1 pinch of cream of tartar
4 heaped teaspoons agar agar
240 ml water
280 ml corn syrup
330 g sugar
1 tbsp vanilla sugar
1 pinch of salt
A little oil
Kitchen utensils
Kitchen scale
Measuring cup
Fine-mesh sieve
Food processor or hand mixer
Kitchen thermometer
Large casserole dish or baking sheet
Zubereitung
Mix the powdered sugar and starch.
Grease a baking sheet with a little oil. Then dust it with a little of the powdered sugar and starch mixture.
Reduce the aquafaba to 120 g. Pour the agar agar into a saucepan and weigh it. Bring the aquafaba to a boil and weigh it repeatedly until the total weight of the pot has decreased by 60 g and the desired weight of 120 g of aquafaba (total weight of pot and aquafaba – 60) is reached. My pot weighs 436 g. Adding 180 g of aquafaba equals 616 g. Minus the 60 g I want to reduce, the pot with its contents must weigh 556 g, which gives me 120 g of reduced aquafaba.
Now let the aquafaba cool completely.
Whip the aquafaba with the cream of tartar. The easiest way to do this is to pour the aquafaba into a food processor or beat it with a hand mixer for at least 10 minutes. It should be stiff like whipped egg whites, so it’s better to whip it too long than too short. You can’t overwhip it like chicken egg whites.
Bring water and agar agar to a boil and let it boil for 3 minutes. Then stir in the corn syrup and sugar. Bring to a boil until it reaches 100°C (210°F). Check this precisely with a kitchen thermometer.
Stir in the vanilla sugar and salt.
Gradually fold into the beaten egg whites in a mixer. Continue mixing for 8 minutes.
Immediately spread onto a greased baking sheet dusted with powdered sugar and starch.
Let it rest for 10 hours.
Sprinkle with the powdered sugar and starch mixture.
Cut the giant marshmallow into squares. Carefully remove from the pan, roll in the powdered sugar and starch mixture, and store in an airtight container.
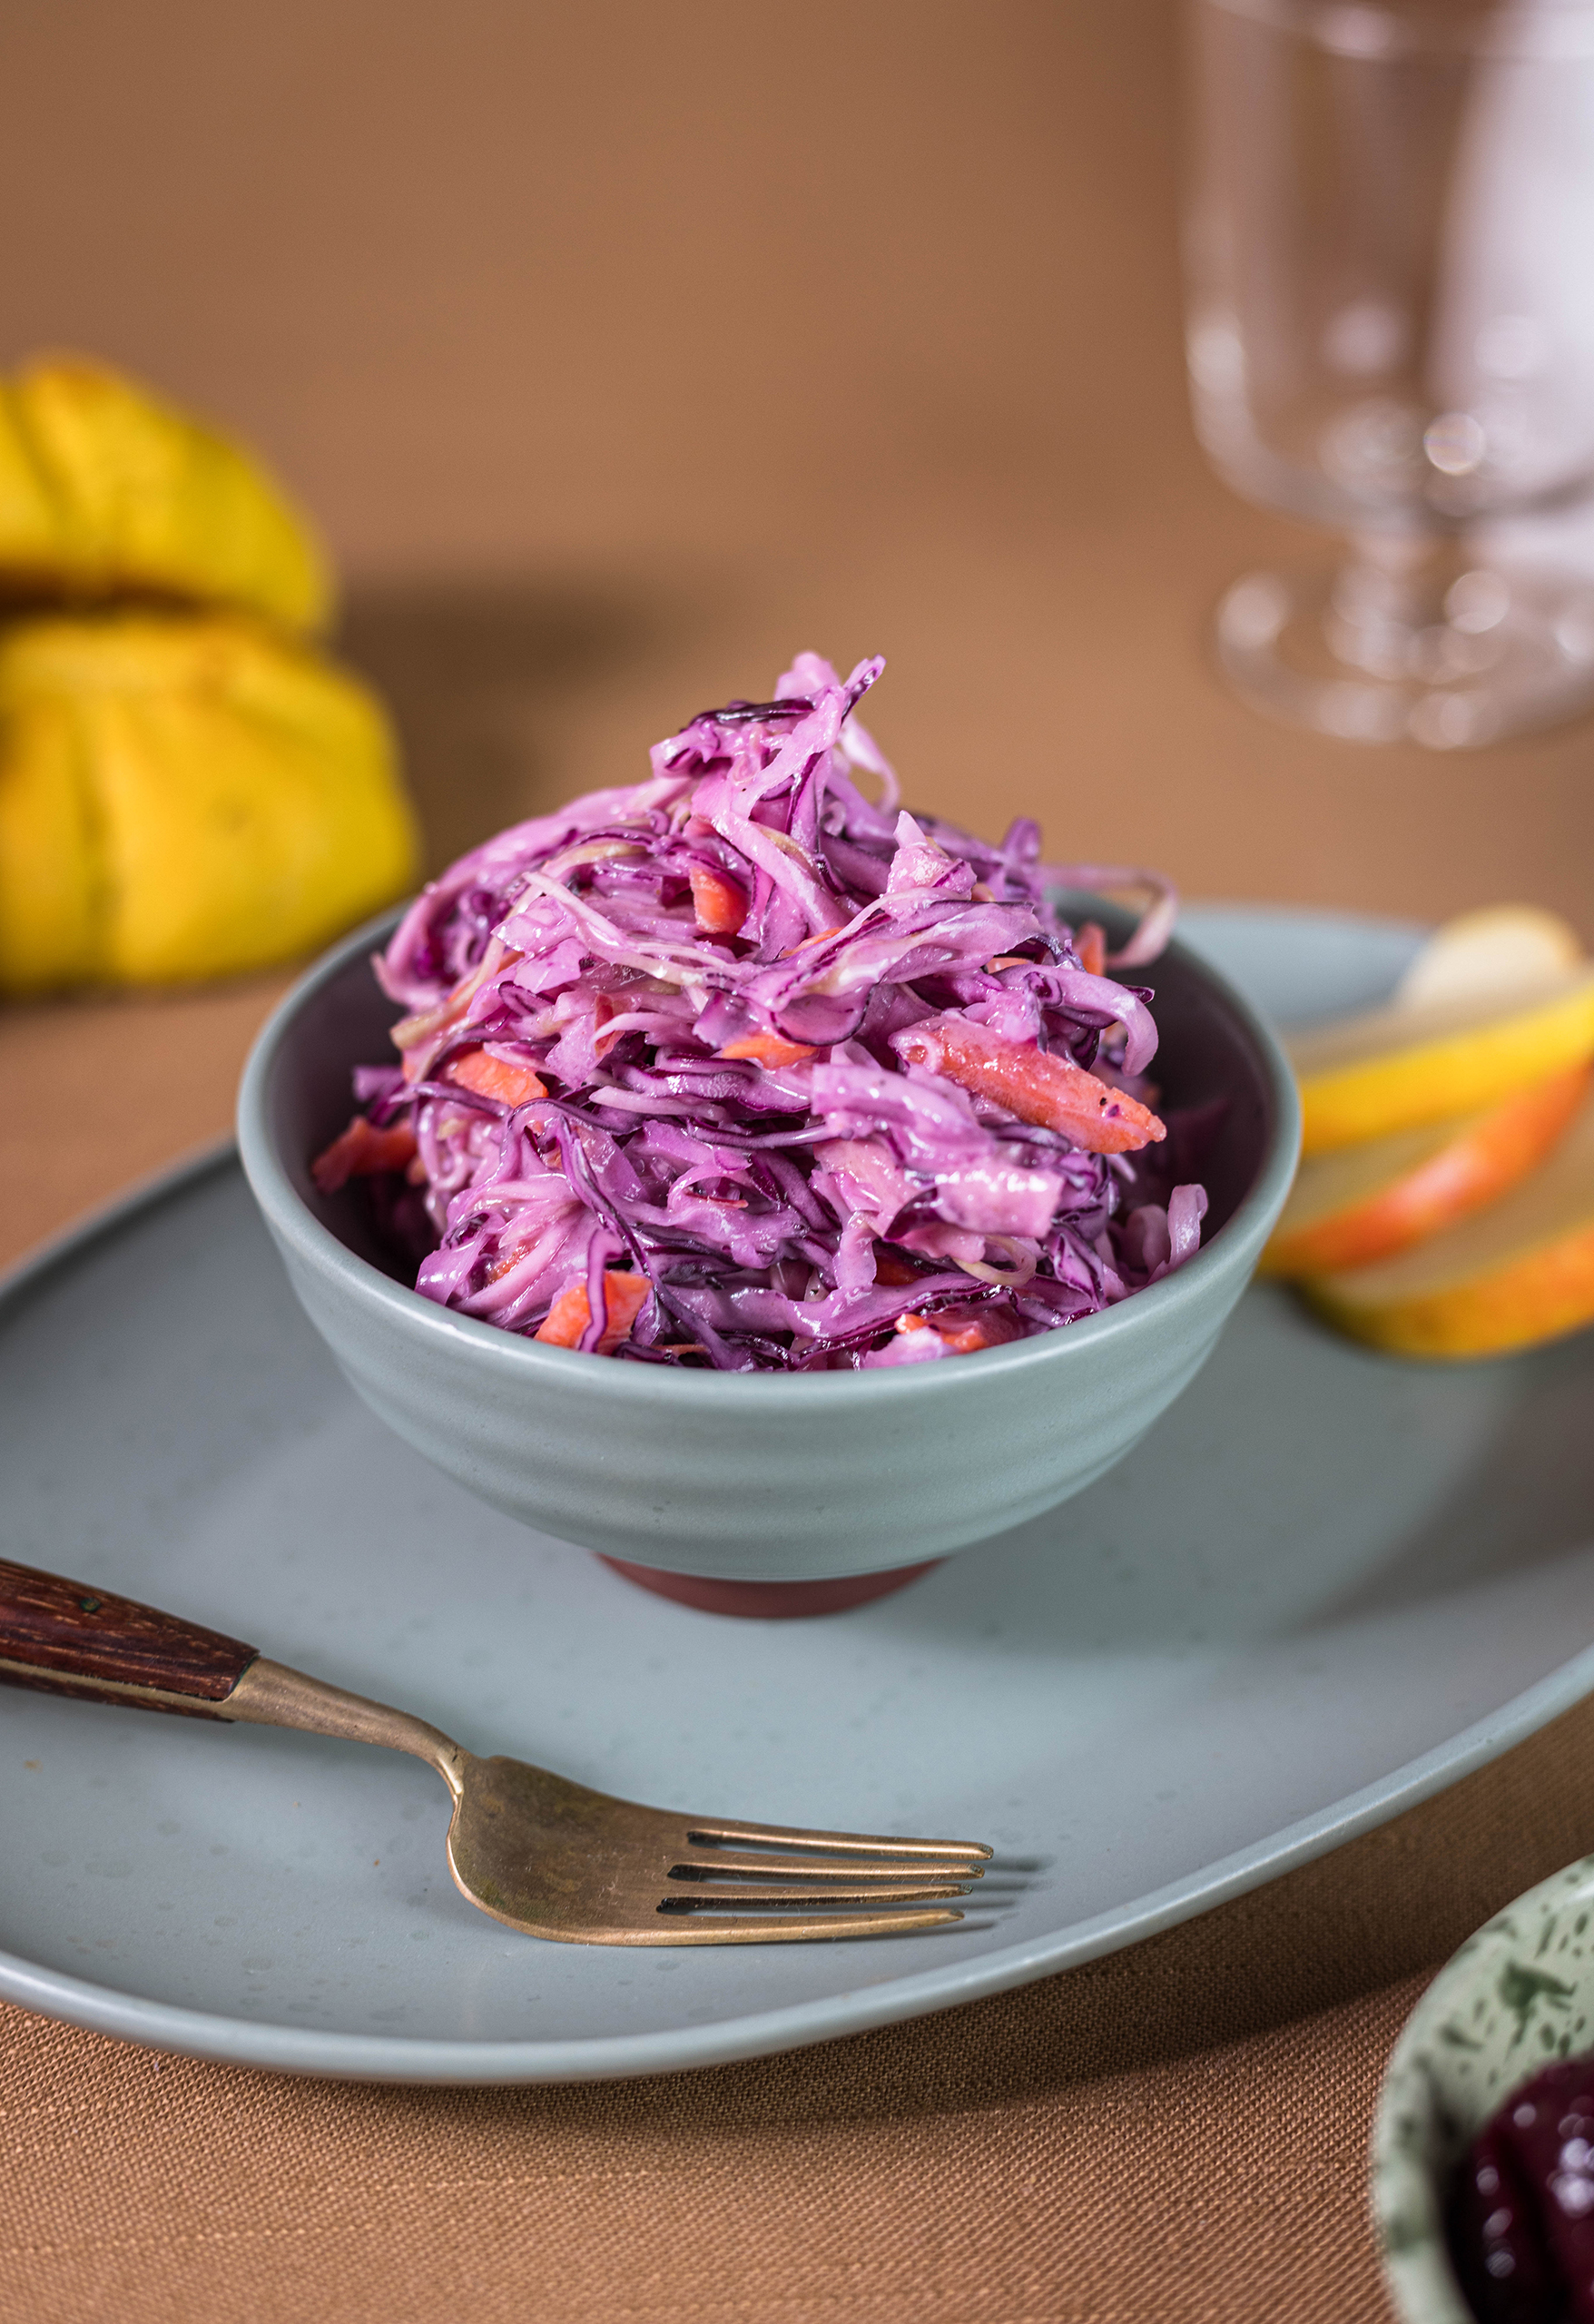
Coleslaw – a seemingly simple dish that actually contains a true explosion of freshness and flavour. In my recipe with red cabbage, white cabbage, carrot, and apple, this salad is vibrantly colored. This salad is not only crisp and delicious, but also looks very appetizing.
Coleslaw is the fresh, crunchy hero among side dishes, whether it’s eaten alongside or on top of a juicy burger, as a fresh contrast to hearty BBQ dishes, simply on bread, or just as a snack between meals – coleslaw is more than just a salad. It’s a culinary all-rounder that can be prepared quickly, easily, and inexpensively using just a few, fresh, local ingredients. And that’s even possible during the winter.
Coleslaw – a seemingly simple dish that nevertheless contains a true explosion of freshness and flavour.
What is coleslaw?
The name coleslaw comes from the Dutch “koolsla,” meaning “coleslaw,” and that’s precisely the heart of this dish. In my recipe, it’s made with red and white cabbage, while in other recipes, it’s often made with just one of them.
But anyone who thinks this salad is just a simple cabbage mix is underestimating its true magic. The cabbage is finely shredded, providing a crunchy base for the perfect side dish. Carrots and apple are added, not only adding colour but also a subtle sweetness that rounds out the overall flavor.
The name Coleslaw is derived from the Dutch “koolsla”
The Best Vegan Coleslaw Recipe
This is, in my opinion, the best coleslaw recipe. And it’s entirely plant-based. A vegan, creamy, crunchy cabbage salad with fresh red and white cabbage, plus carrots and apple. Seasoned with fresh chili, onion, mustard, and vinegar in a dressing made from homemade vegan mayonnaise and plum jam.
The Best Vegan Coleslaw Recipe
The secret ingredient is the dressing!
What would coleslaw be without the right dressing? This is where the true art unfolds: The creamy sauce is the key to a perfect coleslaw. Traditionally, a mixture of mayonnaise, vinegar, lemon juice, and a pinch of sugar is used to achieve the perfect balance between sweet, sour, and creamy. I complement this with a little plum jam and chili, resulting in a full-bodied explosion of flavour.
This is where the true art unfolds: the creamy sauce is the key.
Coleslaw is very easy to prepare and store.
This recipe is very easy to prepare, as the sealed coleslaw will keep in the refrigerator for about a week. This makes it very easy to store and take with you. Because it’s so hardy, it can be transported for extended periods without refrigeration, making it ideal for long barbecues and buffets.
Coleslaw is very easy to prepare and store
A winter salad with local produce
Coleslaw is a fantastic winter salad made with ingredients that are fresh and locally available even during the colder months. Red cabbage, white cabbage, carrots, and apples can be harvested late into the year and then stored fresh for months. This recipe means you can prepare a crisp salad with locally grown ingredients even in winter. This saves on transportation, energy, and costs, making the ingredients very affordable even in winter.
A winter salad with local produce
Cabbage is a local superfood
Cabbage varieties contain an incredible number of beneficial nutrients. It is practically a local superfood.
Because it’s so inexpensive and readily available, it’s probably never called that.
Cabbage contains a lot of potassium, calcium, magnesium, and vitamin C. White cabbage, for example, has 45 mg of vitamin C per 100 g, which is very high.
Cabbage is a regional superfood and this salad contains white cabbage and red cabbage.
What coleslaw be served with? Serving suggestions!
Coleslaw is often eaten as an accompaniment to hearty dishes – as a fresh counterpoint, for example, to:
But to be honest, coleslaw is much more than just a side dish. It not only adds color to the plate, but its crisp, juicy freshness balances out the heavier components. While the main course is filling, this creamy salad refreshes the palate with every bite. This makes this salad a perfect match for many meals.
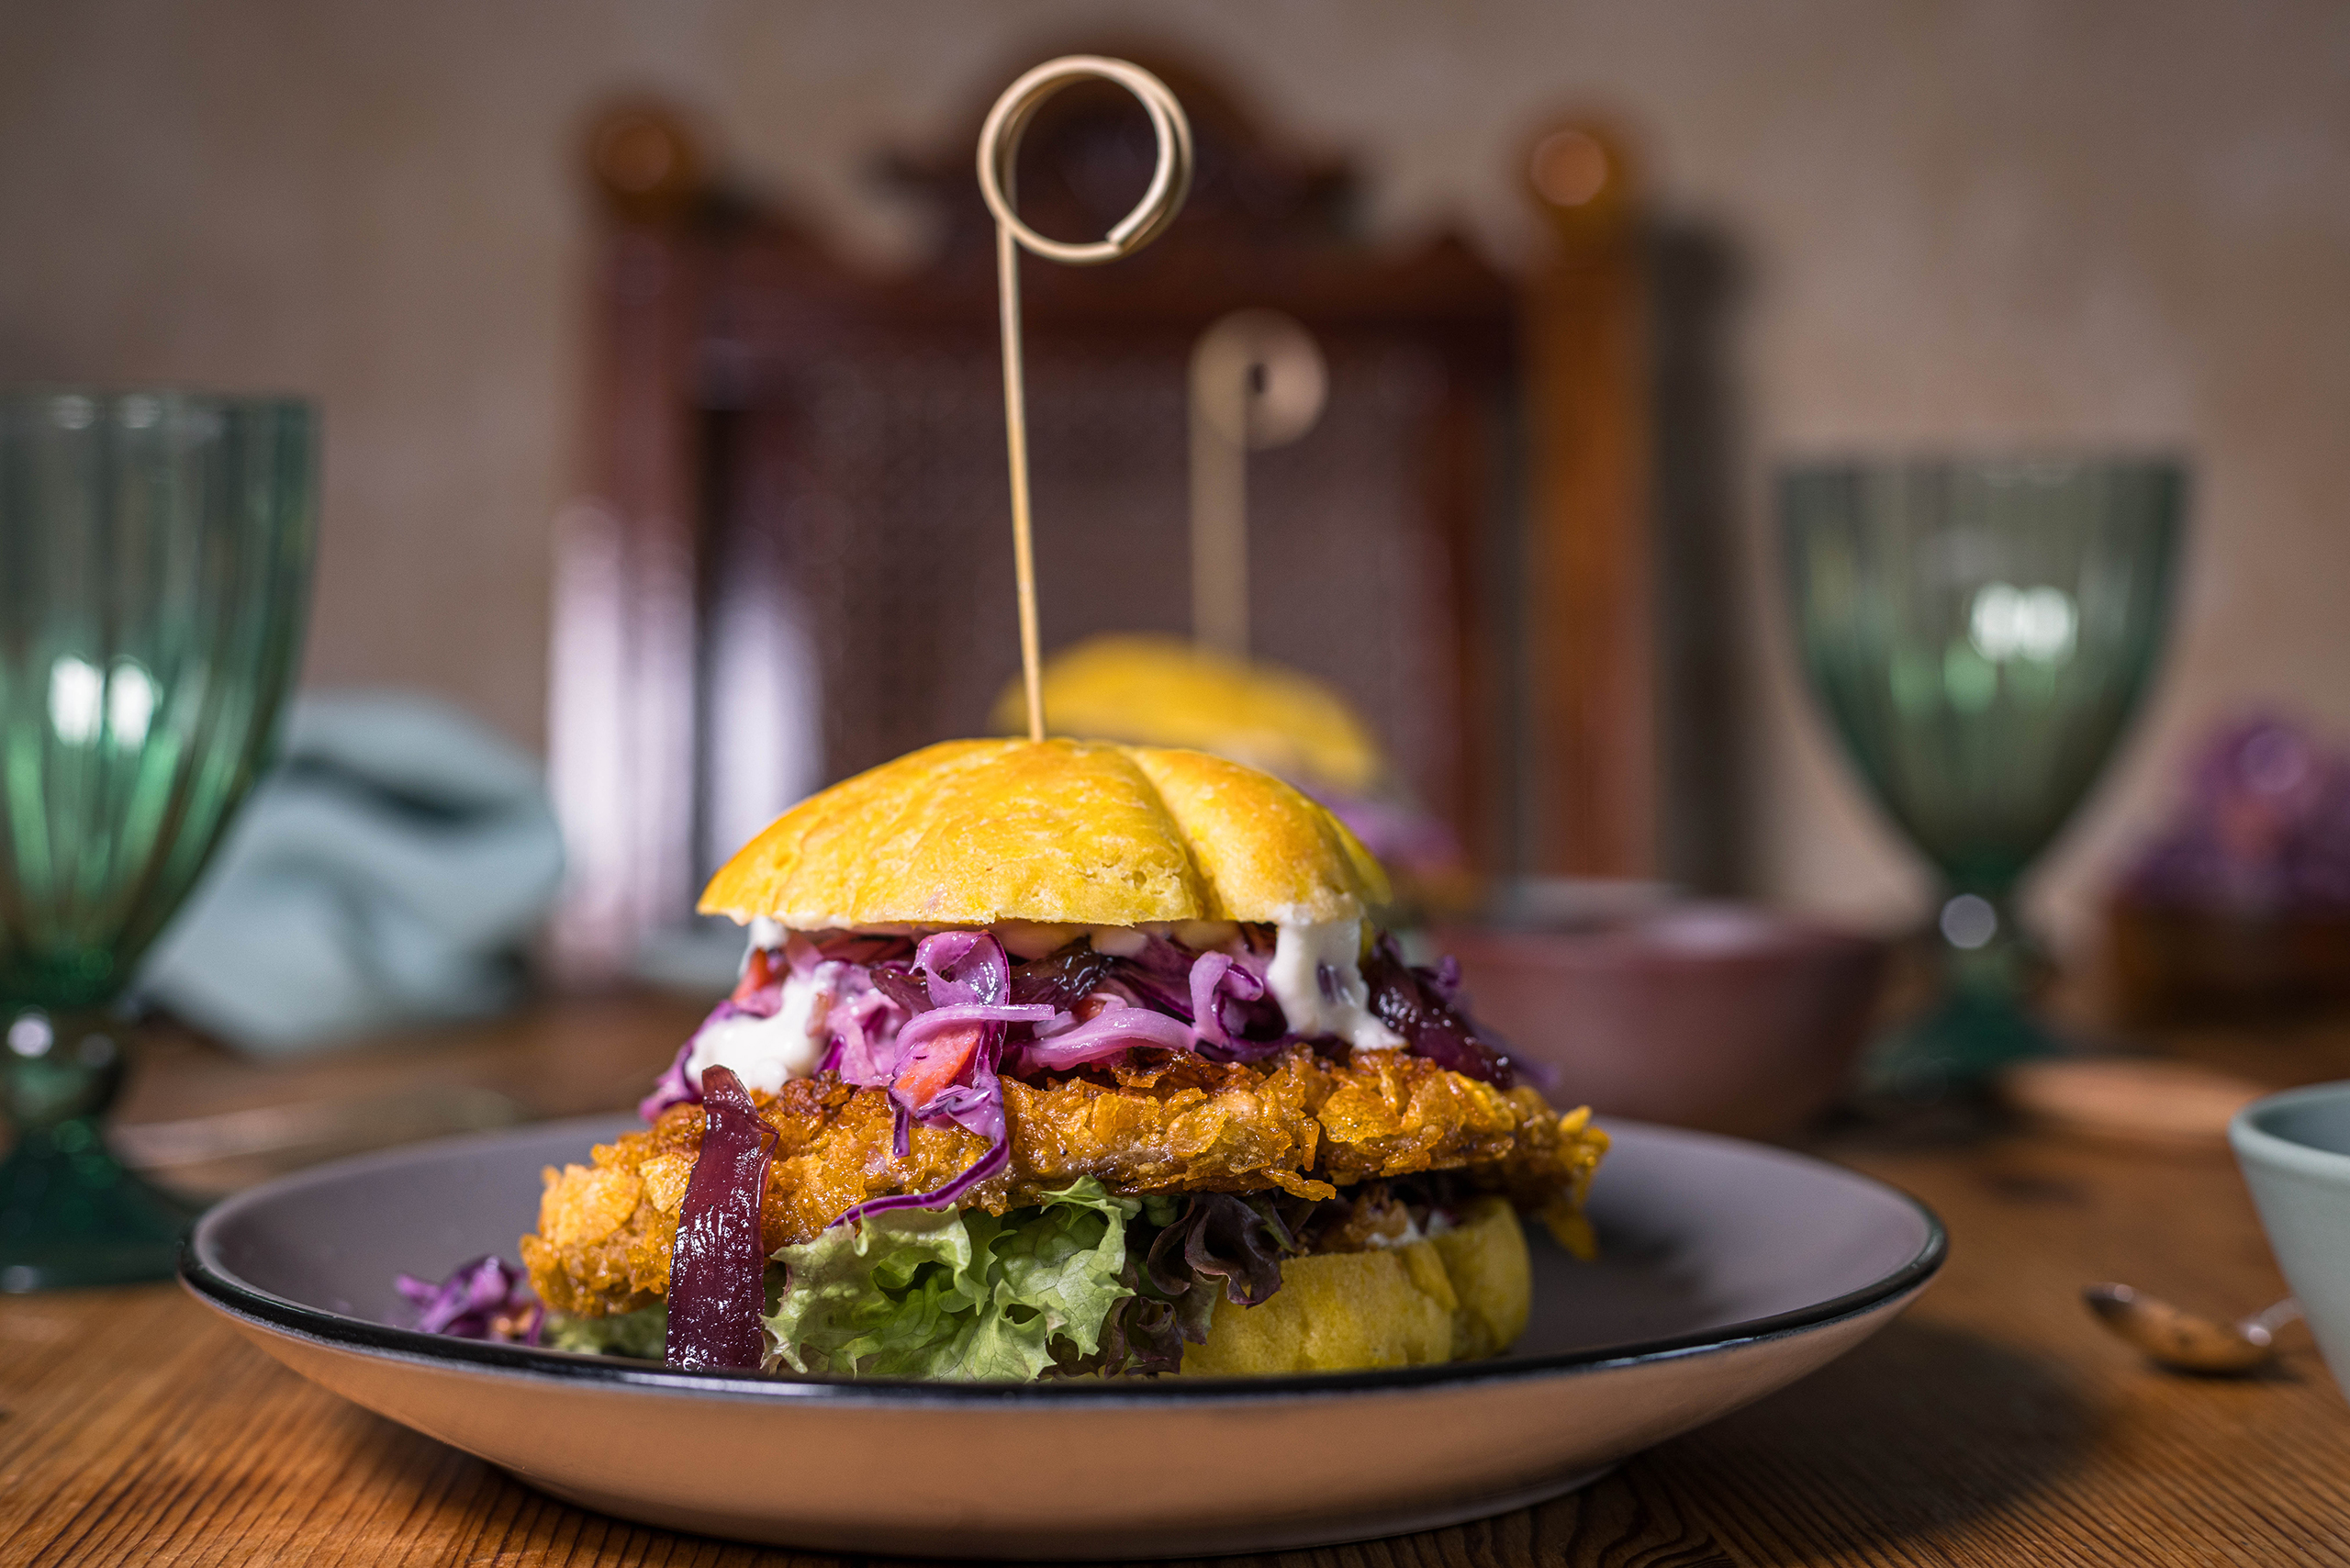
My coleslaw as a crunchy and juicy element for parasol burgers.
Show me your coleslaw
Please follow me on Instagram or Facebook. And I’d be delighted if you made my vegan coleslaw and posted a photo of it, tagging my account. Because I always find it really great and exciting to see how my recipes have been prepared in other kitchens!
Please show me your coleslaw too
Preparation in pictures
Here I’ll show you step-by-step on photos how to prepare coleslaw. Then I’ll move on to the recipe.
1. All ingredients.2. The dressing is mixed.3. Red cabbage, white cabbage, carrot, apple, chili and onion are chopped.4. Now all ingredients are mixed together and the salad should then sit for at least 2-3 hours.Coleslaw – creamy and crunchy cabbage salad with red and white cabbage
Ingredients for 6-8 servings of coleslaw:
400 g white cabbage, finely shredded or chopped 300 g red cabbage, finely shredded or chopped 1 carrot, grated 1/2 red chili, cut into small pieces 1 apple, grated 1 red onion, thinly sliced Approx. 100 ml vegan mayonnaise 1 tbsp plum jam 2 tbsp sugar 3 tbsp herb vinegar 2 tsp mustard Salt Pepper
Preparation:
First, I mix a marinade of mayonnaise, plum jam, sugar, vinegar, and mustard.
Lightly salt and pepper the marinade.
Thoroughly mix all ingredients with the marinade and season with salt and pepper.
Let it sit in the refrigerator for at least 2-3 hours. Stir once or twice if necessary.
Season again with salt and pepper before serving.
Well-packaged, the coleslaw will keep in the refrigerator for about a week.
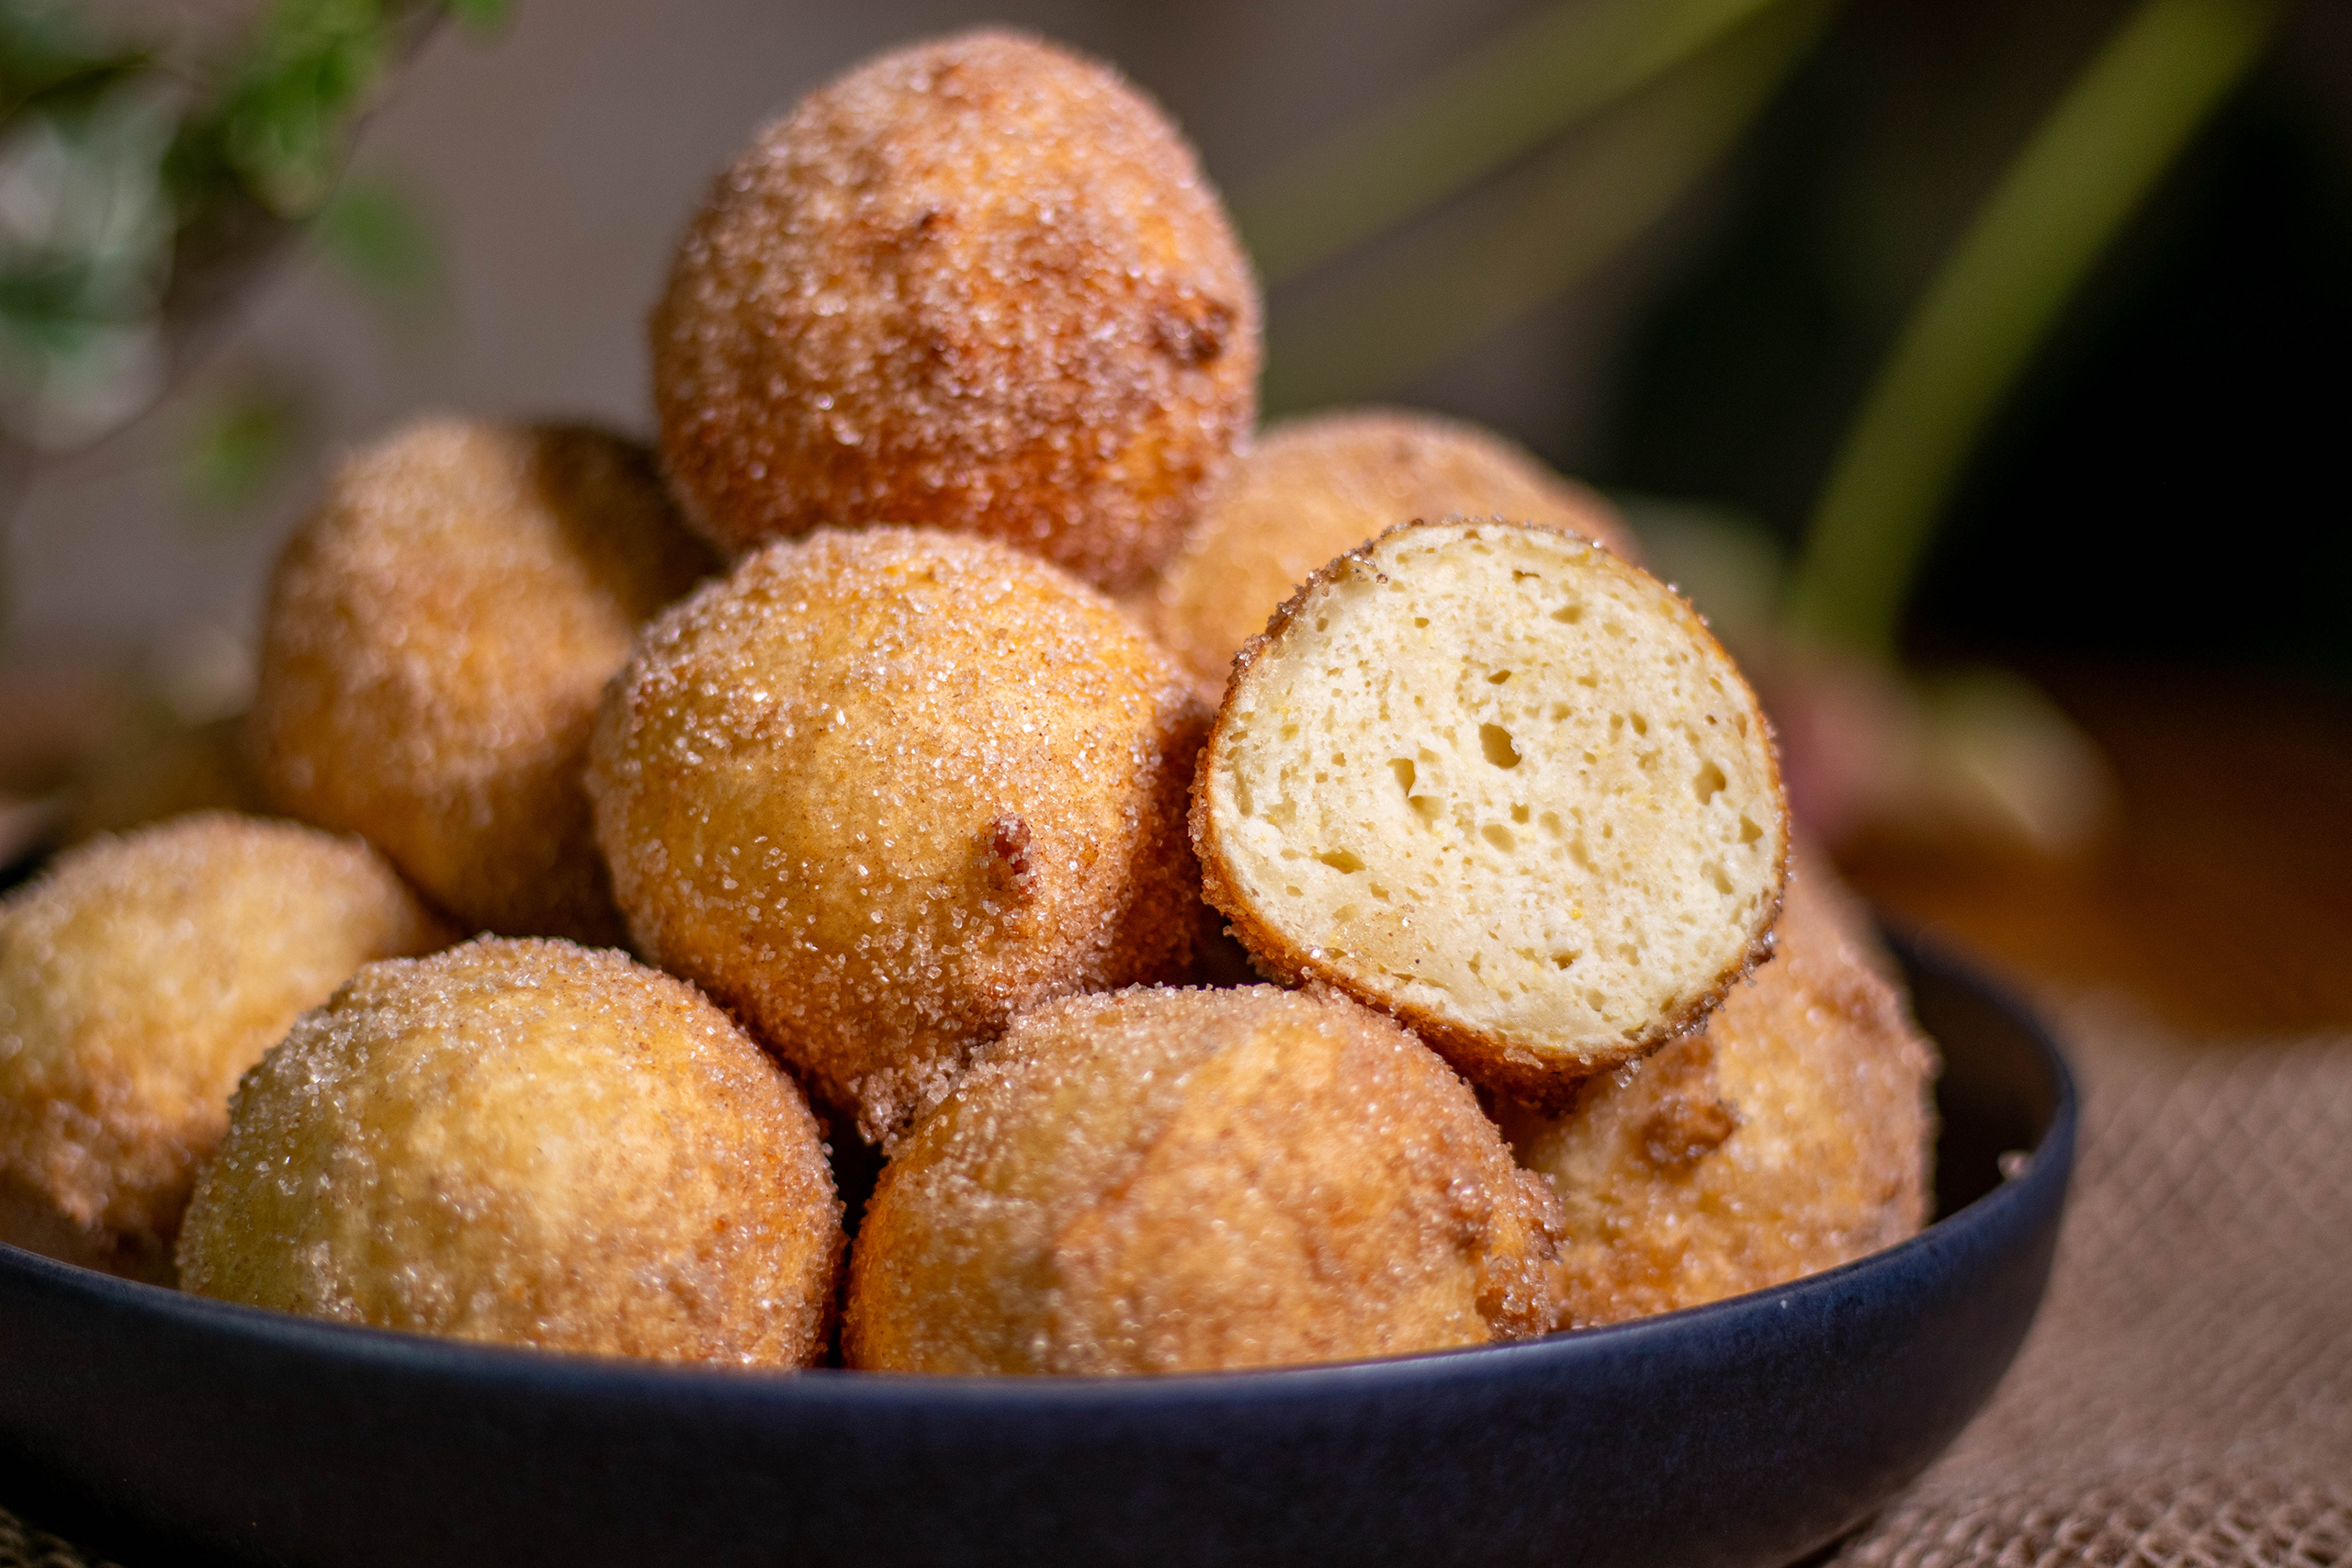
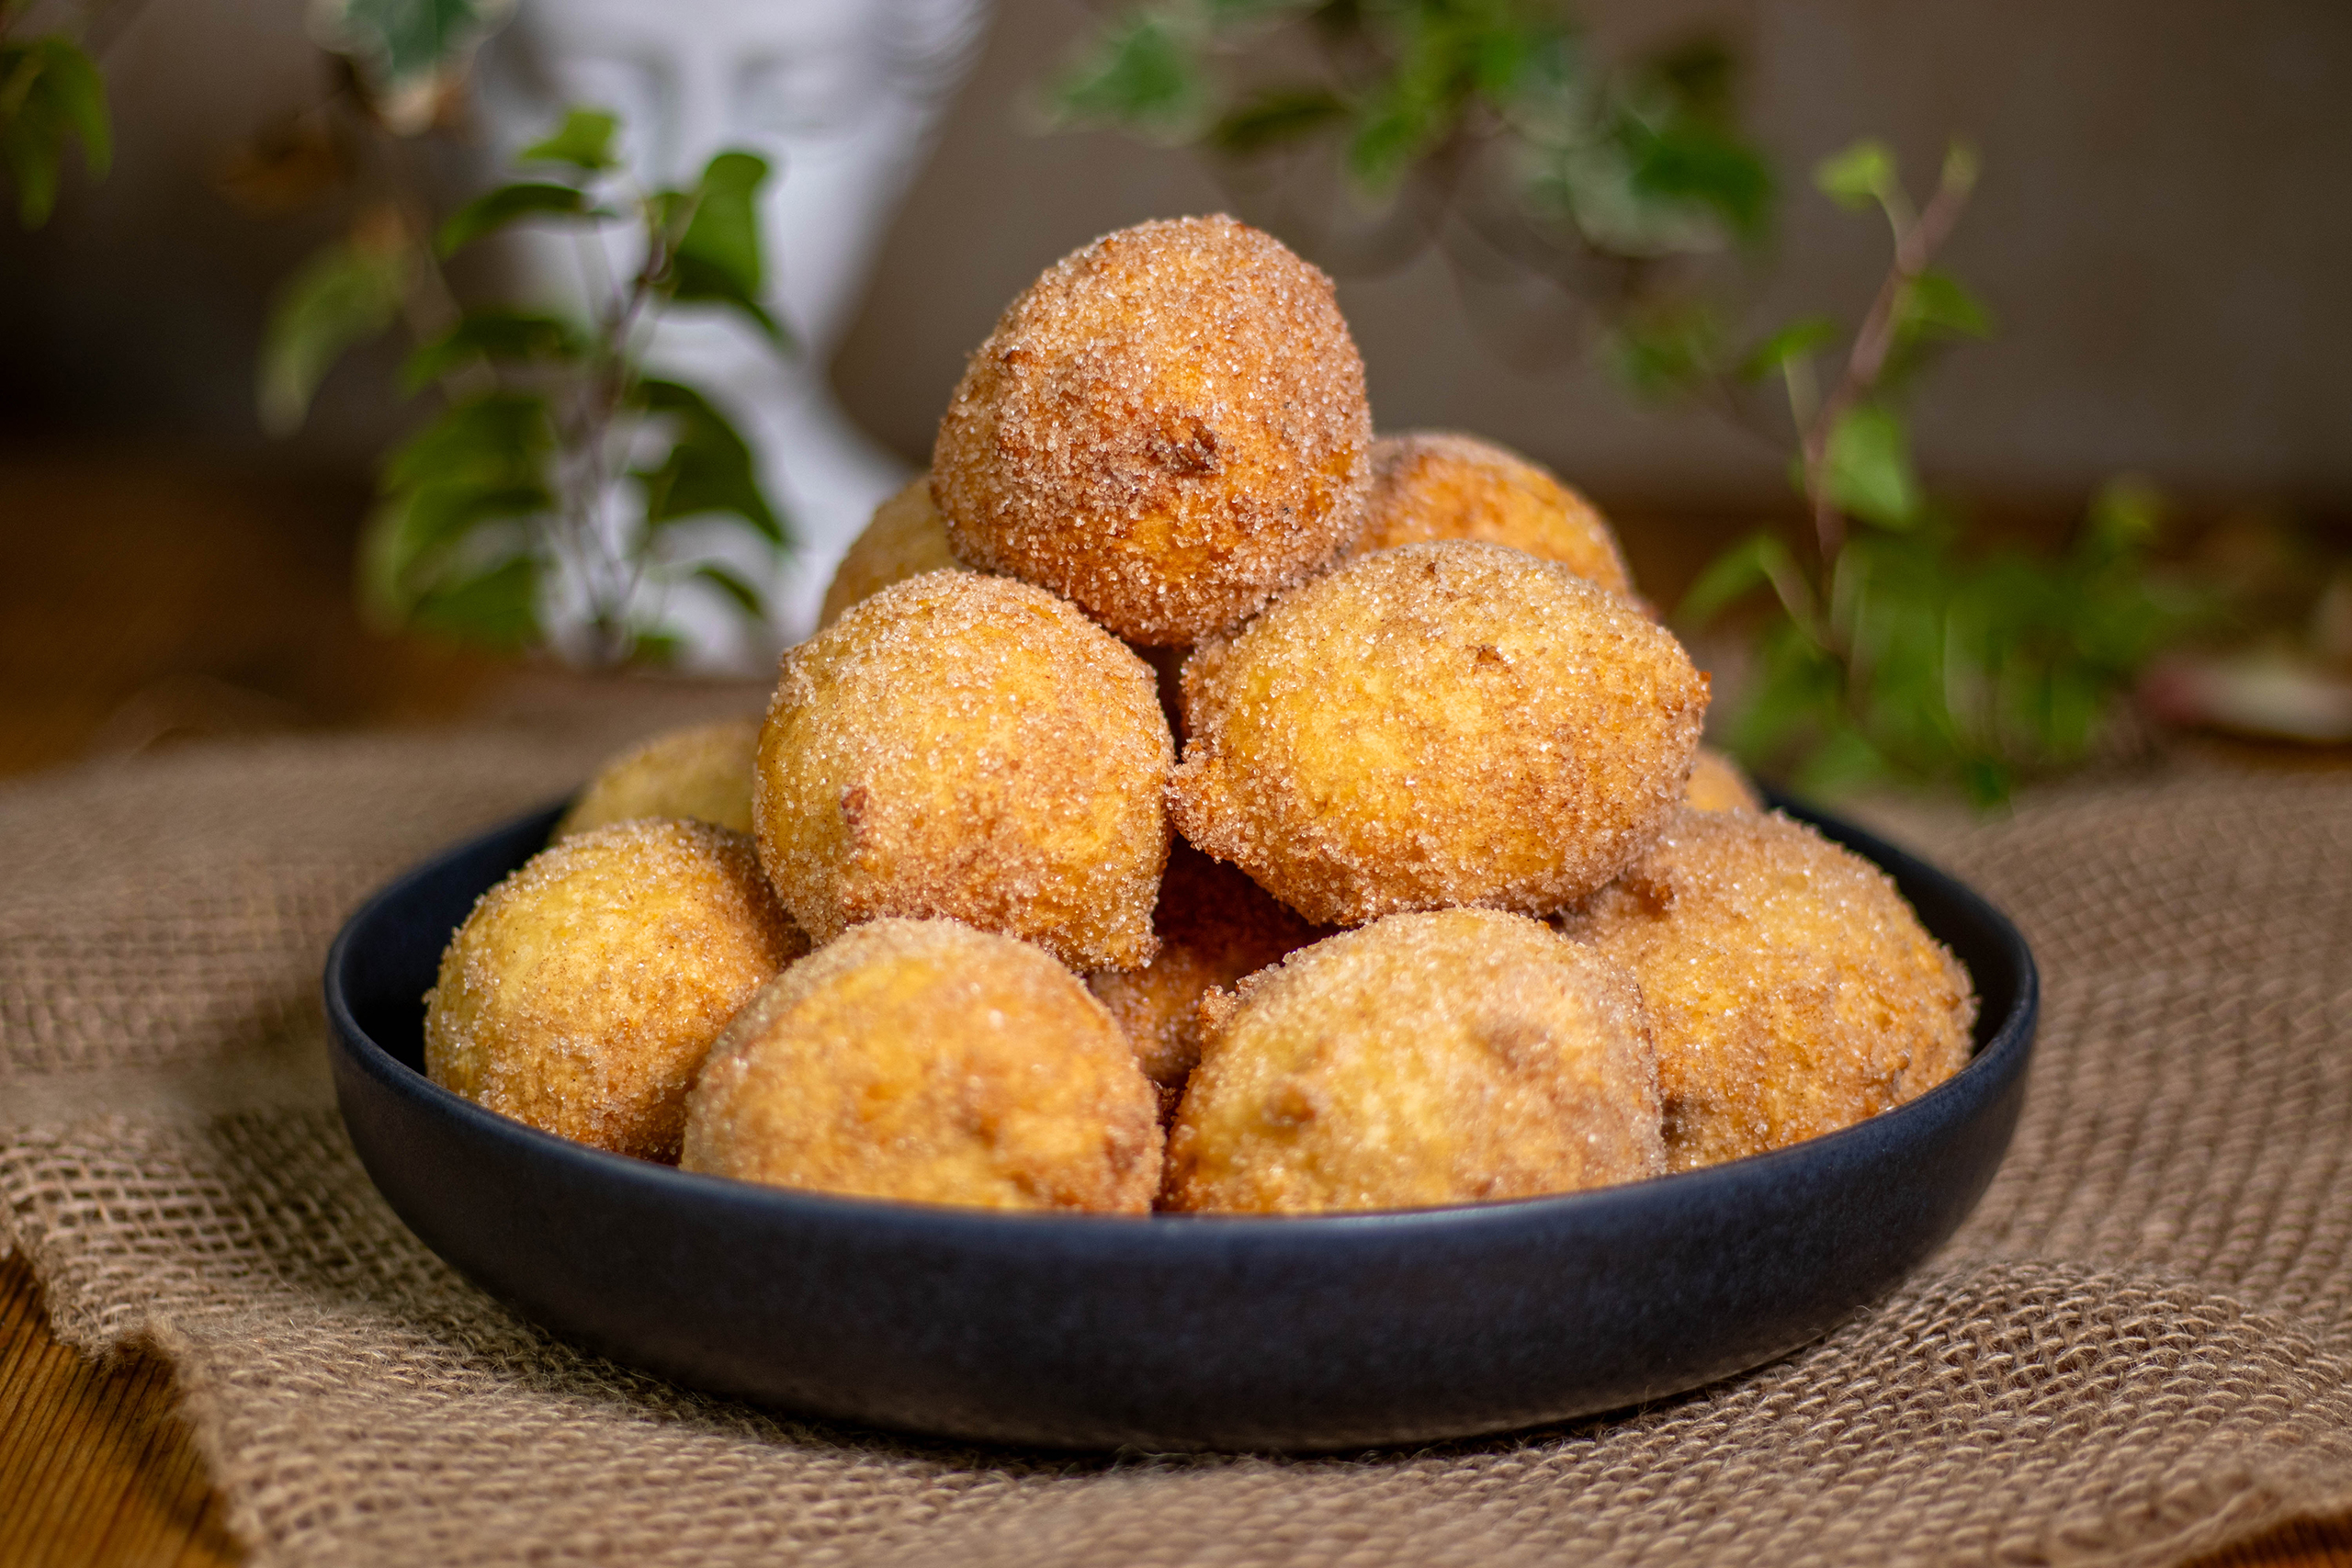
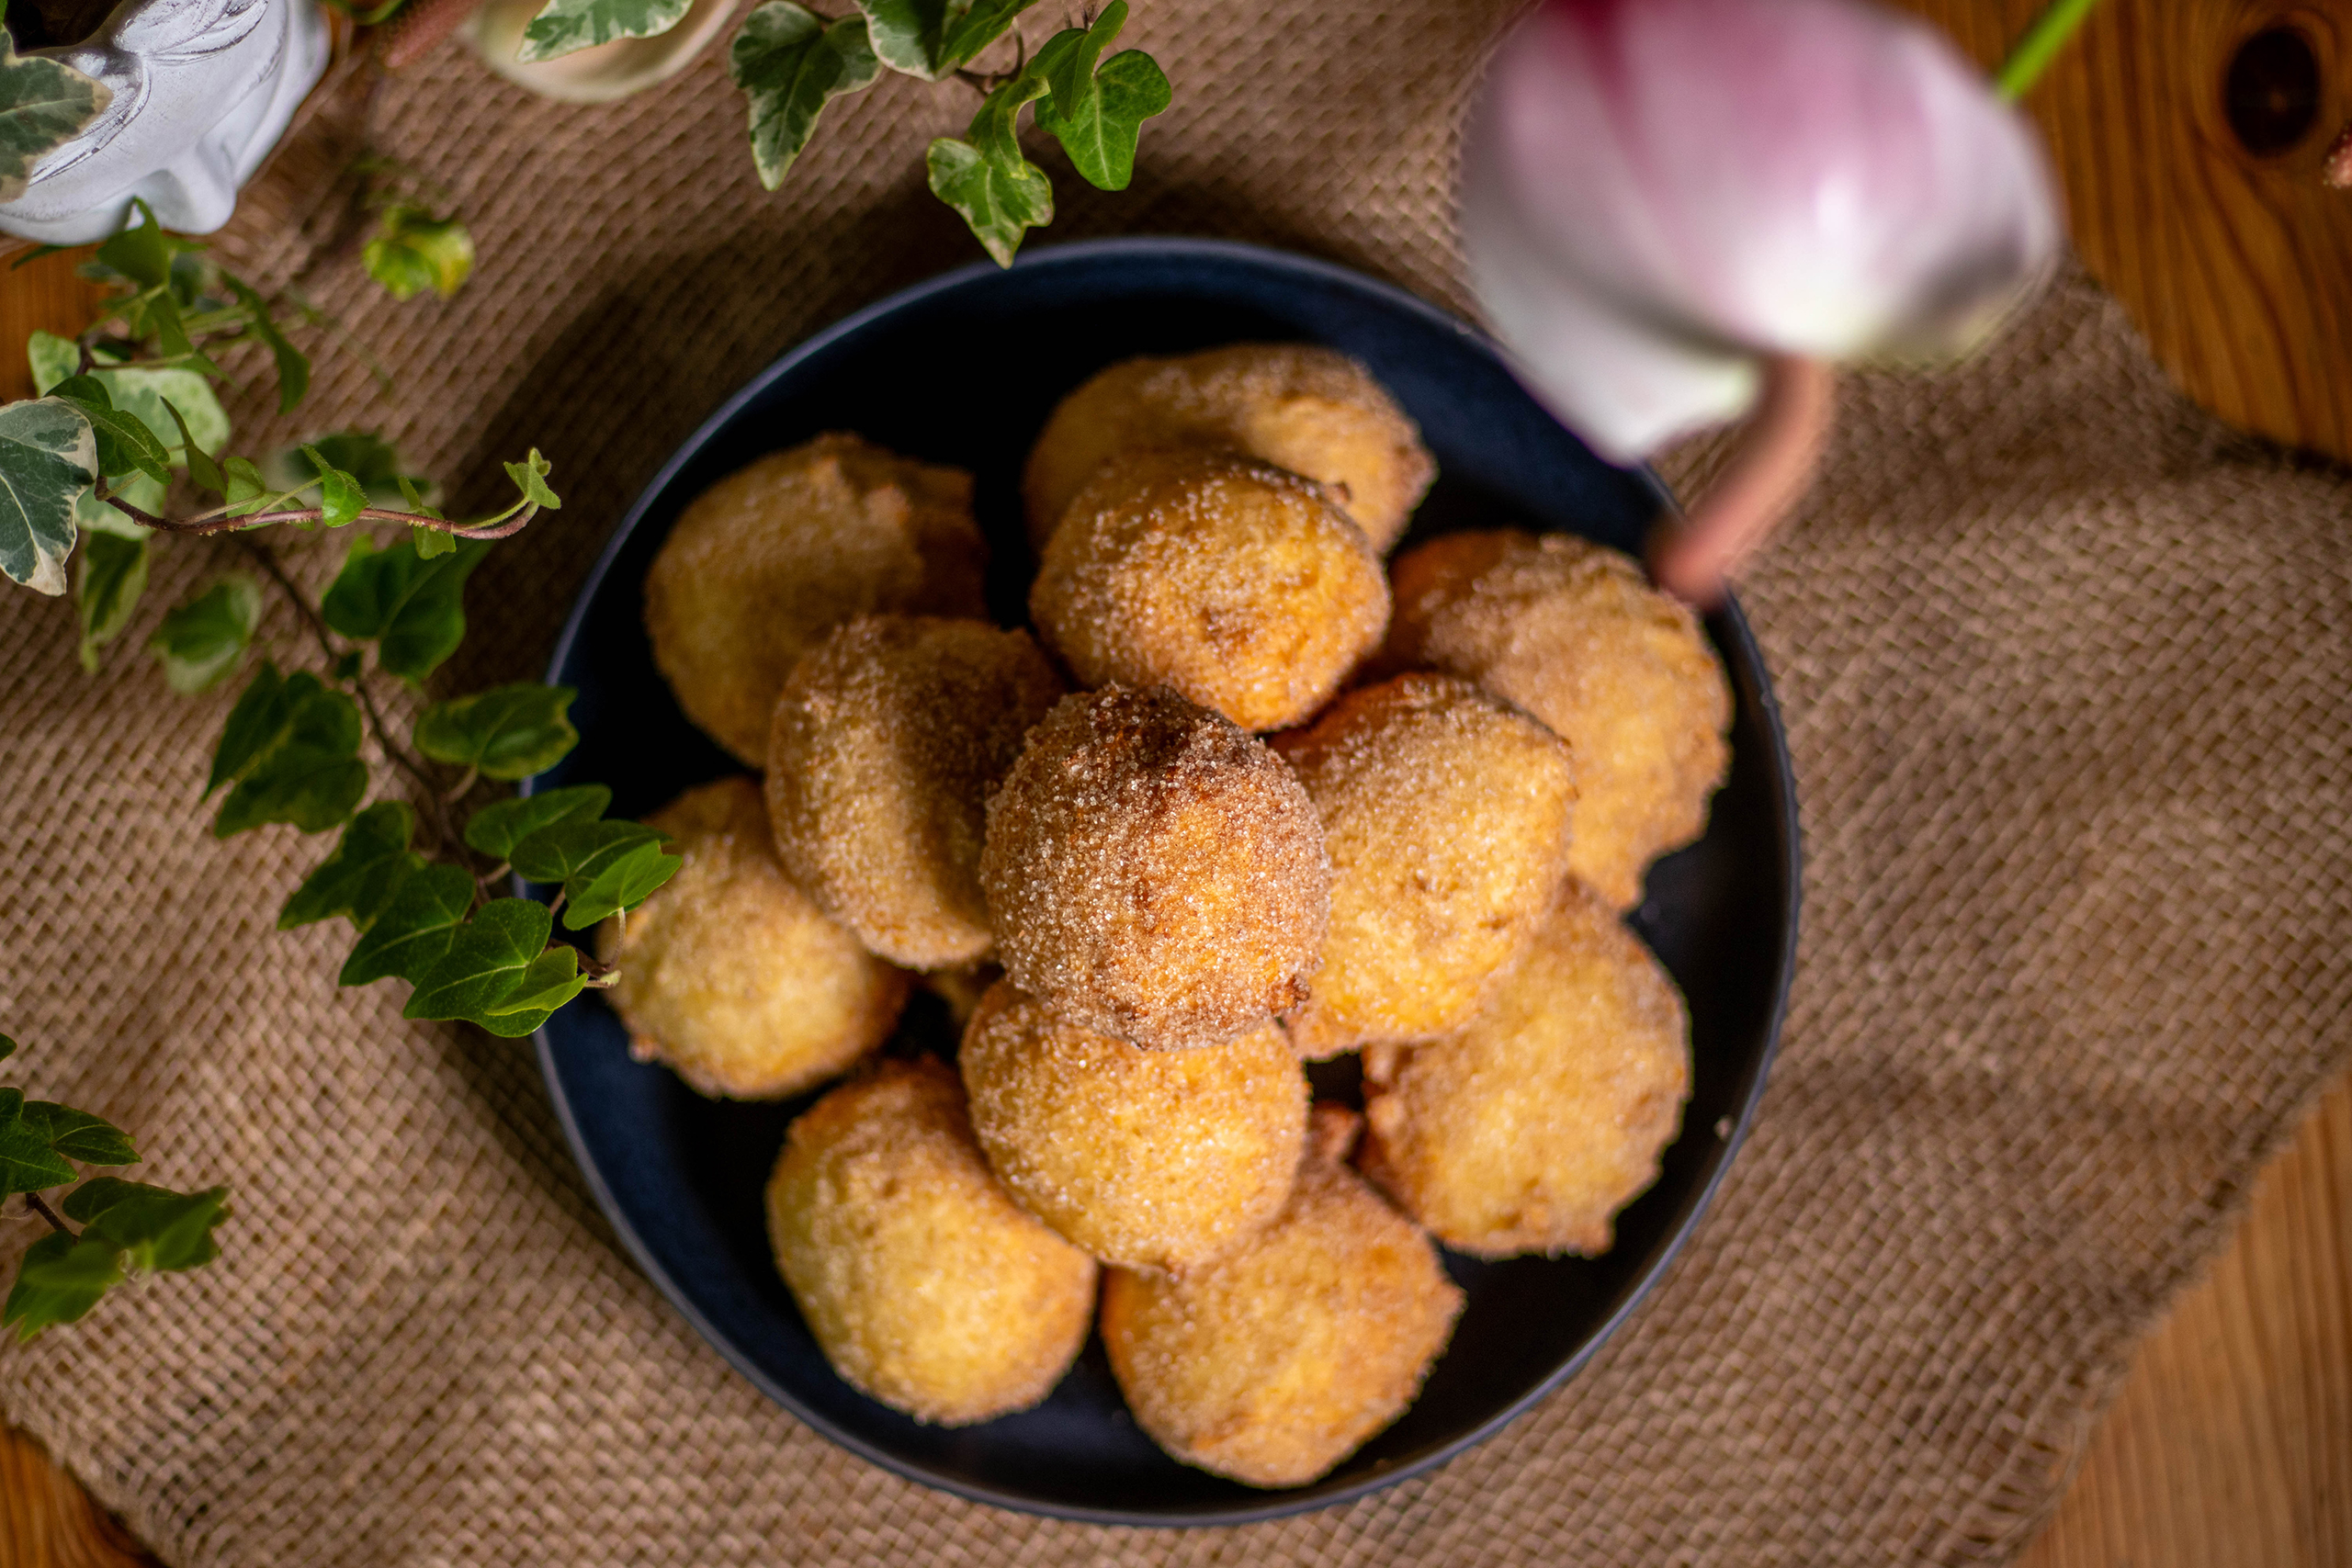
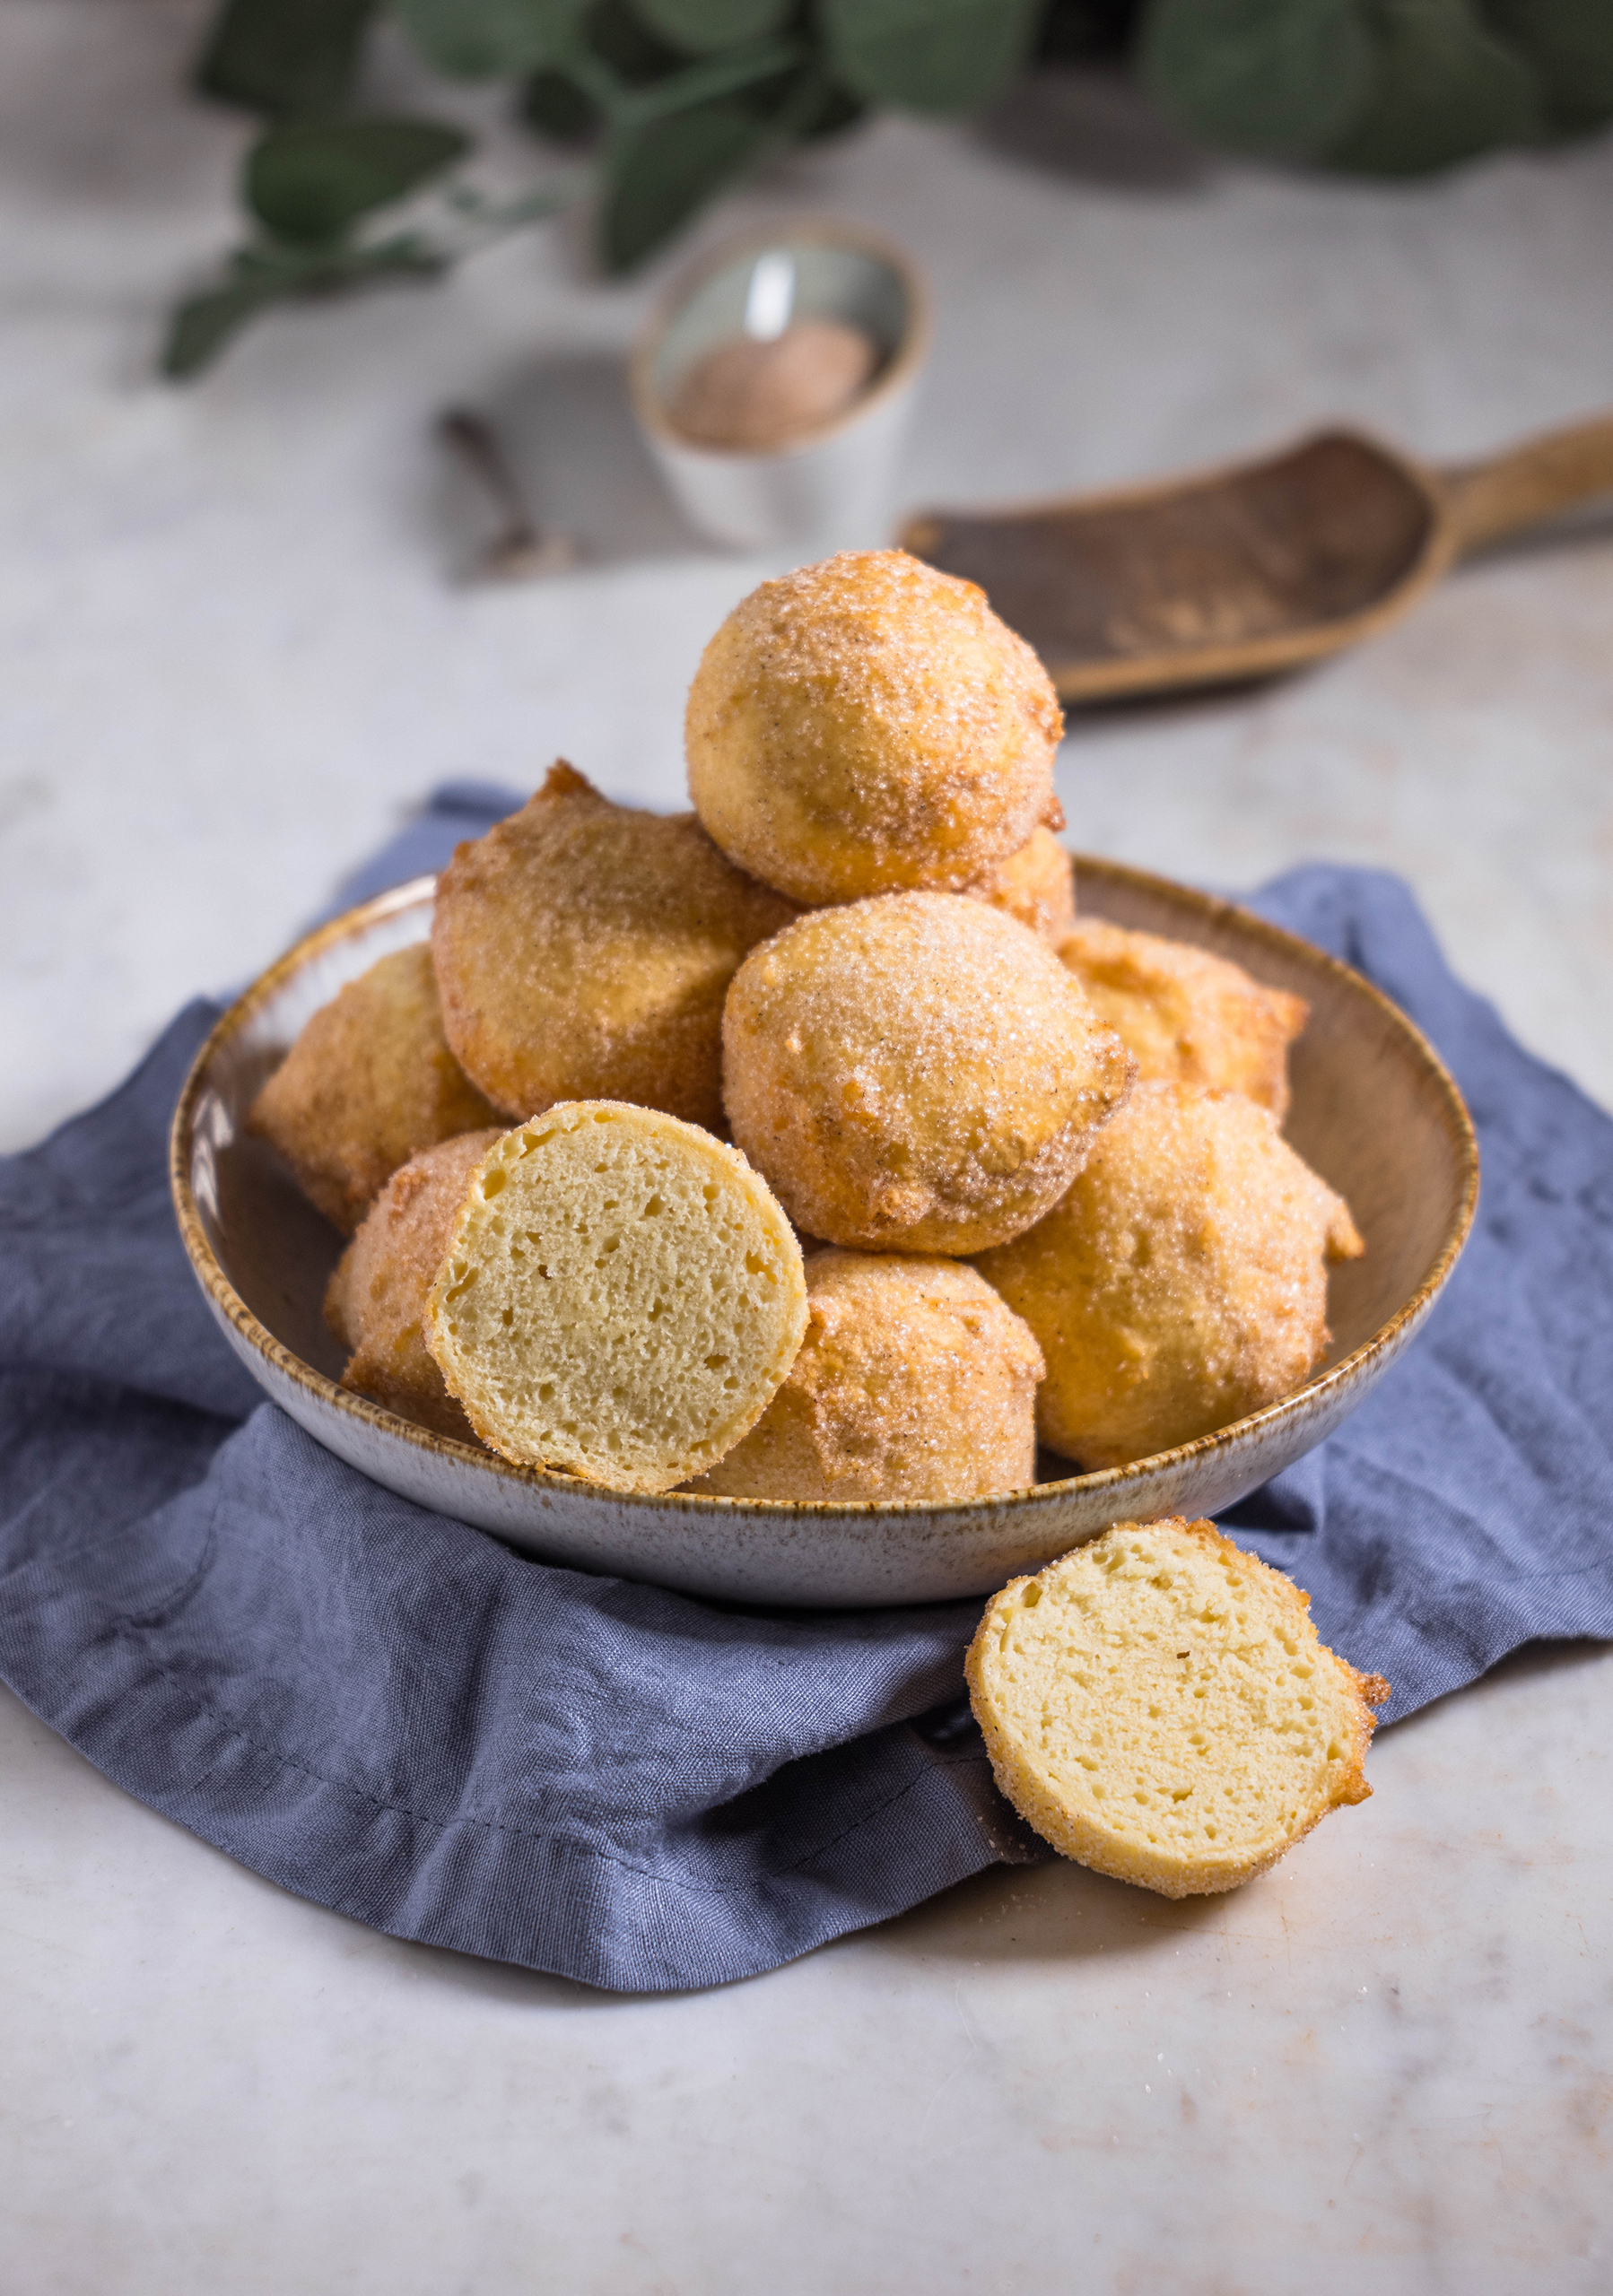
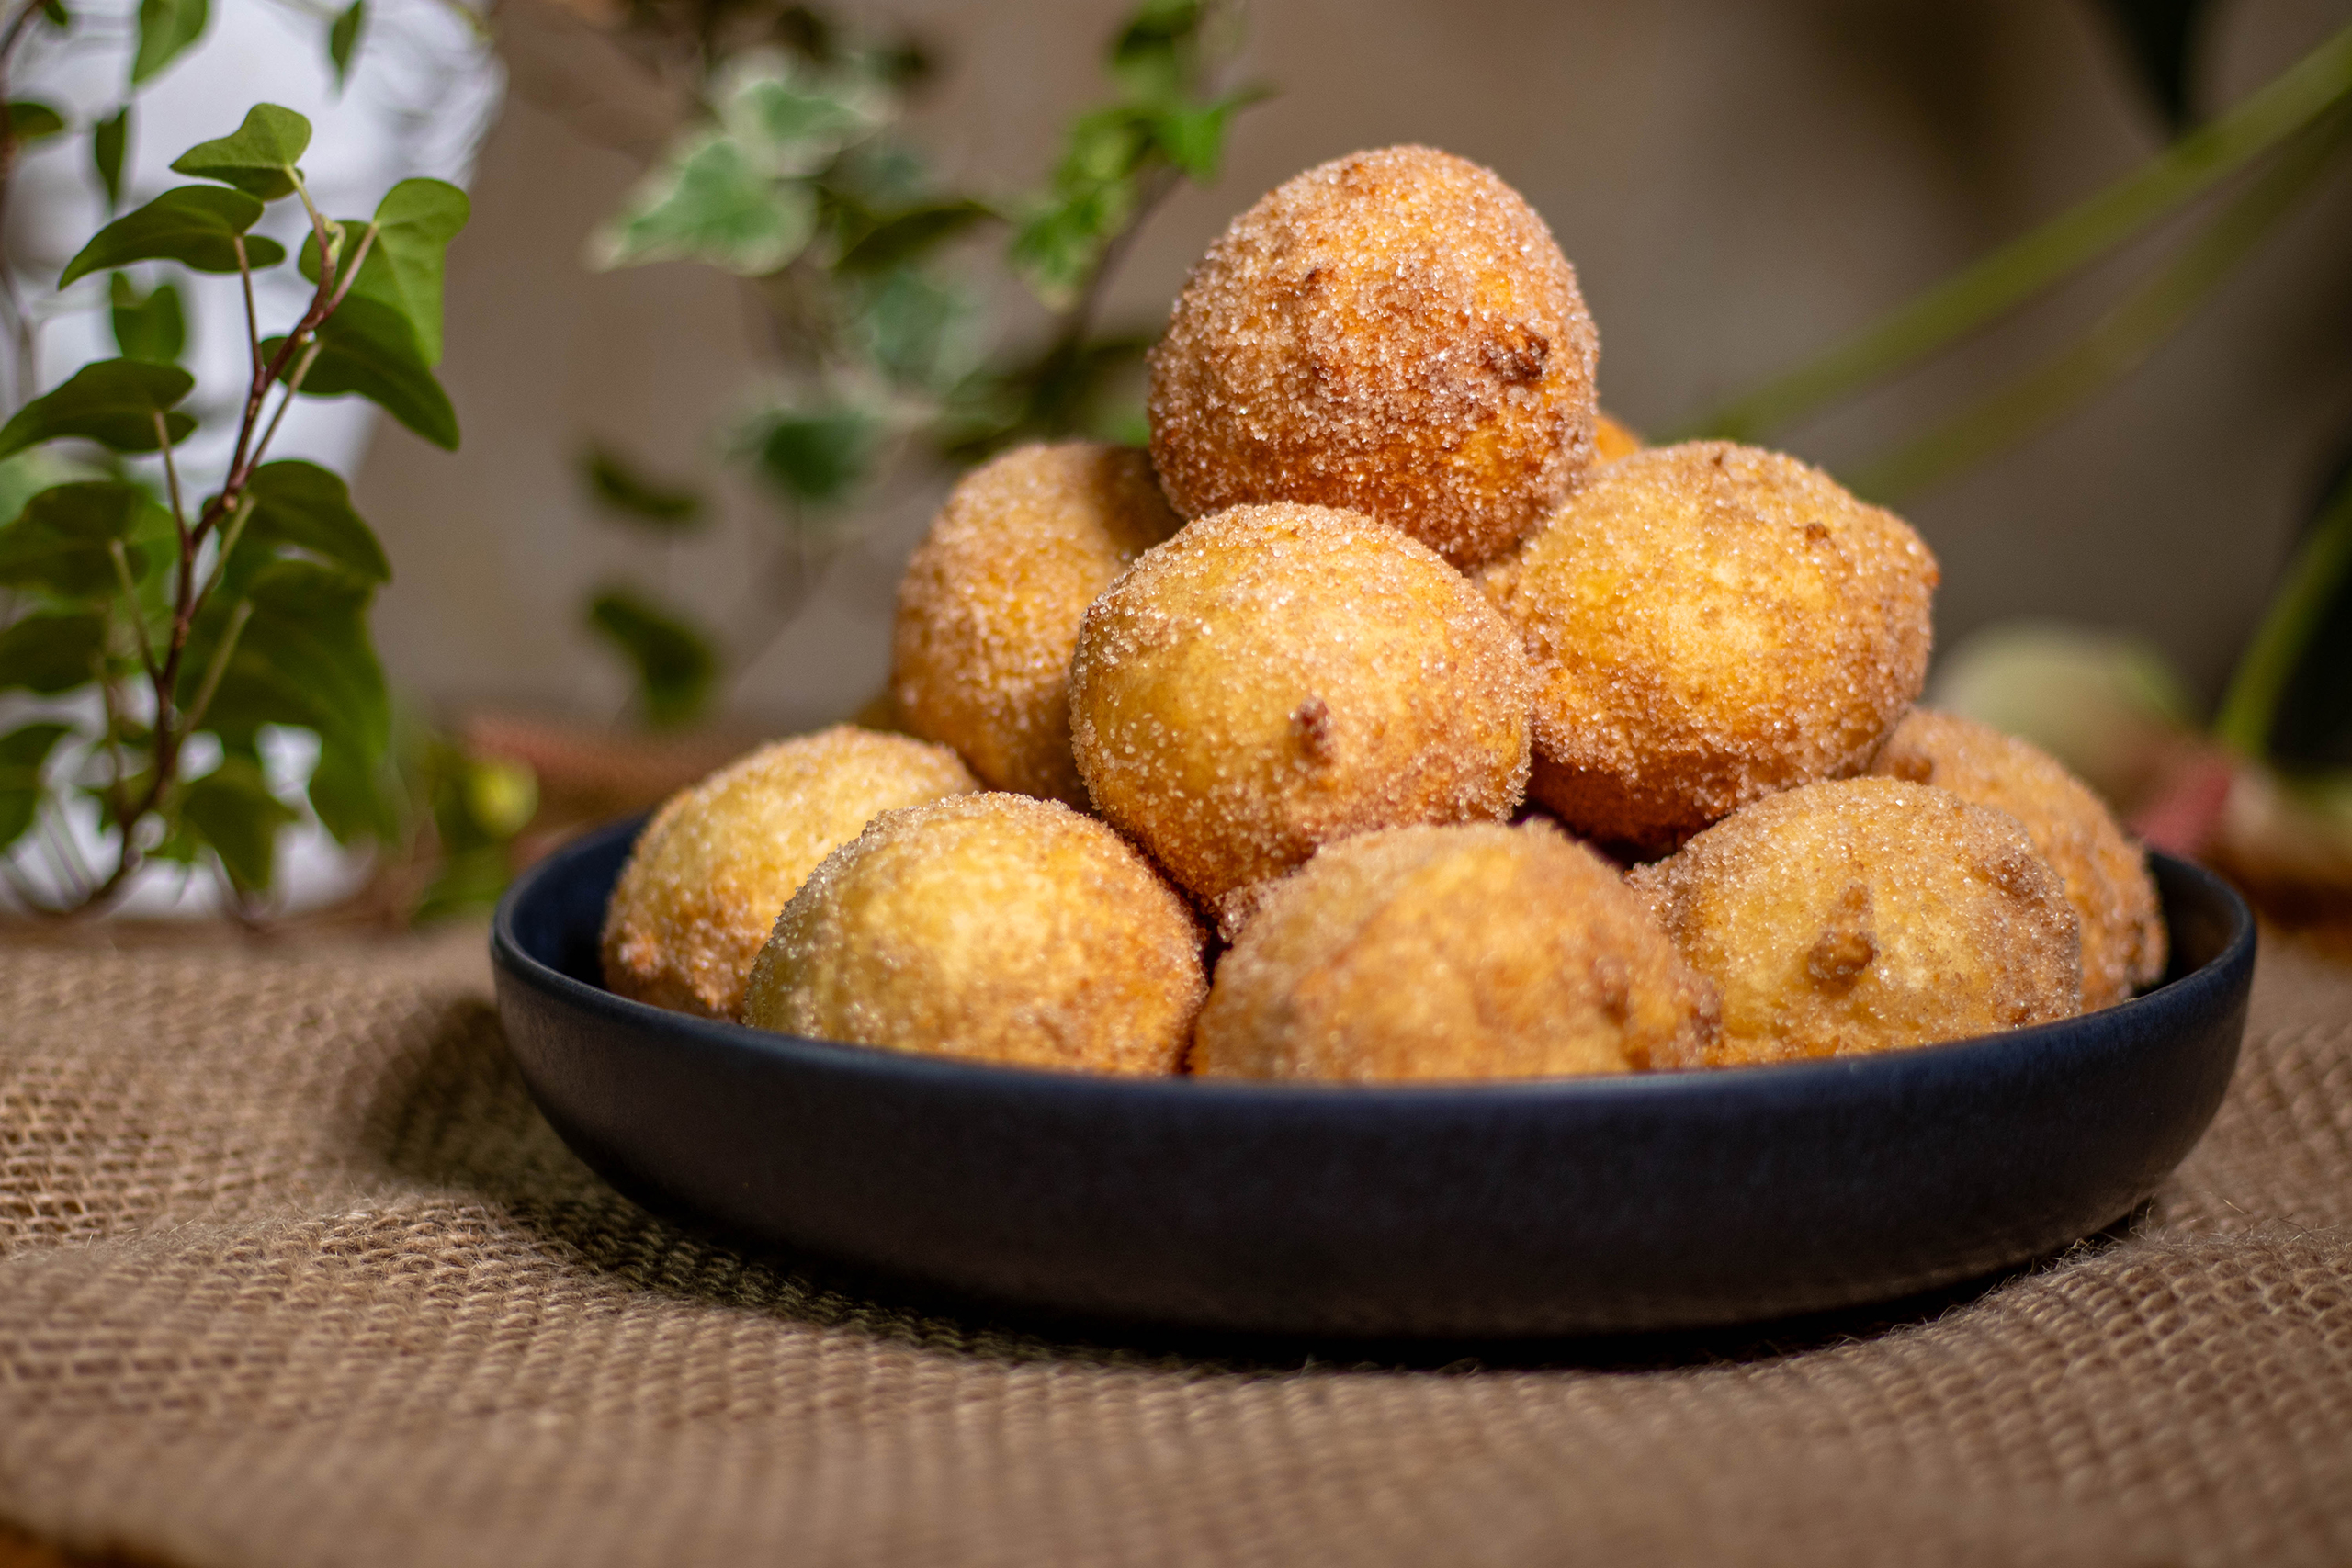
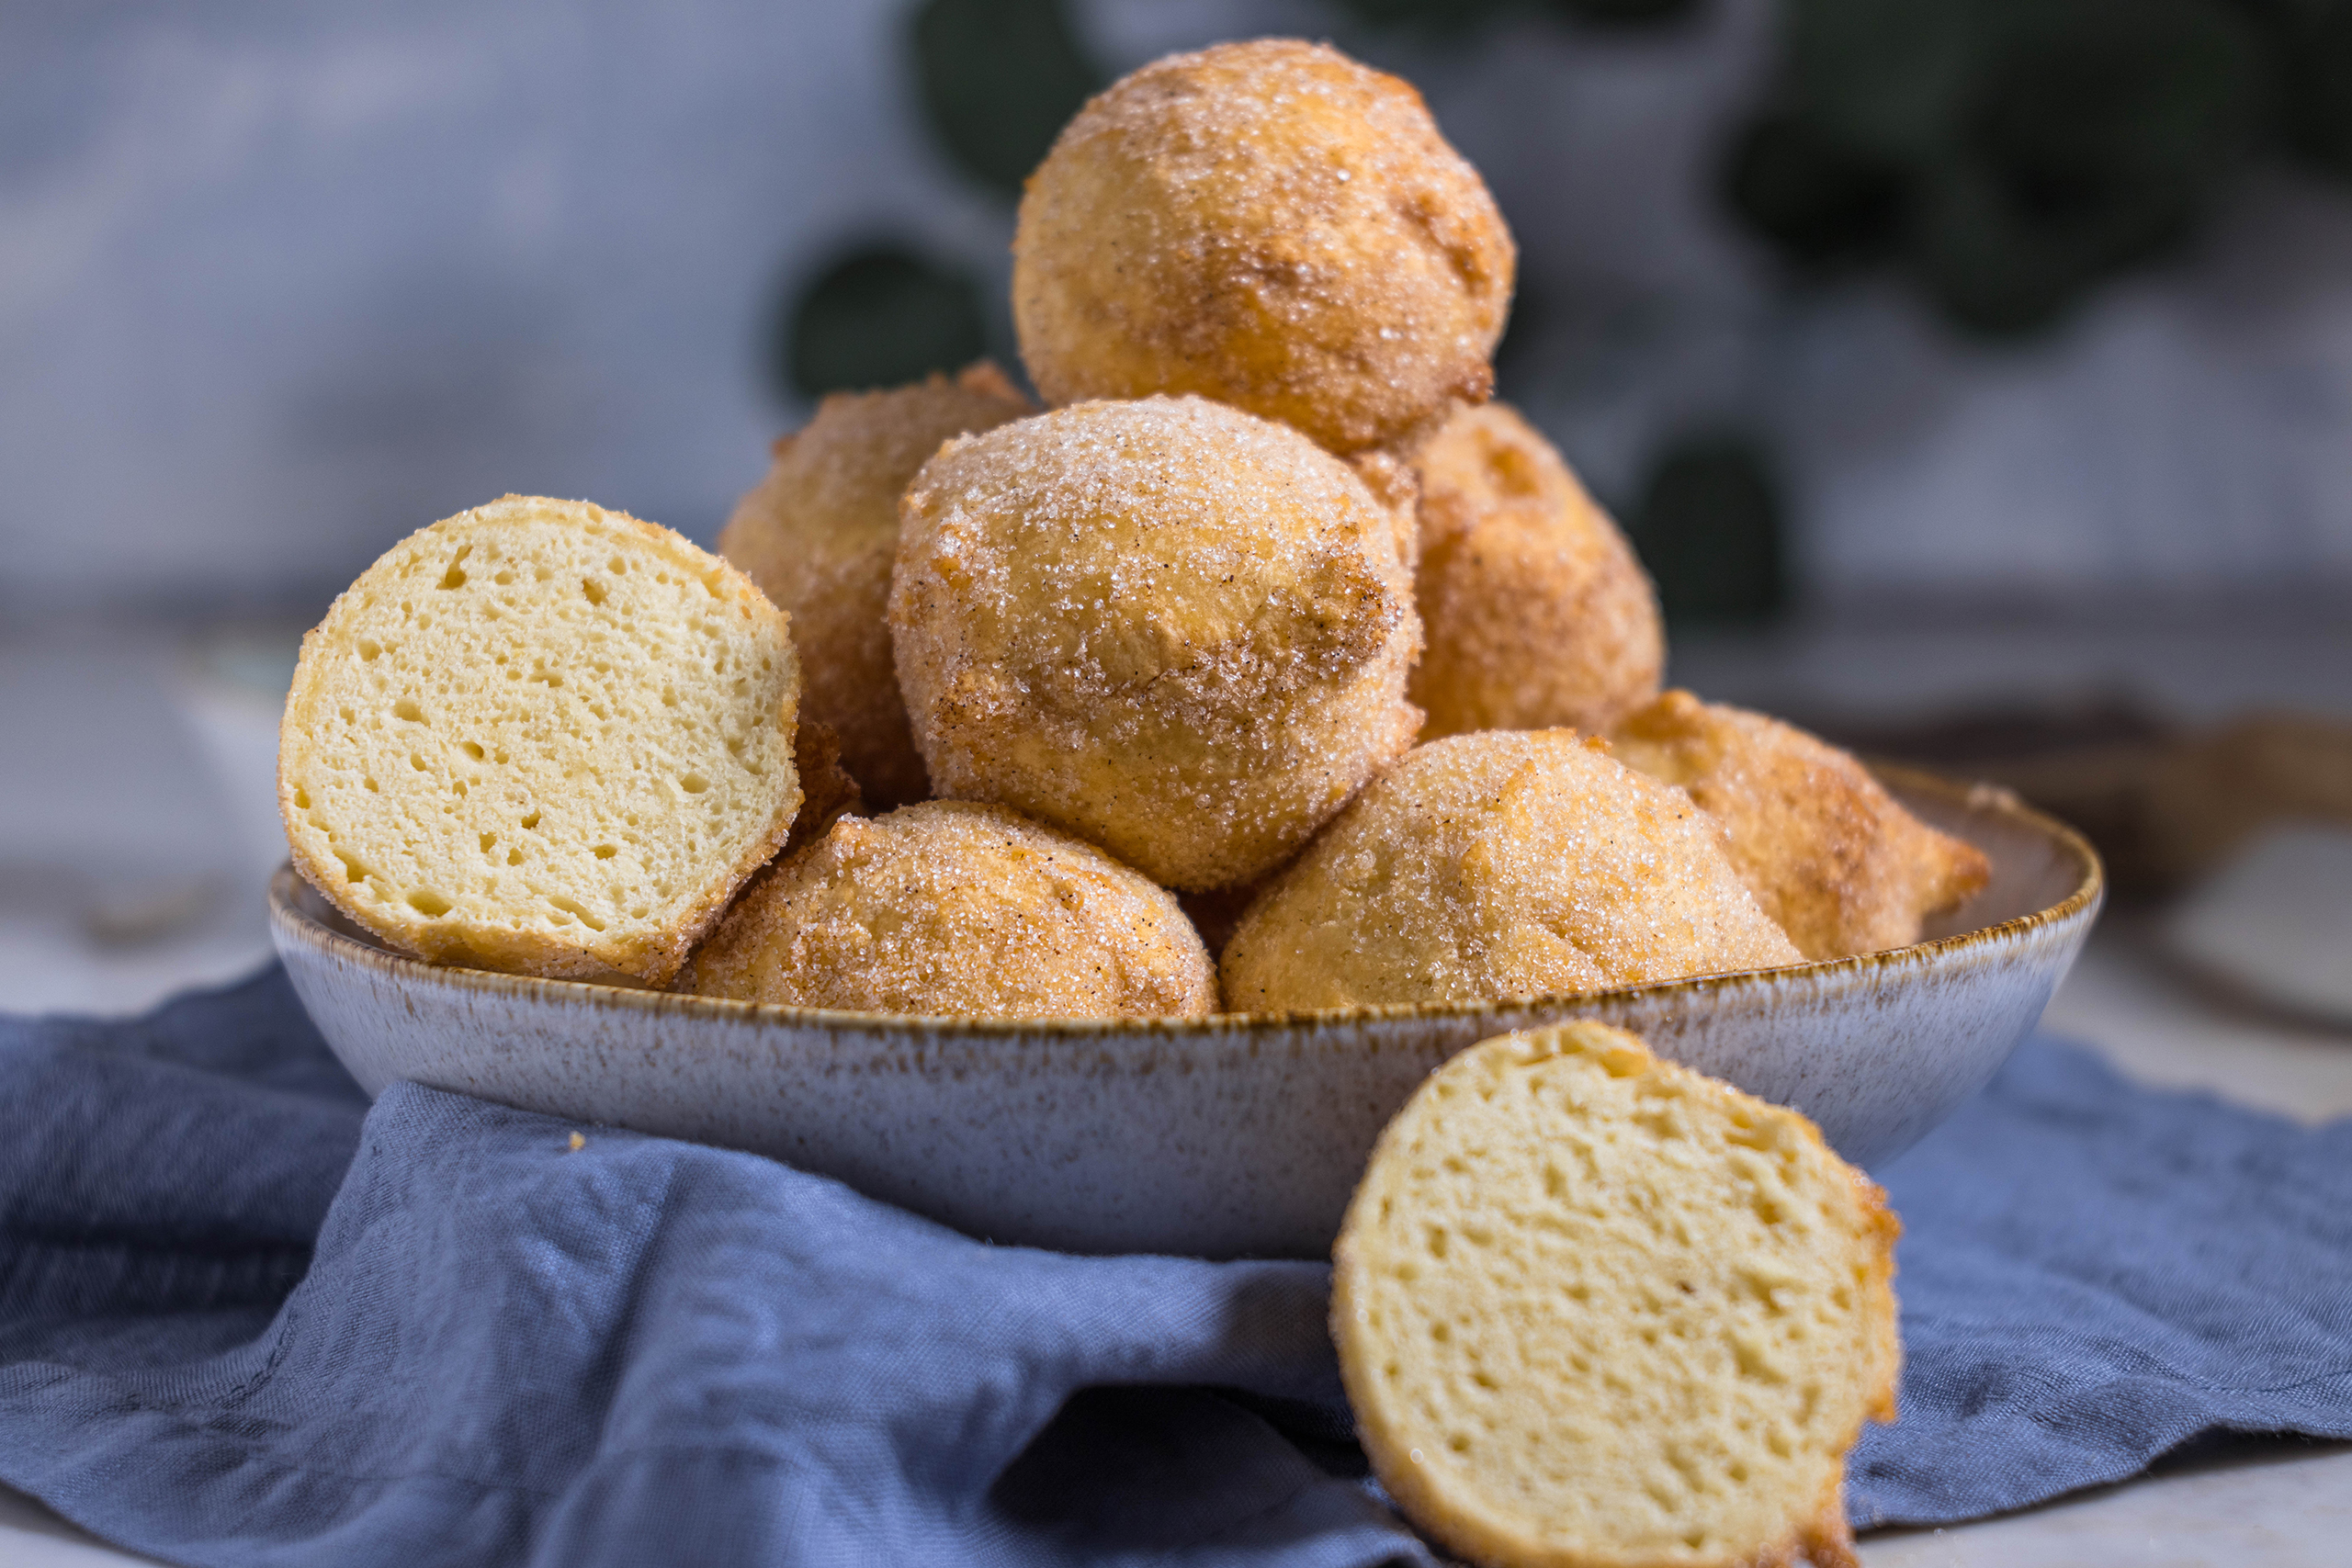
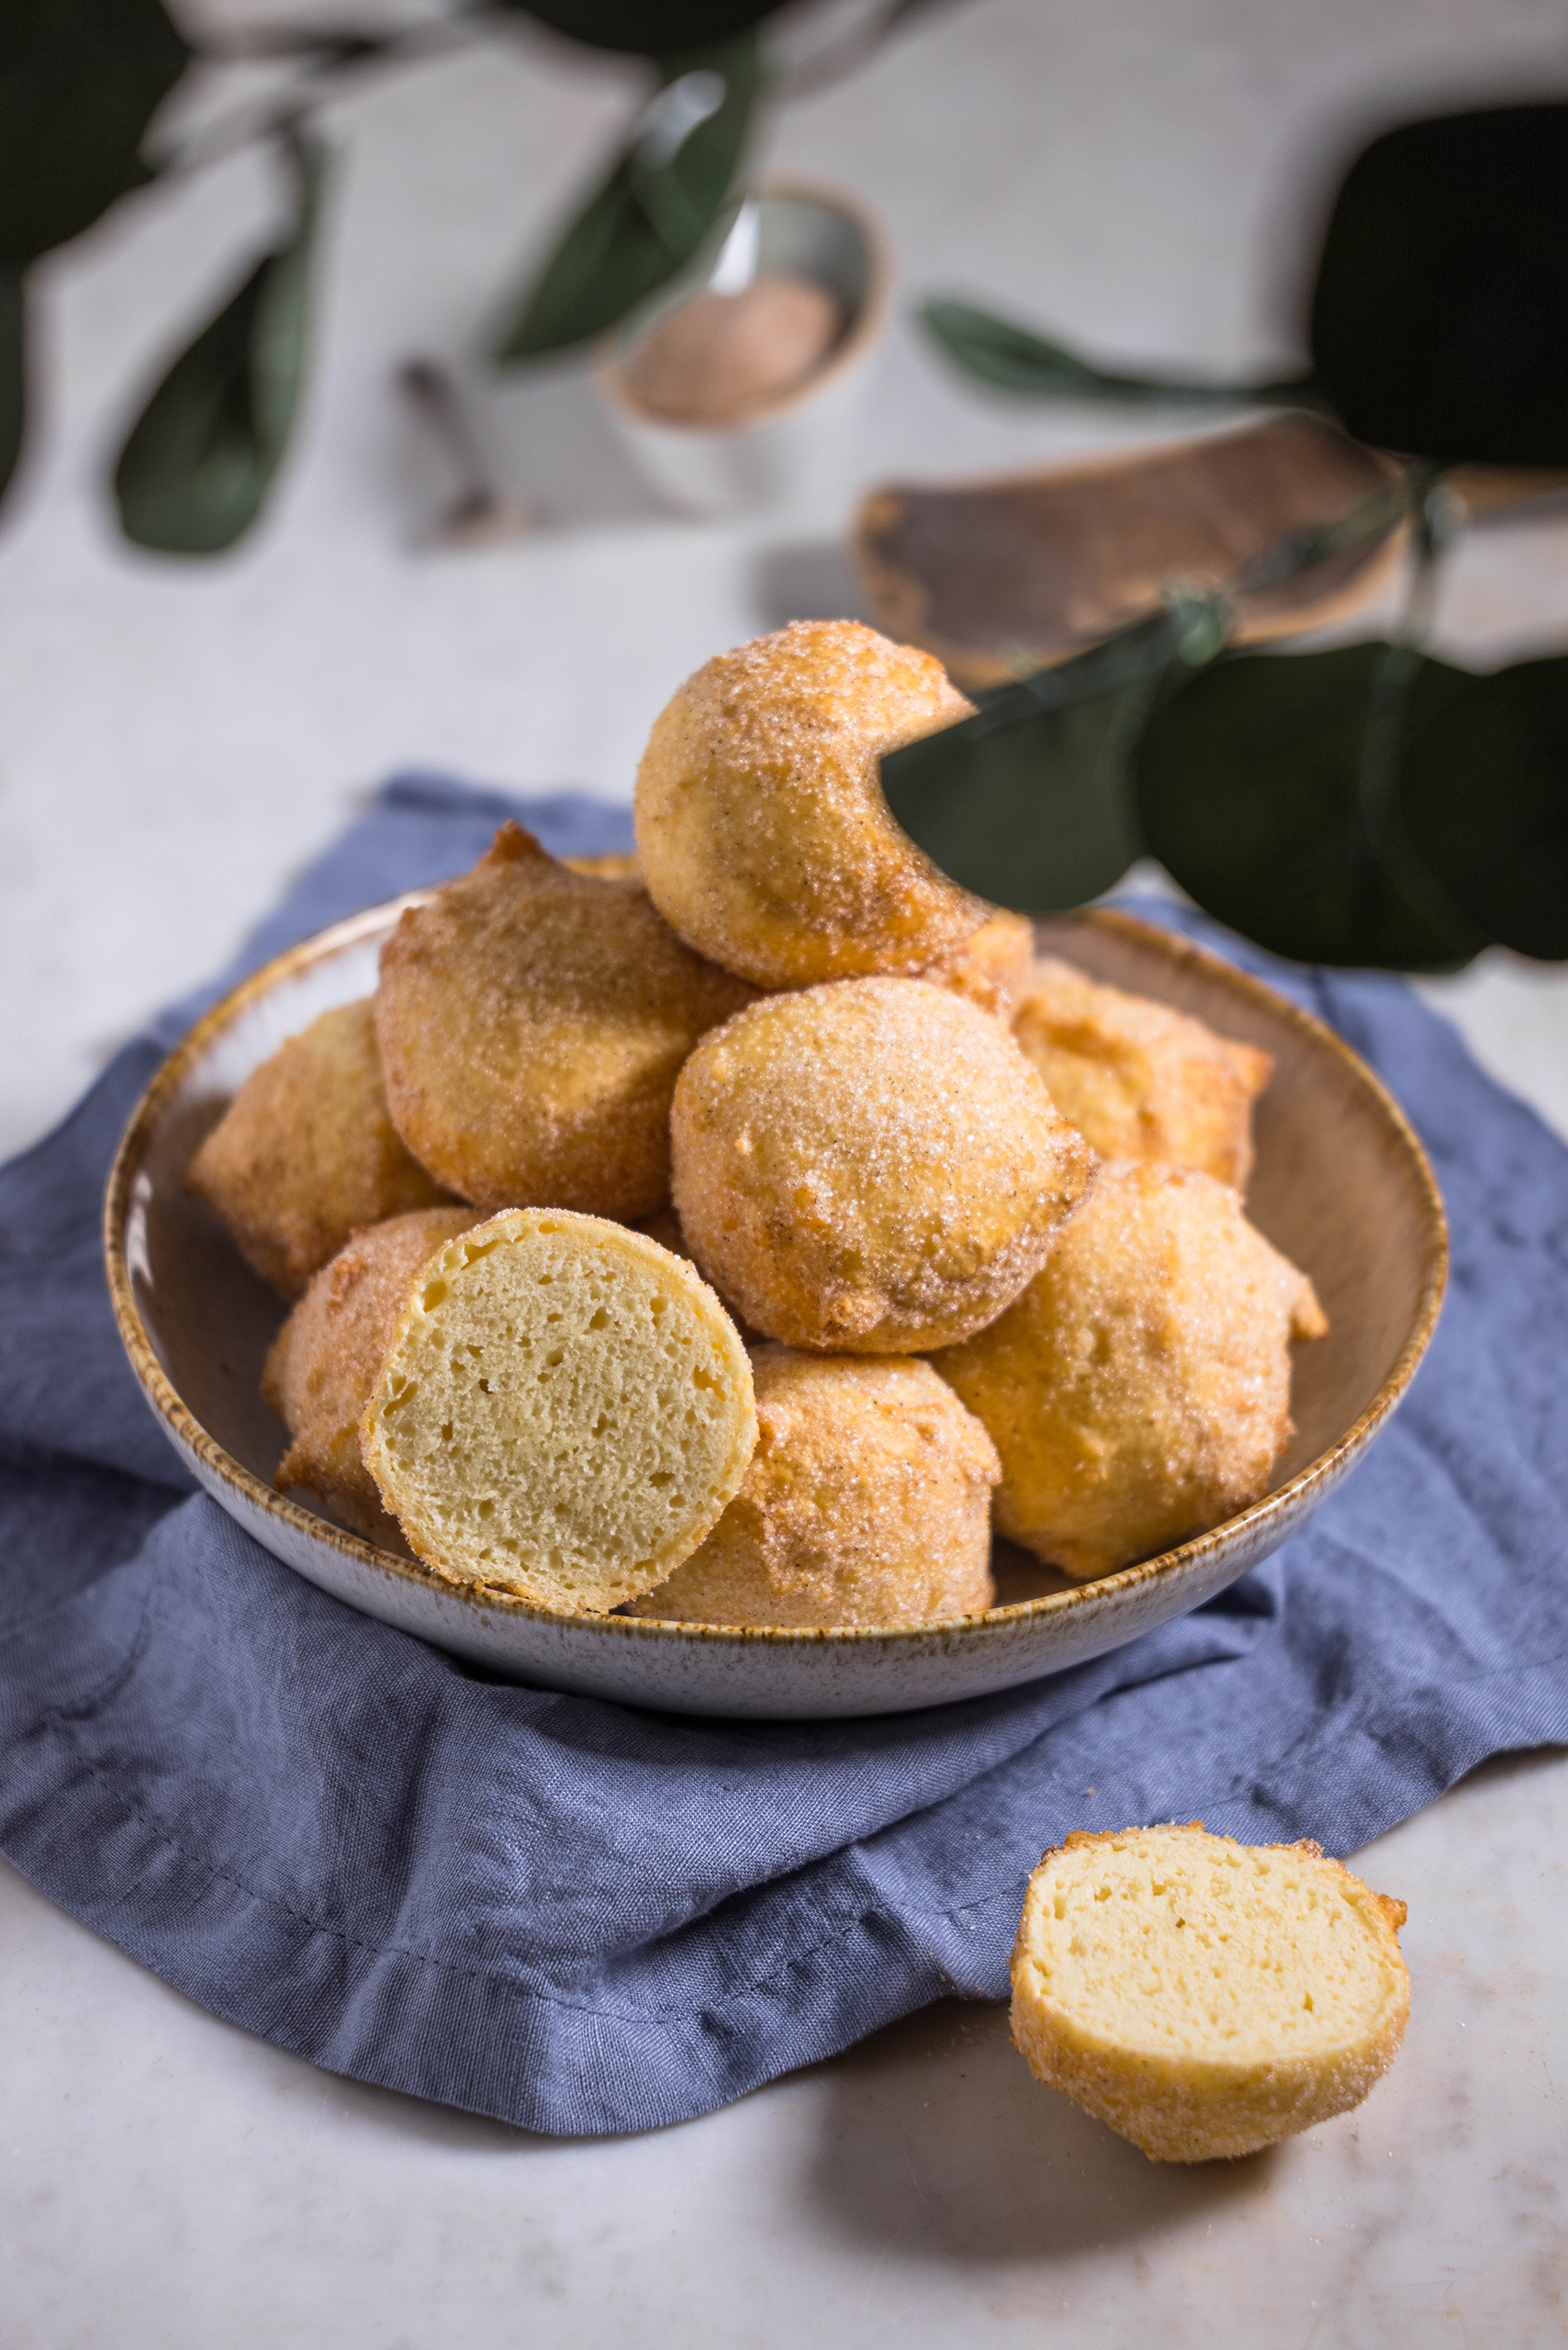
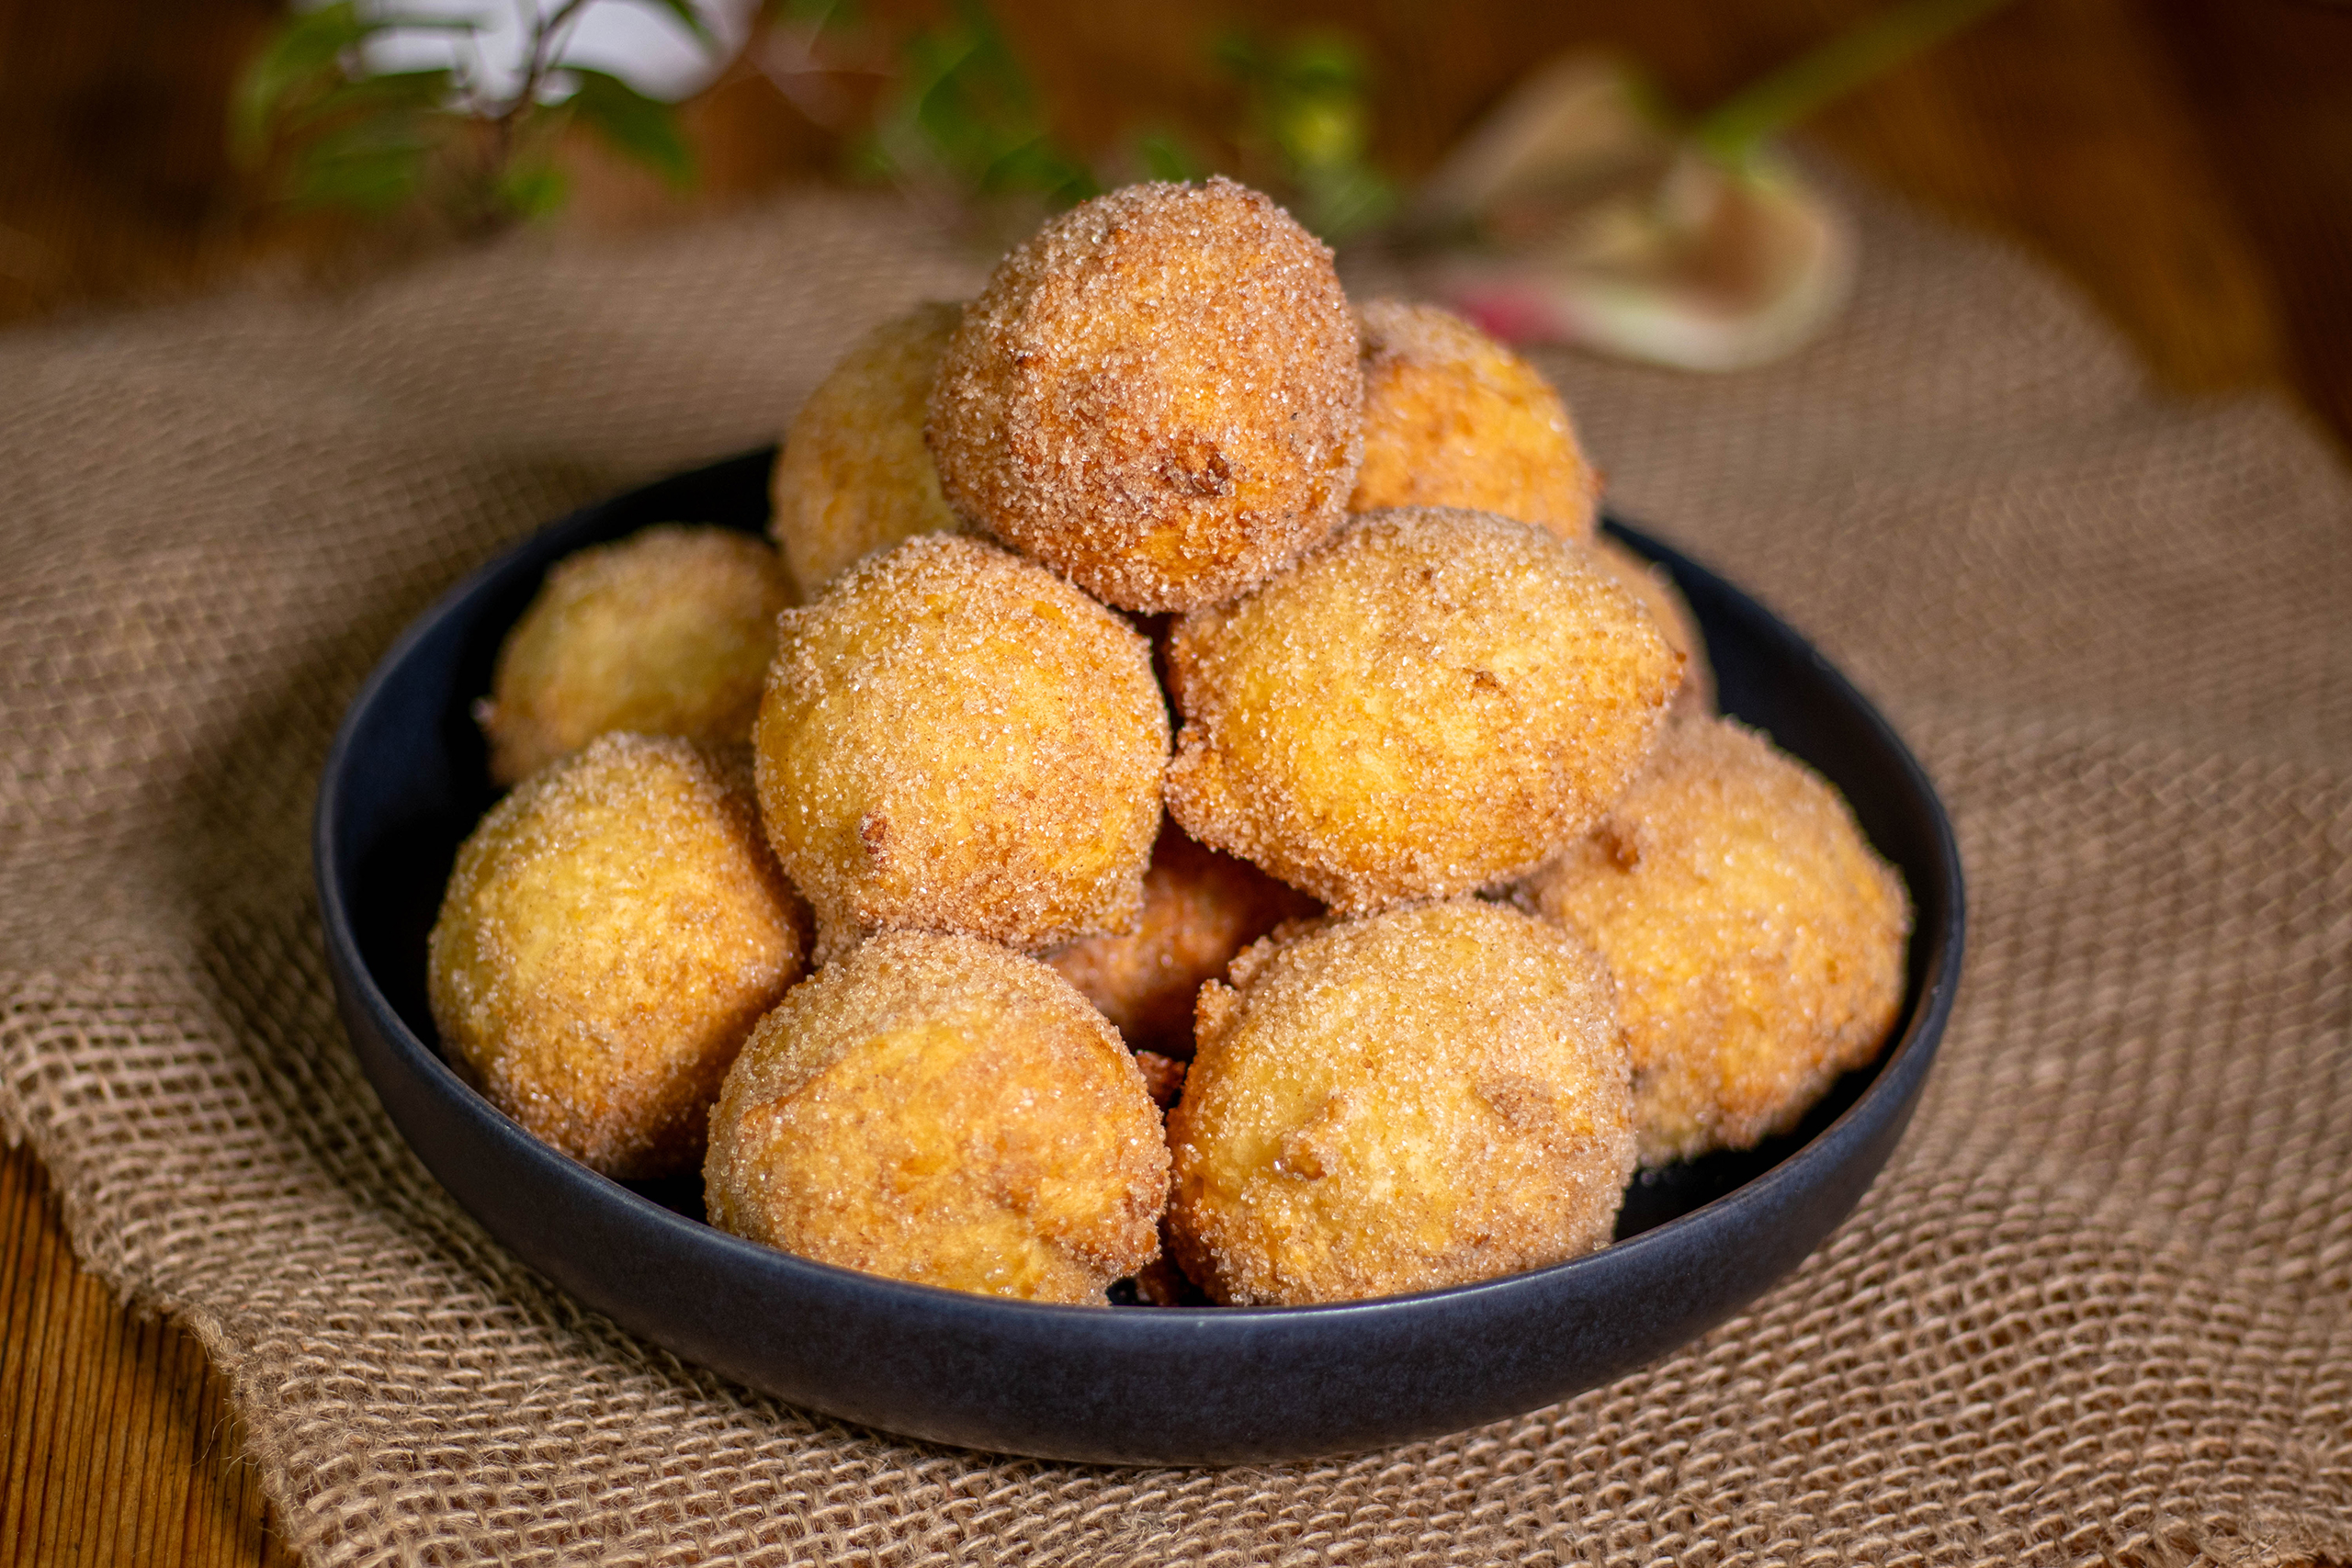
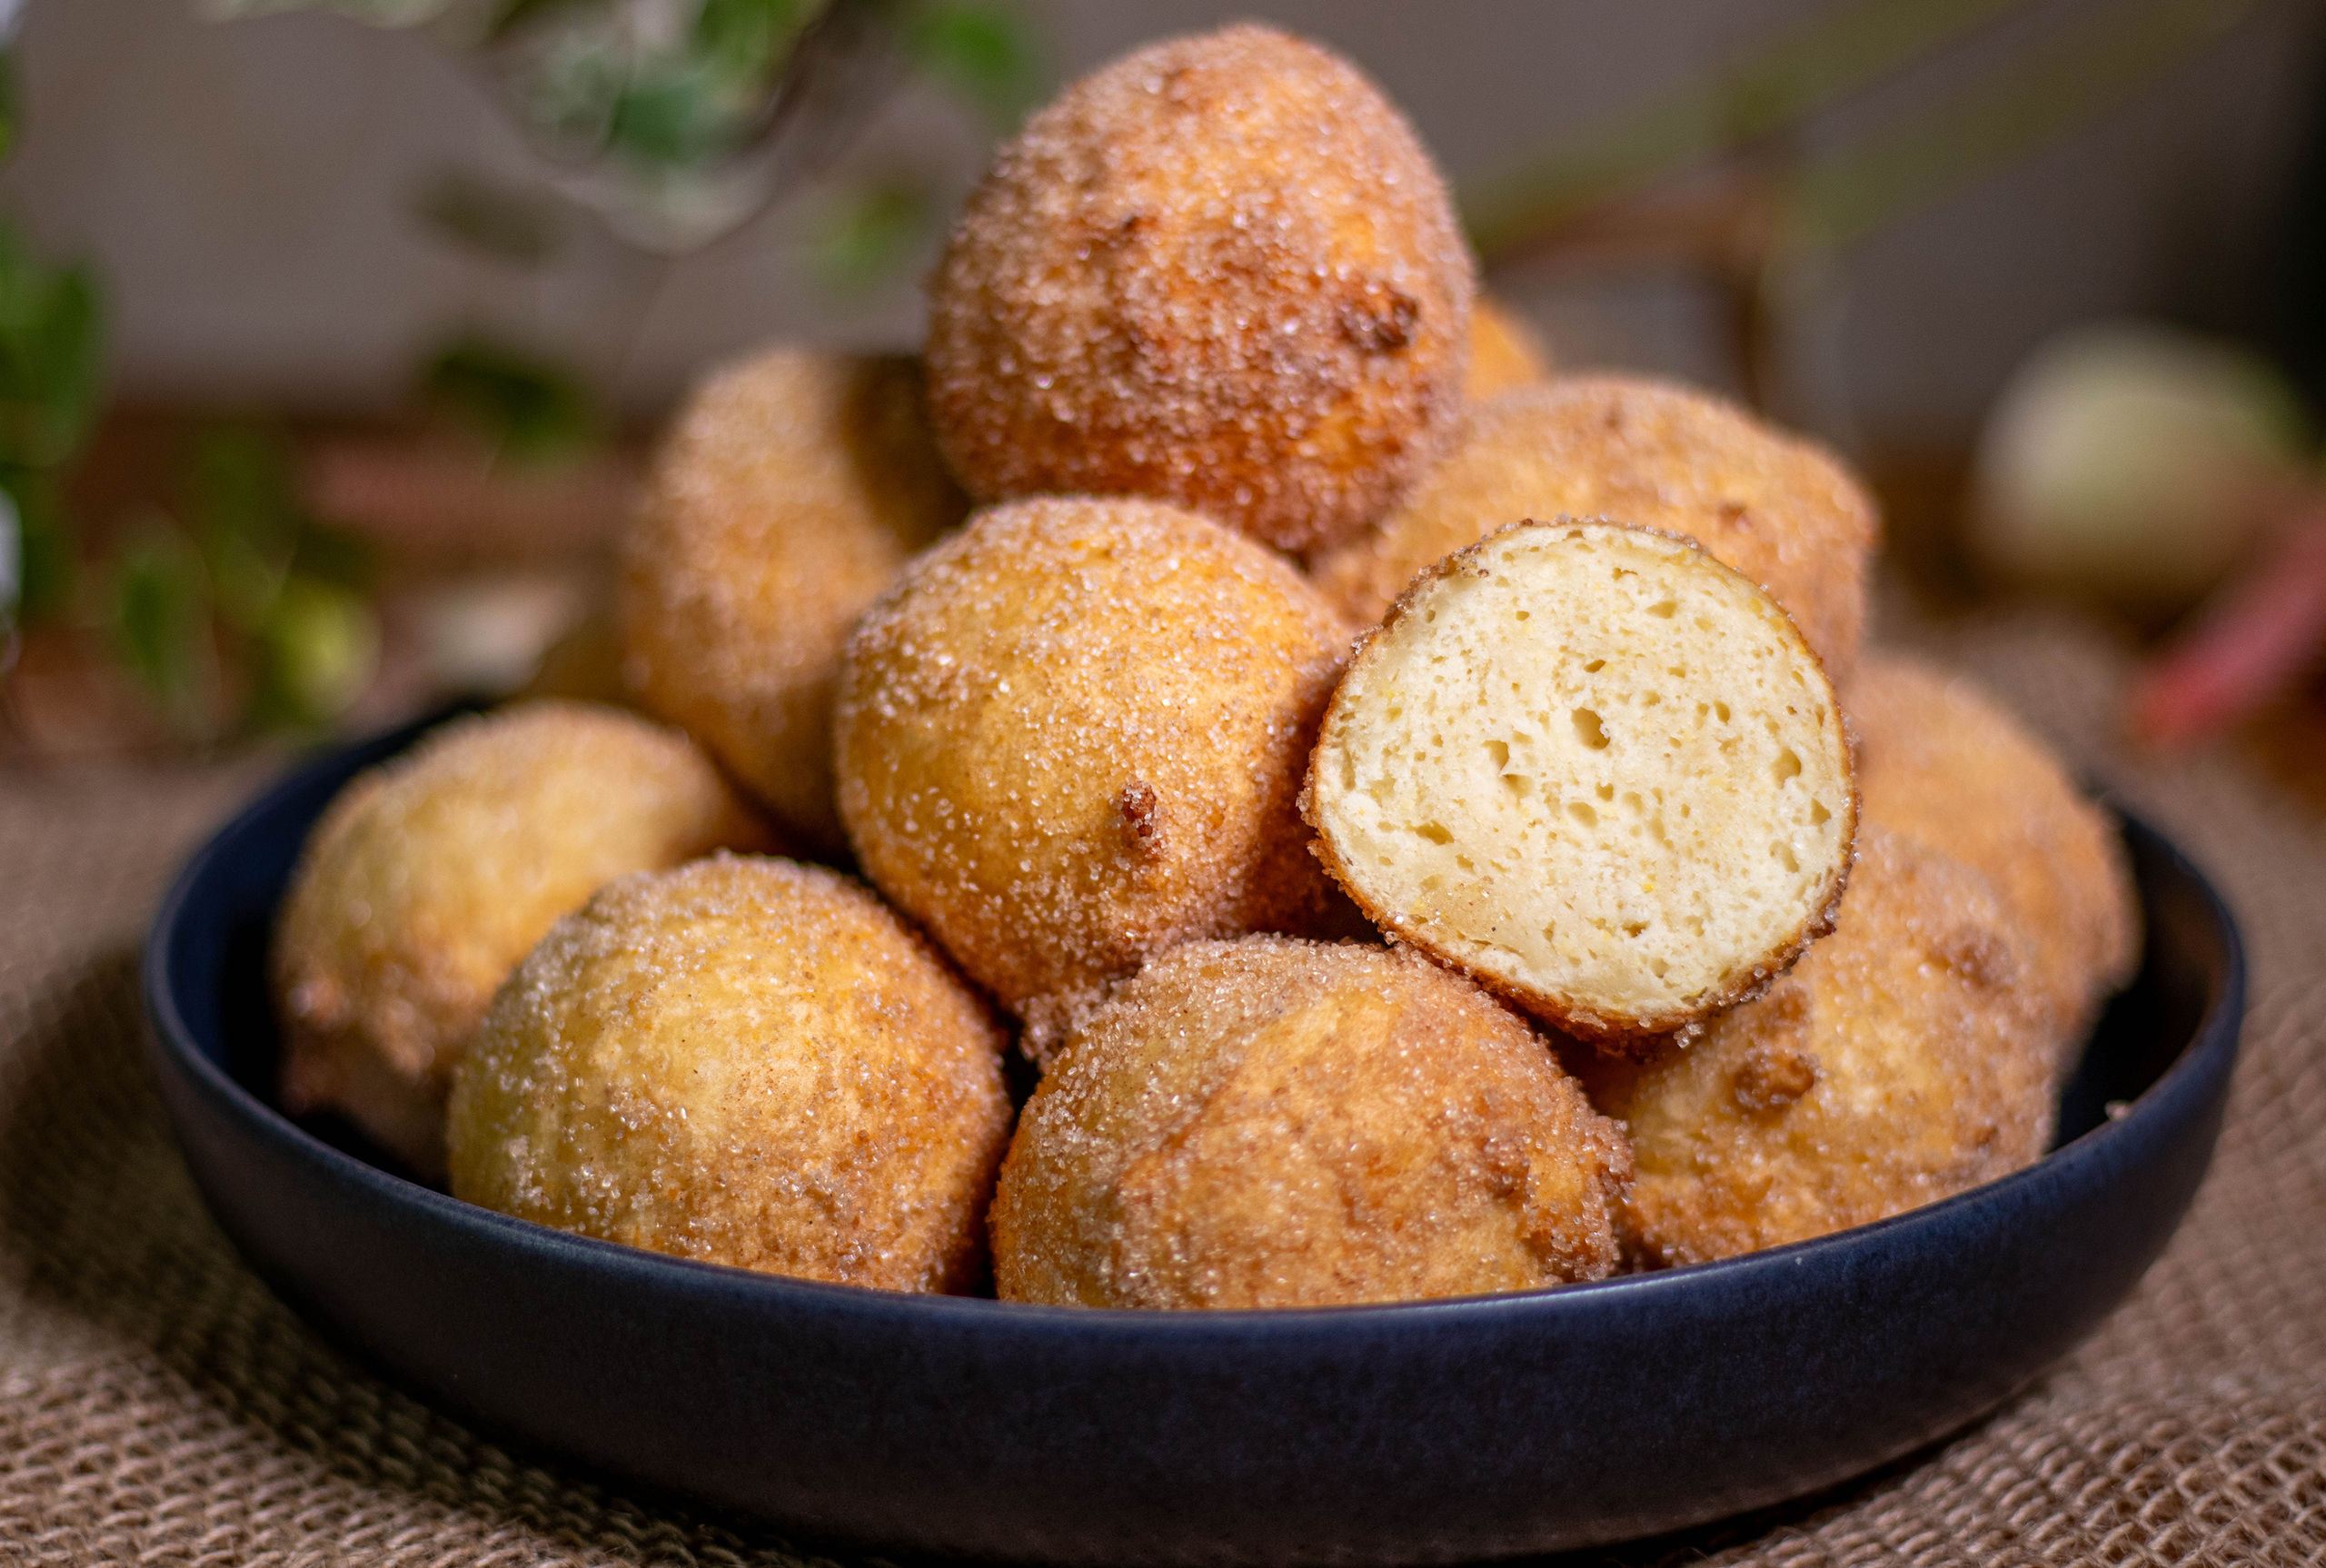
Fluffy, sweet, moist, velvety, soft, and with a sugary cinnamon crunch: I am talking about my vegan German curd dumplings (“Quarkbällchen”). Preparing German curd dumplings is super easy and requires only a few ingredients. Frying them in hot oil creates a beautiful crust, to which I am adding a crispy cinnamon-sugar coating, while the inside remains tender and soft.
My German curd dumplings are so delicious that I just cannot stop snacking them. If I make this recipe more often, I’ll soon look like a round quark dumpling myself!
Preparing German curd dumplings is very easy and requires only a few ingredients.
What are German curd dumplings?
My curd/quark dumplings are airy, sweet, and soft, deep-fried dough balls that are extremely popular in Germany and other German-speaking countries. They are slightly comparable to donuts. In Germany, curd dumplings are especially popular during carnival seasons and for new year parties. They are among the classic treats offered at carnival parades and carnival festivals. But they are also a popular snack outside of the carnival season. They are often prepared as a delicious treat at fairs or at home on weekend afternoons. As the name suggests, curd (in German and elsewhere also called quark) is the main ingredient in this traditional pastry.
Flavour: The quark gives the dumplings a light flavour, with a hint of a sour touch. This distinguishes German curd dumplings from other fried pastries. A pleasant sweetness ensures a wonderful flavor that isn’t overpowering.
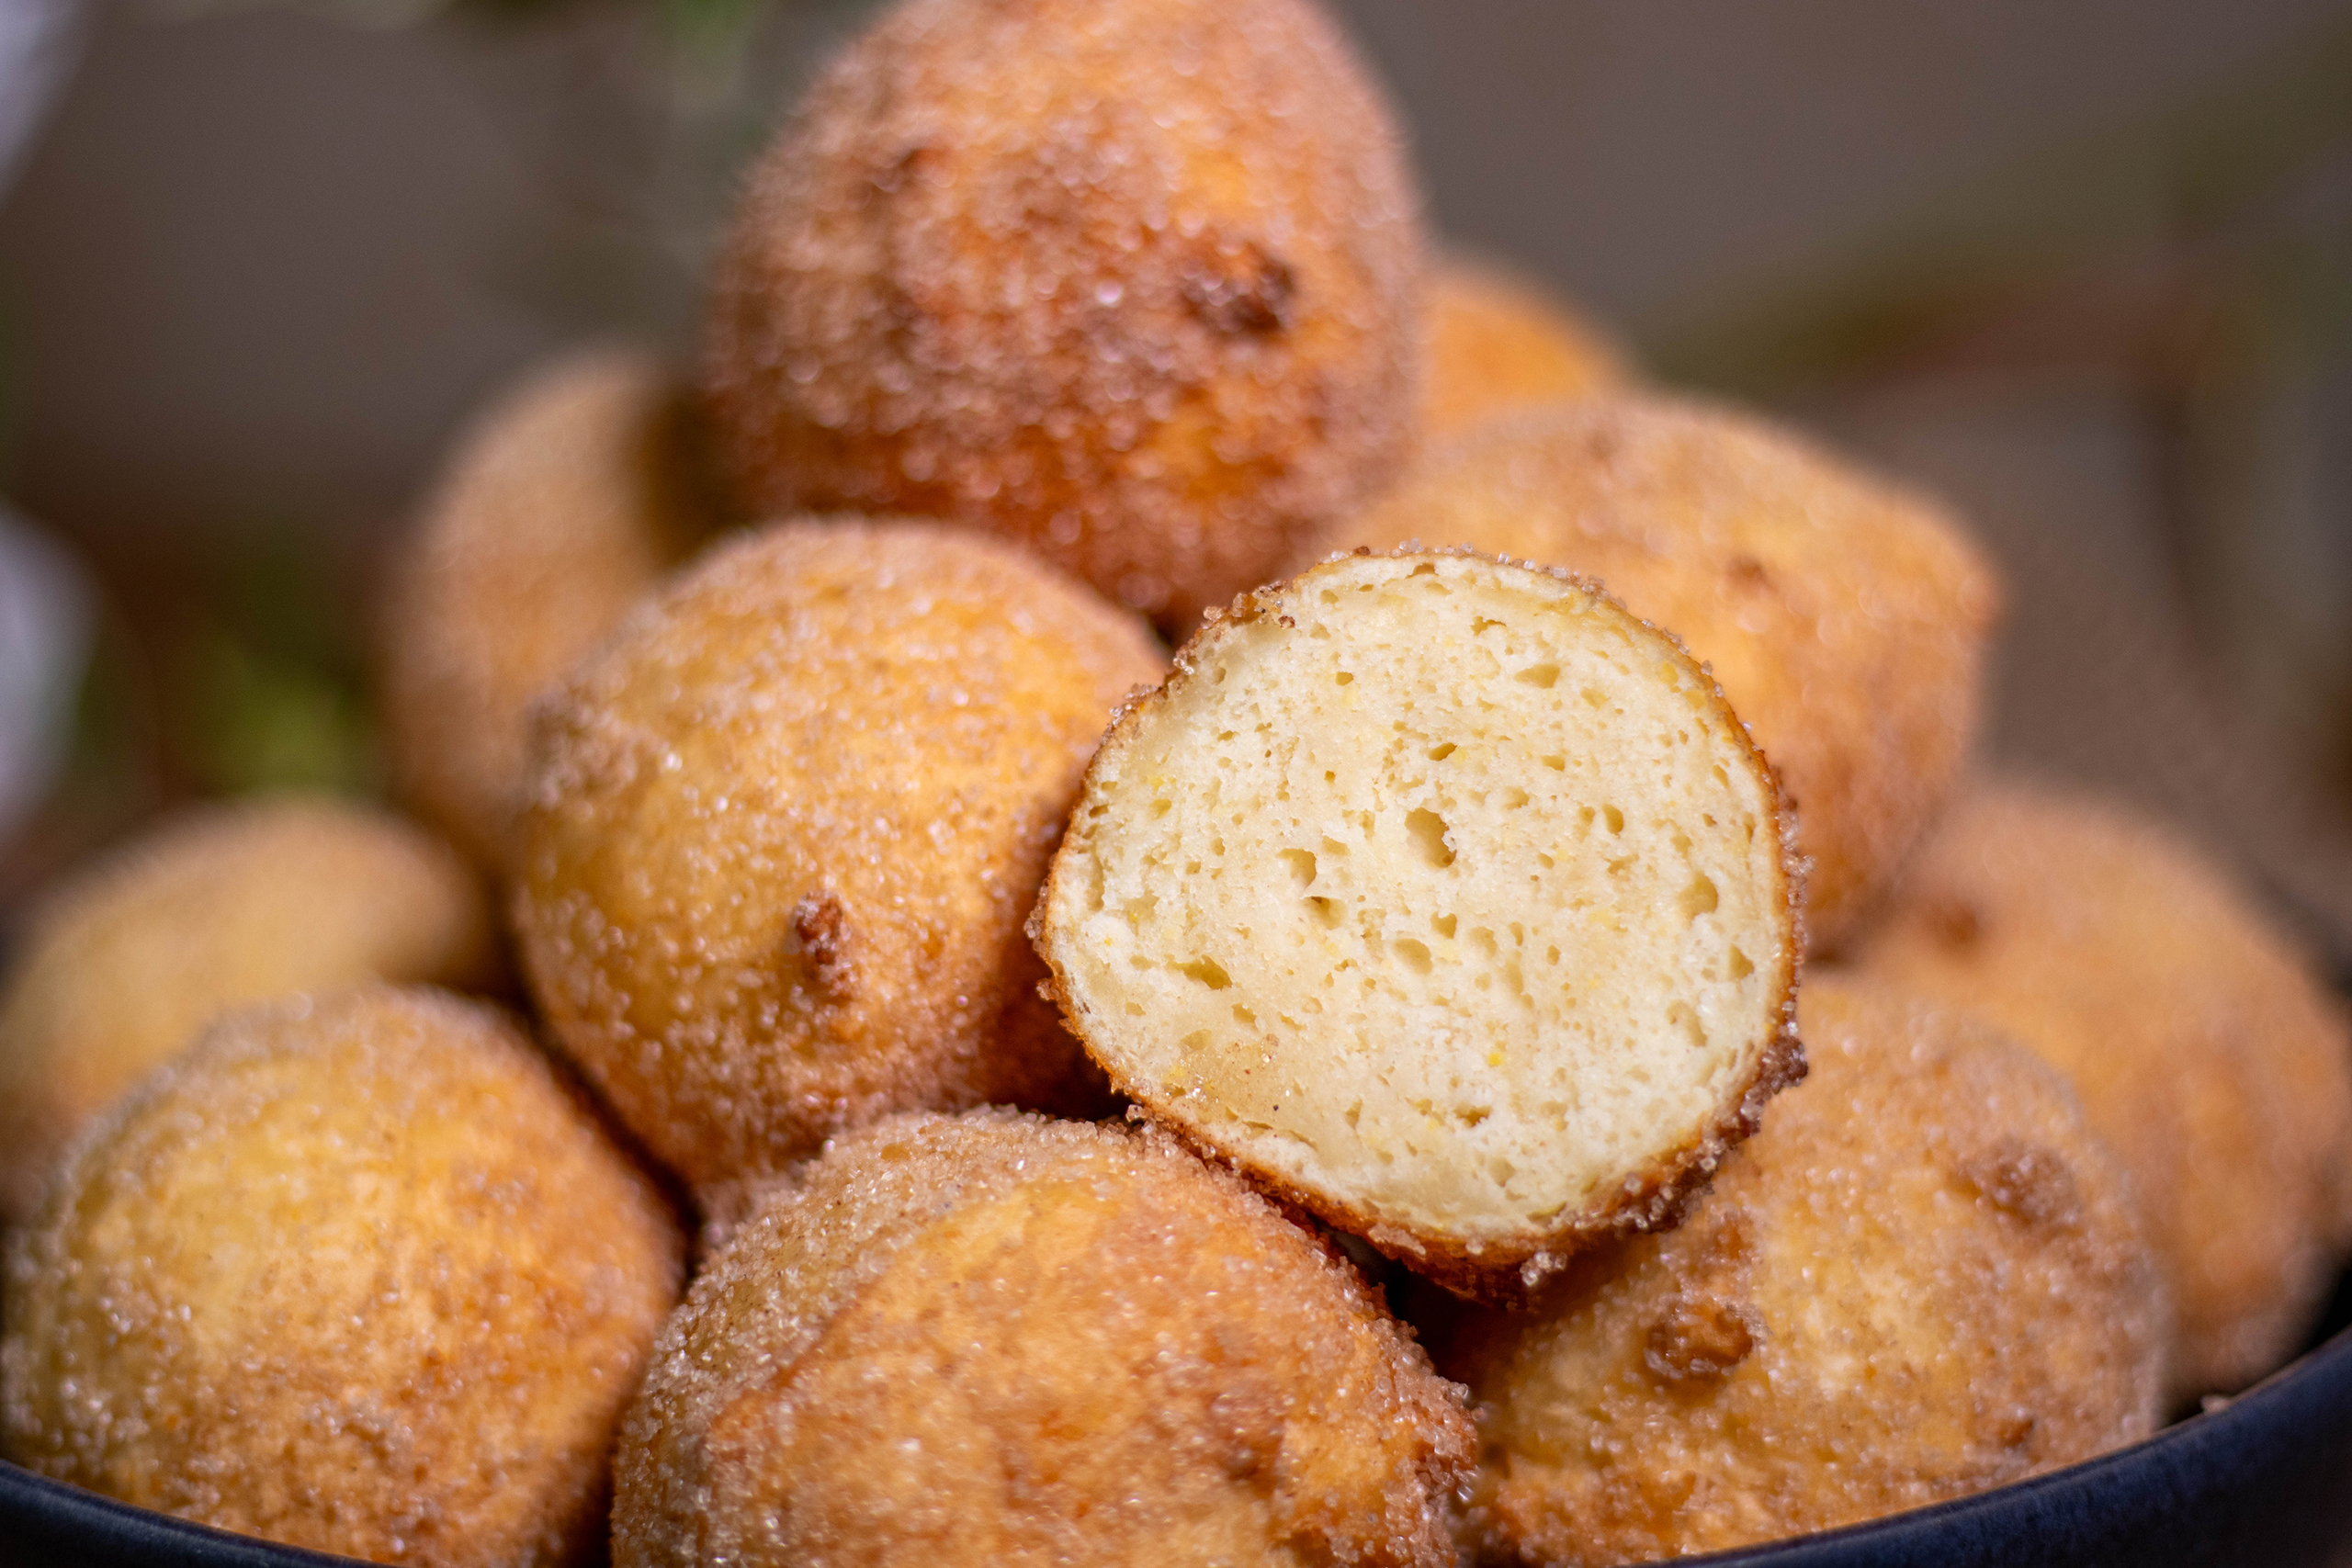
Airy texture: The addition of vegan curd, chickpea flour, and baking powder gives the dough a fresh, airy, and light texture. Frying in hot oil creates a crispy crust, while the inside remains tender and soft. This combination of crispy exterior and soft interior is what makes these pastries so appealing.
Especially popular during carnival season
Preparing German curd dumplings is Very Easy
Preparing vegan quark dumplings is very simple and requires only a few ingredients: vegan curd/quark or skyr, flour, chickpea flour, sugar, vanilla sugar, baking powder, cinnamon, and a pinch of salt. The dough is mixed well, then formed into small balls, which are then fried in hot oil until golden brown. The results are fluffy, sweet balls with a crispy sugar crust on the outside and fluffy, airy dough on the inside.
Fluffy, sweet, vegan quark dumplings with a crispy sugar-cinnamon crust and a soft interior.
German curd dumplings Made with Grandma’s Recipe, but Vegan
Cosy German baking tradition from Grandma’s kitchen is what German curd dumplings embody. This pastry has a long tradition, and every German kid has always known them from grandma’s and grandpa’s place. That’s why they have the best recipes for them. My recipe is like my Granddad’s, but with a modern twist. Because it’s vegan. It was important to me to preserve the consistency and flavour and to keep it 100% authentic.
German curd dumplings are often associated with cozy family gatherings, whether at fairs or at home over coffee. Enjoying them therefor brings a feeling of warmth and comfort. And now you can enjoy them in a purely plant-based way, too. So everyone can enjoy them.
Vegan German curd dumplings – the best recipe! By Sean Moxie.
Vegan German Curd Dumplings – The Best Recipe!
German curd dumplings are a simple yet delicious treat that’s firmly established in German cuisine and is enjoyed quite often. But, as the name suggests, they’re not actually vegan. The quark gives the balls a slightly sour note and their velvety texture. Eggs are also added to the dough for the fluffiness in the original. Fortunately, there are now vegan curd/quark alternatives, or skyr alternatives. With that and a little experimentation, I’ve created the best vegan quark dumpling recipe. You won’t miss a thing, and they’re indistinguishable from the finest original!
Baking tradition and coziness: that is what German Quarkbällchen embodies.
German Curd Dumplings Without Eggs
Traditionally, quark dumplings are made with eggs. For 500g of quark and flour, like I am using in this recipe, you’d actually need 5 eggs. I replace the eggs here with chickpea flour and water. This binds just as nicely and gives the dough it’s soft, airy consistency. Quark balls without eggs are not only interesting for vegans, but also for people who are allergic to eggs or who don’t eat them for health reasons.
Airy, fluffy, moist, velvety soft, and sweet! Just the way they should be!
Yeast-Free German Curd Dumplings
Unlike dougnuts or German Crullers, quark dumplings are usually made without yeast, but with baking powder. There are also recipes aroun that use yeast, but I’m sticking to the original recipe here. This makes the curd dumplings feel a bit lighter and less heavy on the stomach.
Without yeast, the balls feel a little lighter and they don’t sit as heavily in the stomach.
More Recipes for Sweet Classics, Veganized
Do you love sweet things and miss the fact that many baked goods aren’t vegan? Here are some recipes for sweet classics to try and indulge in: For more sweet, vegan recipes, check out my “Baking and Sweets” category.
A sweet classic, veganized: German quark dumplings. With a light, tender crumb.
Show me your vegan quark dumplings
Please follow me on Instagram or Facebook. I’d be thrilled if you made my quark dumplings and posted a photo of them, tagging my account. Because I always find it really fun and exciting to see how my recipes are prepared in other kitchens!
Please show me your German curd dumplings
How to make vegan German curd dumplings in pictures:
Here, I’ll show you step-by-step photos of how I prepare my German curd dumplings. Then, I’ll move on to the recipe.
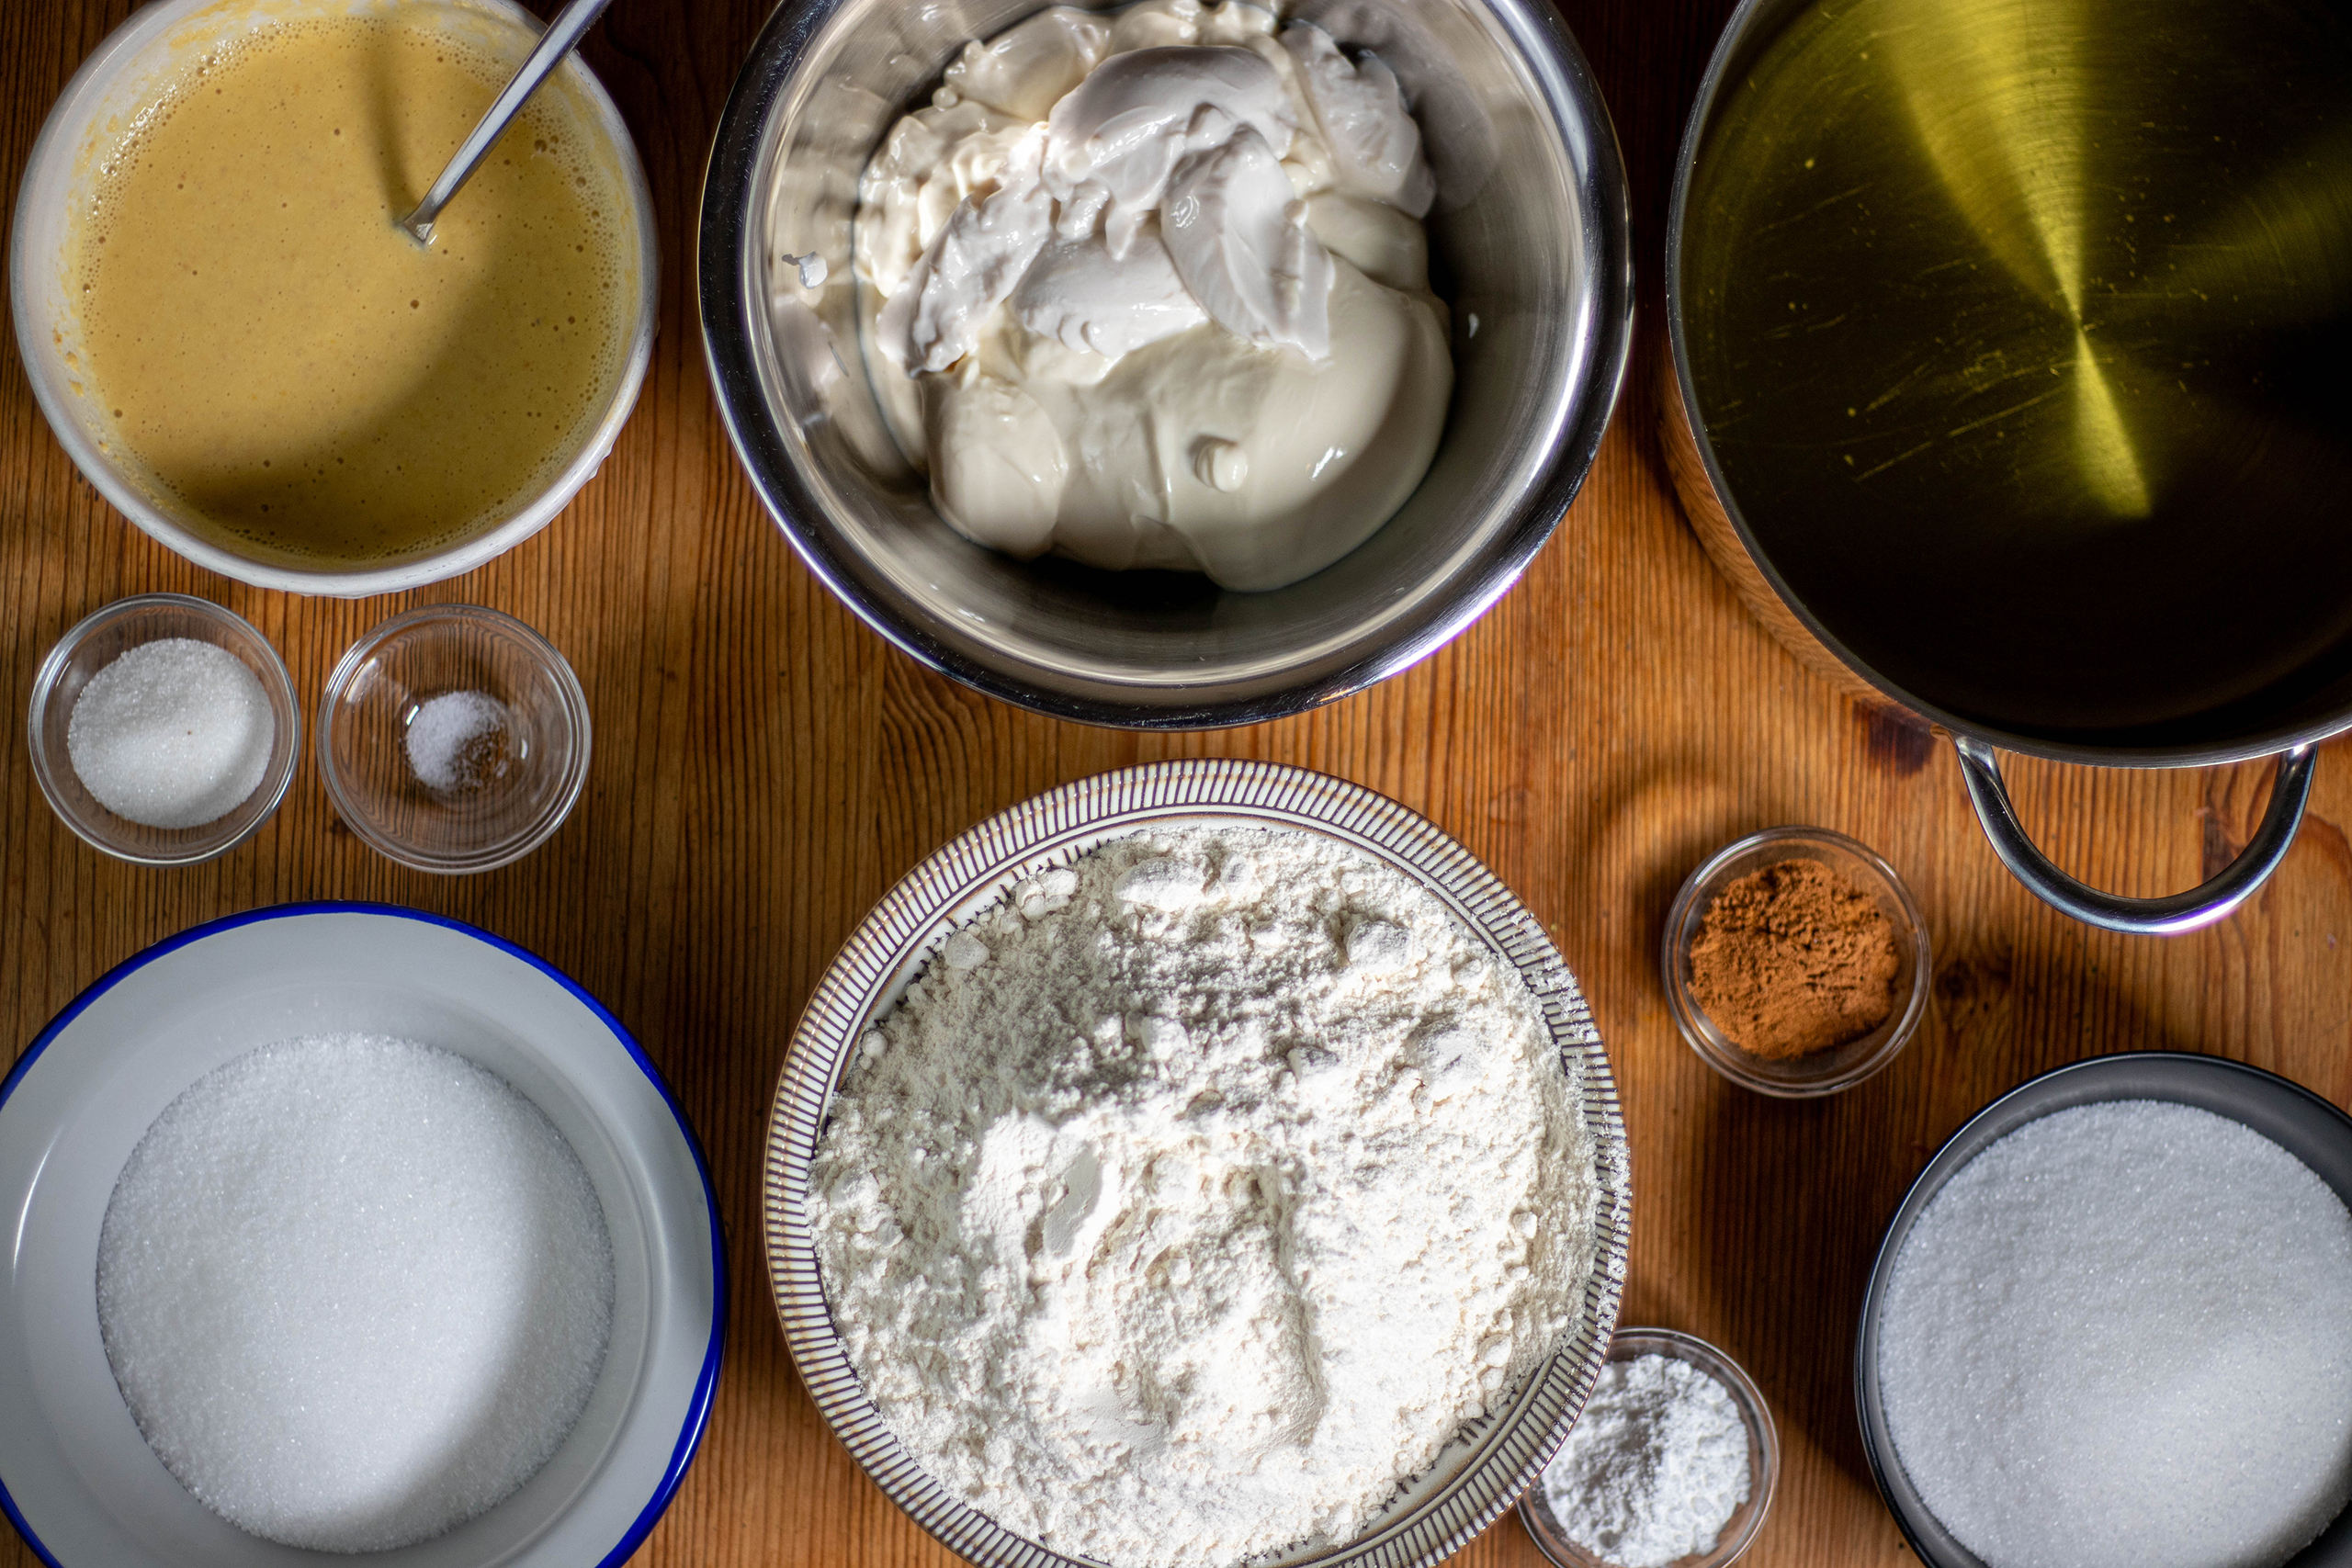
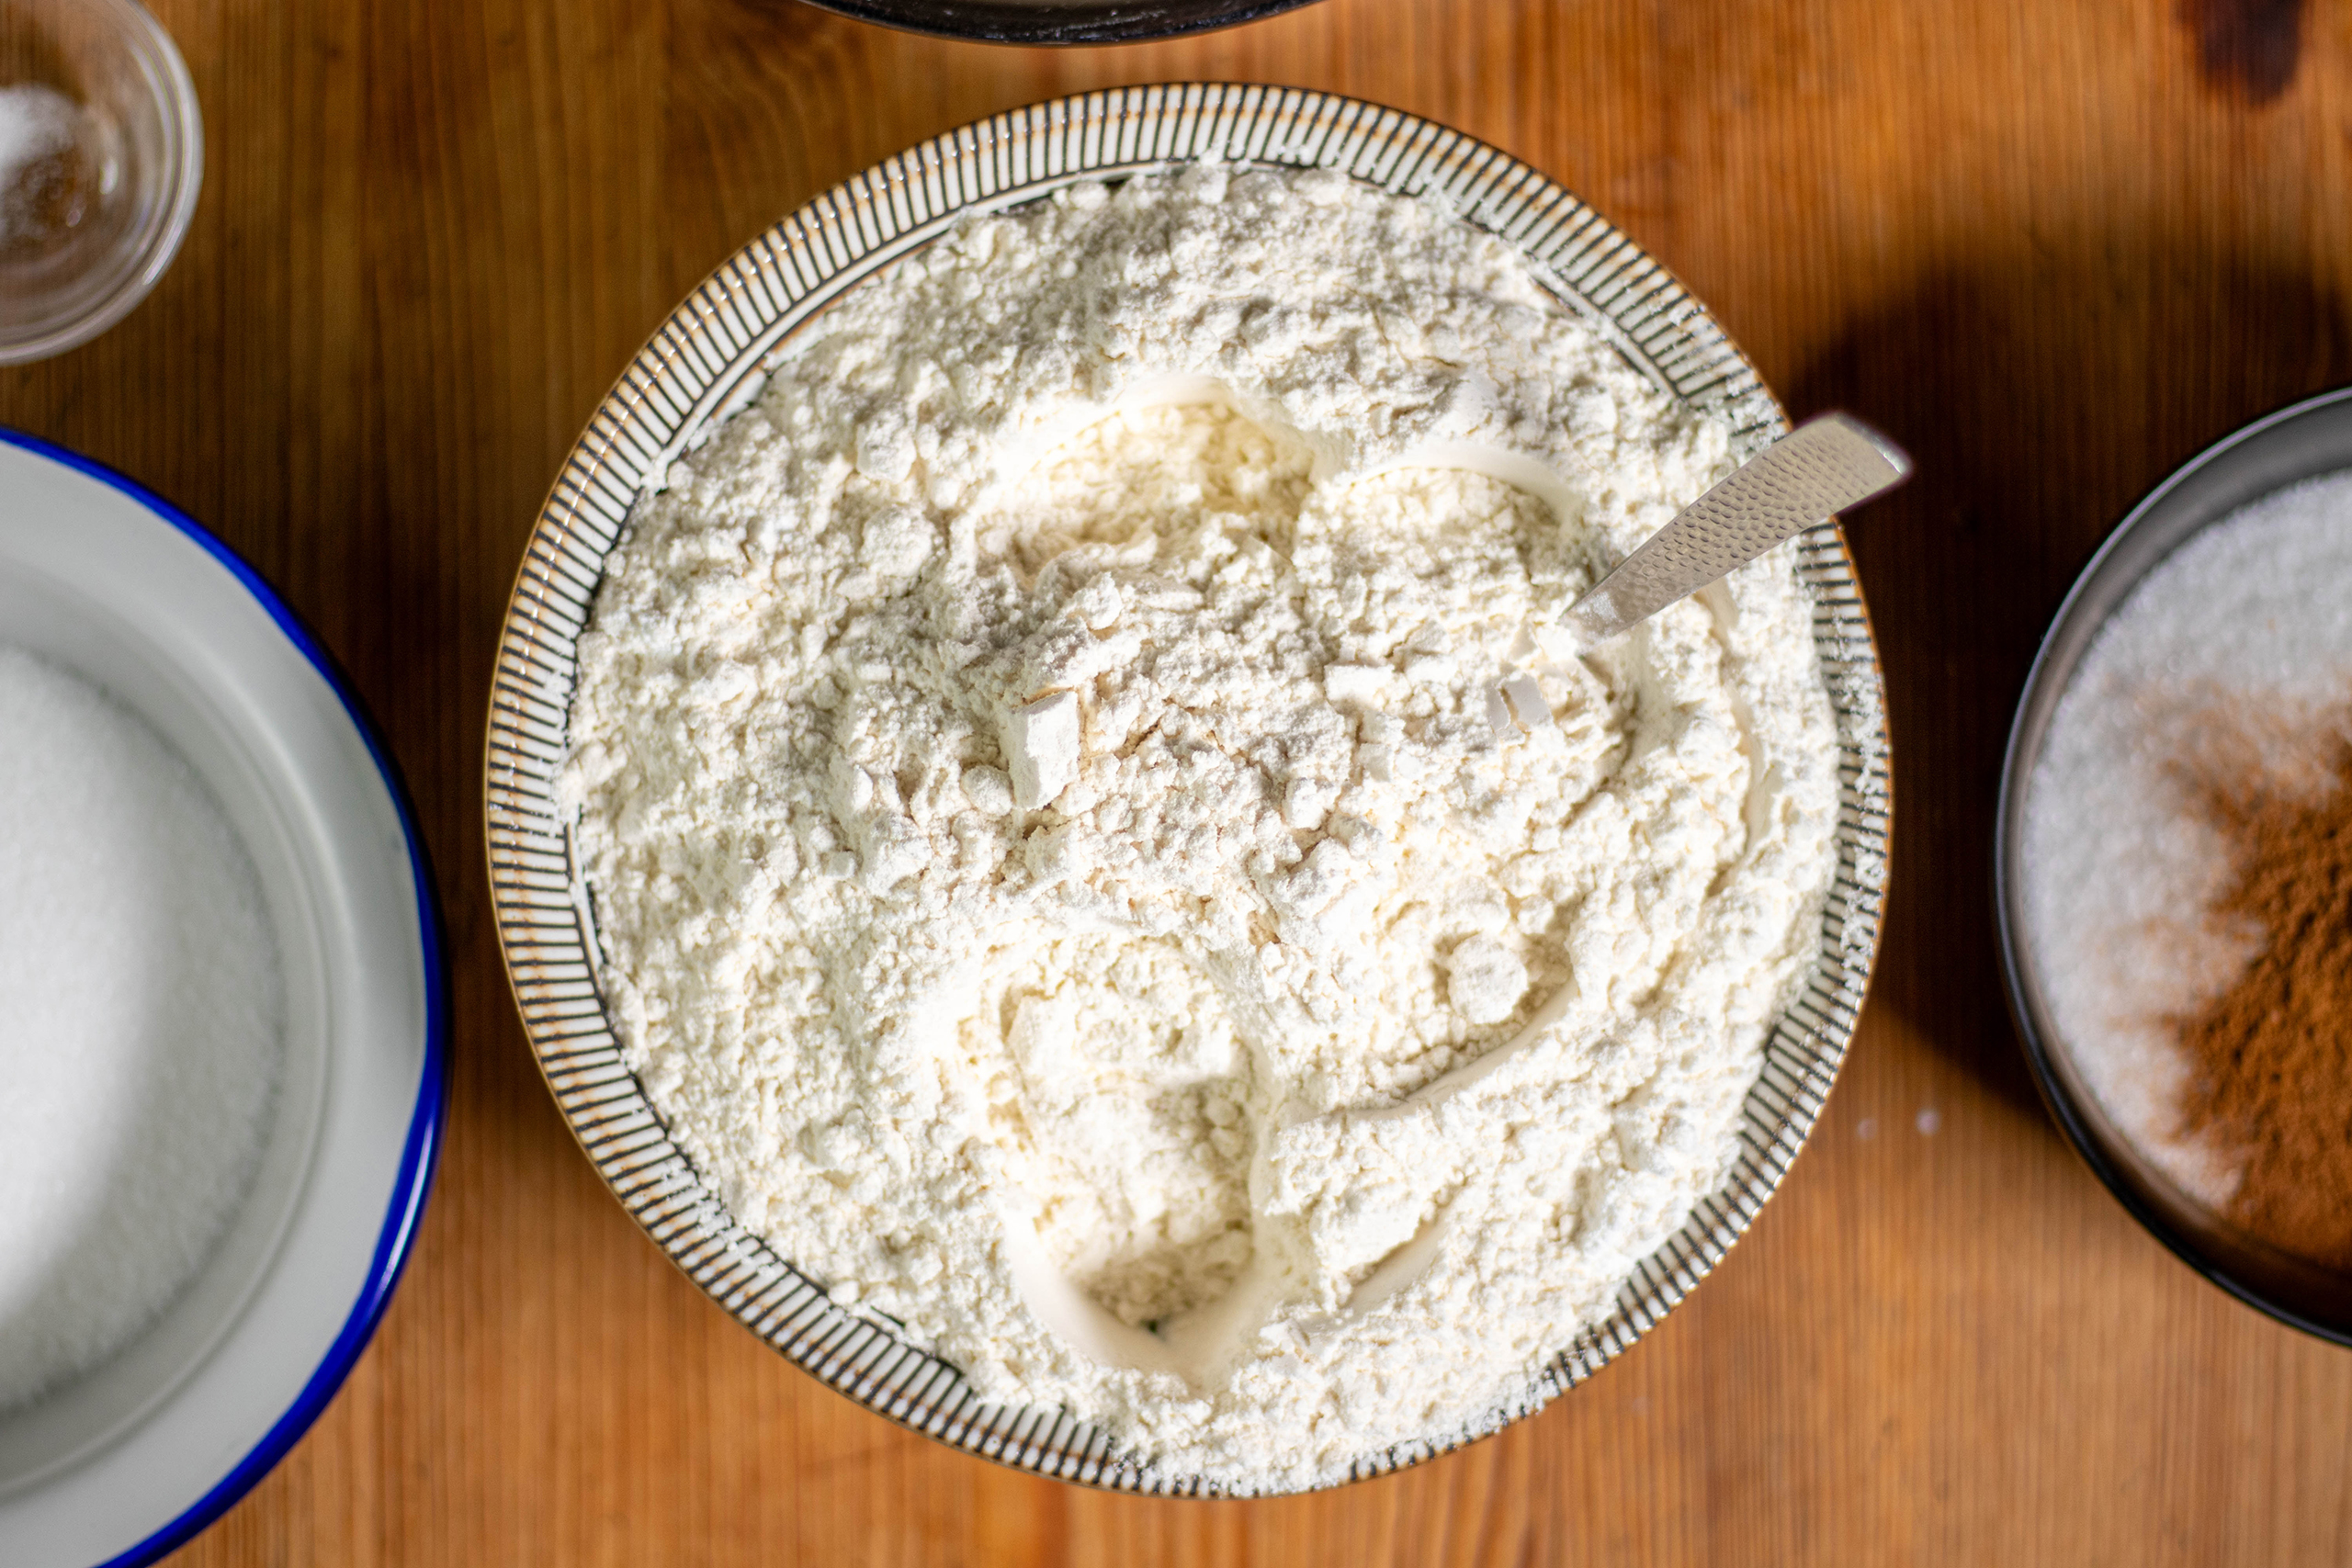
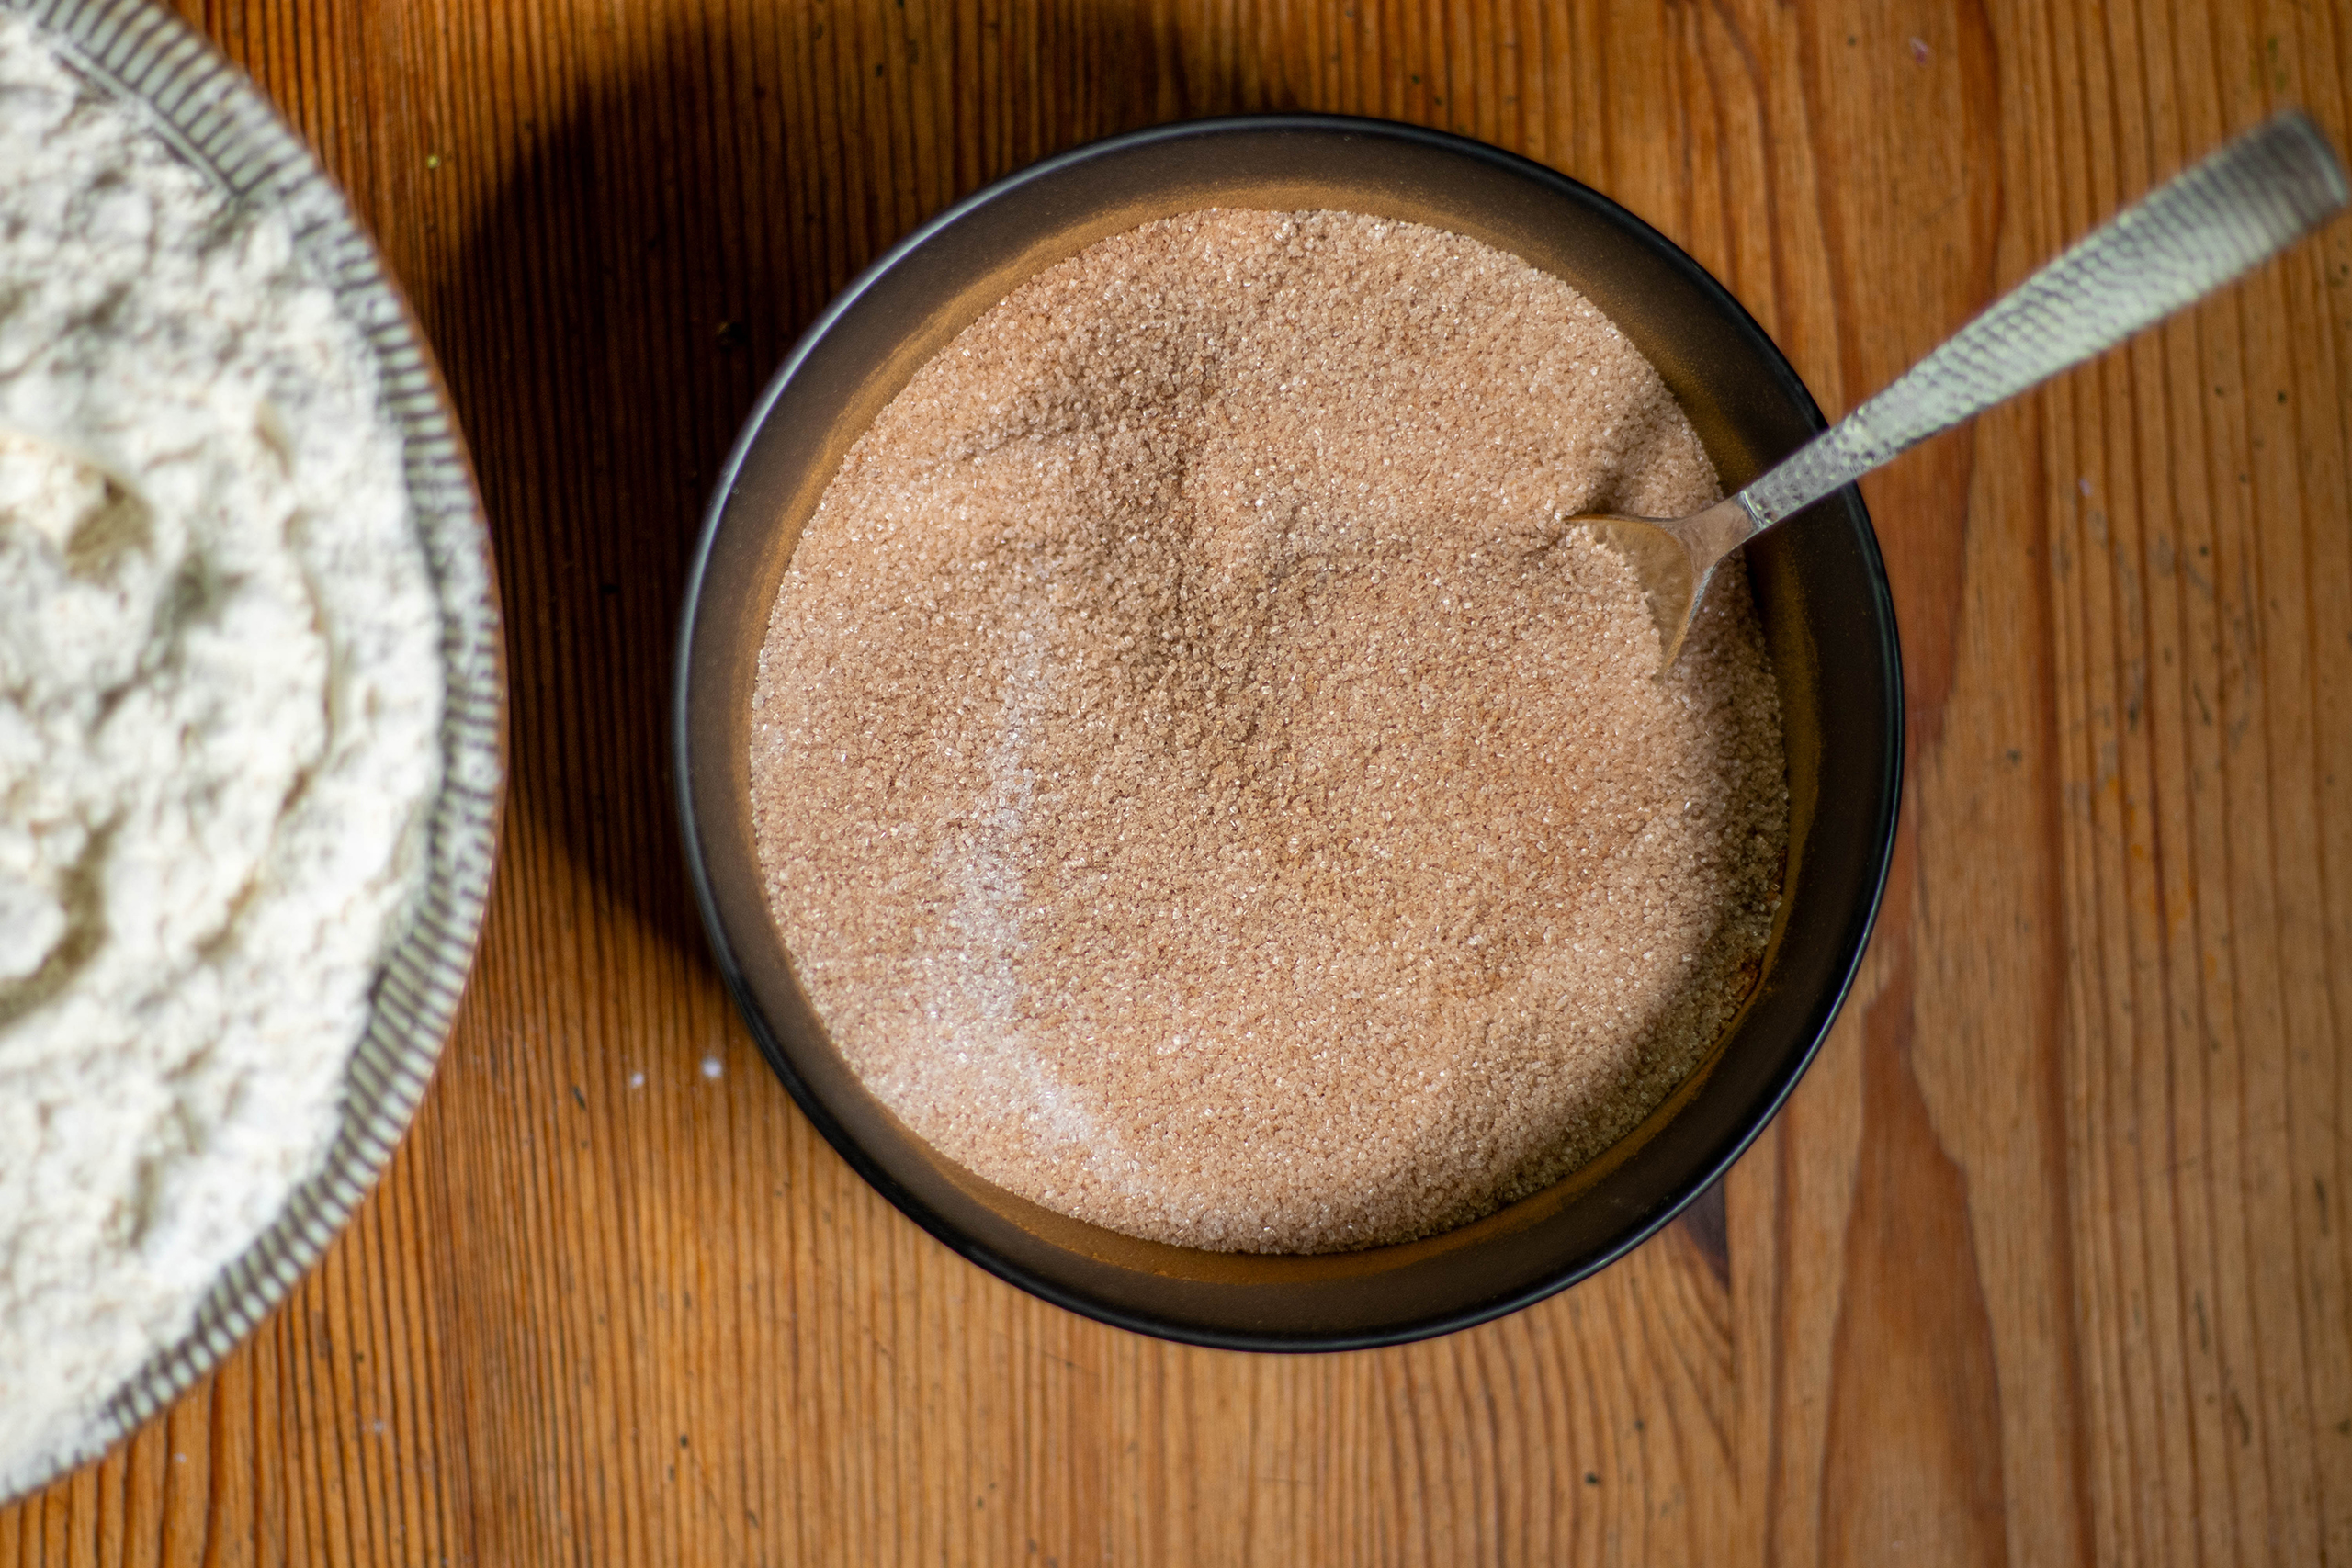
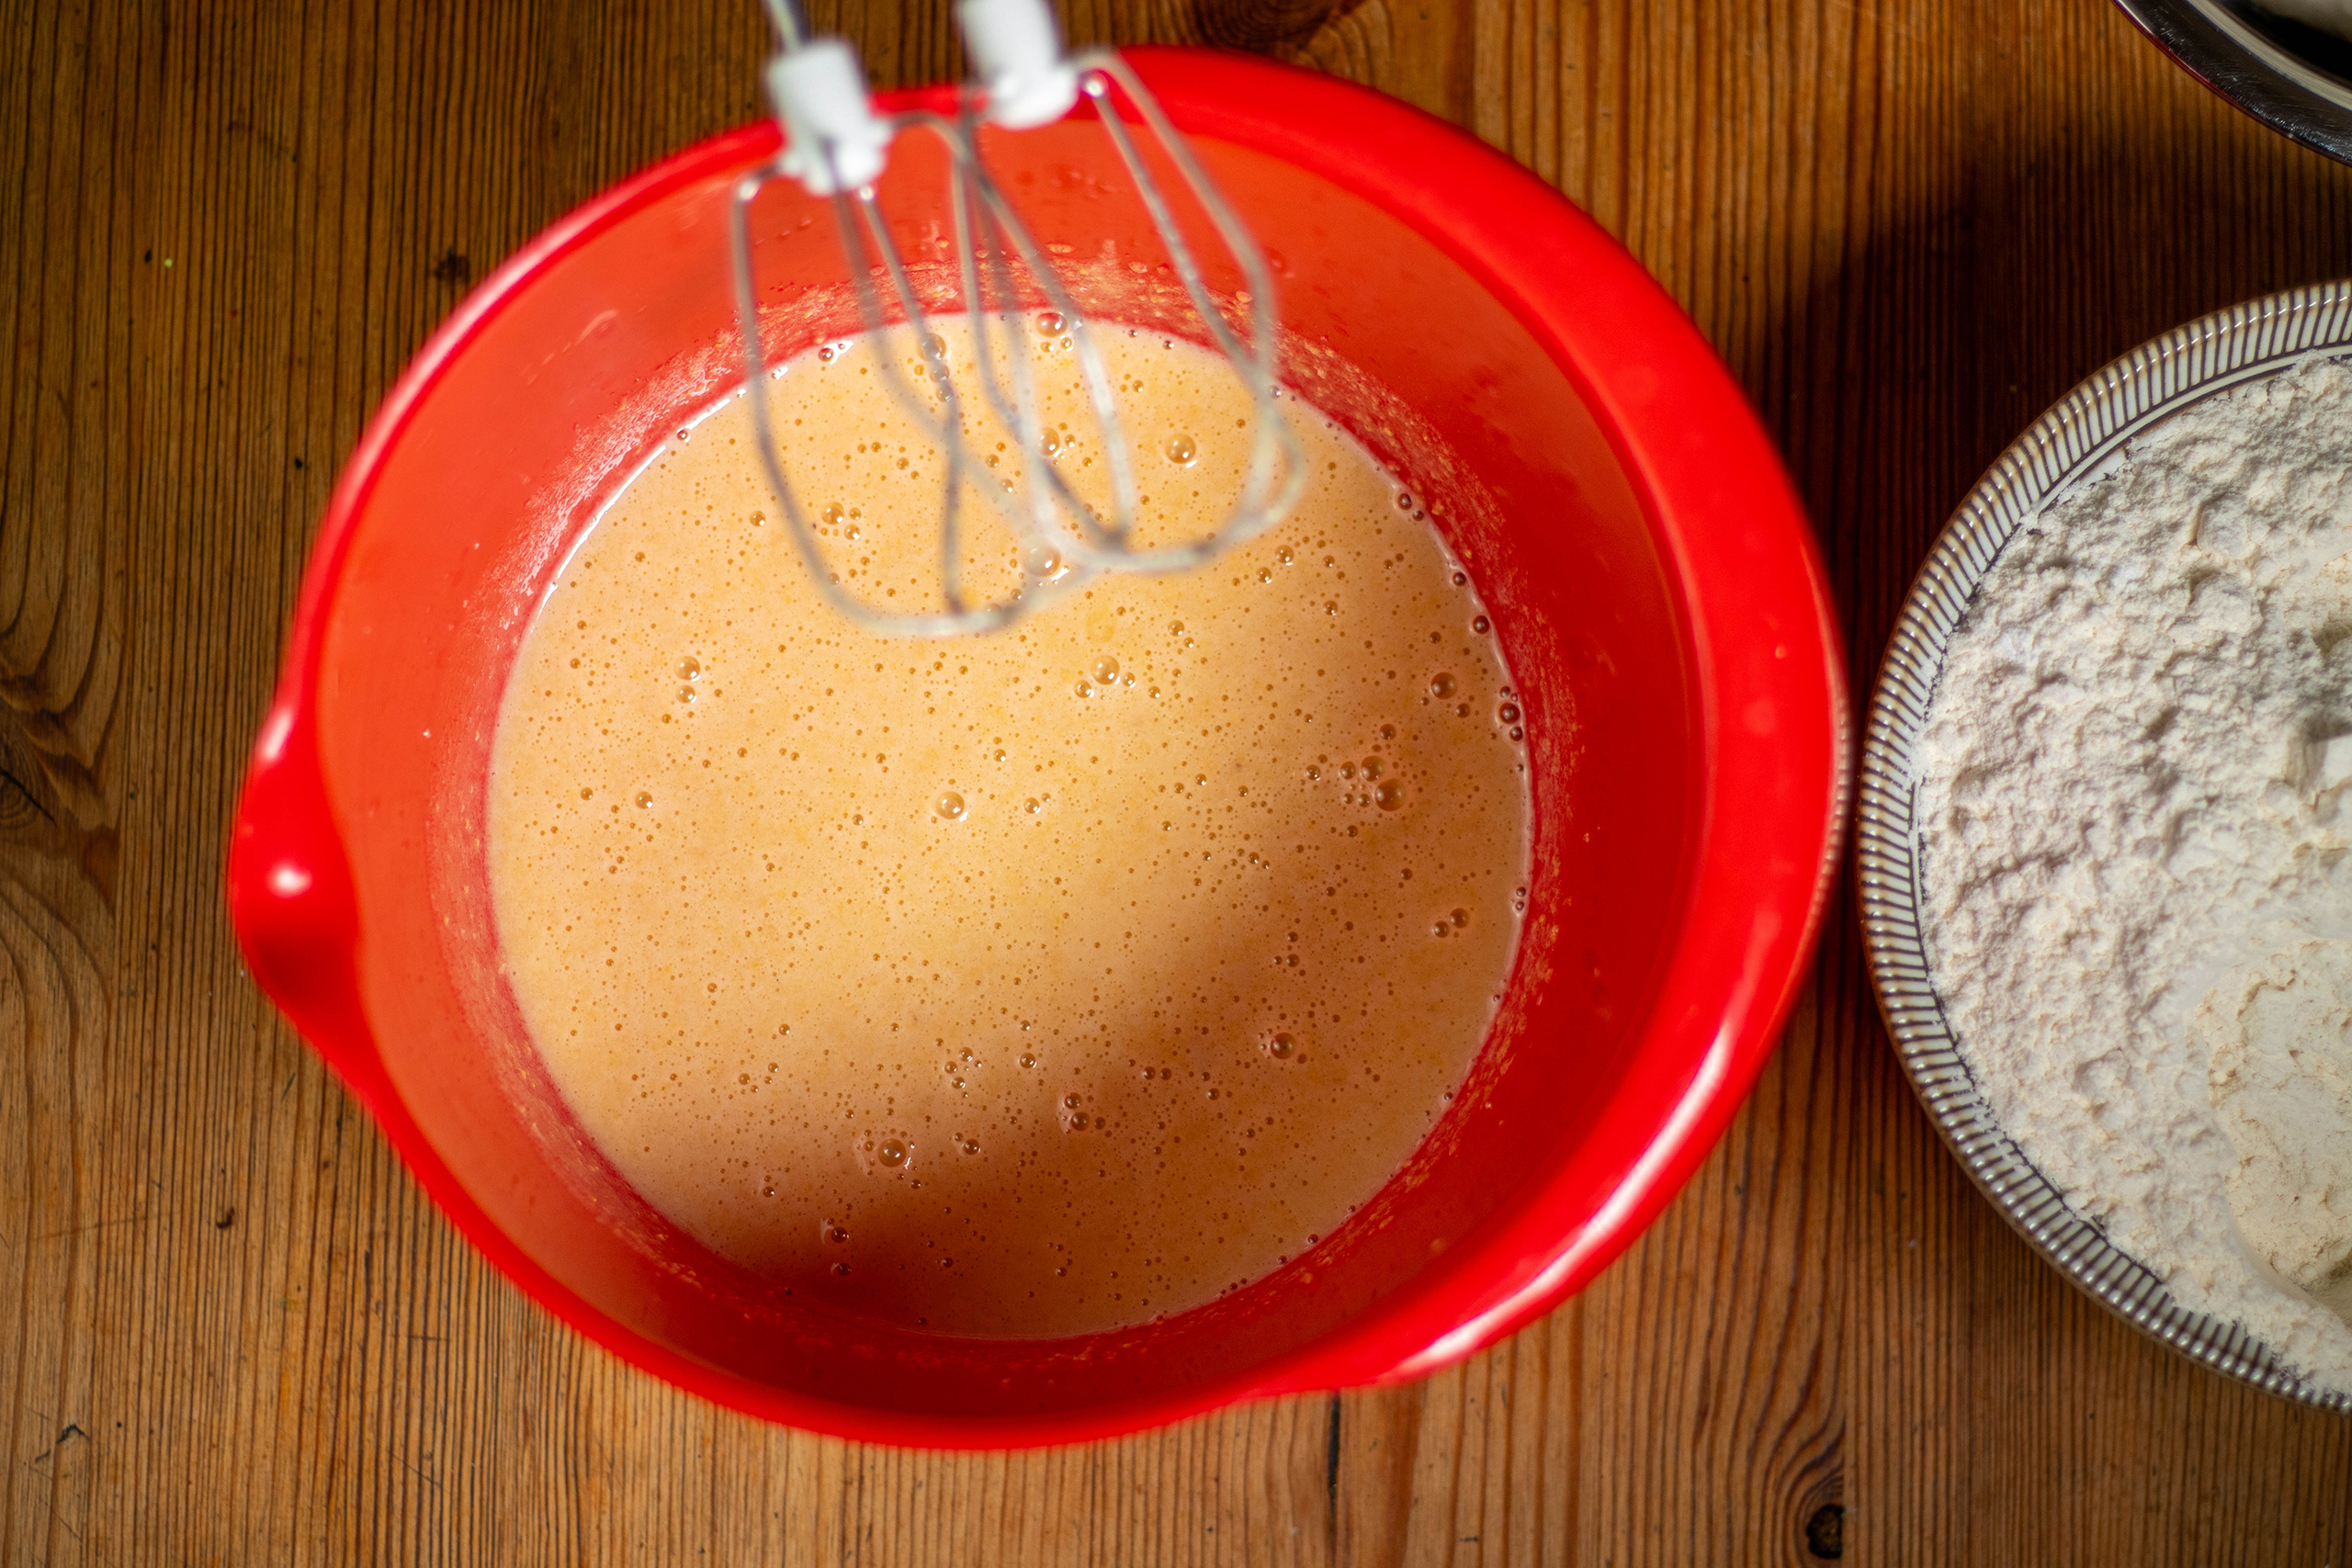
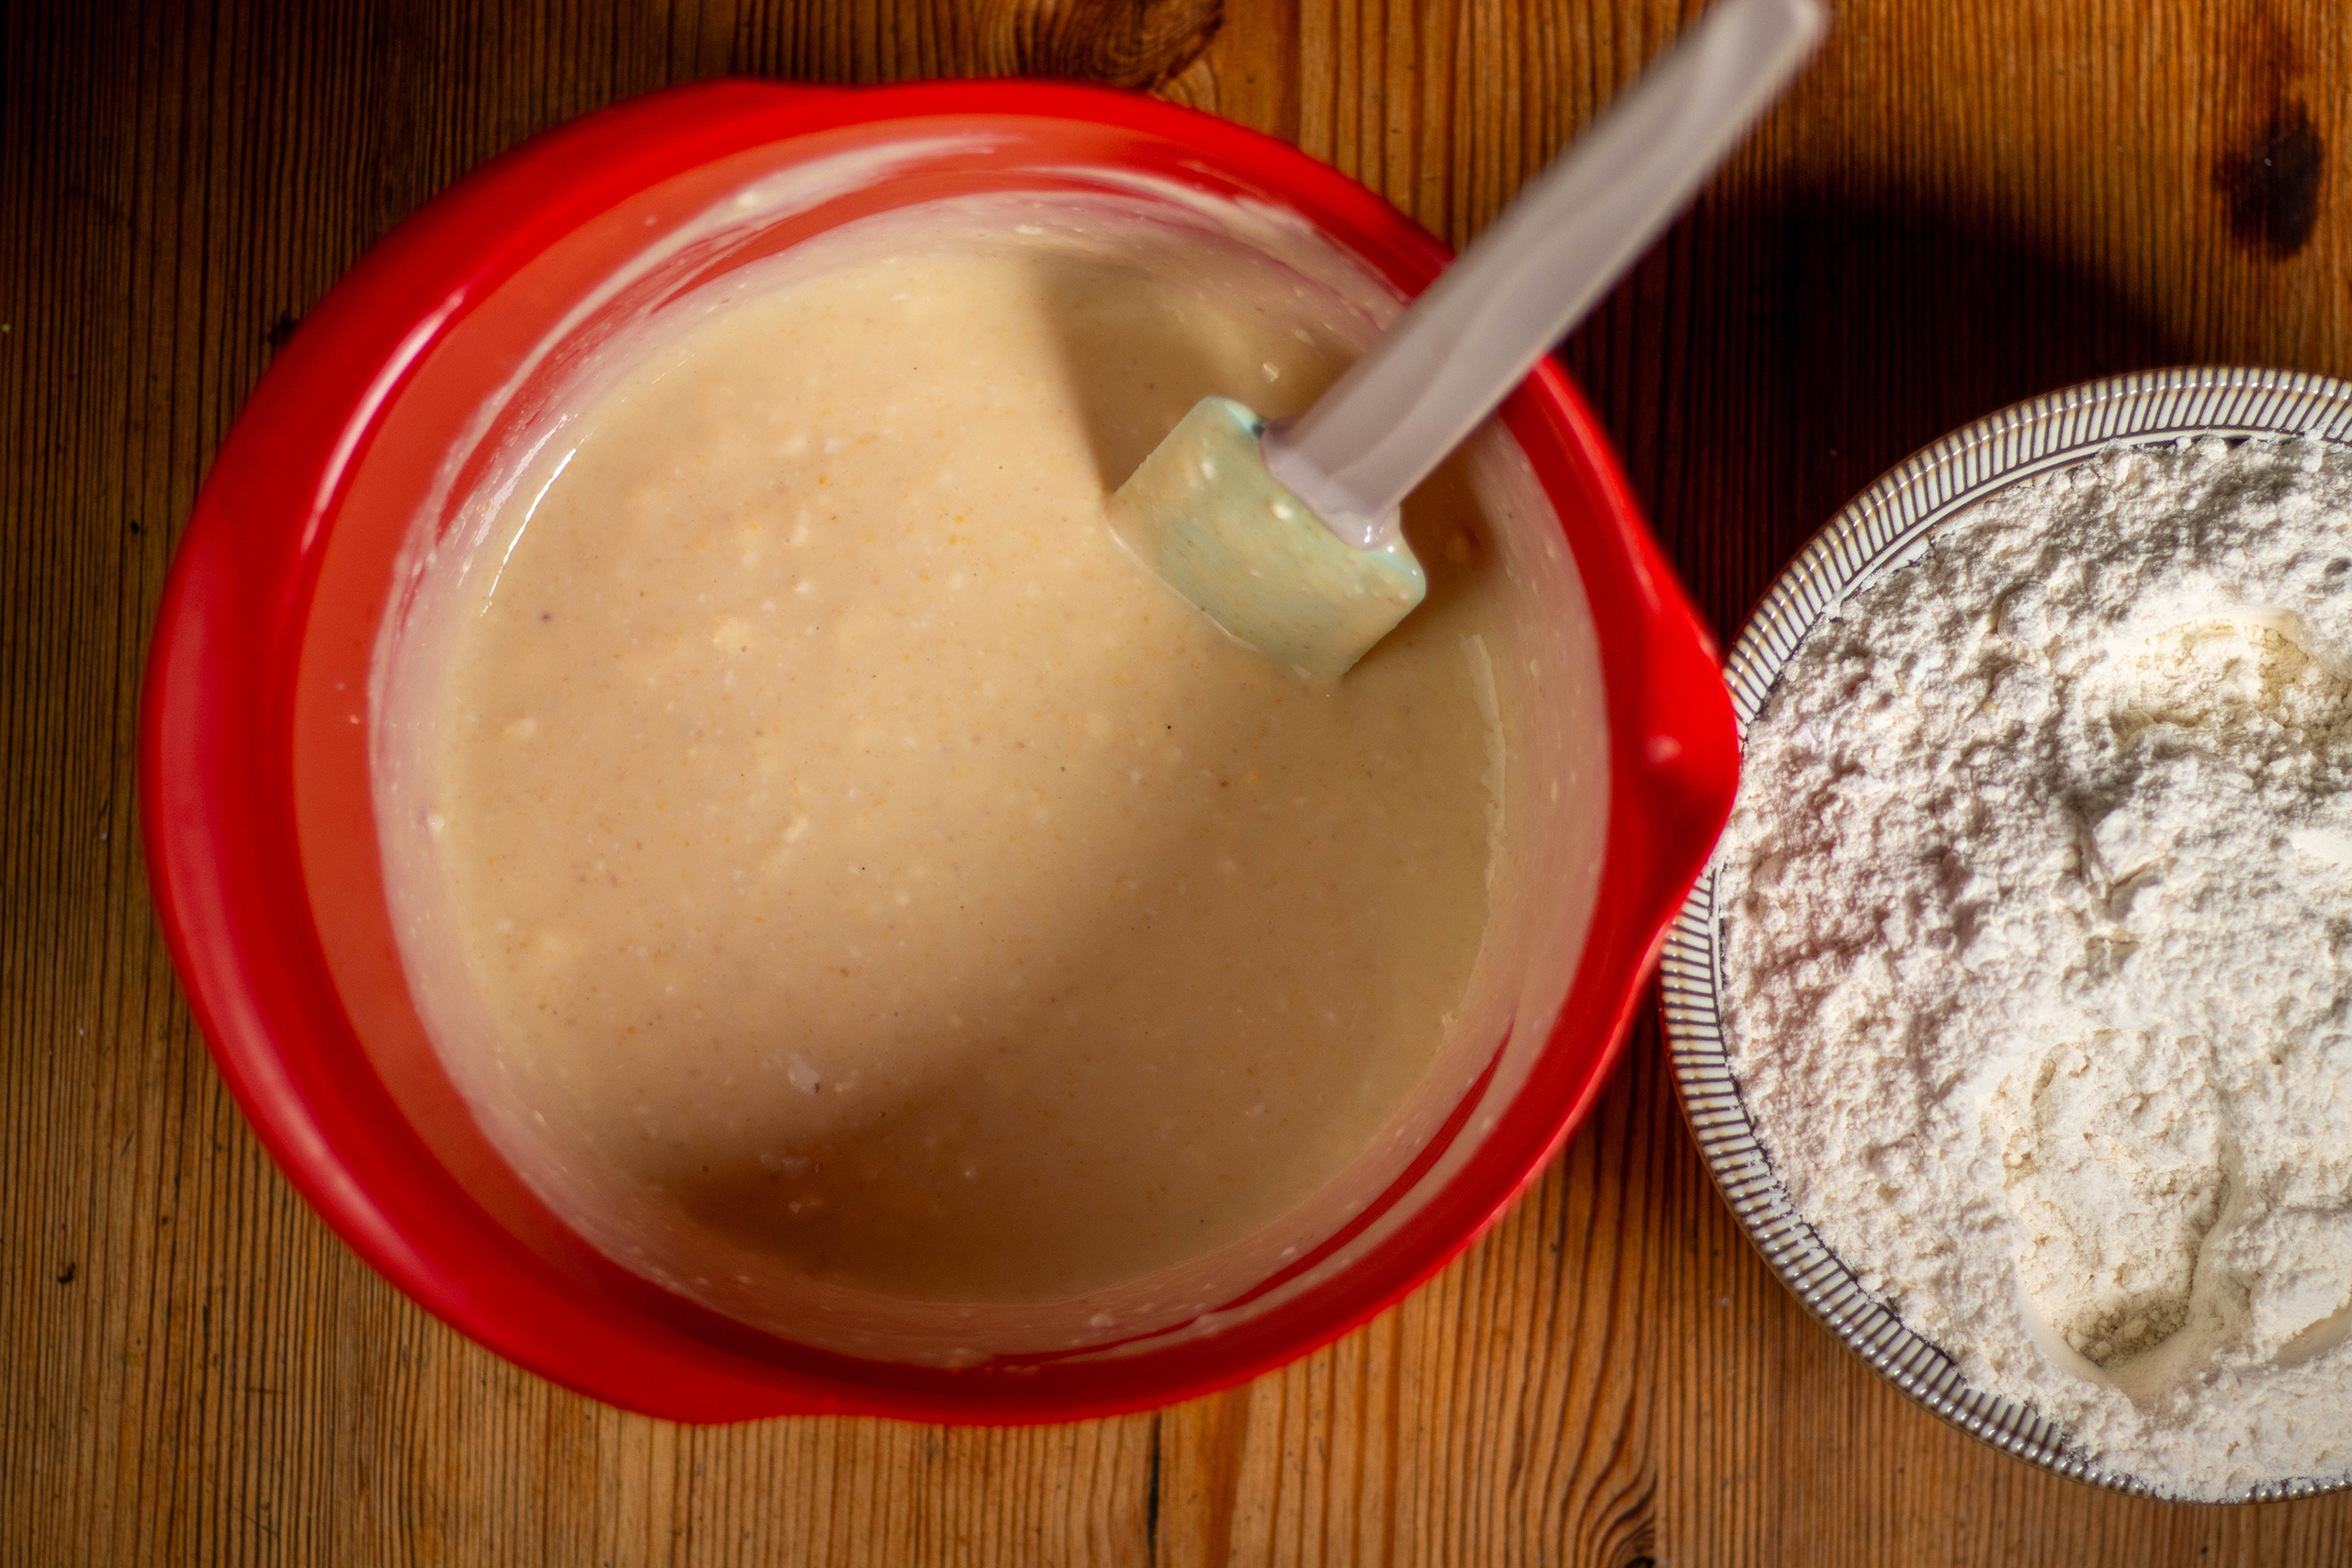
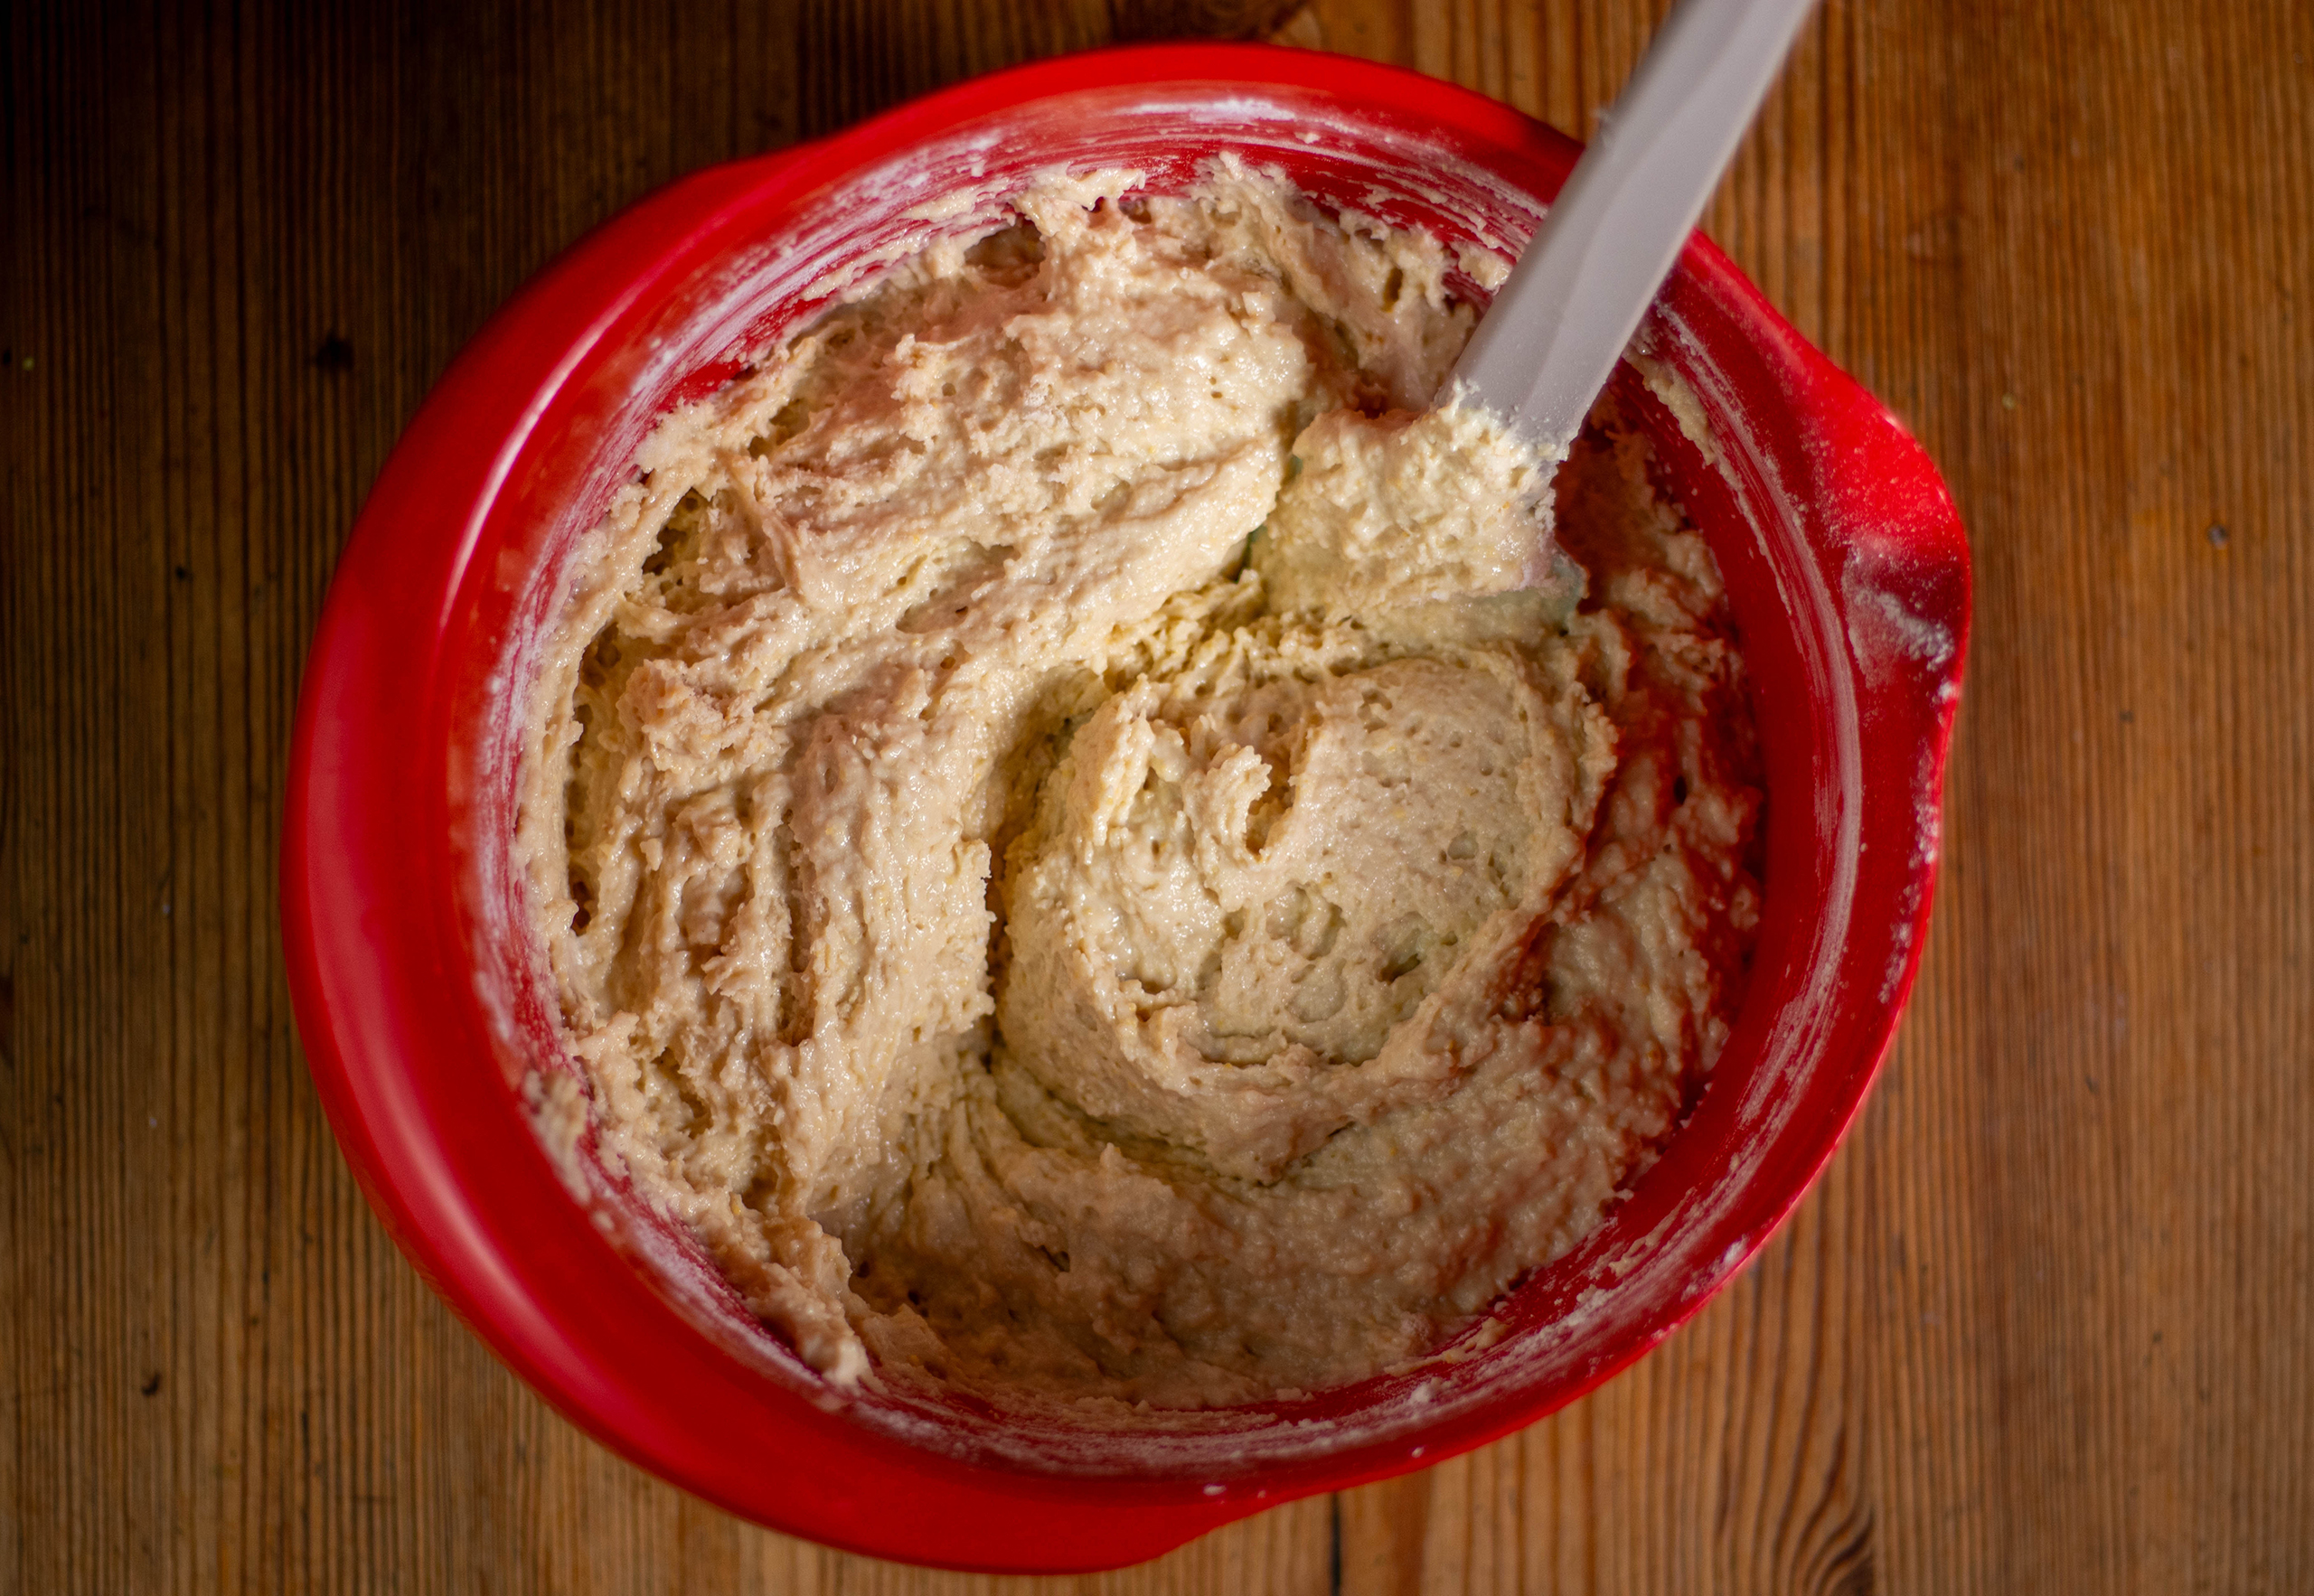
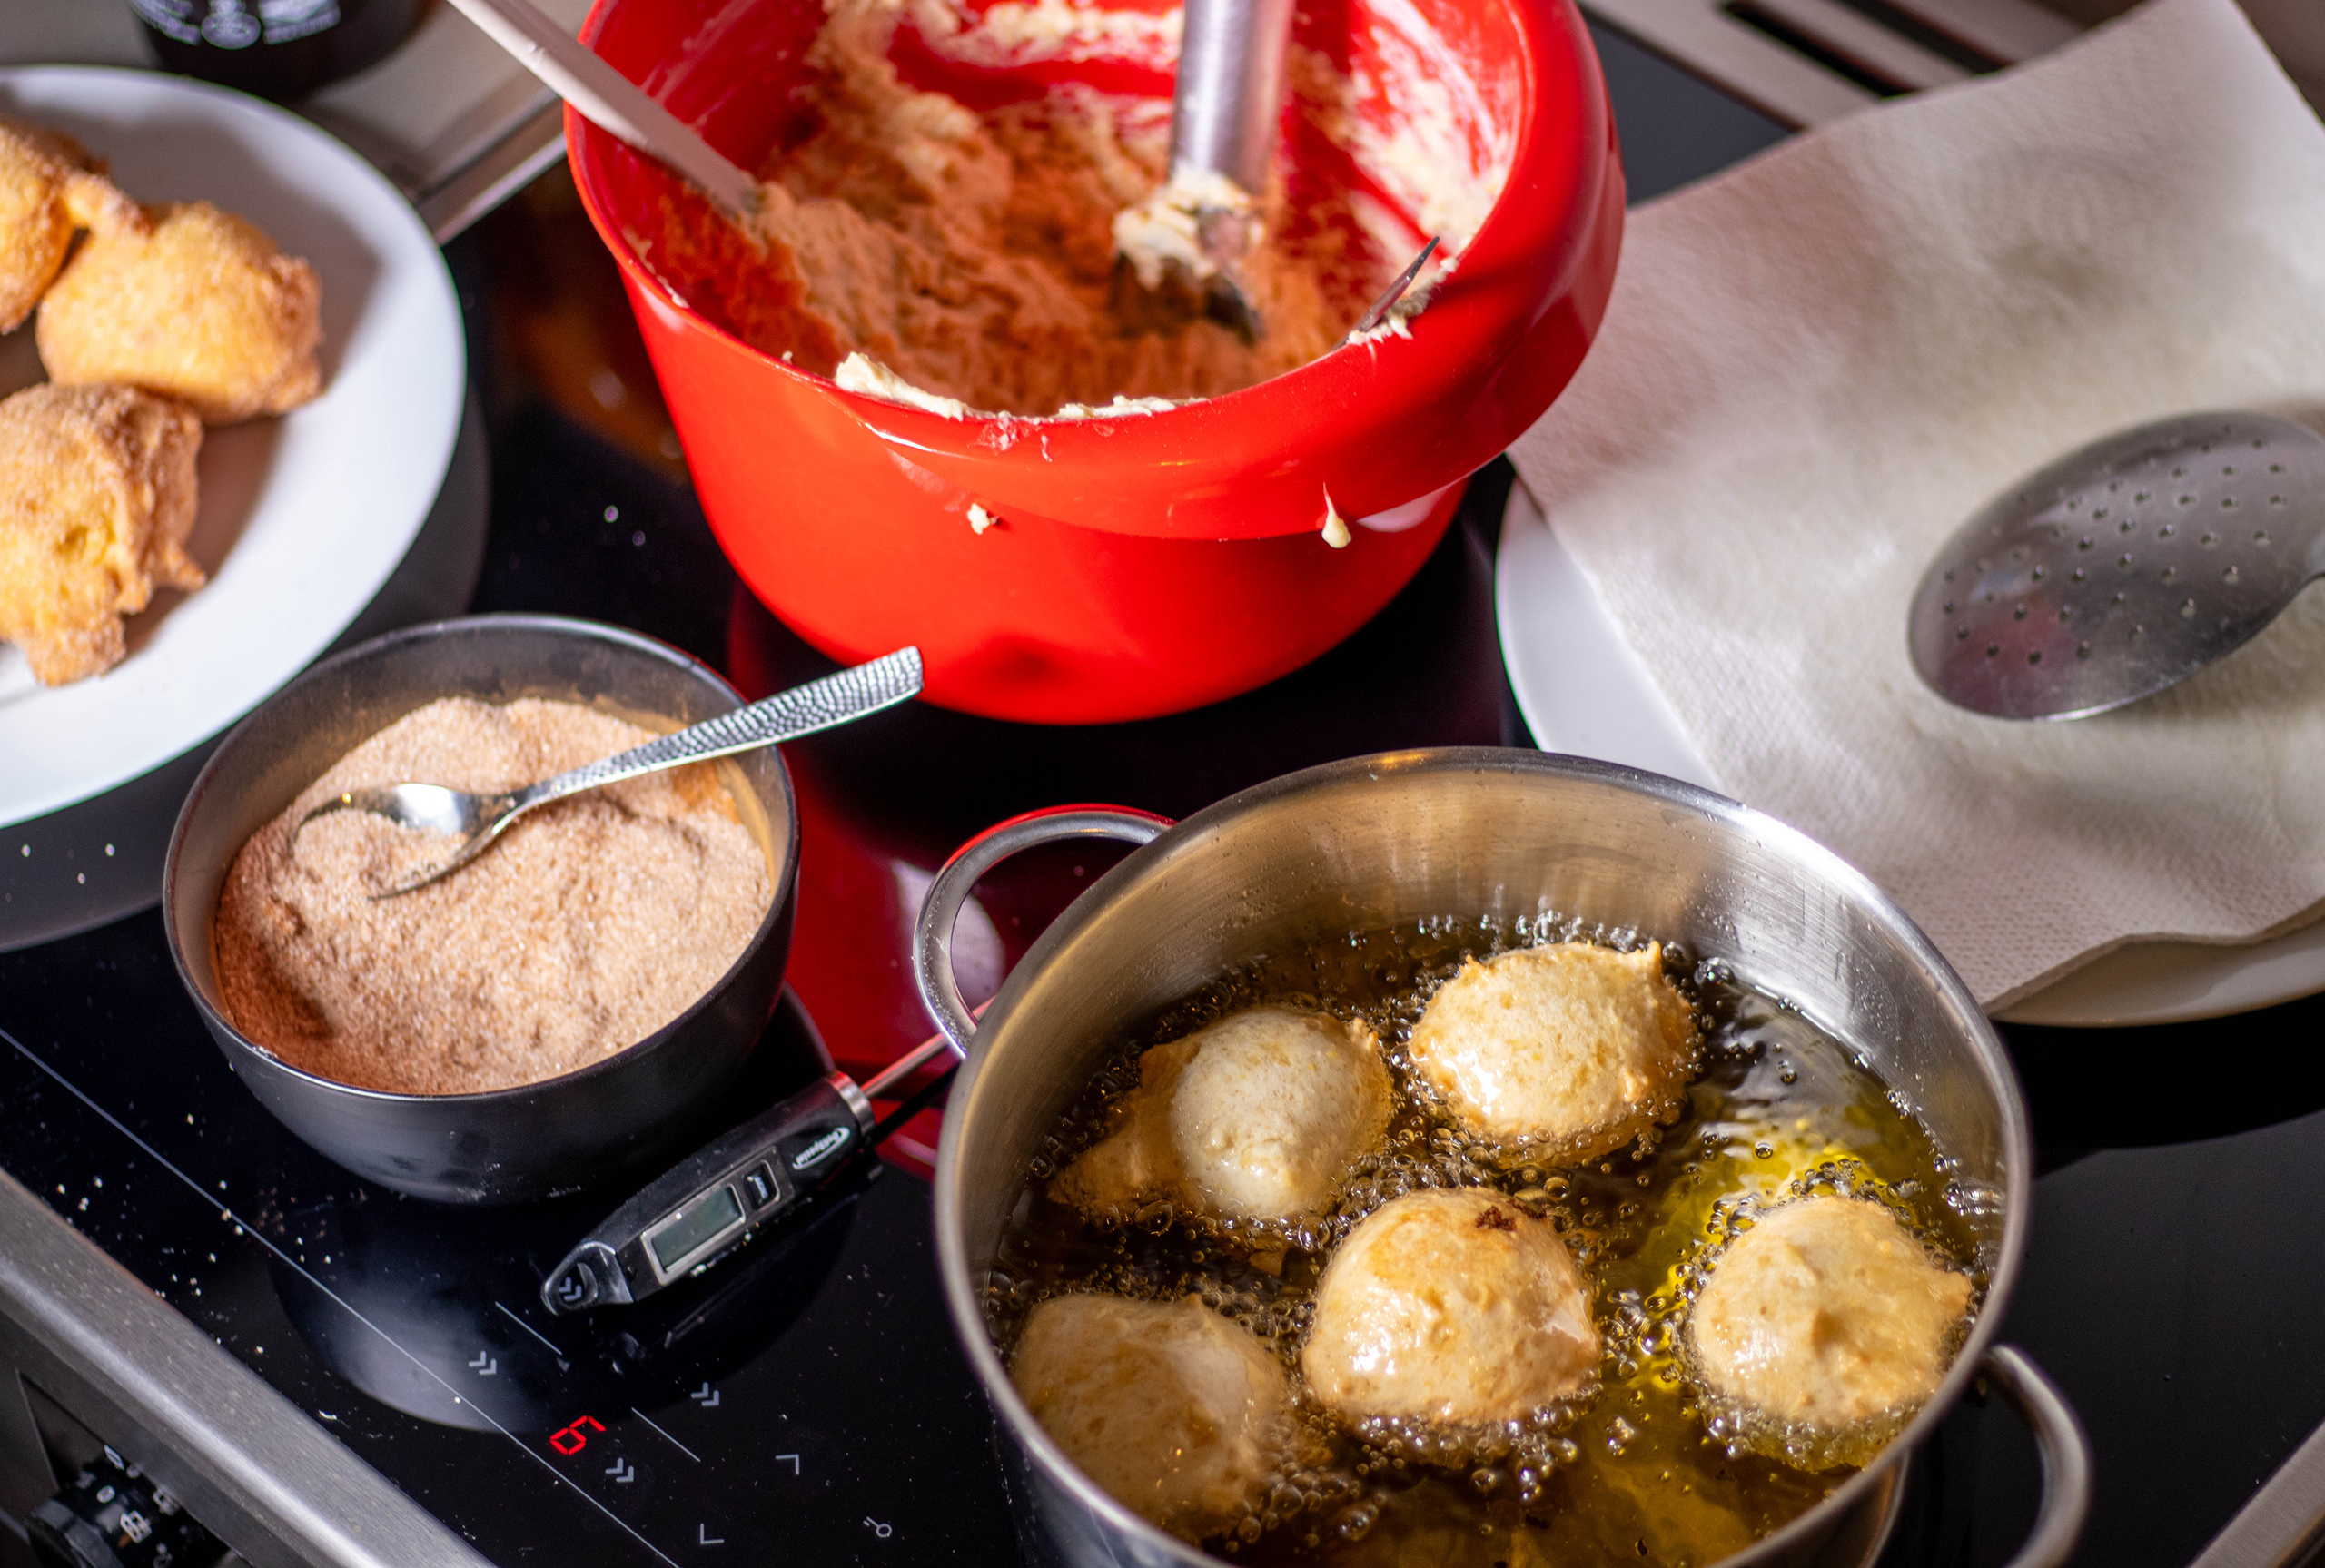
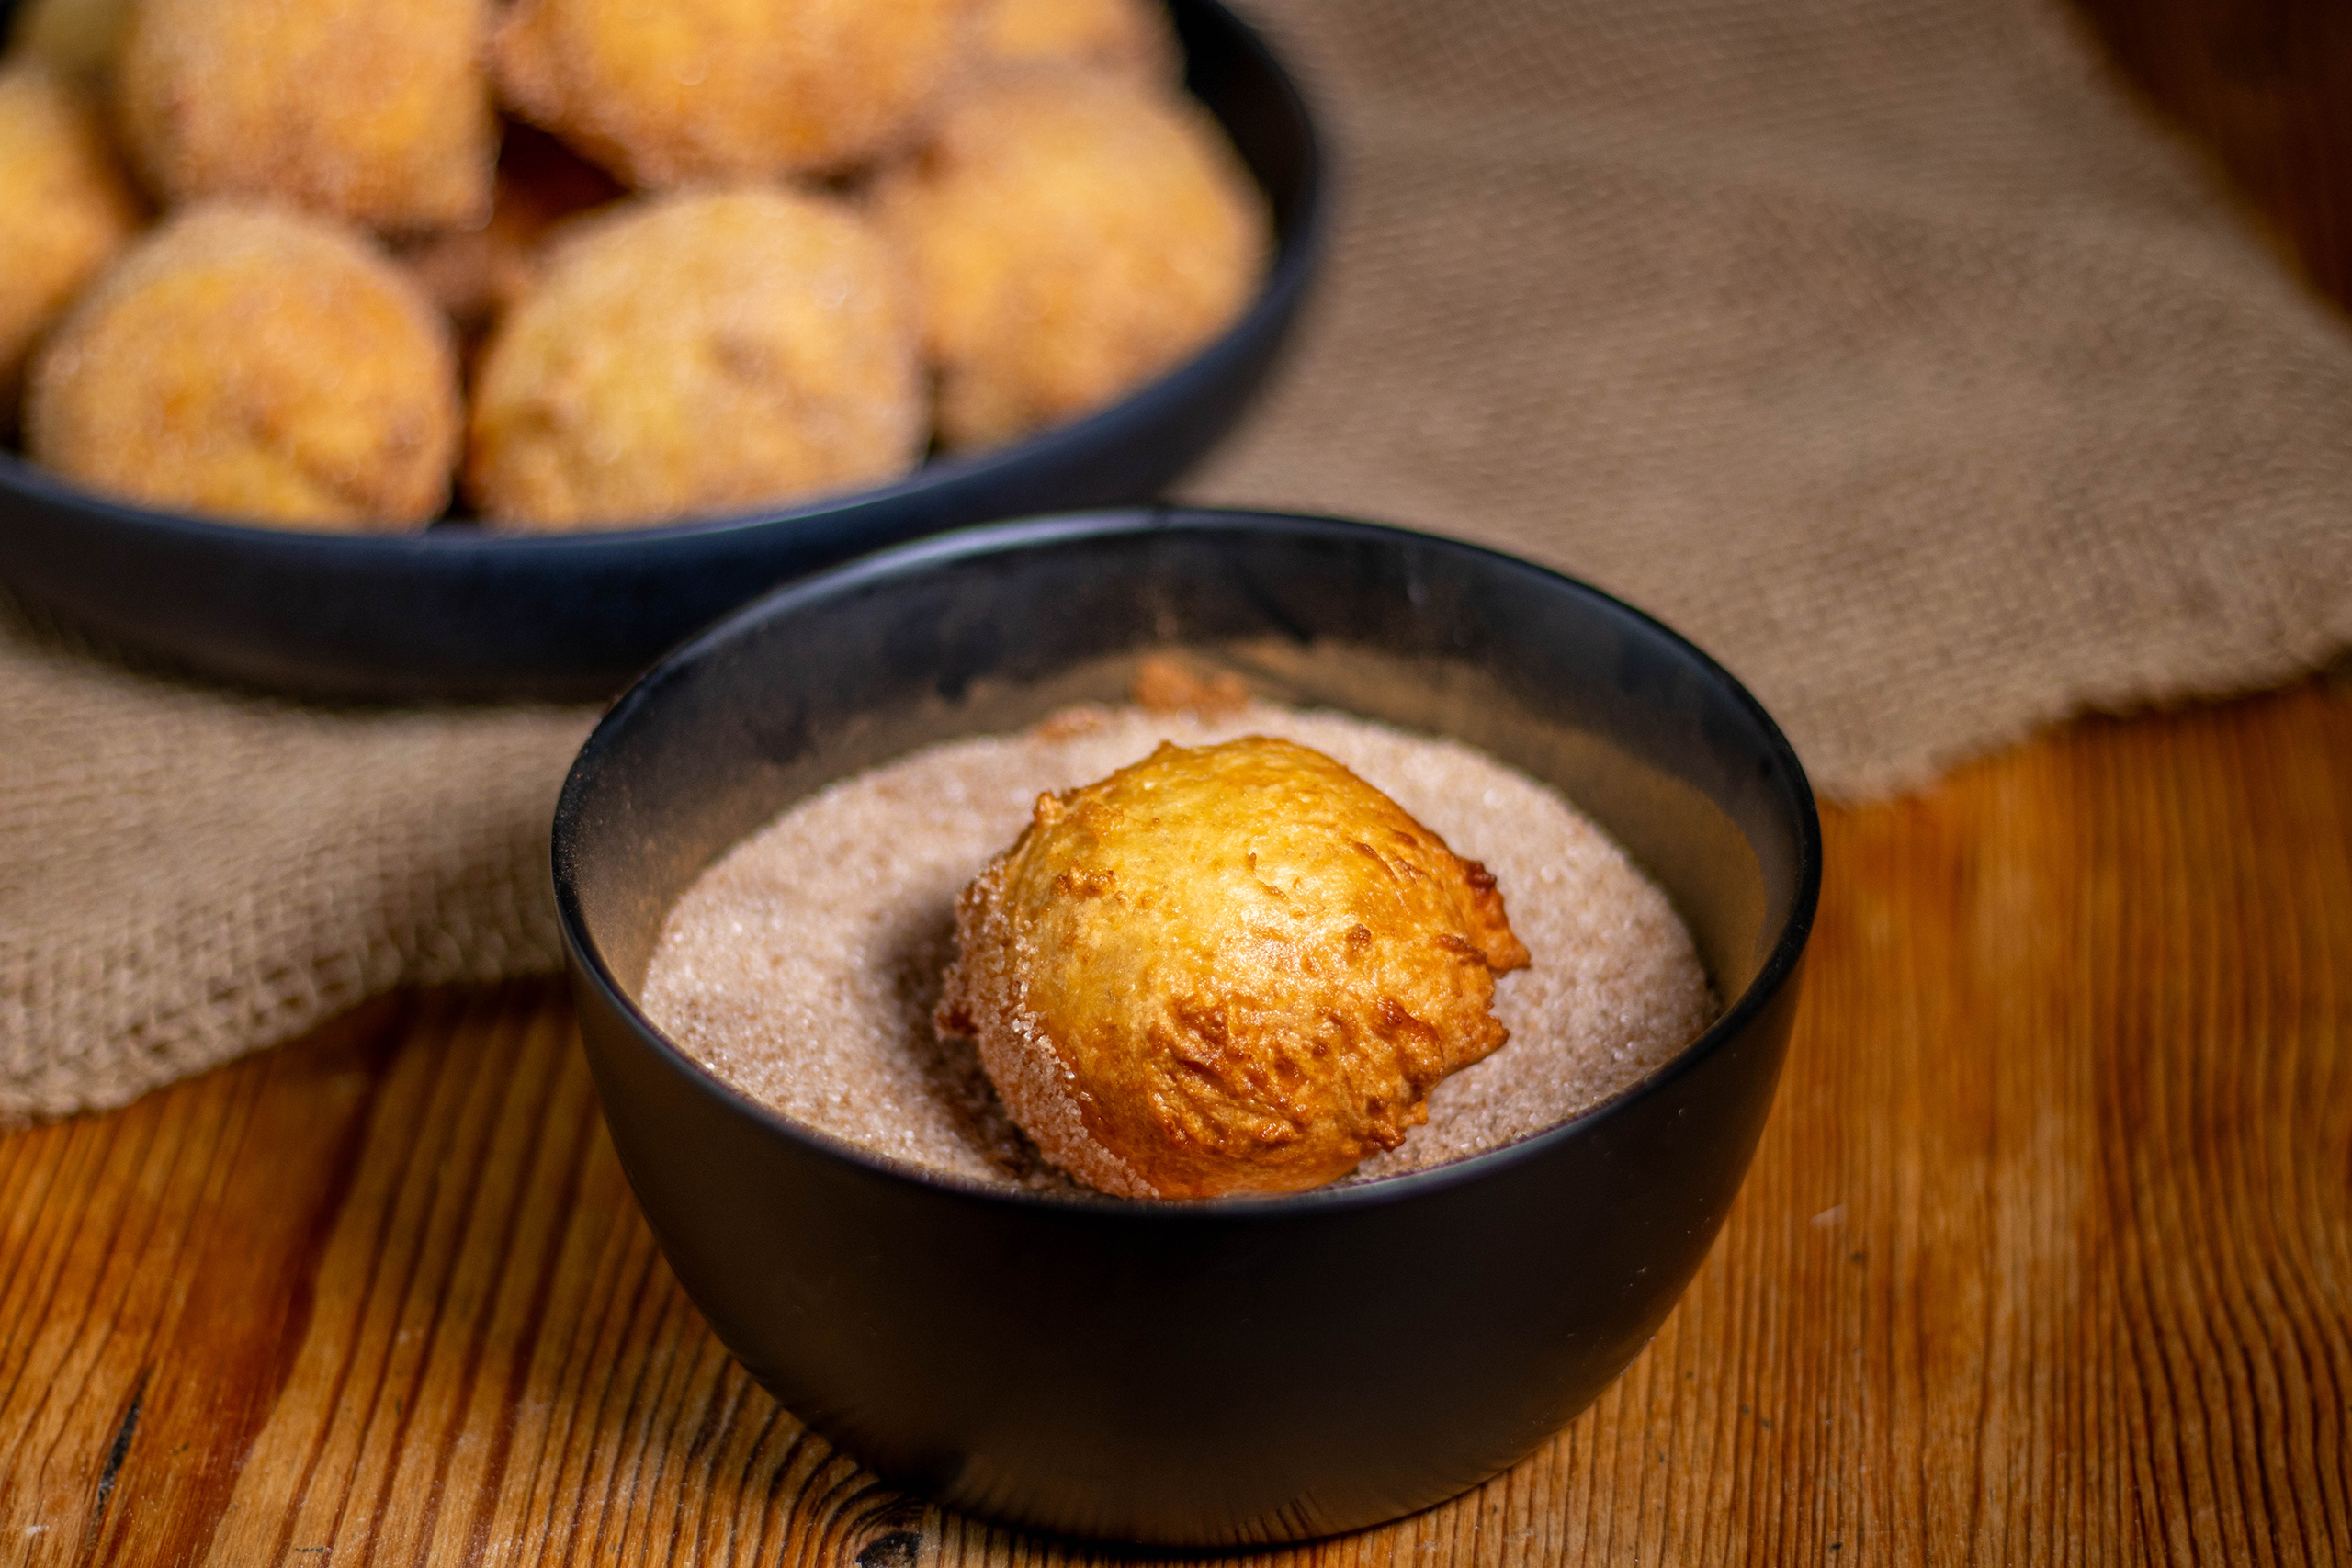
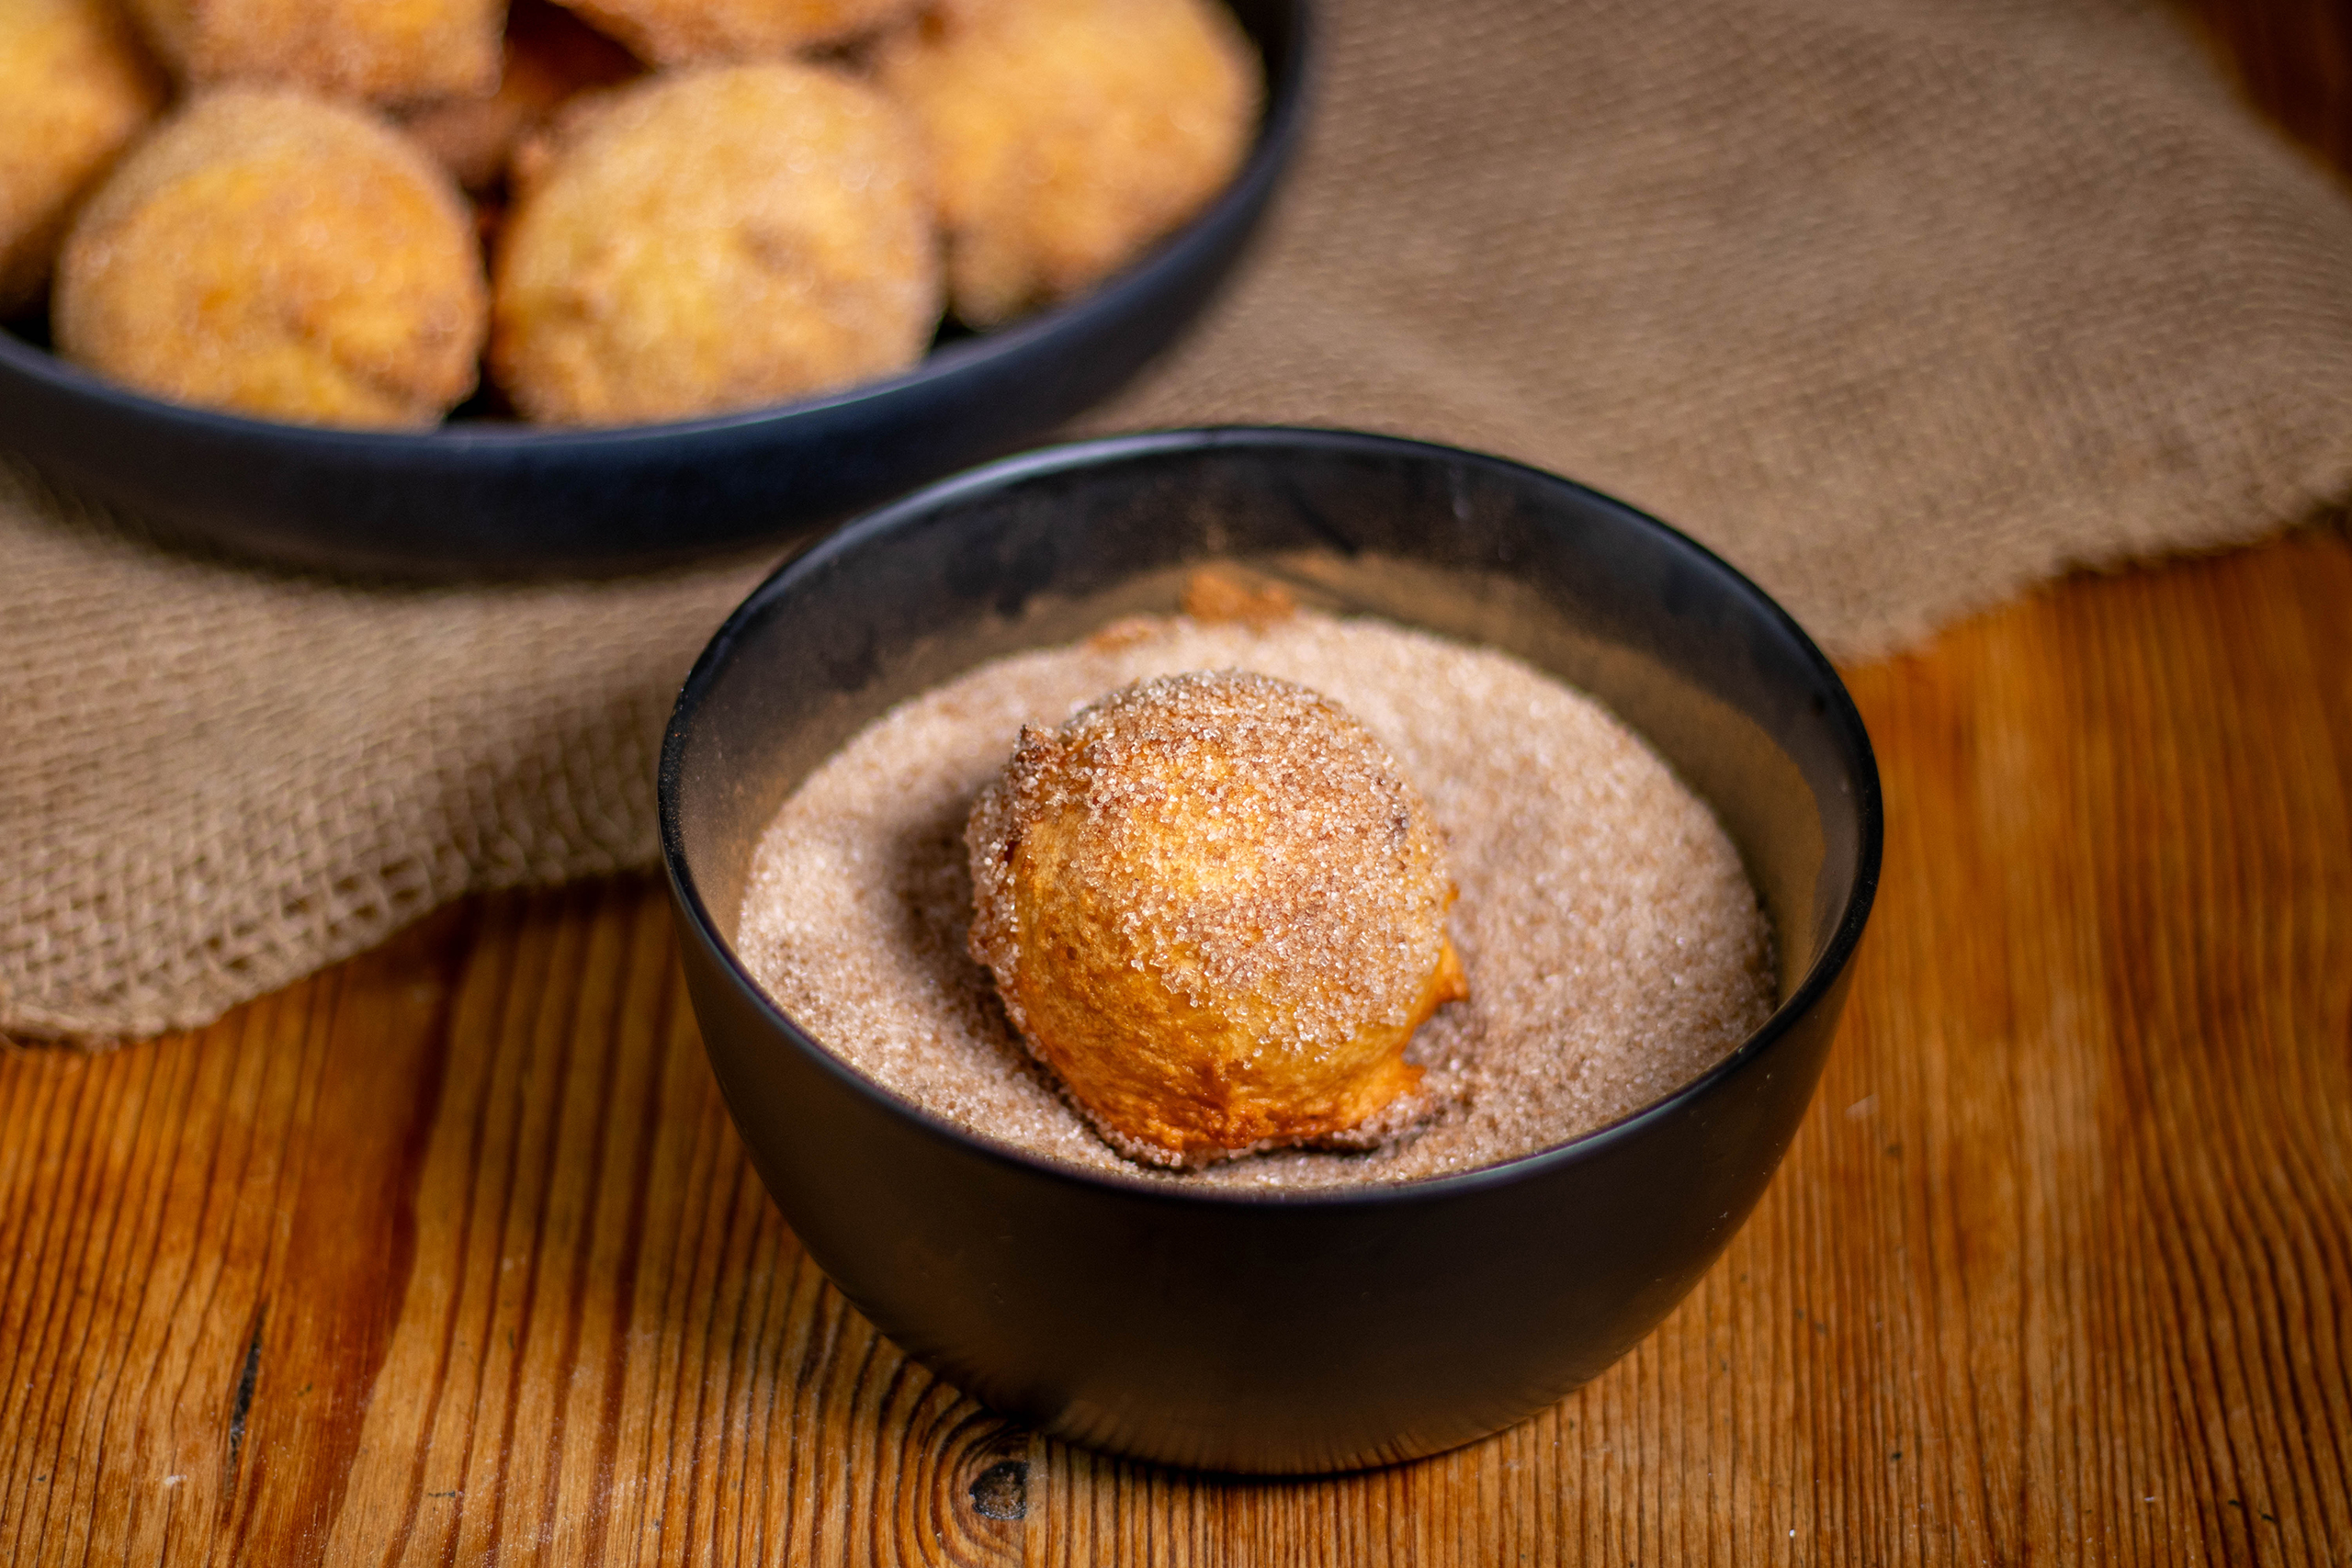
1. All ingredients for vegan quark dumplings.2. Mix the flour with the baking powder.3. Mix the sugar with the cinnamon for turning the sweet pastries.4. Whisk the mixed chickpea flour with the sugar, vanilla sugar and salt.5. Fold in the curd.6. Fold in the flour.7. Fry the vegan German curd dumplings.8. While still hot, roll in cinnamon sugar.8. Roll in cinnamon sugar until the entire dumpling is covered.The vegan quark dumplings are ready.After frying, the sweet pastries are nice and soft and airy.Sean Moxie presents the freshly baked, vegan German curd dumplings.Vegan quark dumplings: soooo delicious!
Ingredients for approximately 25 vegan German curd dumplings:
5 heaped tablespoons chickpea flour (gram flour), mixed with 150 ml water 1 pinch salt 200 g sugar 1 tablespoon vanilla sugar 500 g vegan curd/quark or skyr 500 g all purpose flour 15 g baking powder
For frying:
Approx. 1 l vegetable or rapeseed oil
Finishing:
200 g sugar 1 tablespoon cinnamon
Alternatively: icing sugar
Preparation:
Prepare the vegan German curd dumplings dough:
Mix the flour with the baking powder.
Place the mixed chickpea flour, sugar, vanilla sugar, and salt in a bowl.
Beat quickly with a hand mixer or whisk until the mixture is creamy and slightly foamy.
Then fold the vegan quark into the mixed mixture using a spatula or spoon.
Finally, thoroughly fold in the flour and baking powder.
Deep-fry the German curd dumplings:
Mix the sugar and the cinnamon
Heat the oil in a saucepan over medium heat. The amount of oil may vary slightly depending on the size of your pan. The oil must be deep enough for the balls to float in. A kitchen thermometer will help ensure frying at the correct temperature. Ideally, the oil should be consistently around 170°C.
Using two spoons or an ice cream scoop, form small balls from the dough.
Carefully place them in the hot oil. Don’t add too many dumplings at once, as the dough will expand while frying. The dumplings should be able to float freely.
Now fry the balls in the oil for about 5 minutes, turning them frequently.
Remove them with a slotted spoon and let them drain briefly on kitchen paper.
Toss in a bowl with the sugar-cinnamon-mix while still hot.
Do I hear crispy coating? And wild garlic? And dumplings? I’m in! The aroma of freshly picked wild garlic combined with traditional German potato dumplings. My recipe for wild garlic dumplings is a loving farewell to hearty, filling winter meals and a greeting to the approaching fresh spring dishes.
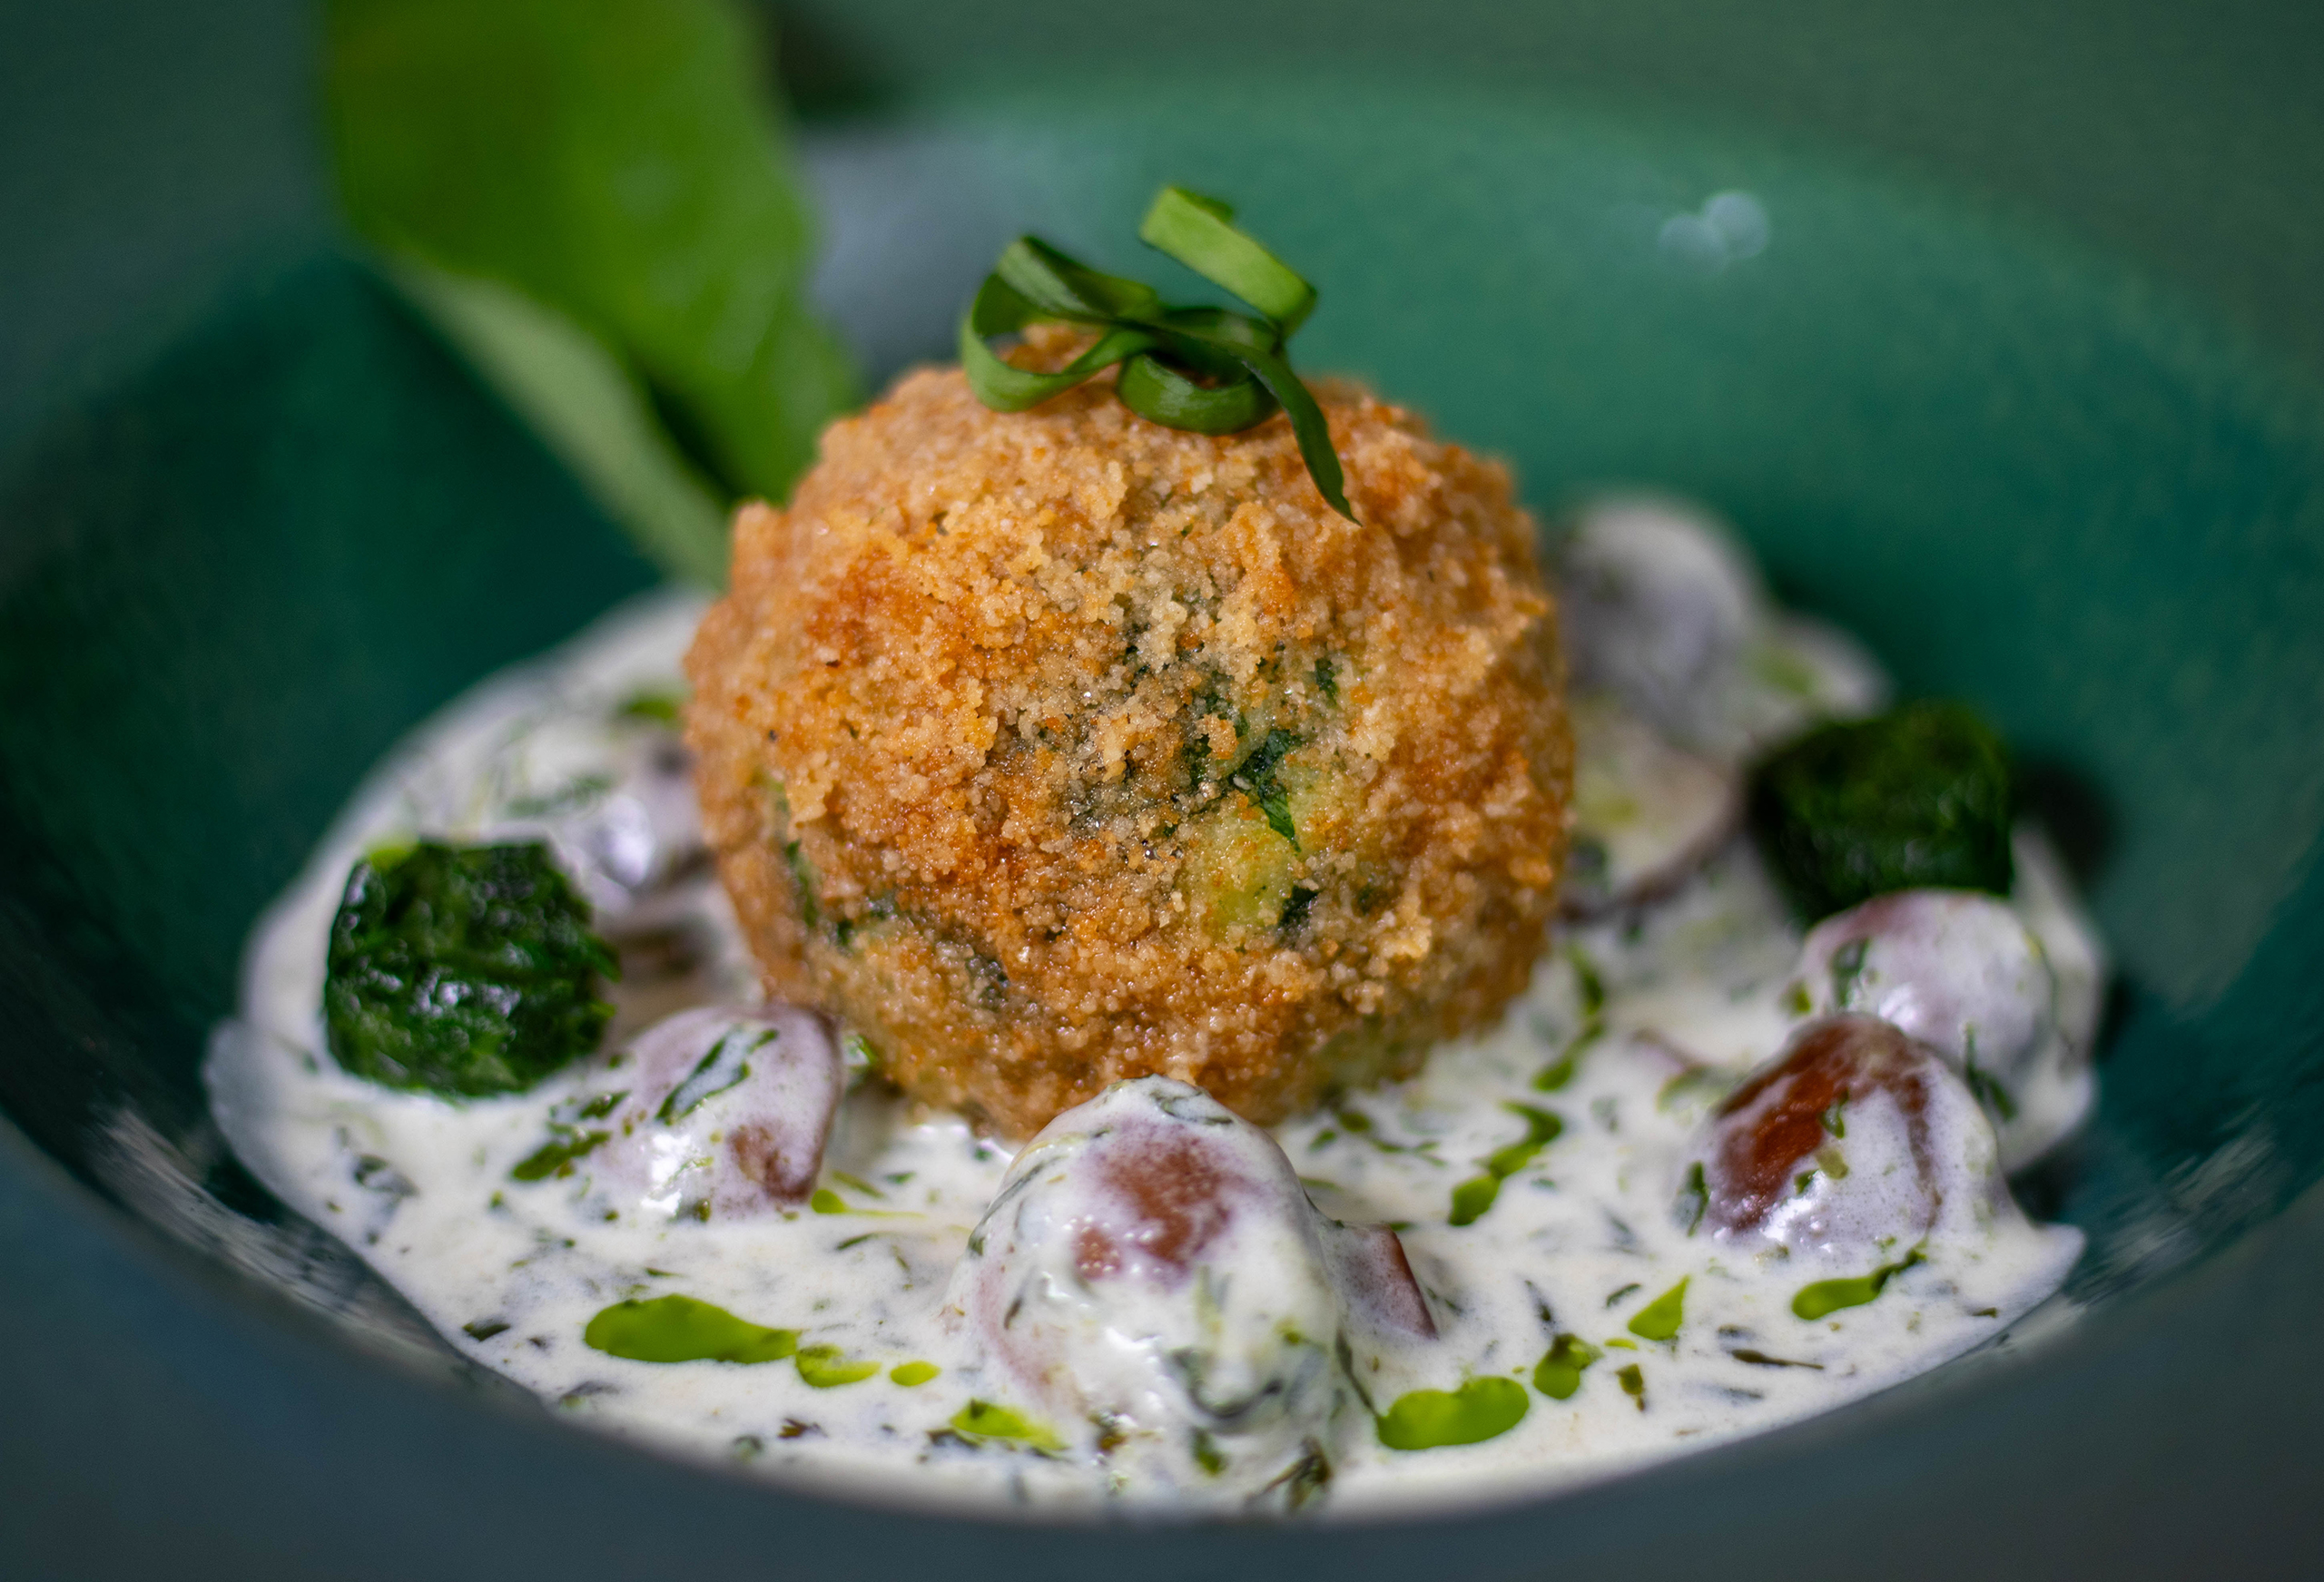
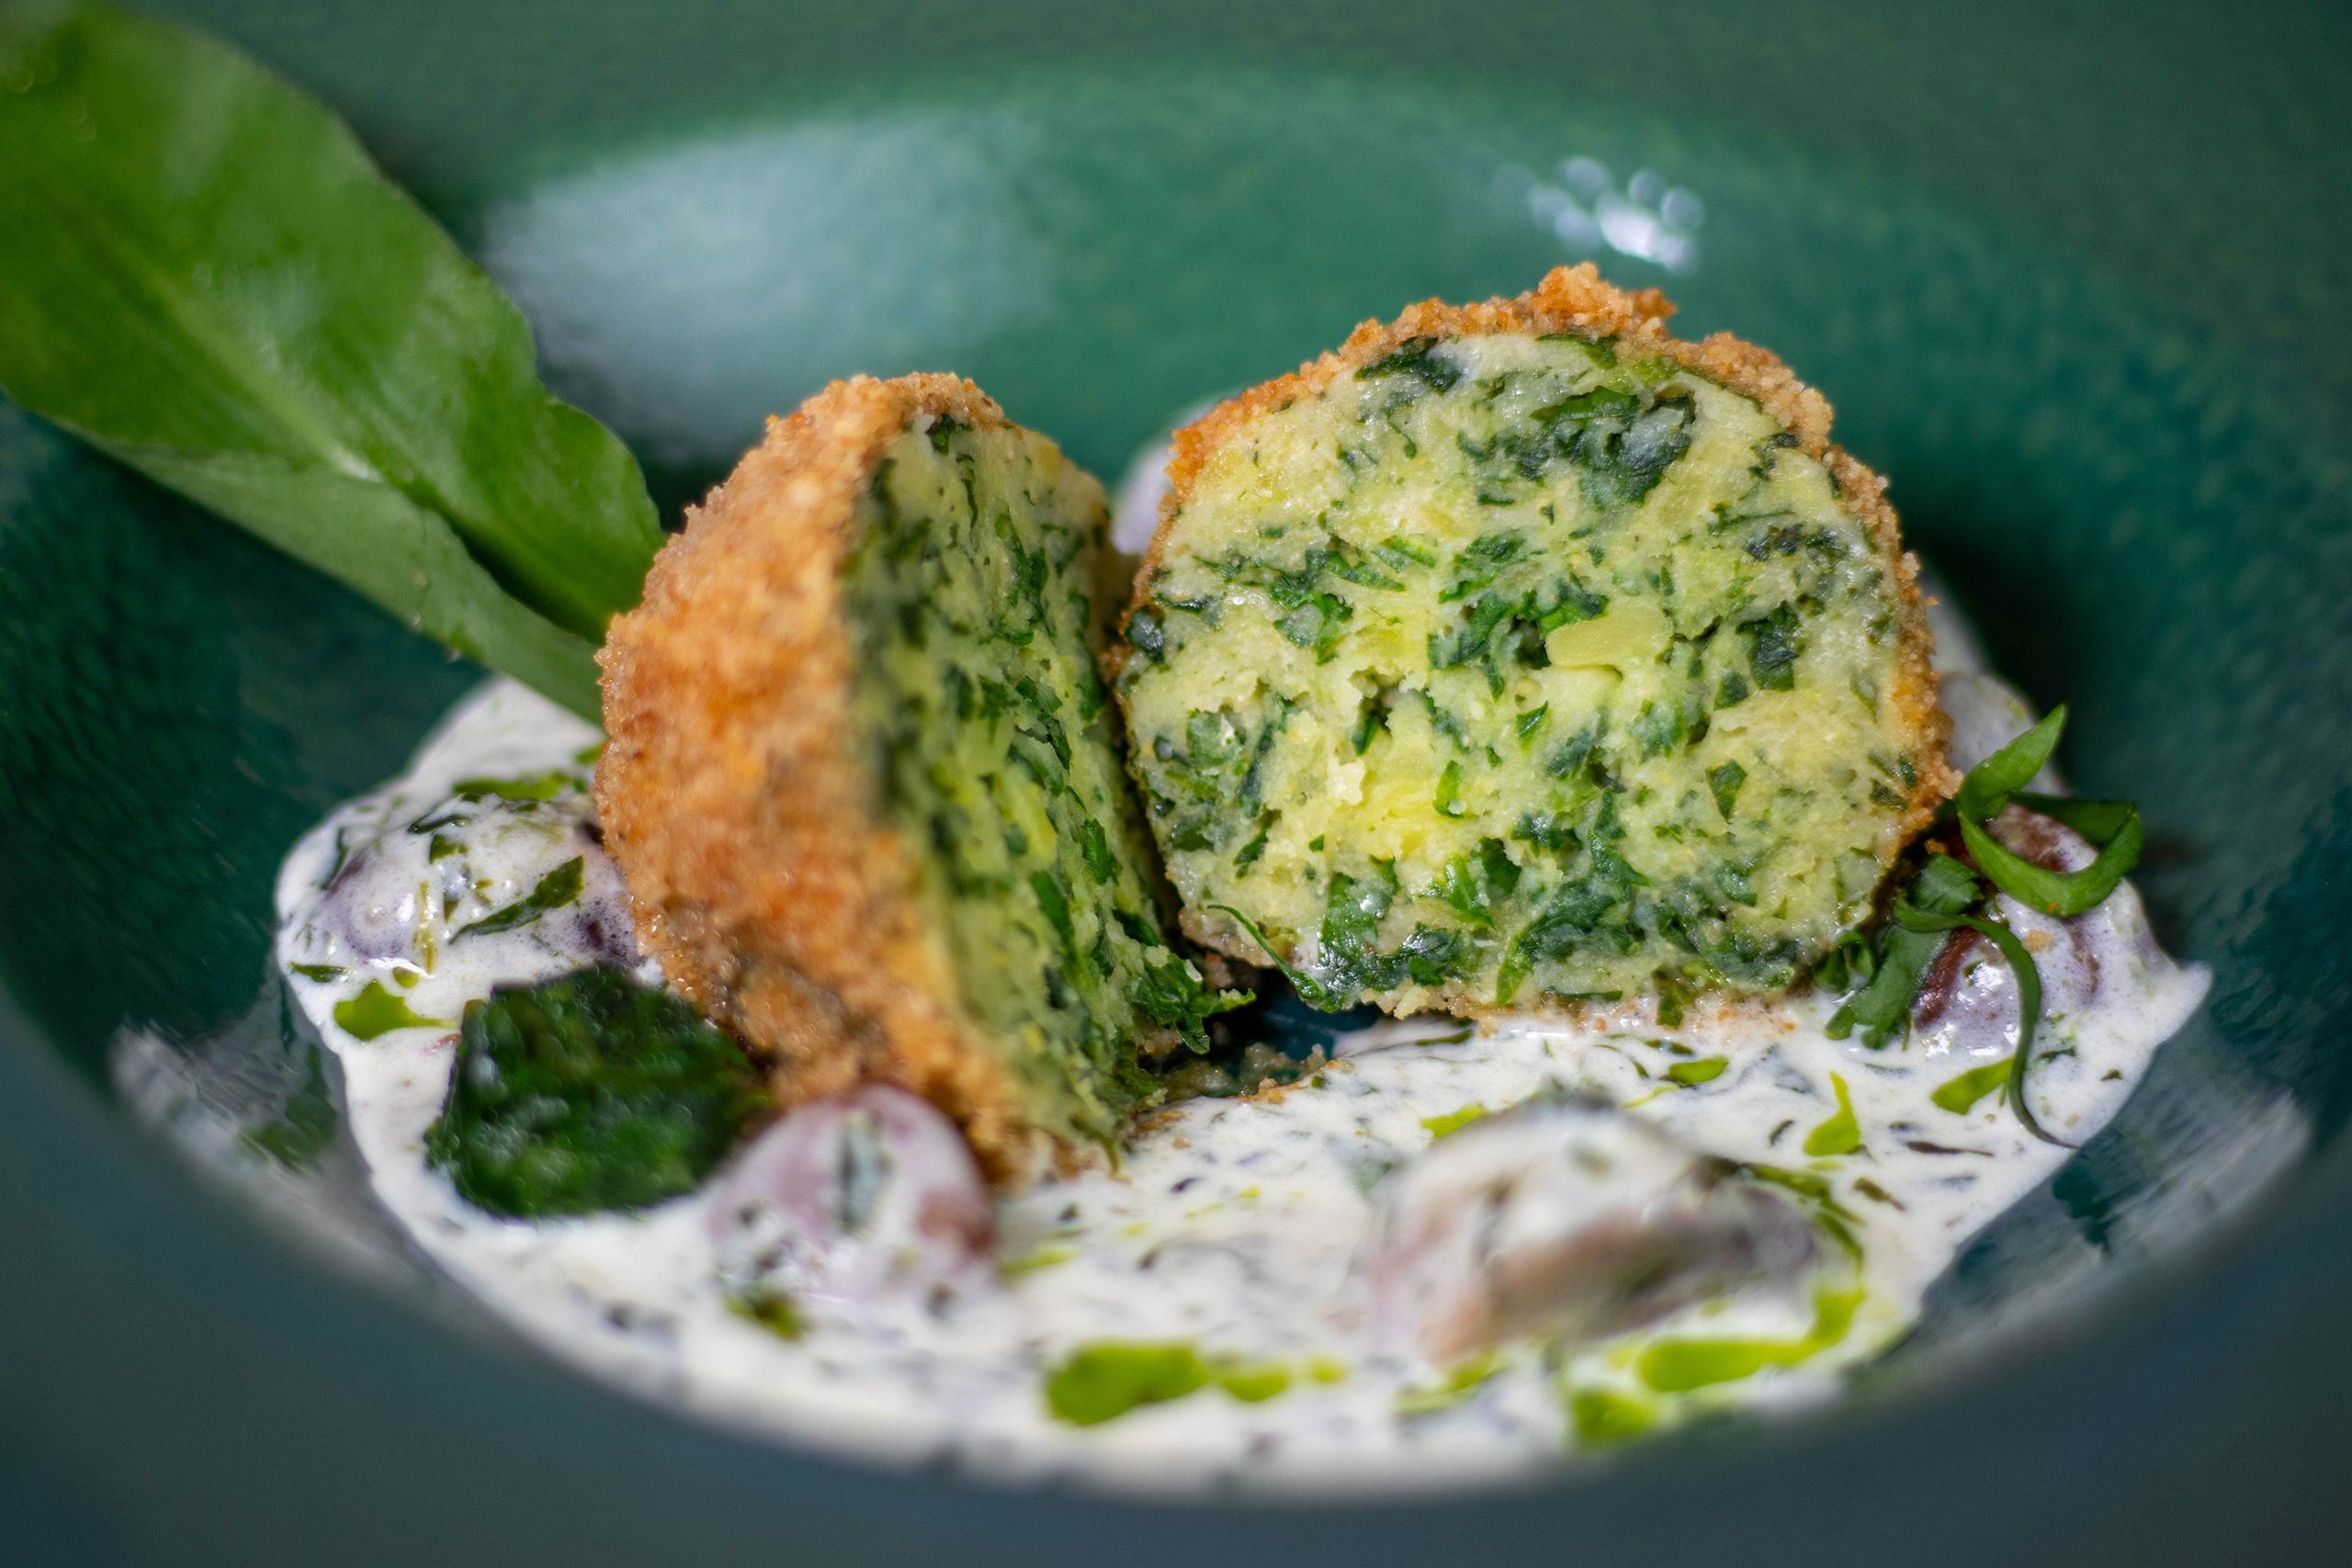
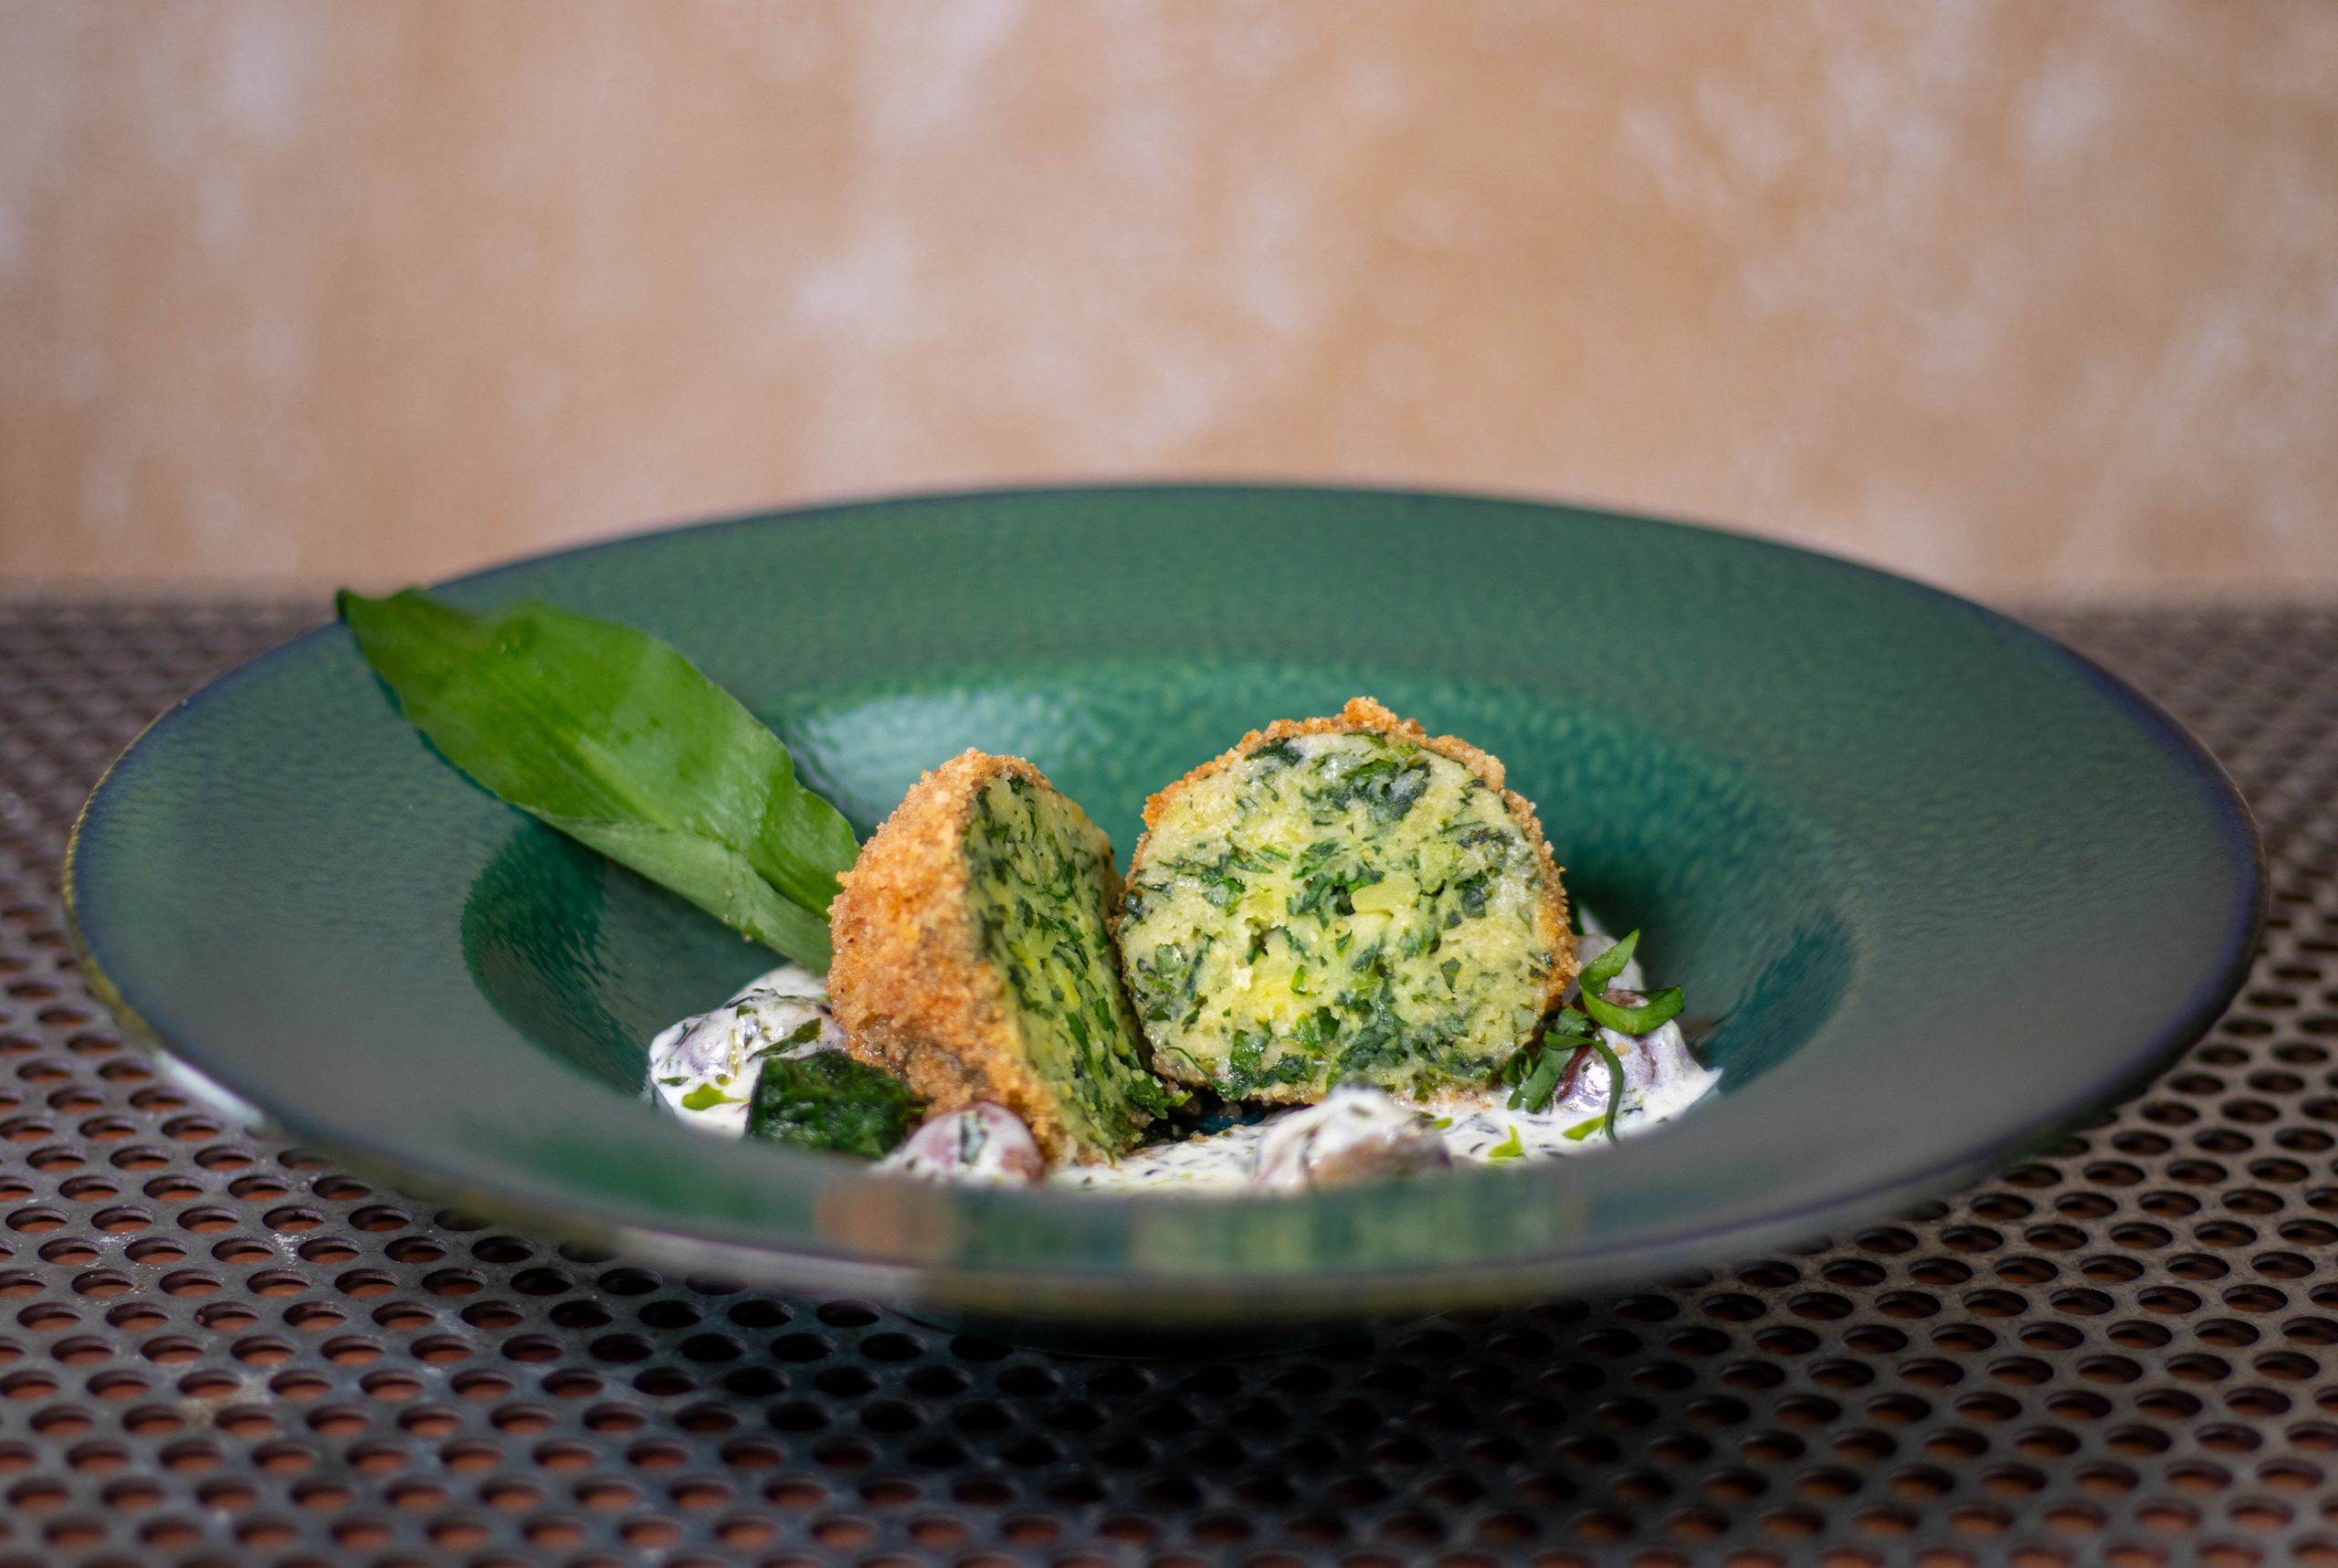
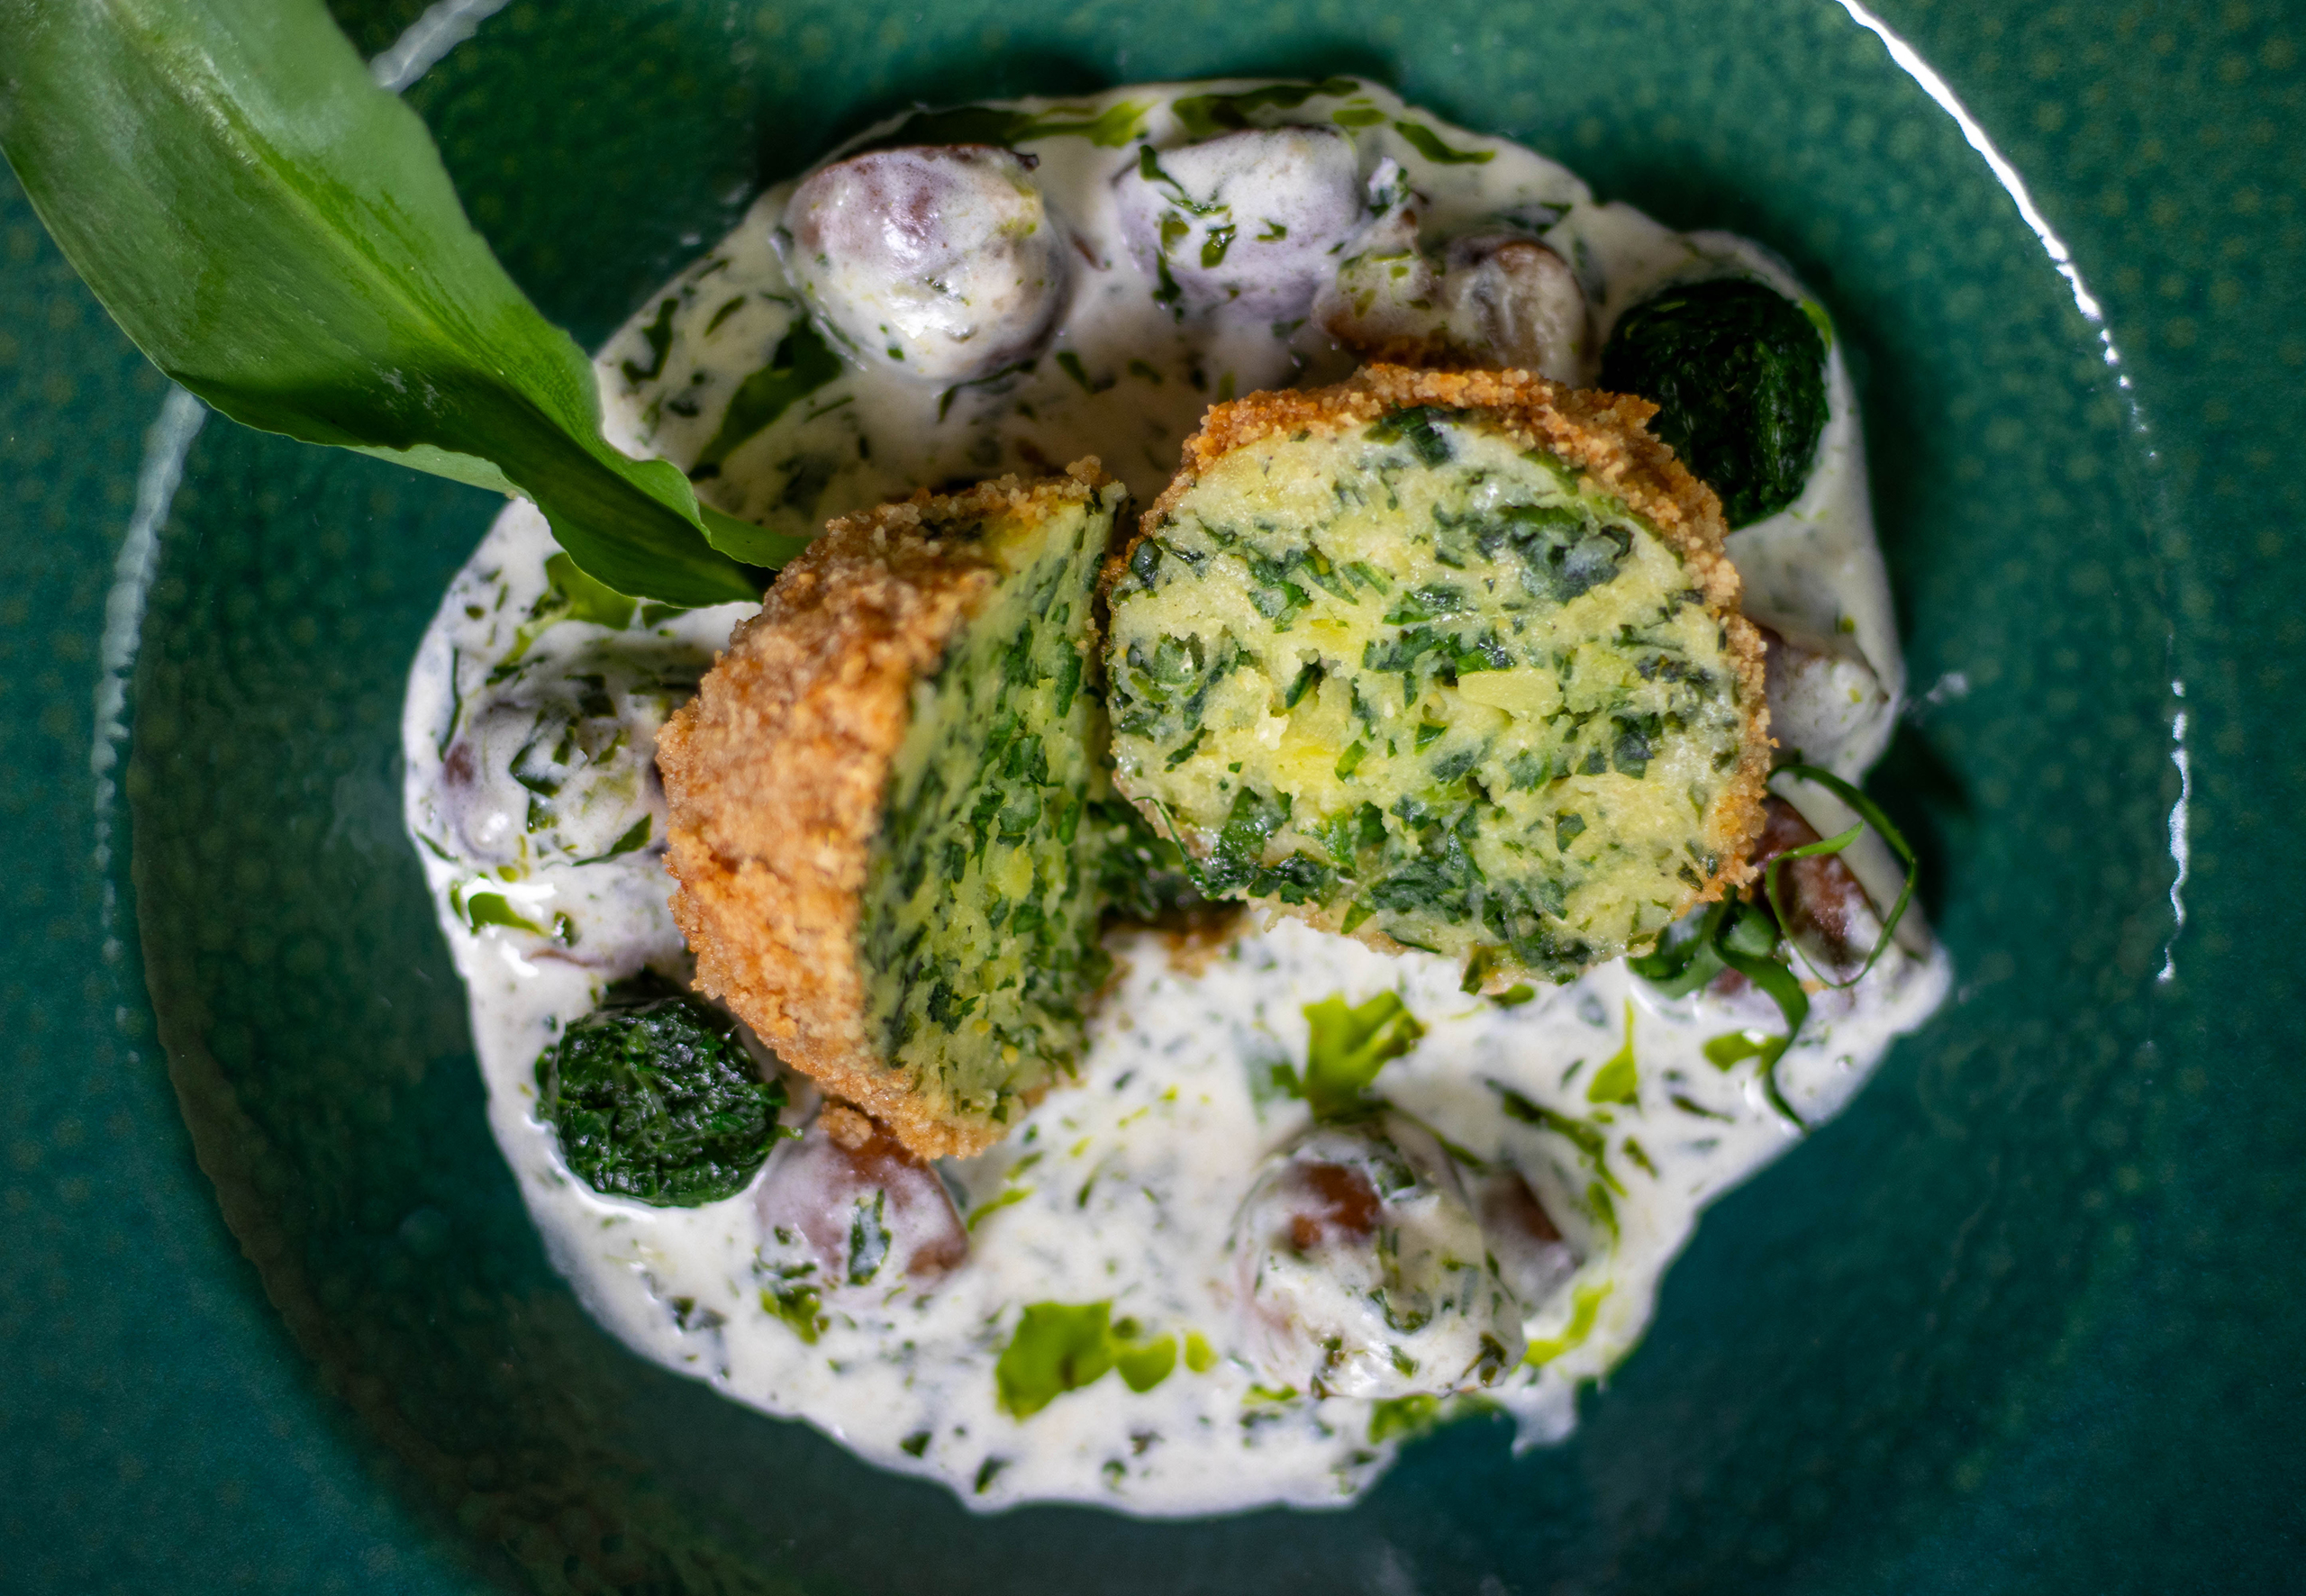
In the photos, you can see my German dumplings with wild garlic in a crispy coating on an aromatic, creamy mushroom and wild garlic cream sauce that I made from leftovers, like the pomace of my wild garlic oil. I’ll explain exactly how I made the sauce further down.
In the photos you can see my green wild garlic dumplings in a crispy coating on an aromatic, creamy mushroom and wild garlic cream sauce with wild garlic oil.
Potato dumplings with wild garlic in a crispy breadcrumb coating
My wild garlic dumplings are classic potato dumplings with wild garlic. But of course, they’re purely plant-based, like everything on Daily Vegan. The wild garlic treats the dumplings with a gorgeous green color, they look fresh, and they taste and smell incredibly aromatic. Wrapped in a crispy breadcrumb coating, which gives the dumplings a wonderful crunch. Comment at the table: “You can really taste that this is the first wild garlic of the spring. The aroma is just so wonderful!” I didn’t tell him that I’ve been eating wild garlic constantly for two weeks now, and that the wild garlic was already from my third harvest.
German potato dumplings with wild garlic in a crispy breadcrumb coating.
The crispy coating of the wild garlic dumplings is optional.
Of course, a crispy coating is incredibly delicious, but the crumbly butter coating doesn’t suit all dishes. You can, of course, make this dumpling recipe without the crispy coating; then you’ll have beautiful, green potato dumplings with the robust aroma of fresh wild garlic.
The crispy coating on the dumplings is optional. Without it, you’ll have plain wild garlic dumplings, which are still very, very delicious.
What do wild garlic dumplings go well with?
These aromatic German dumplings in a crispy coating are an excellent side dish for many savory dishes. They’re a wonderful green surprise, especially for hearty vegan meat dishes. They perfectly round off a meal.
Here are some recipes that go well with wild garlic dumplings in a crispy coating:
Wild garlic dumplings in a crispy coating are an excellent side dish to many hearty dishes.
Vegan German dumplings made easy and guaranteed to succeed
Dumpling dough without eggs? A lot of people think, that means that the dumplings would fall apart or become mushy when cooked. But, with my recipe, vegan German dumplings turn out just the way you love them. With the perfect soft, yet firm texture that a truly good Knödel (dumpling) needs. Combined with the crispy coating of breadcrumbs fried in vegan butter and the spice of wild garlic: a dream!
And the best part: vegan dumplings are incredibly easy to make. My dumpling dough for these wild garlic dumplings is based on German potato dumplings.
Vegan German dumplings made easy and guaranteed to succeed.
The sauce you see underneath the dumplings is a delicious way to use up leftovers.
My mushroom and wild garlic cream sauce underneath the dumplings in the photos fits well with my preference for zero-waste cooking.
The sauce in the photos is a way to use up leftovers, as I don’t like throwing away food. It’s incredibly easy to make. And if you’re planning on making my green wild garlic oil, I recommend you prepare this sauce afterward.
I had a few mushrooms left over, so I quartered them. While the dumplings were cooking in the water, I fried the mushrooms in a little oil. Then I added the flour from the wooden board where the dumplings were resting. I briefly continued to sauté the mushrooms in it, which gave me a nice, creamy sauce.
I then deglazed the pan with a little leftover white wine and stirred in vegan cream. Since I still had the wild garlic promace from my green wild garlic oil, I added that to the sauce as well.
Finally, I simply seasoned the sauce with salt and pepper. And when serving, I drizzled a little wild garlic oil on top.
That’s how easy it was to make a fantastic sauce for my wild garlic dumplings using just leftovers and vegan cream.
The sauce you see under the dumpling is a delicious way to use up leftovers
Show me your wild garlic dumplings
Please follow me on Instagram or Facebook. And I’d love it if you made my German dumplings with wild garlic recipe and posted a photo of it, tagging my account. Because I always find it really fun and exciting to see how my recipes are prepared in other kitchens!
The aroma of freshly picked wild garlic combined with traditional potato dumplings.
Wild garlic dumplings in a crispy coating: Preparation in pictures
Here you can see the entire preparation and cooking process for the German dumplings with wild garlic. Afterwards I’ll continue with the written recipe.
Shaping and cooking the dumplings:
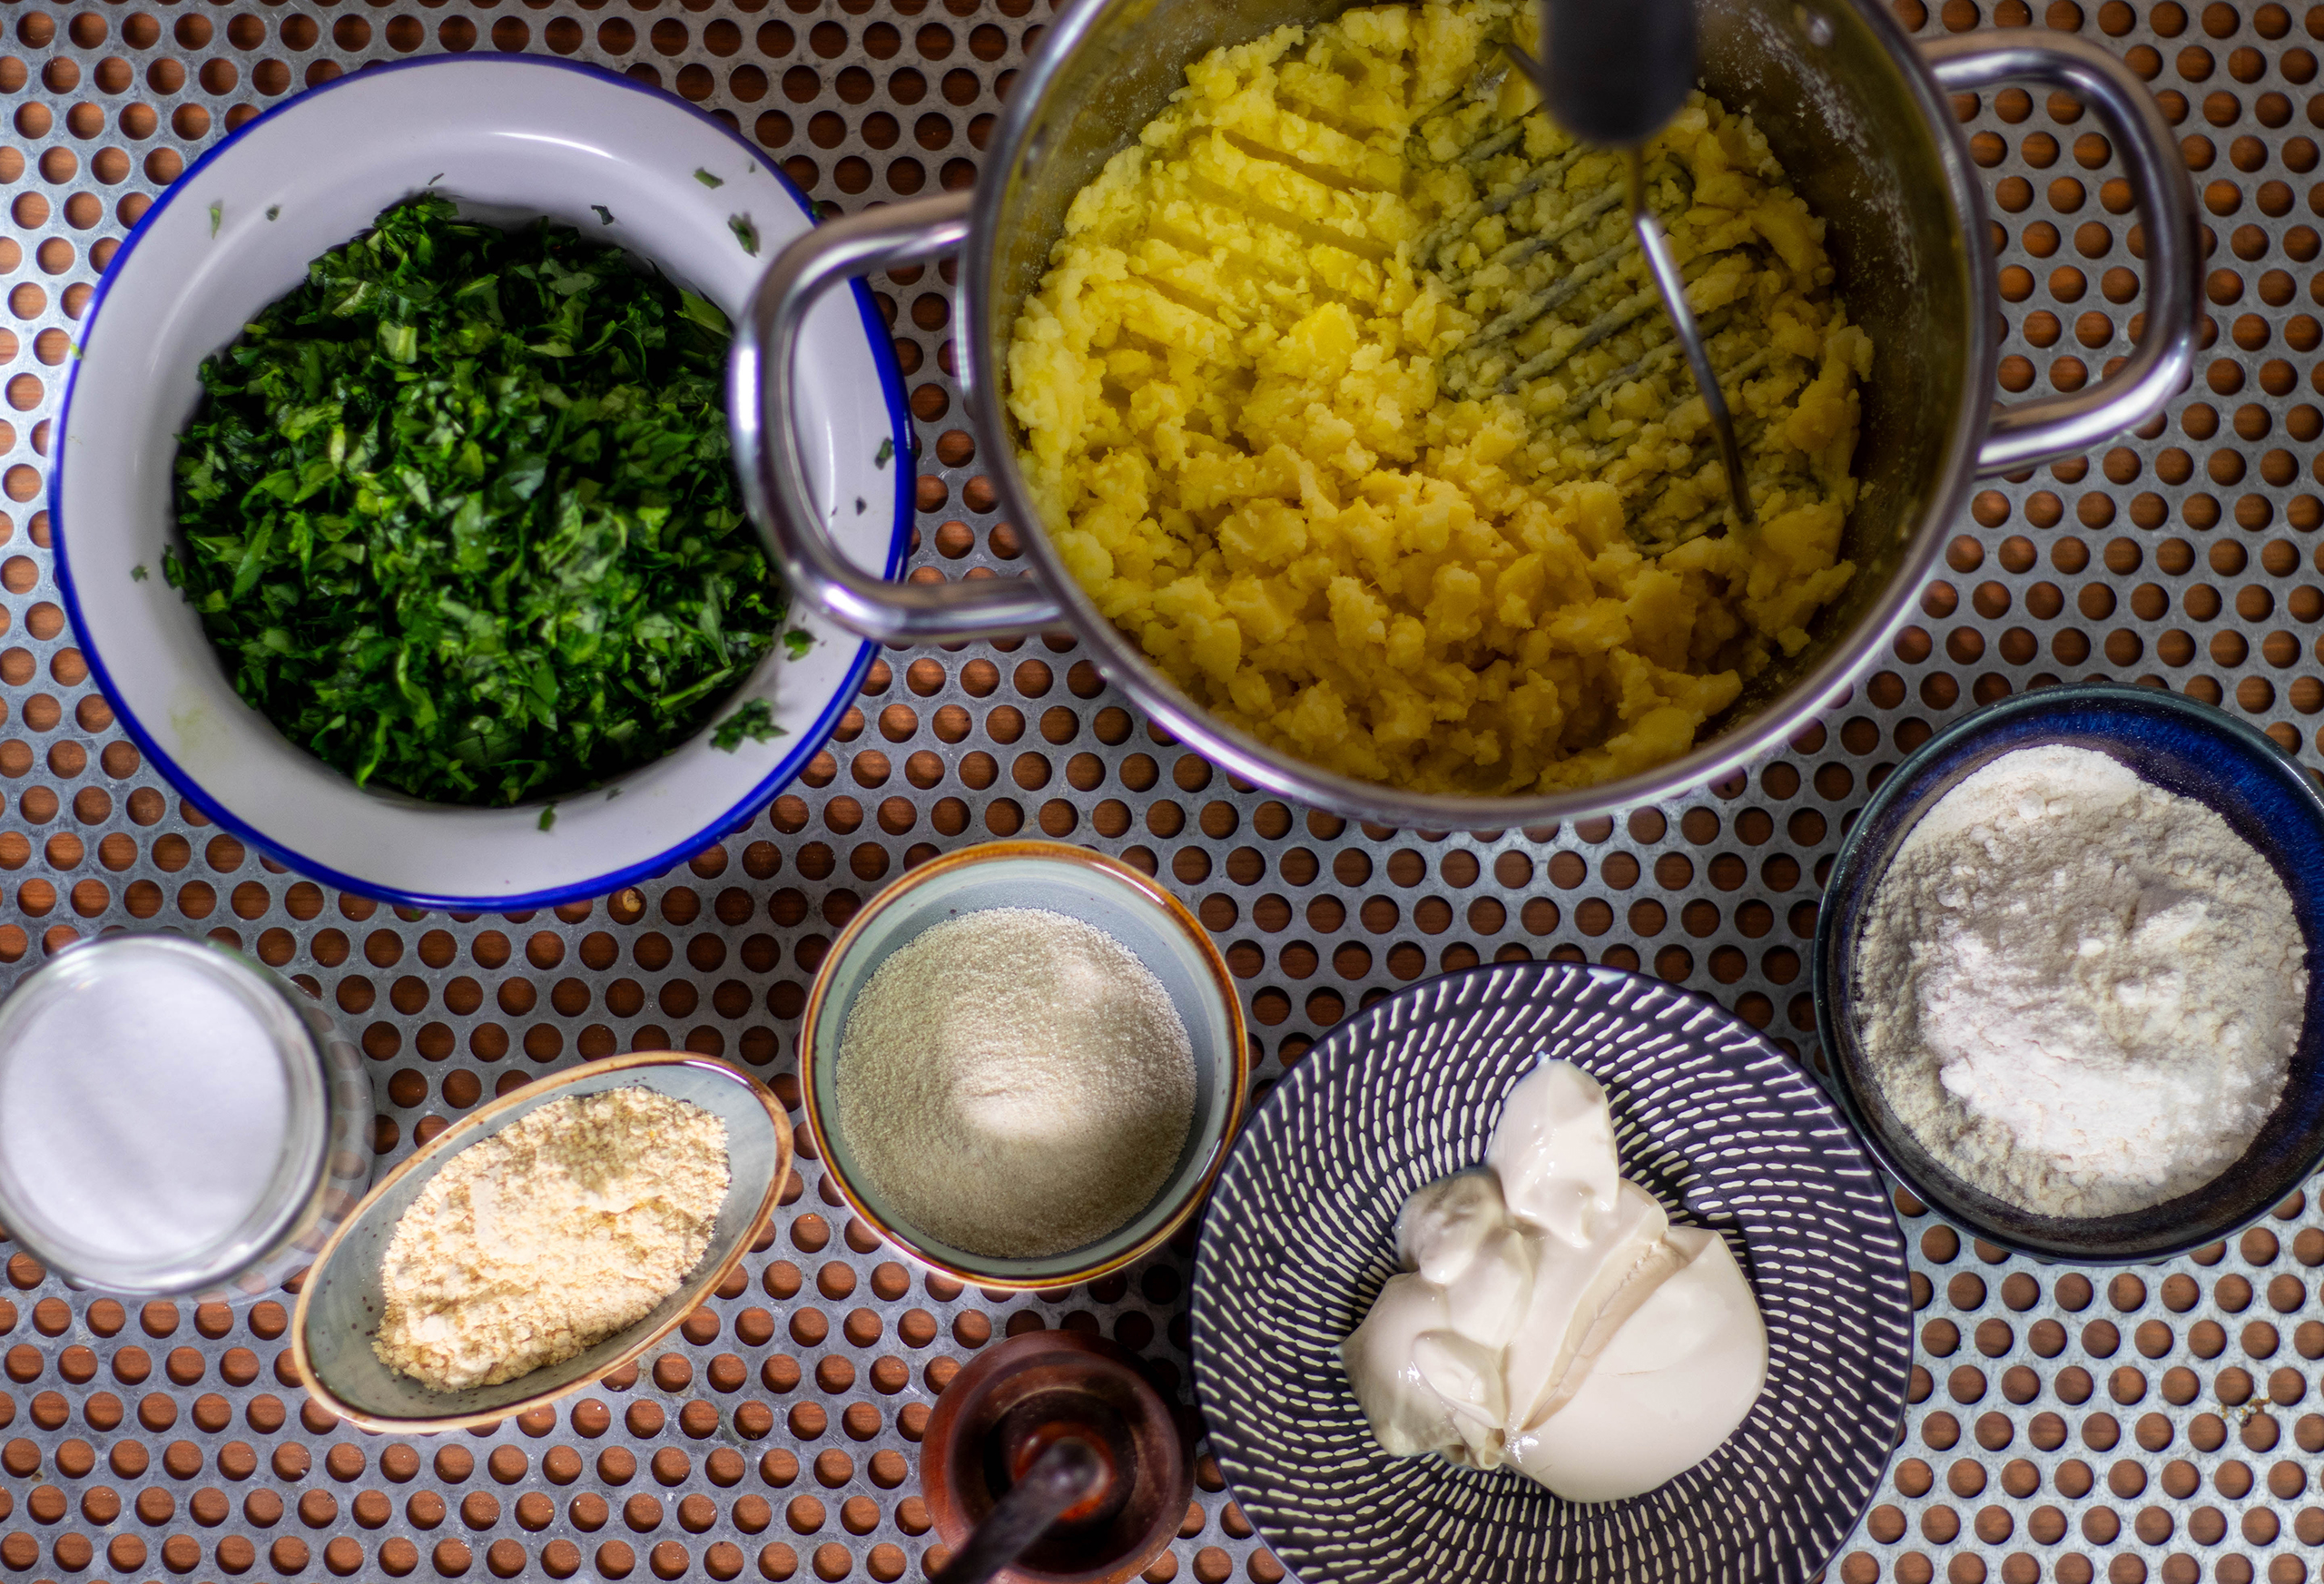
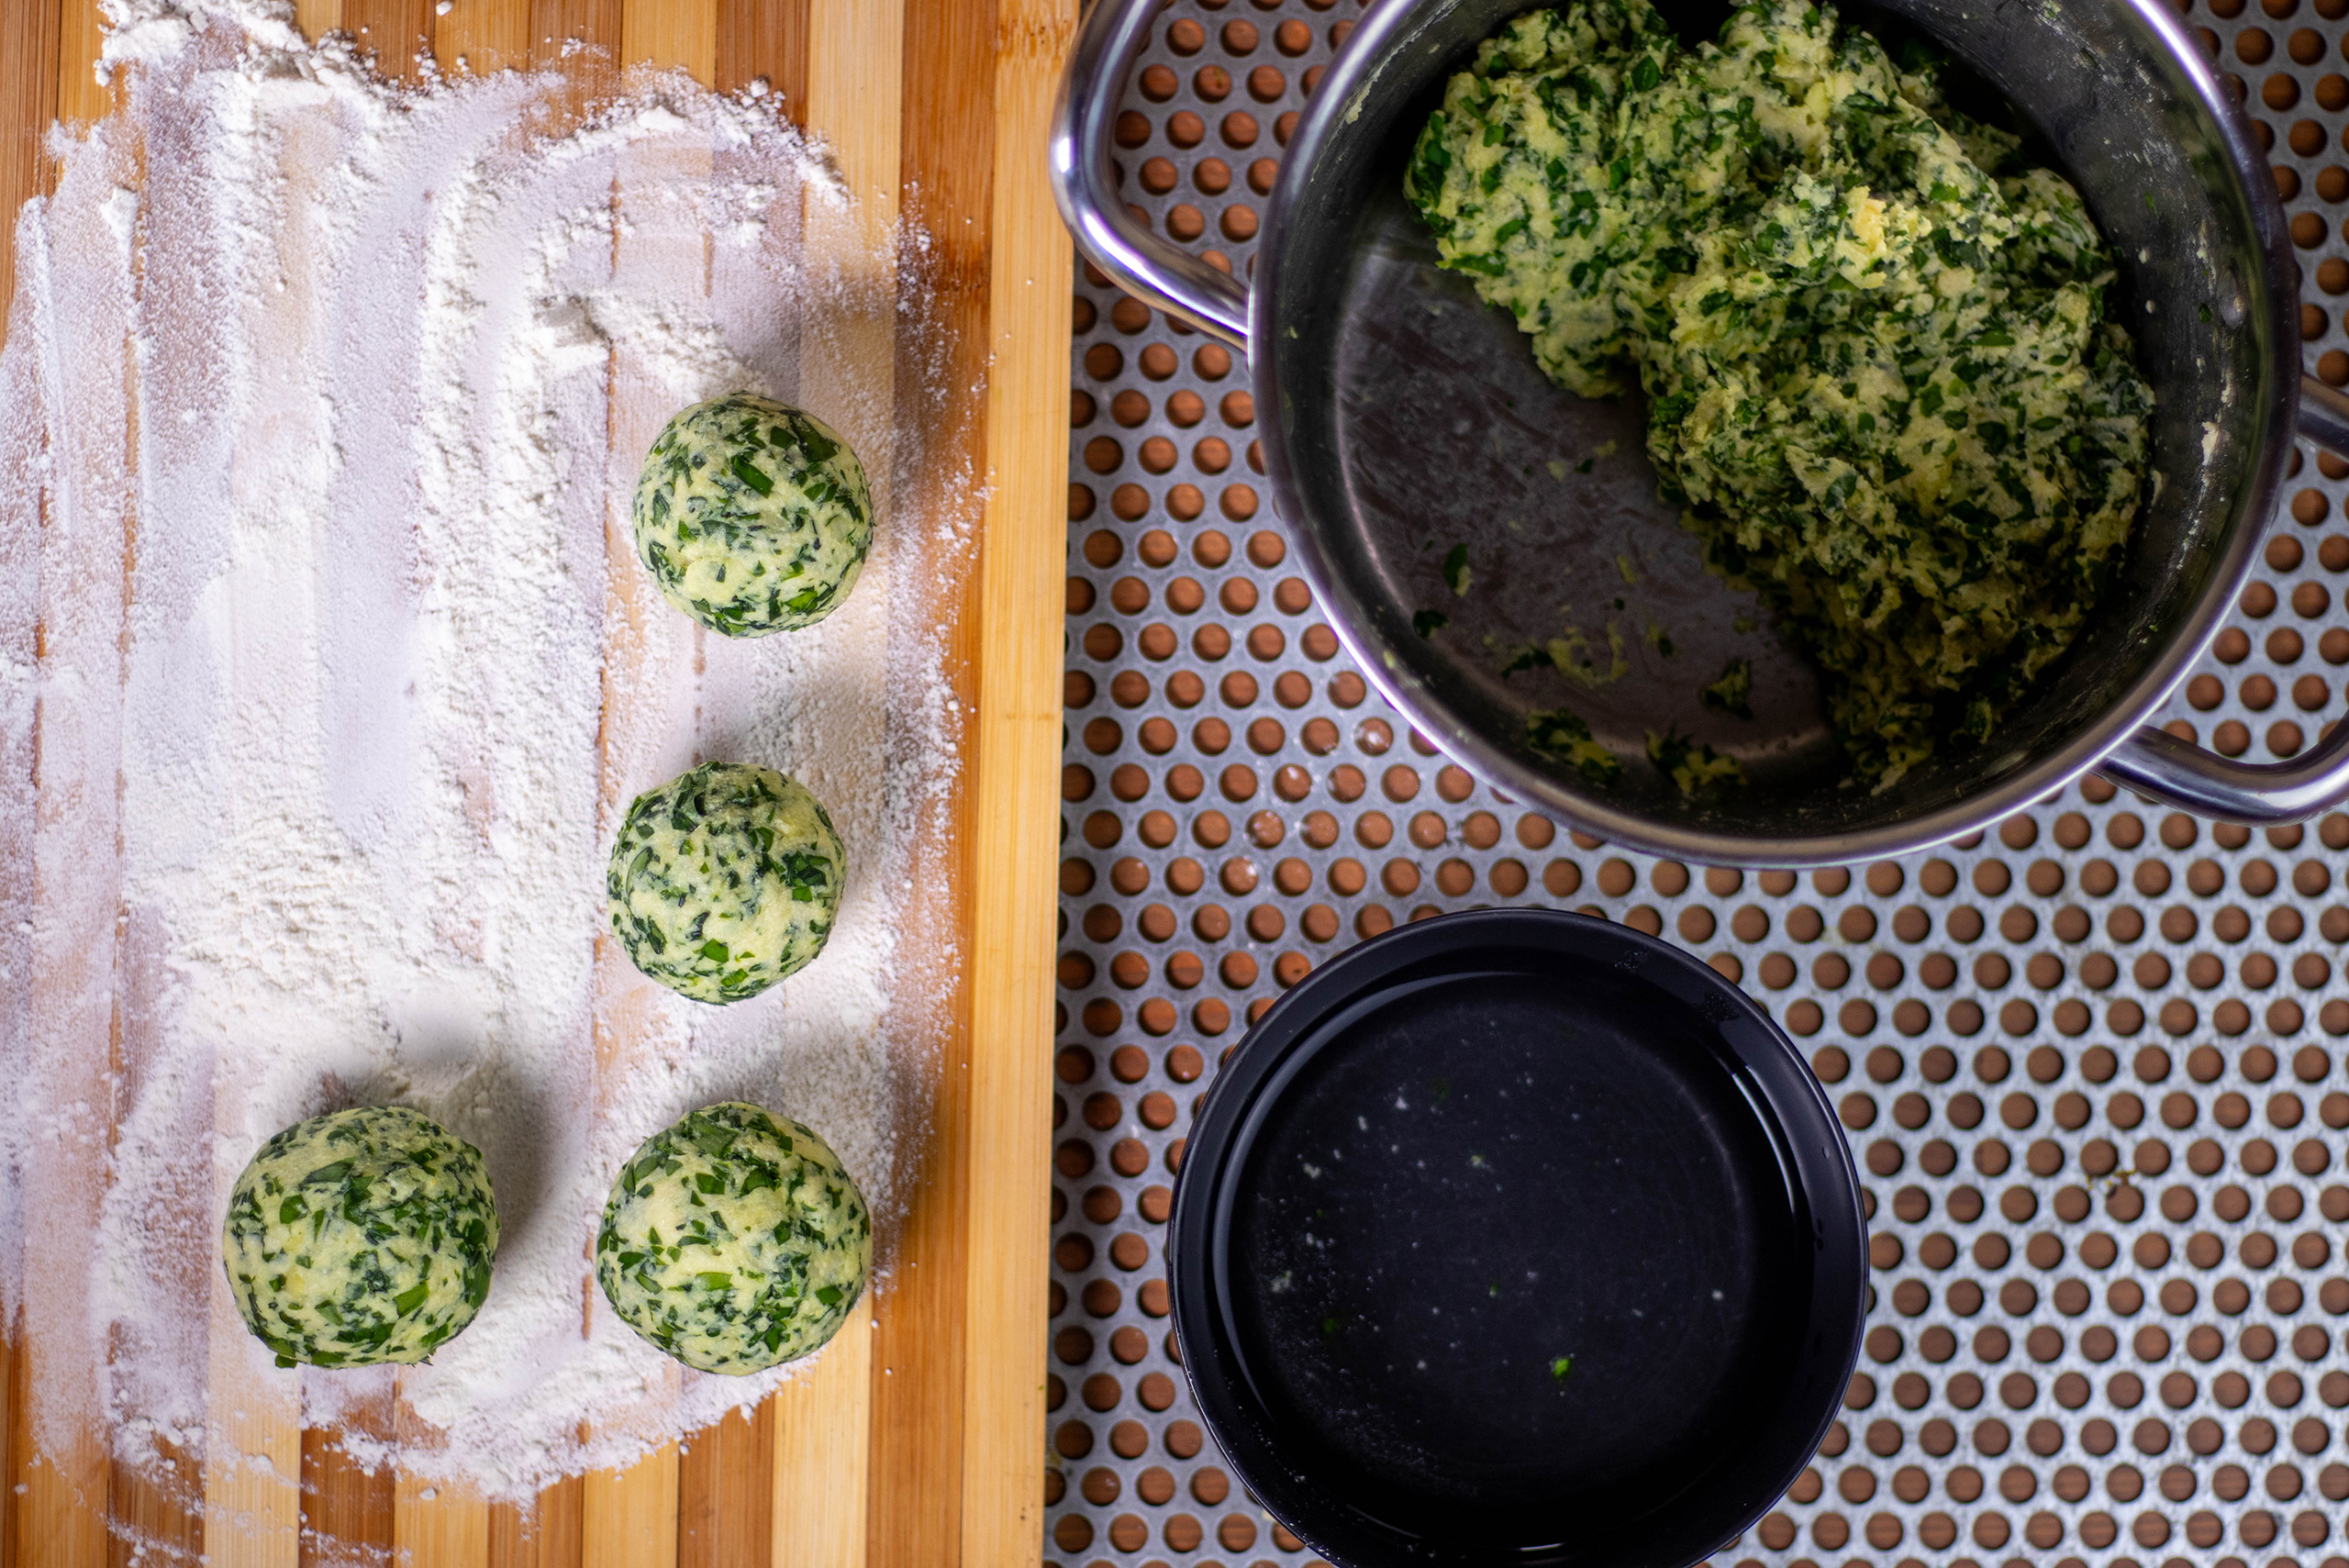
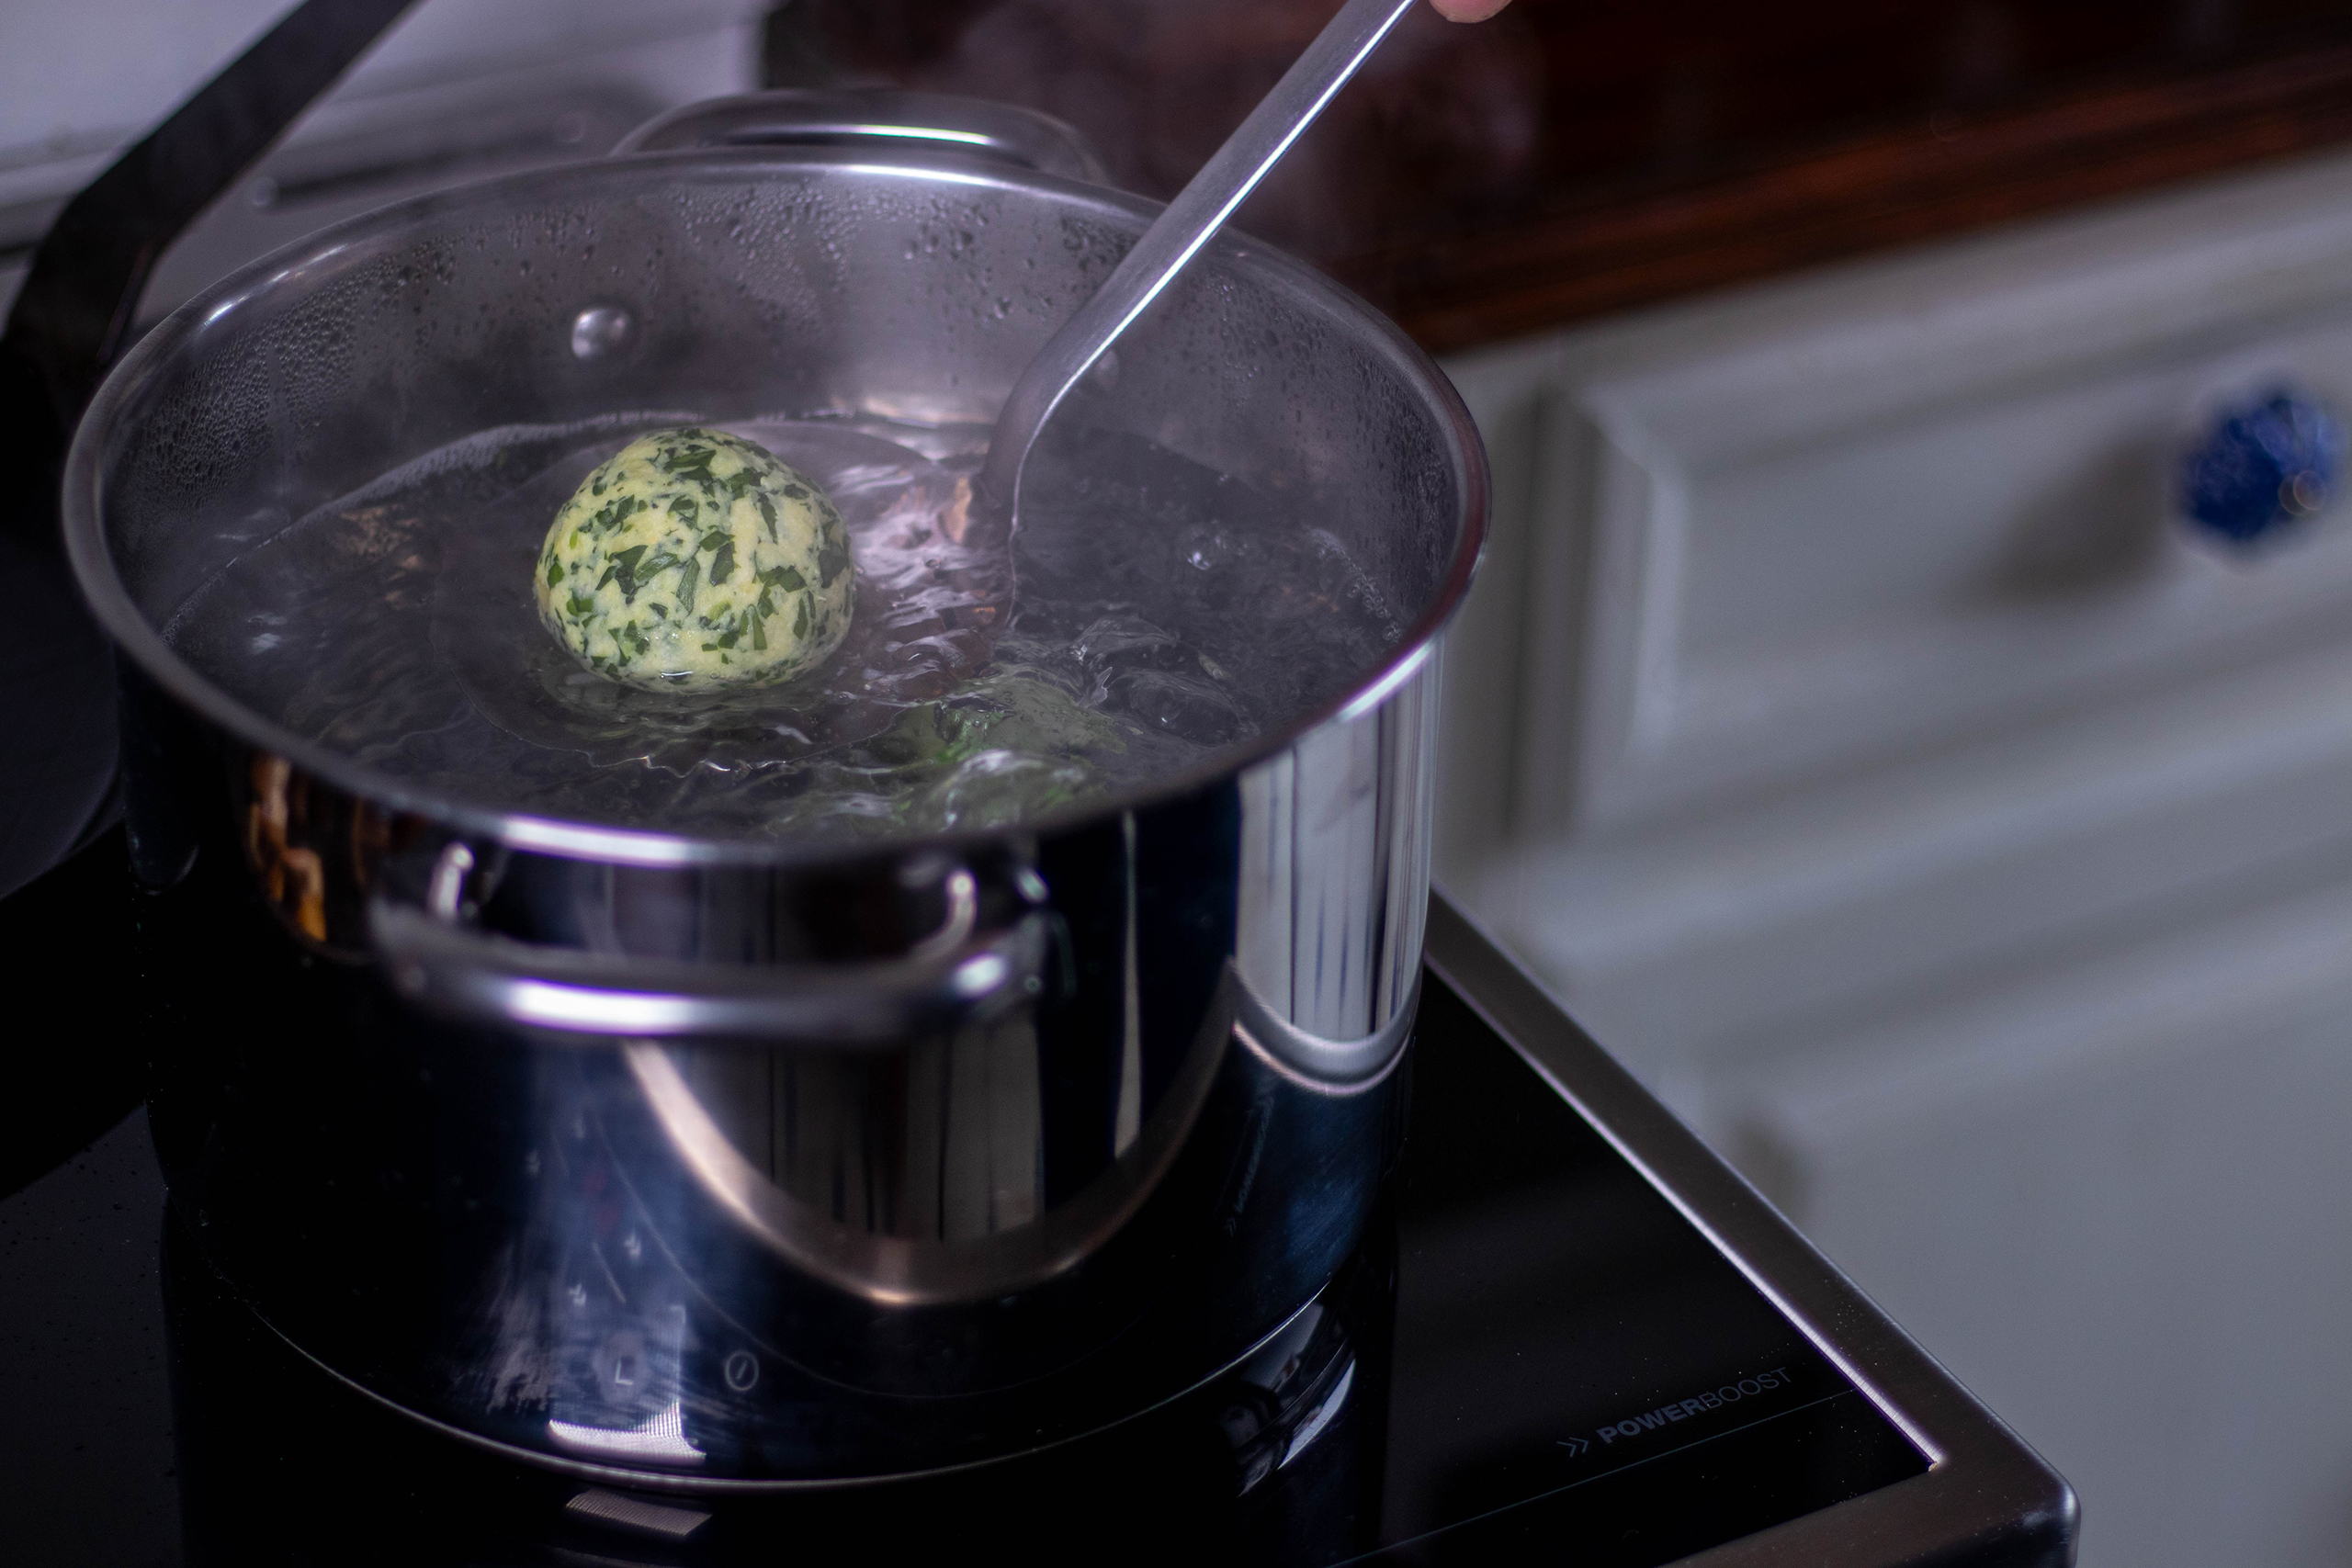
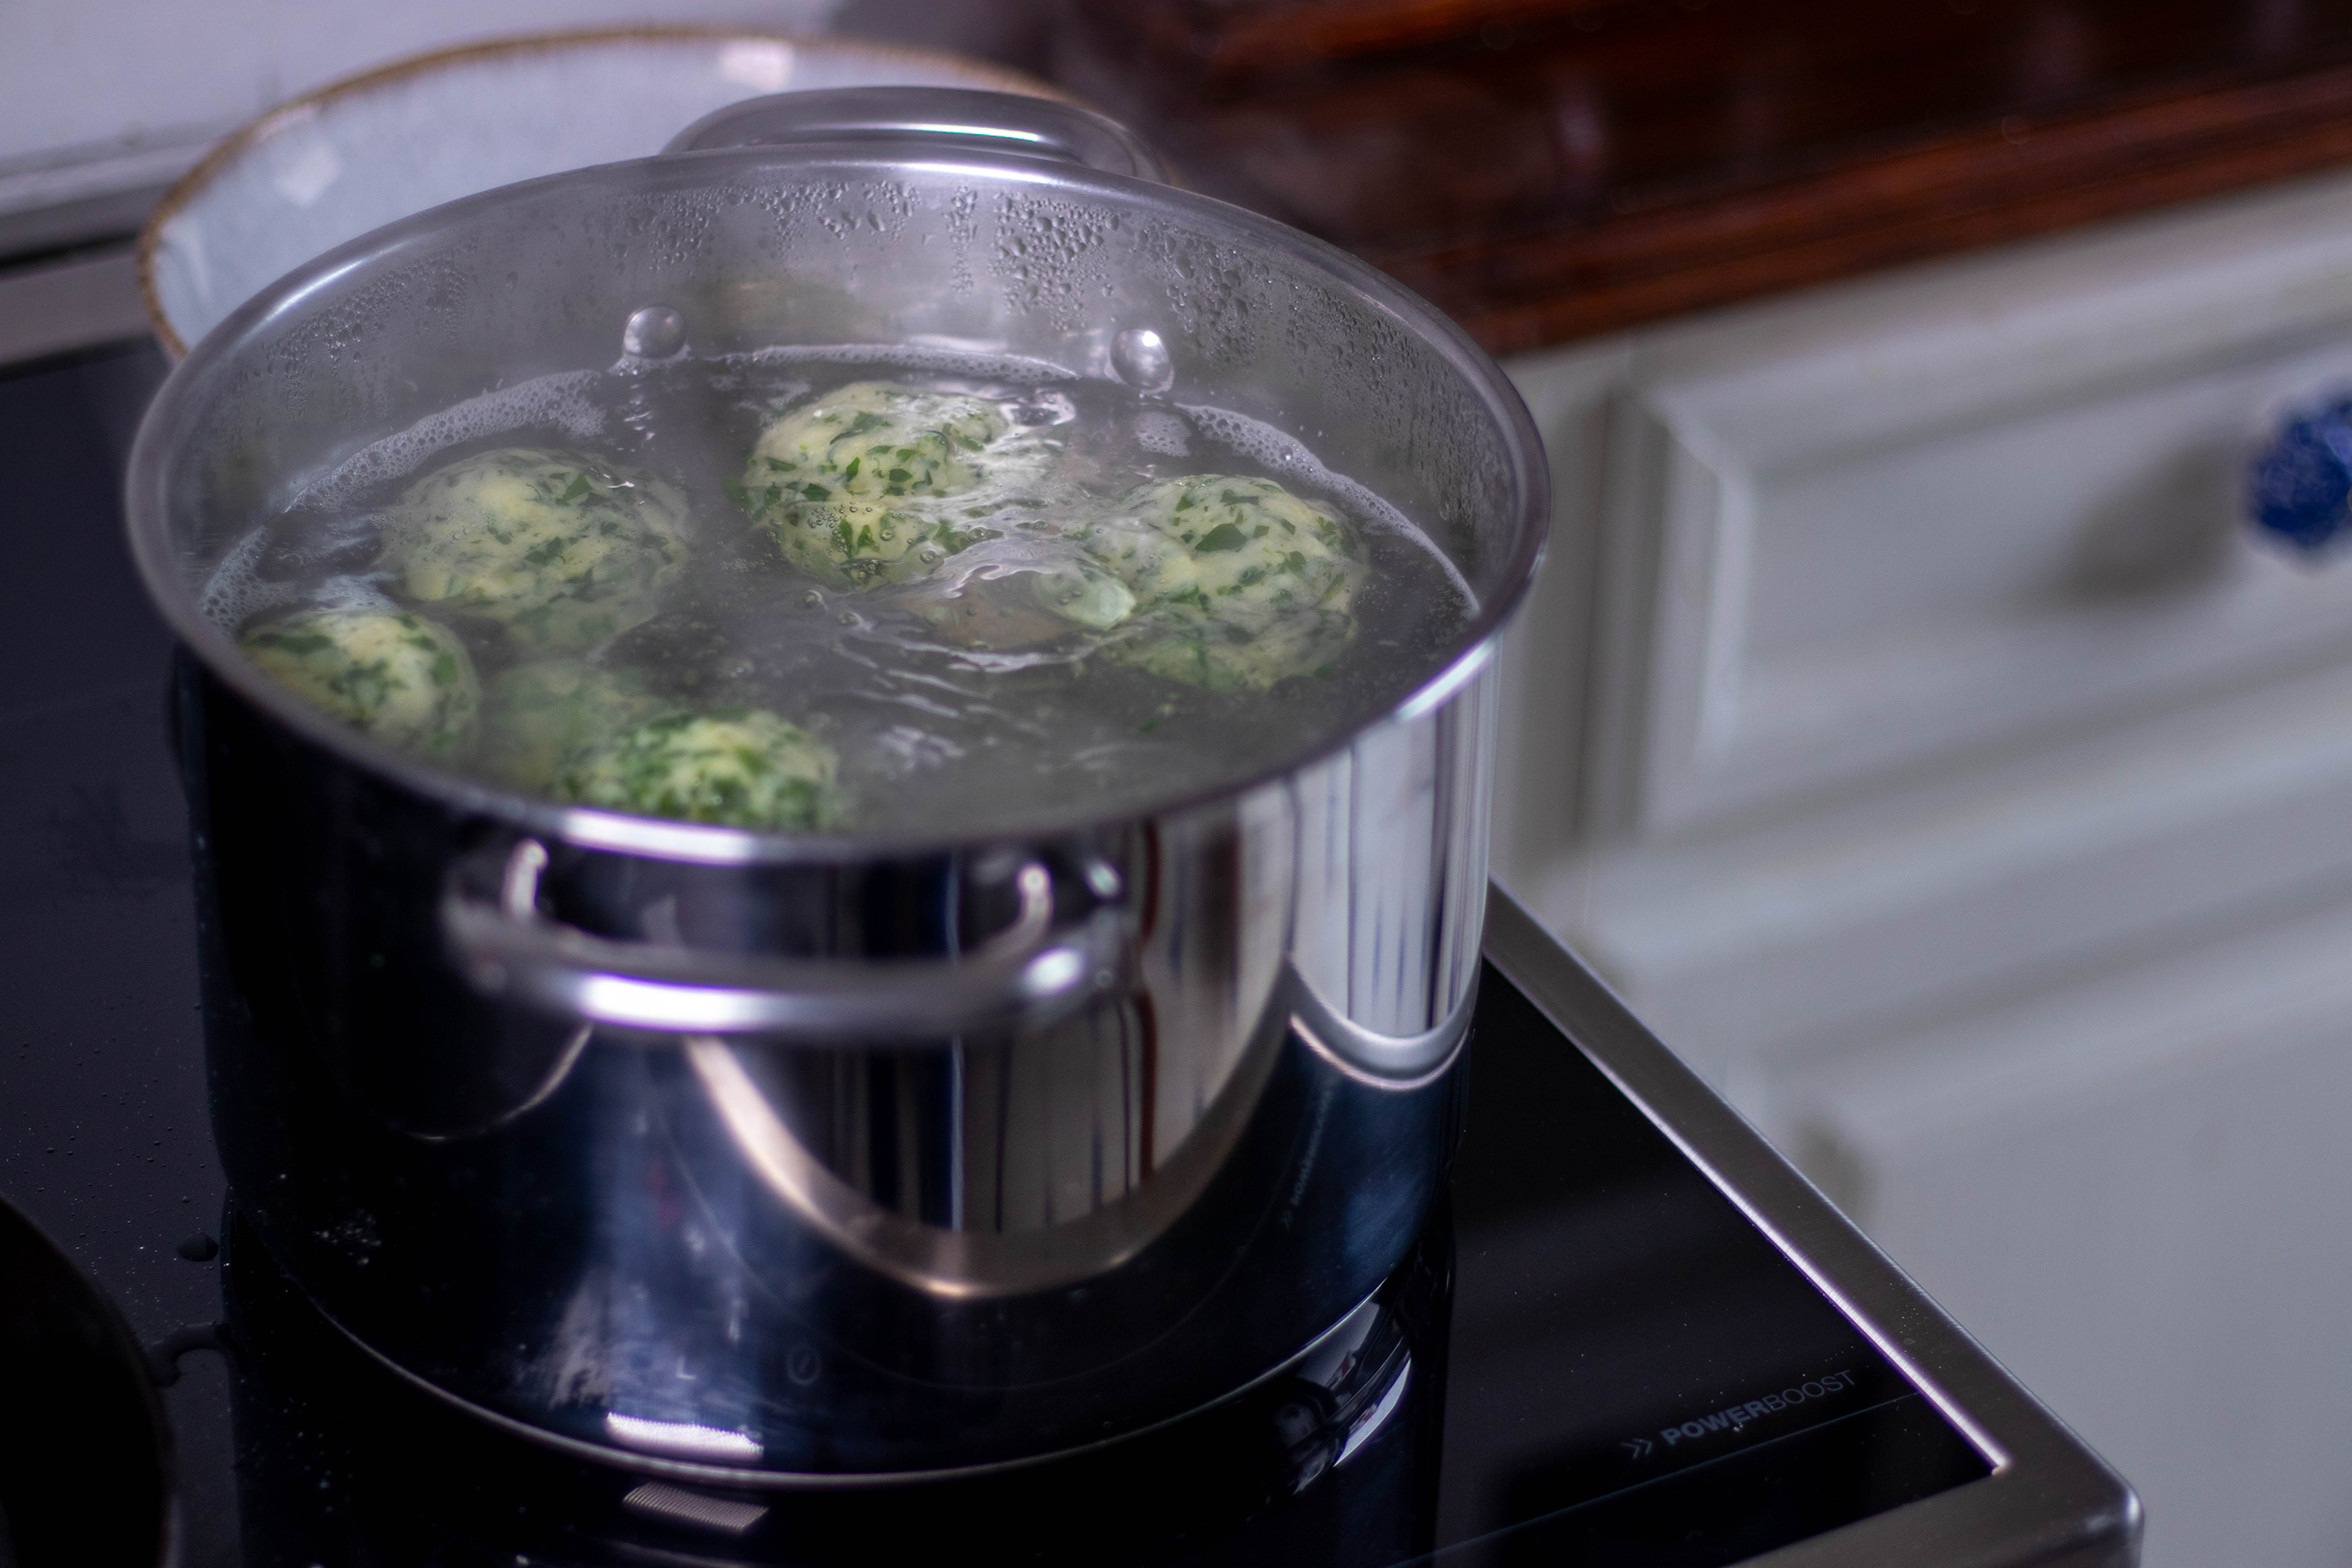
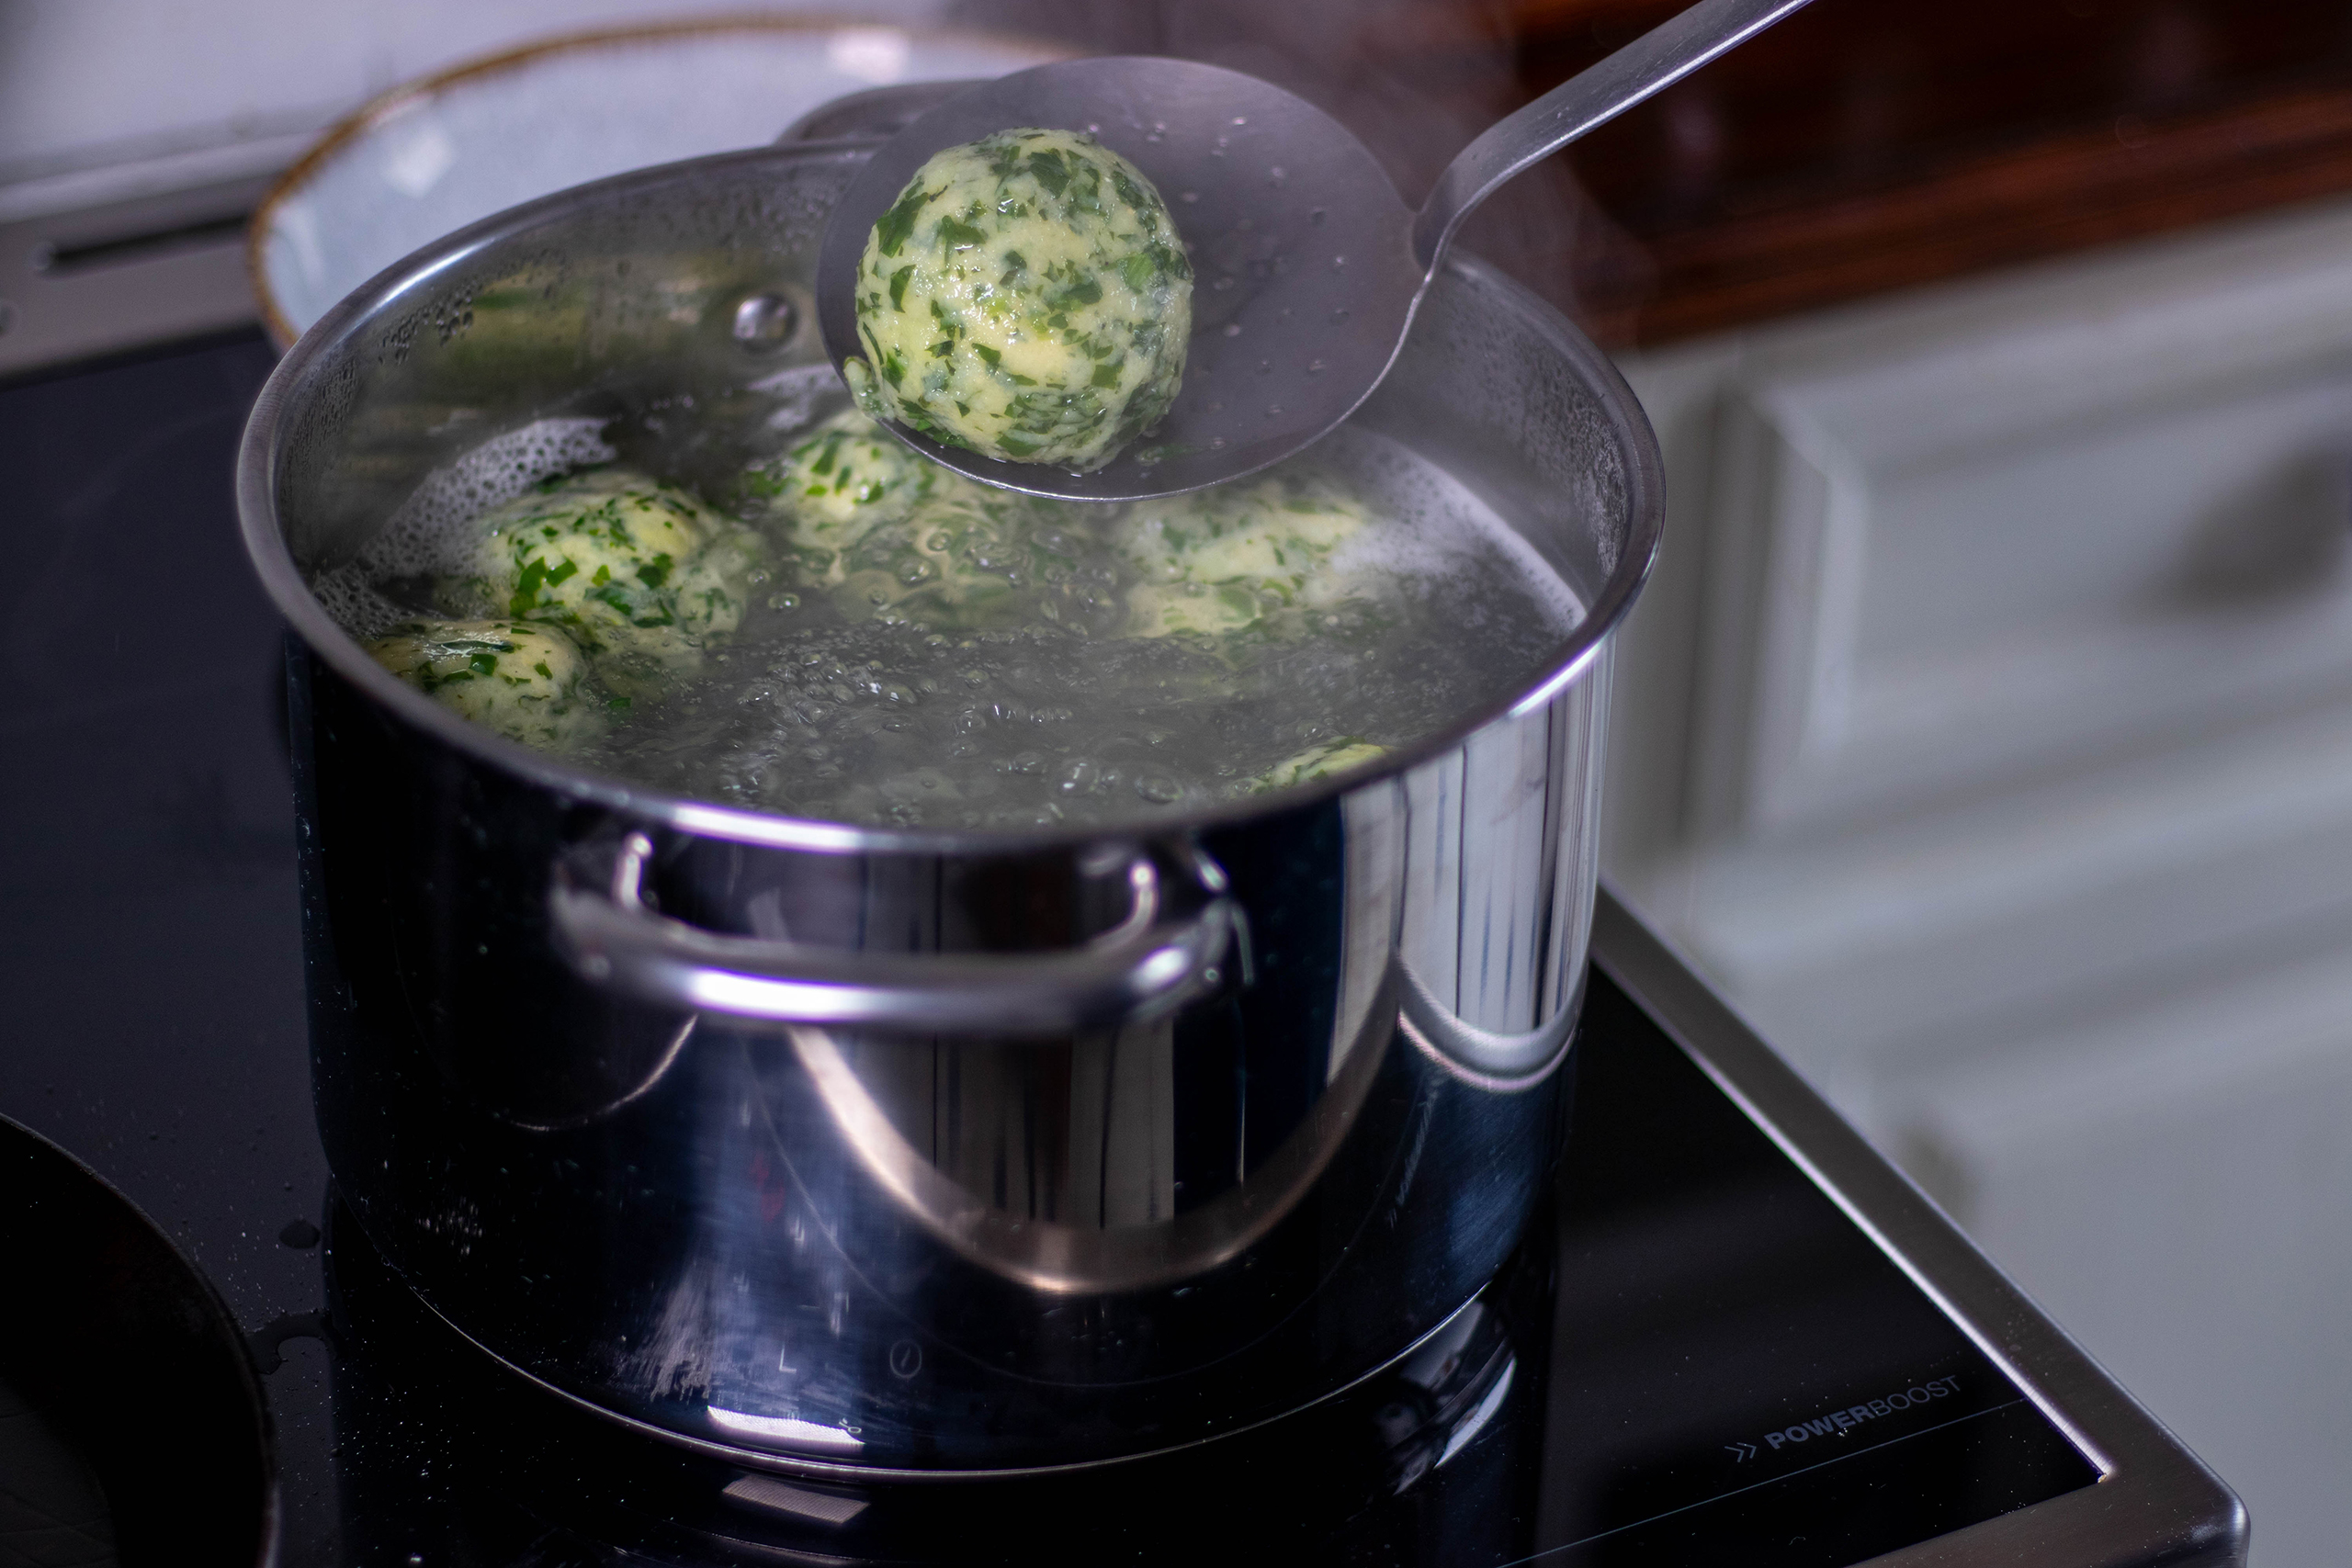
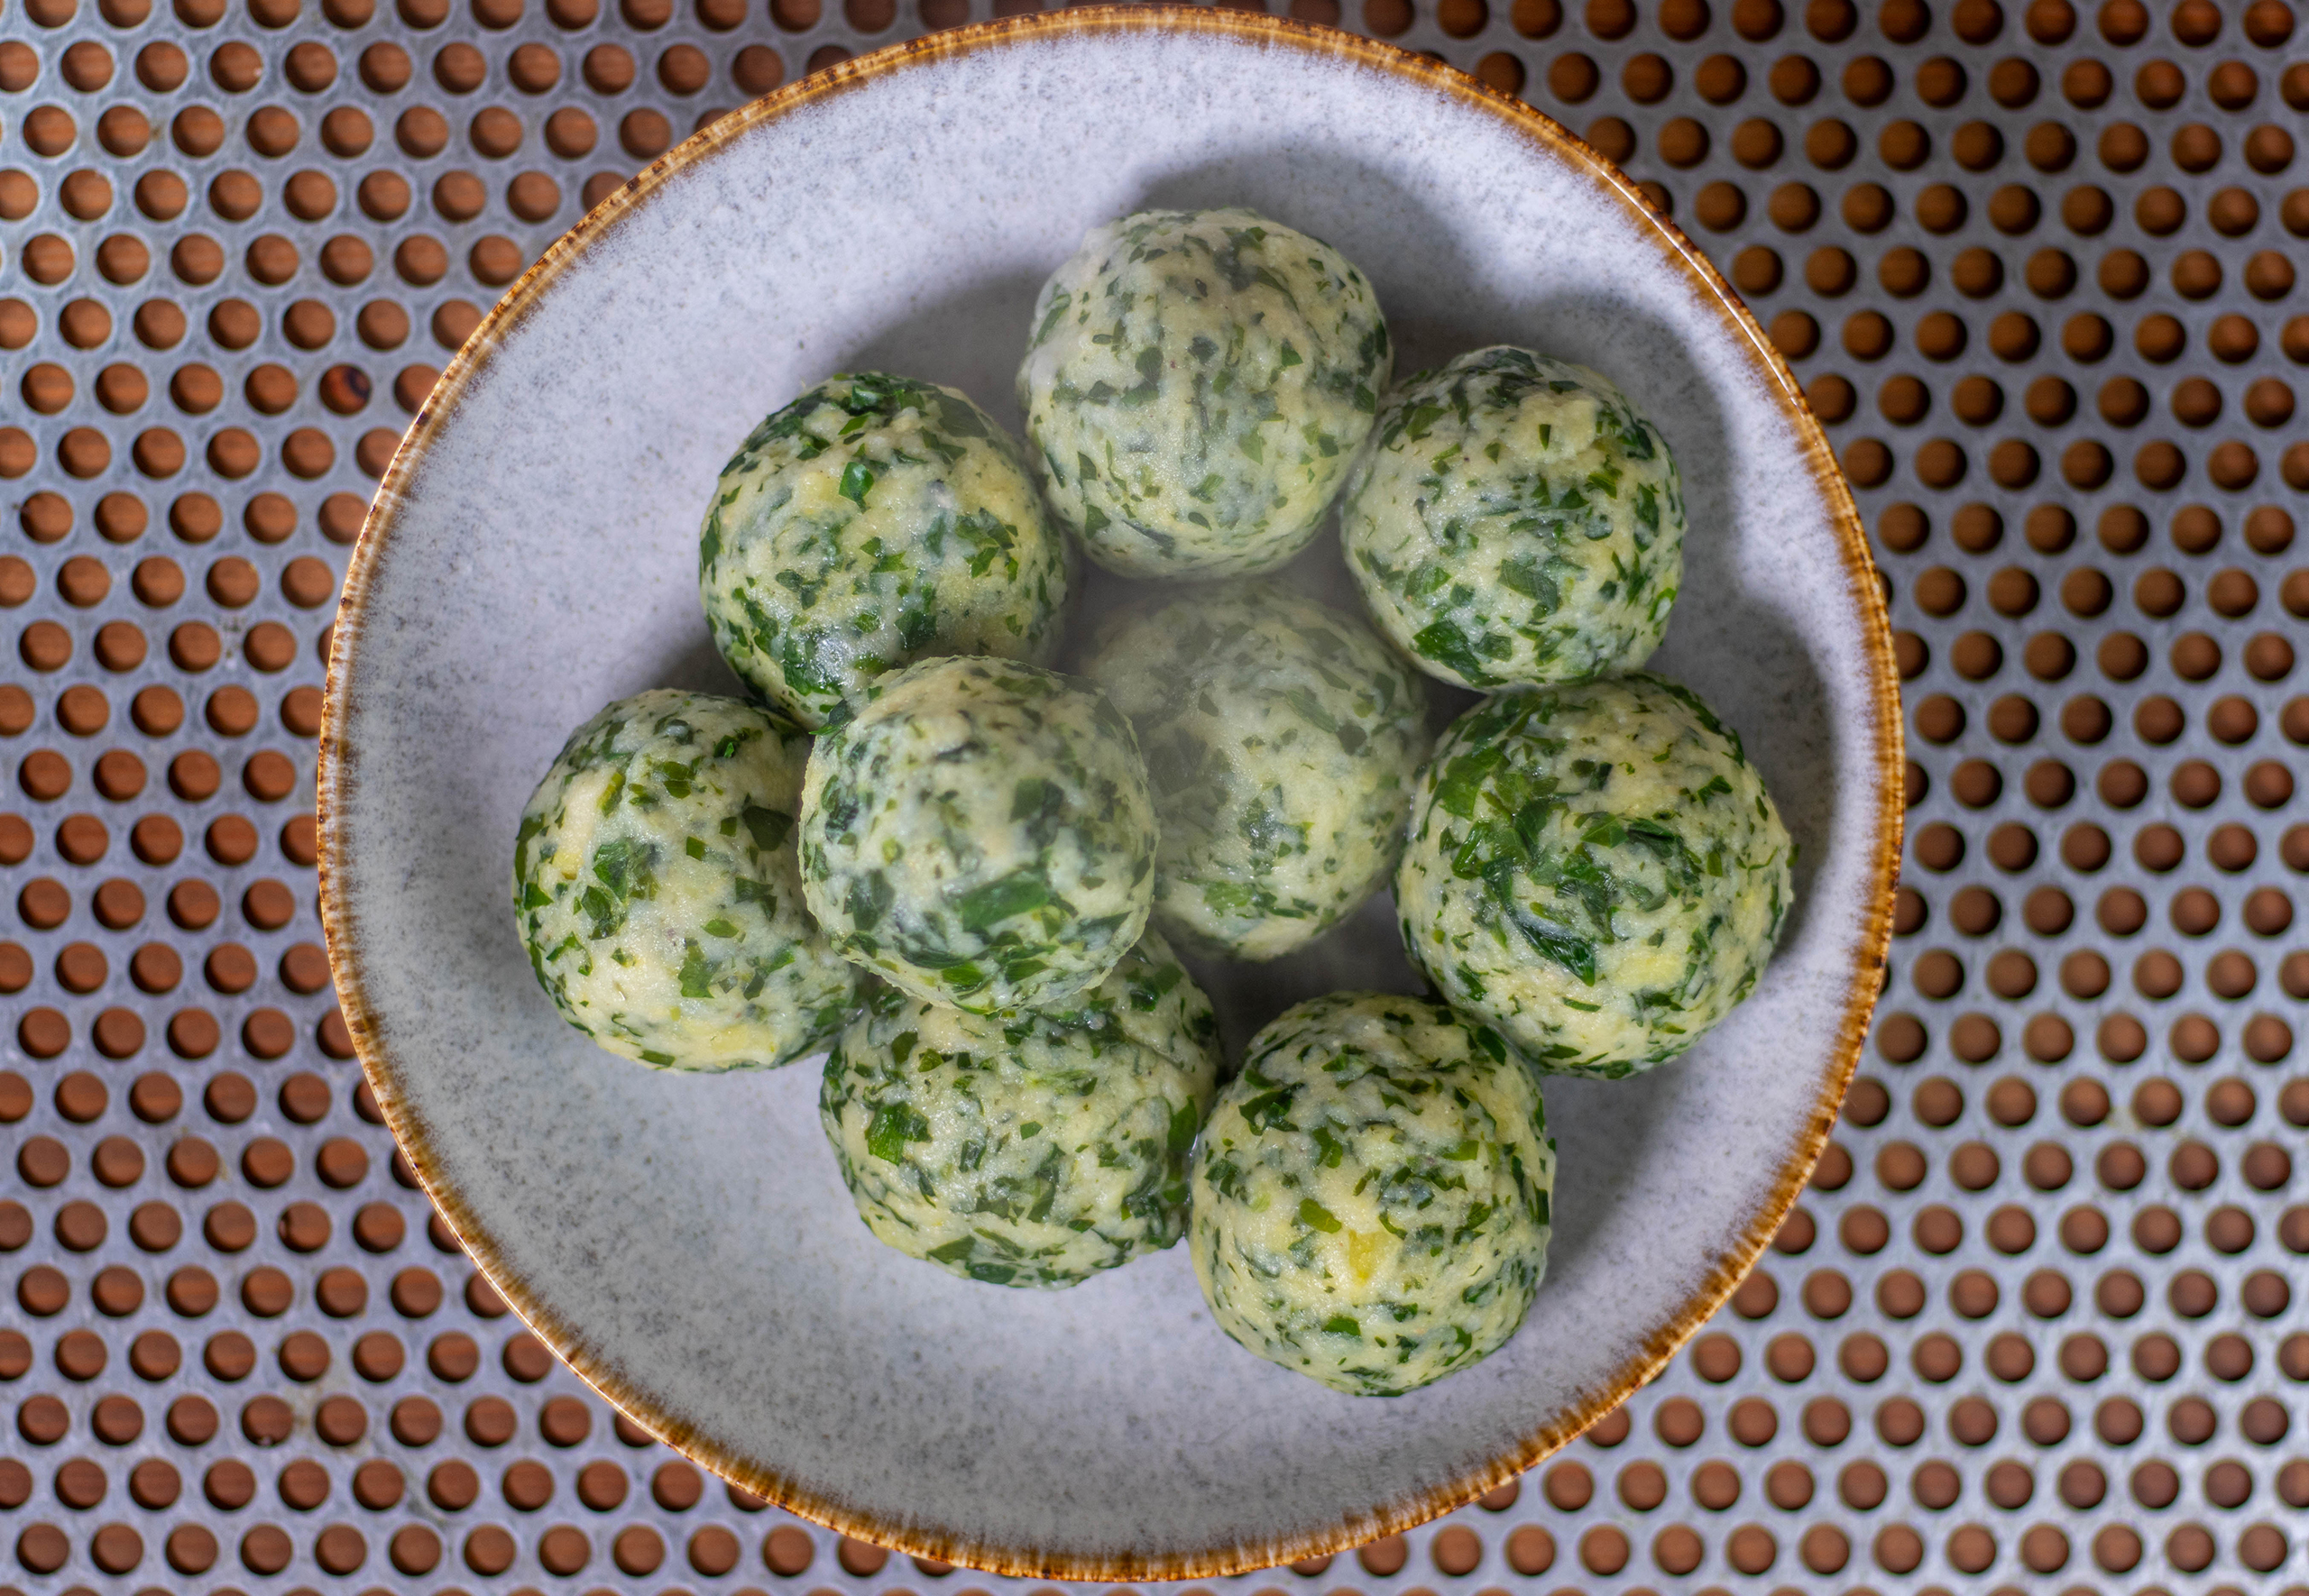
1. All ingredients for the wild garlic dumpling dough.2. The potatoes are mashed and the wild garlic is chopped. Now you can knead the dumpling dough.3. The vegan dumpling dough is prepared. Now knead in the wild garlic and season the dough with salt and pepper.4. The German dumpling dough must now rest for 10 minutes.5. Shaping the wild garlic dumplings.6. Adding the dumplings to the boiling salted water.7. The dumplings are initially at the bottom of the pot.8. After about 10 minutes the dumplings are cooked and will float to the top of the water.9. Now the dumplings can be removed from the cooking water with a slotted spoon.10. Freshly cooked, steaming wild garlic dumplings. Delicious as they are, even without the crispy coating.
Preparing the crispy coating:
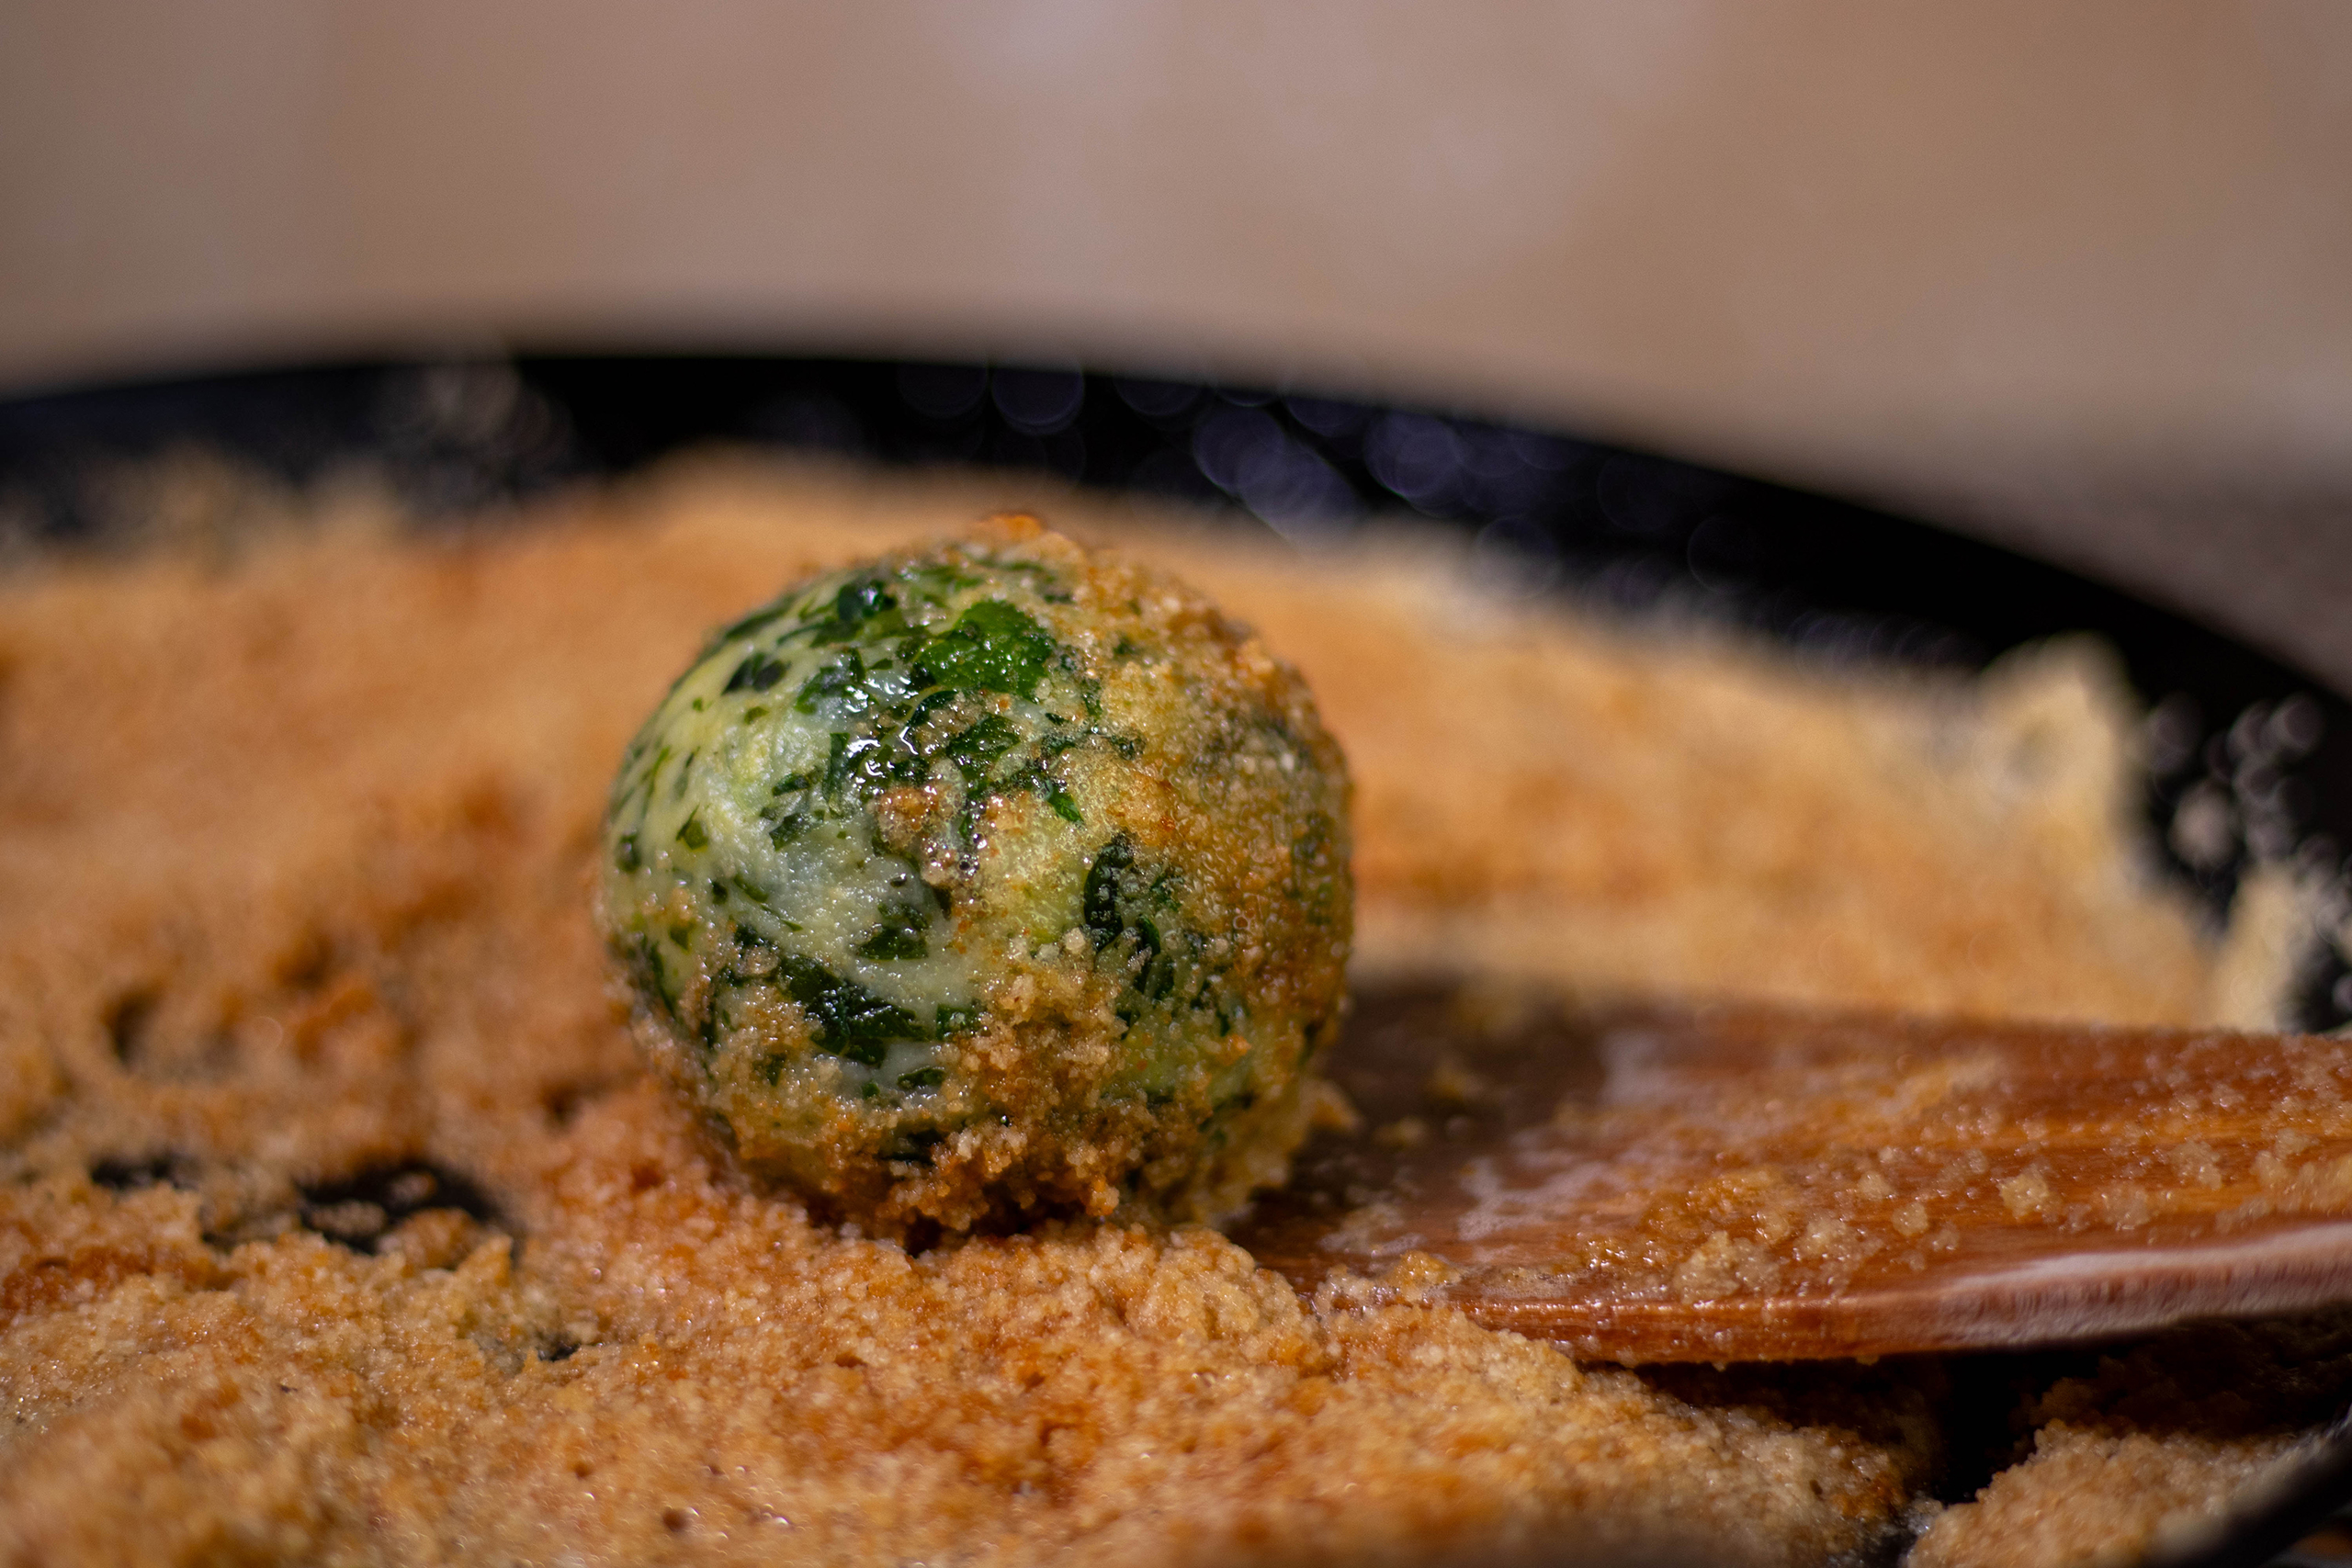
1. Heat the vegan butter in a pan.2. Frying the breadcrumbs.3. Turn the wild garlic dumplings in the vegan breadcrumb butter.Vegan wild garlic dumplings in a crispy coating.Wild garlic dumplings fried in a crispy coating: so beautifully green and aromatic.
Ingredients for 8 crispy wild garlic dumplings:
100 g finely chopped wild garlic
Vegan dumpling dough:
500 g cold, cooked potatoes from the day before 1 heaped tablespoon chickpea flour 80 g flour 30 g wheat semolina 60 g vegan quark or skyr Salt Pepper
Crispy coating for the dumplings:
100 g vegan butter or margarine 80 g breadcrumbs or panko 1 teaspoon salt 1/2 teaspoon pepper
Preparation:
Dumpling Dough:
Mash the cold, boiled potatoes into a smooth, lump-free mash. It’s best to cook the potatoes the day before, so you don’t have to wait to prepare the dumplings.
Thoroughly mix the mashed potatoes with the remaining dough ingredients.
Then knead in the chopped wild garlic.
Season with salt and pepper.
Let the wild garlic dumpling dough rest for ten minutes.
Divide the dumpling dough into 8 equal pieces.
Moisten your hands with cold water and shape each piece into a dumpling in your palms. It’s best to store raw dumplings on a floured surface before cooking to prevent them from sticking.
Cook the wild garlic dumplings:
Place the vegan dumplings with wild garlic in boiling, salted water and let them simmer for 10 minutes.
Then remove them from the water with a ladle, which will also ensure they are strained.
Crispy Coating:
For the breadcrumb butter, melt the vegan butter in a pan; the vegan butter should be nice and hot.
Stir in the remaining ingredients for the breadcrumb butter and fry until the breadcrumbs turn brown, stirring frequently.
Remove from the heat and roll the hot dumplings in the butter.
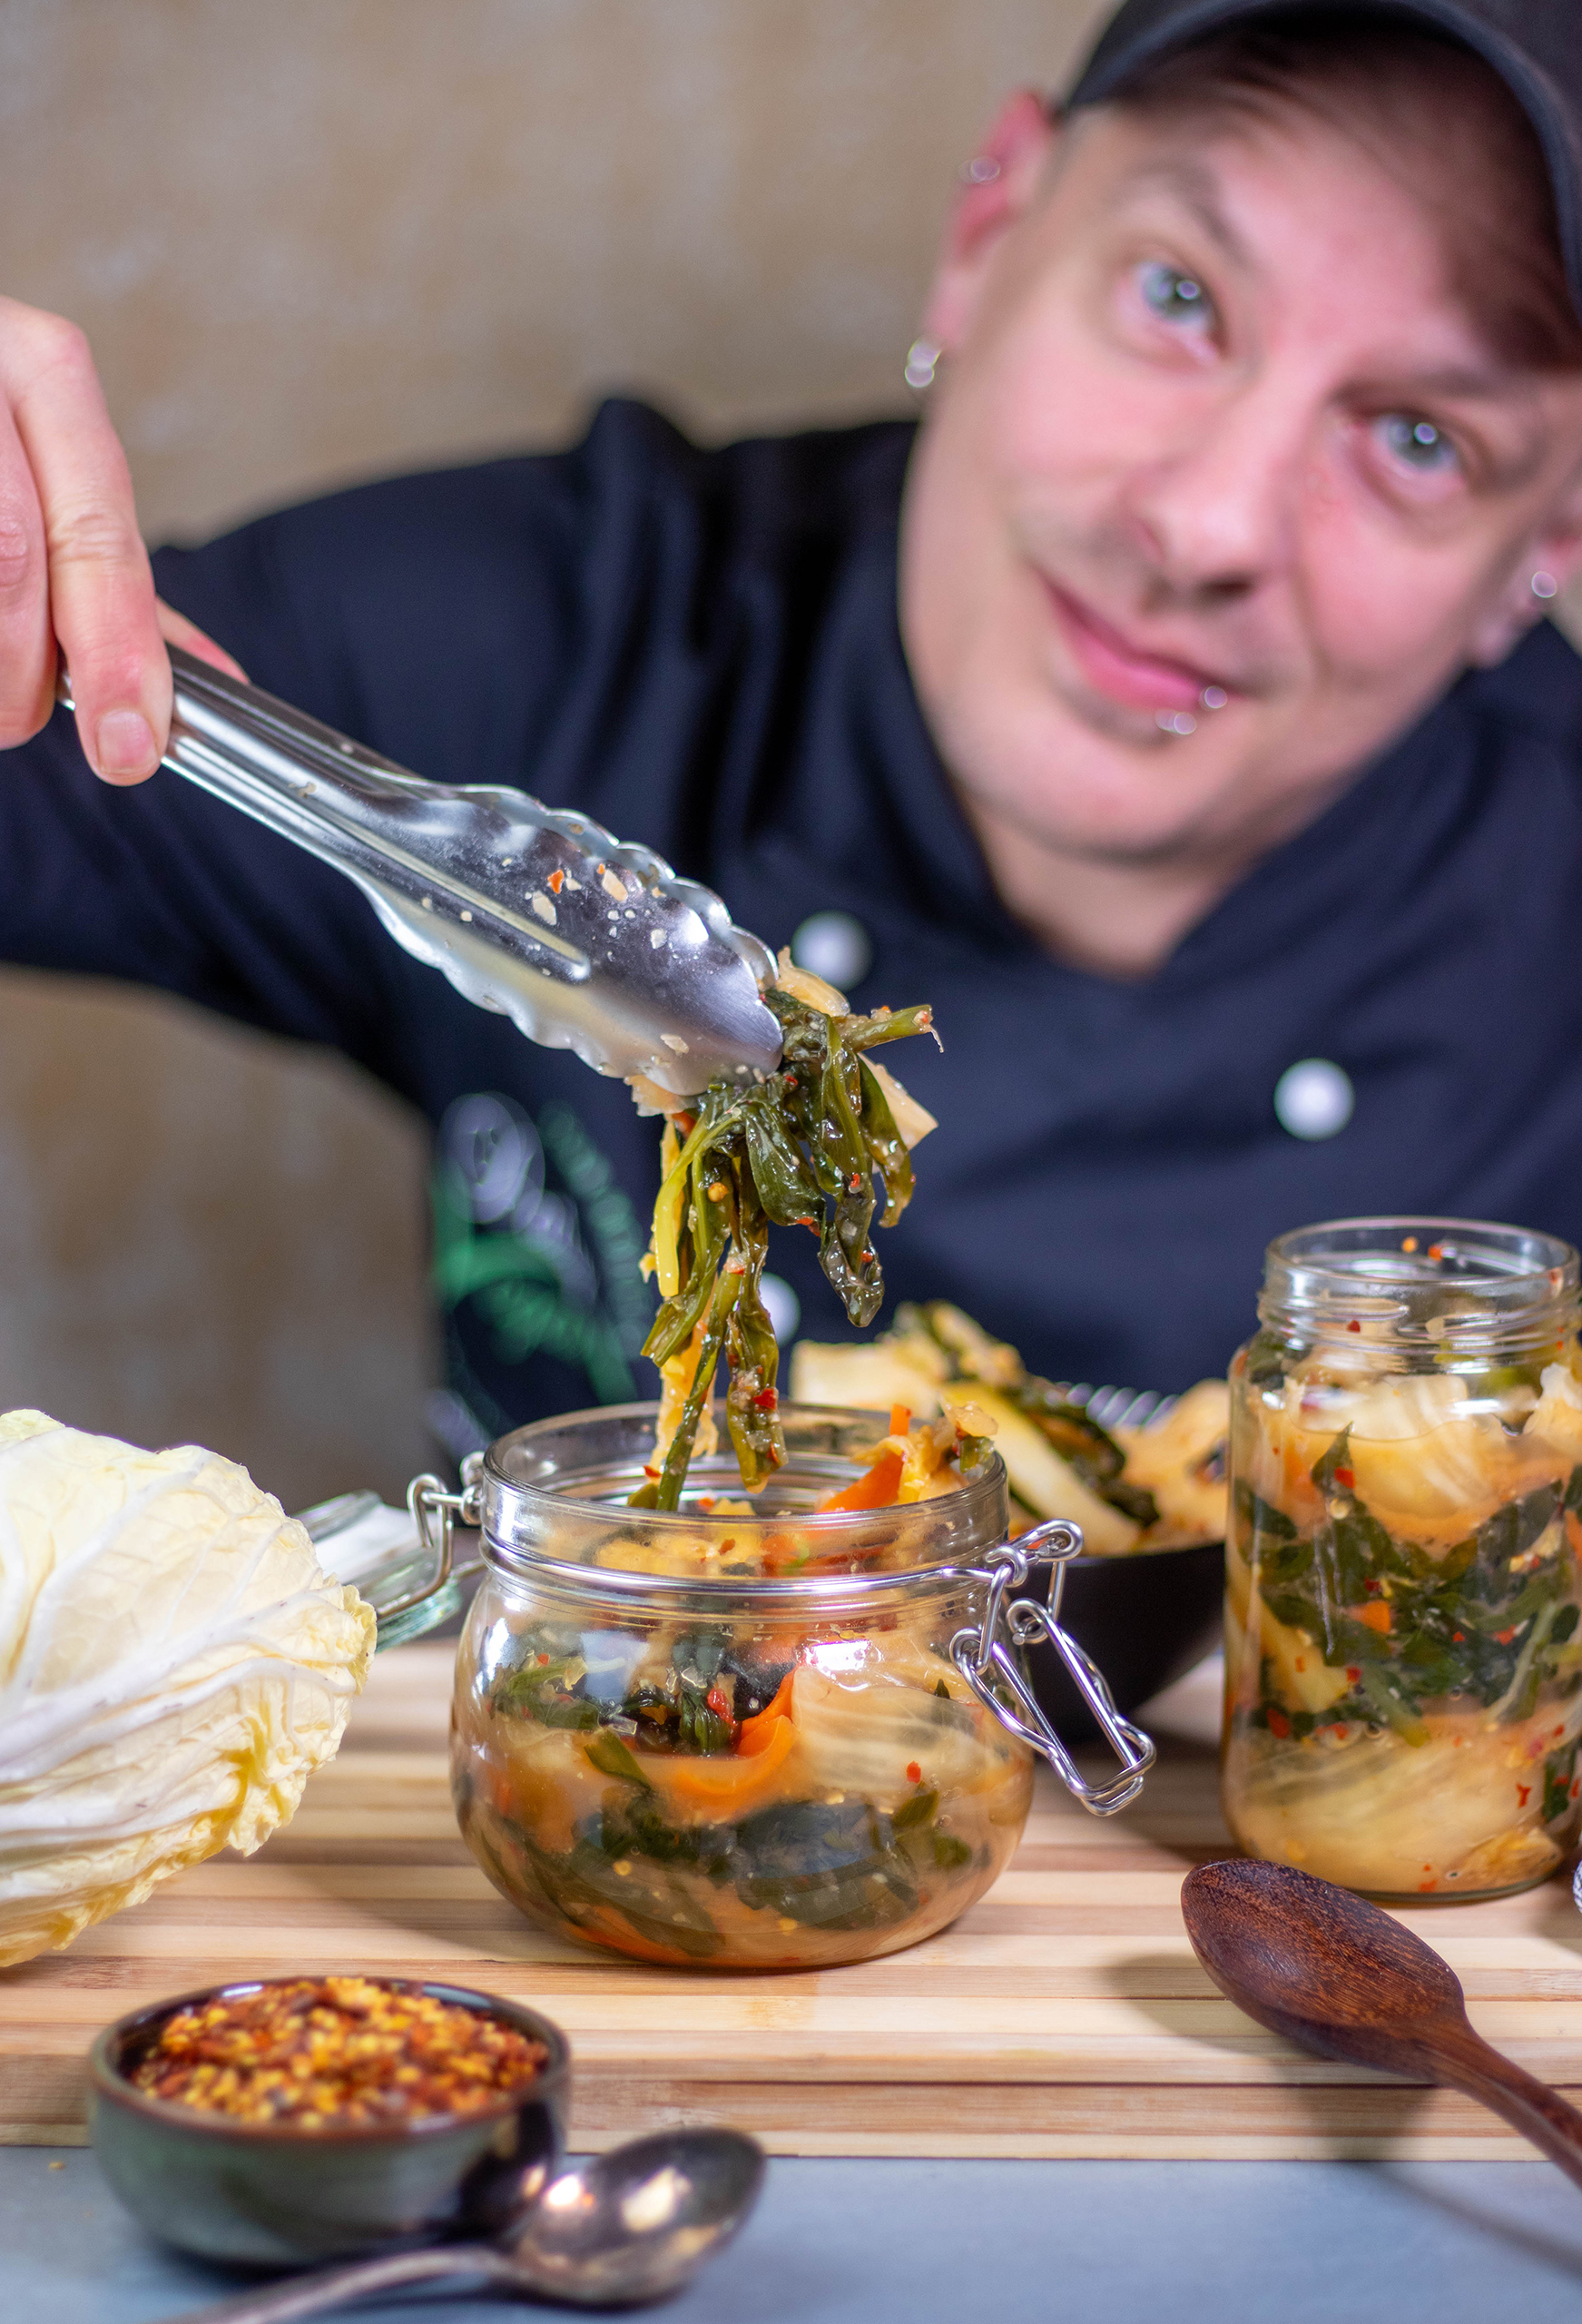
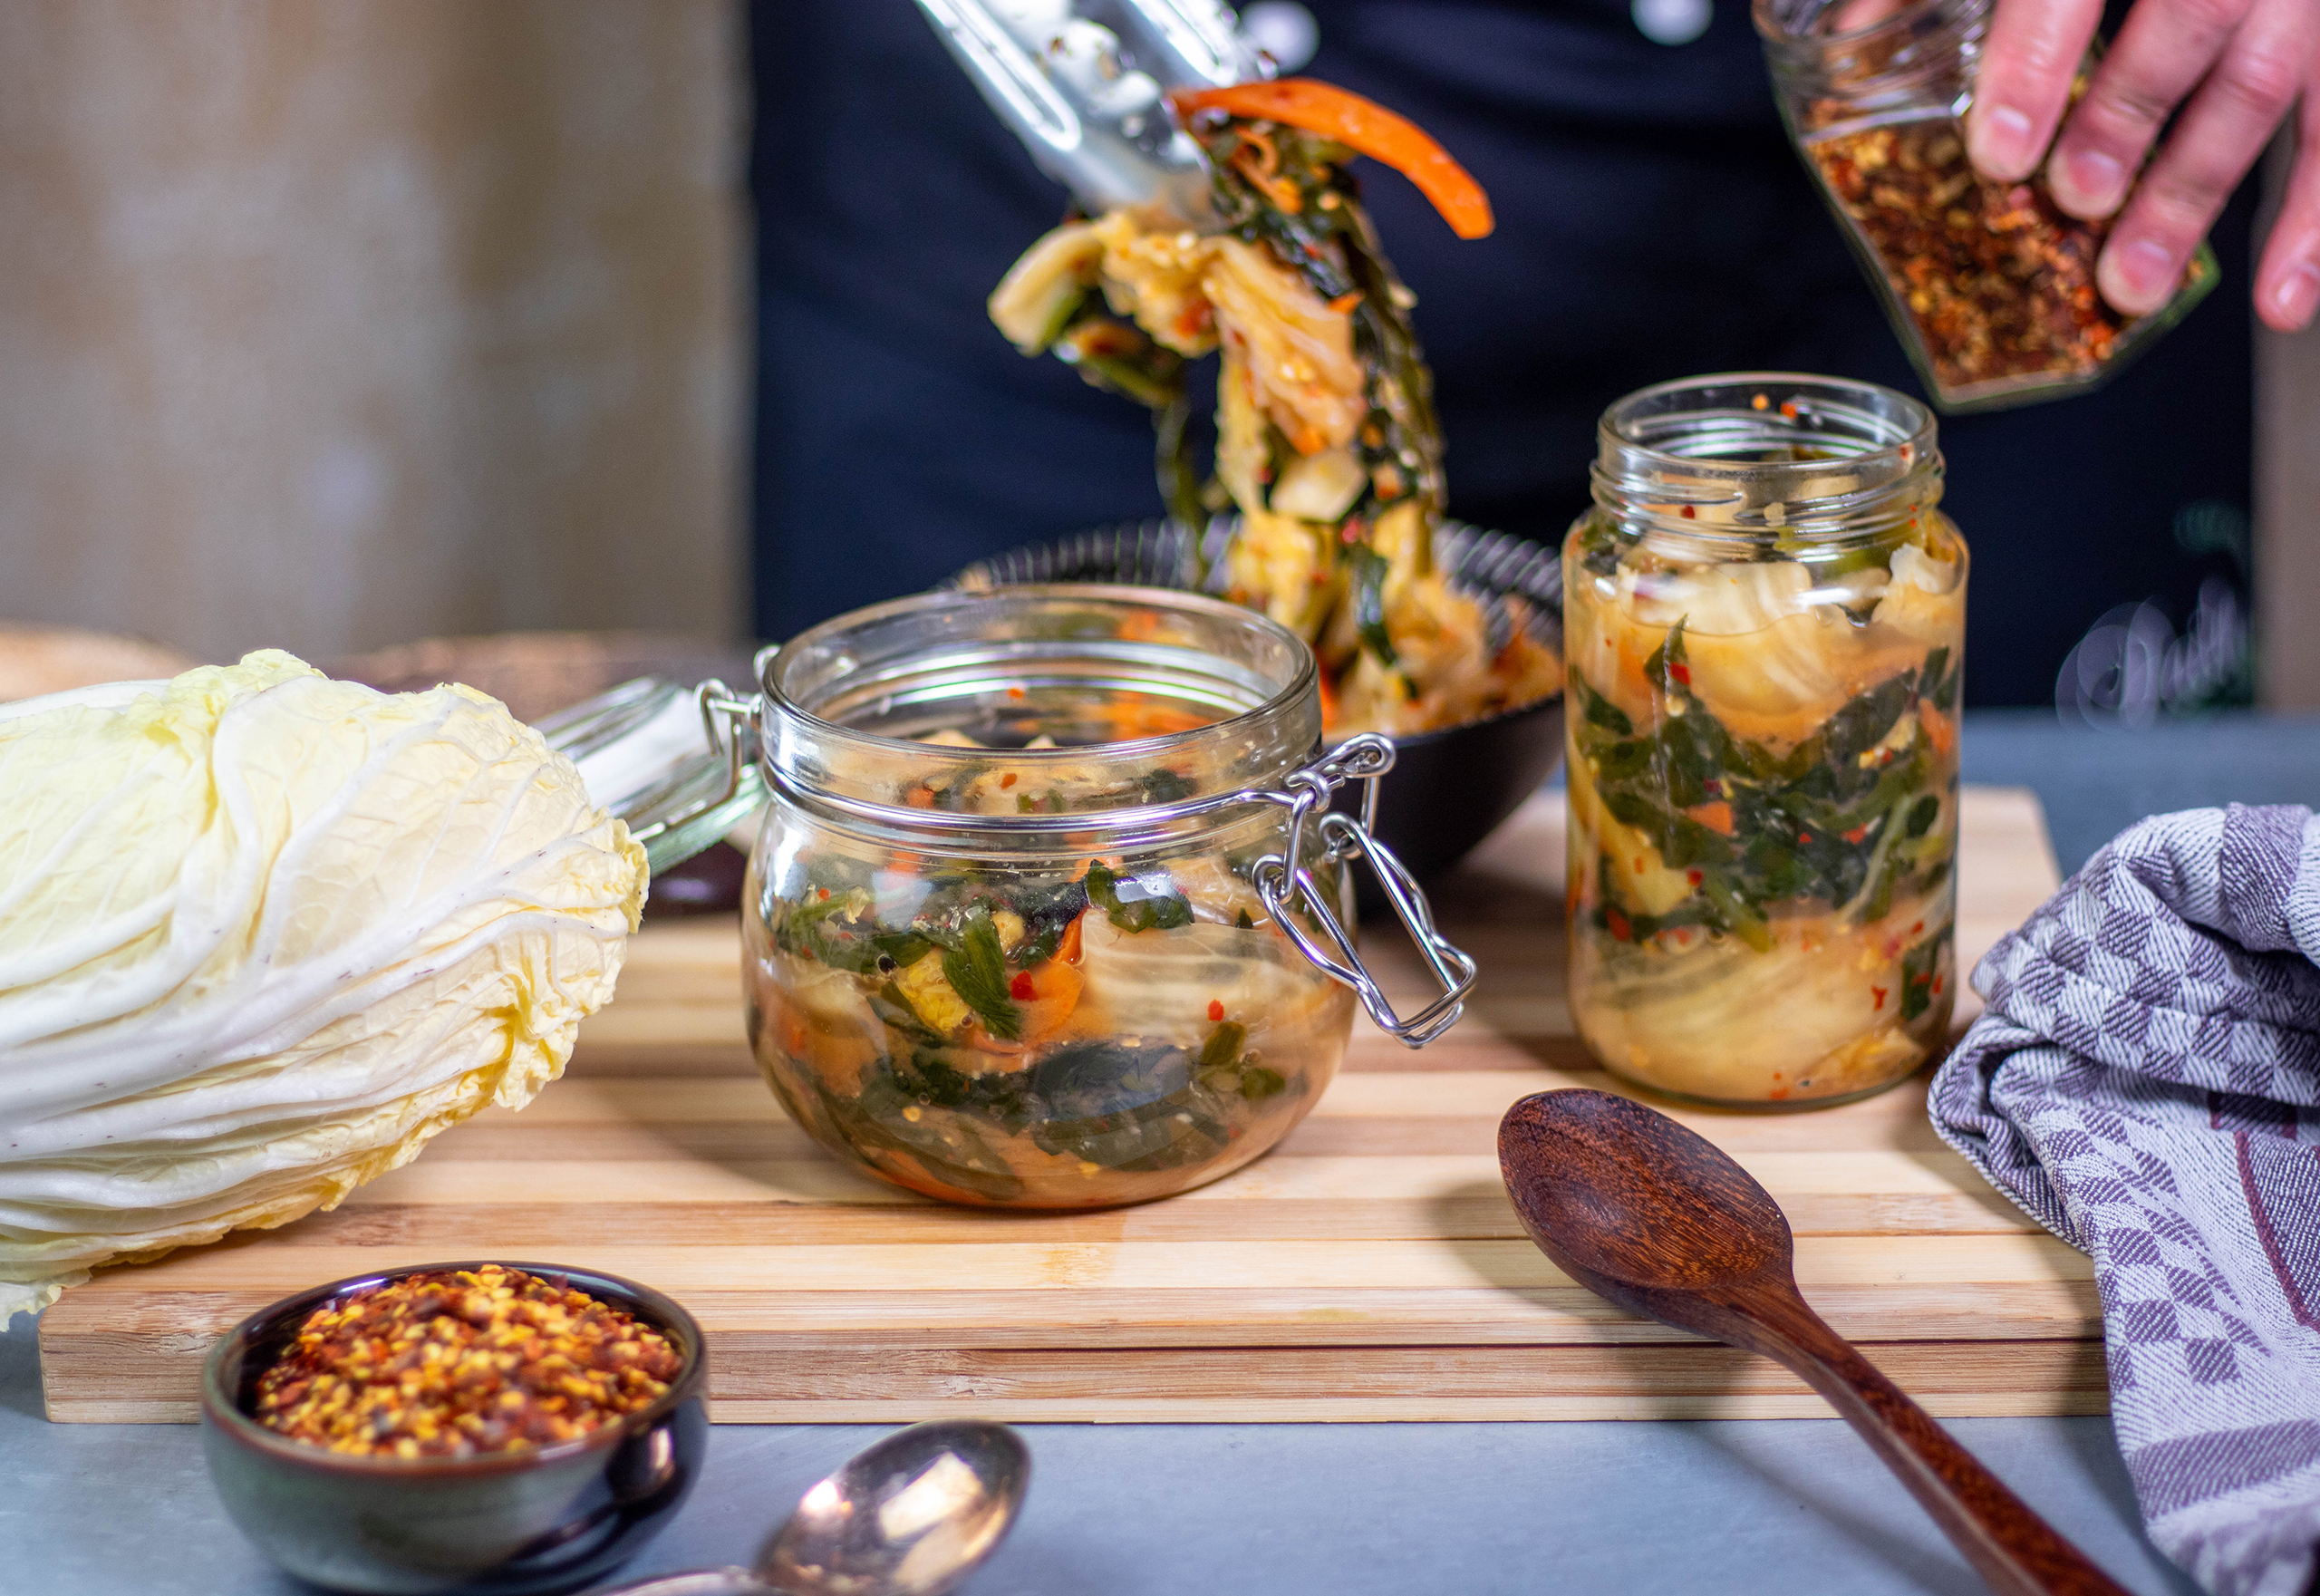
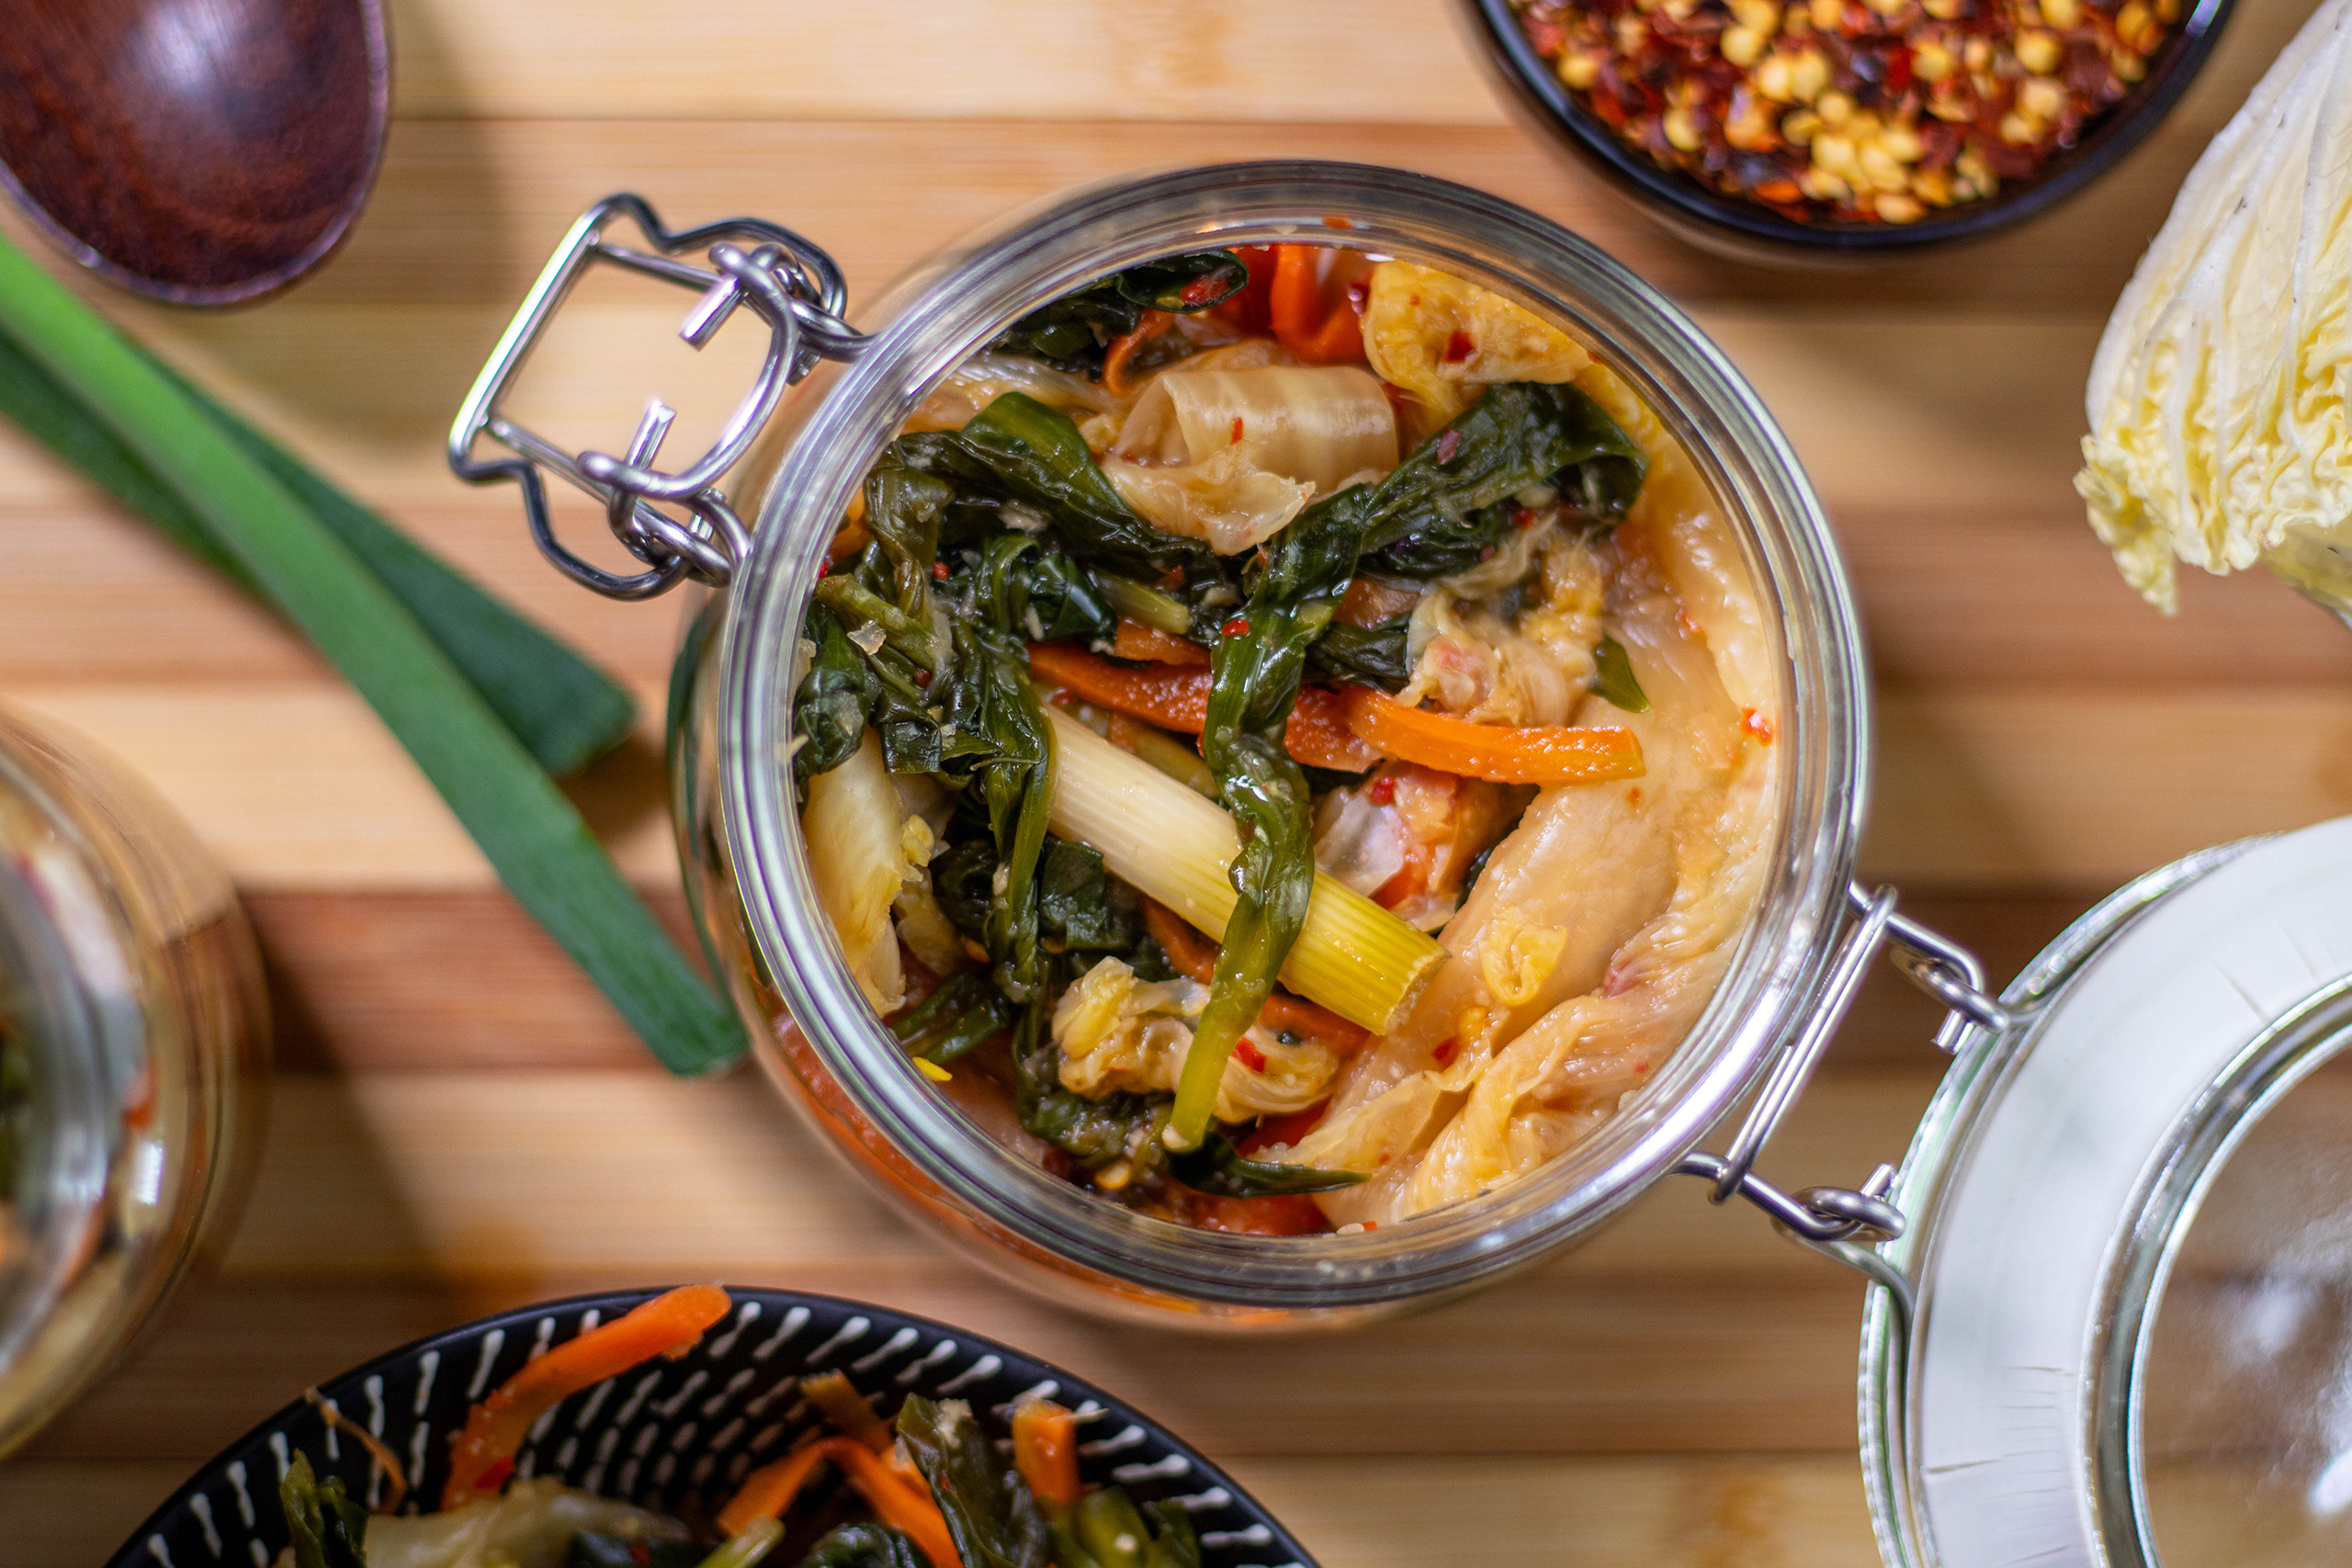
In my simple, vegan recipe for wild garlic kimchi, I combine Korean kimchi with local foraged wild garlic. A fantastic flavour combination. A great snack and a great little side dish for many meals!
In this recipe I’ll also explain the basics of lactofermentation. As a good foundation that can be used for many ferments.
In my simple, vegan recipe for wild garlic kimchi, I combine Korean kimchi with home-picked wild garlic
What exactly is kimchi?
Kimchi is a traditional Korean dish made from fermented vegetables. It primarily uses Chinese cabbage and Korean radish. It is a type of pickled vegetable that, like German sauerkraut, acquires a unique flavour through lactic acid fermentation. However, the various ingredients and special seasoning give kimchi a very complex flavor.
In Korea, kimchi has a deep-rooted cultural significance and is often considered a symbol of health, prosperity, and happiness.
Kimchi is a traditional Korean dish made from fermented vegetables.
Wild Garlic Kimchi: Traditional Kimchi Combined with Wild Garlic
In my recipe, I prepare a vegan kimchi that I combine with wild garlic. I’ve made this kimchi recipe relatively mild, both in terms of spiciness and fermentation. This brings out the flavour of the wild garlic. The flavour of the fermented wild garlic adds an additional, exciting note to the kimchi, which blends beautifully and offers a unique kimchi taste experience.
Wild garlic kimchi as a small side dish
What can I do with kimchi? What recipes can I prepare with kimchi?
Kimchi is an integral part of Korean cuisine and is often served as a side dish to main dishes. However, there are also many dishes in which it is used as an ingredient. For example, kimchi can also be used as a main ingredient in dishes such as kimchi pancakes, kimchi fried rice, kimchi ramen, or kimchi udon noodle dishes.
Due to its unique flavors and health benefits, kimchi has now spread around the world and is enjoying great popularity. Naturally, people are also experimenting with kimchi as an ingredient in dishes that aren’t typically Korean, such as kimchi burgers or my vegan Kimchi Mac’n’Cheese, Kimchi Macaroni and Cheese.
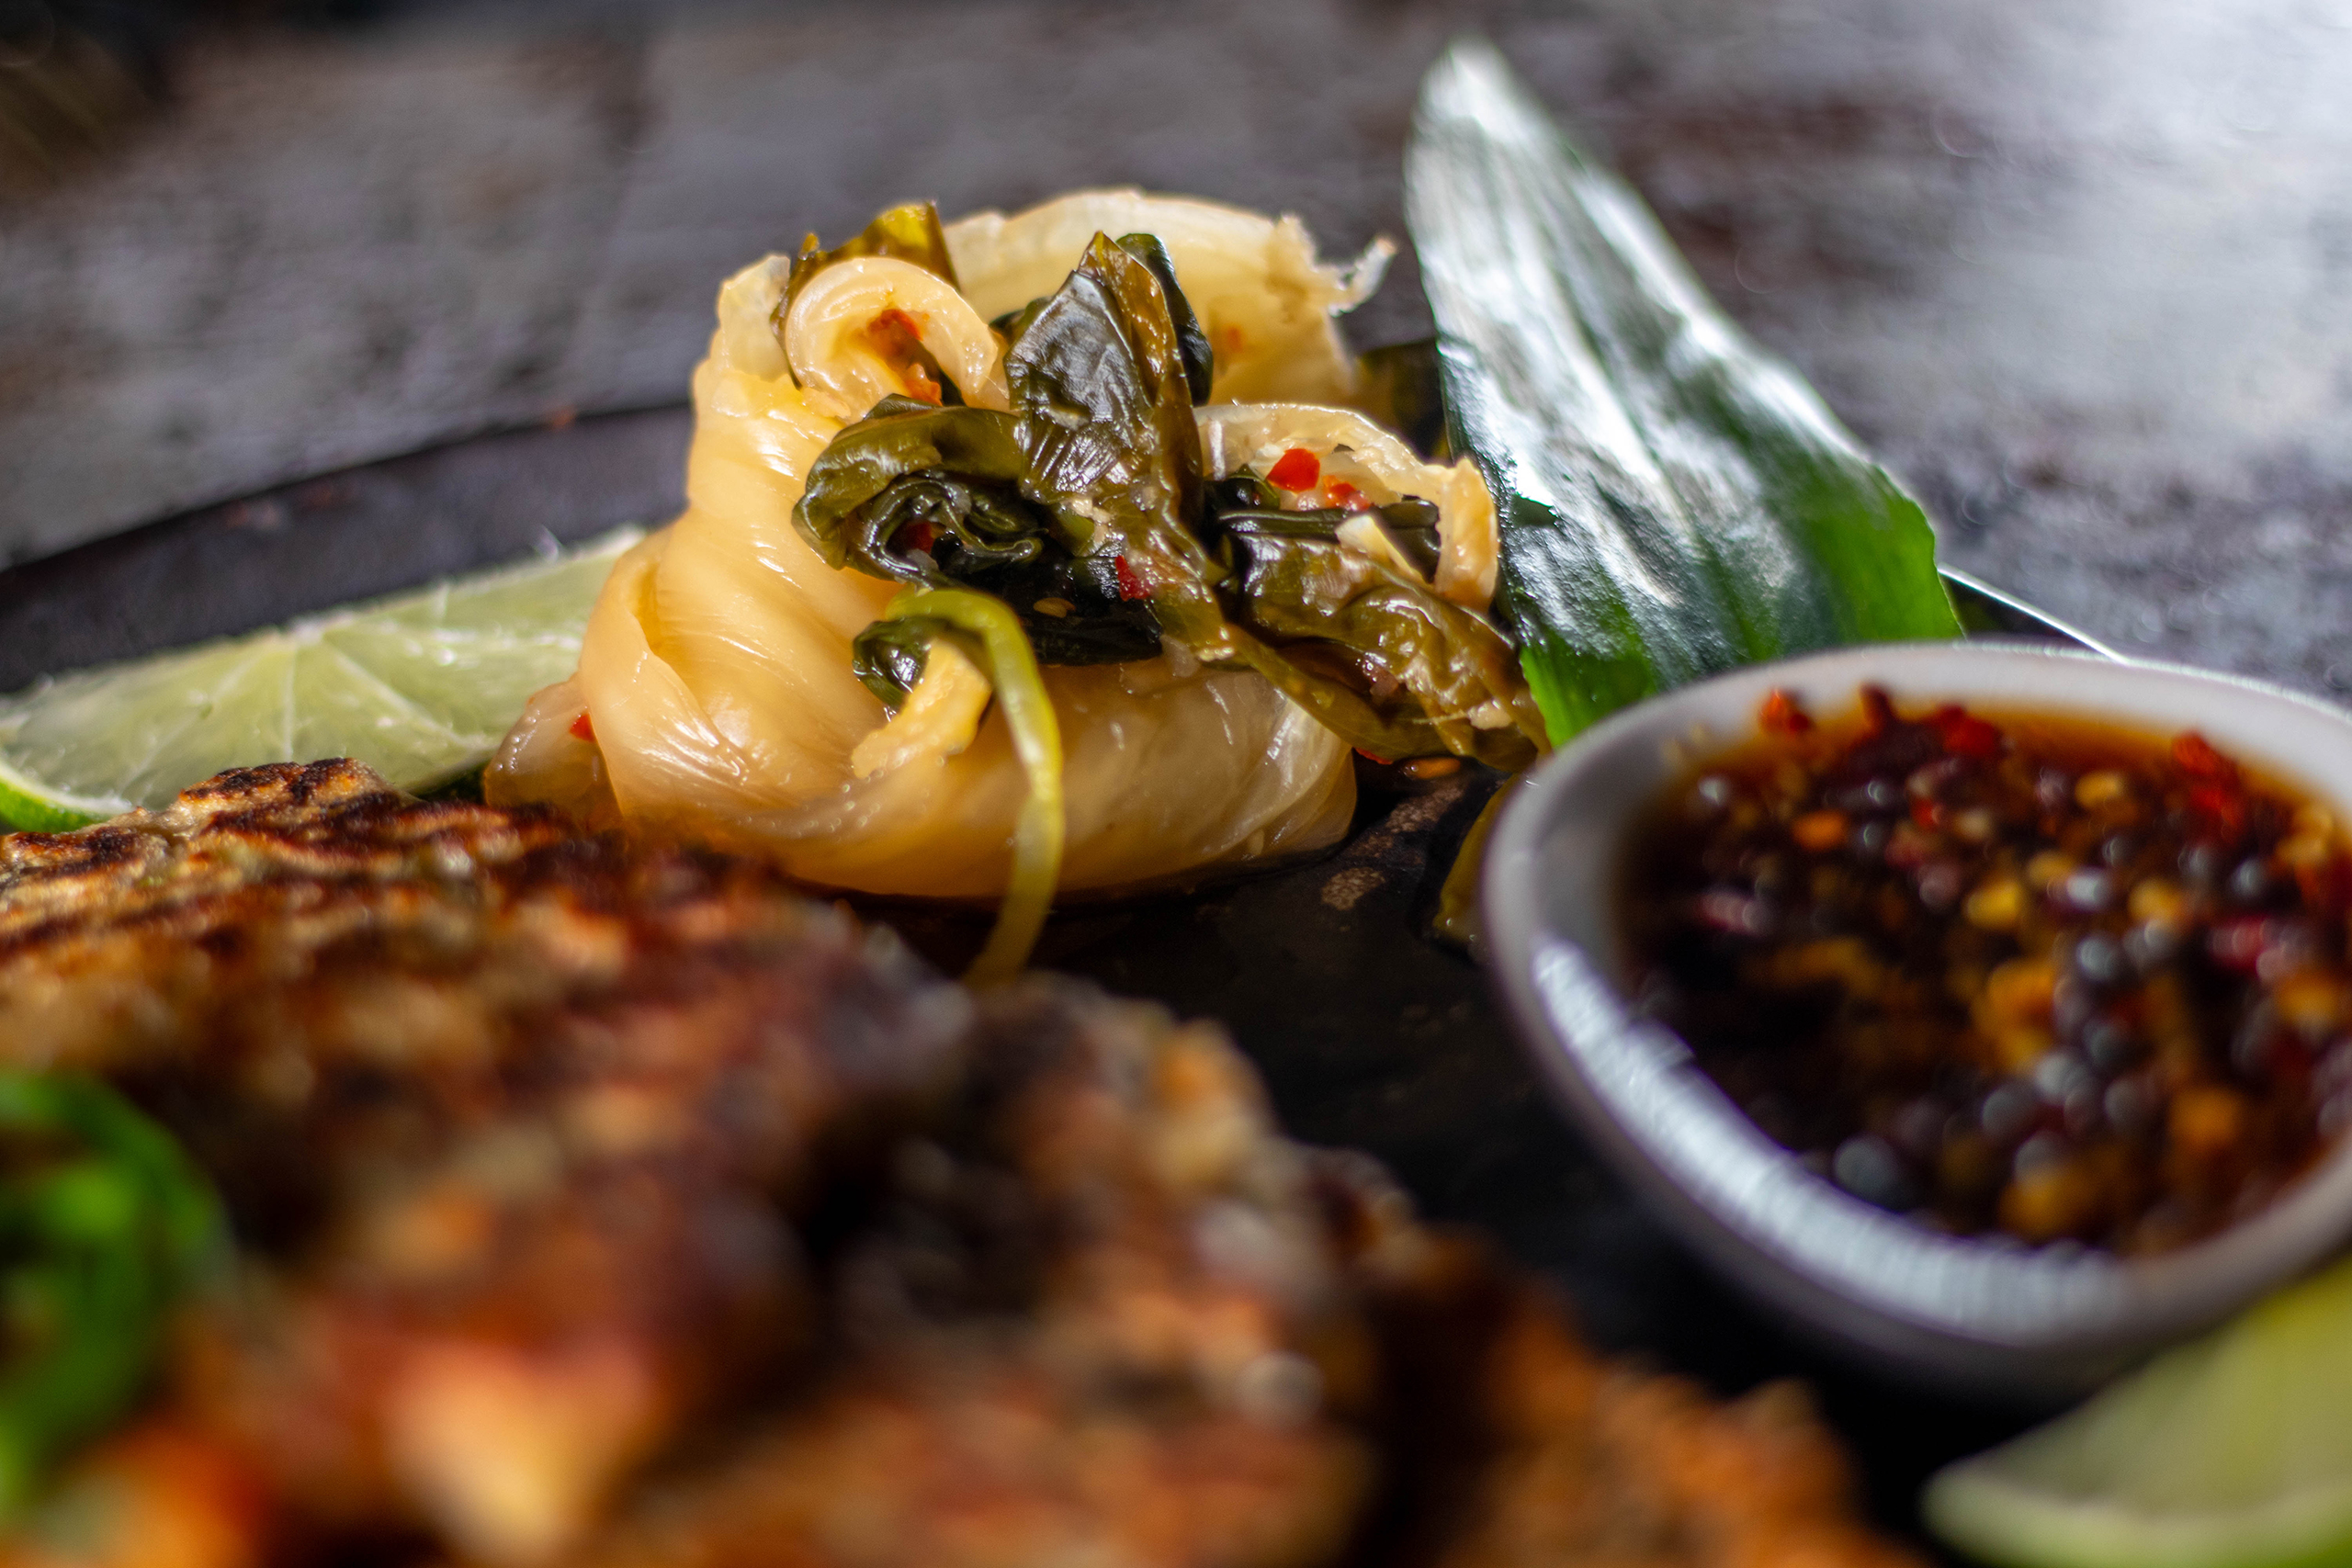
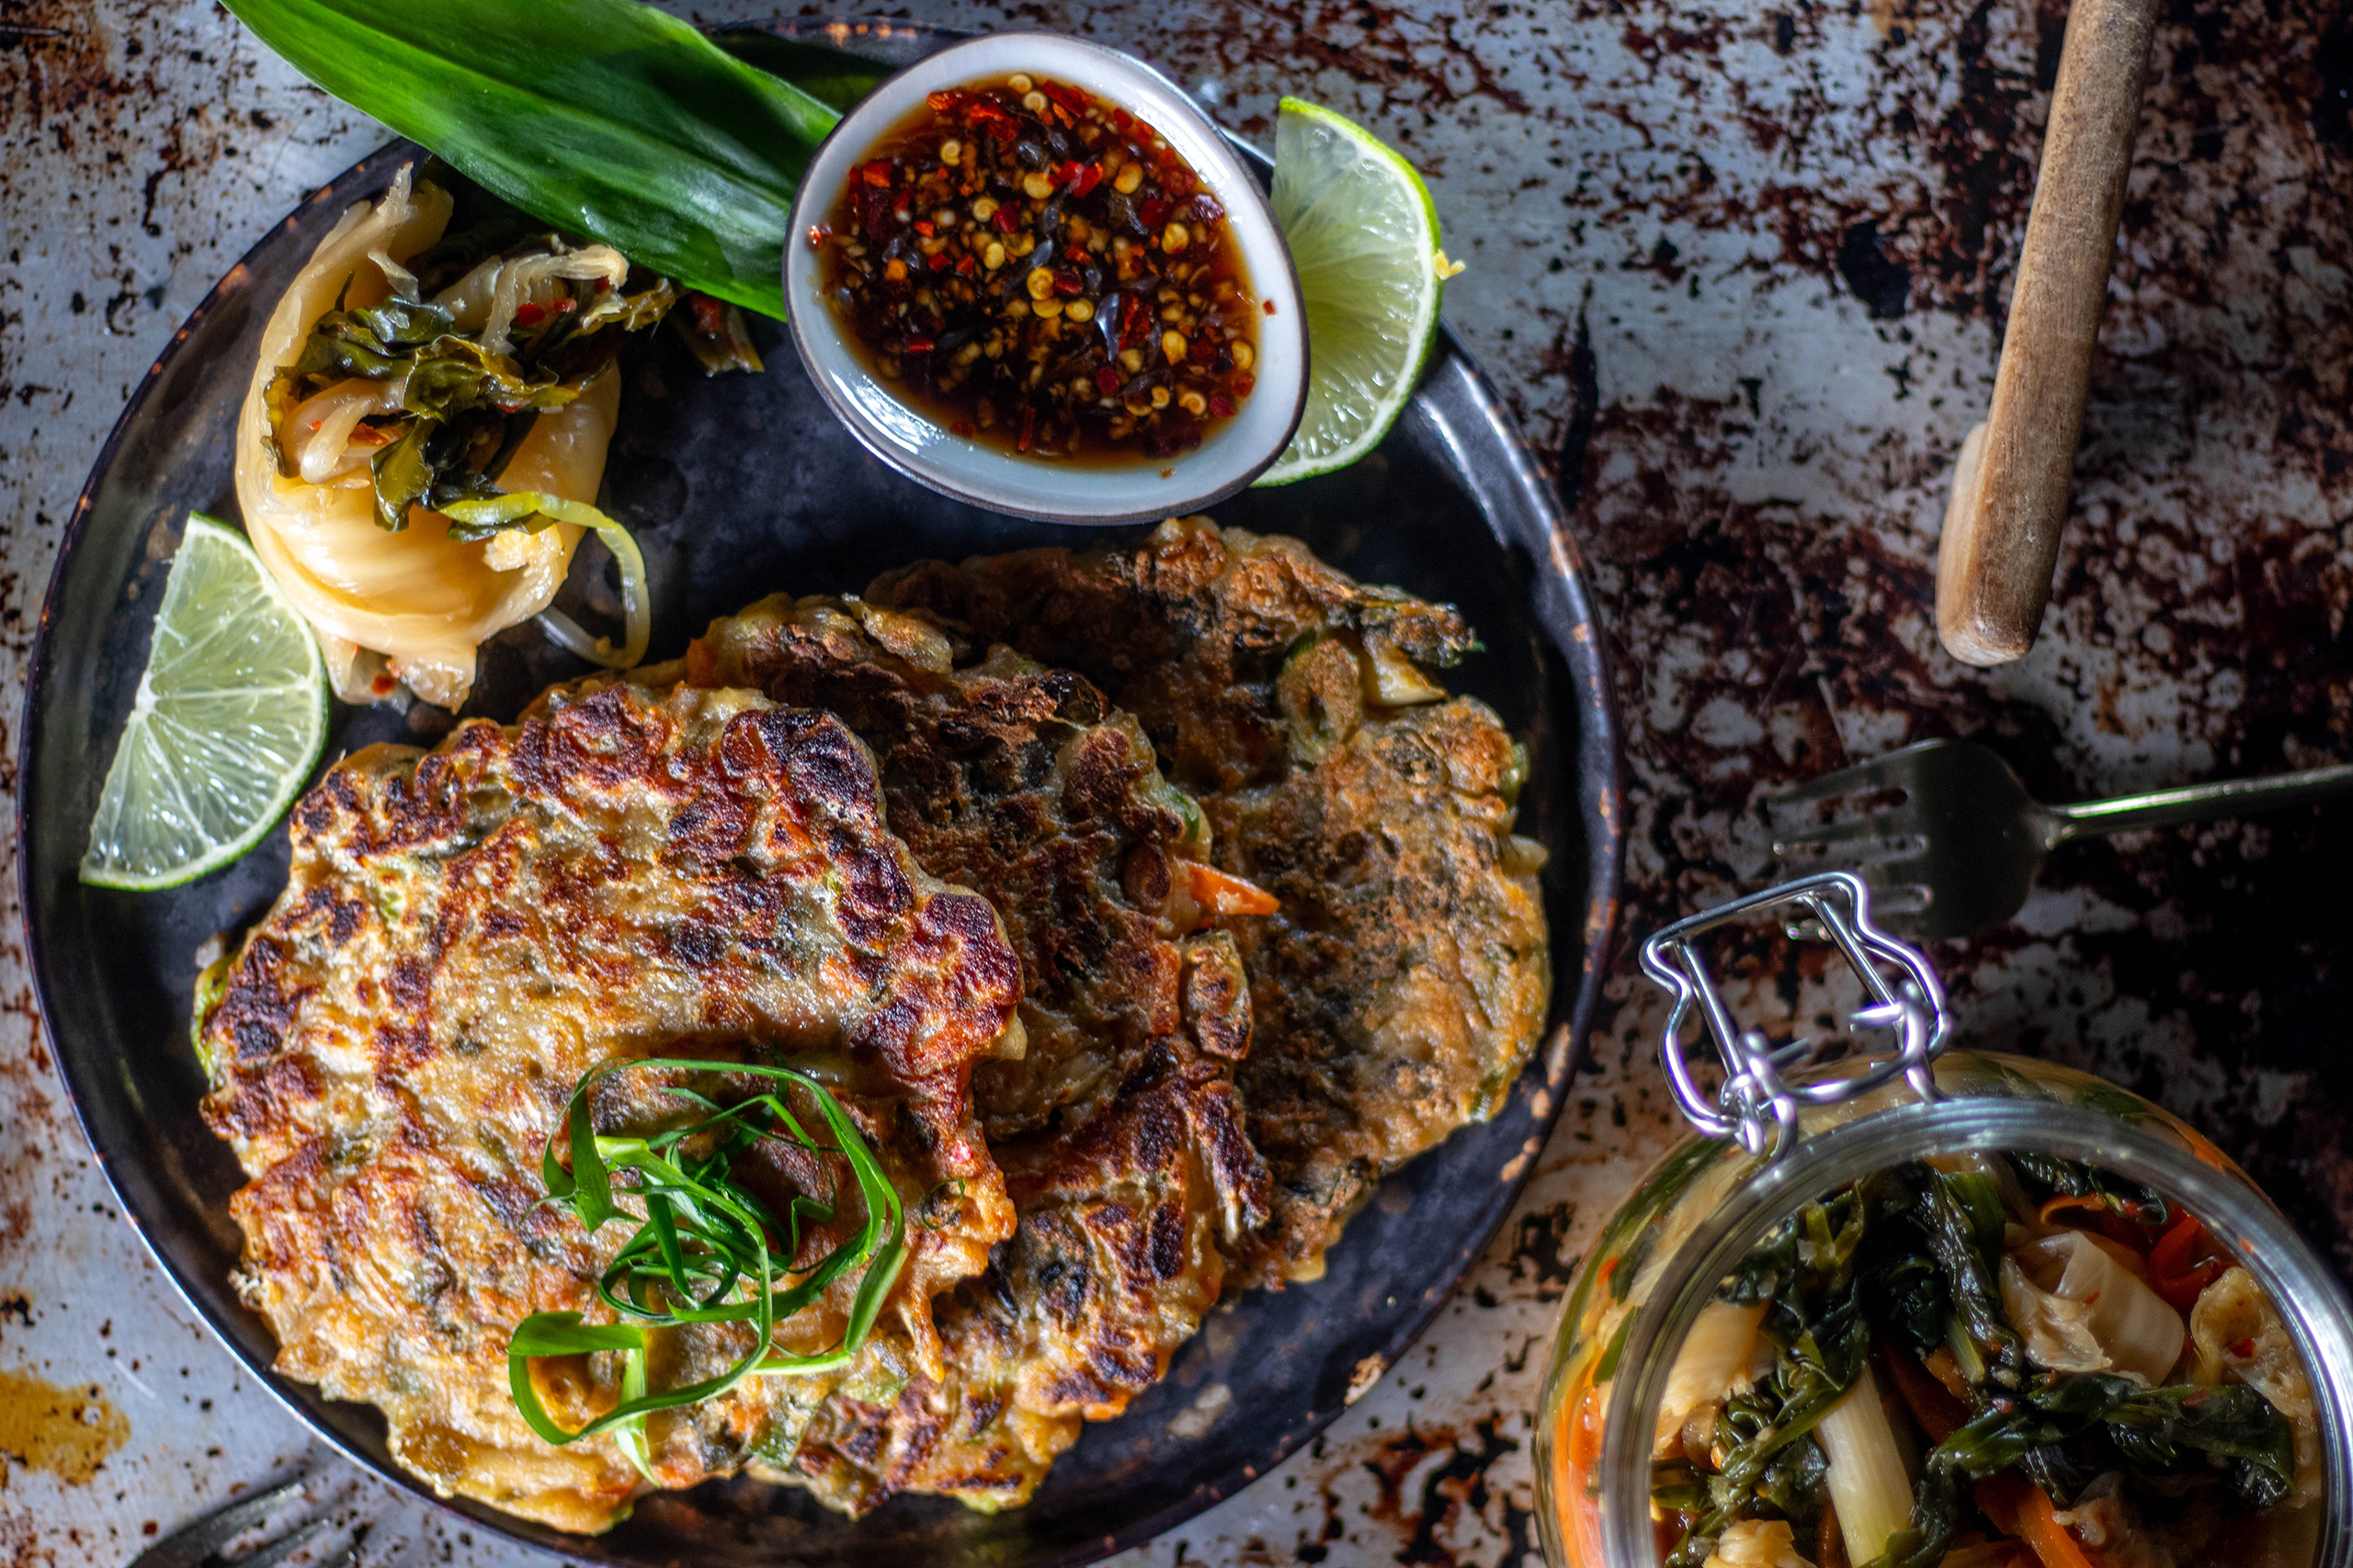
Wild garlic kimchi as a side dish to kimchi pancakes
Prepare your own kimchi
Through the fermentation process, kimchi develops its characteristic spicy and slightly sour flavor. Lactic acid fermentation, which occurs through natural bacteria, is essential for preserving the vegetables. It also gives it its probiotic properties, which are very beneficial for digestion and overall health.
Since making kimchi is relatively easy, it’s definitely worth making it yourself. Then you can adjust the ingredients to suit your individual taste. Like I did here with my wild garlic kimchi. Homemade kimchi is also very inexpensive, whereas good store-bought kimchi is very expensive.
Wild garlic kimchi: traditional kimchi combined with wild garlic
Kimchi: My recipe is vegan and simple
Preparing kimchi is an art form in itself and can vary from family to family and from region to region. The basic ingredients are usually Chinese cabbage, Korean radish, salt, garlic, ginger, chili, and fish sauce. There are now also many vegan versions without fish. These ingredients are sometimes processed into a paste, which is then massaged into the other prepared vegetables. The vegetables are then fermented in containers for several days to weeks, depending on personal taste.
This may sound very complex at first, but it’s actually relatively simple. Just follow my recipe below and pay attention to the hygiene instructions, and homemade kimchi will be very easy and requires little effort. You just need a little patience for the fermentation time and don’t forget to press down the kimchi in it’s container once or twice a day.
Kimchi: my recipe is vegan and easy
Wild Garlic Kimchi Is Very Healthy
My wild garlic kimchi and regular kimchi are popular not only for their taste, but also for their health benefits. It is rich in fiber, vitamins, and minerals and also contains probiotic bacteria that can promote gut health. Kimchi also has antioxidant properties and can have anti-inflammatory effects.
Wild garlic kimchi is very healthy
General information on fermentation:
There are several ways to ferment vegetables or fruit. Kimchi uses one of the easiest methods to implement: lactofermentation.
Lactofermentation is fermentation in brine, where natural lactic acid bacteria perform the fermentation. The lactic acid bacteria provide the sour, fermented flavor. A useful fact about lactic acid bacteria is that, unlike many bacteria, they tolerate salt. Therefore, salt is used in this type of fermentation; it not only contributes to the flavor but also protects the food from spoilage. This is how sauerkraut is also made, for example.
Lactic acid bacteria are found everywhere in the environment, so they are vegan and are not derived from milk. They were just first discovered in milk, hence the name.
Hygiene is particularly important during fermentation, because we want only the good bacteria to work for us and avoid mold and germs. So only use clean surfaces and wash your hands thoroughly. Your kimchi container must also be very clean; it’s best to rinse it with boiling water shortly before use.
It’s also important to use organic vegetables to ensure they’re free from pesticides that could potentially inhibit fermentation.
Using wild garlic kimchi, you’ll learn a lot about lactofermentation in this recipe.
More recipes for ferments and recipes with fermented ingredients:
Please follow me on Instagram or Facebook. Don’t miss out on any new recipes and other Daily Vegan news! And I’d love it if you made my kimchi recipe and posted a photo of it, tagging my account. Because I always find it really fun and exciting to see how my recipes are prepared in other kitchens!
Wild Garlic Kimchi: Preparation in Pictures
Before you get started, you can see how wild garlic kimchi is made in pictures.
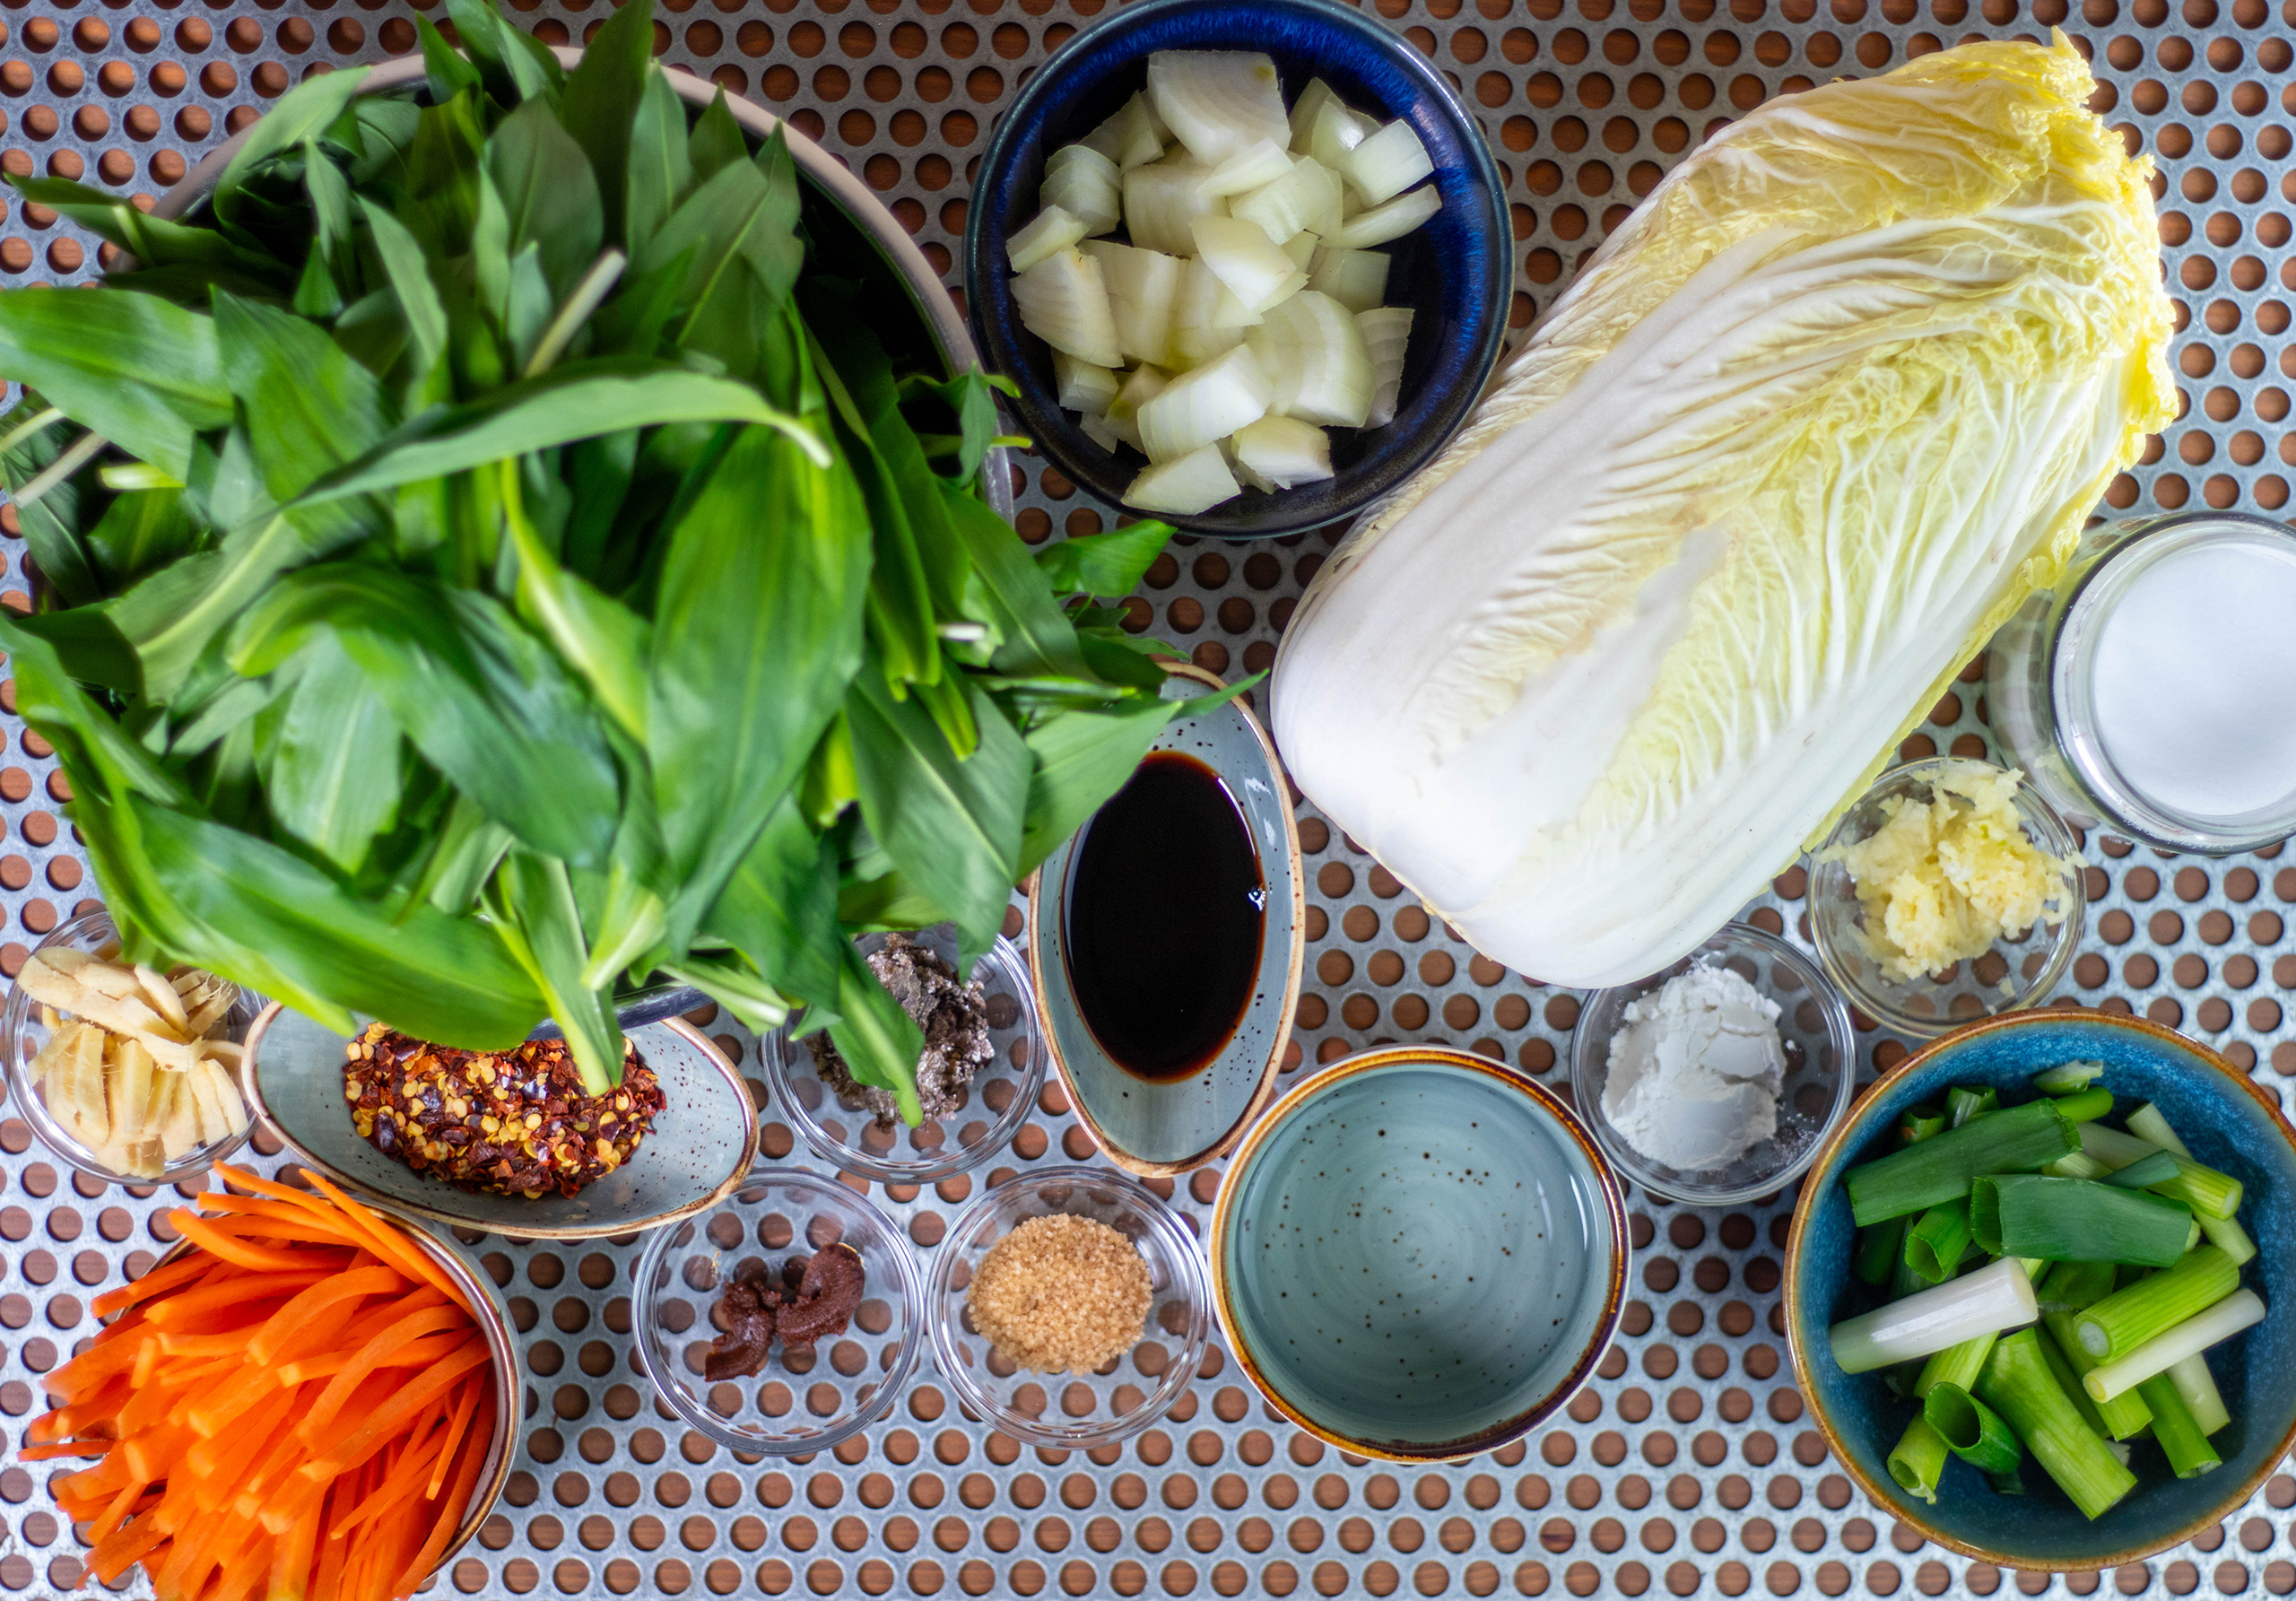
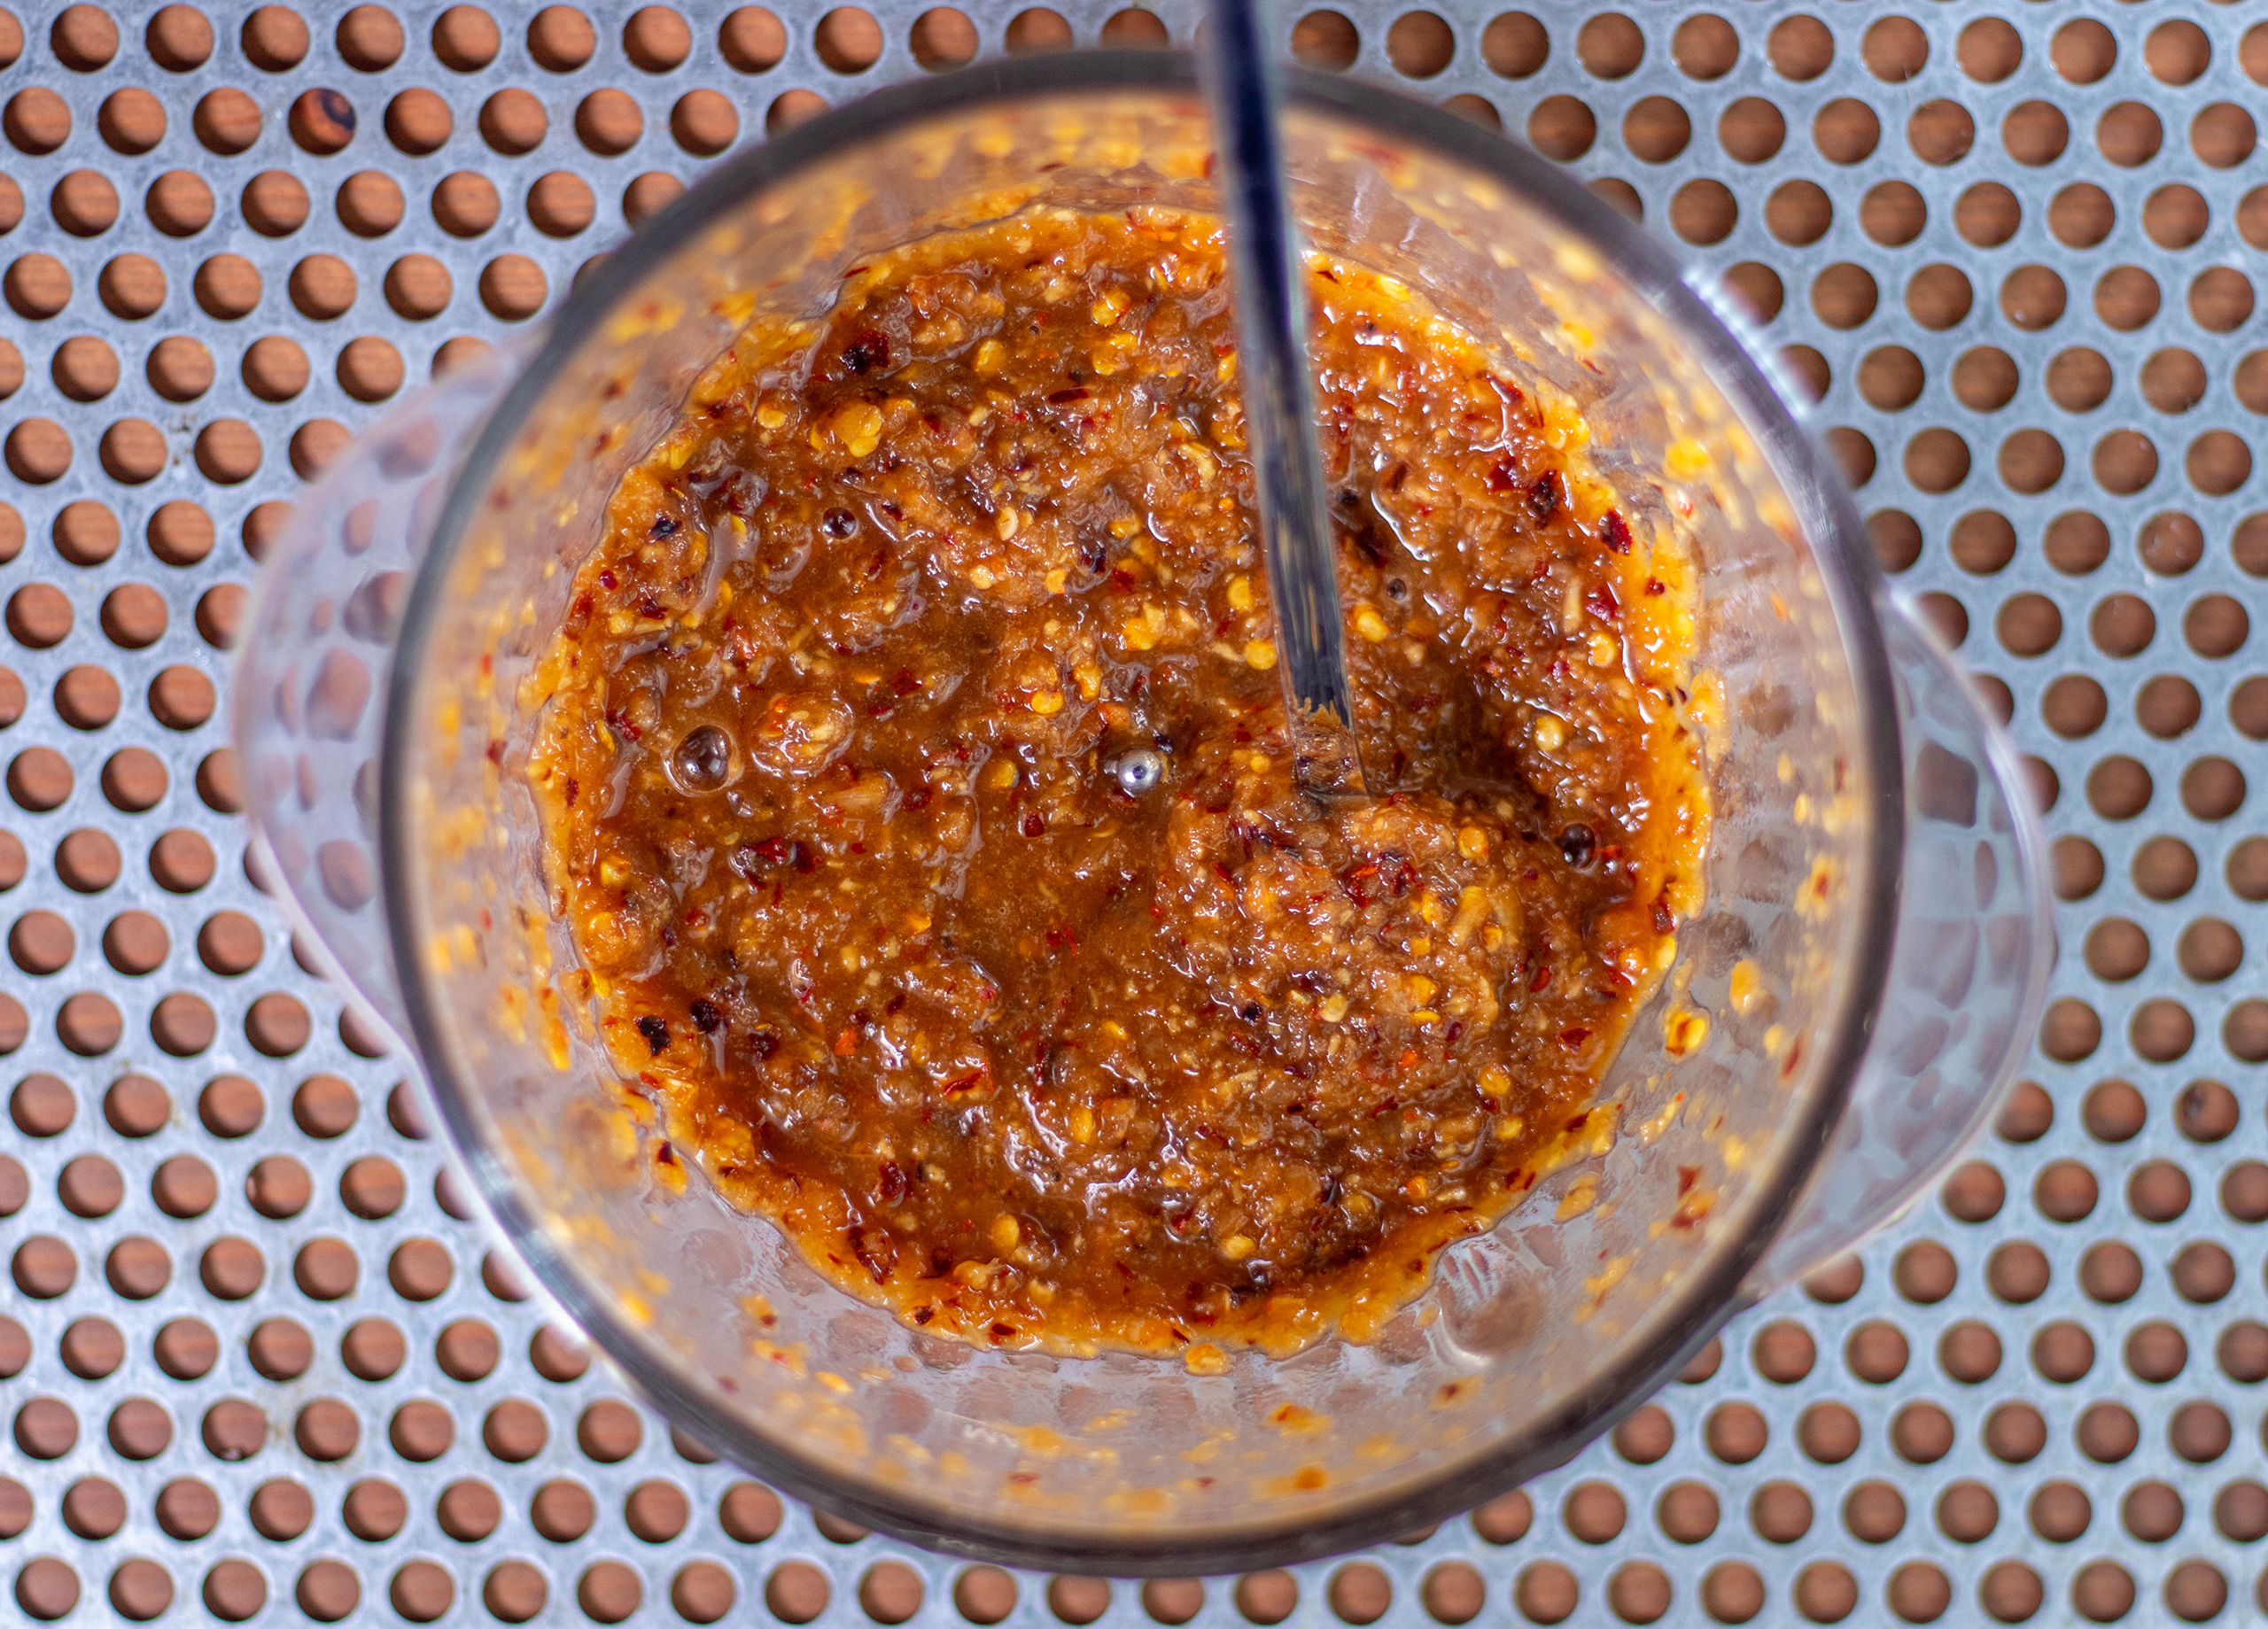
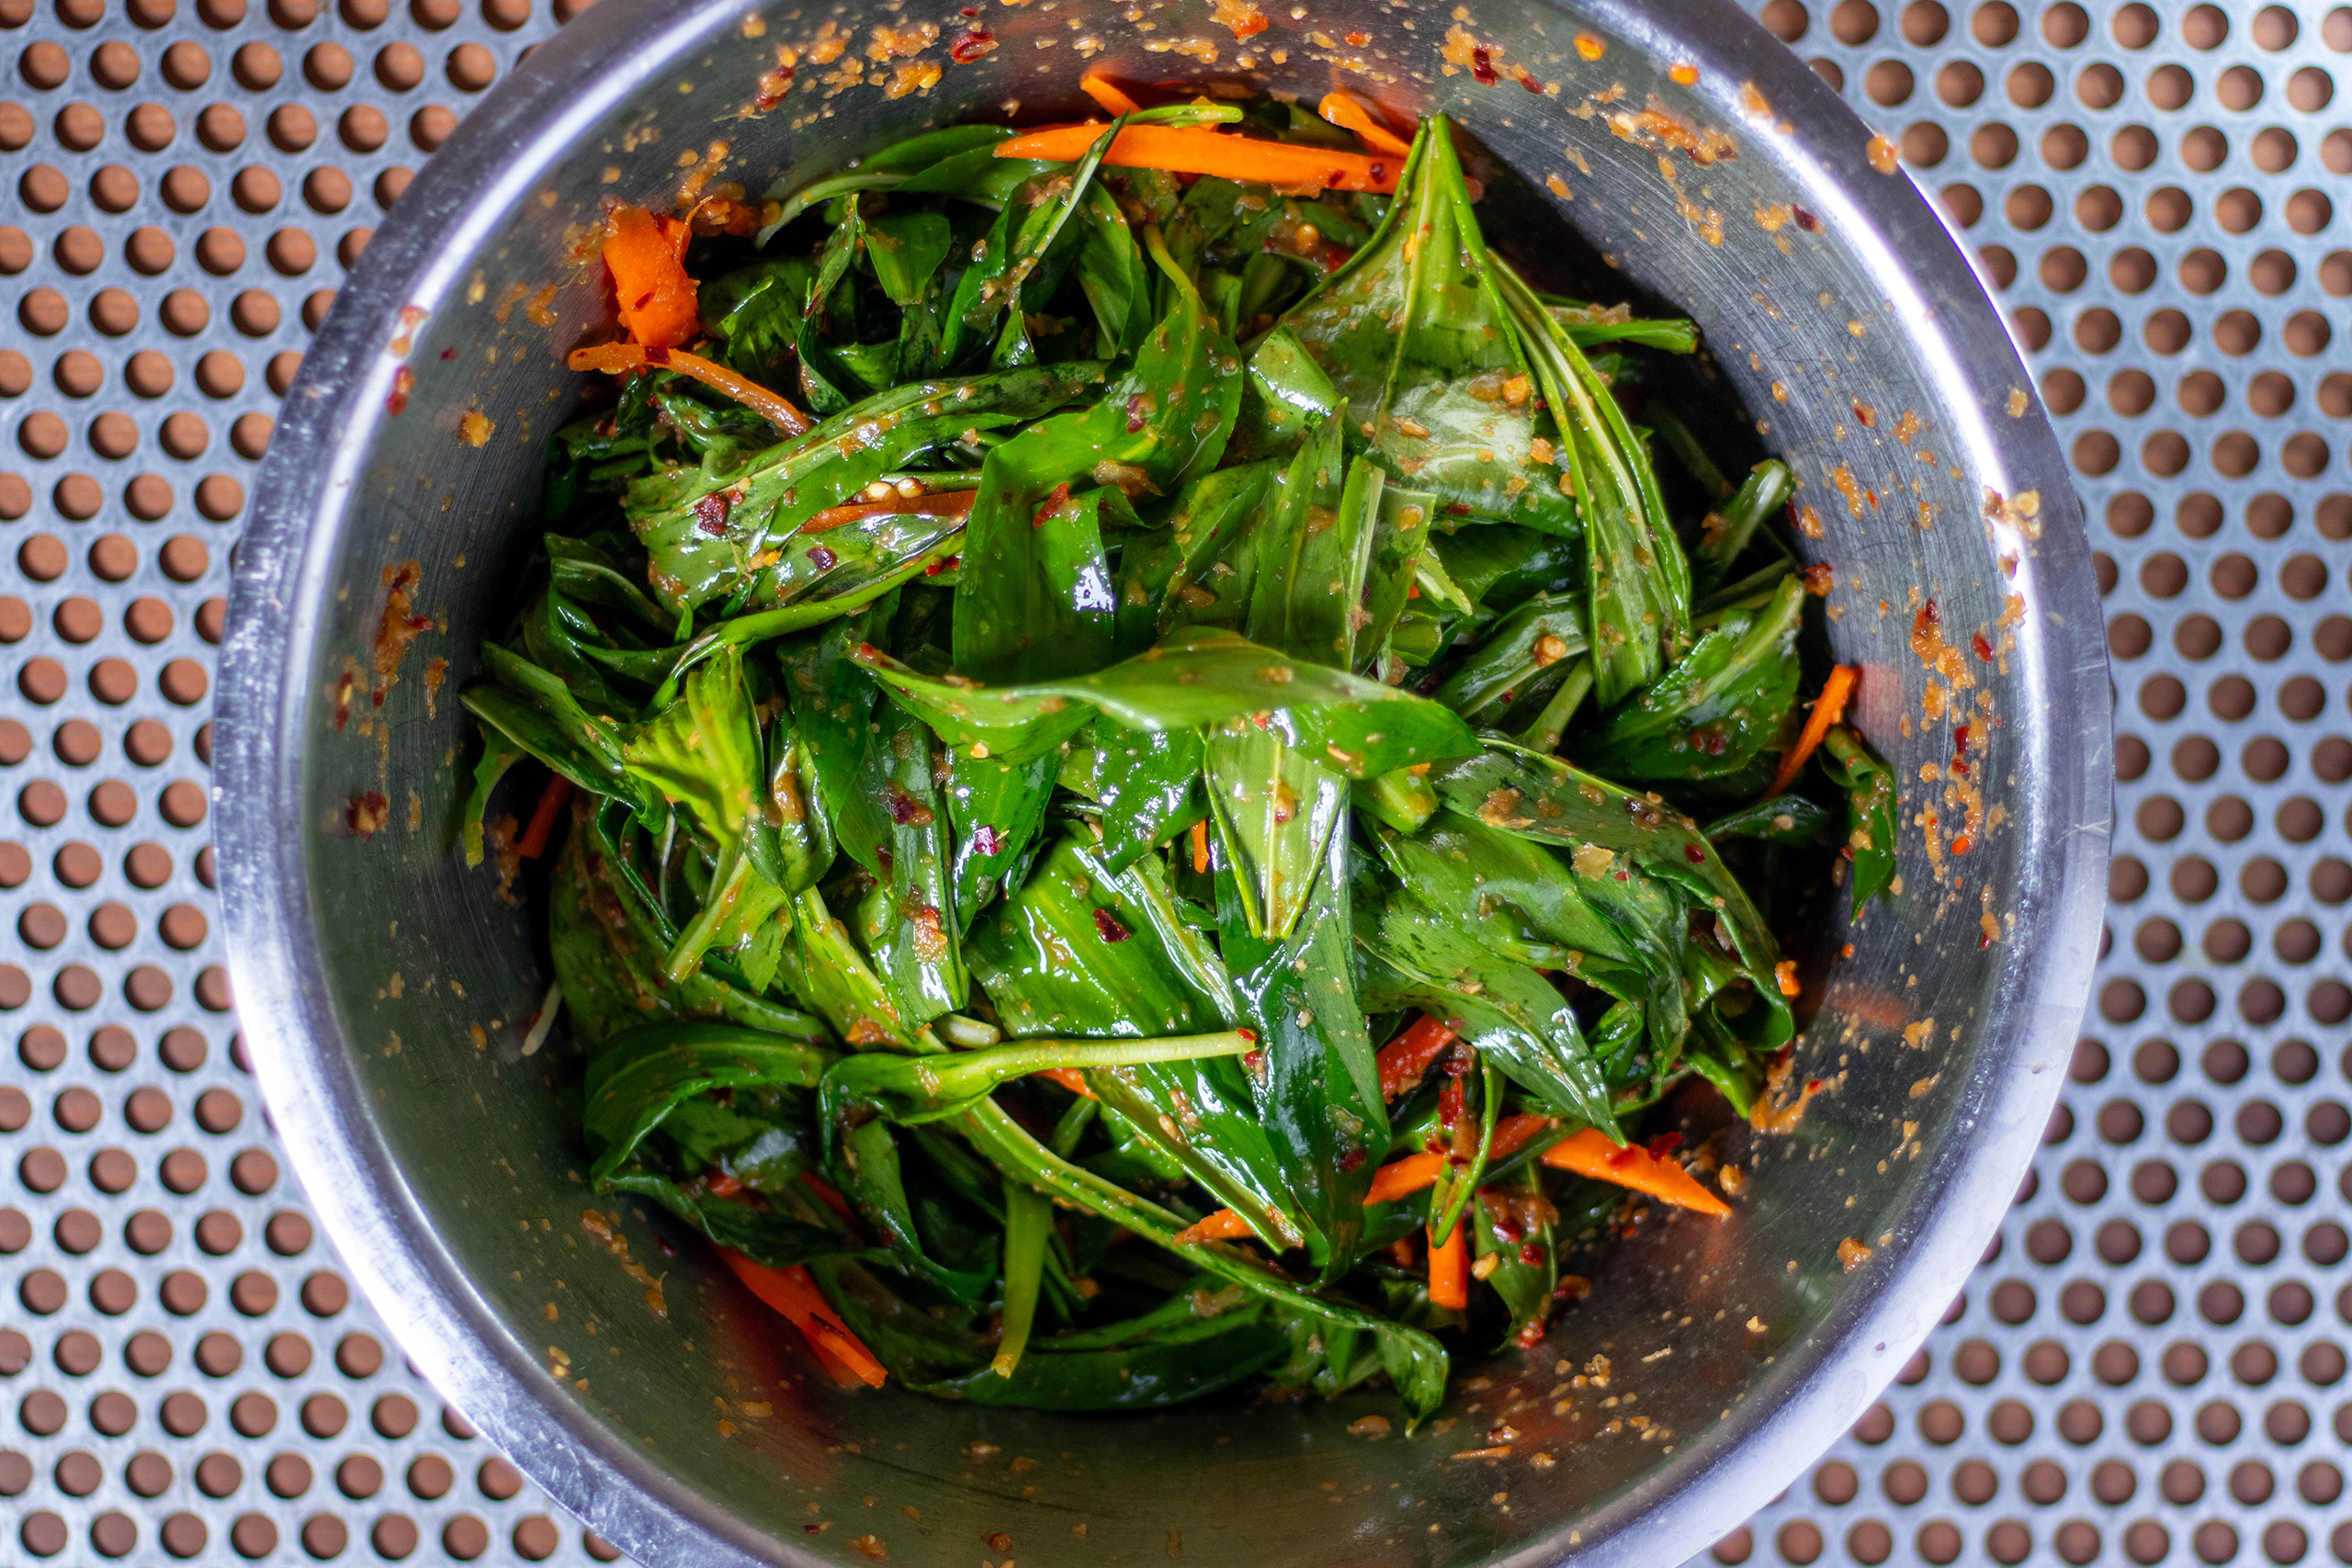
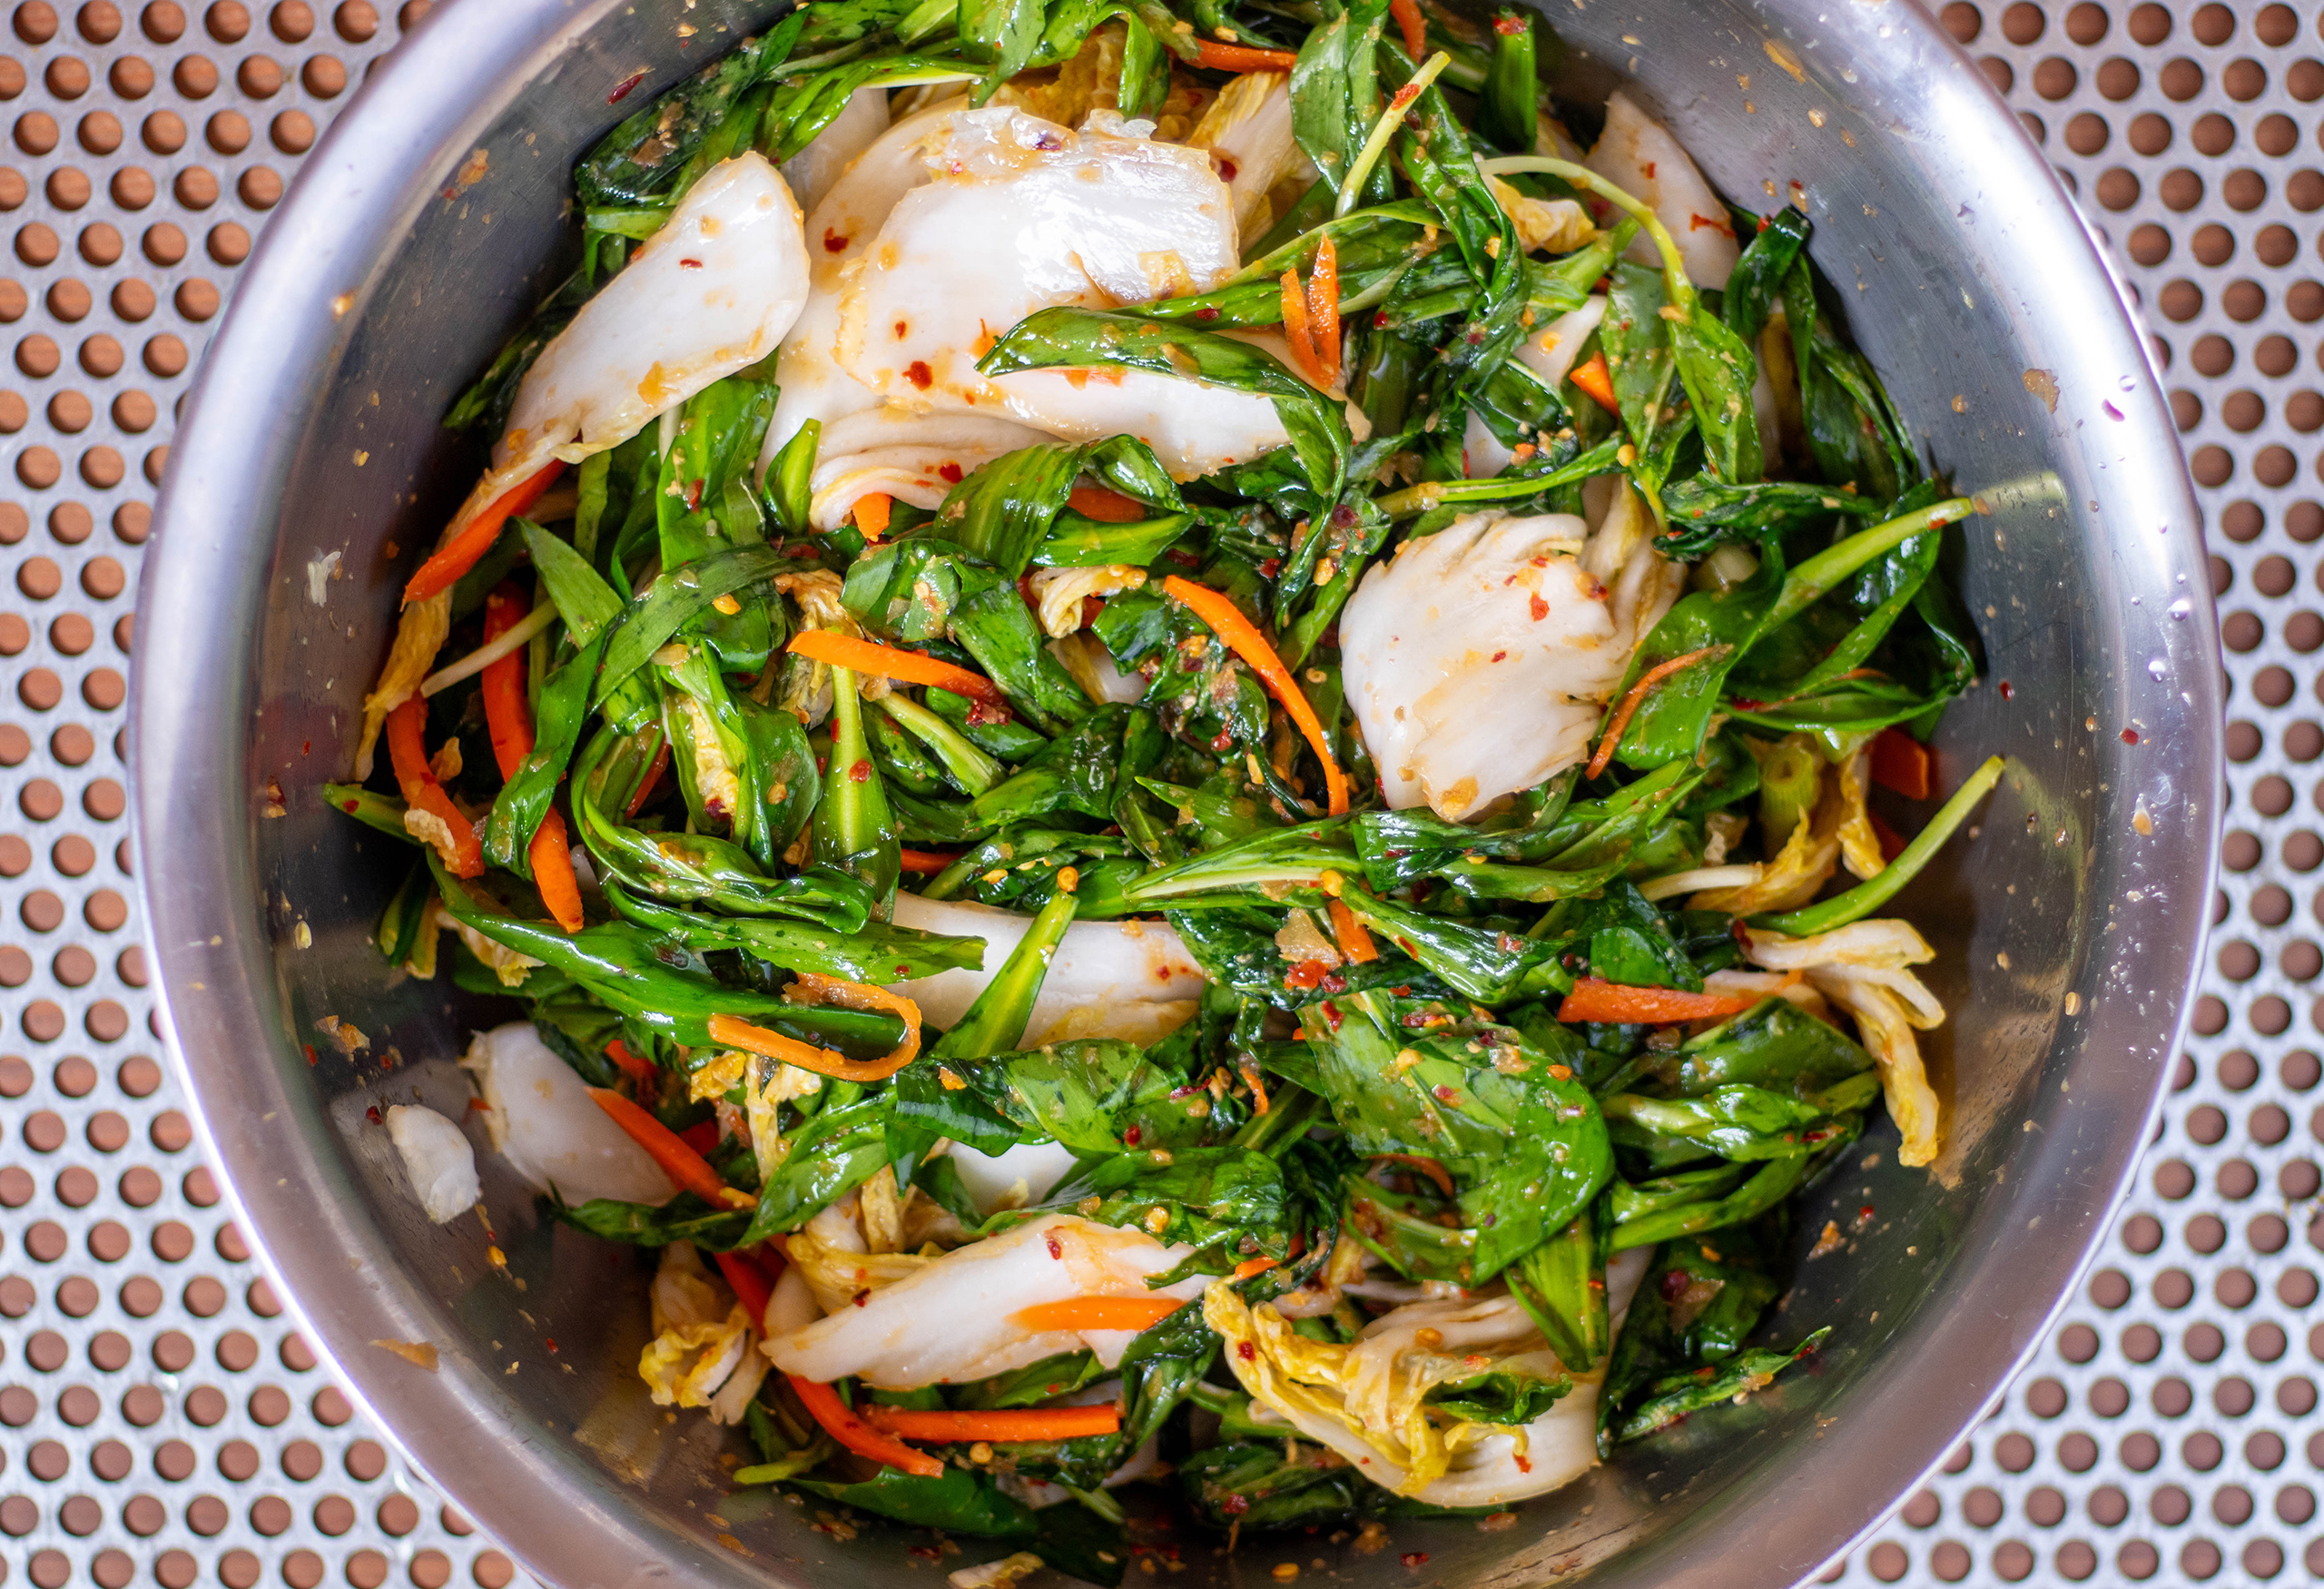
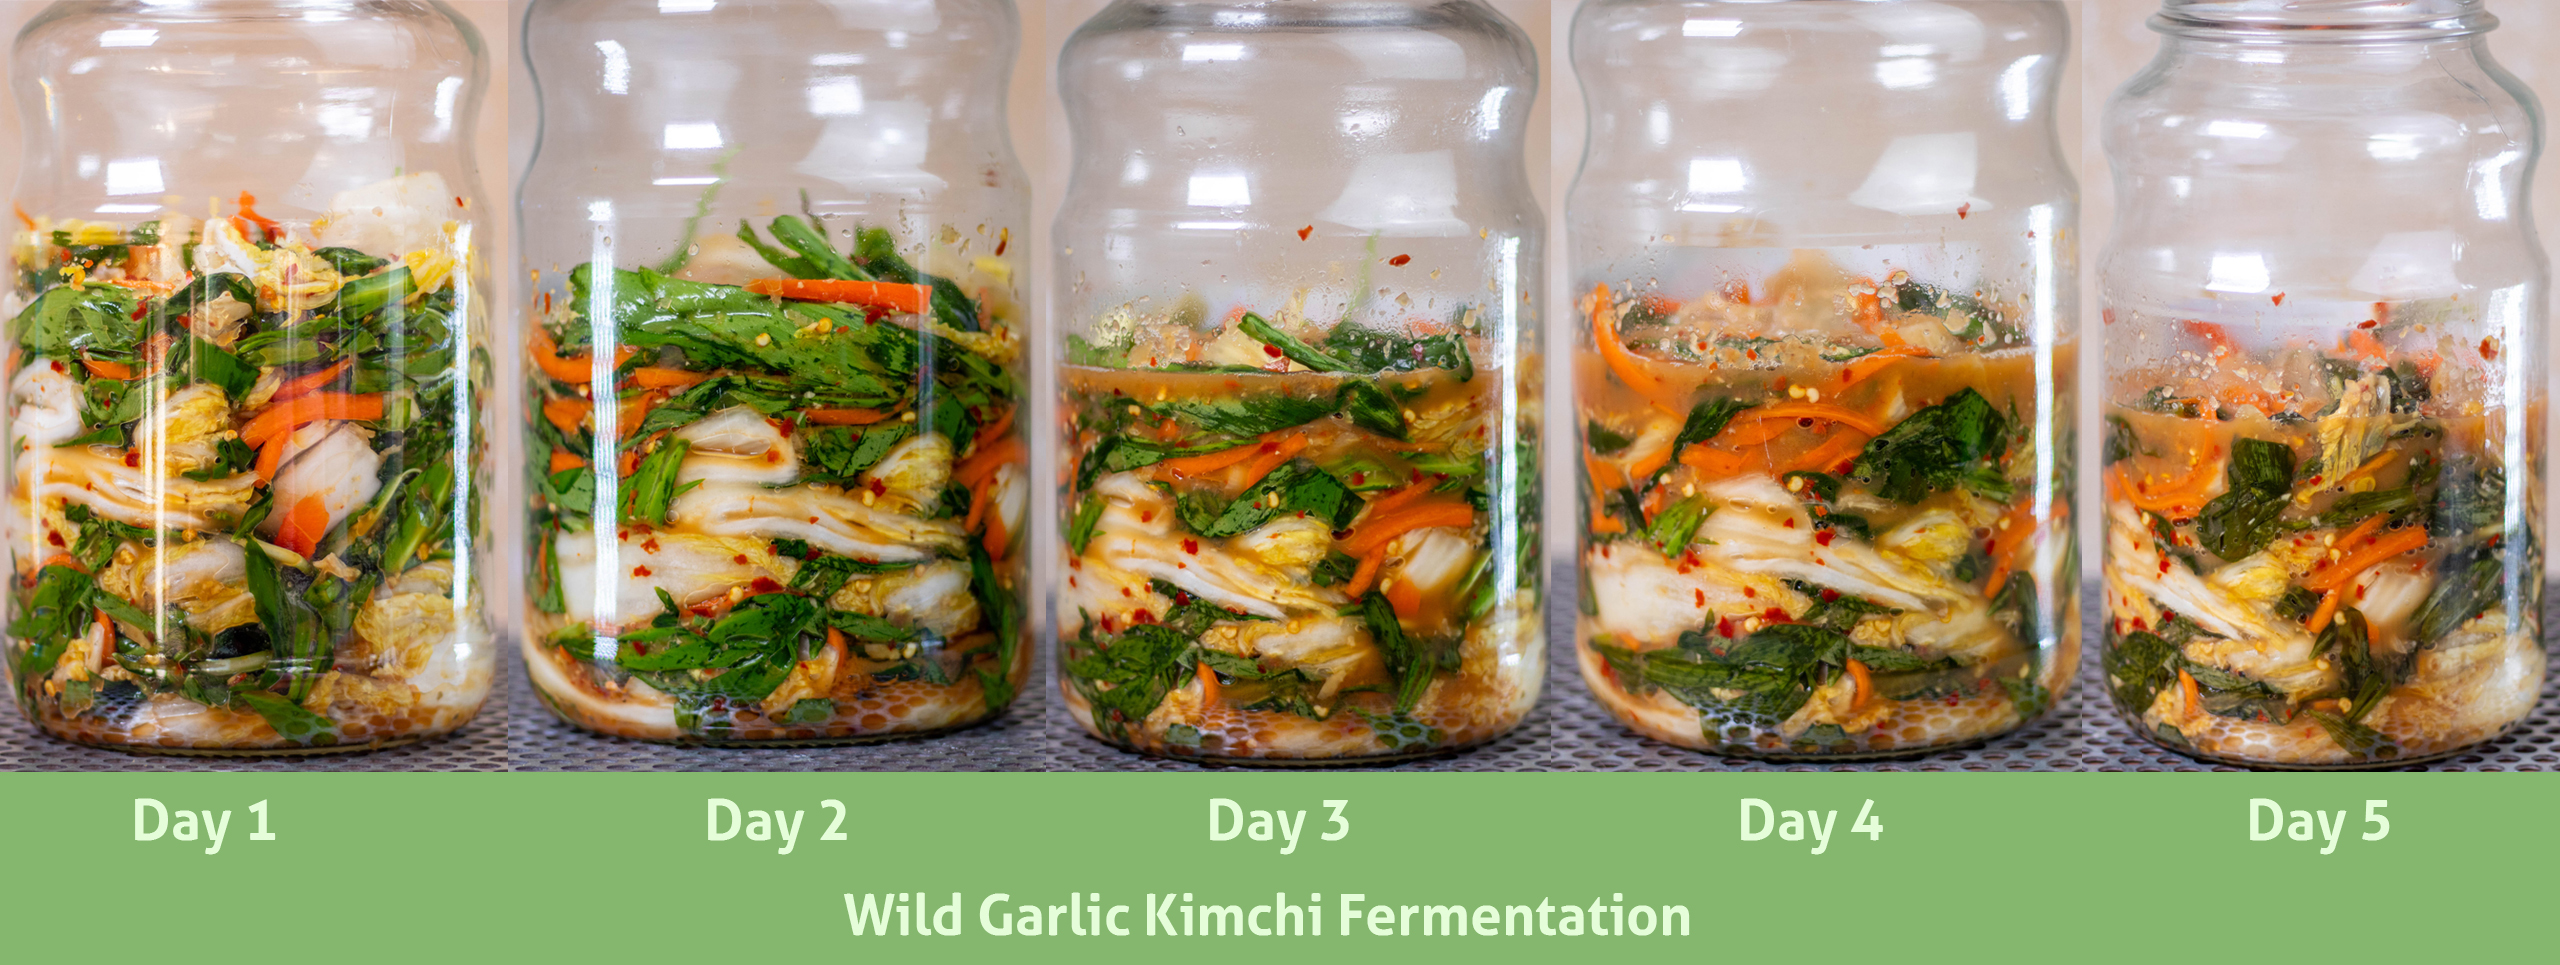
1. All ingredients for wild garlic kimchi2. The vegetables are chopped, now the Chinese cabbage can be divided.3. The Chinese cabbage for the kimchi preparation is quartered, divided and salted.4. The salted cabbage for the kimchi is kneaded and must now steep for 2 hours.5. Preparing the seasoning paste for the wild garlic kimchi.6. the finished seasoning paste for the kimchi.7. The seasoning paste is mixed with all the vegetables except the cabbage and kneaded.8. Unfermented kimchi is delicious on its own. Also known as geotjori, unfermented kimchi is a popular side dish.Wild garlic kimchi: fermentation from day 1 to day 5Wild garlic kimchi and the basics of lactofermentation
Ingredients for approximately 1 liter of wild garlic kimchi:
200 g wild garlic 1 medium-sized Chinese cabbage, organic 1 organic carrot, peeled, julienned 5 organic spring onions, sliced 1 heaped teaspoon rice flour 100 ml water 1 teaspoon cane sugar
1 onion, roughly chopped 3 garlic cloves, peeled 1 thumb-sized piece of ginger, roughly chopped 2 heaped teaspoons nori flakes 3 tablespoons soy sauce (gluten-free if needed) 1 teaspoon light miso paste 5 heaped teaspoons chili flakes
Uniodized salt
Preparation:
Prepare and ferment the wild garlic kimchi:
Quarter the Chinese cabbage lengthwise and separate its leaves.
Then sprinkle them thoroughly with sea salt and stack them on top of each other in a large bowl.
Lightly knead the salted Chinese cabbage leaves.
Let them soak for a total of 2-3 hours, until the cabbage has softened and absorbed the water thoroughly. Turn the salted Chinese cabbage every 30 minutes.
To make the kimchi seasoning paste more pliable, I make a roux of rice flour and water.
Stir the rice flour into 100 ml of cold water.
Bring to a boil in a small saucepan and simmer, stirring, until a thick sauce forms.
Then stir in the cane sugar.
Let this rice sauce cool completely.
Place the onion, garlic, ginger, chili flakes, and nori flakes in a food processor with the soy sauce and miso paste. Finely chop or puree until a smooth seasoning paste is formed.
Add the rice flour sauce to the seasoning paste and puree again.
Using your hands, knead the wild garlic, carrot strips, and spring onions into the seasoning paste. It’s best to wear rubber gloves doing so, as otherwise the chili will stick to your fingers, which you’ll notice the next time you rub your eyes, even if you wash your hands.
After the Chinese cabbage has soaked in salt, drain the salted water from the cabbage, reserving the water.
Wash the cabbage thoroughly under cold water and, if desired, cut it into bite-sized pieces. I usually leave it whole.
Now mix the cabbage leaves with the seasoning paste and its other ingredients, as well as the reserved cabbage water. Knead everything well.
Geotjori:
The unfermented kimchi is now ready to be bottled. In Korea, it’s called geotjori in this state and is often eaten with rice. Feel free to try it now or set aside a small portion. Geotjori is a delicious side dish for Asian dishes.
Fermentation time for wild garlic kimchi:
Now pour the wild garlic kimchi into a screw-top jar or kimchi container. Press the vegetable mixture firmly into the container to expel any air bubbles.
Place the lid on the container, but don’t close it tightly. When the kimchi begins to ferment, air must be able to escape.
Let it stand at room temperature for 4-7 days. From the third day onwards, taste occasionally whether the kimchi is strong enough for you.
During this waiting period, press down on the kimchi 1-2 times a day. To do this, press down on the cabbage with a clean spoon so that any air bubbles that form can escape.
Once the wild garlic kimchi is to your tasting, seal the container tightly and store it in the refrigerator. It will keep for several weeks to months and can be enjoyed again and again.
The best vegan smoked salmon recipe! My recipe for carrot lox, in which I refine the carrots in a crust of salt. That creates a deep flavor and incredible texture. In its smoky marinade, full of sea flavors, my carrot lox will keep for several weeks in the refrigerator.
My vegan lox is perfect for sandwiches, bagels, sushi, wraps, salads, as part of a brunch platter, and as a topping or side treat for many dishes.
The best vegan smoked salmon recipe! Carrot lox – cooked in a salt crust. Deep flavour, incredible texture, and sea-like aromas.
My salt-crusted carrot lox has proven itself over many years.
You can first find my smoked vegan carrot salmon recipe in March 2017 on the German version of my Daily Vegan blog. My preparation method for carrot lox has simply proven itself over the years. I’ve used my salmon recipe in various recipes on Daily Vegan and also in jobs at restaurants, including my own. Baking the carrots in a salt crust simply produces the best results when making carrot salmon.
For several years now, you’ve been finding more and more carrot lox recipes on blogs and social media. However, the carrots in these recipes are always cooked by boiling or steaming. All I can say is: the effort with the salt crust in my recipe is worth it! The salty flavor typical of salmon infuses deep into the pores of the carrots. And the texture is simply incomparable! I can therefore only recommend making vegan lox with carrots baked in a salt crust.
My carrot lox made by being baked in a salt crust has proven itself over many years.
Vegan smoked carrot salmon, carrot lox? Does it even taste good?
Carrot lox is a plant-based delicacy that delights more than just vegans. This innovative alternative to smoked salmon combines the tender texture of marinated carrots with a smoky, sea-like flavour that’s extremely reminiscent of classic salmon, but completely without the fish. Carrot lox, carrot salmon, whatever you want to call it, as well as other vegan salmon alternatives have experienced a strong trend in recent years and are enjoying ever-increasing popularity. I’ve also been using my carrot lox recipe in various dishes on my German blog for years. And here it is, in the English version.
Carrot lox is a plant-based delicacy that not only vegans love.
Vegan Carrot Lox looks absolutely delicious
My smoked carrot salmon is a real eye-catcher, not just in terms of taste but also in terms of appearance: bright orange, with a structured surface reminiscent of the finest smoked salmon. And then, with the first bite, its full magic unfolds – a hint of the sea, combined with a delicate texture and spicy depth. My vegan carrot lox immediately makes your taste buds scream for more.
Not only in taste, but also visually my carrot lox is a highlight
Carrot lox tastes much better and is healthier than store-bought vegan salmon.
In recent years, several plant based lox alternatives have appeared in supermarkets. These vary in taste. There are starch-based alternatives, which are essentially a very, very thick pudding flavored with seaweed and liquid smoke. Then there are other alternatives based on cognac root starch, but these are not heat-resistant. Overall, the consistency of store-bought alternatives is unconvincing. And unfortunately, supermarket smoked salmon alternatives have no nutritional value at all. My carrot lox is completely different, with a pleasant bite. And, because it’s made from carrots, also very healthy.
Smoked carrot salmon tastes much better and is a lot healthier than store-bought vegan salmon.
Carrot lox – vegan smoked salmon made from regional carrots that are in season year-round
This environmentally friendly and sustainable alternative to traditional salmon is not only a delight for your meal, but also a great contribution to climate protection and combating overfishing and cruel fish farming practices. Carrots are seasonal and regionally available year-round. So you’re not dependent on any particular season and can always enjoy salmon made from regional carrots, saving on long transport routes. Carrot smoked salmon proves that plant-based cuisine can be surprising, delicious, and incredibly sophisticated!
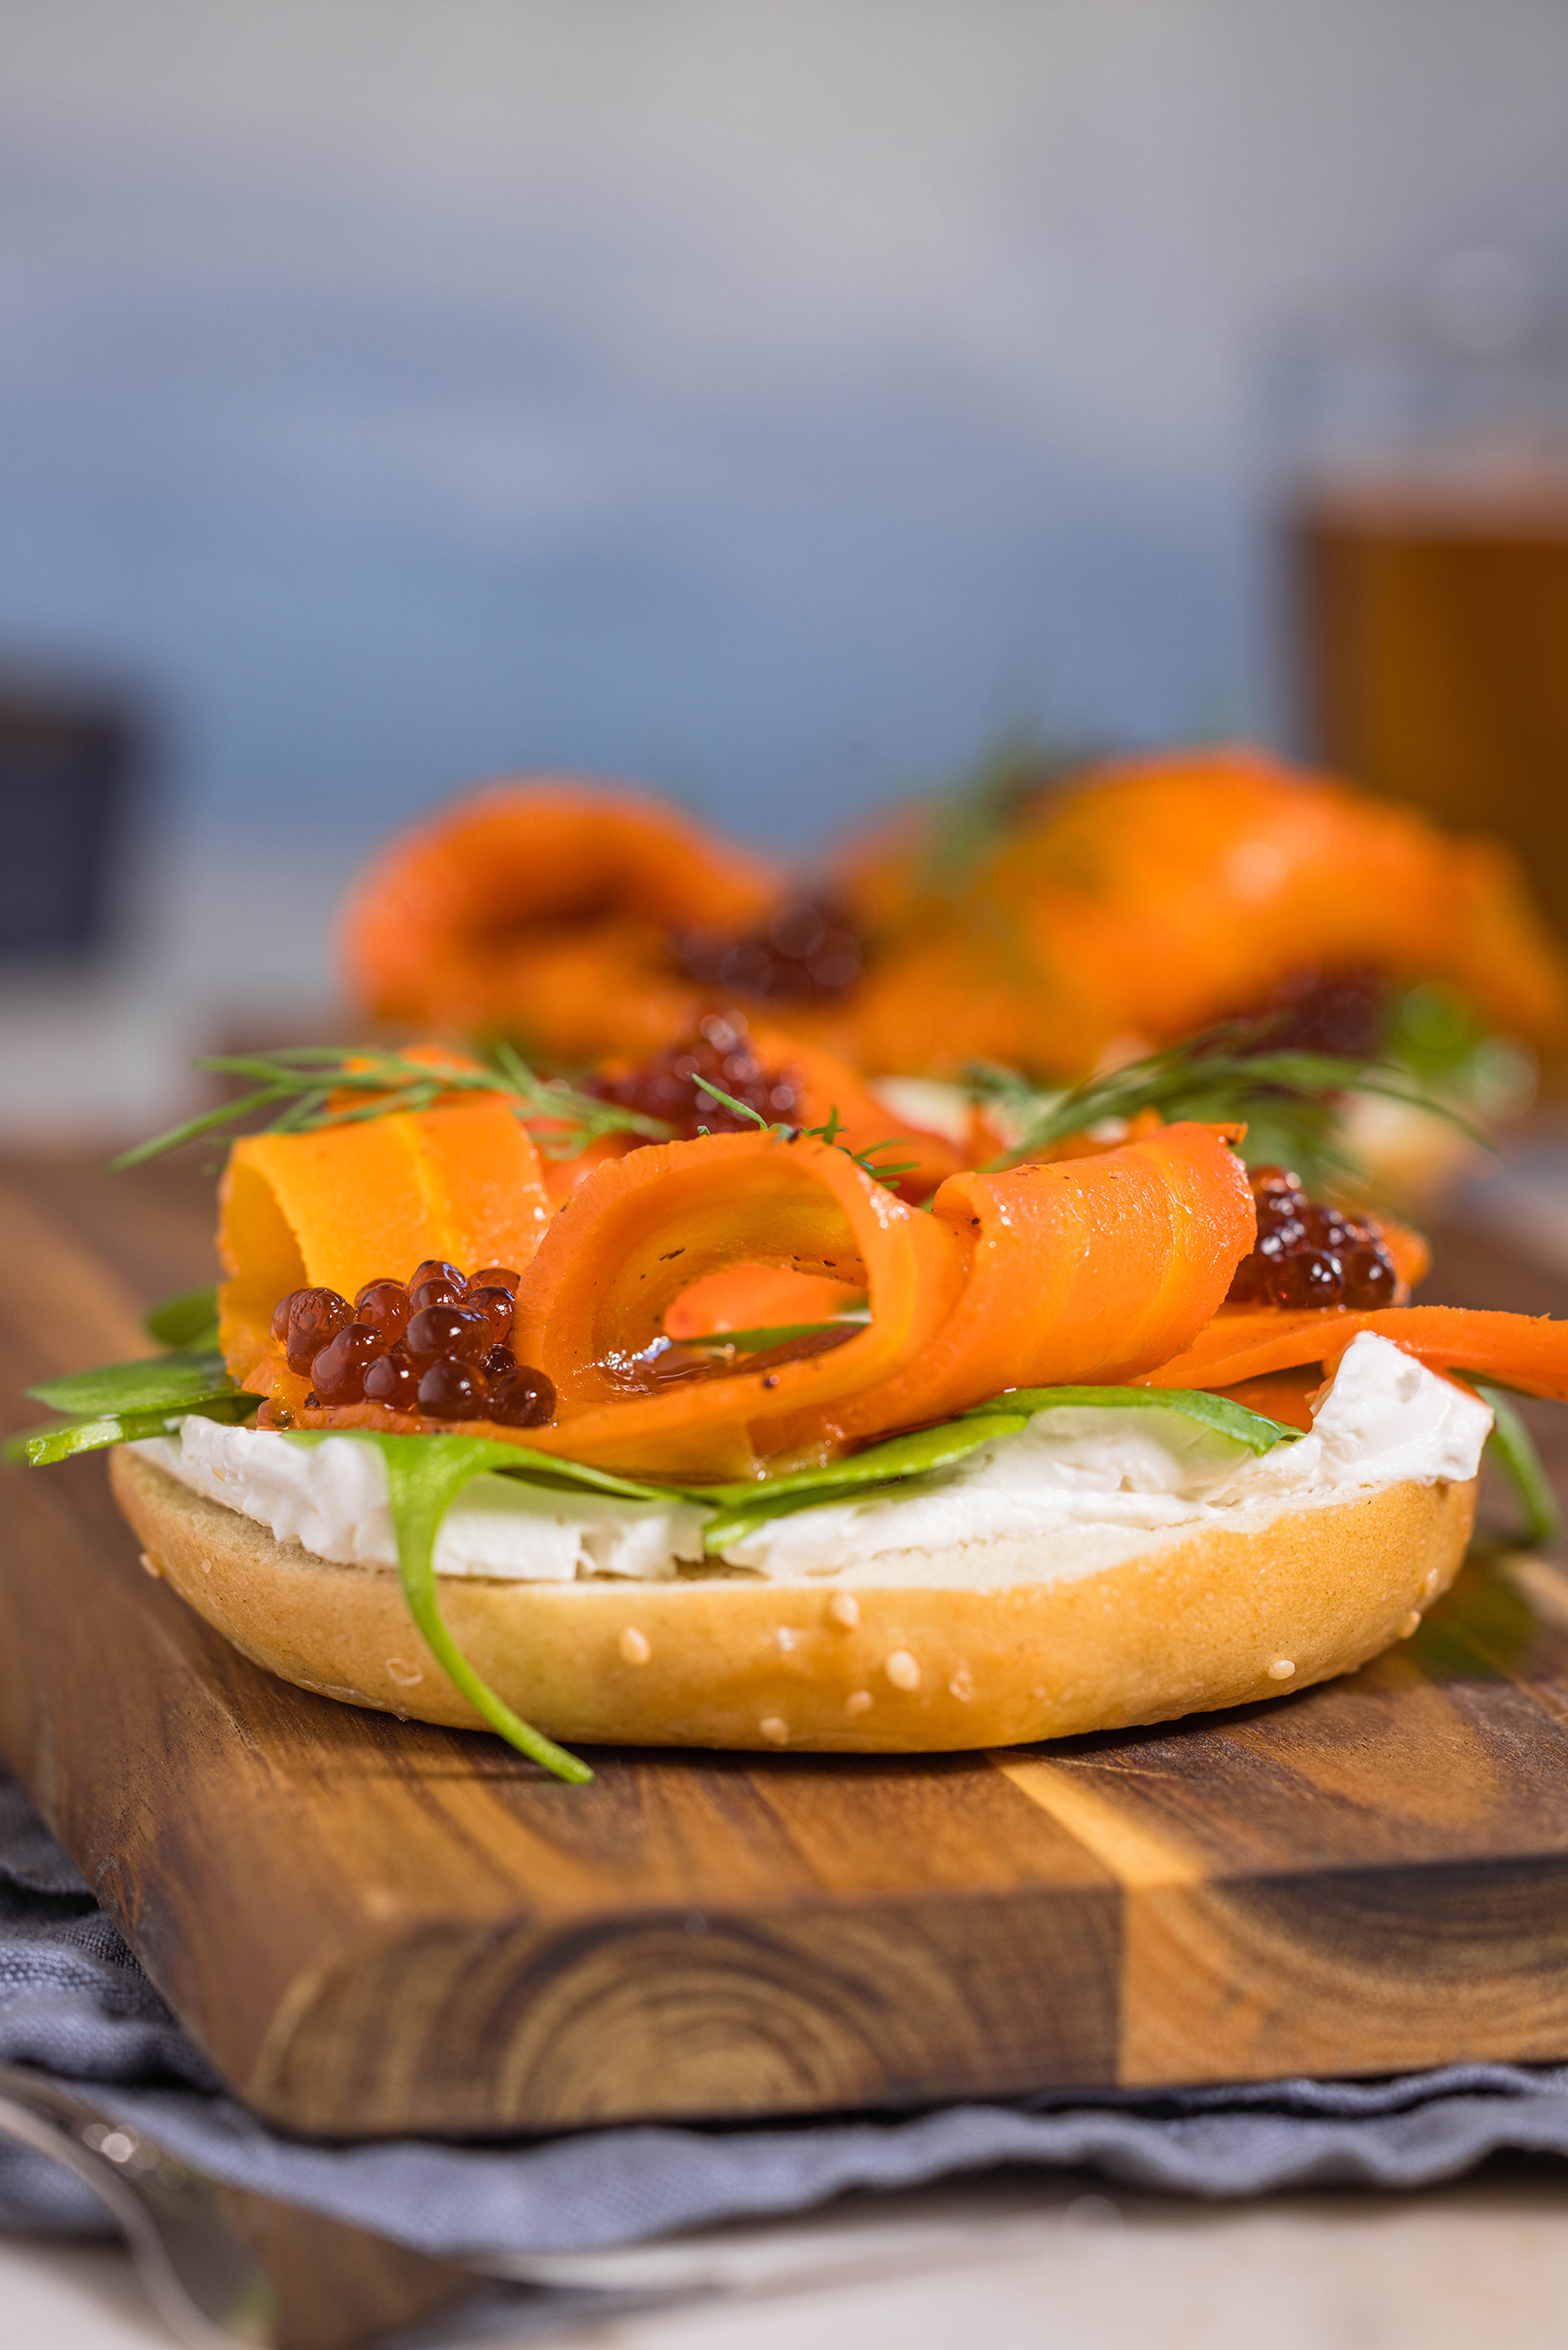
Carrot lox – vegan lox made from regional carrots that are in season year-round. Seen here on a bagel with vegan caviar.
What can I use homemade vegan smoked salmon for?
Carrot lox tastes great on bread, bagels, rolls, as a topping on bowls, for sushi, on salads, on brunch platters, charcuterie boards, buffets, and much more. As you can see from the photos, I like to eat my carrot salmon with vegan cream cheese, homemade caviar, and dill on bagels.
Do you love vegan fish alternatives and are always looking for new recipes? Then browse my “V Fish” category right here on Daily Vegan. Or try these recipes from me:
In its smoky marinade full of sea flavors, my carrot lox will keep for several weeks in the refrigerator.
Show me your carrot lox
Please follow me on Instagram or Facebook. And I’d be delighted if you made my vegan lox and posted a photo of it, tagging my account. Because I always find it really great and exciting to see how my recipes have been prepared in other kitchens!
Please show me your vegan carrot lox.
Carrot lox – preparation in pictures
The following photos show you step-by-step how to prepare vegan smoked salmon in salt curst. Afterwards we go straight on with the recipe.
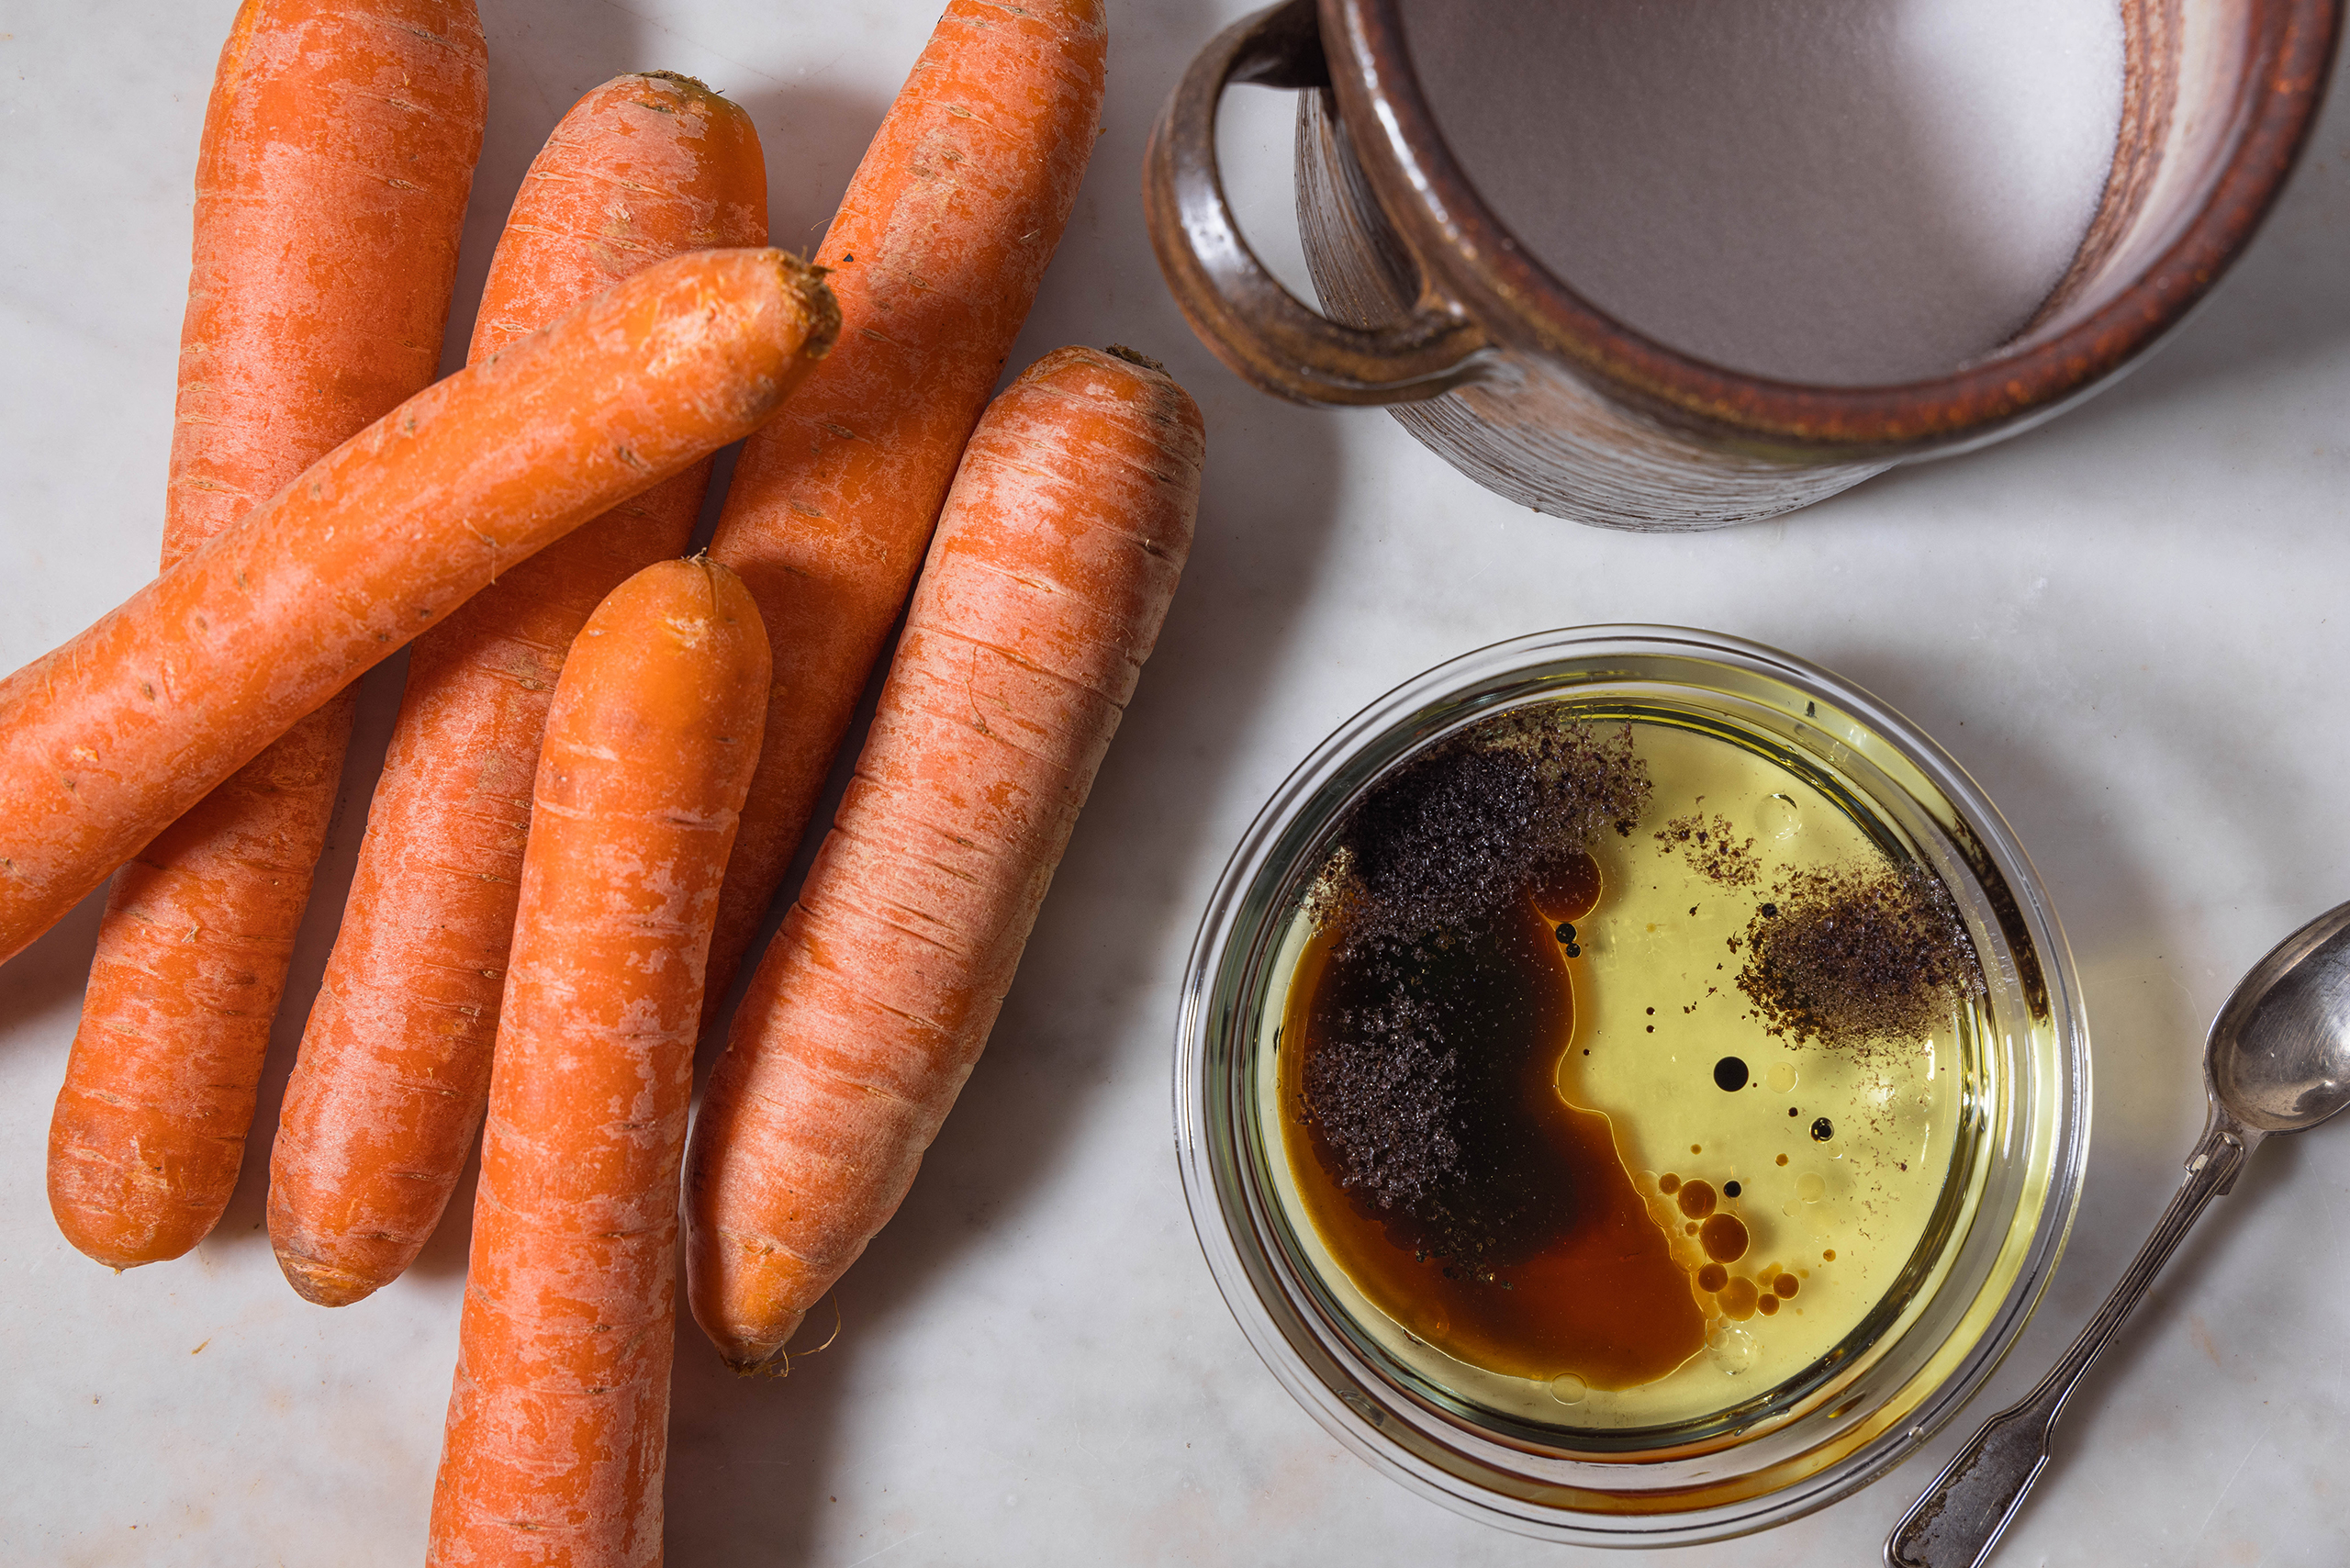
1. All ingredients for vegan carrot lox.2. Mix all ingredients for the marinade.3. Pour about one-third of the salt into a fireproof dish and spread it evenly.4. Wash the carrots and place them wet on the salt bed.5. Coat the carrots completely with salt.6. Bake the carrots in the salt crust for 90 minutes, then let them cool slightly.7. Carefully remove the salt crust from the carrots.8. Peel the carrots.9. Cut the carrots into very thin slices.10. Pour the marinade over the carrot slices and let them marinate in the refrigerator overnight, or even better, for 1-2 days.Carrot lox – the best vegan smoked salmon – refined in salt crust
Ingredients for approximately 18 small portions of carrot lox:
6 large carrots Approx. 600-1000 g salt (depending on the size and shape of the carrots)
Vegan salmon marinade:
300 ml oil 2 tbsp soy sauce, gluten-free if desired 2 tsp rice vinegar (available at Asian markets and larger supermarkets) 1 tsp liquid smoke 2 tsp nori flakes (alternatively, a shredded nori sheet/sushi sheet)
Preparation:
Preheat the oven to 190°C (375°F) top and bottom heat.
Mix the oil with the liquid smoke, nori flakes, soy sauce, and rice vinegar. Stir to recieve a nice marinade.
Wash the carrots, but do not dry them.
Pour about a third of the salt into a small, narrow baking dish and place the wet carrots on top.
Coat and cover the carrots with the remaining salt. The carrots should be completely covered in salt.
Bake in the oven for 1.5 hours.
Let the carrots cool slightly in the salt coating, then break open the salt crust and carefully remove the carrots.
Wipe off the salt and carefully peel the carrots using a small knife.
Afterwards cut the carrots into fine, long strips with a very sharp knife.
Place these carrot slices in a narrow glass bowl or plastic container.
Pour the marinade over the carrot strips and let them marinate in the refrigerator overnight, or even better, for 1-2 days.
Stored in the marinade, the vegan salmon will easily keep in the refrigerator for 2-3 weeks. But it will definitely be gone before then!