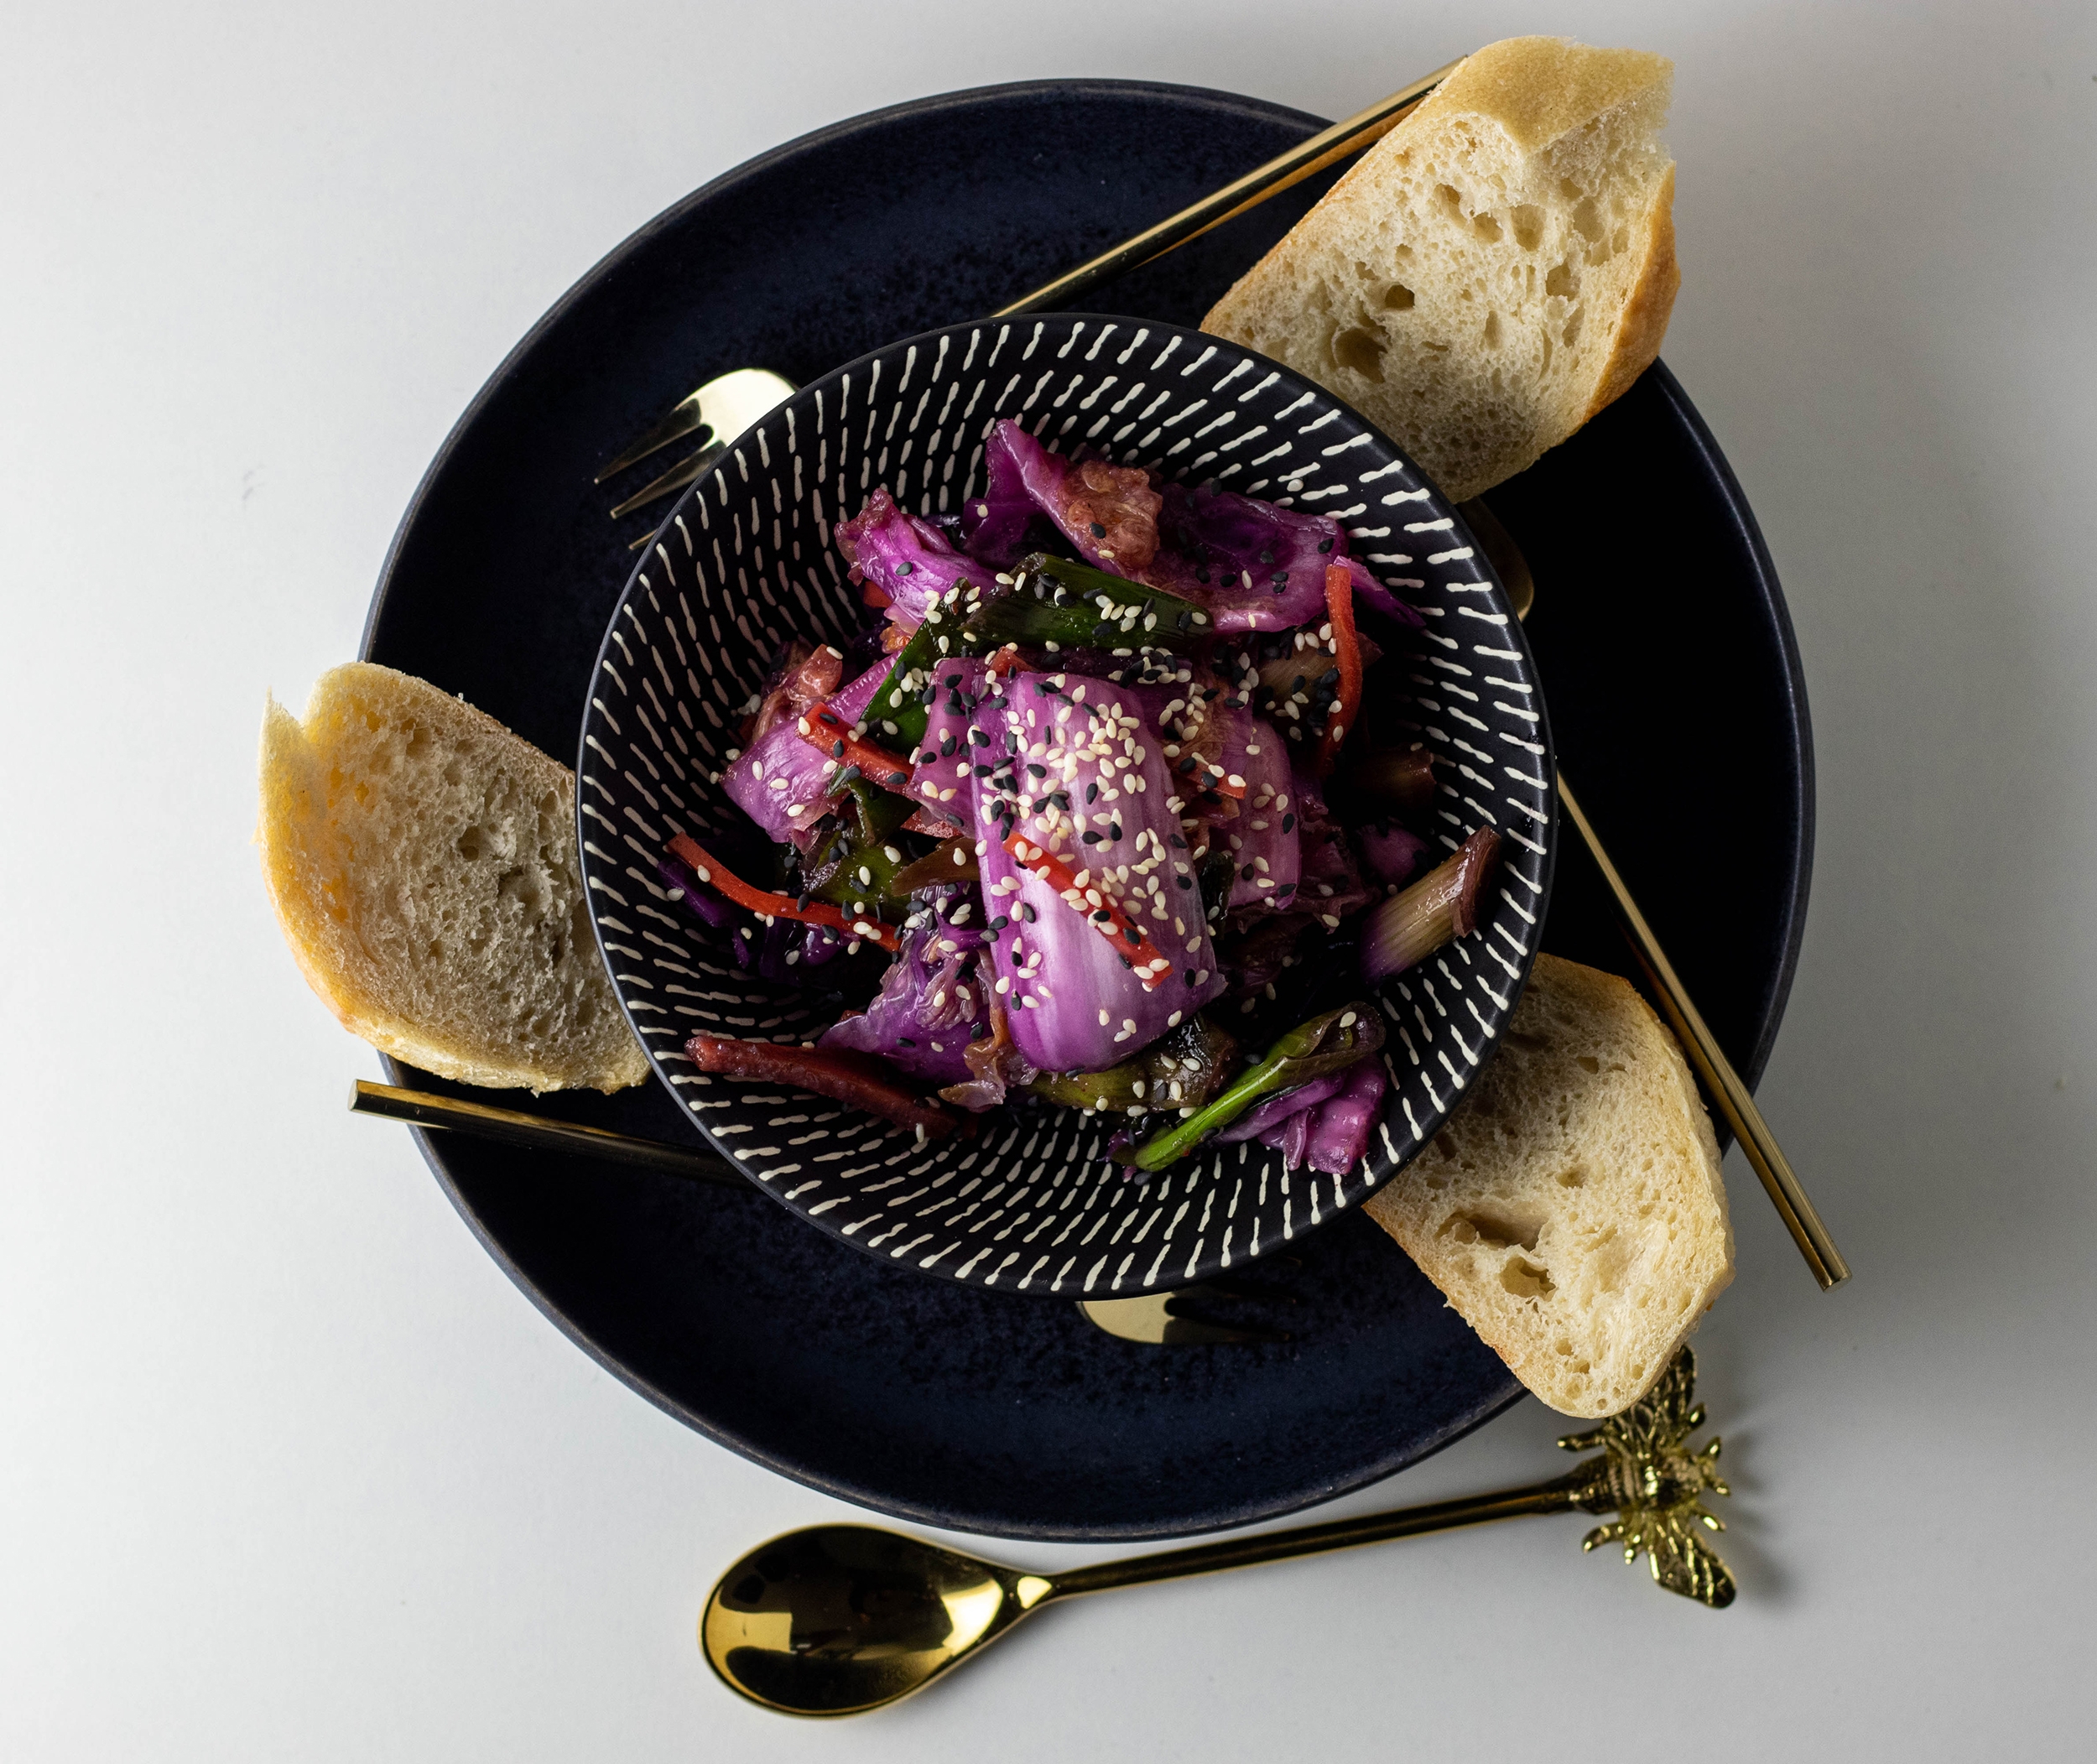
Vegan side dishes. Sides are the often underestimated, but nevertheless crucial accompaniment to a meal.
Side dishes are not only there to fill the plate. They also contribute significantly to the flavour composition and the overall experience of the meal.
Here you will find a variety of vegan side dishes!
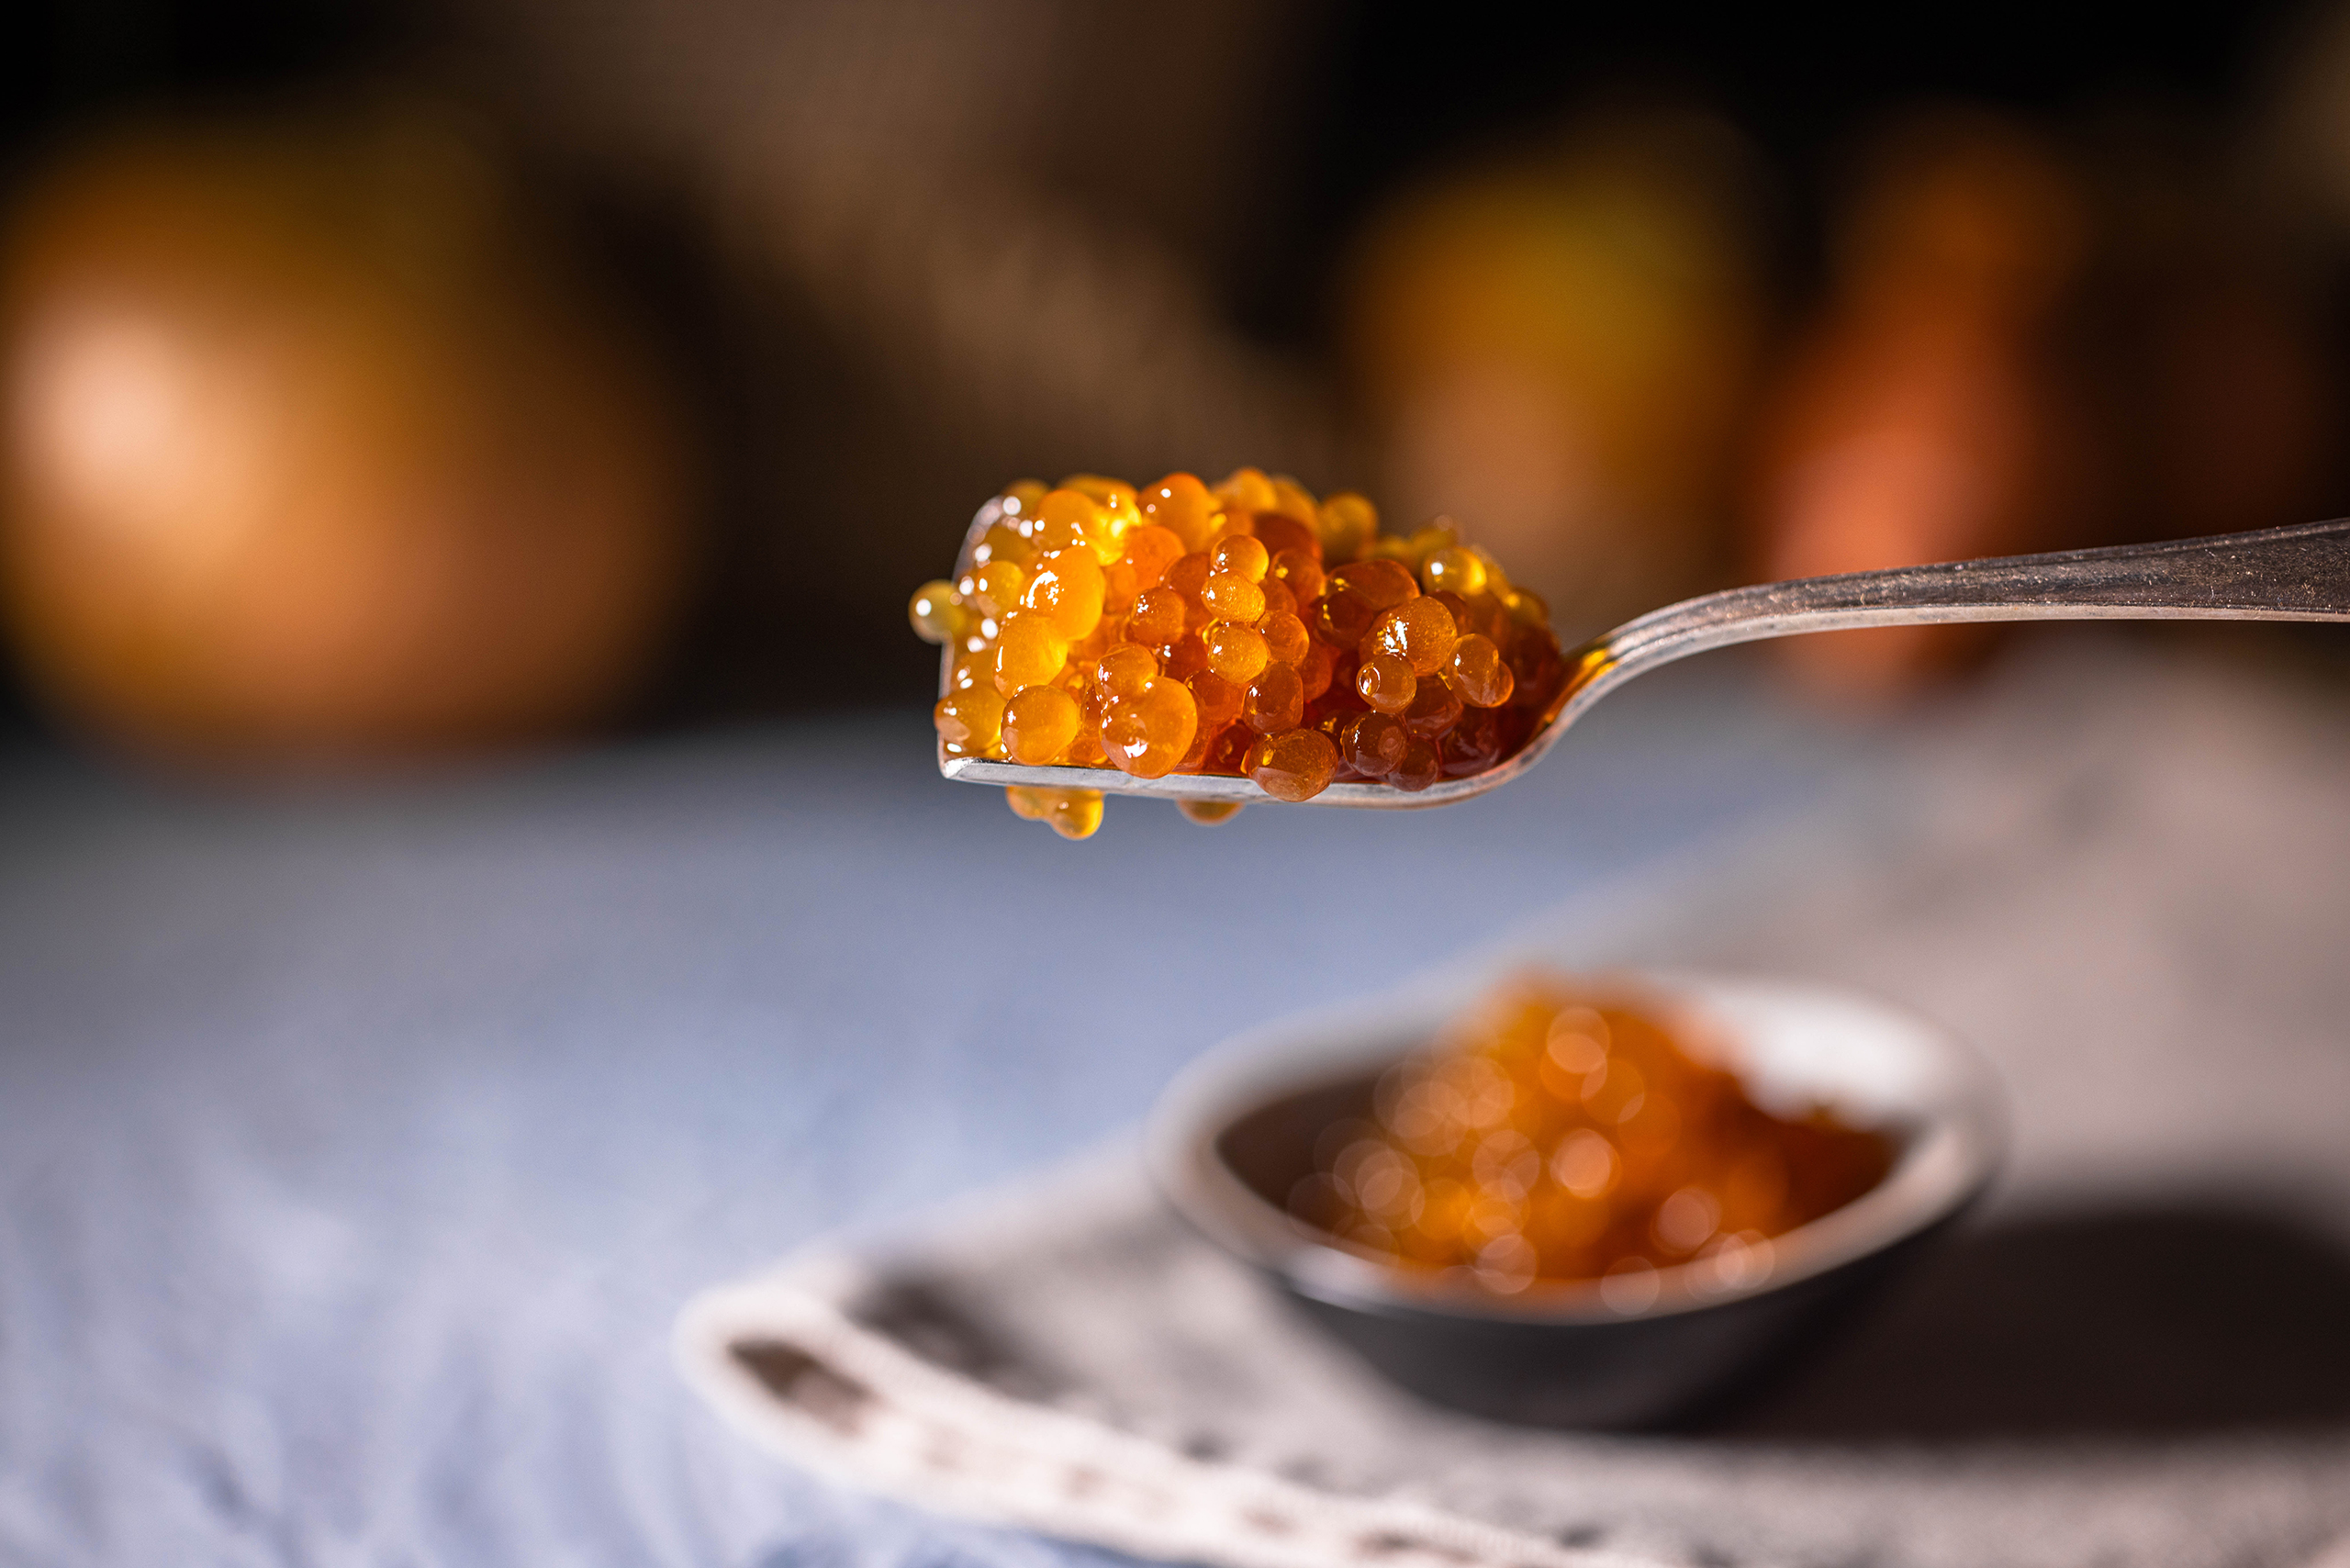
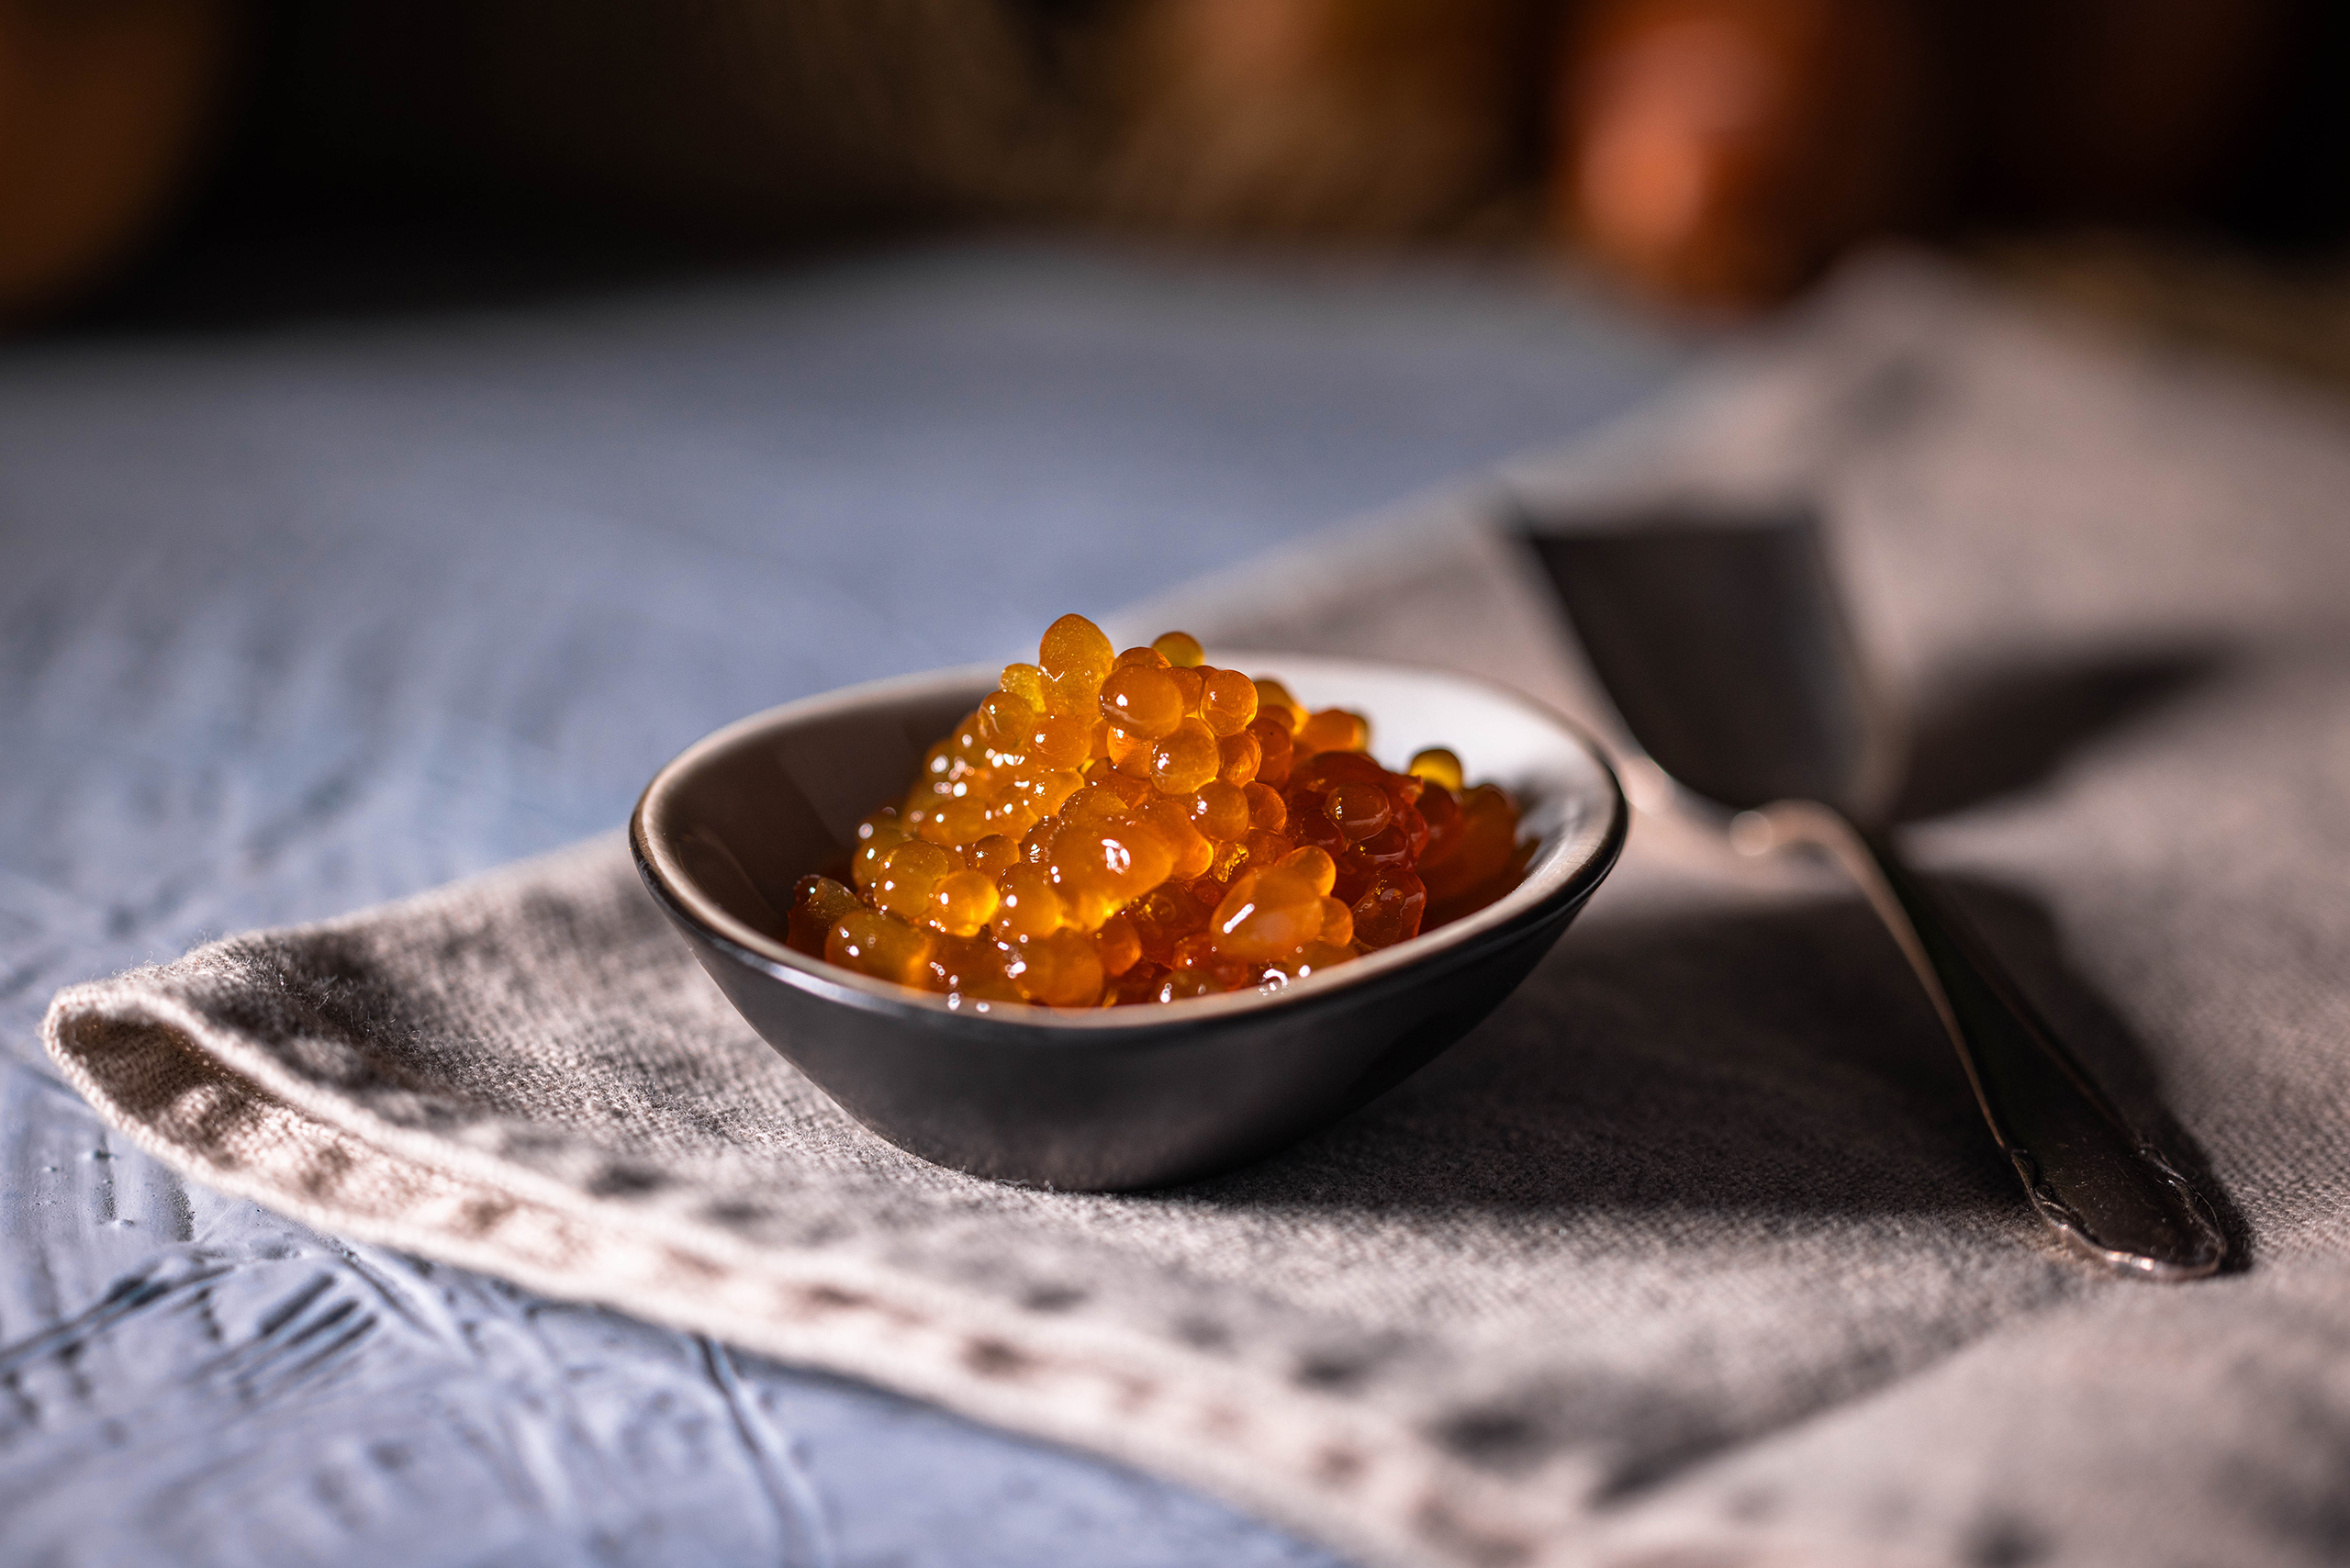
Onion Caviar – small pearls that look like caviar, but I made them from caramelized onions. An aromatic surprise in the mouth and a visual highlight. Since caramelized onions go well with so many dishes, these delicious, shiny pearls can be used to refine and enhance many dishes.
An aromatic surprise in the mouth and a visual highlight: onion caviar. Here with balsamic pearls on tomato tuna.
Onion Caviar – an aromatic highlight for sophisticated vegan cuisine
Do you love adding aromatic and visual accents to your plating? With these beautiful, shiny pearls and their fantastic flavor, you can easily combine both. Ideal for vegan, high cuisine. My onion caviar enhances many starters and main courses visually and flavourfully. It demonstrates vegan culinary art at a high level, but once you understand the principle of cold oil spherification, you can playfully implement it again and again.
Onion caviar – an aromatic highlight for the vegan haute cuisine
Vegan caviar in many flavors thanks to cold-oil spherification
The technique of gelling water-based drops in cold oil is called cold-oil spherification. This can be prepared in many flavors, so the sky’s the limit. However, the agar-agar content must be adjusted to the acidity of the liquid.
The cooking technique to produce vegan caviar is called cold oil spherification
More vegan seafood recipes
Have you always enjoyed eating fish and seafood and are now looking for vegan recipes for these dishes? Then simply browse my “V-Fish” category here on Daily Vegan. Or try these vegan fish recipes directly:
Sushi waffles with three kinds of homemade vegan caviar in the flavors of seaweed, caramelized onion, and balsamic vinegar.
Show me your vegan Onion Caviar
Please follow me on Instagram or Facebook. And I’d be delighted if you made my vegan Onion Caviar and posted a photo of it, tagging my account. Because I always find it really great and exciting to see how my recipes have been prepared in other kitchens!
Onion Caviar – How to Prepare in Photos
Here I’ll show you step by step how I prepare my onion caviar. After that, I’ll move on to the recipe directly.
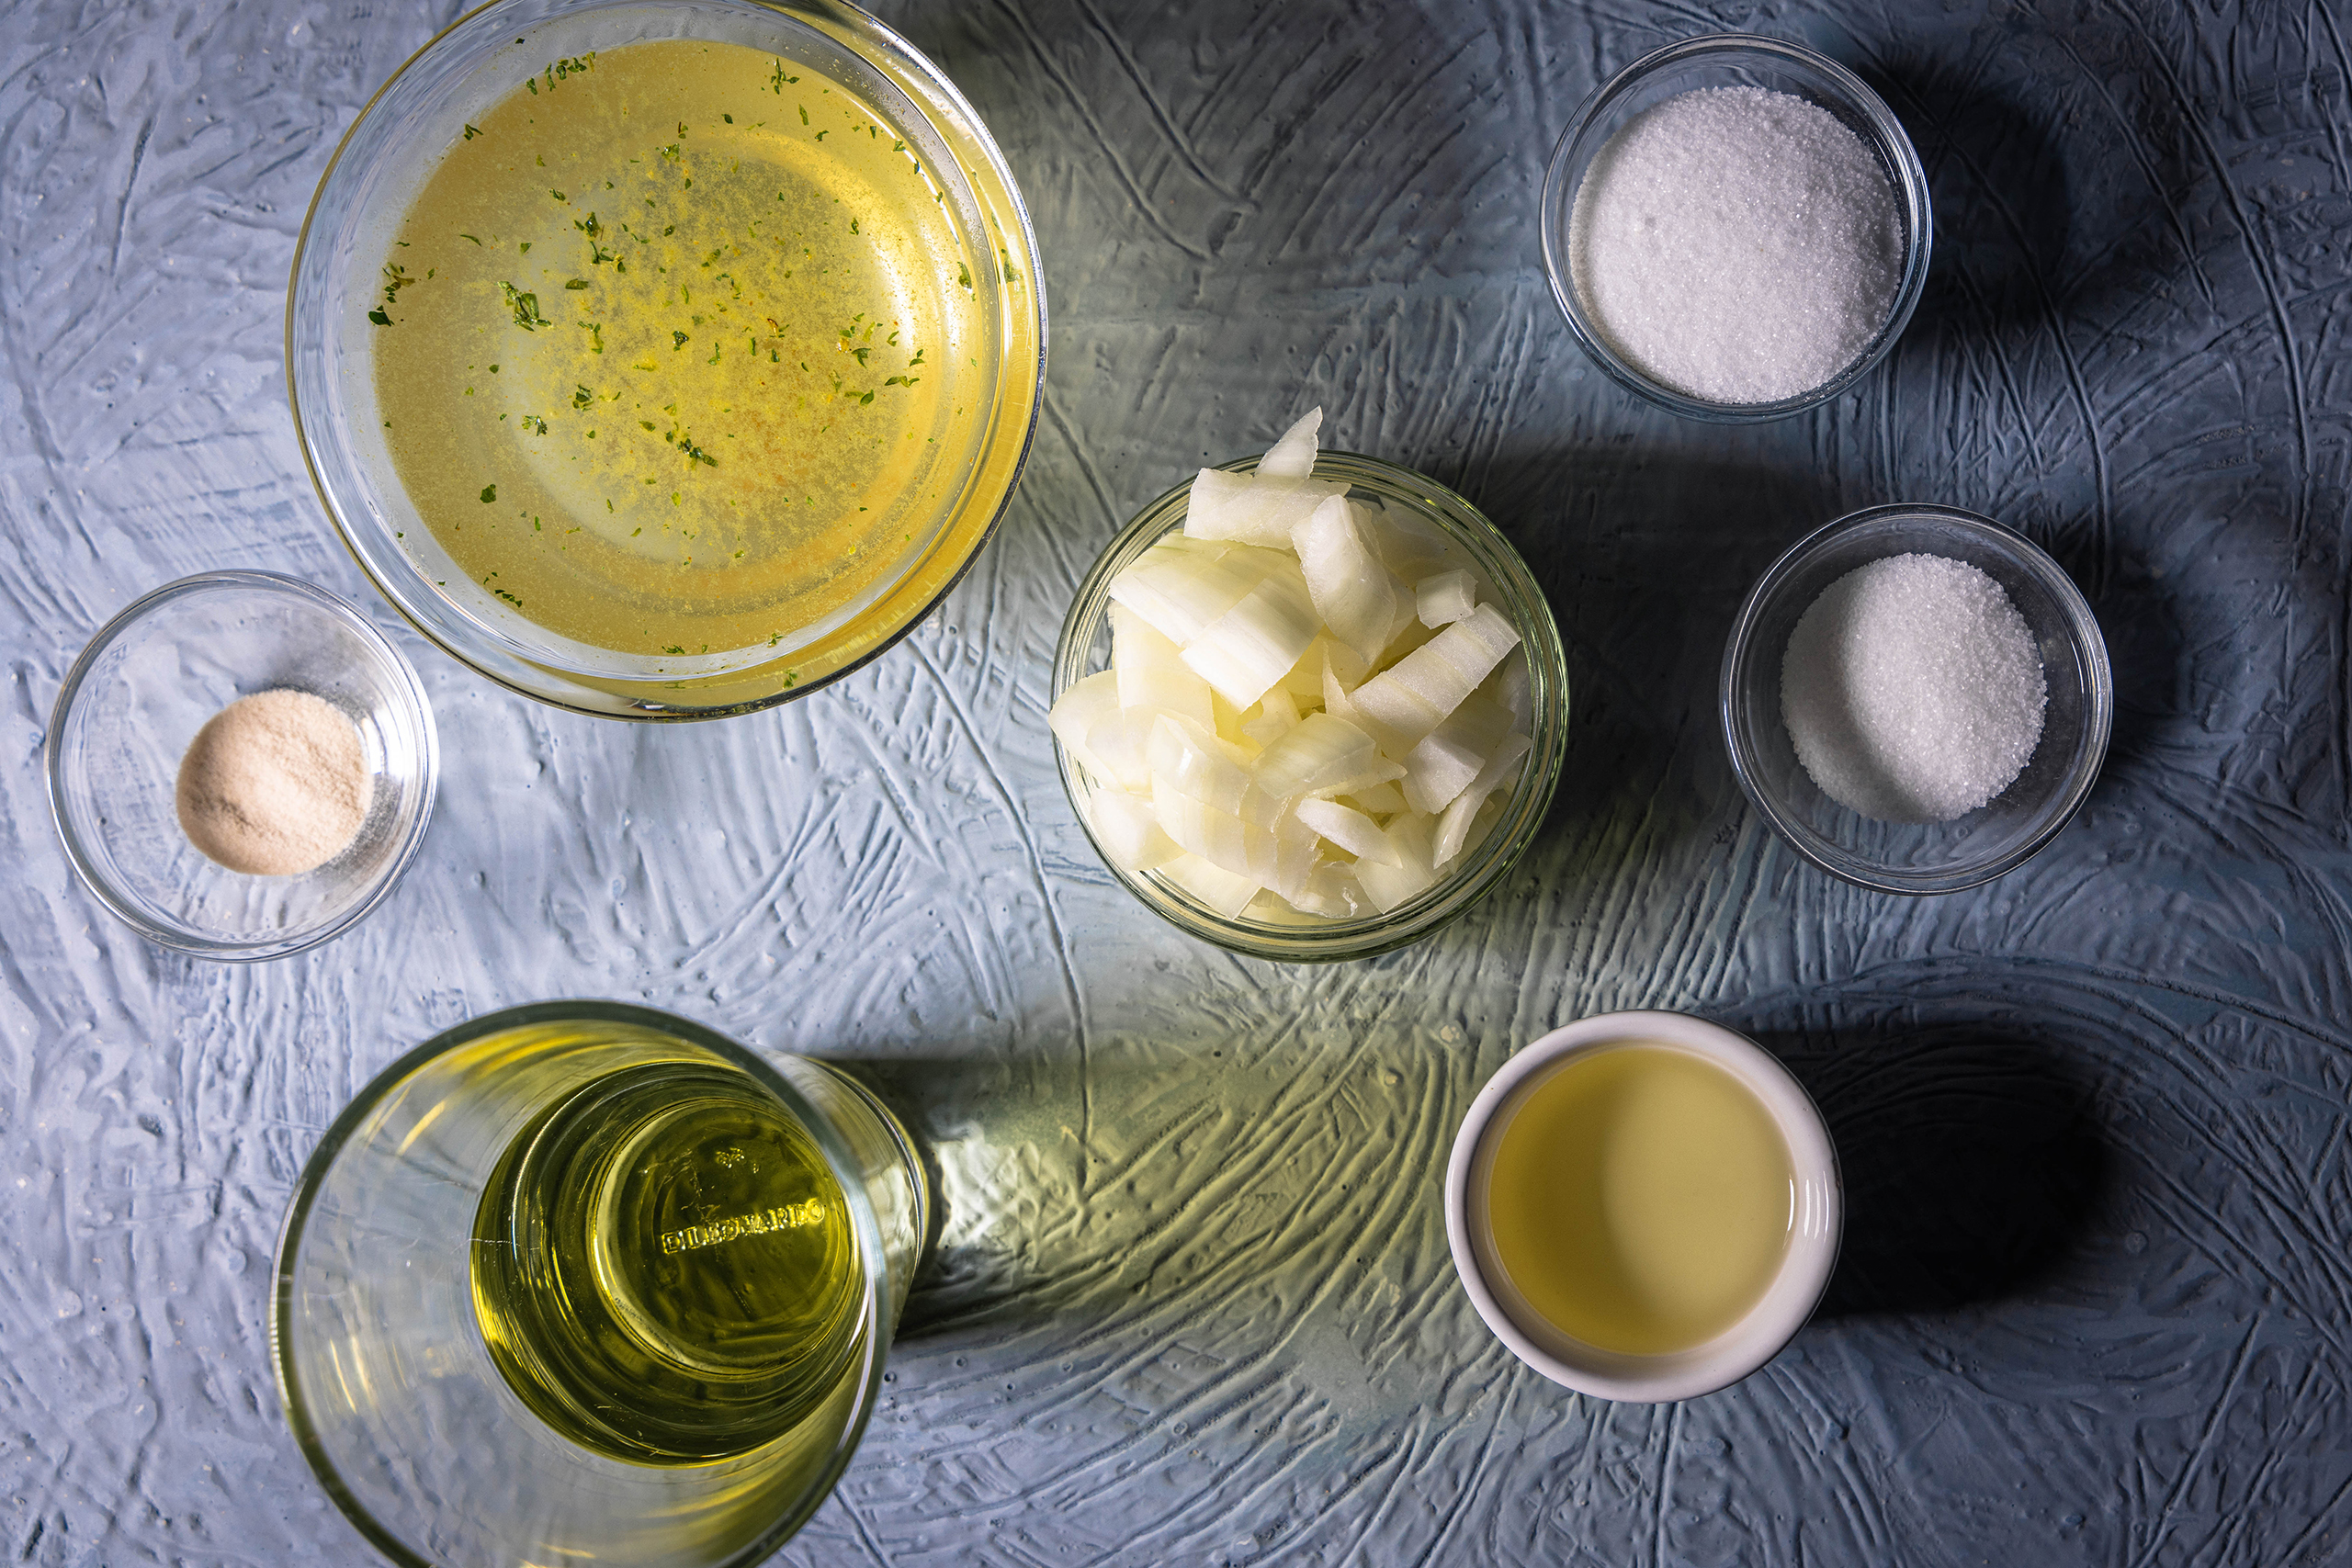
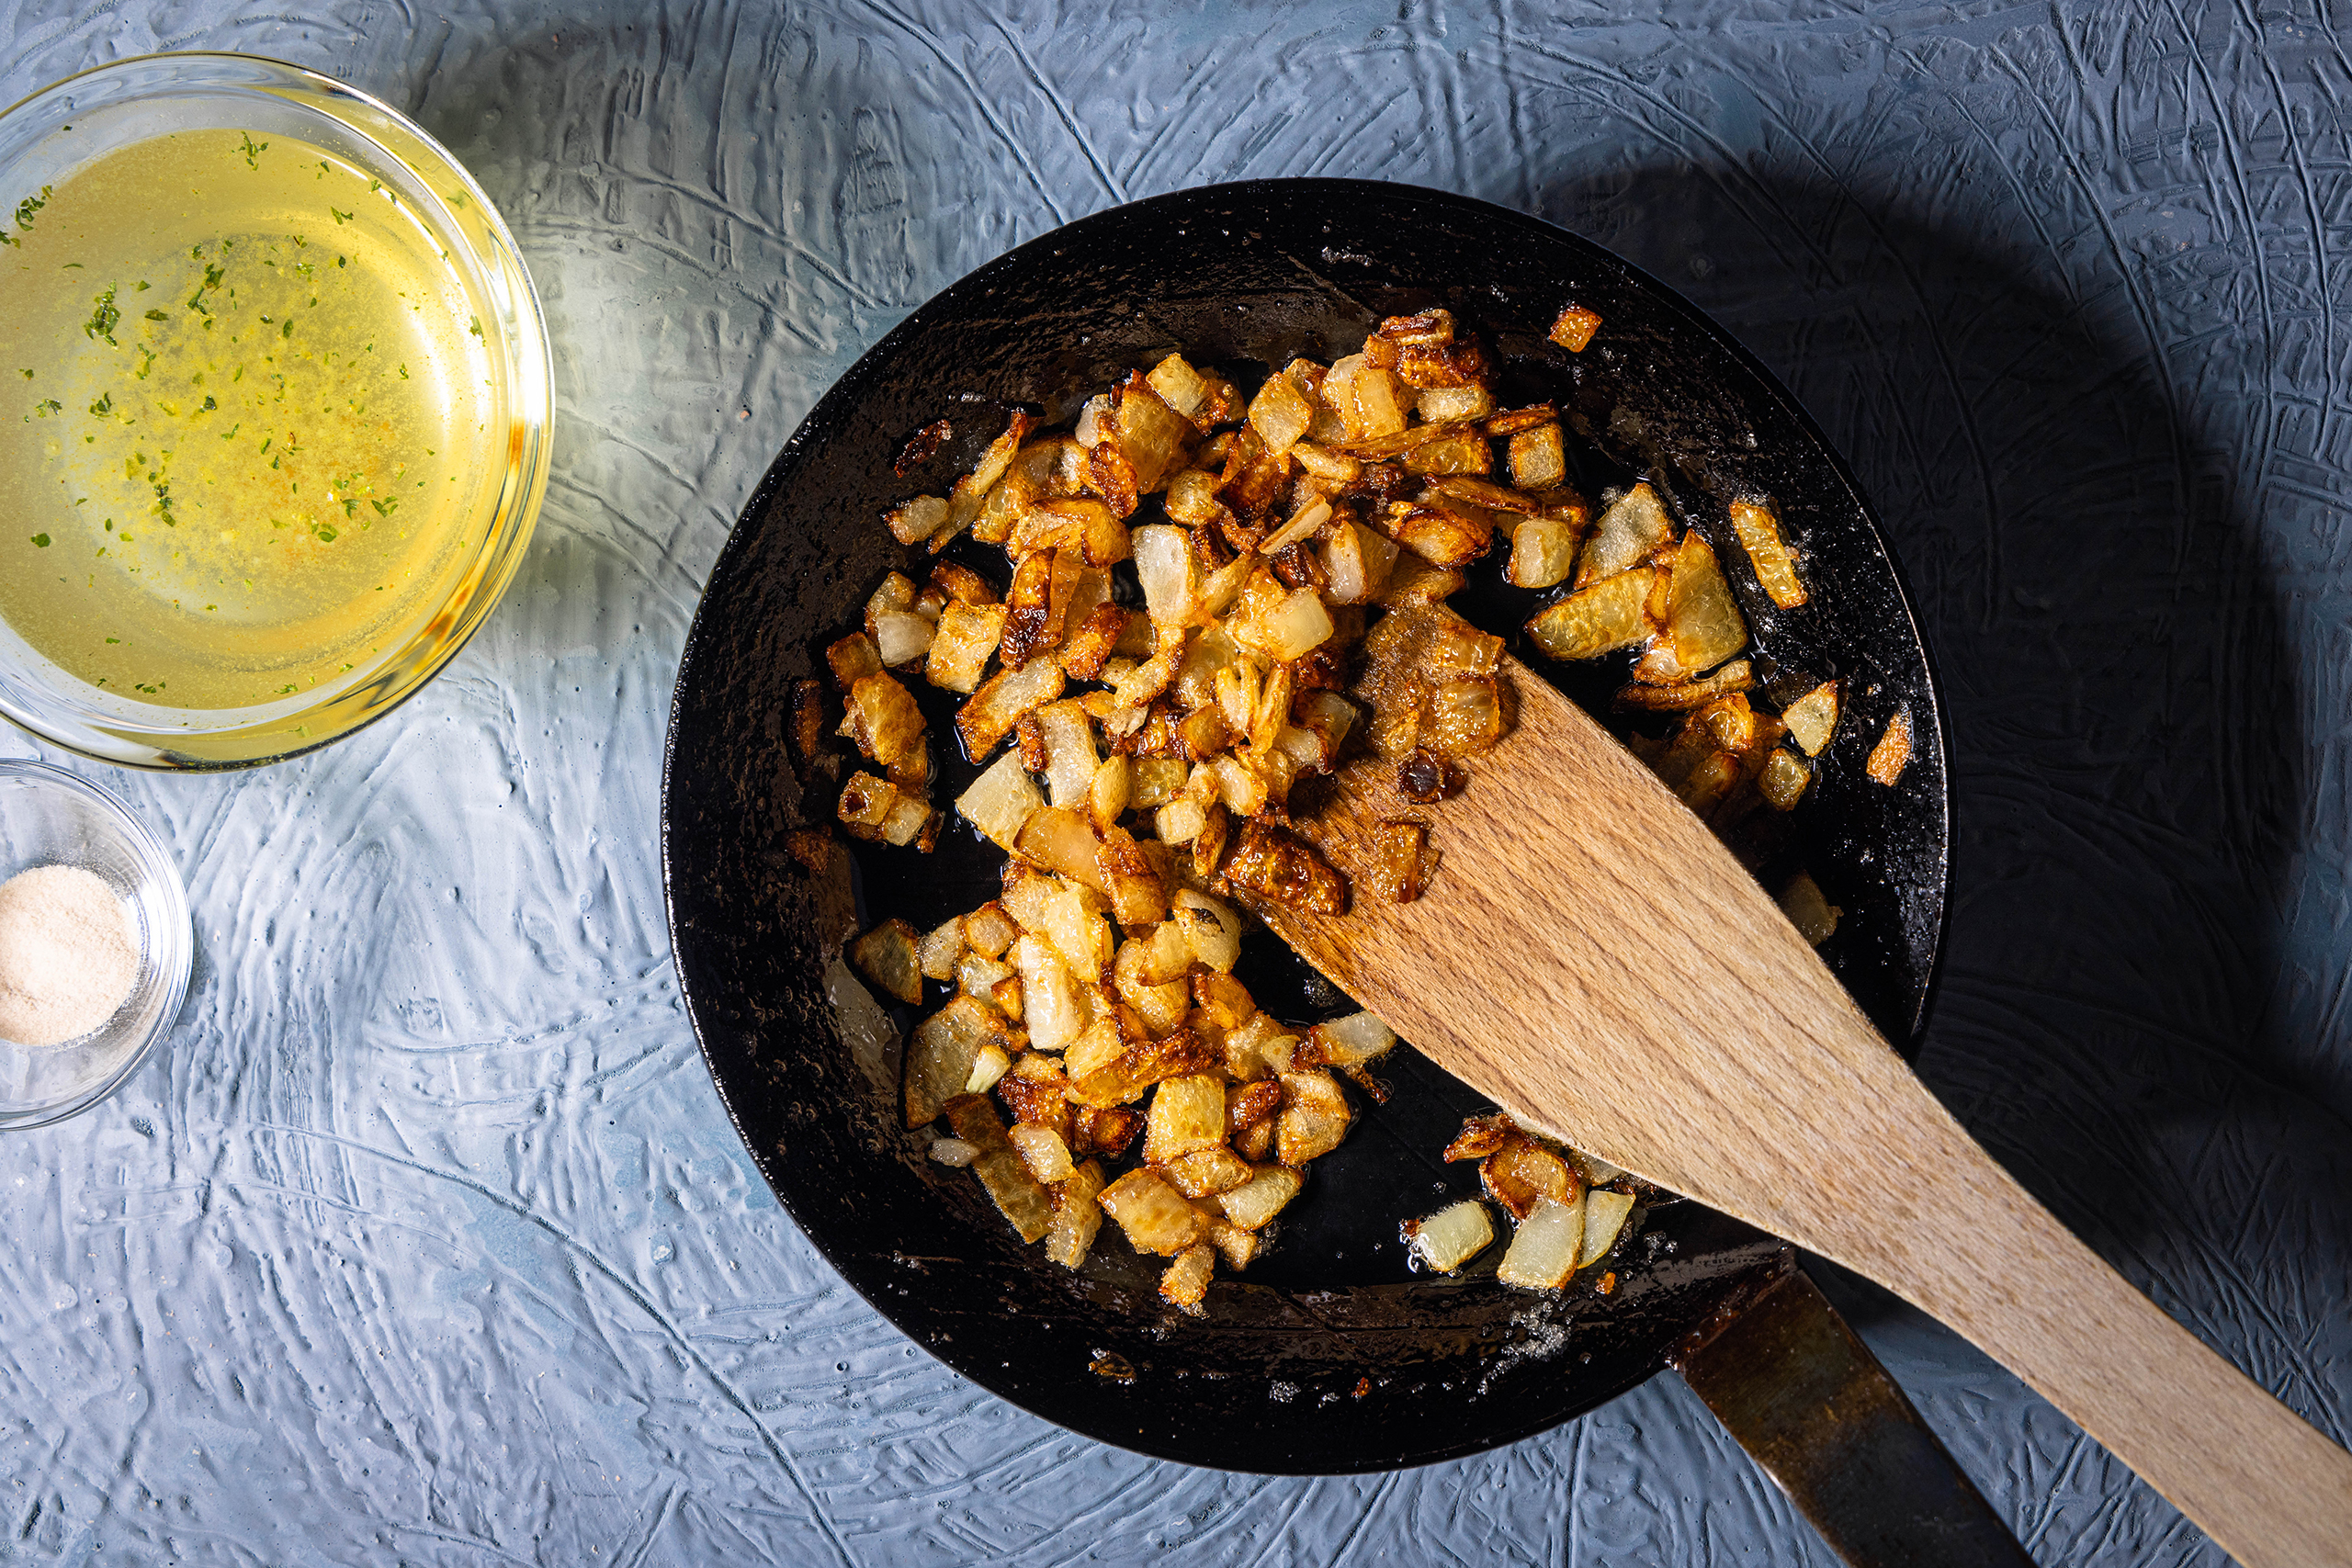
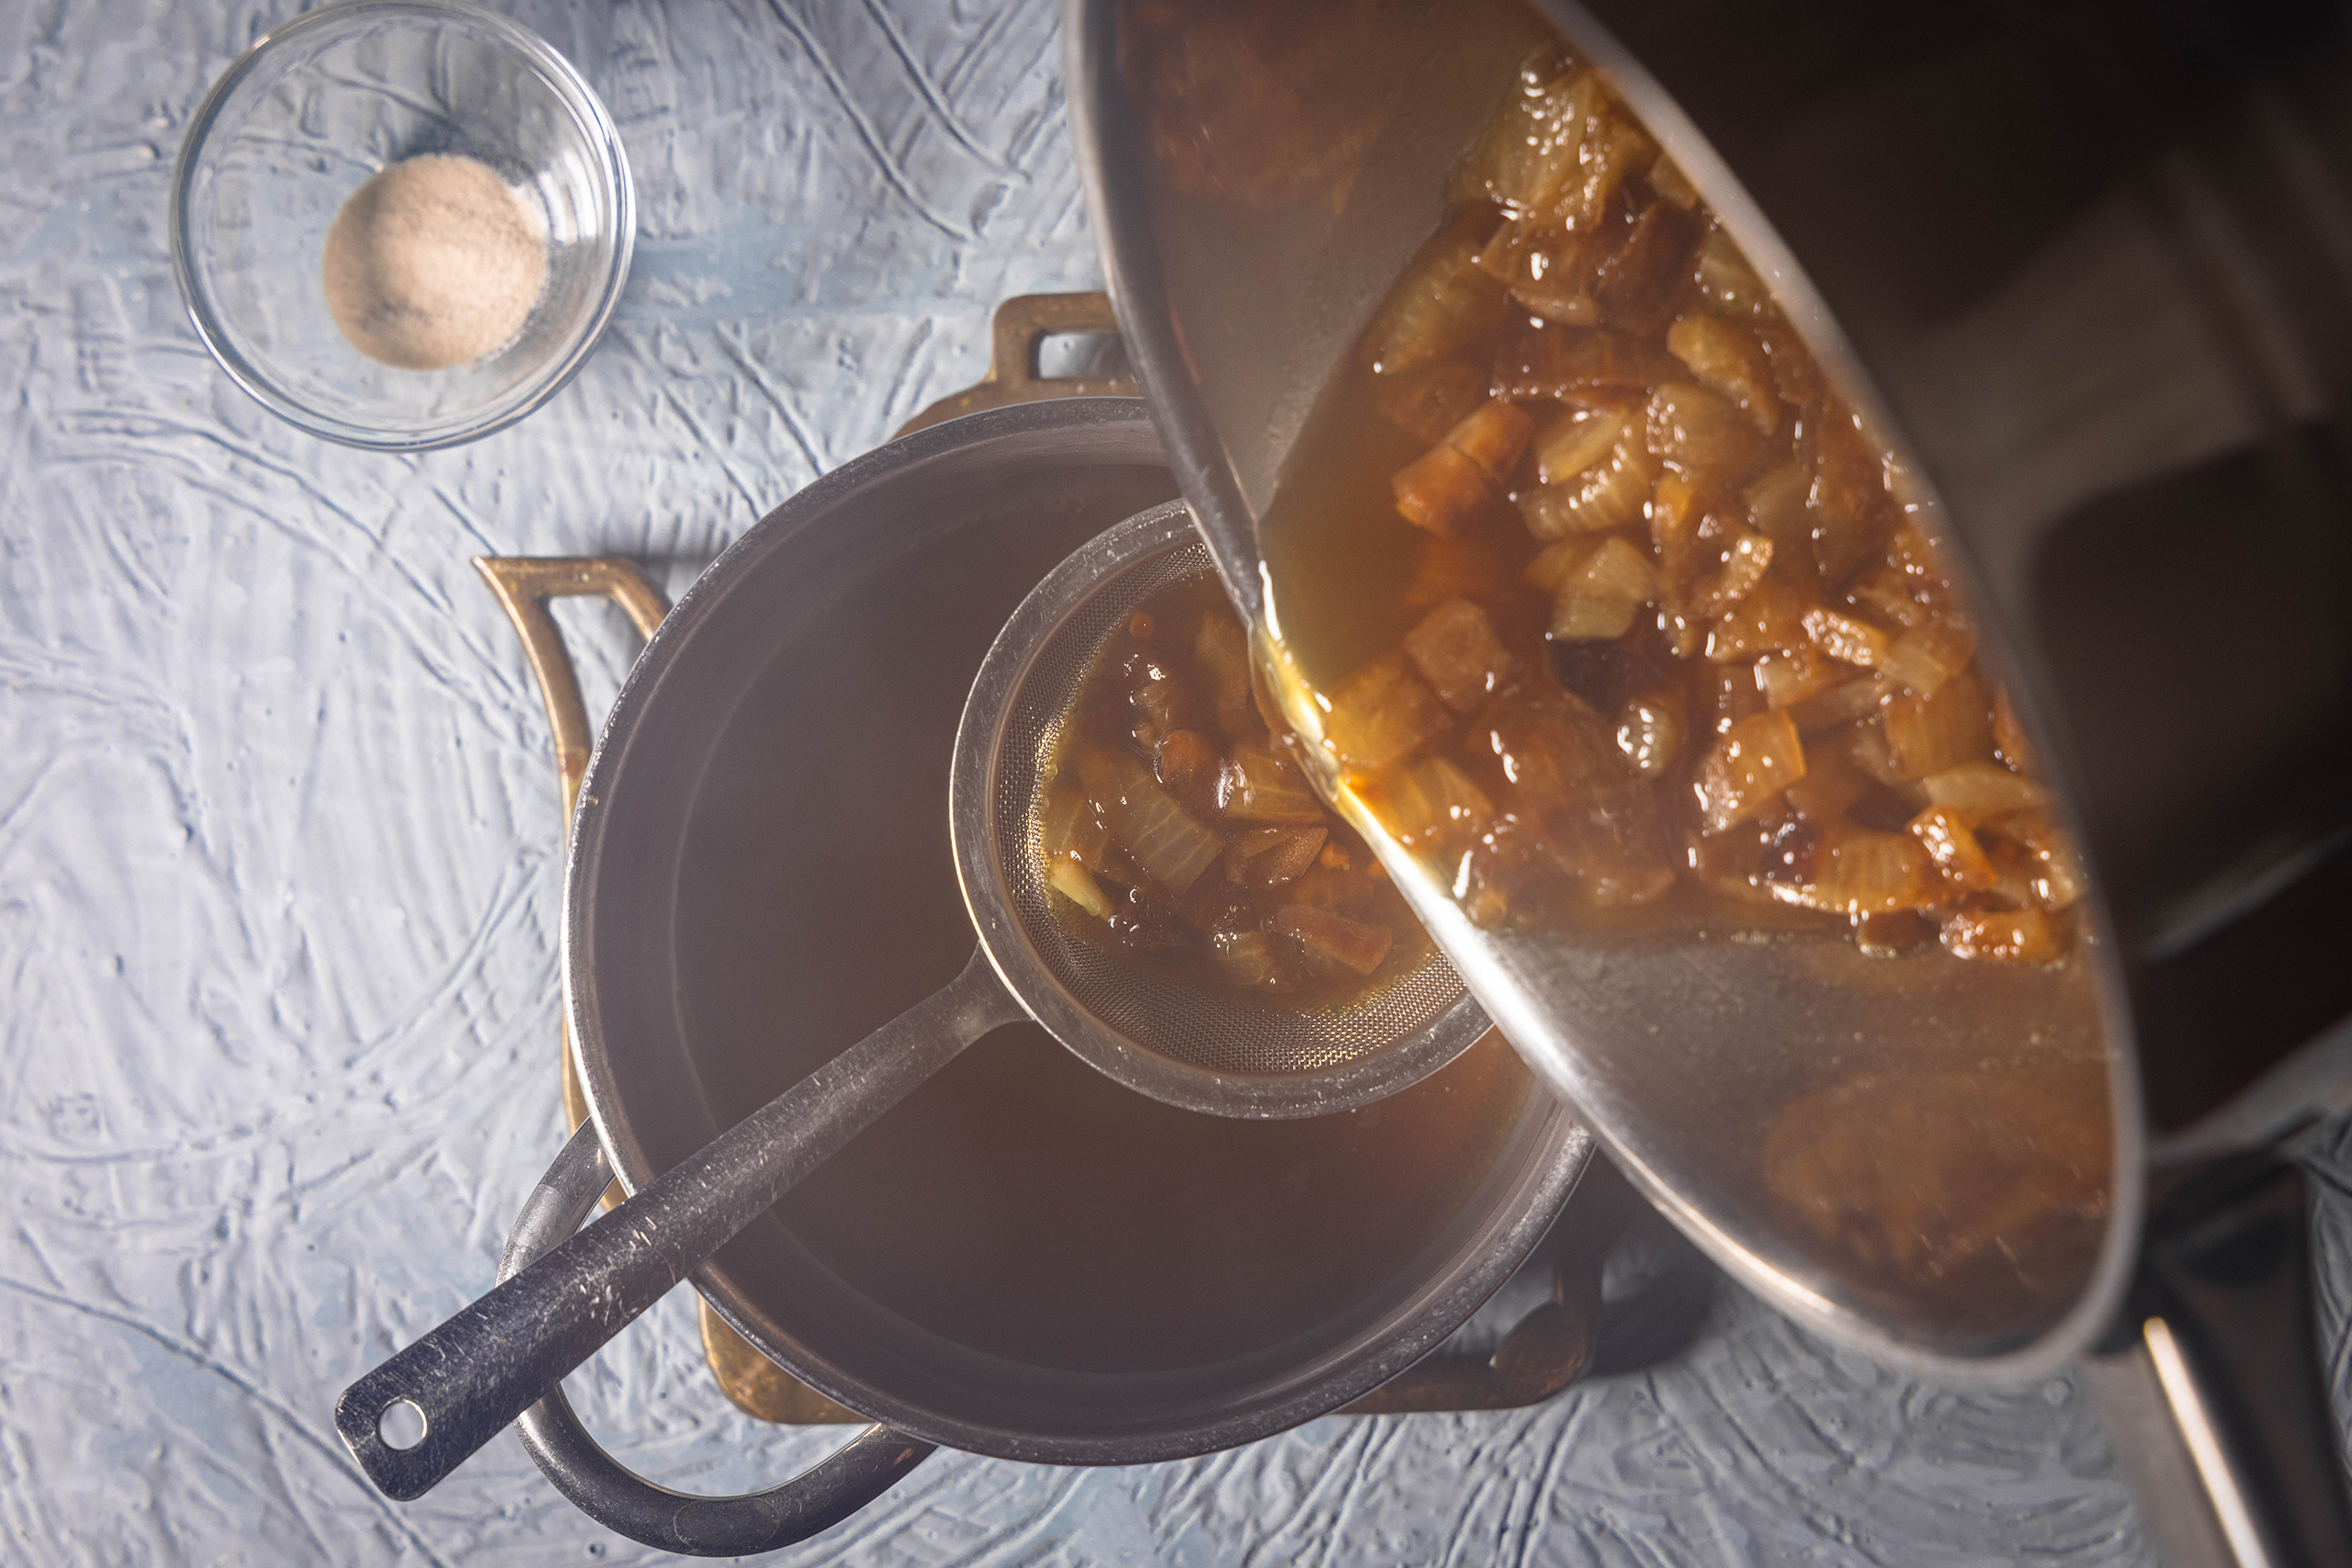
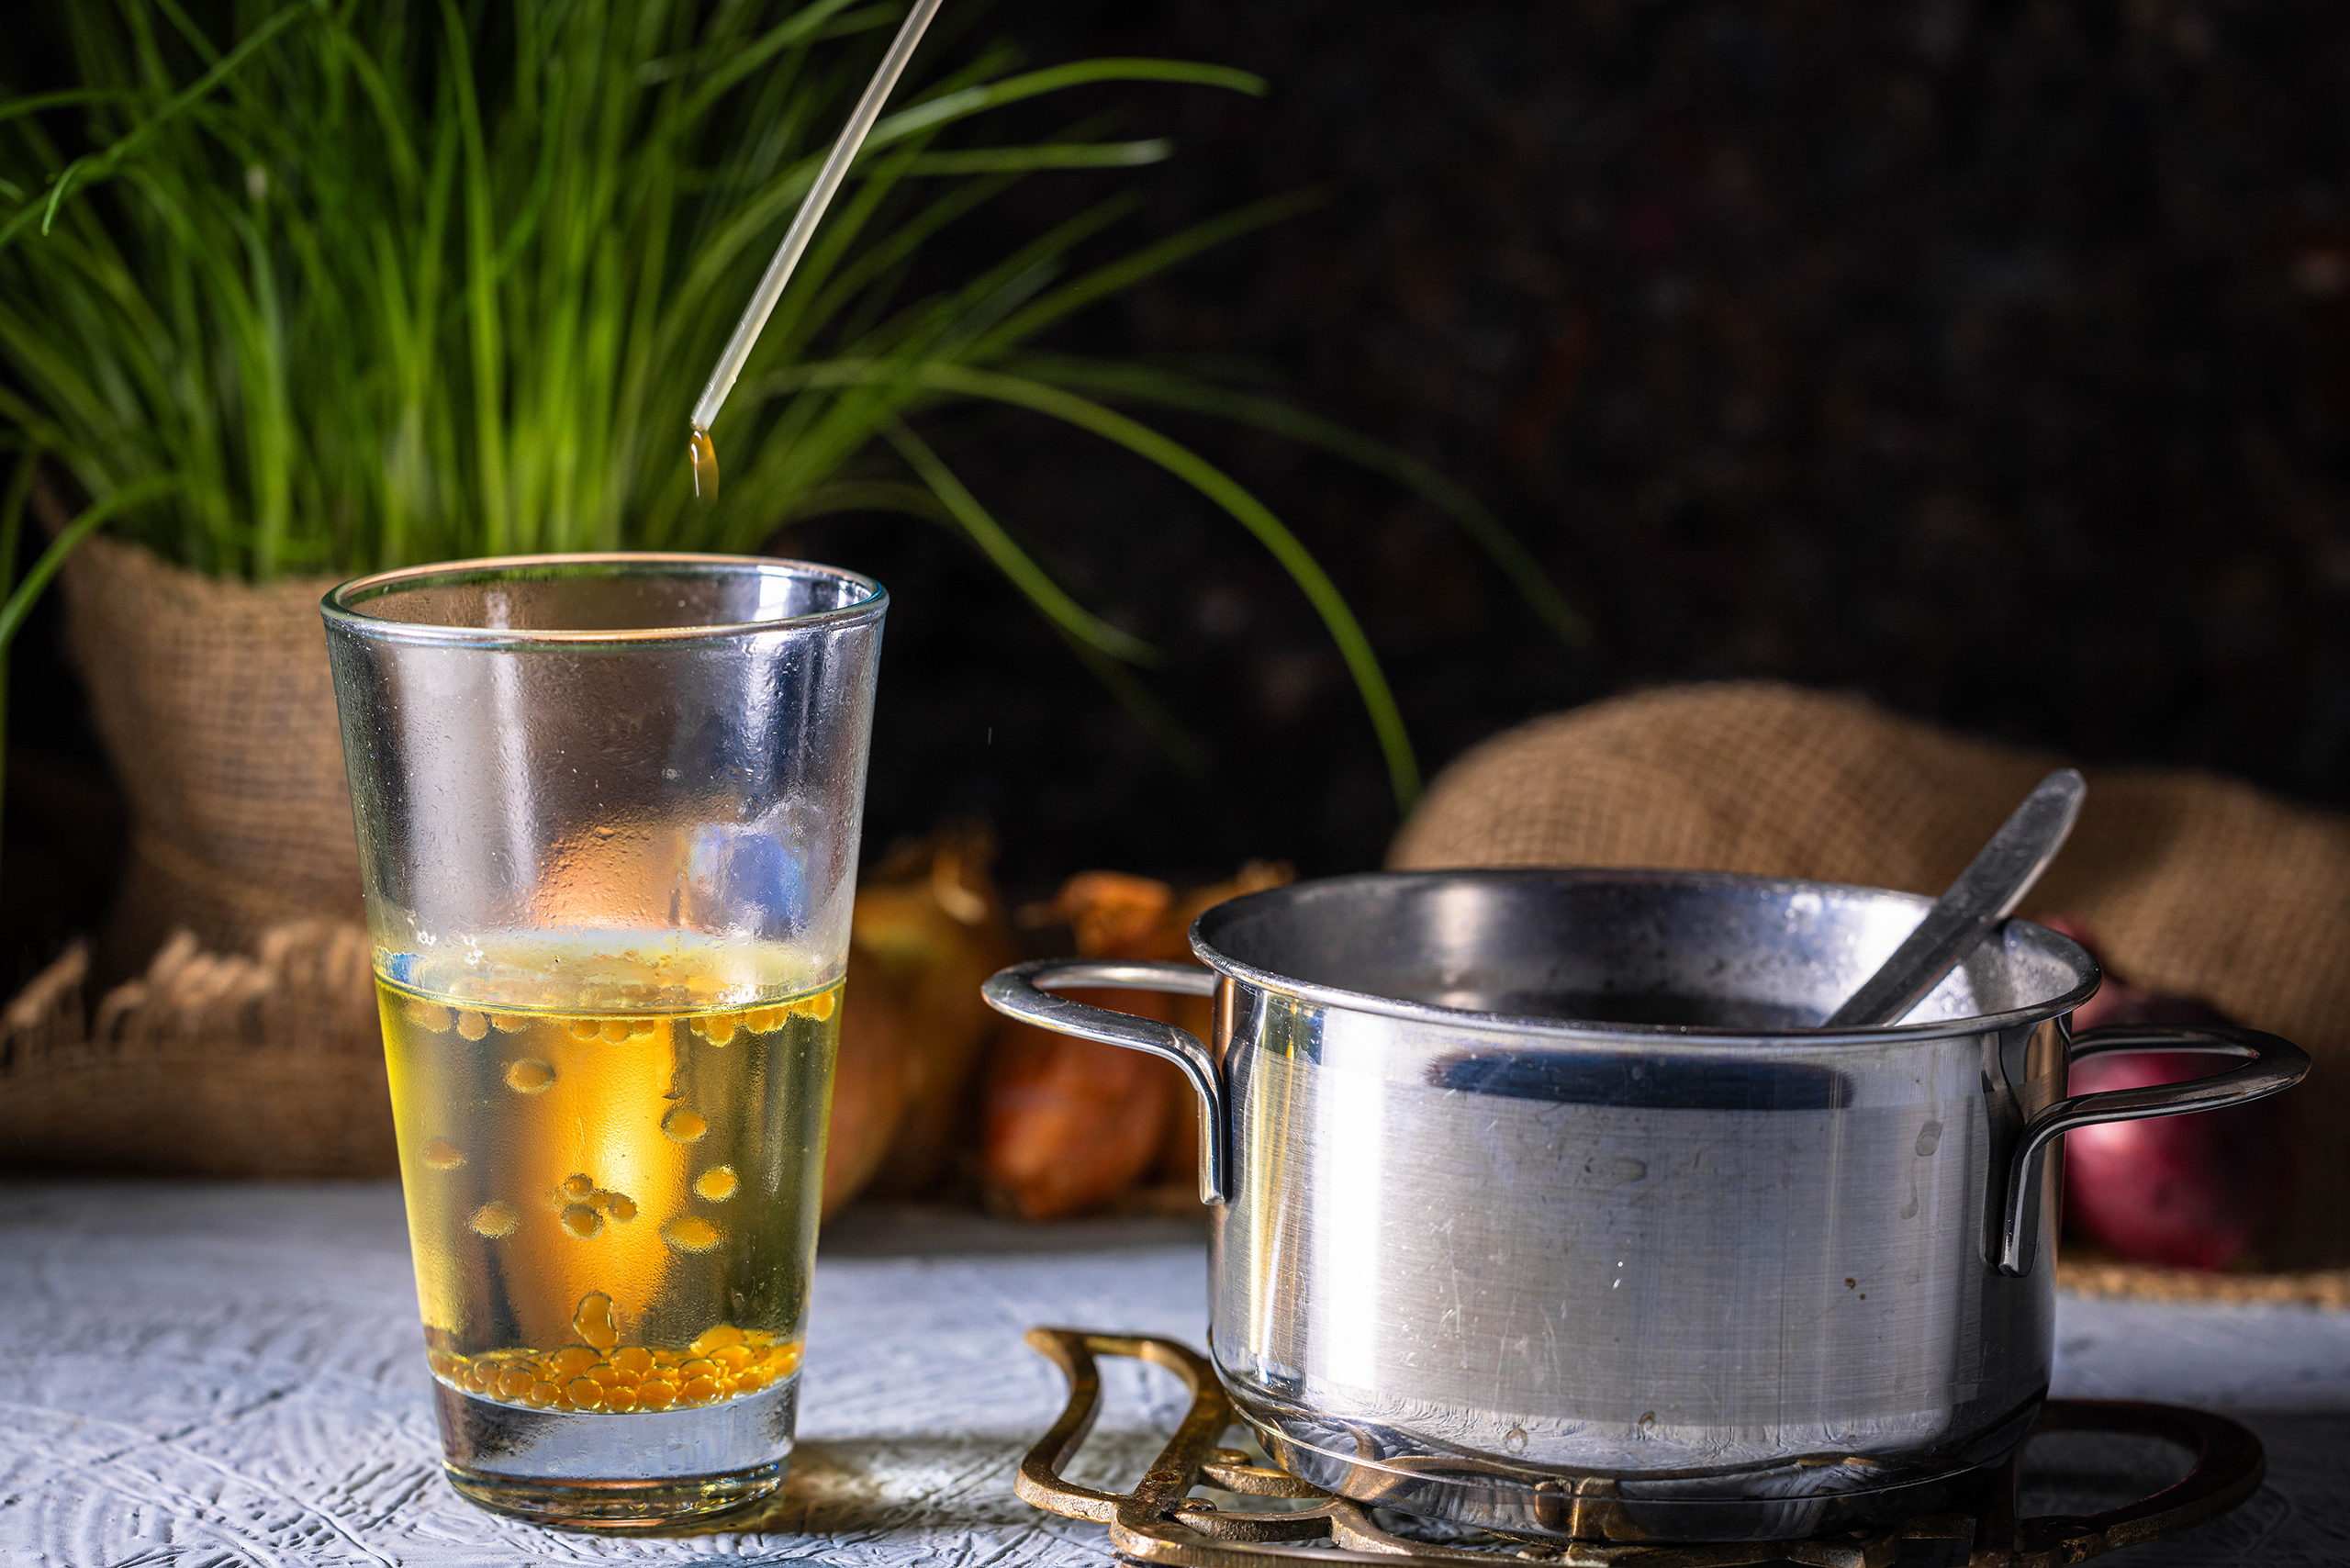
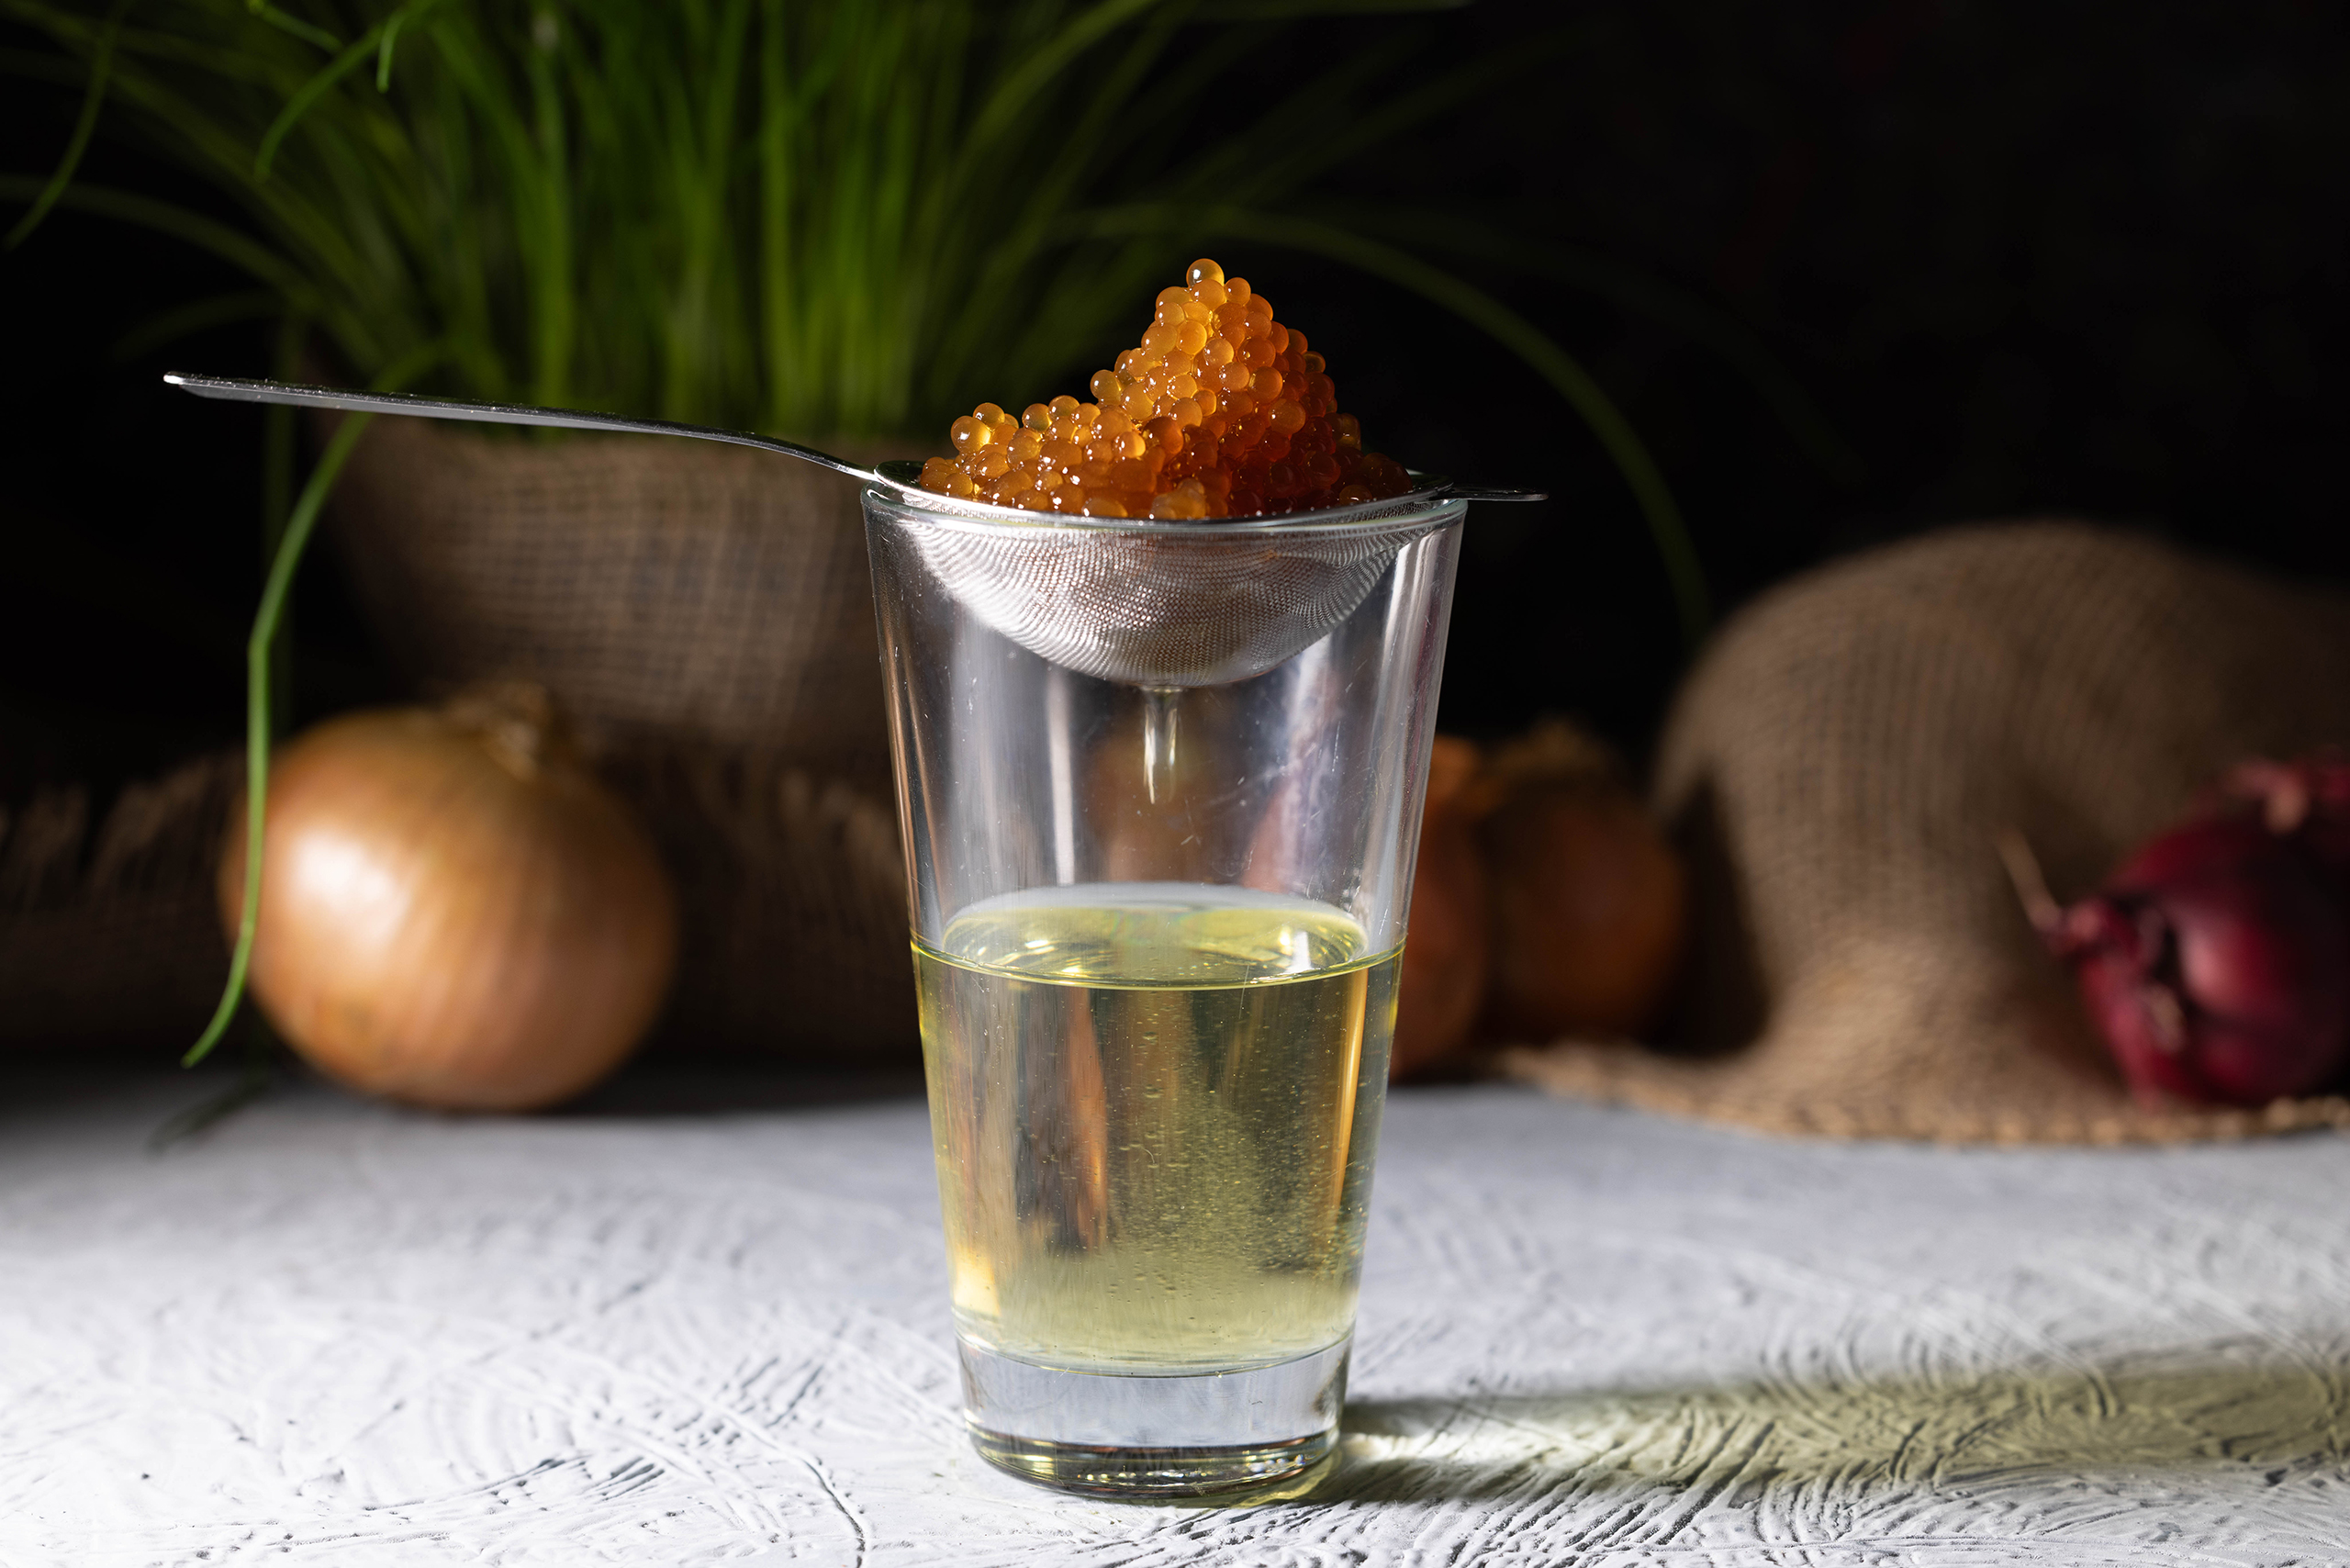
1. All ingredients for the vegan caviar with the aroma of caramelized onions.2. Fry the onions until they are lightly browned.3. Add the sugar and caramelize the onions.4. Mix the broth with the onions and cook in a small saucepan for 5 minutes.5. Take a tea strainer, strain the liquid into it and collect it.6. Boil the collected liquid with the agar agar again in a small saucepan.7.Take a pipette and add the hot onion broth drop by drop into the cold oil.8. The onion pearls are sinking to the bottom of the glass.9. Carefully strain the onion caviar using a tea strainer.10. Drain briefly, then store in an airtight container in the refrigerator.Onion Caviar – Caramelized Onion Pearls
Ingredients for 4-5 heaped tablespoons Onion Caviar:
1 onion, diced 2 tsp sugar Salt A little oil
150 ml broth 1/2 tsp (1.0 g) agar agar, pure agar agar, some are thickened with starch 100 ml oil
Preparation:
Pour approximately 100 ml of oil into a glass, making sure the glass is about half to two-thirds full.
Place the jar in the freezer. Let it cool for 30-60 minutes, but no longer.
Meanwhile, heat a little oil in a pan.
Add the diced onions to the pan and season with salt.
Fry until the onions turn light brown.
Sprinkle with the sugar and cook until caramelized, stirring frequently.
Combine the broth with the onions and pour into a small saucepan.
Cover and bring to a boil and simmer for 5 minutes.
Use a tea strainer to strain the liquid, reserving the liquid.
Bring the collected liquid and agar agar back to a boil in a small saucepan.
Take a pipette and add the hot onion broth drop by drop to the cold oil.
If the onion liquid cools too much and solidifies, you can reheat it.
Once you’ve added enough pearls to the oil, carefully strain them with a tea strainer.
Immediately transfer them to a glass jar or plastic container and seal. The onion pearls will keep in the refrigerator for about 1 week.
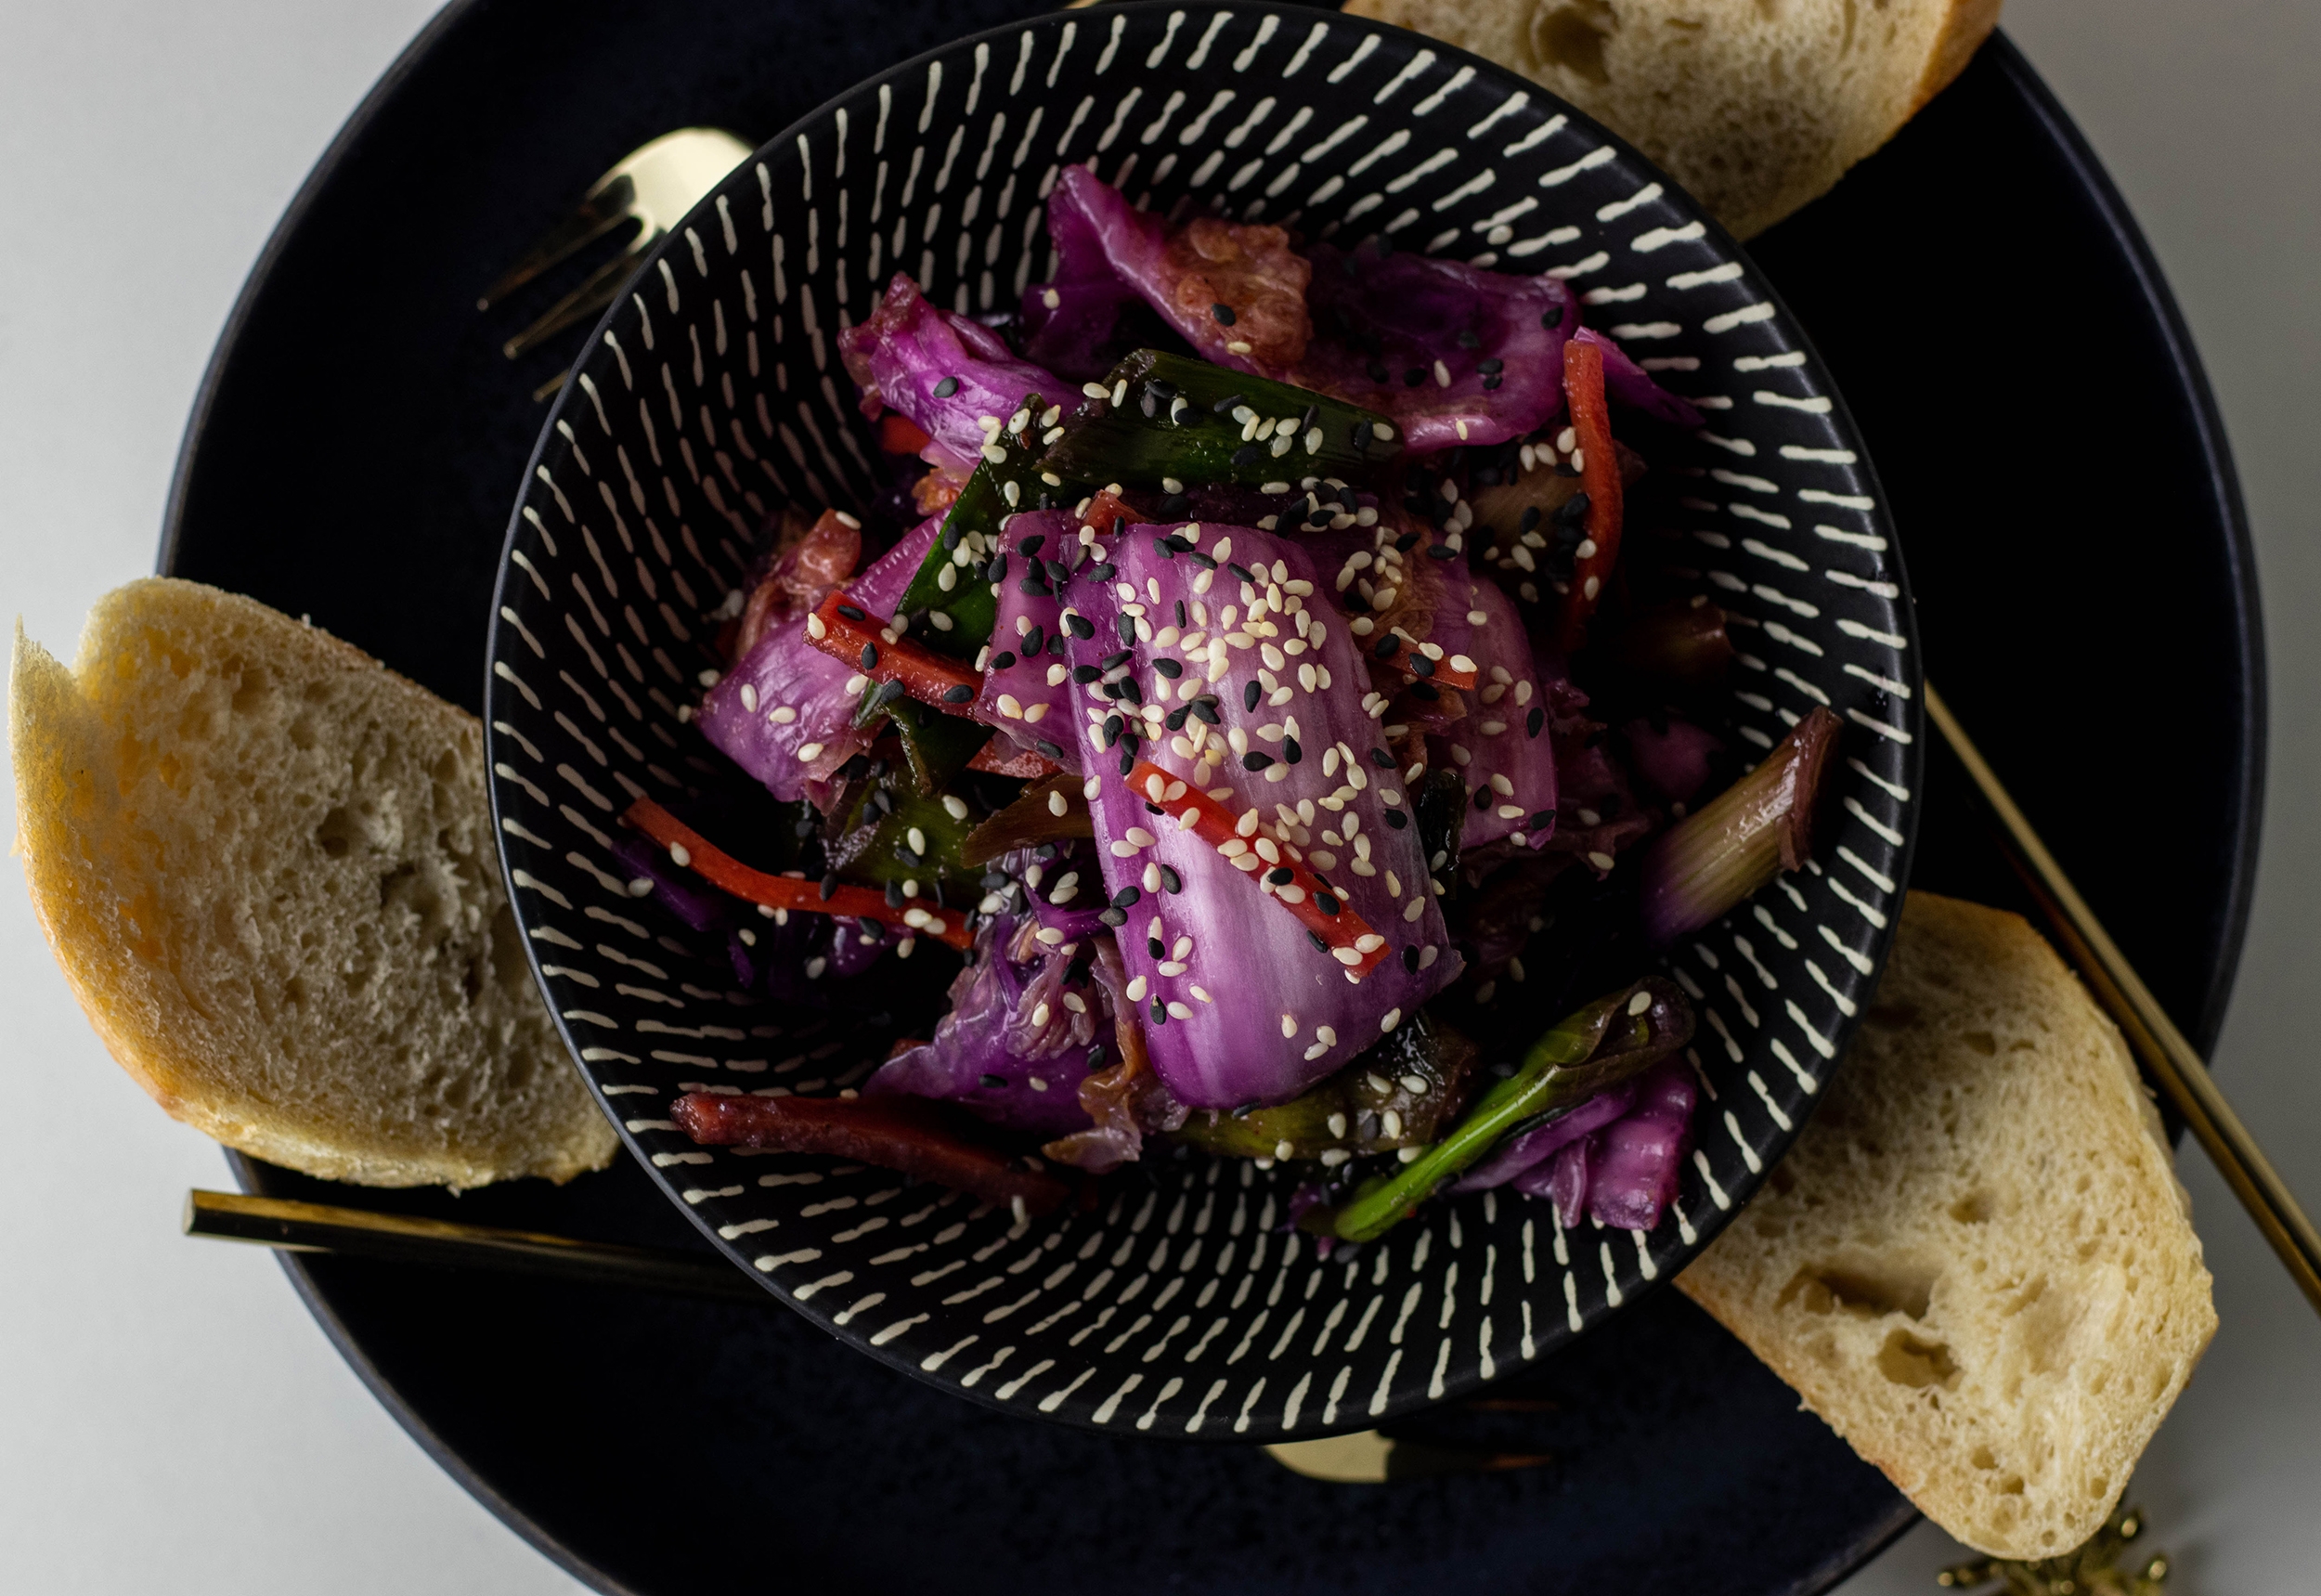
Kimchi Mac’n’Cheese: Macaroni and cheese, boosted with the deep and satisfying flavours of kimchi. Of course my kimchi mac and cheese recipe is vegan.
I love making my own homemade kimchi with my own twist in the aromas and degree of fermentation.Kimchi gives this delicious pasta dish additional flavours and highlights the cheesy notes. Kimchi is full of umami and depth of flavour. And that goes perfectly well with the taste of cheese and pasta.
For the classical cheese sauce, that is obligatory in Mac’n’Chesse I am preparing my delicious and popular vegan cheese sauce.
Of course, I make the cheese sauce for my vegan Kimchi Macaroni and Cheese myself.
What is Kimchi Mac’n’Cheese?
Kimchi Mac and Cheese is a creative fusion between Korean and North American cuisine. The classic Mac ‘n’ Cheese from the USA is combined with the spicy and sour notes of kimchi. This unique variation on the popular Macaroni and Cheese adds an extra dimension of flavour and is a delicious way to put a new spin on traditional recipes.
Kimchi Mac ’n‘ Cheese is a creative fusion between Korean and North American cuisine.
How to make Kimchi Mac and Cheese?
The preparation of Kimchi Mac ‘n’ Cheese is similar to the traditional version, except for the addition of kimchi to the cheese sauce. The slightly sour and spicy notes of the kimchi add a refreshing complexity to the dish and make for an interesting flavour combination that is both surprising and delicious.
To prepare Kimchi Mac ‘n’ Cheese is similar to the traditional version, except for the addition of kimchi to the cheese sauce.
Kimchi Mac’n’Cheese: really easy with just 6 ingredients and pasta water!
If you already have the vegan cheese sauce in the fridge, this delicious meal can be prepared in under 10 minutes. Afterwards the vegan mac and cheese with kimchi only needs to go in the oven for 20 minutes and you’ ll get a fantastic dish that the whole family will enjoy.
You only need 6 ingredients and water!
Easy, quick after-work cooking if the vegan cheese sauce has been prepared beforehand. I always make double or triple the amount. Because it easily lasts 1-2 weeks in the fridge and goes well with many dishes, as a dip and for baking.
Kimchi Mac’n’Cheese: really easy with just 6 ingredients and water!
What exactly is Mac’n’Cheese?
Mac ‘n’ Cheese, also known as Macaroni and Cheese or Maccheroni and Cheese, is a popular dish from the US that consists of cooked pasta and a creamy cheese sauce. It is a classic comfort food that both children and adults love.
Mac ‘n’ Cheese is often served as a side dish, but also as a main dish, because it can easily stand on its own. I always like to serve it with a fresh side salad. It is particularly popular with families and is enjoyed not only at home, but also at picnics, barbecues and potluck events. In the US, Mac ‘n’ Cheese is a real classic and a symbol of American enjoyment.
Mac ‘n’ Cheese, also known as Macaroni and Cheese, is a popular dish from the US.
Homemade vegan cheese sauce
Vegetarian mac’n’cheese is often made with a mixture of strong cheeses. That’s why my homemade cheese sauce is a great vegan substitute for purely plant-based macaroni with cheese. My vegan cheese sauce is full of intense flavor, is wonderfully cheesy, creamy and delicious and is the best vegan cheese substitute for mac’n’cheese.
My vegan cheese sauce is full of intense flavour, is wonderfully cheesy, creamy and delicious and the best vegan cheese substitute for Mac’n’Cheese.
Show me your vegan Kimchi Mac’n’Cheese
Please follow me on Instagram or Facebook. And I’d be delighted if you made my vegan Kimchi Mac’n’Cheese and posted a photo of it, tagging my account. Because I always find it really great and exciting to see how my recipes have been prepared in other kitchens!
Feel free to show me your vegan Kimchi Mac’n’Cheese
Vegan Kimchi Mac’n’Cheese, Kimchi Macaroni and Cheese: the preparation in pictures
Before we continue with the recipe, here you can see the preparation for vegan Mac’n’Cheese step by step in pictures.
1. The ingredients2. The kimchi is frying.3. Flour and soy milk are added to the fried kimchi.4. Then the cheese sauce is stirred into the pan.5. Finally, mix the pasta with the kimchi cheese sauce and place the mac’n’cheese in the oven for 20 minutes.6. Vegan Kimchi Mac’n’Cheese, fresh from the oven.Kimchi Mac’n’Cheese: Macaroni and cheese, in my recipe vegan and with kimchi.
Ingredients for 6 portions of vegan Kimchi Mac’n’Cheese:
500 g vegan short macaroni or other pasta 250 g kimchi, roughly chopped 150 ml soy milk 3 tbsp vegan butter 2 tbsp flour 1 x homemade vegan cheese sauce
Preparation:
Cook the pasta al dente according to the instructions on the packet, drain and set aside.
Preheat the oven to 200°C (390°F) top and bottom heat.
Heat the vegan butter in a large, deep frying pan.
Fry the kimchi in the pan until the cabbage is soft.
Now stir in the flour, fry briefly, then pour in the soy milk.
Stir thoroughly and bring to the boil briefly.
Next, stir in the cheese sauce.
Put the pre-cooked noodles in a casserole dish.
Pour the kimchi cheese sauce over the pasta and mix with the pasta. Bake for 20 minutes on the middle rack at 200°C (390°F) top and bottom heat. If you like it crispy, use the oven’s grill function to toast it from above for the last few minutes.
A very convincing taste experience: my recipe for homemade, fermented kimchi. Here on Daily Vegan, of course, as a vegan kimchi recipe. You’ll also learn some basics about fermentation in general in this delicious recipe.
A convincing taste experience: my home-pickled and fermented kimchi.
Kimchi has many health benefits
Kimchi (or kimchee) is not only wonderfully delicious, but it is also very healthy. It contains a lot of vitamin A, B vitamins and vitamin C, few calories, hardly any fat but lots of healthy fiber. With this recipe it is easy to say: vegan for health!
Kimchi has many health benefits
Vegan kimchi in the traditional Korean style
I based my kimchi recipe on the traditional Korean way of preparing it. However, I don’t use radish, but instead use red cabbage, which gives my kimchi a great color and crunchiness. And of course I use vegan seasoning, and not fish, like in some traditional recipes.
Vegan kimchi in the traditional Korean style
How is kimchi fermented?
Kimchi fermentation is working with lactic acid bacteria, which grow on their own, since they basically exist everywhere and they are naturally vegan. They were just first discovered in milk, hence their name. This form of fermentation is also called lactofermentation or lactic acid fermentation.
Unlike many harmful bacteria, lactic acid bacteria are salt-tolerant and they multiply on their own. However, untreated organic vegetables are better suited to lactofermentation than vegetables, that have been treated with pesticides or other chemicals.
Kimchi fermentation is working with lactic acid bacteria
Lactofermentation for kimchi only takes a few days
Lactic acid fermentation is completed after just a few days until you can enjoy your delicious kimchi. Depending on how strong you like it, you can ferment kimchi for between 5 and 10 days. Once sealed in the fridge afterwards, it will last for weeks or months. Which makes it also great for meal preparation.
Lactofermentation only takes a few days
Tip: Never throw away the kimchi liquid!
The fermentation liquid of kimchi is also a perfect umami contributor for a vinaigrette, other dressings or sauces. So I strongly recommend to not pour the kimchi liquid or the liquids from other ferments down the drain.
And maybe you’d like to try out other ferments too. Like my fermented garlic.
The liquid of ferments is a perfect umami contributor for a vinaigrette, other dressings or sauces.
General information on fermentation
Hygiene is particularly important when fermenting, because we only want the good bacteria to work for us and avoid mold and germs. So only use clean surfaces and wash your hands thoroughly. Your kimchi container must also be very clean; it is best to rinse it out with boiling water shortly before usage.
Lactic acid bacteria are used in kimchi fermentation. As with sauerkraut or other lactoferments, they provide the sour, fermented taste. The practical thing about lactic acid bacteria is that, unlike many germs, they tolerate salt. That is why salt is used in this type of fermentation; it not only contributes to the taste, but also prevents the food from spoiling.
It is also important to use organic vegetables so that the vegetables are free of pesticides that may prevent fermentation.
You’ll also learn some basics about fermentation in general in this delicious recipe.
Show me your homemade kimchi
Feel free to follow me on Instagram or Facebook. And I’ll be delighted if you make my vegan kimchi and post a photo of it, tagging my account. Because I always find it really great and exciting to see how my recipes are prepared in other kitchens!
Kimchi: the preparation in pictures
Before we get to the recipe, I’ll show you my kimchi preparation on step by step photos.
1. The divided cabbage has been heavily salted and must be left to simmer.2. Preparing the seasoning paste.3. The finished seasoning paste.4. The vegetables are partially added to the seasoning paste.5. The raw kimchi is called geotjori. Now it can ferment and in a few days it will become fully fermented, delicious kimchi.Spicy fermented
Ingredients for about 1 l vegan kimchi:
1 medium-sized Chinese cabbage (organic, untreated) 1 carrot (organic, untreated), peeled, cut into julienne strips 5 spring onions (organic, untreated), in strips 1/4 of a small red cabbage (organic, untreated), in strips 1 heaped teaspoon rice flour 100 ml water 1 teaspoon cane sugar 1 small onion, roughly chopped 5 garlic cloves, peeled 1 thumb-sized piece of ginger, roughly chopped 2 heaped teaspoons nori flakes 3 tablespoons soy sauce (gluten-free if necessary) 1 teaspoon white miso paste 5 heaped teaspoons chili flakes
Sea salt, non-iodized
Preparation:
Prepare and ferment kimchi:
Quarter the Chinese cabbage and divide it into its leaves.
Then sprinkle the cabbage leaves thoroughly with sea salt and place them in a large bowl. Knead the leaves lightly.
Cut the red cabbage into bite-sized strips, salt these too and let it steep together with the Chinese cabbage. Let it steep for a total of 2-3 hours until the cabbage has become soft and has released a lot of water. Turn the salted Chinese cabbage every 30 minutes.
To make the seasoning paste for the kimchi smoother, I now cook a roux of rice flour and water. To do this, stir the rice flour into 100 ml of cold water.
Bring to the boil in a small saucepan and simmer while stirring until a thick sauce has formed.
Then stir in the cane sugar.
Let this rice paste cool completely.
Put the onion, garlic, ginger, chili flakes and nori flakes in a food processor with the soy sauce and miso paste and grind finely to create a homogeneous seasoning paste.
Then add the rice paste and puree again.
Knead in the carrot strips and spring onions with your hands, preferably with gloves.
After the Chinese cabbage and red cabbage have been steeped in salt, drain the salt water from the cabbage, but fetch it.
Wash the cabbage thoroughly under cold water, then optionally divide it into bite-sized pieces.
Now mix the seasoning paste with the cabbage leaves and the collected cabbage water. To do this, spread the mixture onto the cabbage leaves with your fingers and knead everything well.
Geotjori:
The unfermented kimchi can now be put into jars. In Korea it is called geotjori in this state and is often eaten with rice. So you can try it now or set aside a small portion.
Fermentation:
Now fill the geotjori into one or more big screw-top jars or kimchi containers.
Press the vegetable mixture firmly into the container so that any air bubbles are pressed out.
Put the lid on the container, but do not close it tightly. When the kimchi starts to ferment, air must be able to escape.
Leave it at room temperature for 3-7 days. From the 3rd day onwards, taste occasionally to see if the kimchi is strong enough for you. If you like kimchi very strong, you can ferment it for up to 10 days.
While the vegetables are fermenting, press them down in their jar 1-2 times a day. To do this, press down the cabbage with a clean spoon so that the air bubbles that form can escape.
As soon as the fermentation is to your taste, close the container tightly and store it in the refrigerator. It will keep there for a few weeks to months.
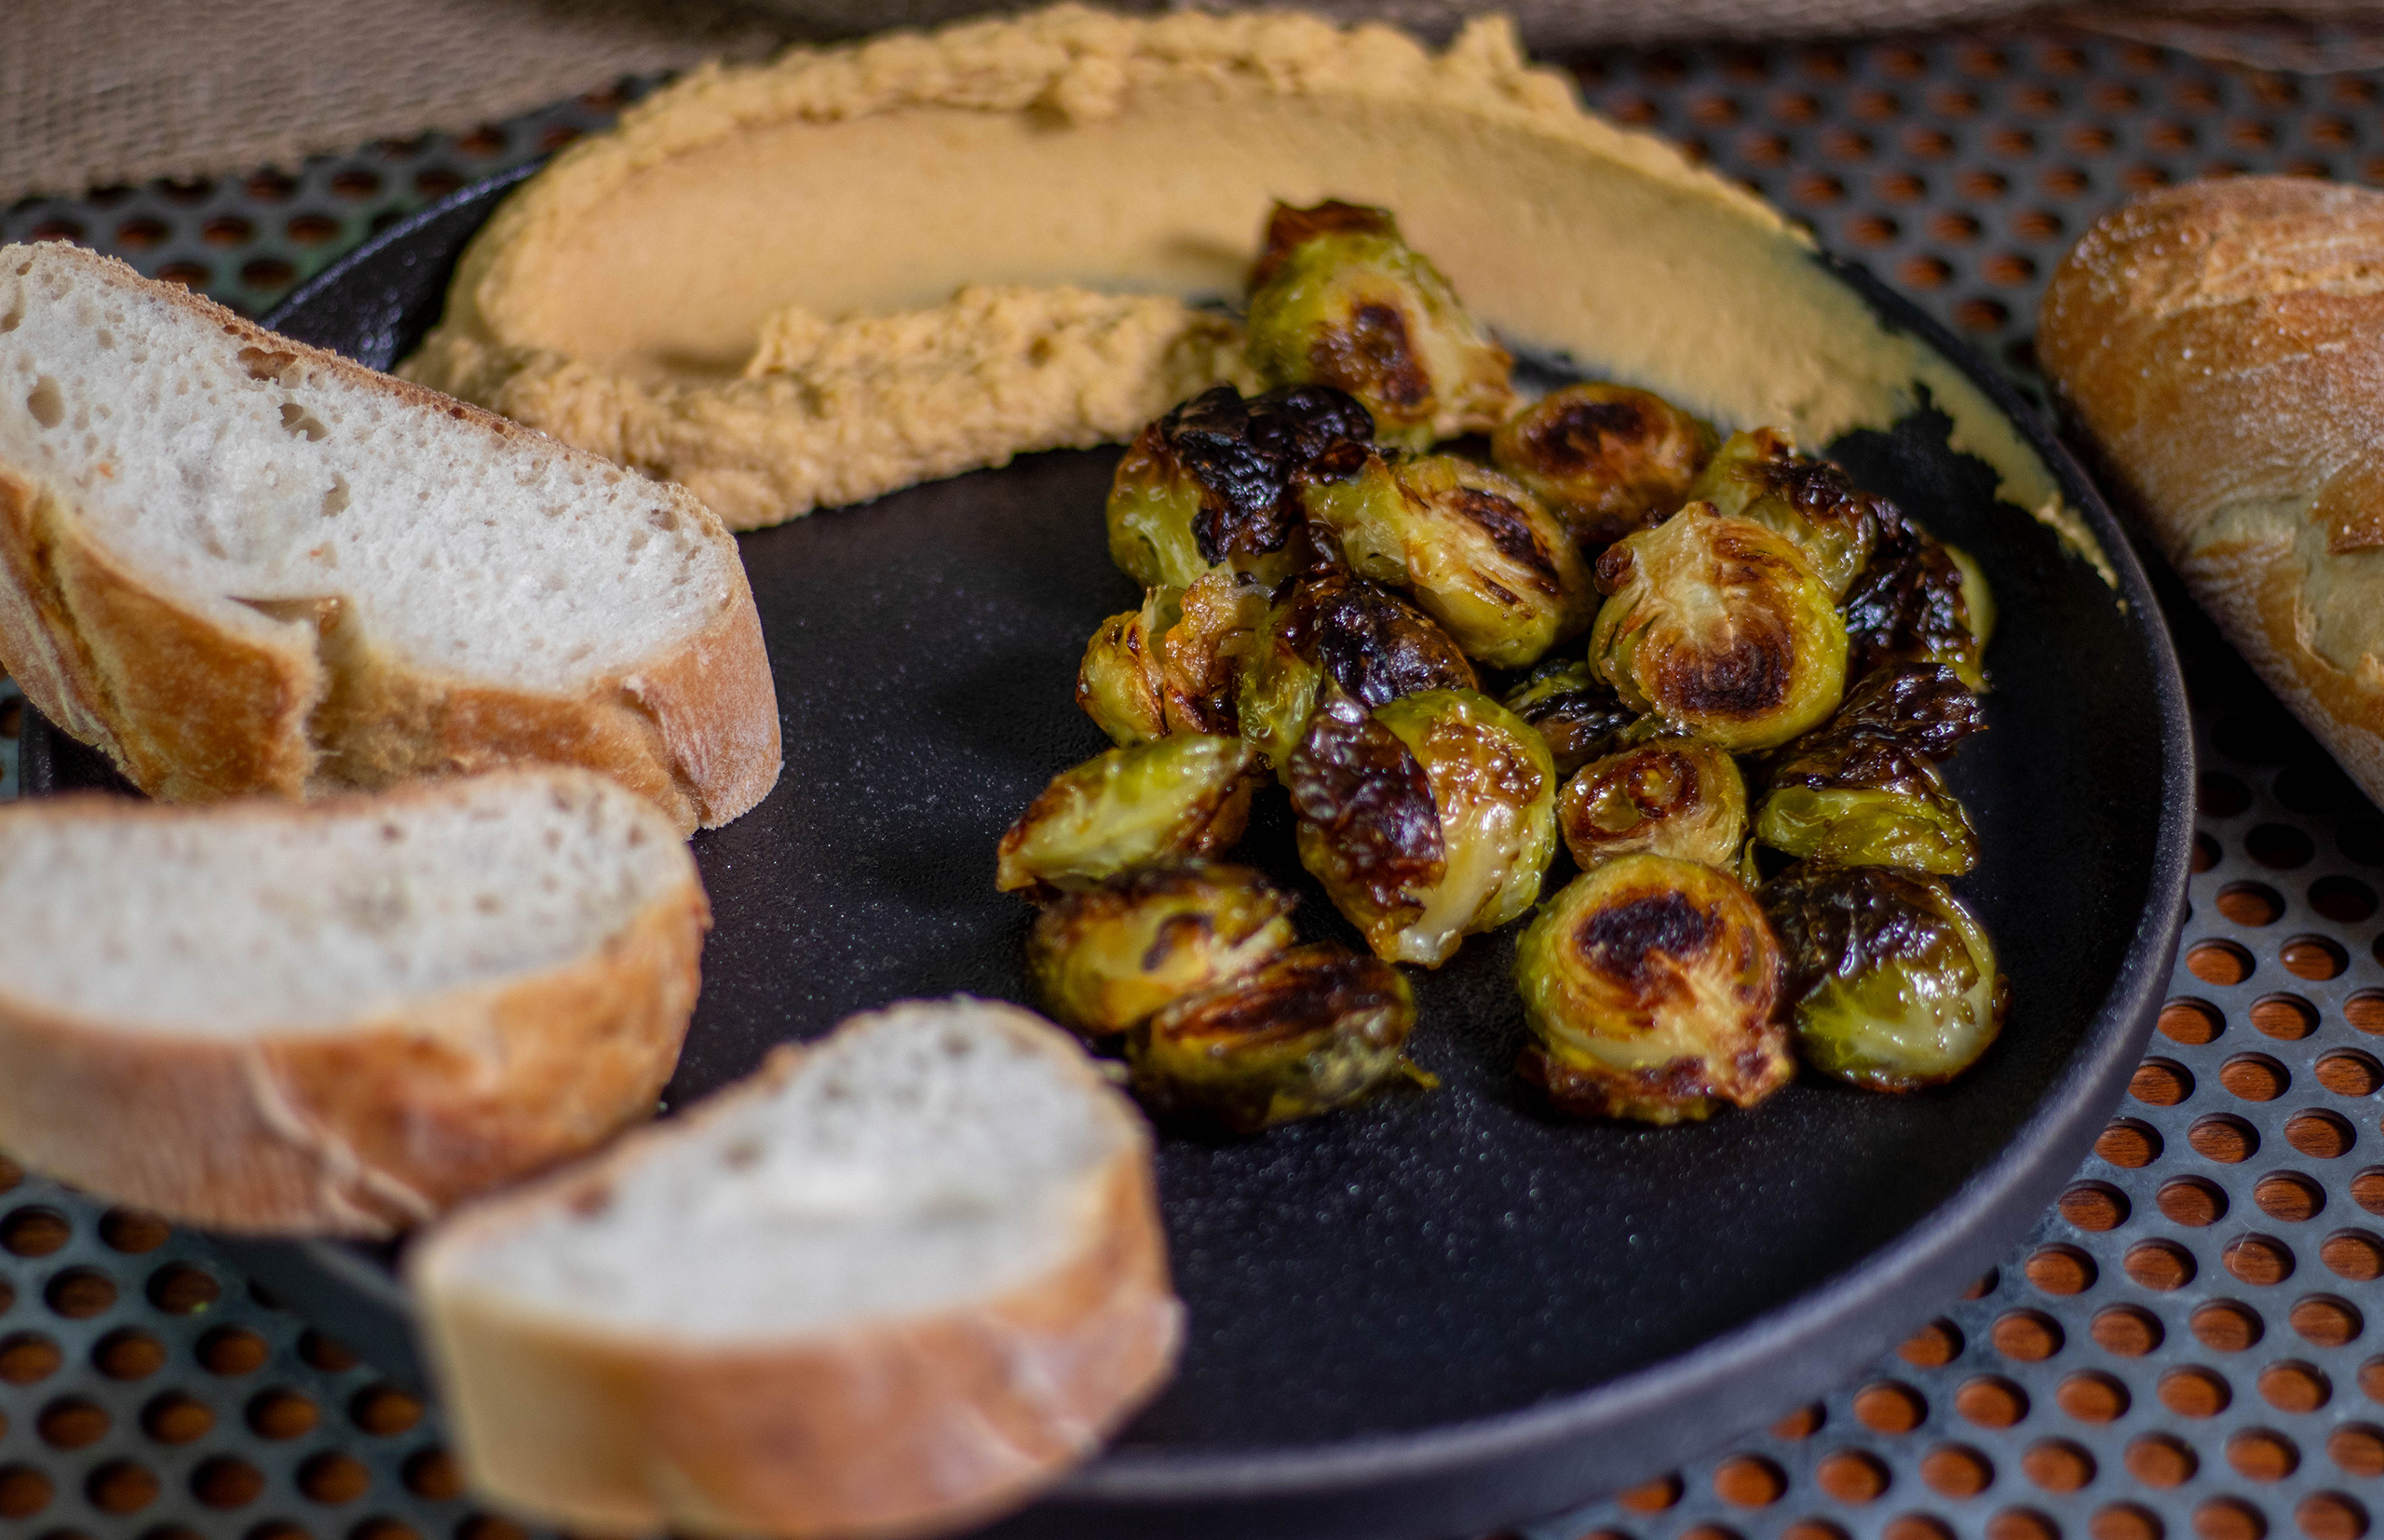
If you still think Brussels sprouts are one of the most unpleasant vegetables, you haven’t tried good recipes with them yet! Crispy Brussels sprouts from the oven, glazed with balsamic vinegar and homemade spruce tip honey (alternatively, it also tastes good with maple syrup). Oven-baked Brussels sprouts at their best!
To bite into: Crispy Brussels sprouts from the oven
The recipe as a cooking video
Here you can watch a cooking video showing how to prepare crispy Brussels sprouts from the oven. The video is in German, but subtitles should work. Feel free to subscribe to my YouTube channel.
Oven-baked Brussels sprouts, this is how they turn out best
You can’t go wrong with my oven-baked Brussels sprouts recipe. I’ve even convinced people who don’t like Brussels sprouts that the vegetables are actually pretty tasty if you prepare them properly.
Classic Brussels sprouts cooked in salt water, as you might know them from German and other European kitchens, are often cooked for too long, not seasoned enough and end up being quite mushy and having a somewhat unpleasant, diffuse cabbage taste.
Not so with my oven-baked Brussels sprouts! The Brussels sprouts come out of the oven crispy and appetizing. Then they are glazed with balsamic vinegar and homemade, vegan spruce tip honey. Alternatively, you can use a store-bought vegan honey alternative or maple syrup.
Crispy Brussels sprouts are perfect as a side dish to vegan meat dishes, in mixed bowls or simply as a healthy snack in between meals. Actually, I like these glazed Brussels sprouts so much that I really enjoy eating them just like that, without anything else.
You can’t go wrong with my oven-baked Brussels sprouts recipe.
Vegan crispy Brussels sprouts with homemade spruce tip honey
Like all recipes on Daily Vegan, my baked Brussels sprouts are of course vegan, despite the balsamic honey glaze. I use my homemade spruce tip honey as a bee honey alternative. I collect the spruce tips myself and boil them down to make honey. You can also use my dandelion honey, a purchased vegan honey alternative or maple syrup for this recipe.
Cooking seasonally with regional produce in autumn and winter
Brussels sprouts are a winter vegetable
Brussels sprouts are classified as winter vegetables because of their long shelf life and late harvest. You can enjoy them from September and harvest them right into winter. This means you can cook with them in autumn and winter, seasonally and regionally from local produce. Climate-friendly, healthy and full of flavour.
You can’t go wrong with my oven-baked Brussels sprouts recipe.
What is the best way to get Brussels sprouts really tasty?
I can only recommend roasting Brussels sprouts in the oven: that’s how they taste really good!
Roasted Brussels sprouts from the tray combine the green, cabbage-like, slightly bitter taste of Brussels sprouts with hearty roasted aromas. To do this, simply cut the Brussels sprouts in halfs and mix with a little olive oil and salt. Then place on a tray and bake in the oven.
You can then either serve them straight away as a side dish, add them to sauces and other dishes or glaze the Brussels sprouts as in this recipe.
Brussels sprouts are a winter vegetable
More recipes with winter vegetables to cook at home
Do you enjoy cooking healthily and in a climate-friendly way with fresh, regional ingredients? Here are some recipes with winter vegetables that will help you get deliciously through the dark season:
Feel free to follow me on Instagram or Facebook. And I’ll be delighted if you make my roasted Brussel sprouts and post a photo of it. It’s best if you tag my account in it too. Because I always find it really great and exciting to see how my recipes are prepared in other kitchens!
Brussels sprouts ready for the ovenCrispy Brussels Sprouts from the Oven with Balsamic Honey Glaze
Ingredients for 4 portions of crispy Brussels sprouts:
Preheat the oven to 220°C (430°F) top and bottom heat.
Mix the halved Brussels sprouts with the olive oil and 1.5 tsp salt in a bowl.
Then spread them out on a baking tray with baking paper. Place the cut sides down.
Mix the balsamic vinegar with the spruce tip honey in a large bowl.
Roast the Brussels sprouts on the middle shelf in the oven for 25-30 minutes until the leaves are brown and crispy.
Take the roasted Brussels sprouts out of the oven and immediately turn them in the bowl with the balsamic-spruce tip honey mixture while they are still very hot.
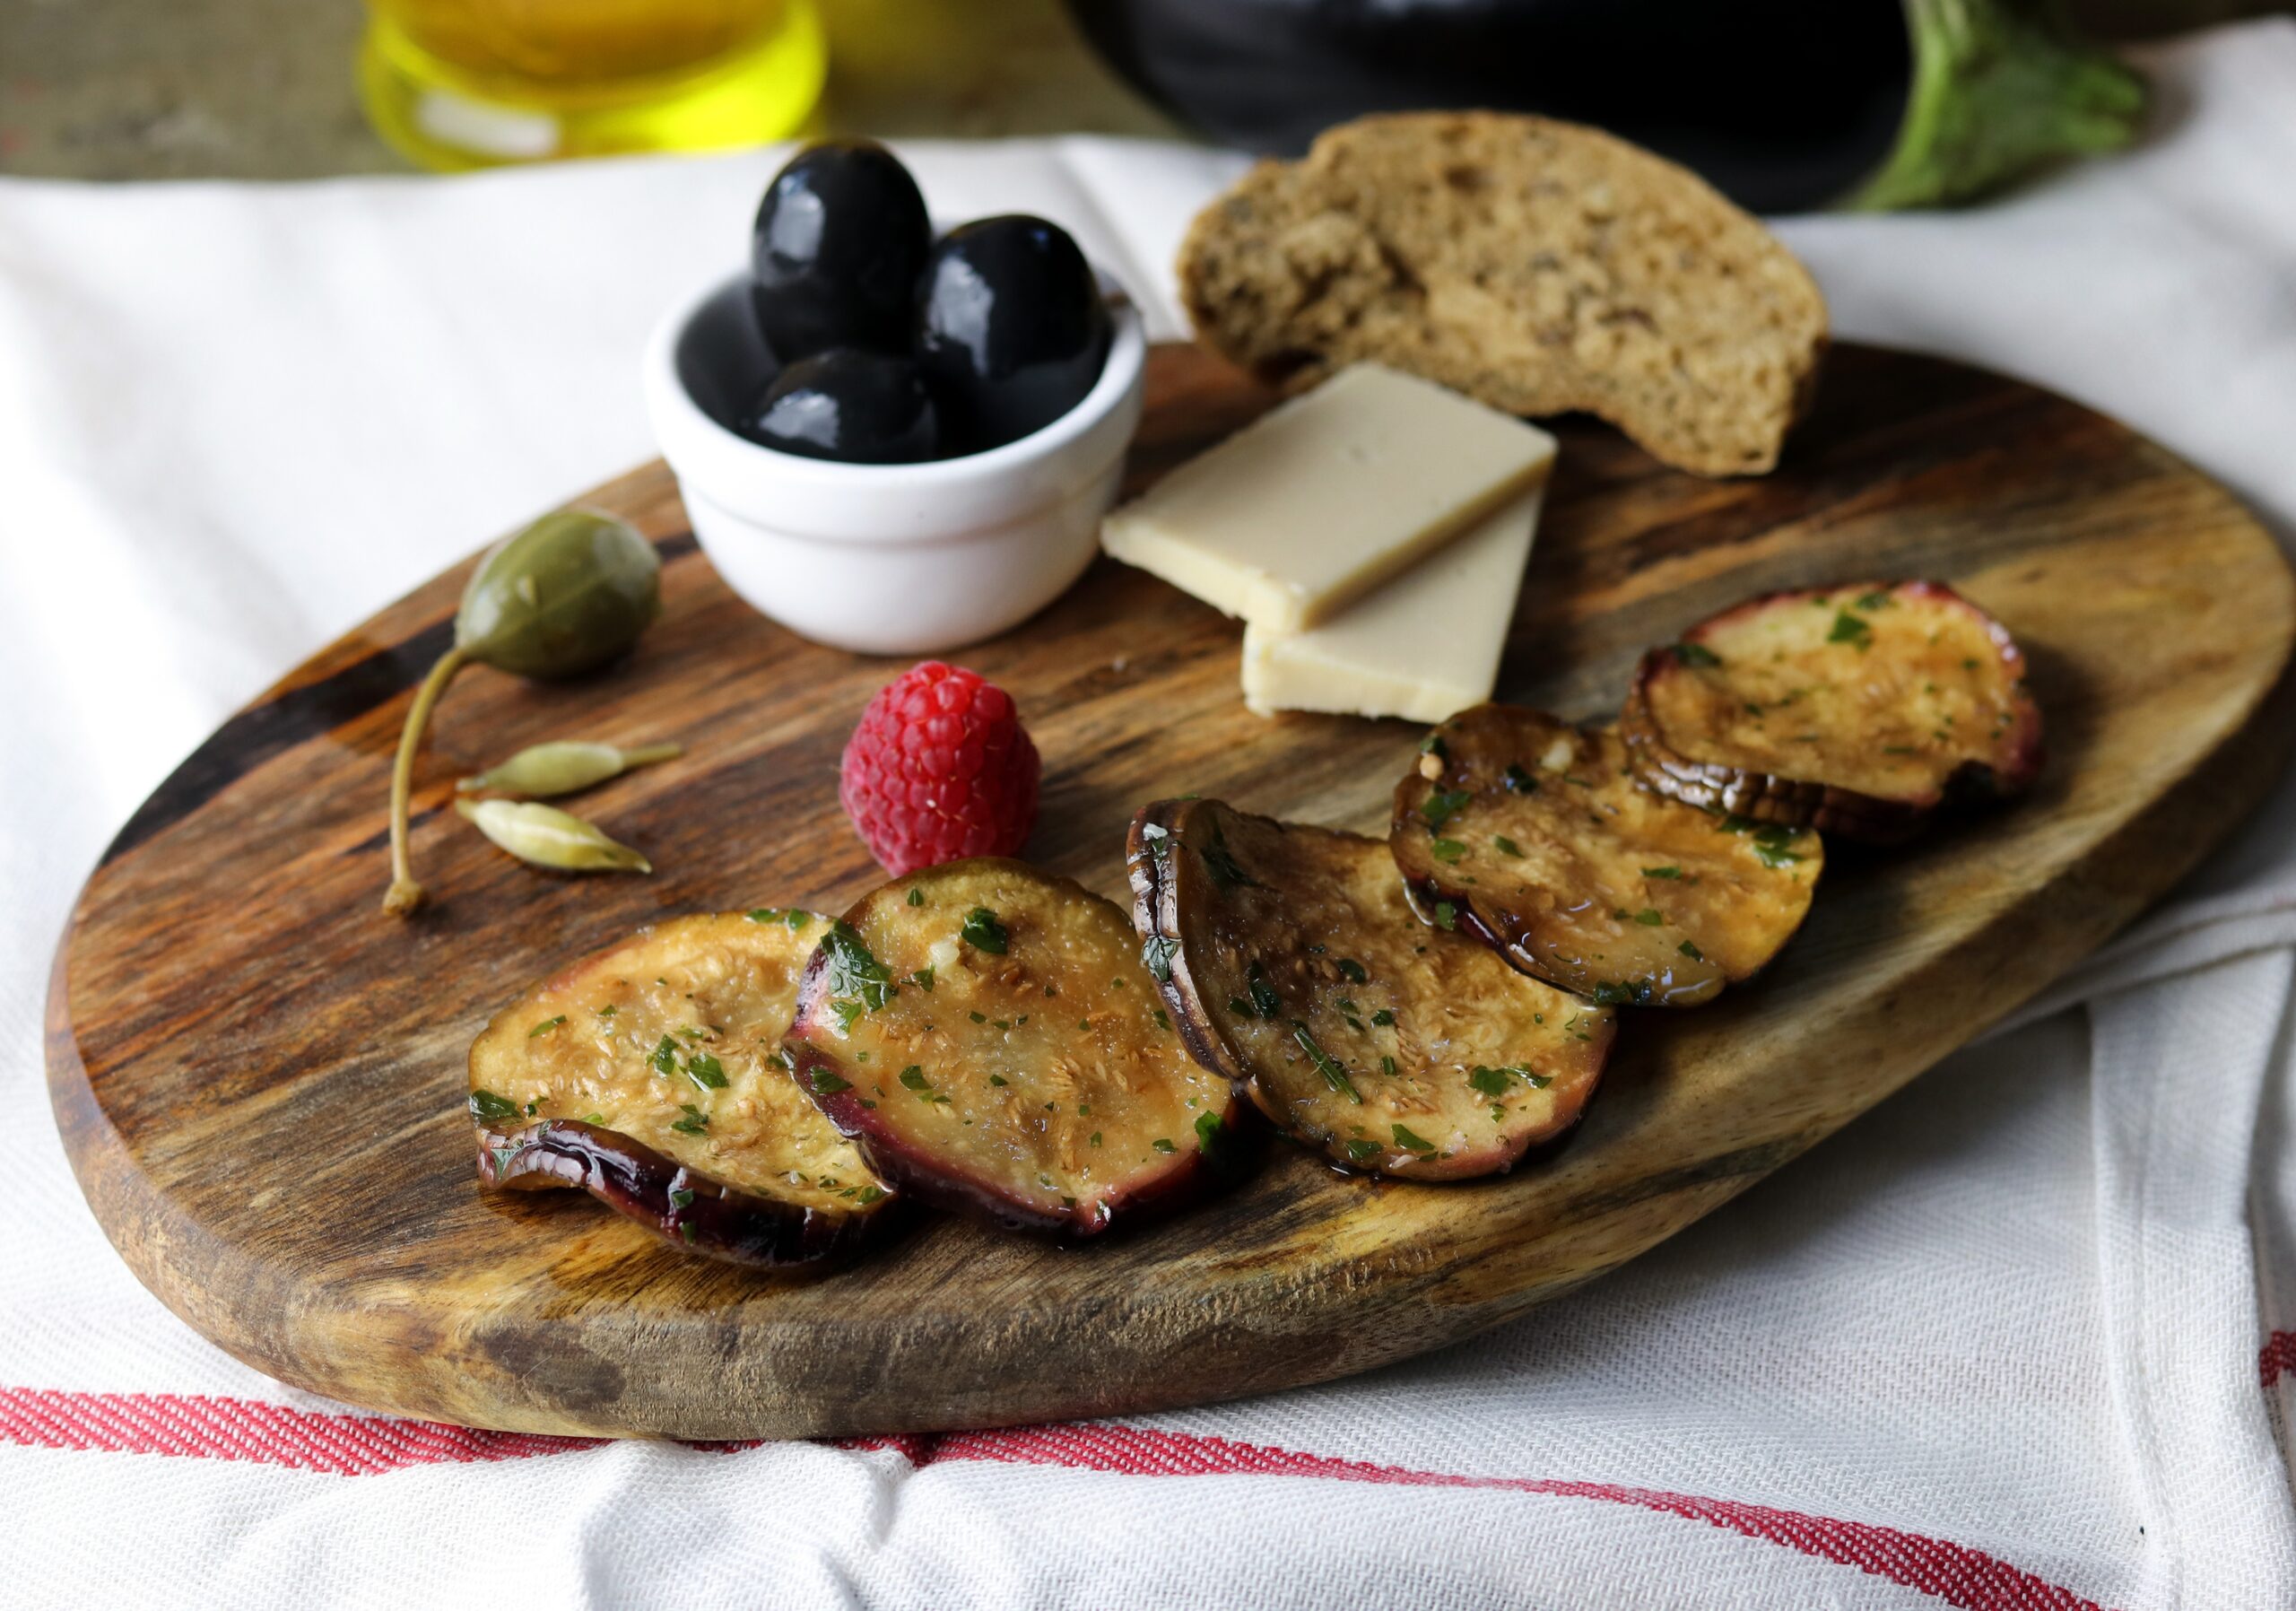
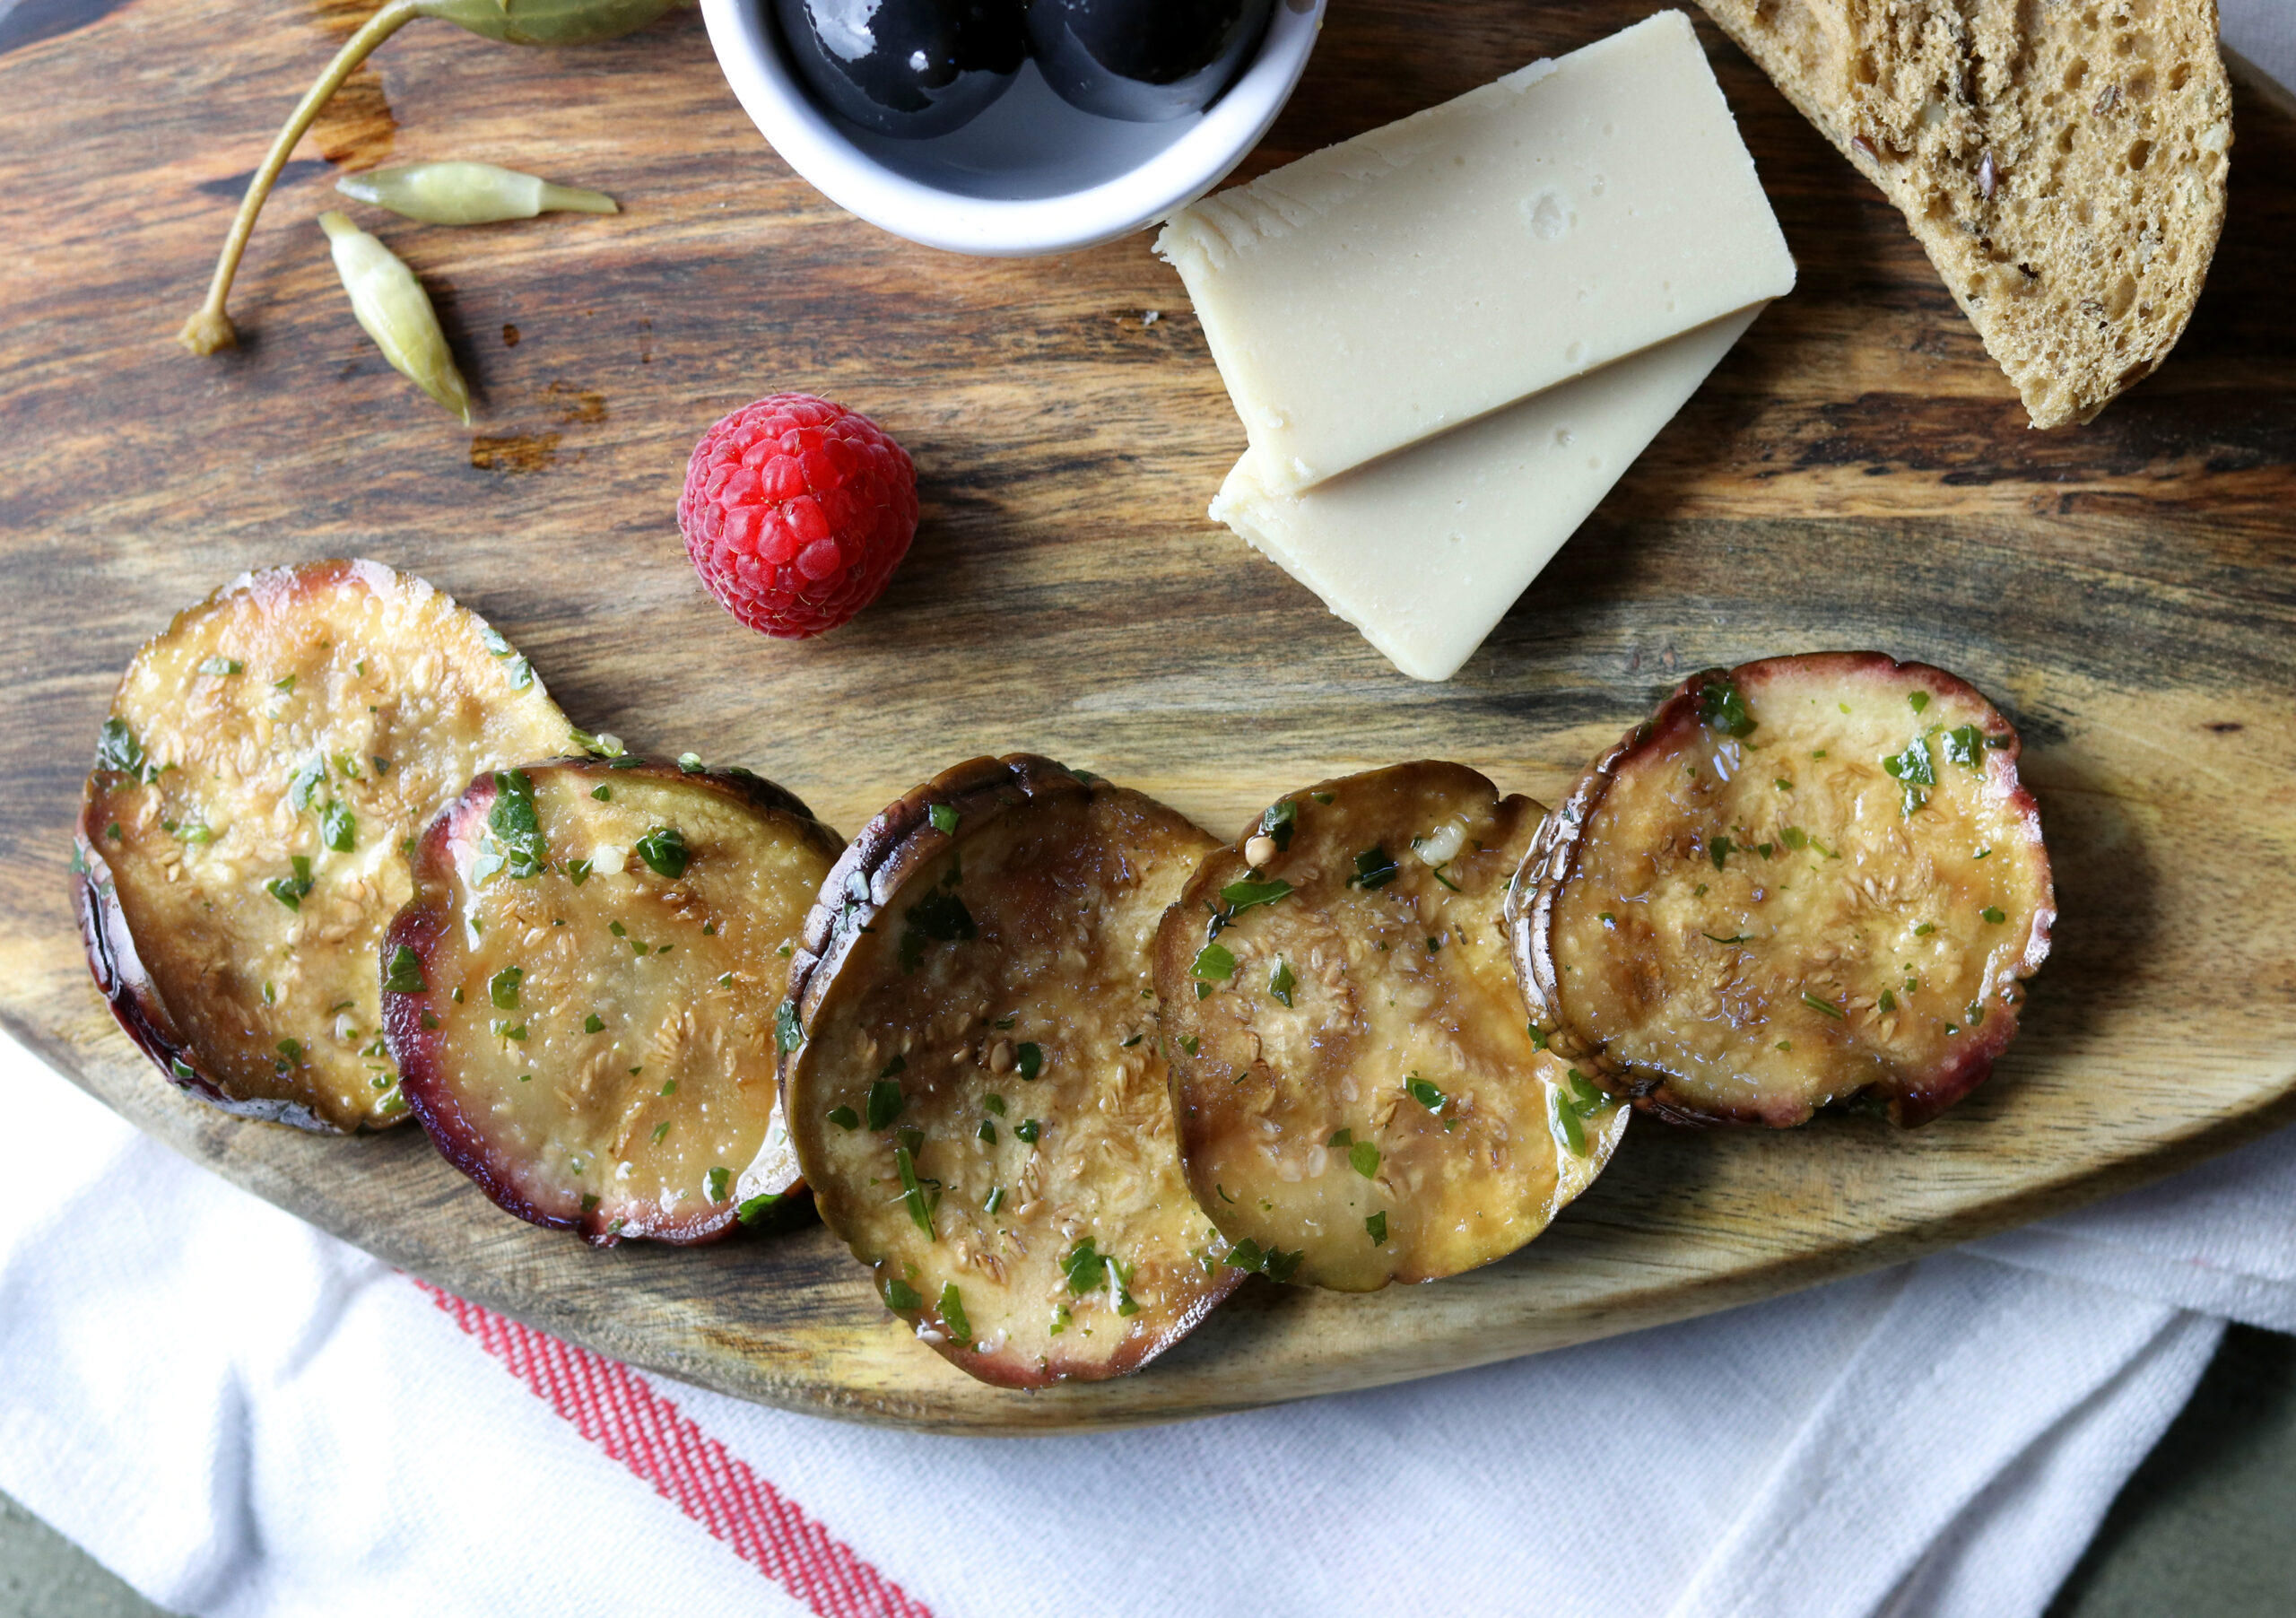
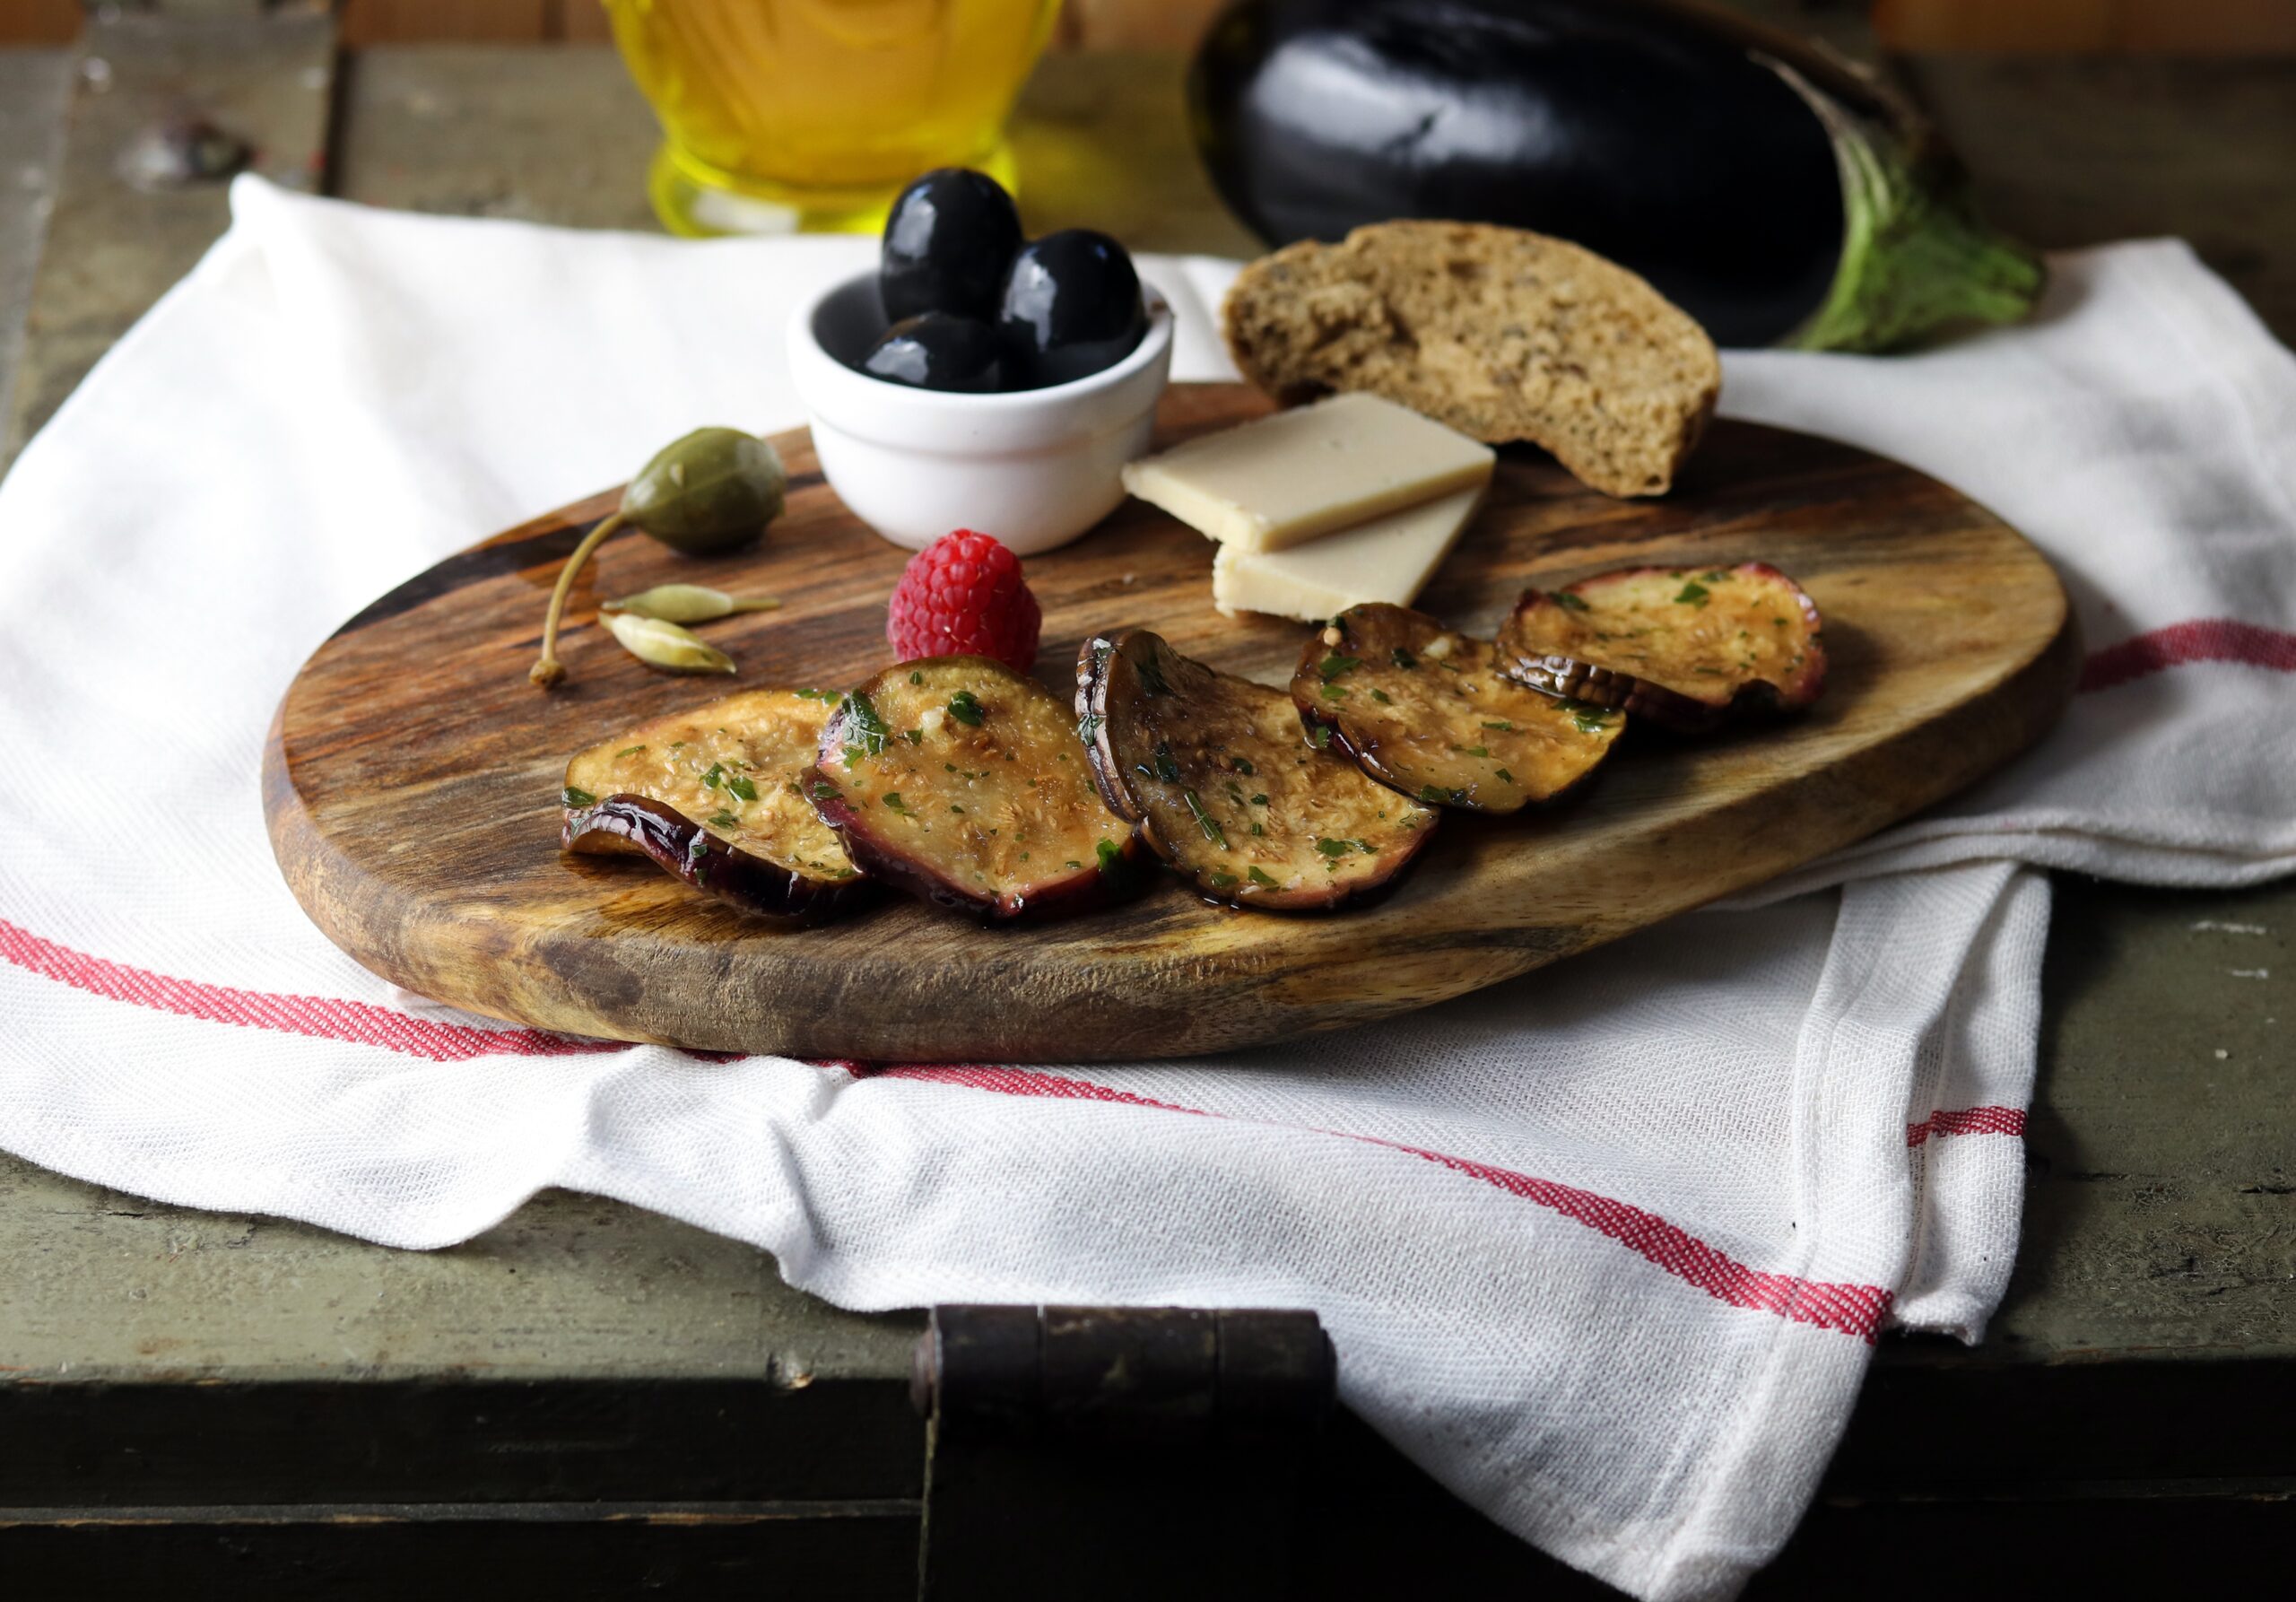
Pickled eggplants with good olive oil, garlic and fresh parsley. A hearty treat on bread, on a buffet or just as a small snack. Easy to prepare and no cooking or baking is required.
Pickled eggplants are spicy and delicious
Pickled eggplants – how does it actually work?
To make delicious antipasti from eggplants, you can pickle them in oil, for example. Like in this recipe. To do this, the eggplants must first be cut and salted. To make the eggplants lose their bitterness, they must be cured in the salt for a while. Then they can be processed further. In this case, they are simply marinated in oil. To get the eggplants really aromatic in oil, parsley, garlic and a little vinegar are added.
Fresh and juicy and easy to prepare: pickled eggplants
Why do you salt eggplants before processing them?
As with many eggplant preparation methods, the eggplant is first cut into slices and salted in this recipe. The salt has an osmotic effect and draws fruit juice and bitter substances from the cut surface. The unpleasant bitter substances can then be easily washed off. If you salt the eggplant slices too briefly or too little, they can taste bitter and almost inedible.
Pickled eggplants with good olive oil, garlic and fresh parsley.
Tip: Are you looking for more delicious eggplant recipes?
Do you really like eggplant? Then try these eggplant recipes from me:
I love creating my own supplies. I ferment, boil or pickle. Here are some simple recipes that you can use to pickle your fruit or vegetables or otherwise preserve them:
Pickled eggplants – delicious as part of a mezze platter
By the way, my pickled eggplants are excellent as part of a Mediterranean mezze. Together with other vegan appetizers, you can create a great summer buffet. Or simply dine in a cozy group. With a mezze platter, everyone comes together at the table and helps themselves to the various components according to their taste.
A mezze platter brings everyone together at the table. Pickled eggplant goes perfectly with it.
Show me your pickled eggplants
Feel free to follow me on Instagram or Facebook. And I’ll be delighted if you make my pickled eggplants and post a photo of it. It’s best if you tag my account in it too. Because I always find it really great and exciting to see how my recipes are prepared in other kitchens!
Aromatic with parsley and garlic
Ingredients for about 8 portions of pickled eggplant:
1 medium-sized eggplant Salt 4 tbsp olive oil 2 tbsp white balsamic vinegar 1 garlic clove, very finely chopped 2 tbsp parsley, chopped (fresh or frozen)
Preparation:
Cut the eggplant into slices about 3mm thick and place in a sieve.
Salt the slices generously on both sides and leave to soak for at least 45 minutes or longer. Place the sieve in a bowl or in the sink so that the bottom does not drip.
Mix the remaining ingredients well with a whisk to create a homogeneous marinade.
Wash the eggplant slices under running water, then pat them dry with a kitchen towel.
The eggplant slices can now be thoroughly mixed with the marinade.
Let them sit in an airtight container in the fridge for at least 5 hours or overnight.
Pickled eggplants will last a few days in the fridge. So you can prepare them very well and preserve the fresh eggplant for longer by pickling it.
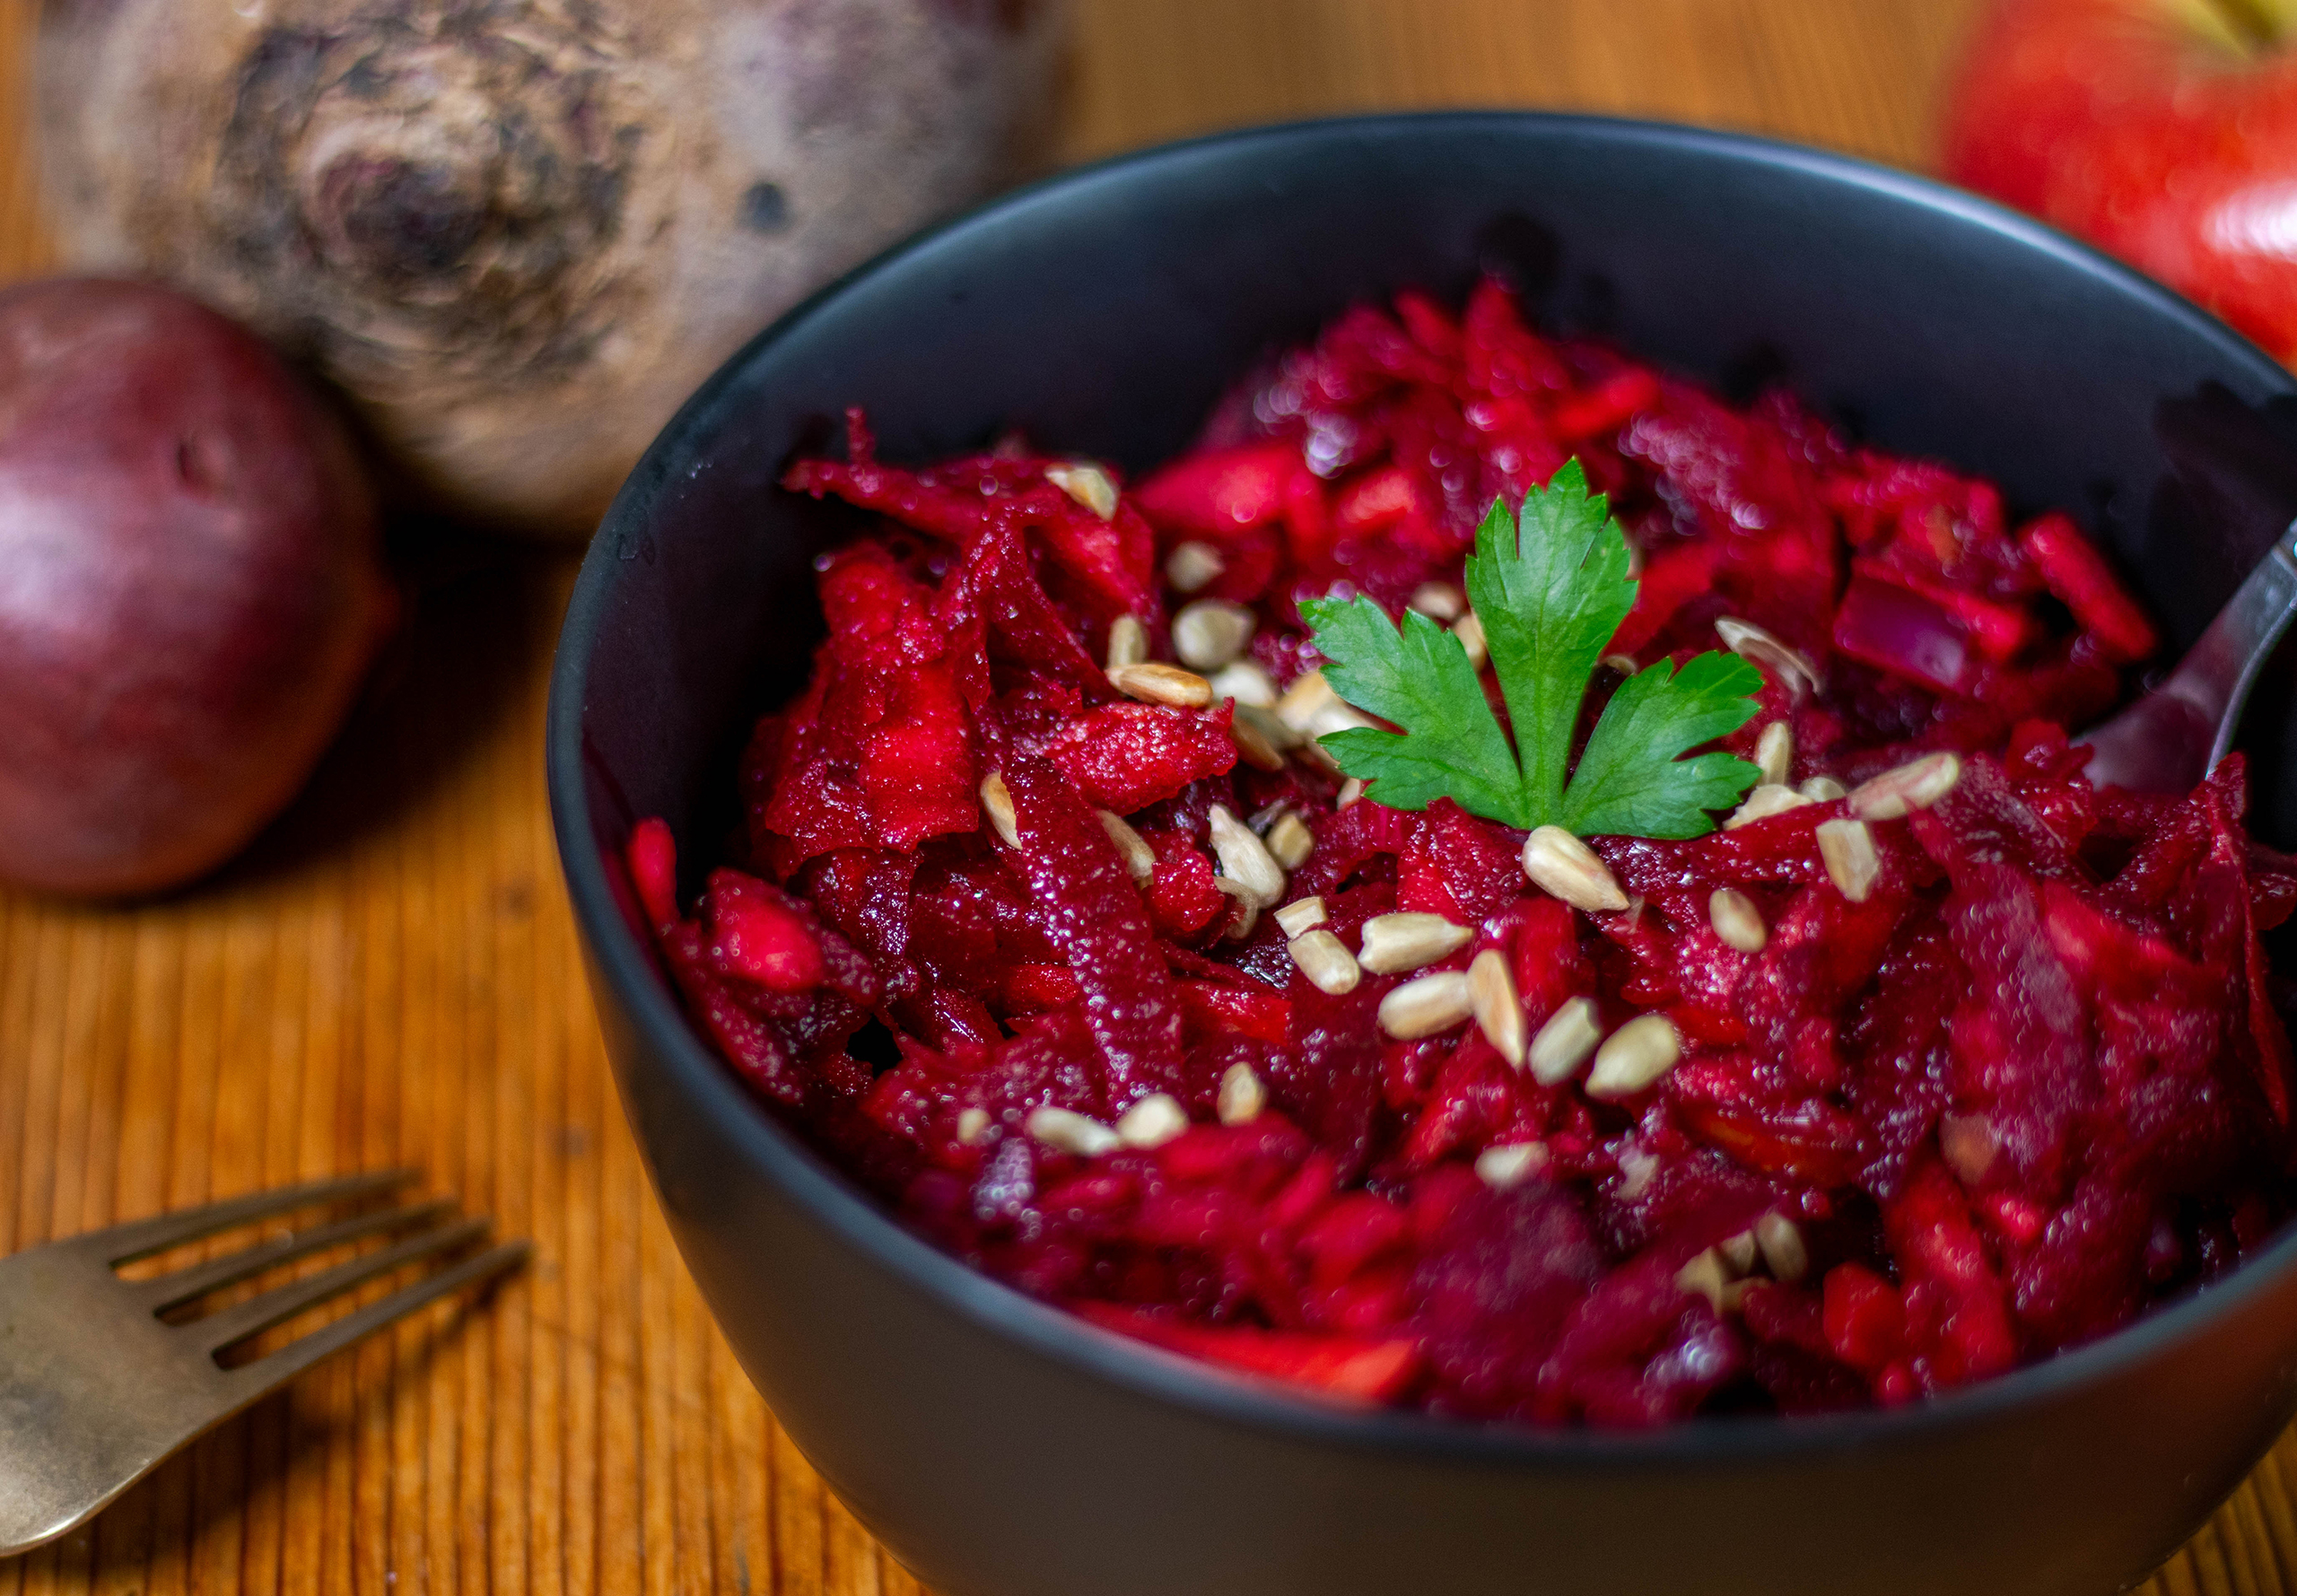
A crisp, fresh salad that you can prepare all year round made from local produce? Why not make yourself a quick raw beetroot salad. This is a salad with apple and local vegetables that are even in season in winter. Paired with an aromatic dressing and roasted sunflower seeds.
A simple salad with just a few ingredients. Made in just 5 minutes.
My raw beetroot is a salad that is really easy to prepare in just 5 minutes. You often have all the ingredients for it at home. This means you can quickly have a particularly aromatic side dish or a healthy snack on the table.
This beetroot recipe only contains raw ingredients. That is often not the case with beetroot salads. However, I find raw beetroot in a salad much tastier than cooked ones. Because raw beetroot with apple is just incredibly tasty and fresh!
A simple salad with few ingredients. Made in just 5 minutes.
Beetroot salad – winter vegetables as a salad, available regionally all year round
Do you often long for a crispy salad made from regional produce in winter? Quickly make yourself this beetroot salad. A seasonal winter salad with regional produce
This delicious, fresh raw vegetable salad consists mainly of beetroot, paired with carrots, apples and onions. Beets, carrots and onions are what are known as winter vegetables. Since they can be stored for a long time, you can always enjoy them fresh from regional cultivation all year round, and even in winter. The same applies to apples, which are also available from local cultivation in winter. Combined here to create an aromatic winter vegetable salad.
Beetroot salad – a salad made from winter vegetables
Raw beetroot salad with apple: delicious, healthy and inexpensive
Beetroot, carrots, onions and apples are available very cheaply all year round. And very healthy at the same time. Many important vitamins are lost during cooking. While raw vegetables are full of them. That’s why it’s great to eat beetroot and carrots raw more often. With this recipe, you can eat really good low-budget vegan food.
Beetroot salad with apple
More recipes with beetroot to try
Here are some more of my recipes, that are containing beetroot:
Feel free to follow me on Instagram or Facebook. And I’ll be delighted if you make my beetroot salad and post a photo of it. It’s best if you tag my account in it too. Because I always find it really great and exciting to see how my recipes are prepared in other kitchens!
Beetroot salad – the preparation in pictures
Here I show you step by step in photos how I prepare the beetroot salad. Then I’ll move on to the recipe.
1. All ingredients for the salad.2. The dressing is mixed, the sunflower seeds are roasted and the vegetables are grated.Ready. Easy and quick.
Ingredients for 4 portions of beetroot salad:
2 red beetroots, grated or finely diced 1-2 carrots, grated or finely diced 1 apple, grated or finely diced 1 small red onion, finely diced
Dressing:
2 tablespoons lemon juice 1 tablespoon apple cider vinegar 1 teaspoon maple syrup 4 tablespoons olive oil 1/2 teaspoon salt 1/4 teaspoon pepper
Roasted sunflower seeds:
1 handful of sunflower seeds
Preparation:
First I roast the sunflower seeds. To do this, heat a pan without fat and roast the sunflower seeds in it. Turn them often. Be careful, the seeds burn quickly.
Then mix all the ingredients for the dressing in a bowl.
In a second bowl, mix all the ingredients for the salad.
Then fold in the dressing.
Leave to stand for at least 5 minutes.
Put the salad on plates or into bowls to server and add the roasted sunflower seeds on top.
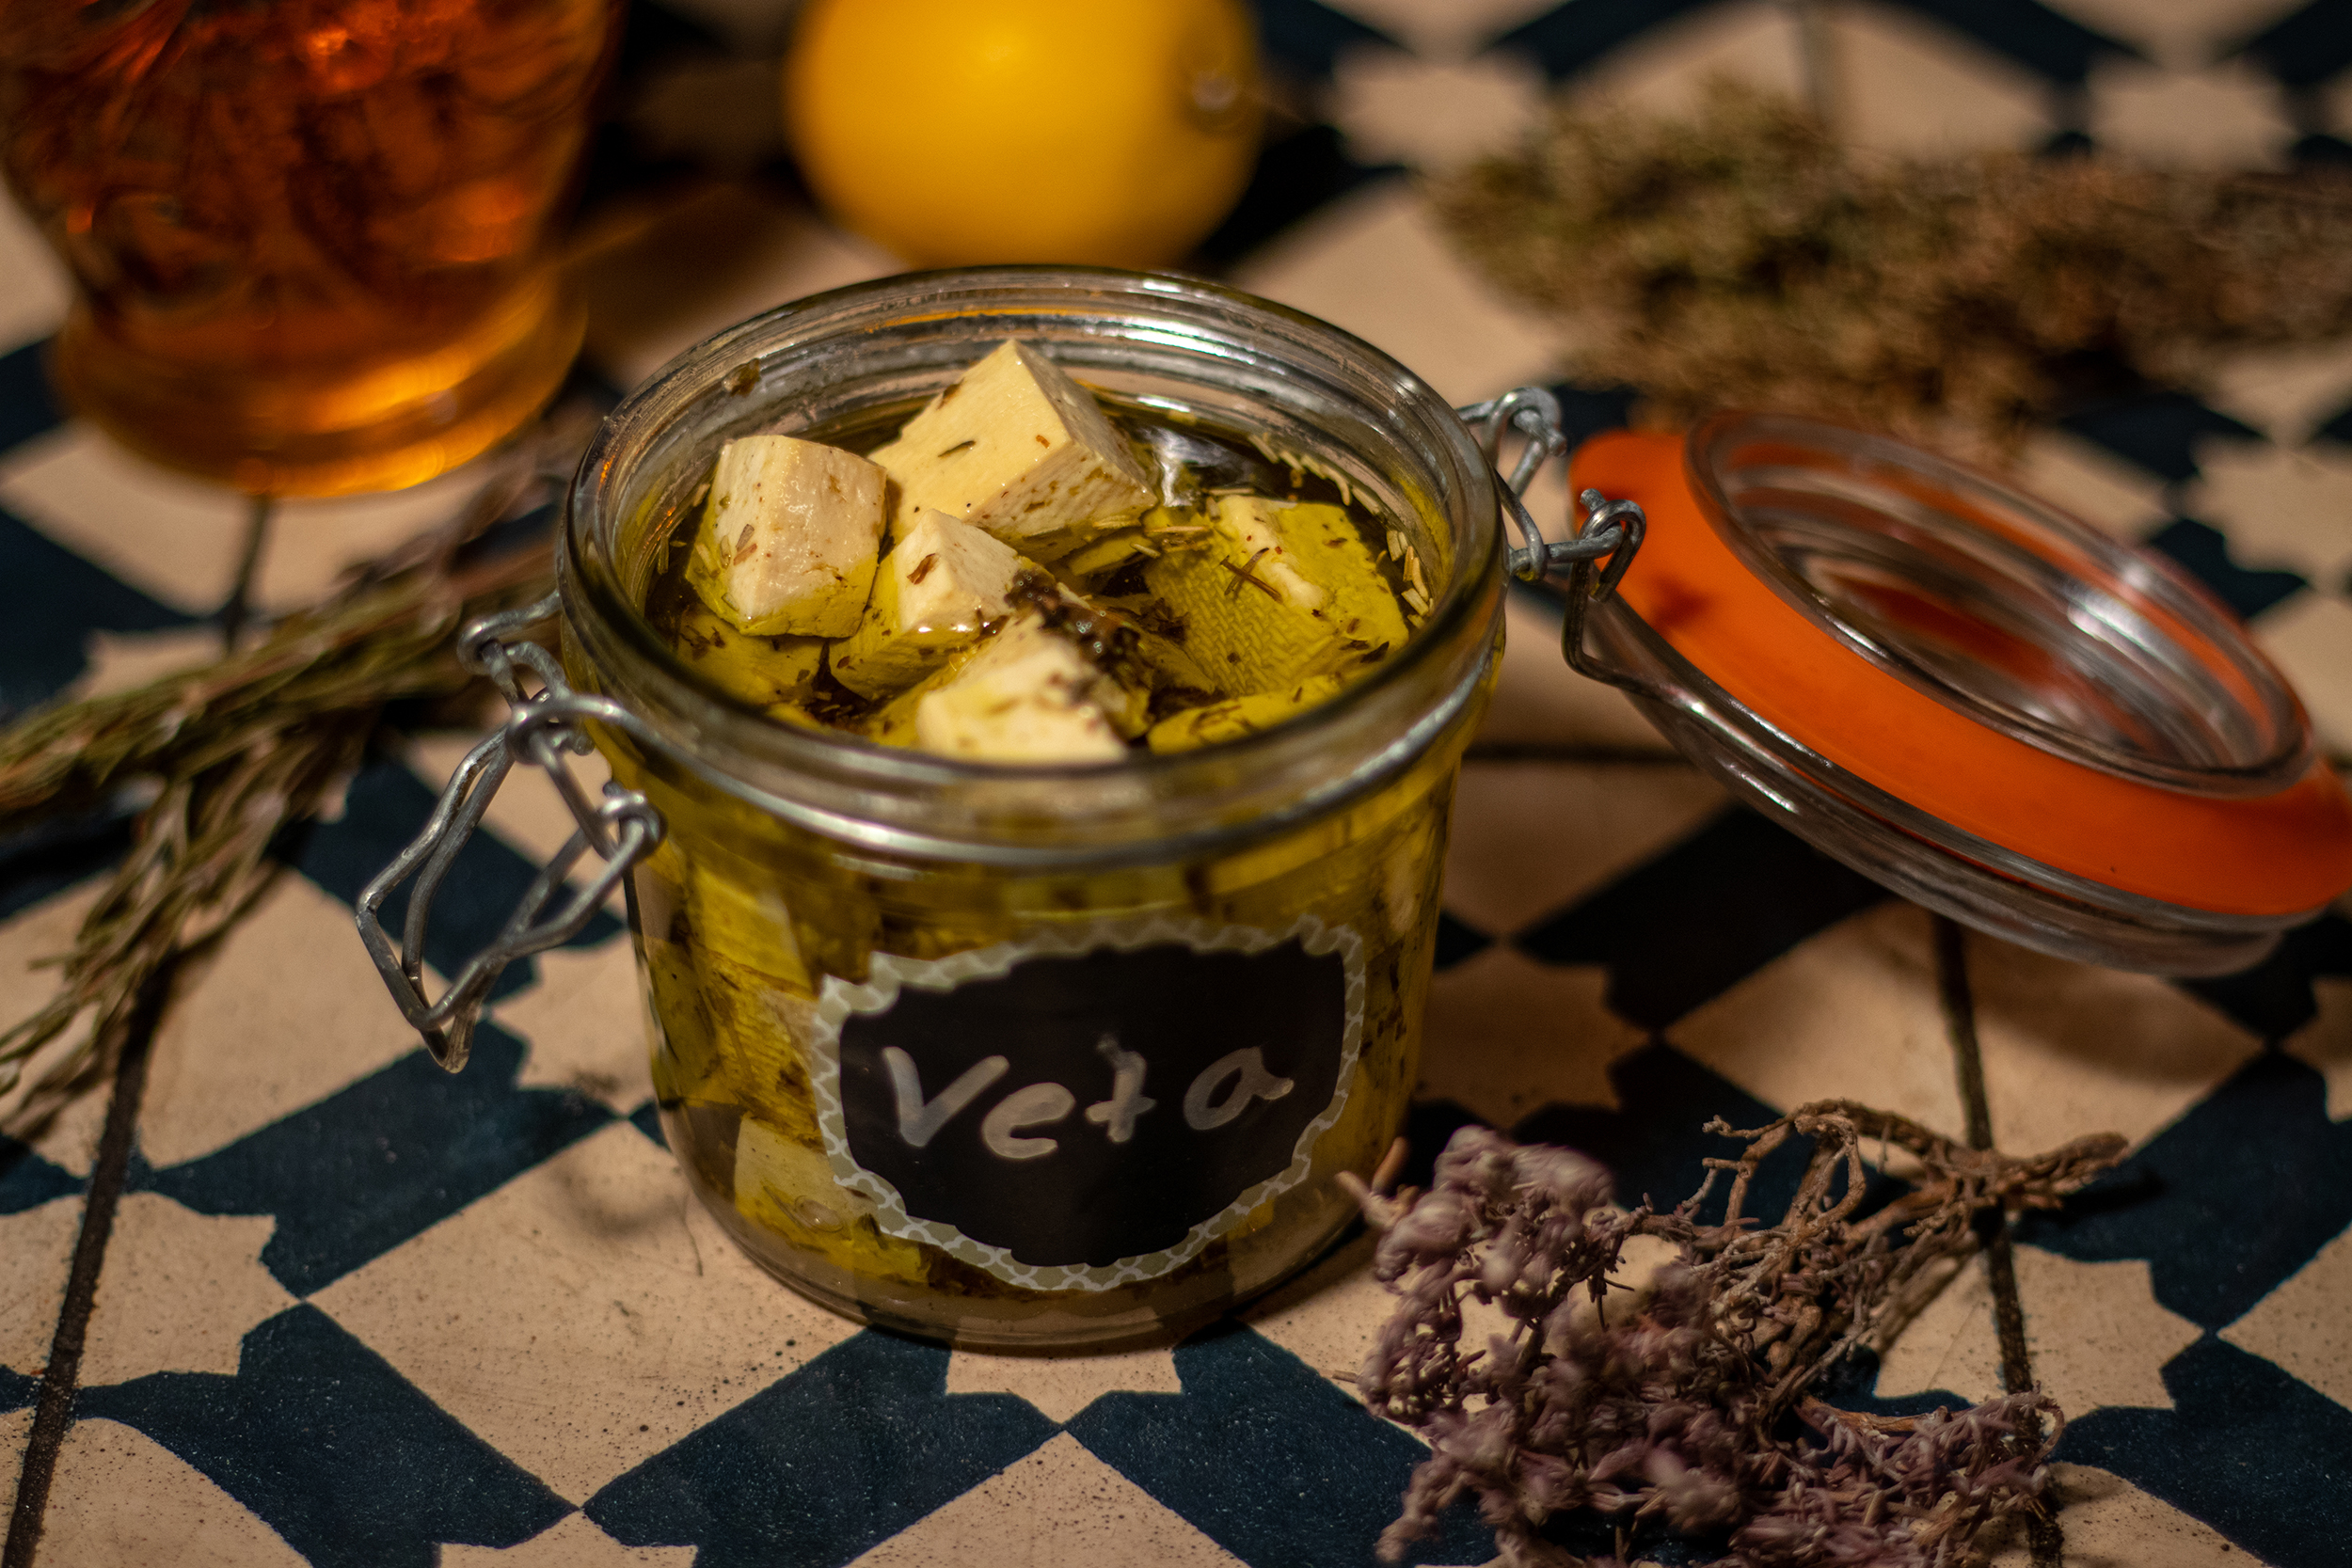
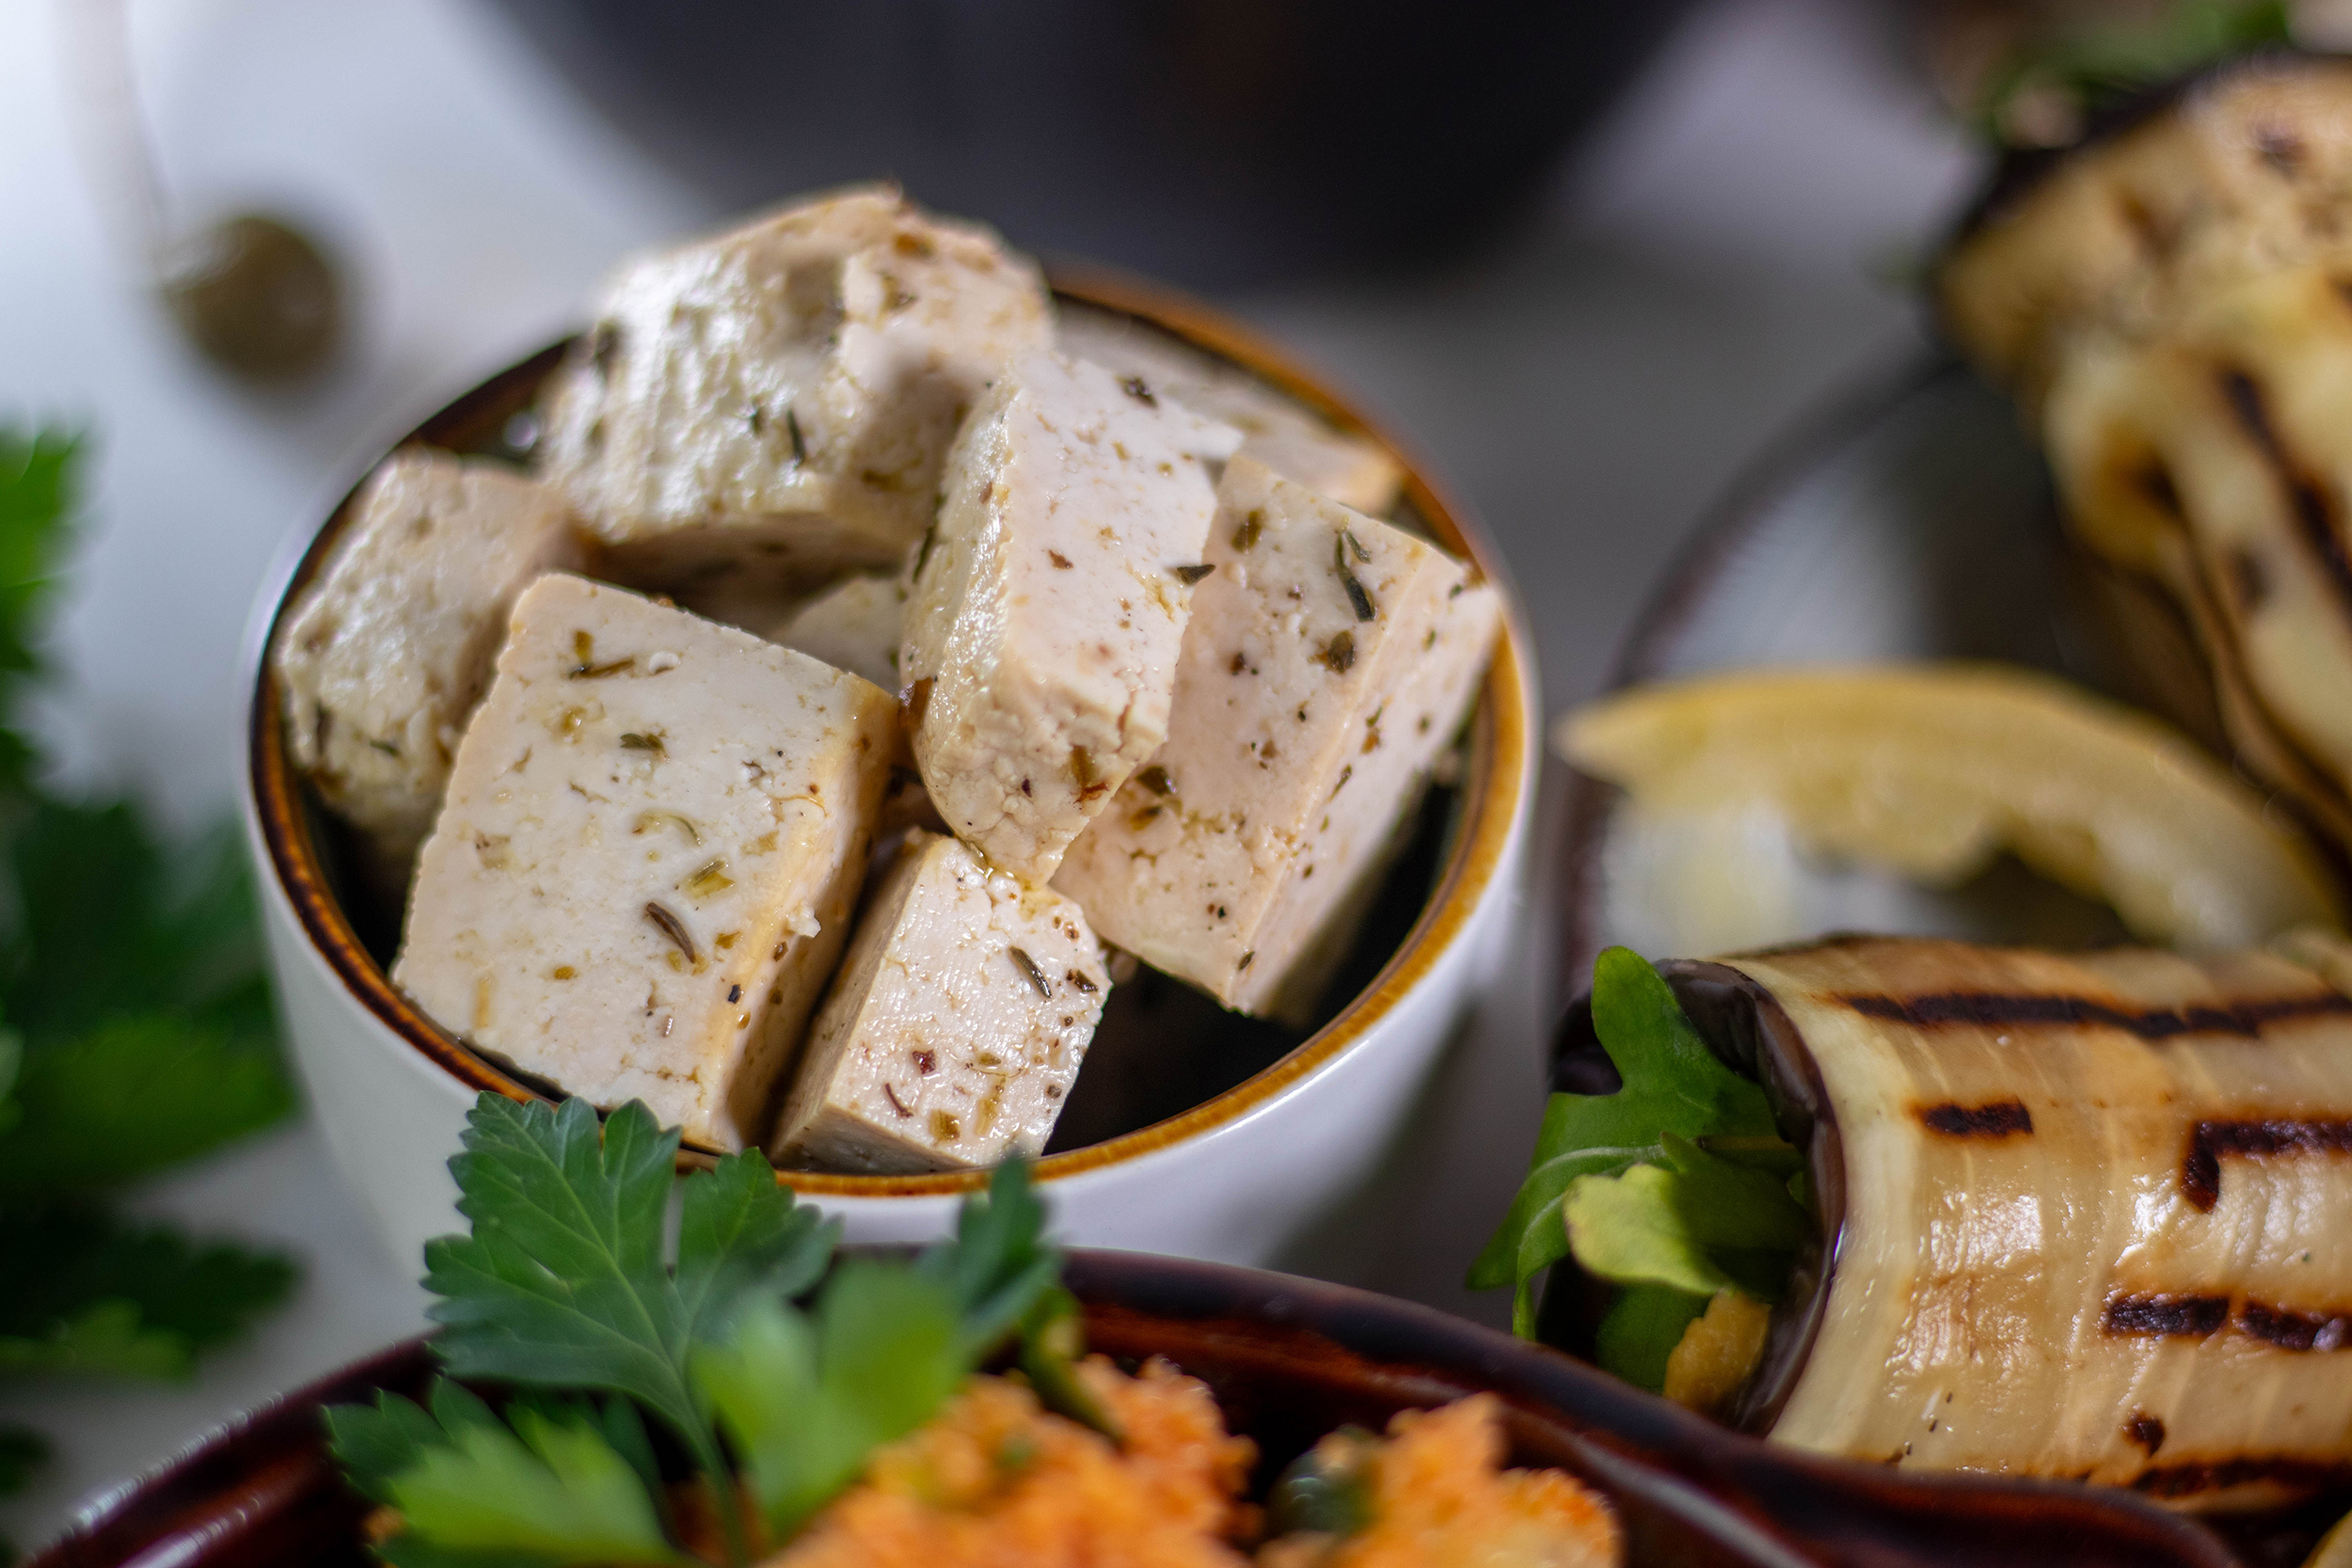
Original feta is a brine-ripened white cheese made from sheep’s milk, that is sometimes mixed with goat’s milk. It is very spicy and aromatic and therefore popular all over the world. Because feta is so versatile, it is often deeply missed in vegan cuisine. That’s why I developed my Veta.
Because feta is so versatile, it is often missing in vegan cuisine. That’s why I created my Veta
Veta is quick and easy to make and the best alternative to sheep’s cheese
My Veta is a quick and easy alternative to feta, sheep’s cheese. It is full-bodied, spicy and aromatic and it can be used in all sorts of recipes instead of feta. A delicious, purely plant-based alternative.
Unlike store-bought vegan sheep’s cheese alternatives, my Veta does not melt when heated. Store-bought vegan feta usually just melts into liquid fat, often palm oil-based. So you soak the food in fat and don’t have any feta with consistency left. My Veta, however, remains intact, so you can also use it for cooked, fried and baked dishes. And it has a long shelf life.
It also tastes much more aromatic and flavorful. It is also more environmentally friendly because you save on packaging material.
Vegan, homemade feta
Vegan feta based on tofu
I make my homemade vegan sheep’s cheese, Veta, based on tofu.
In most cases, tofu is not really suitable for plant-based cheese making. However, tofu is perfect for Veta. The way I prepare it in this recipe gives it the right consistency and mouthfeel. And I add seasoning and flavour using an aromatic marinade.
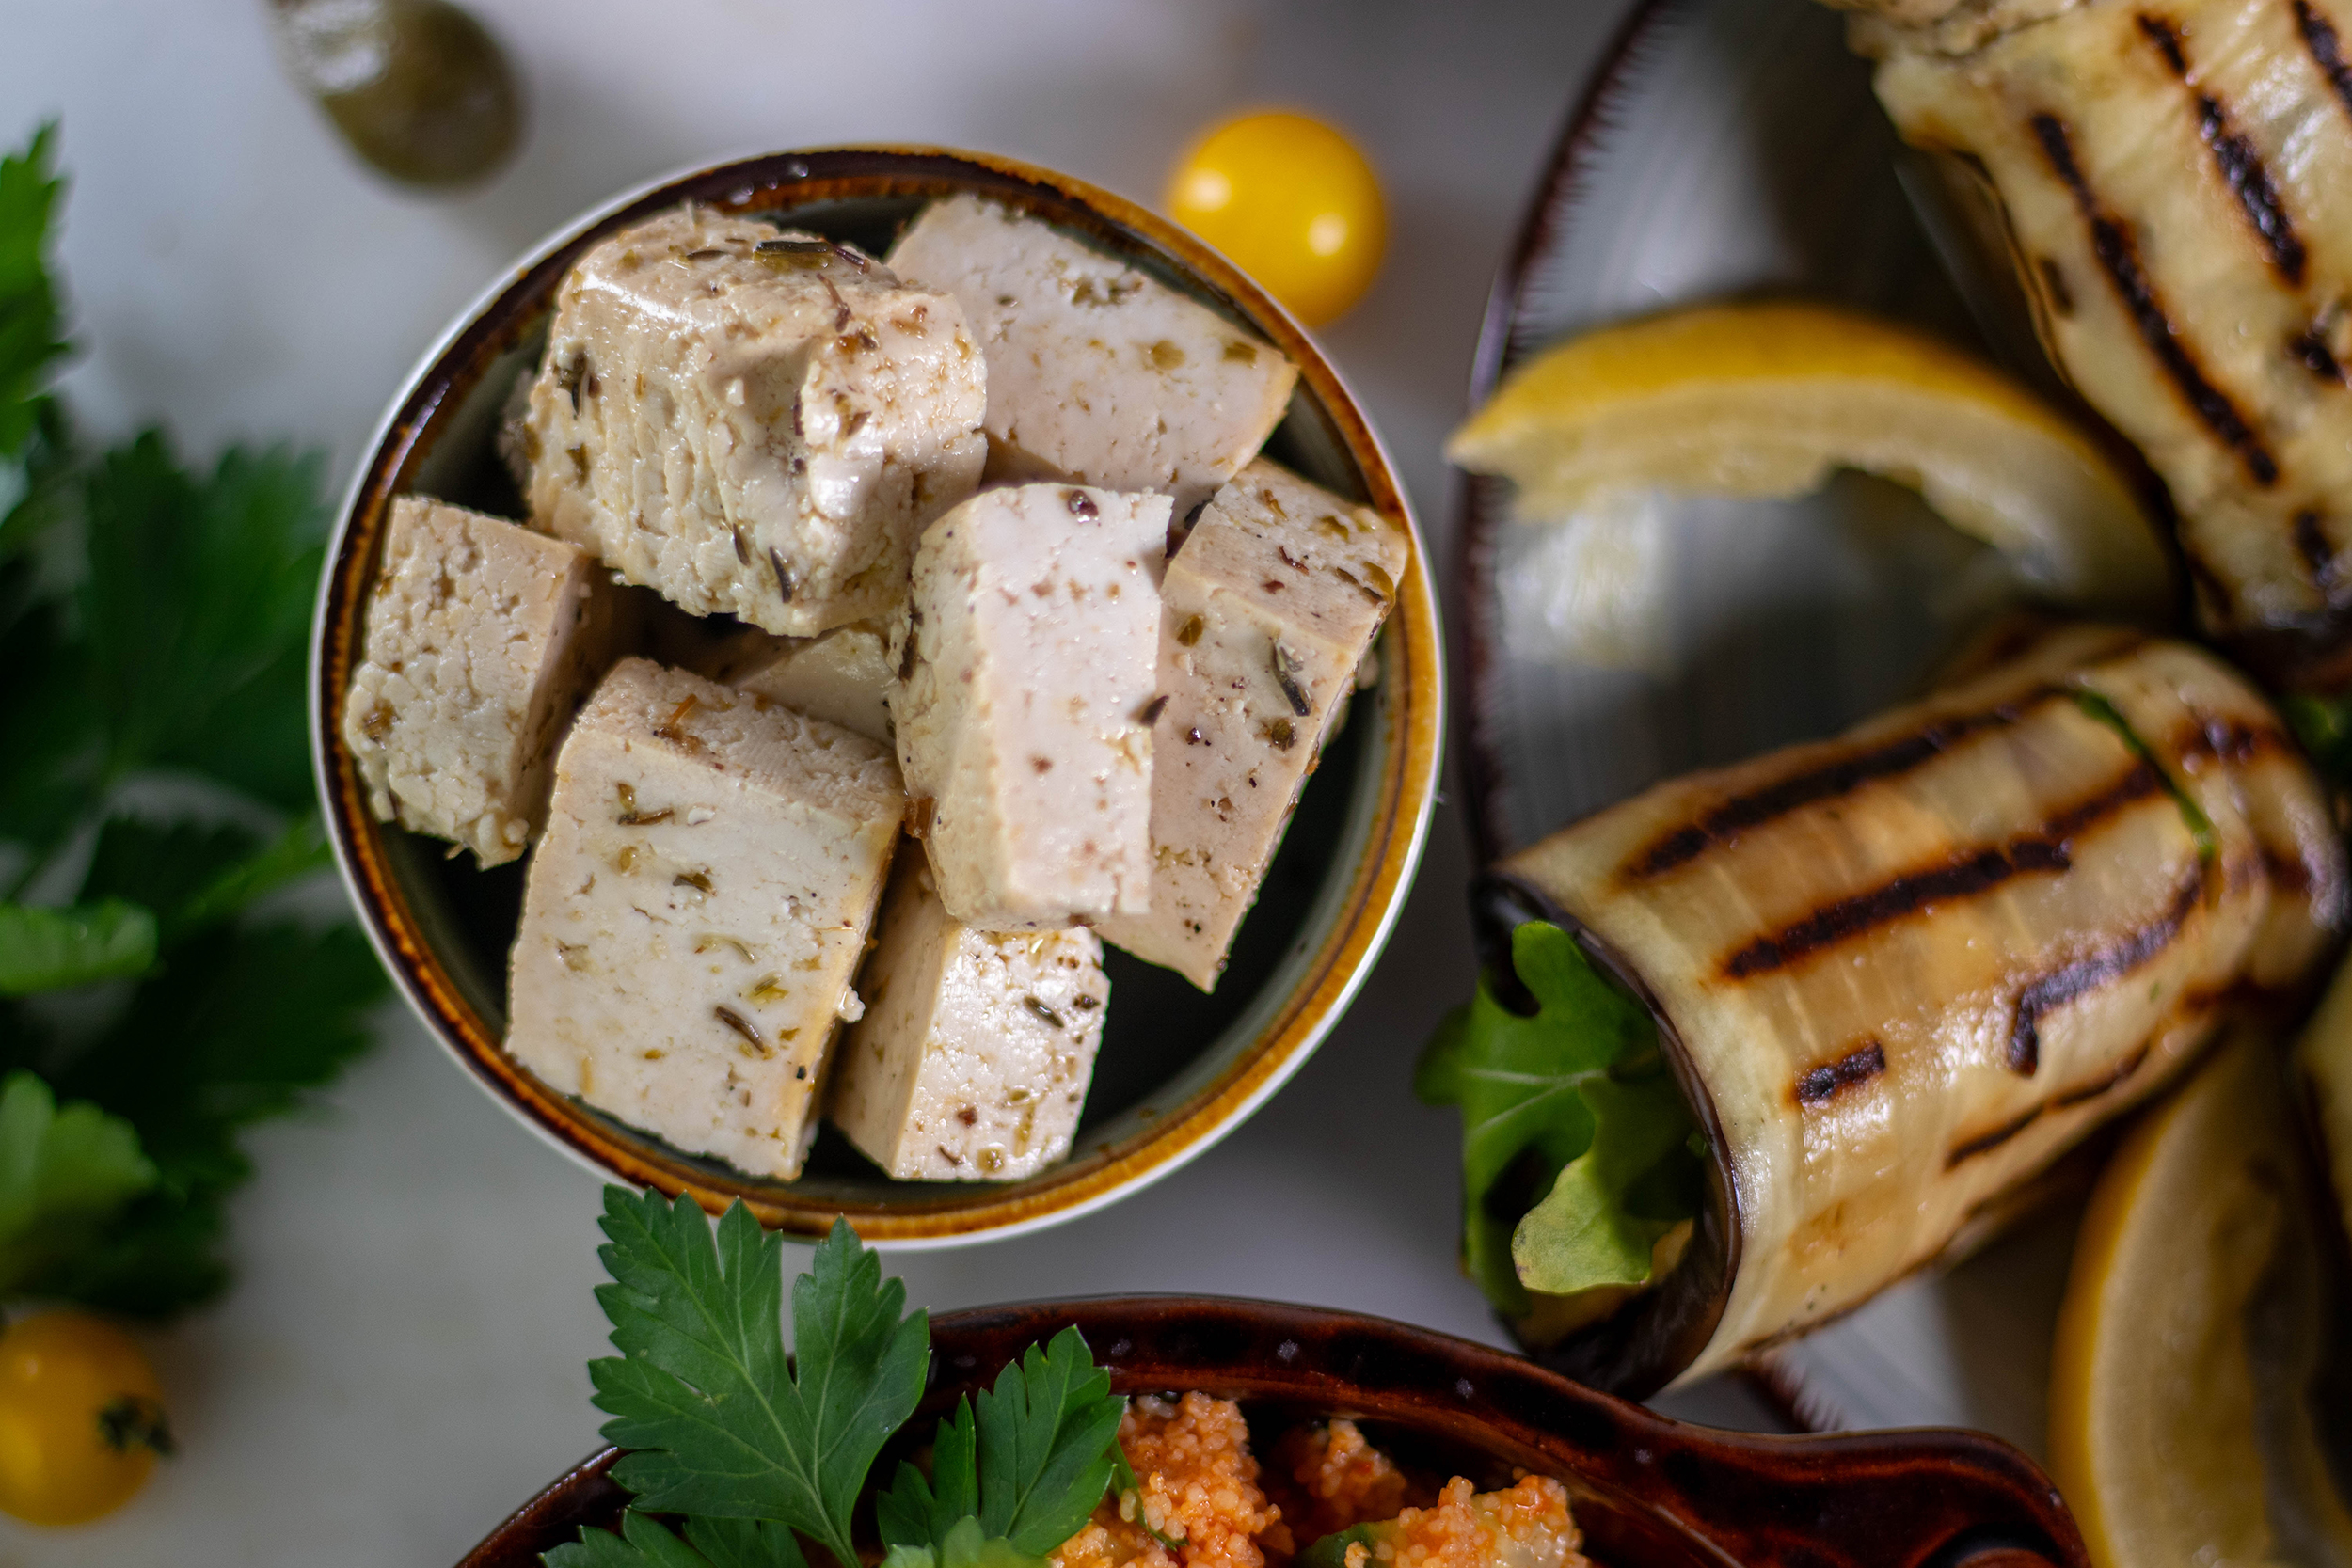
Veta – delicious on bread
Vegan feta (Veta) is quick and easy to make
If you have guests and are looking for a last minute recipe for a small party snack: here is my recipe for vegan feta. My Veta is quick and easy to make. Preparation takes about 5 minutes and the oven does the rest almost by itself.
Veta goes well with bread, in salads, in casseroles and just about anywhere where feta cheese tastes good. Vegan Veta, climate-friendly, cruelty-free and simply delicious.
Vegan feta has a long shelf life
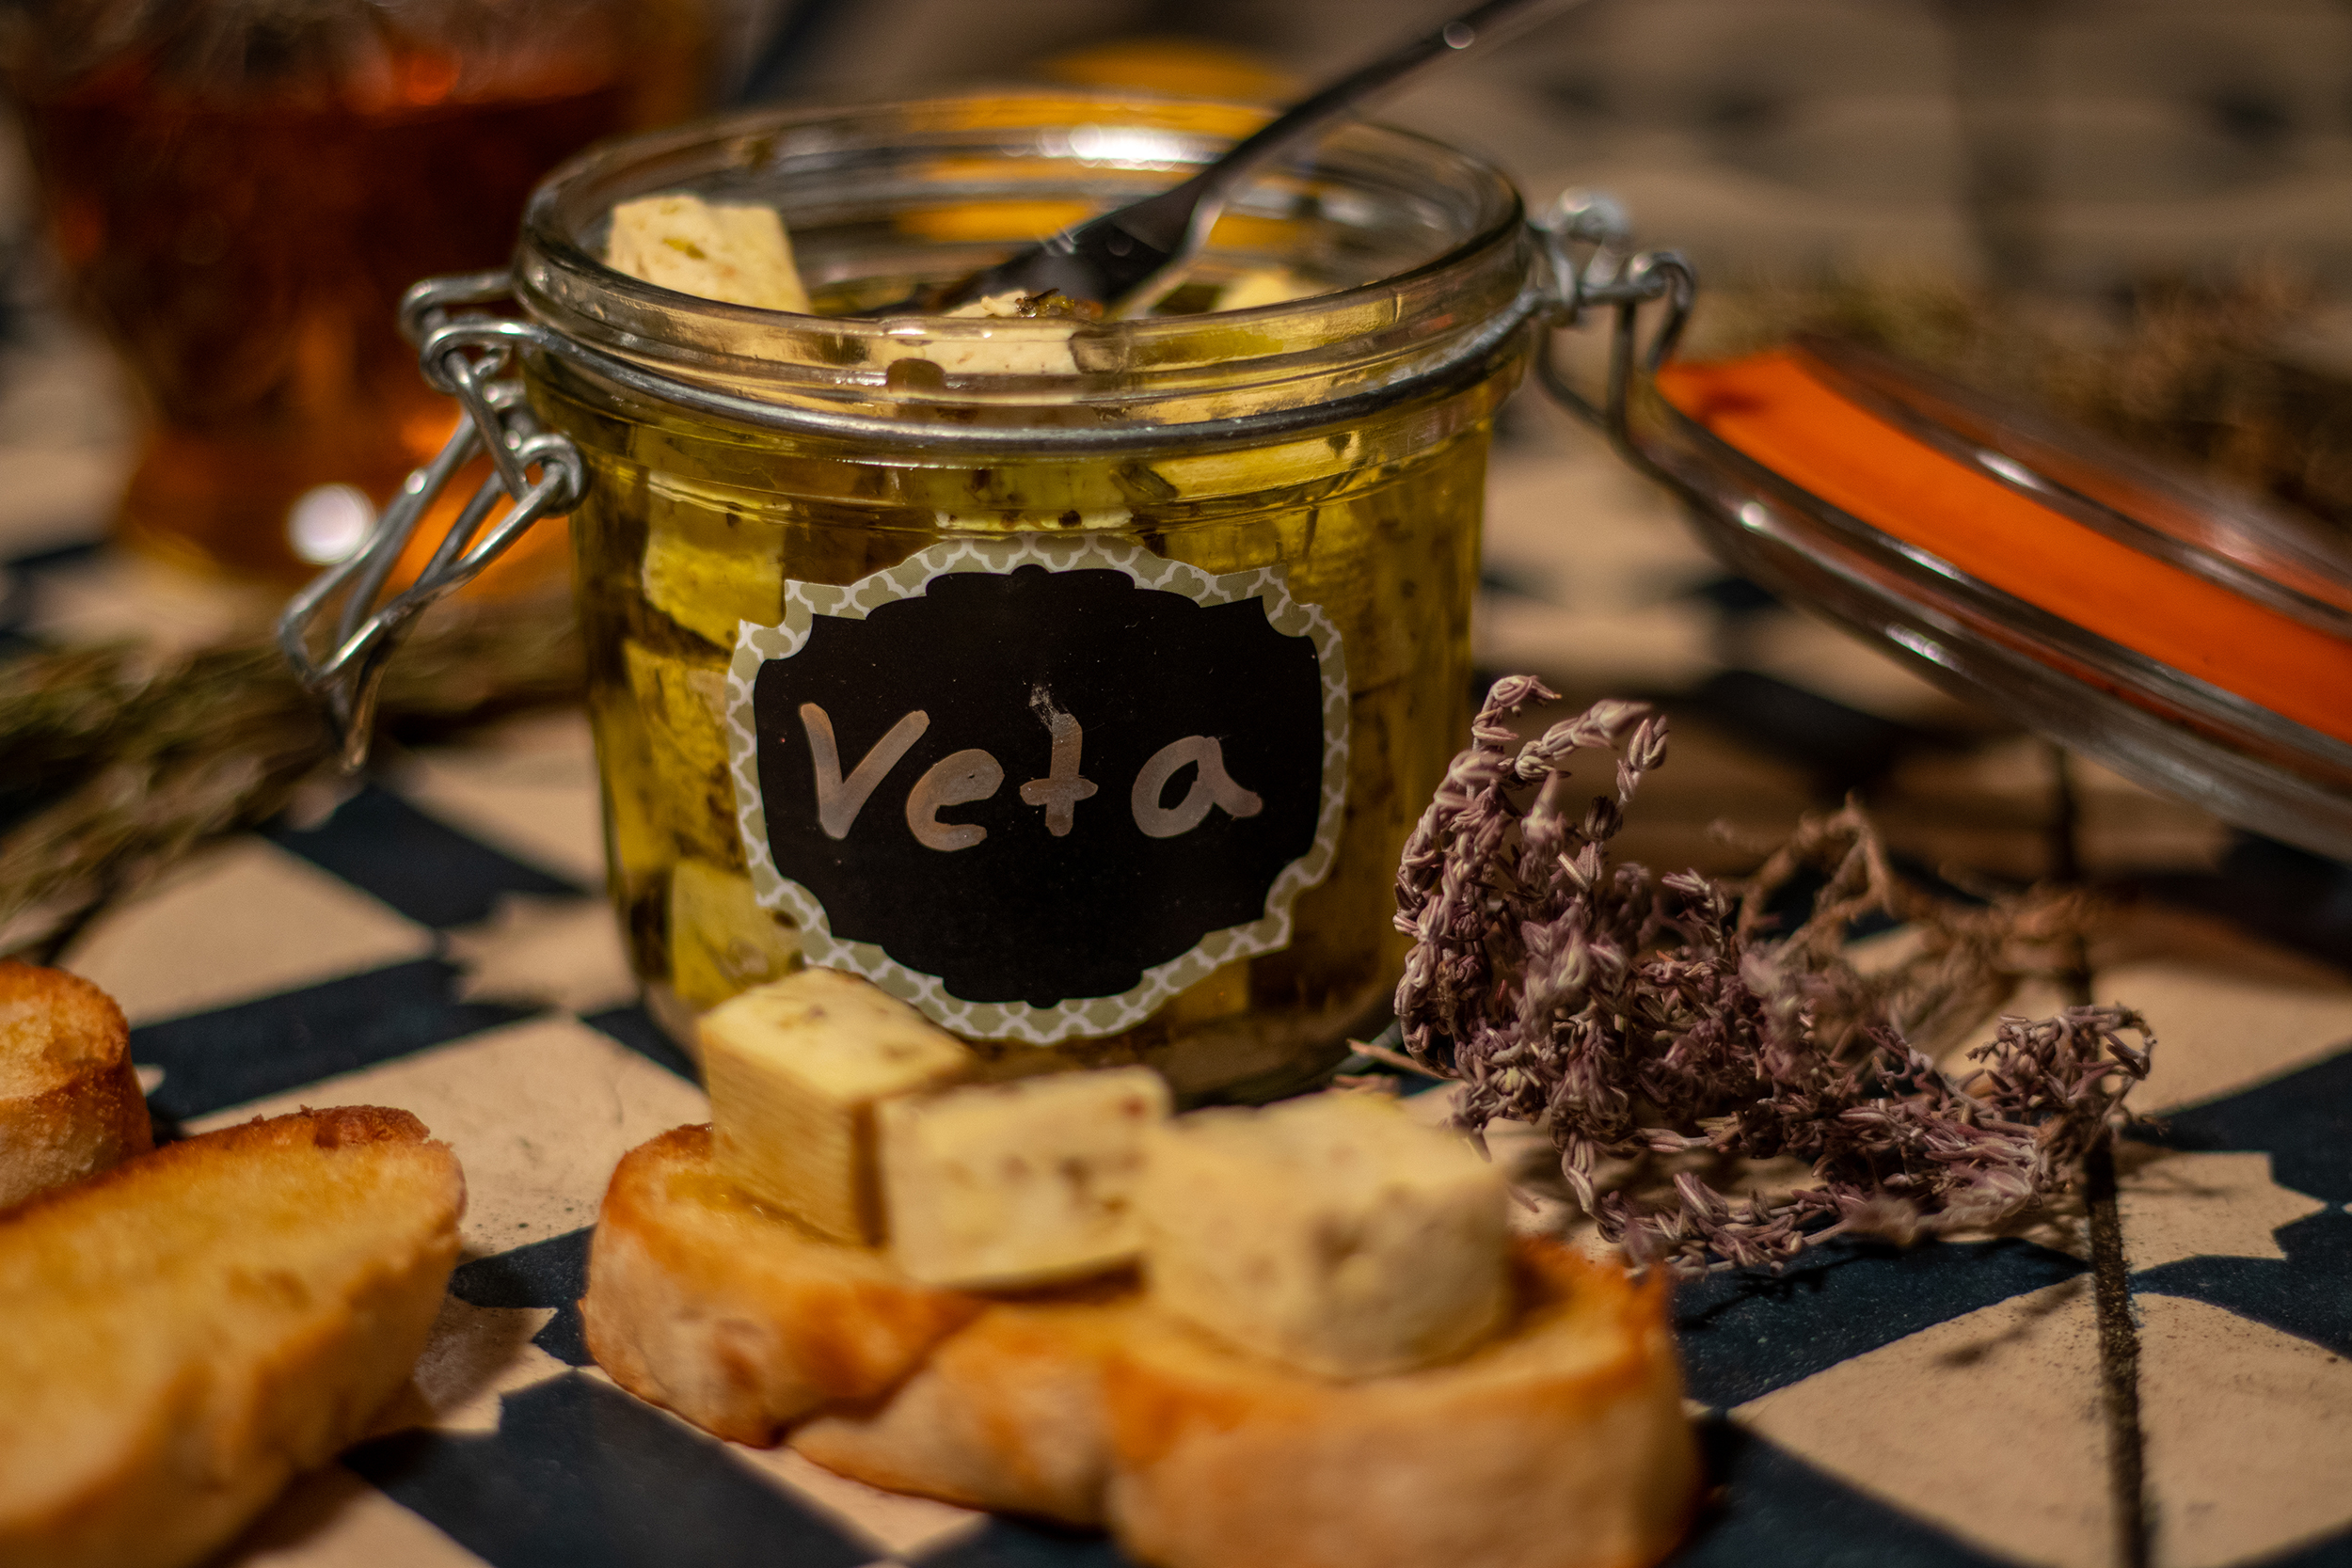
Veta is very long lasting
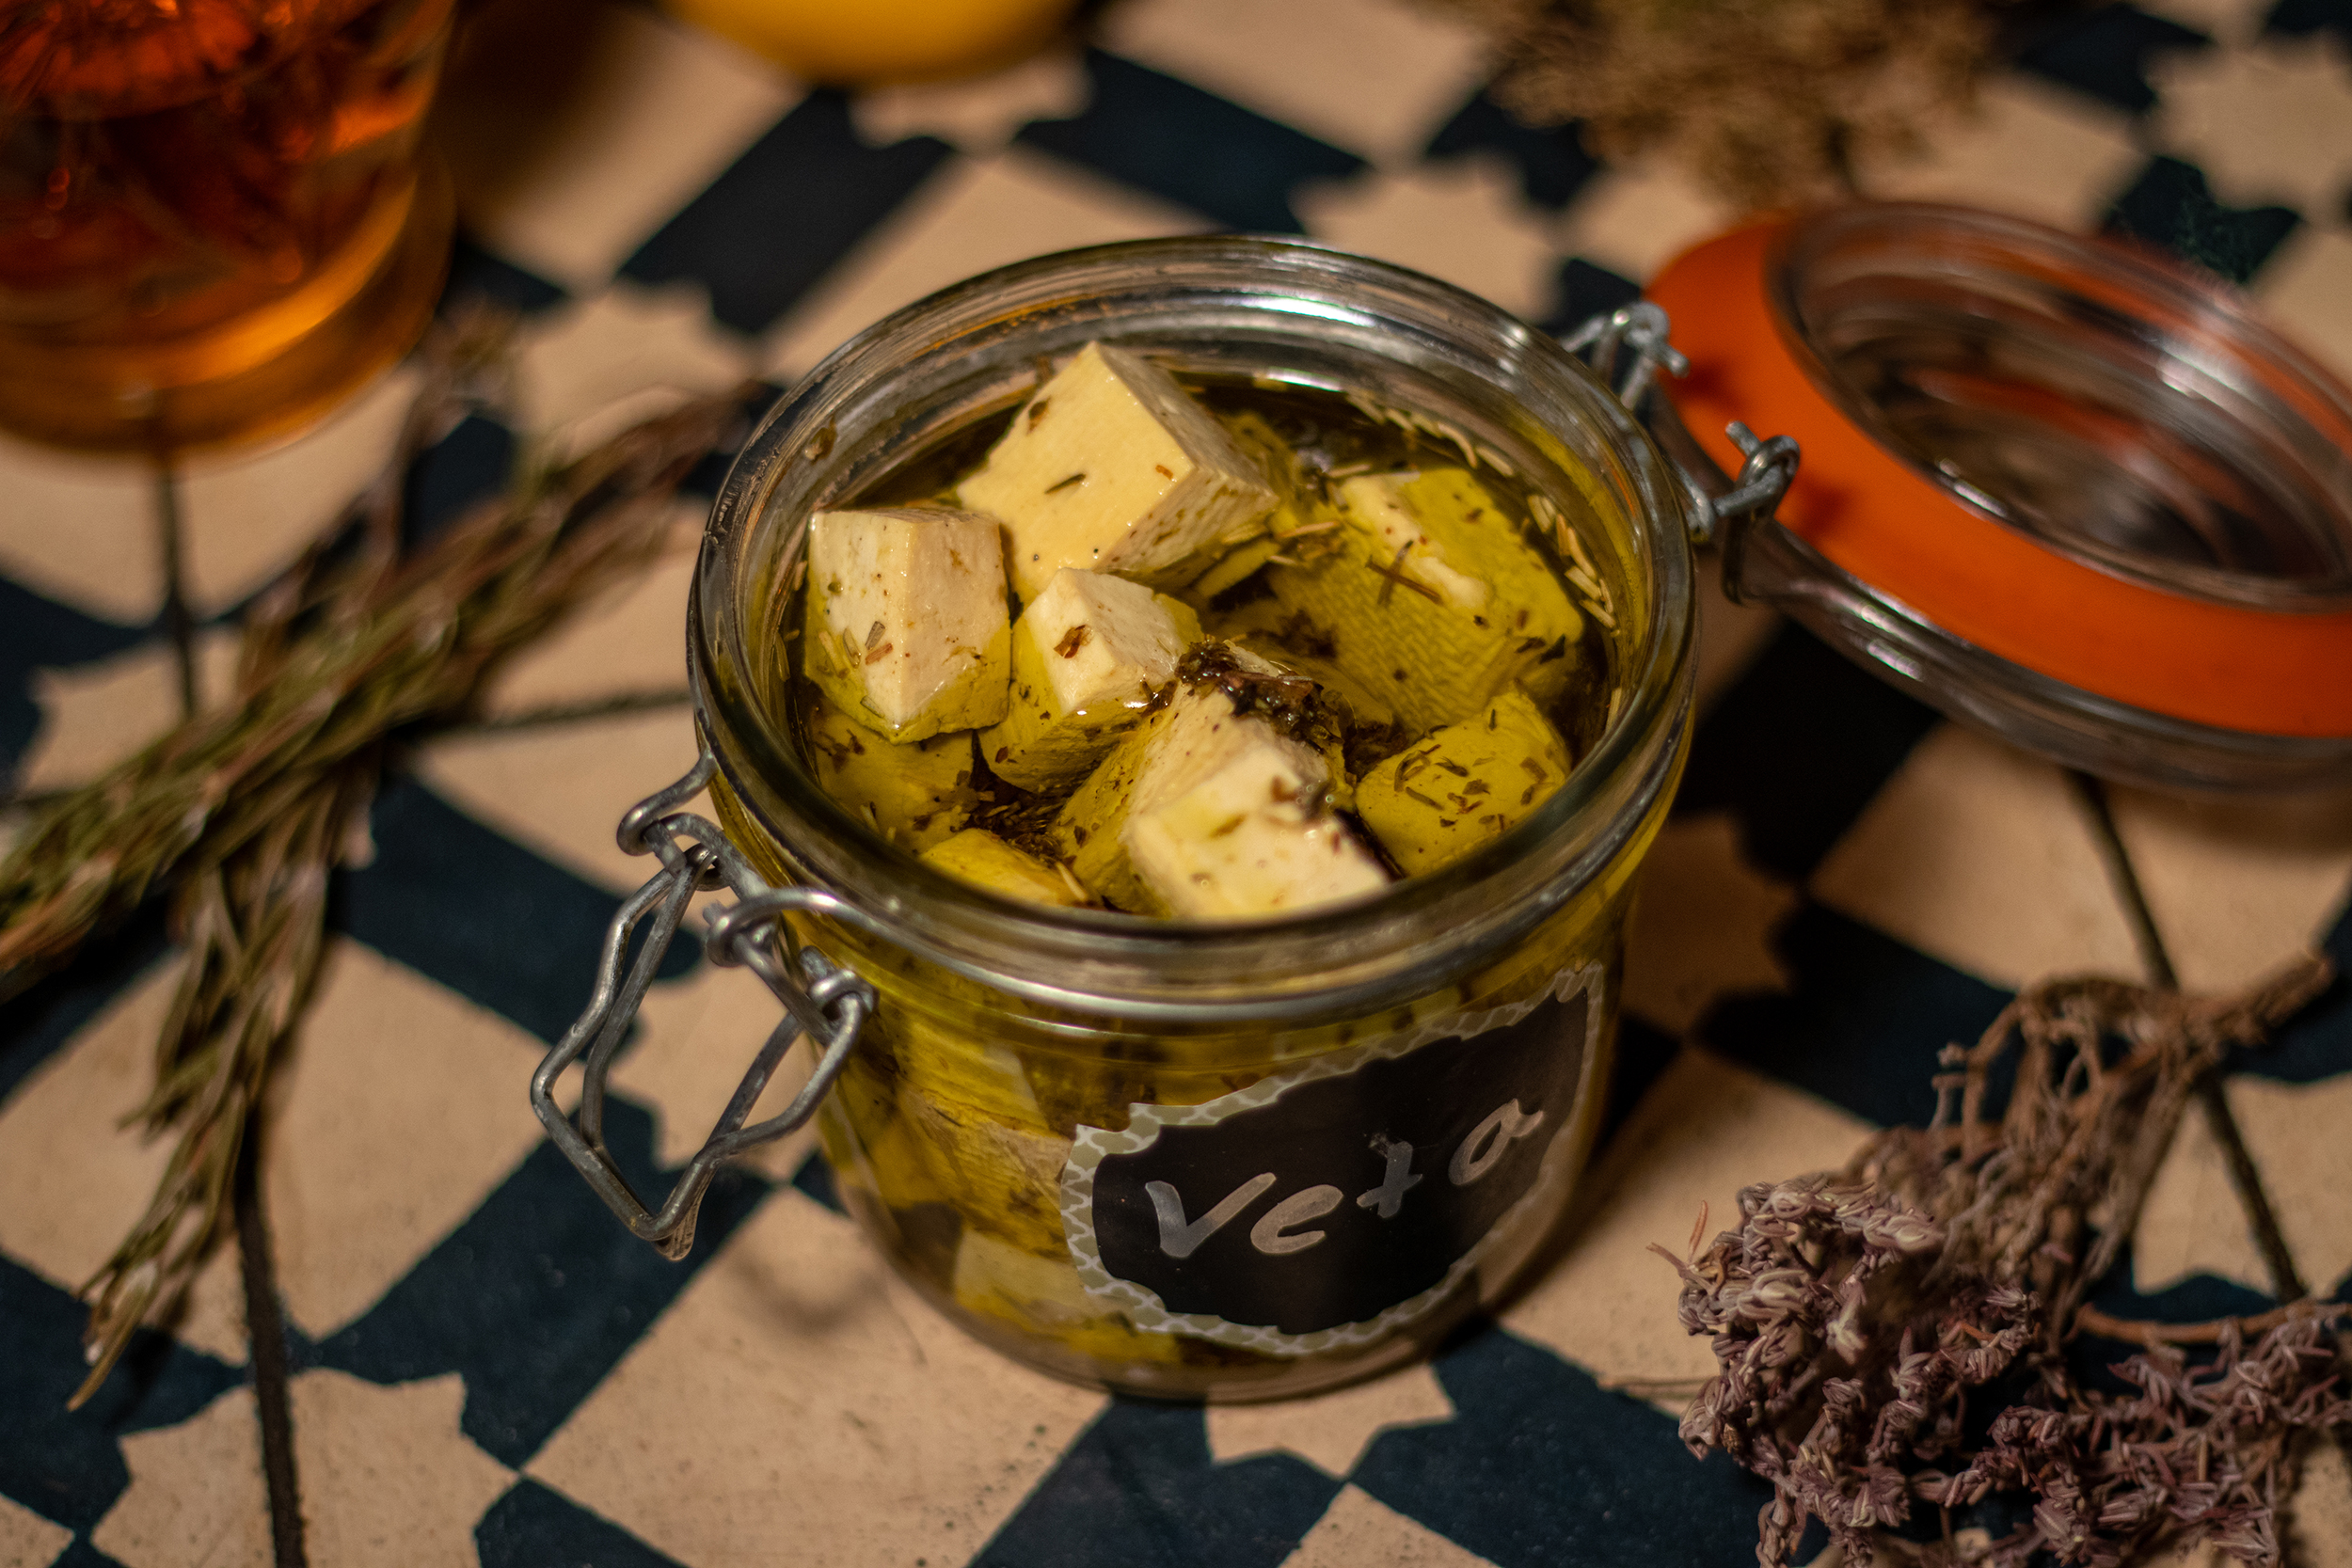
At the end of this recipe, I’ll show you how to properly marinate vegan feta so that it lasts a long time. This means you can keep it in the fridge for weeks, if not months, and snack on it again and again.
Vegan feta (Veta) is quick and easy to make
Why make it yourself when there are now store-bought alternatives to feta?
My Veta tastes much, much better than the store-bought alternatives
My vegan feta is much healthier
The fat content is much lower and is made from good olive oil
Homemade is easy and saves a lot of money
You save on packaging waste
This Veta doesn’t melt away. Store-bought ones usually melt into liquid fat
With this homemade, vegan sheep’s cheese you have a healthy alternative.
Veta: a simple, long-lasting, vegan alternative to feta
With this homemade, vegan sheep’s cheese you have found a healthy alternative. Perfect for a quick Greek salad, as well as Greek and Turkish cuisine in general. Or simply as a snack between meals.
Pickled, vegan feta will last for several weeks in the fridge. This means it can be prepared very well and used in portions.
Vegan grilled minced steaks. With homemade Veta in the filling.
I use my Veta in many recipes
The attentive German readers among you probably already know my Veta as an ingredient in some recipes on Daily Vegan. Because I really like to use it in many dishes. So far I’ve translated this recipe into English using vegan feta:
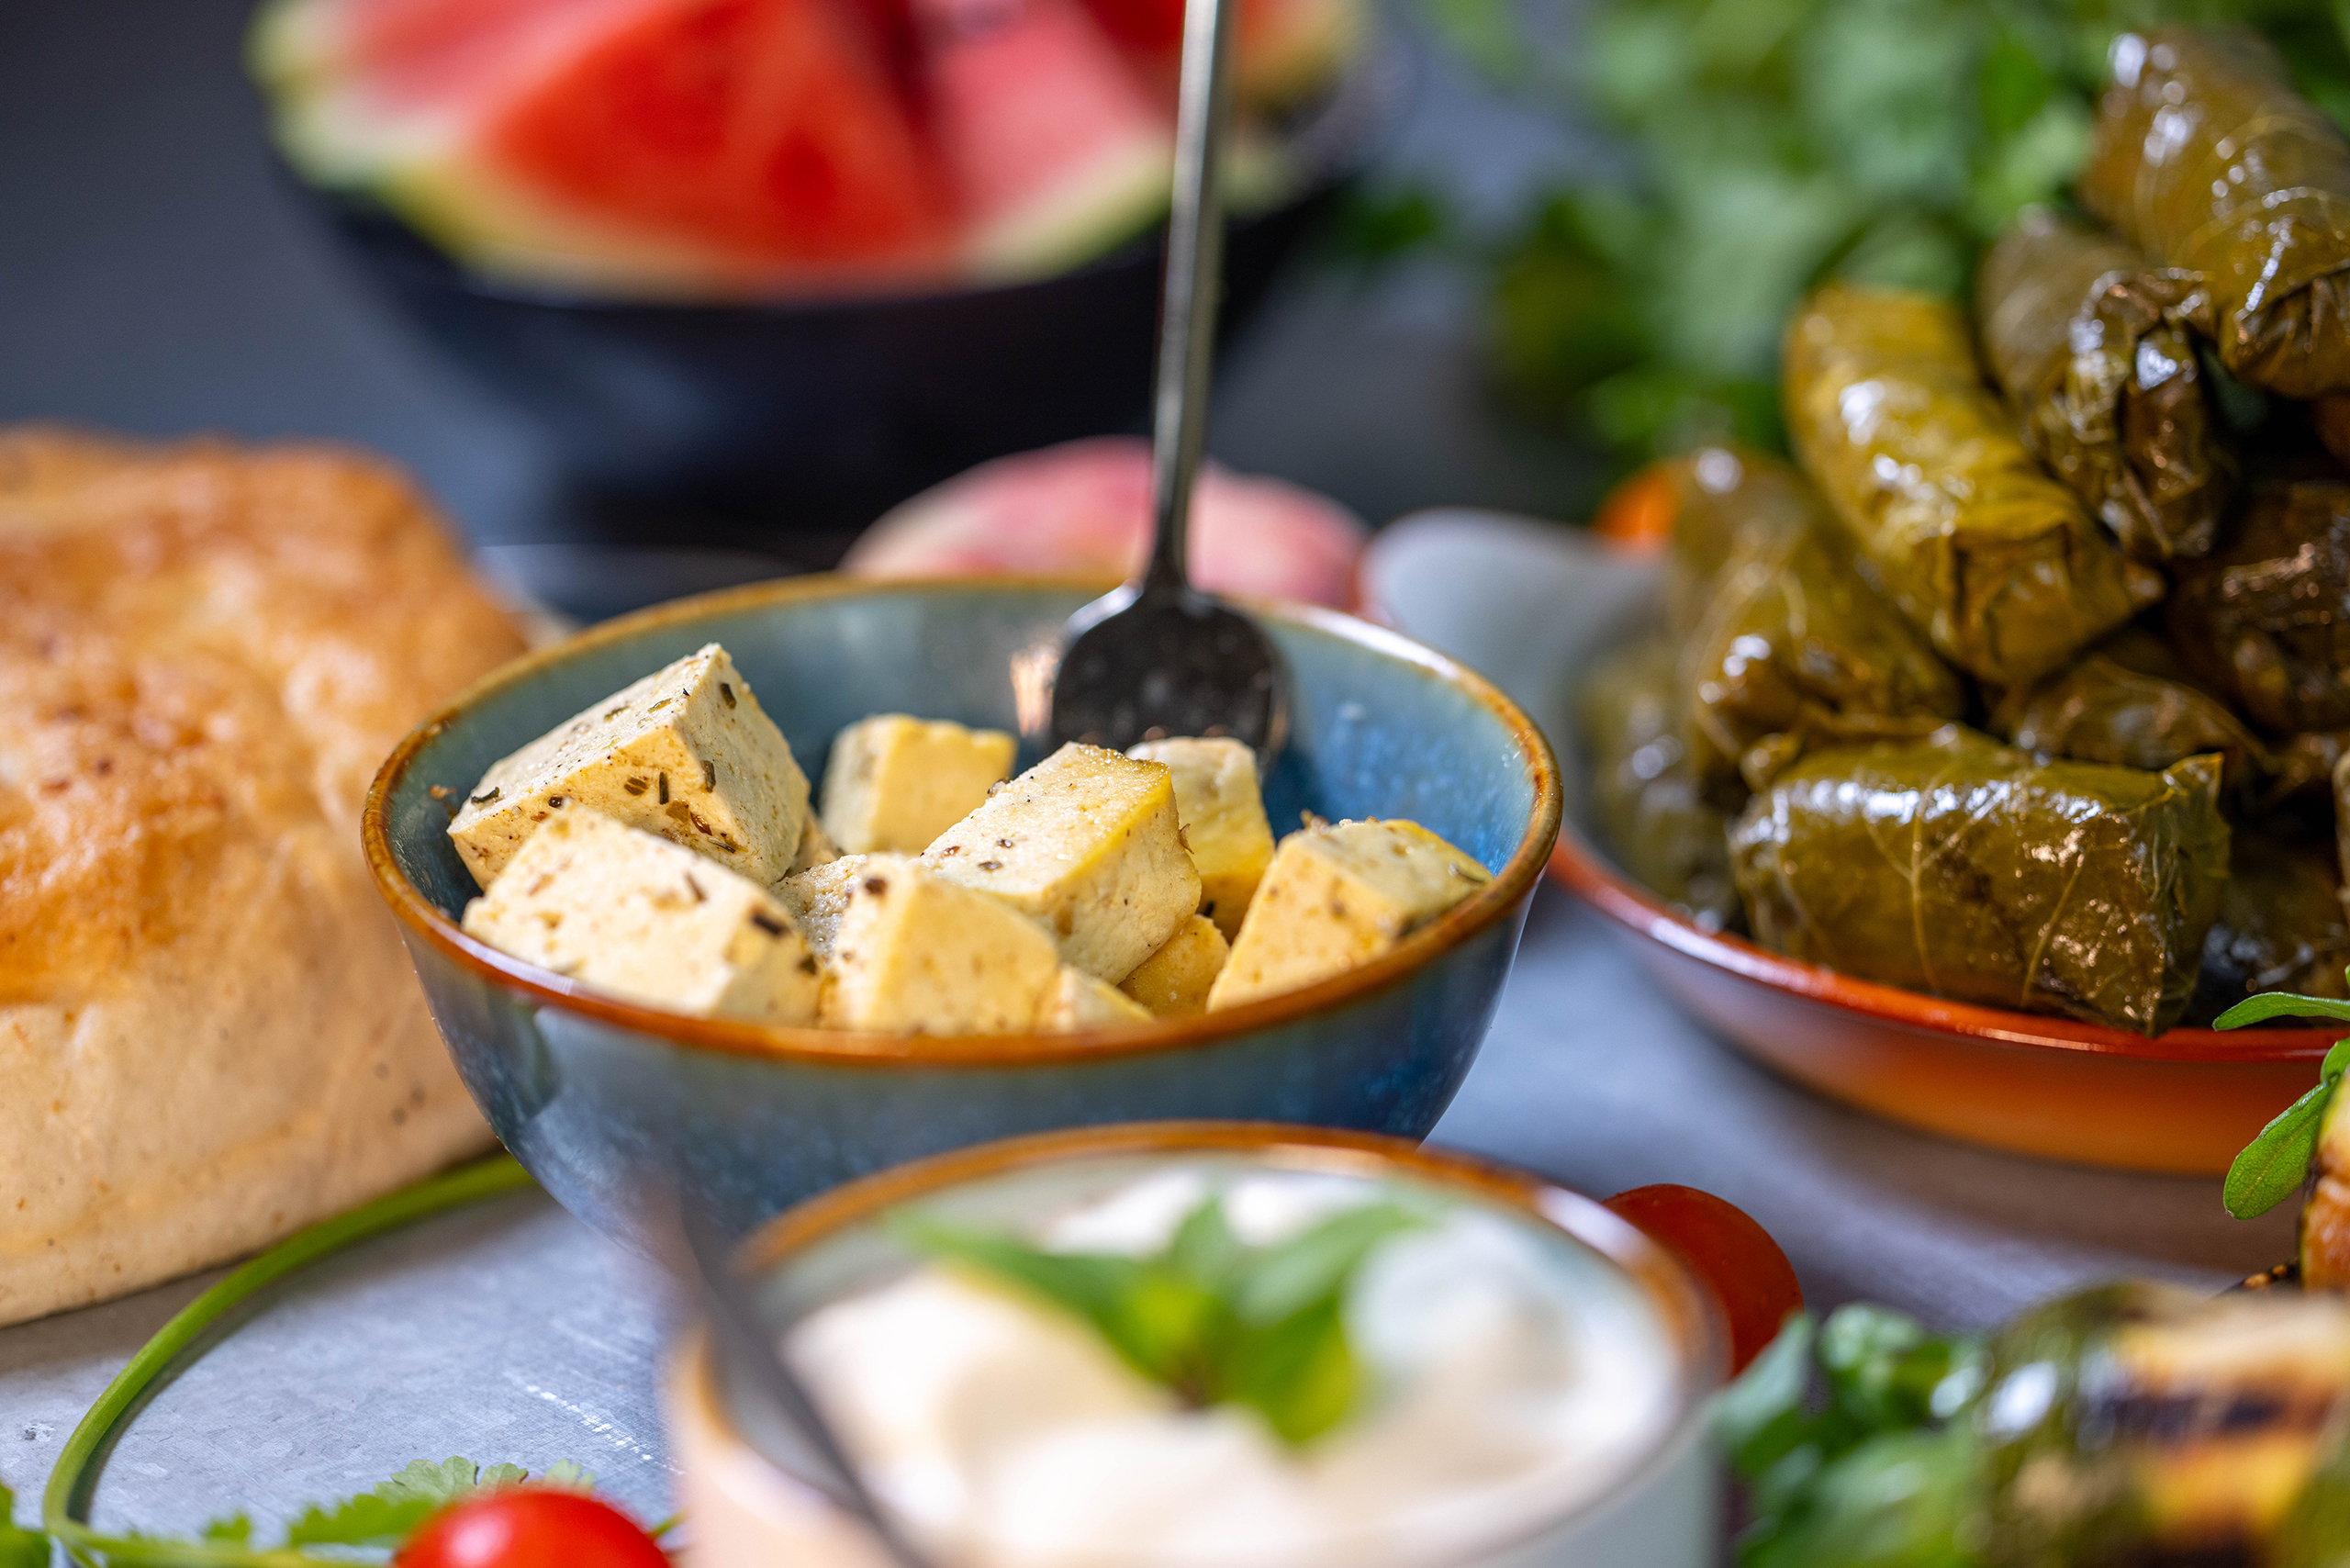
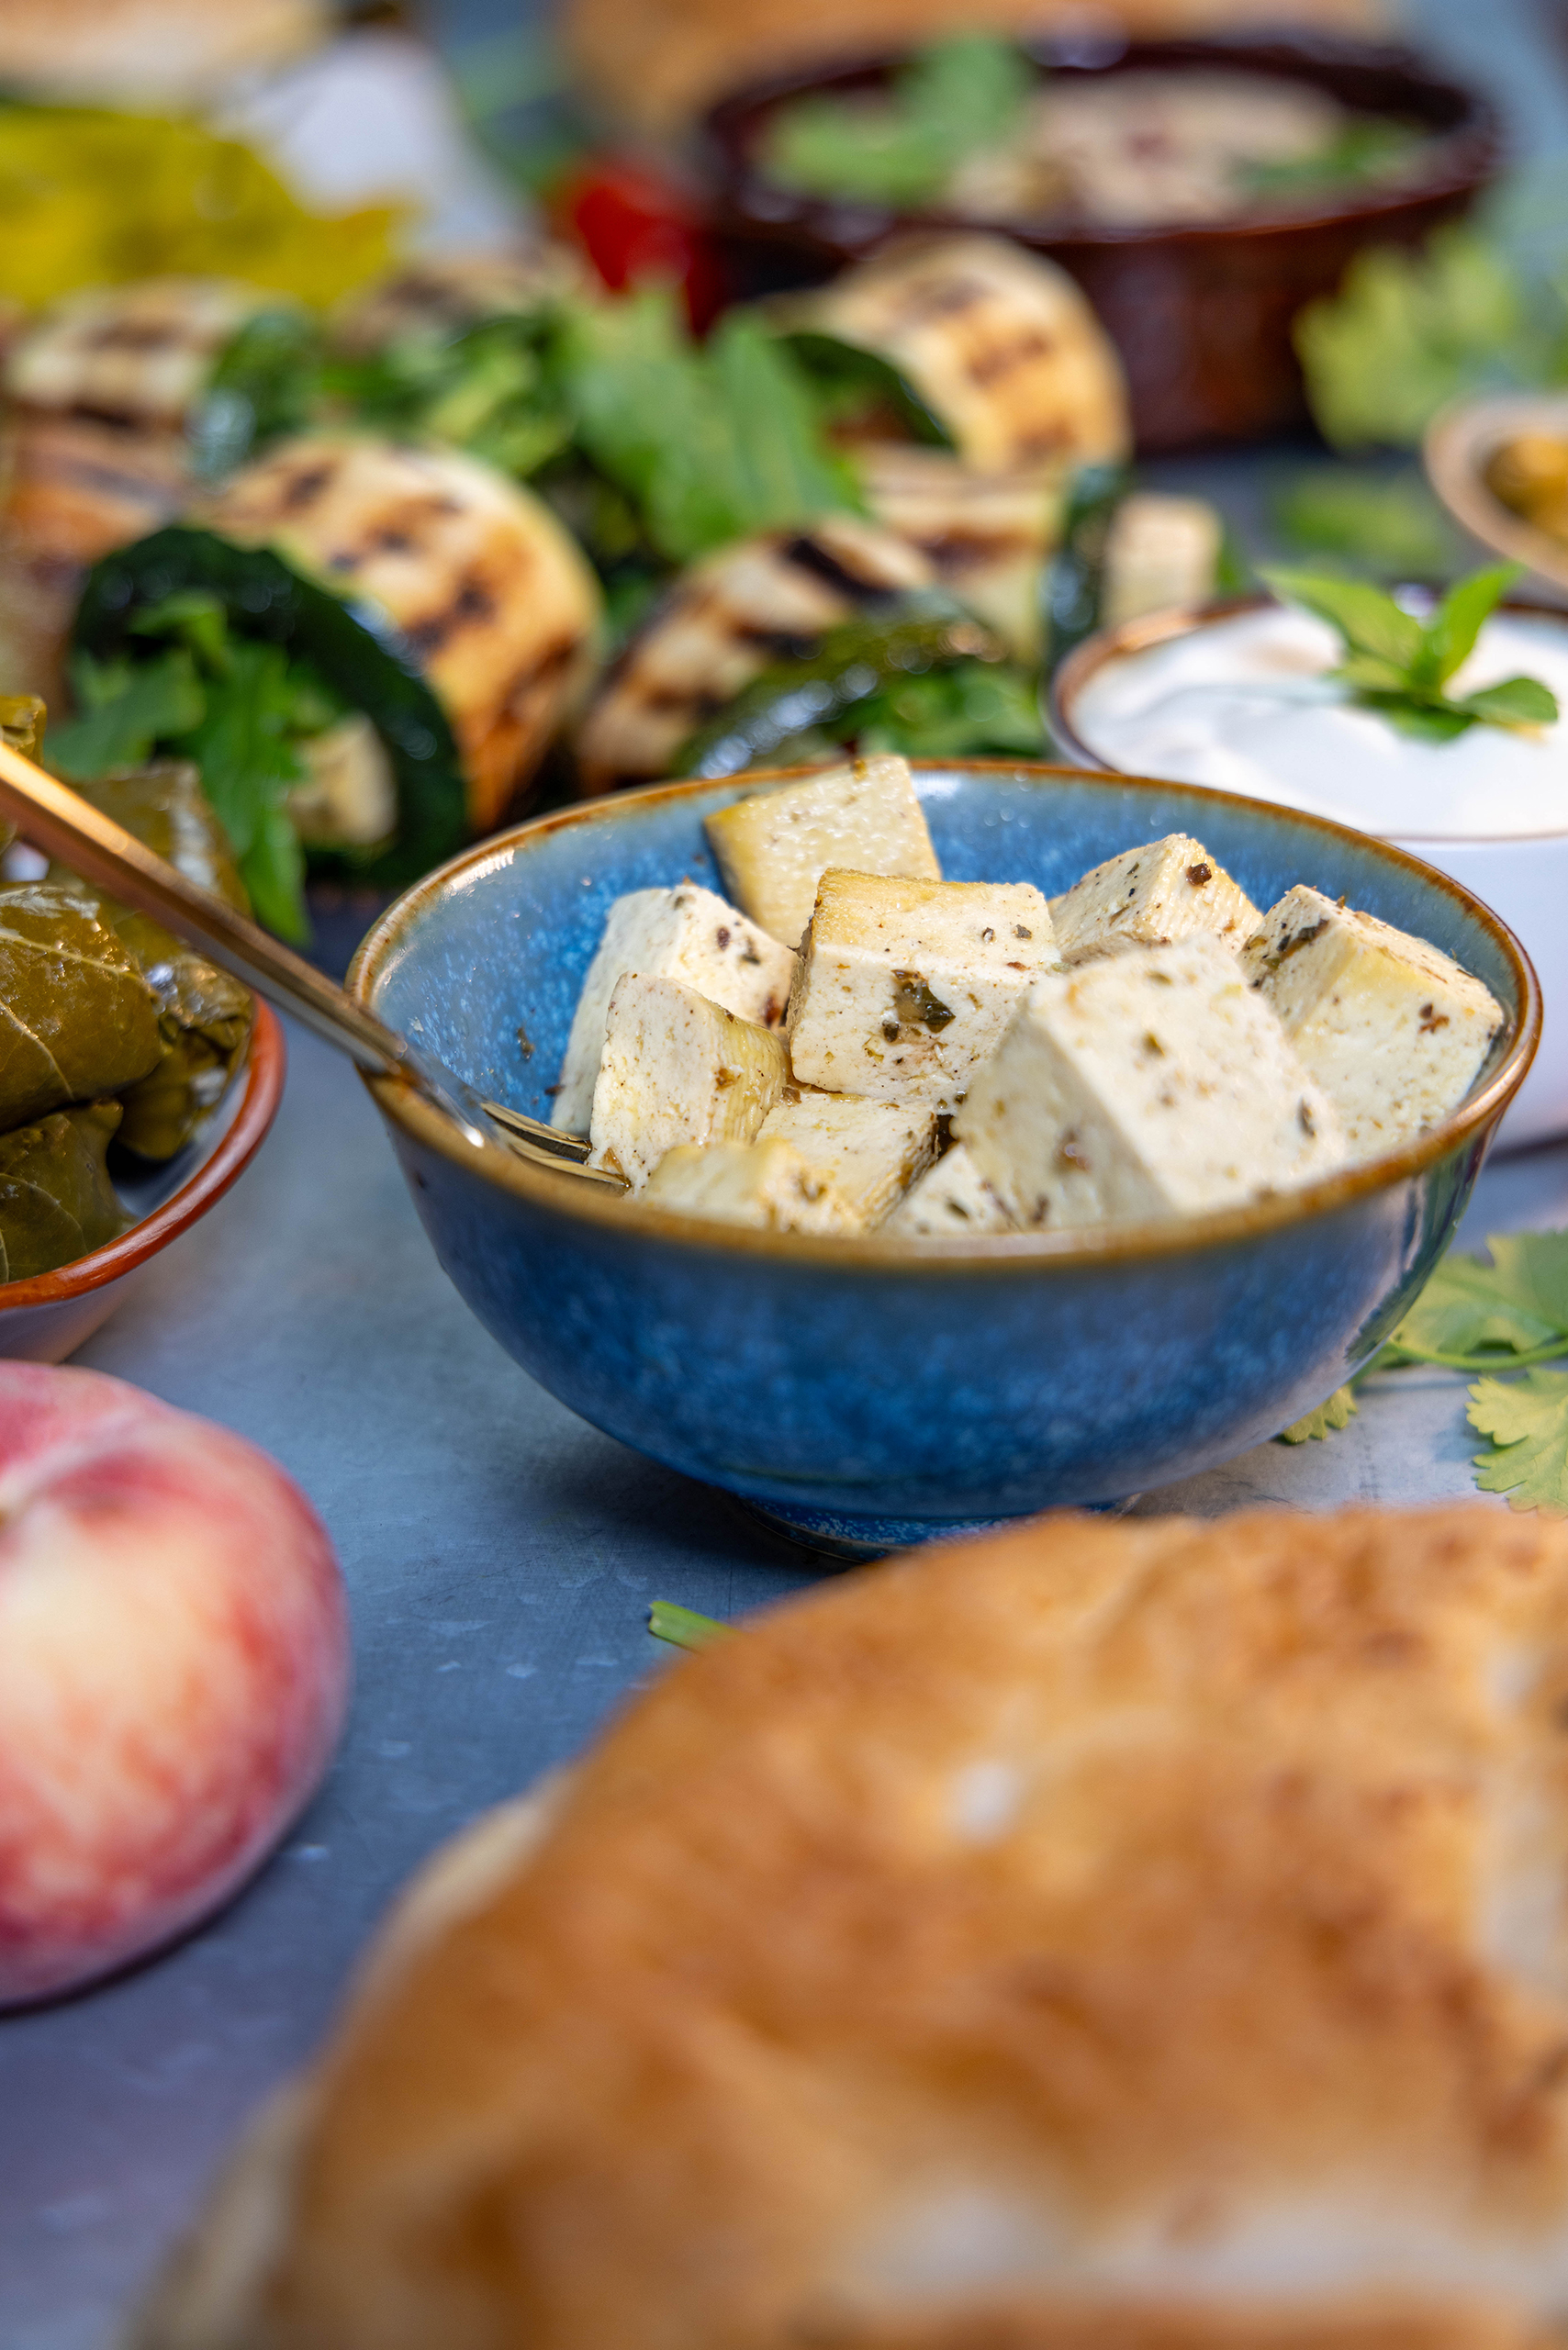
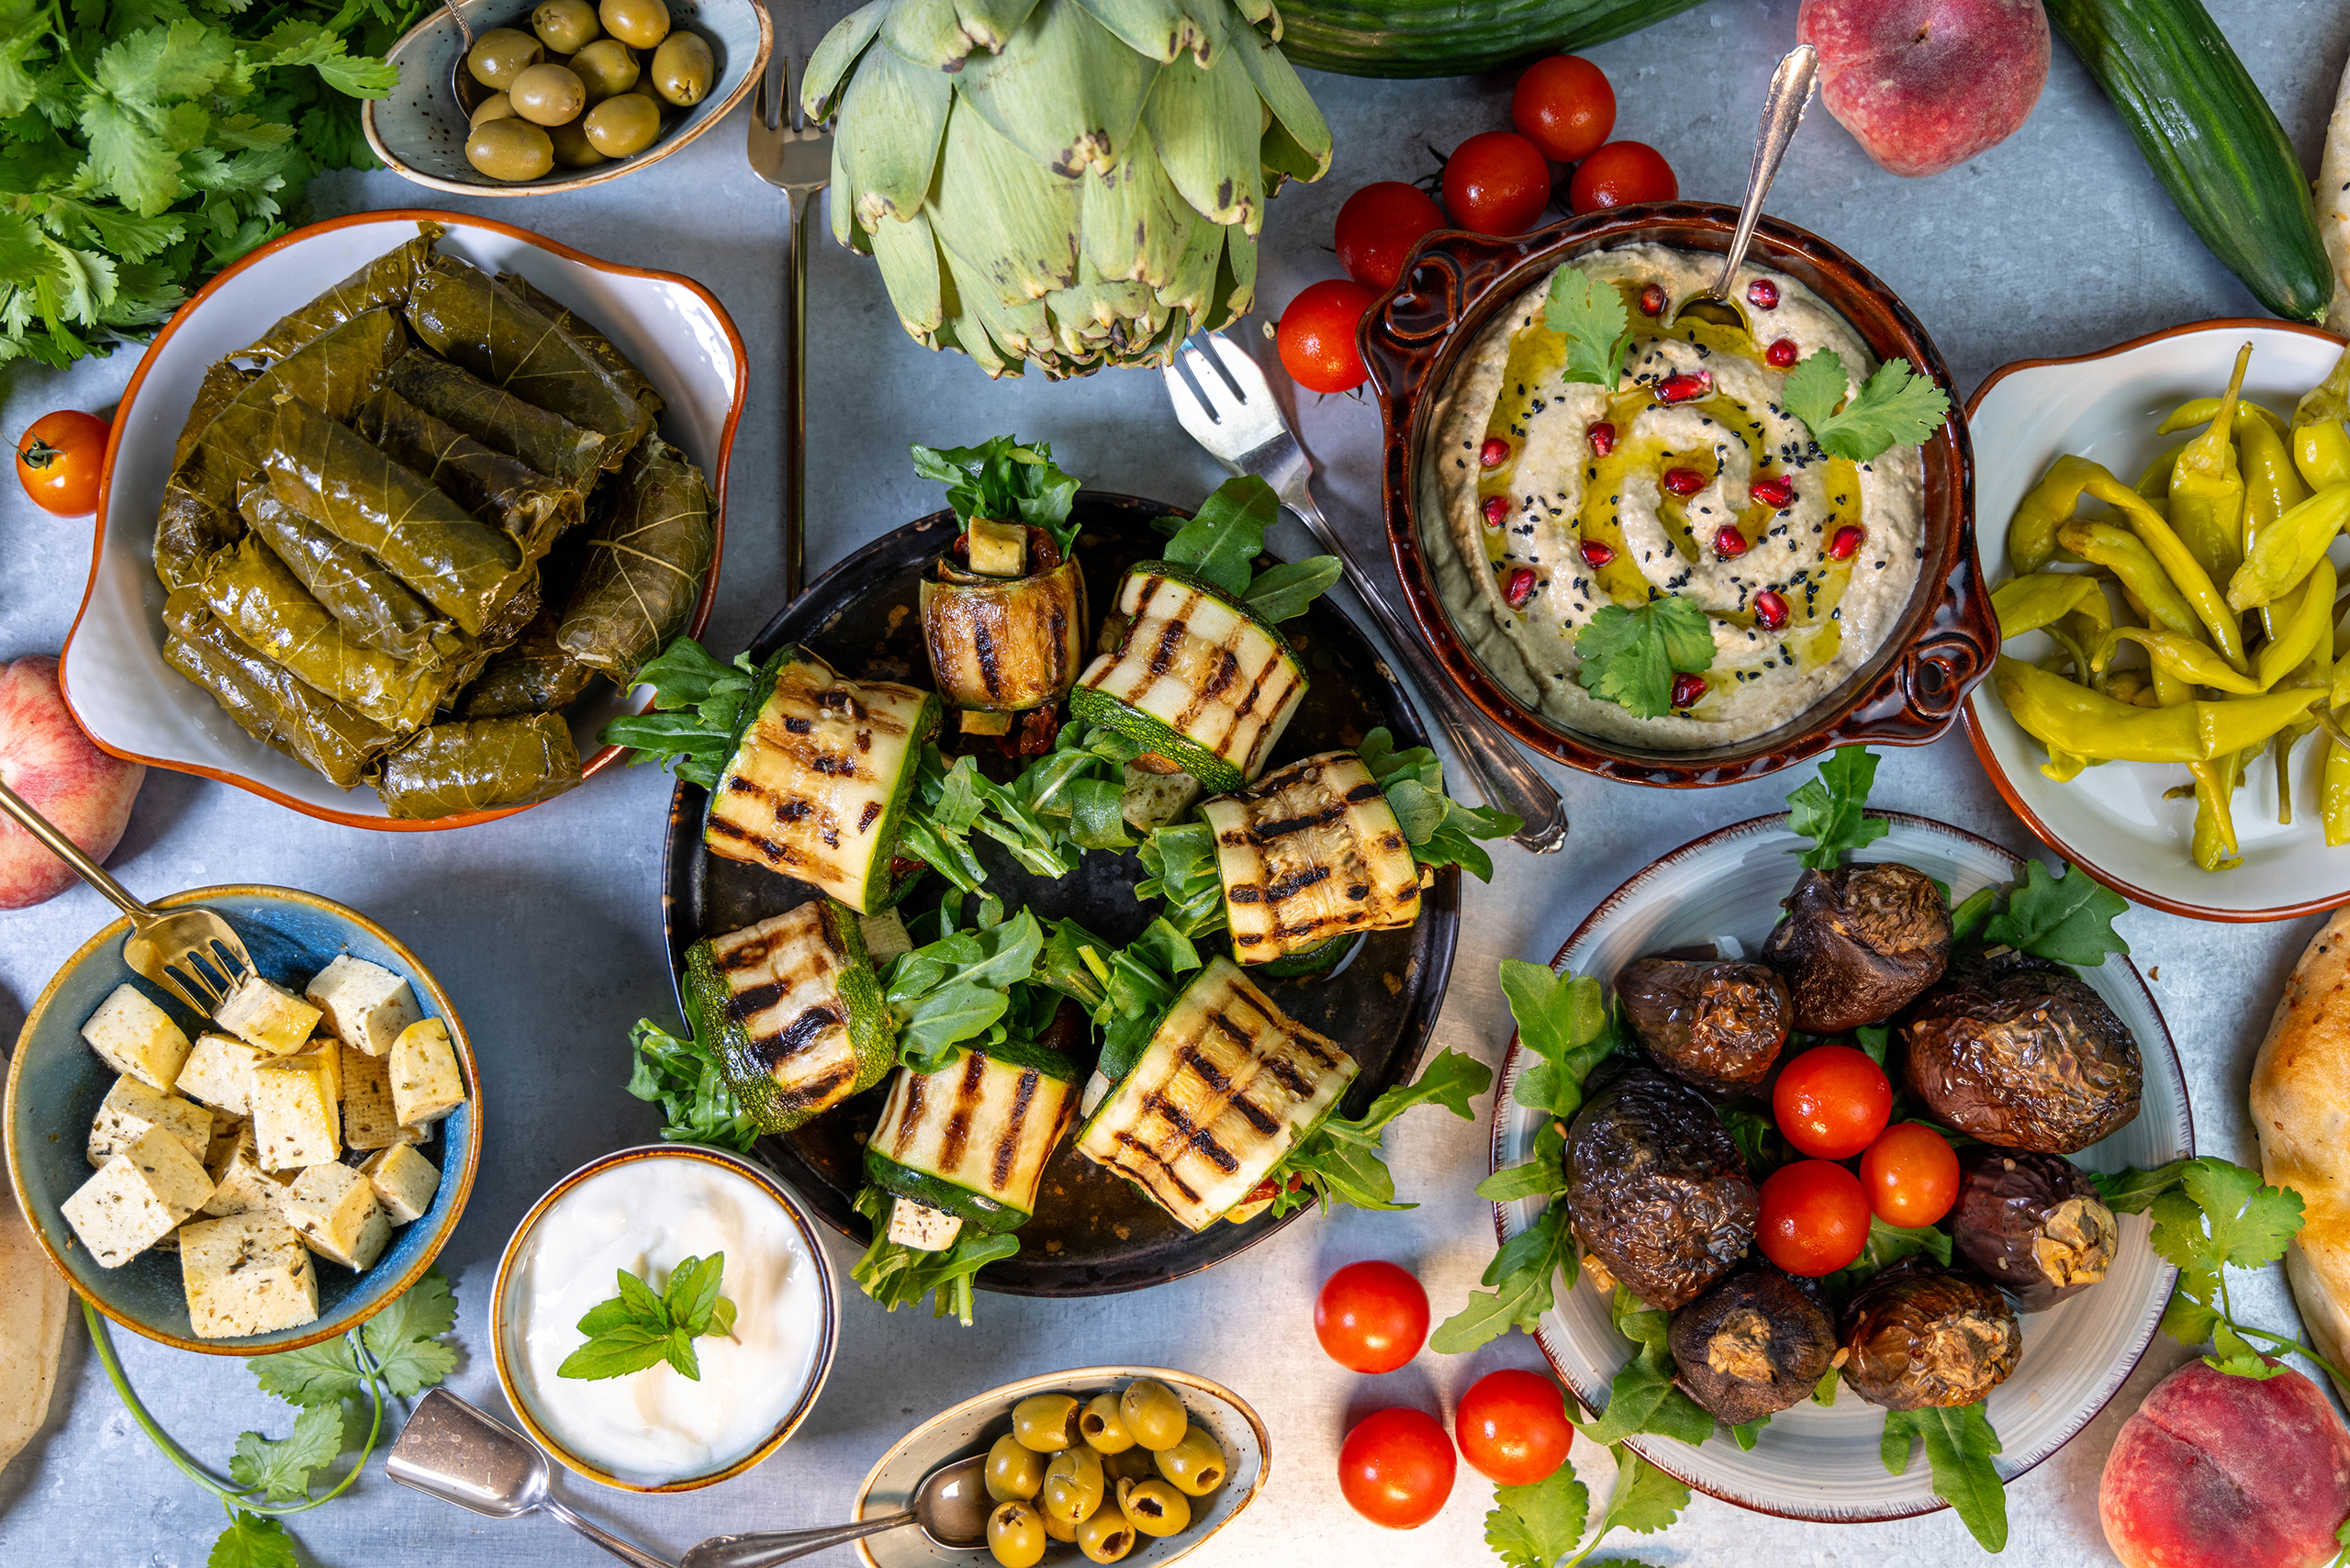
Veta goes very well on a mezze buffet. Here with vine leaf dolma, eggplant dolma, grilled zucchini rolls, baba ganoush, yoghurt dip, fruit, vegetables and flatbread.
Show me your vegan feta cheese
Feel free to follow me on Instagram or Facebook. And I’ll be delighted if you make my Veta and post a photo of it. It’s best if you tag my account in it too. Because I always find it really great and exciting to see how my recipes are prepared in other kitchens!
Veta – the preparation in pictures
Here I show you in photos how I prepare the vegan tofu-based feta. Then I’ll go straight on to the recipe.
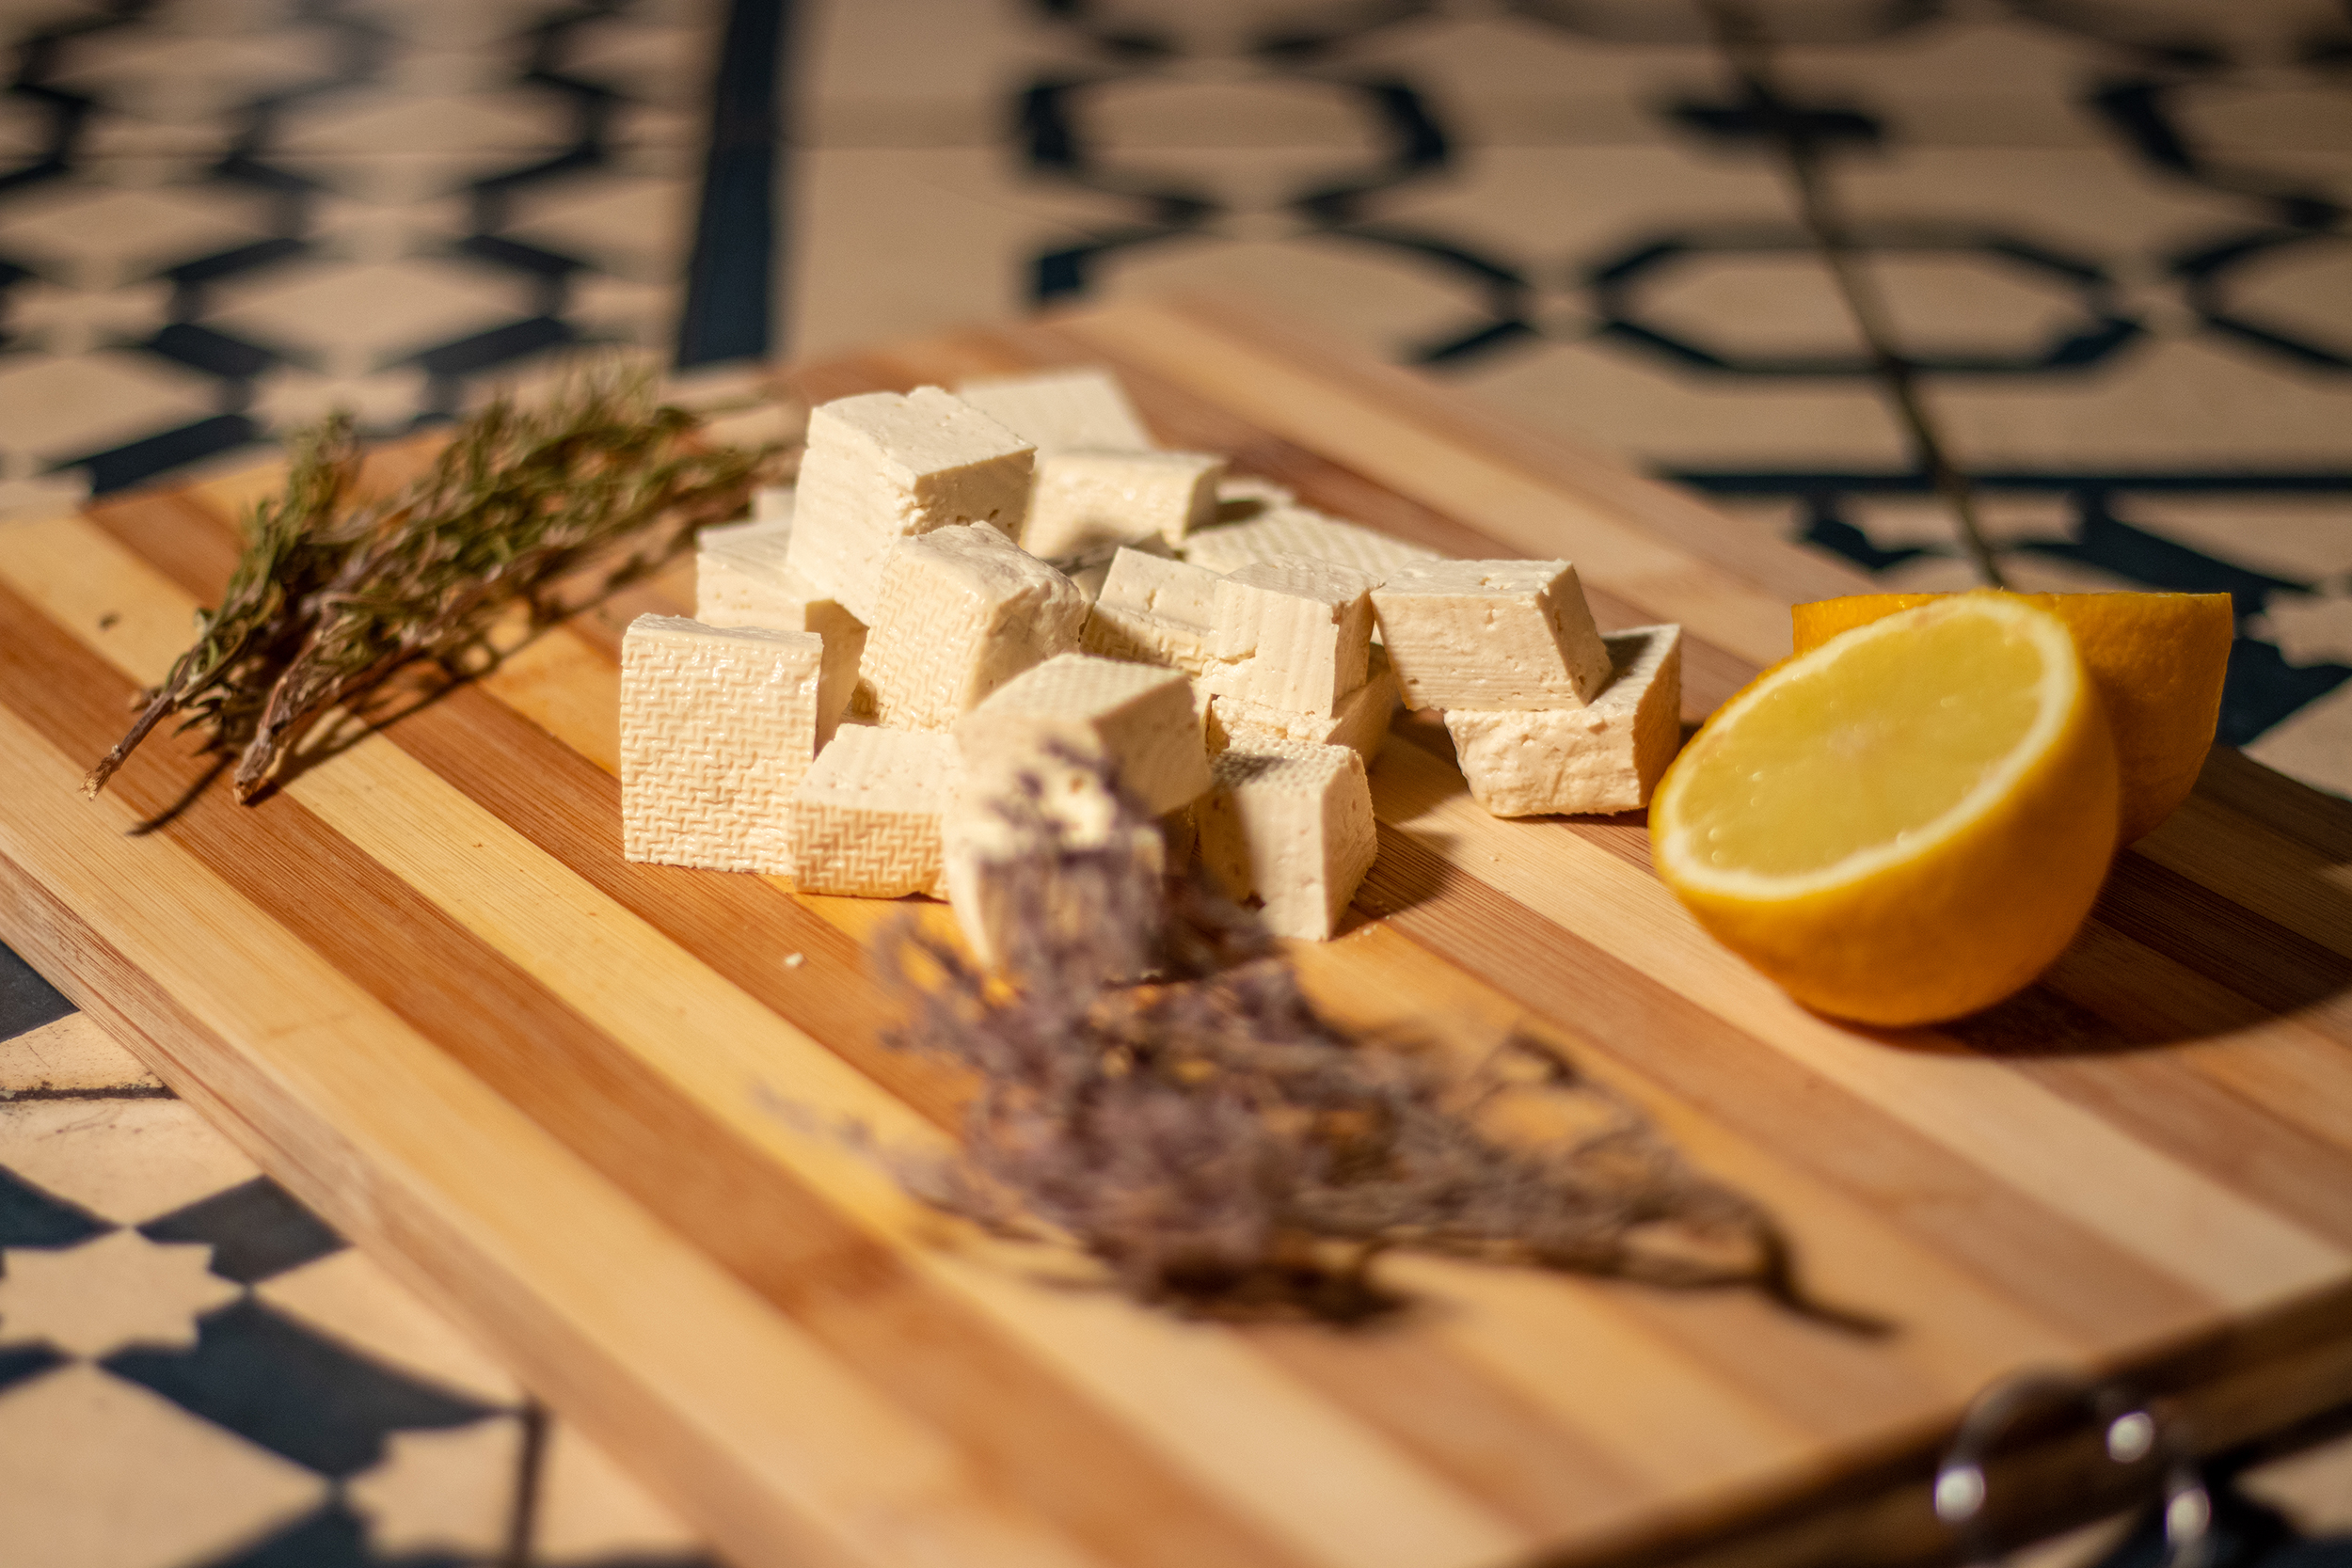
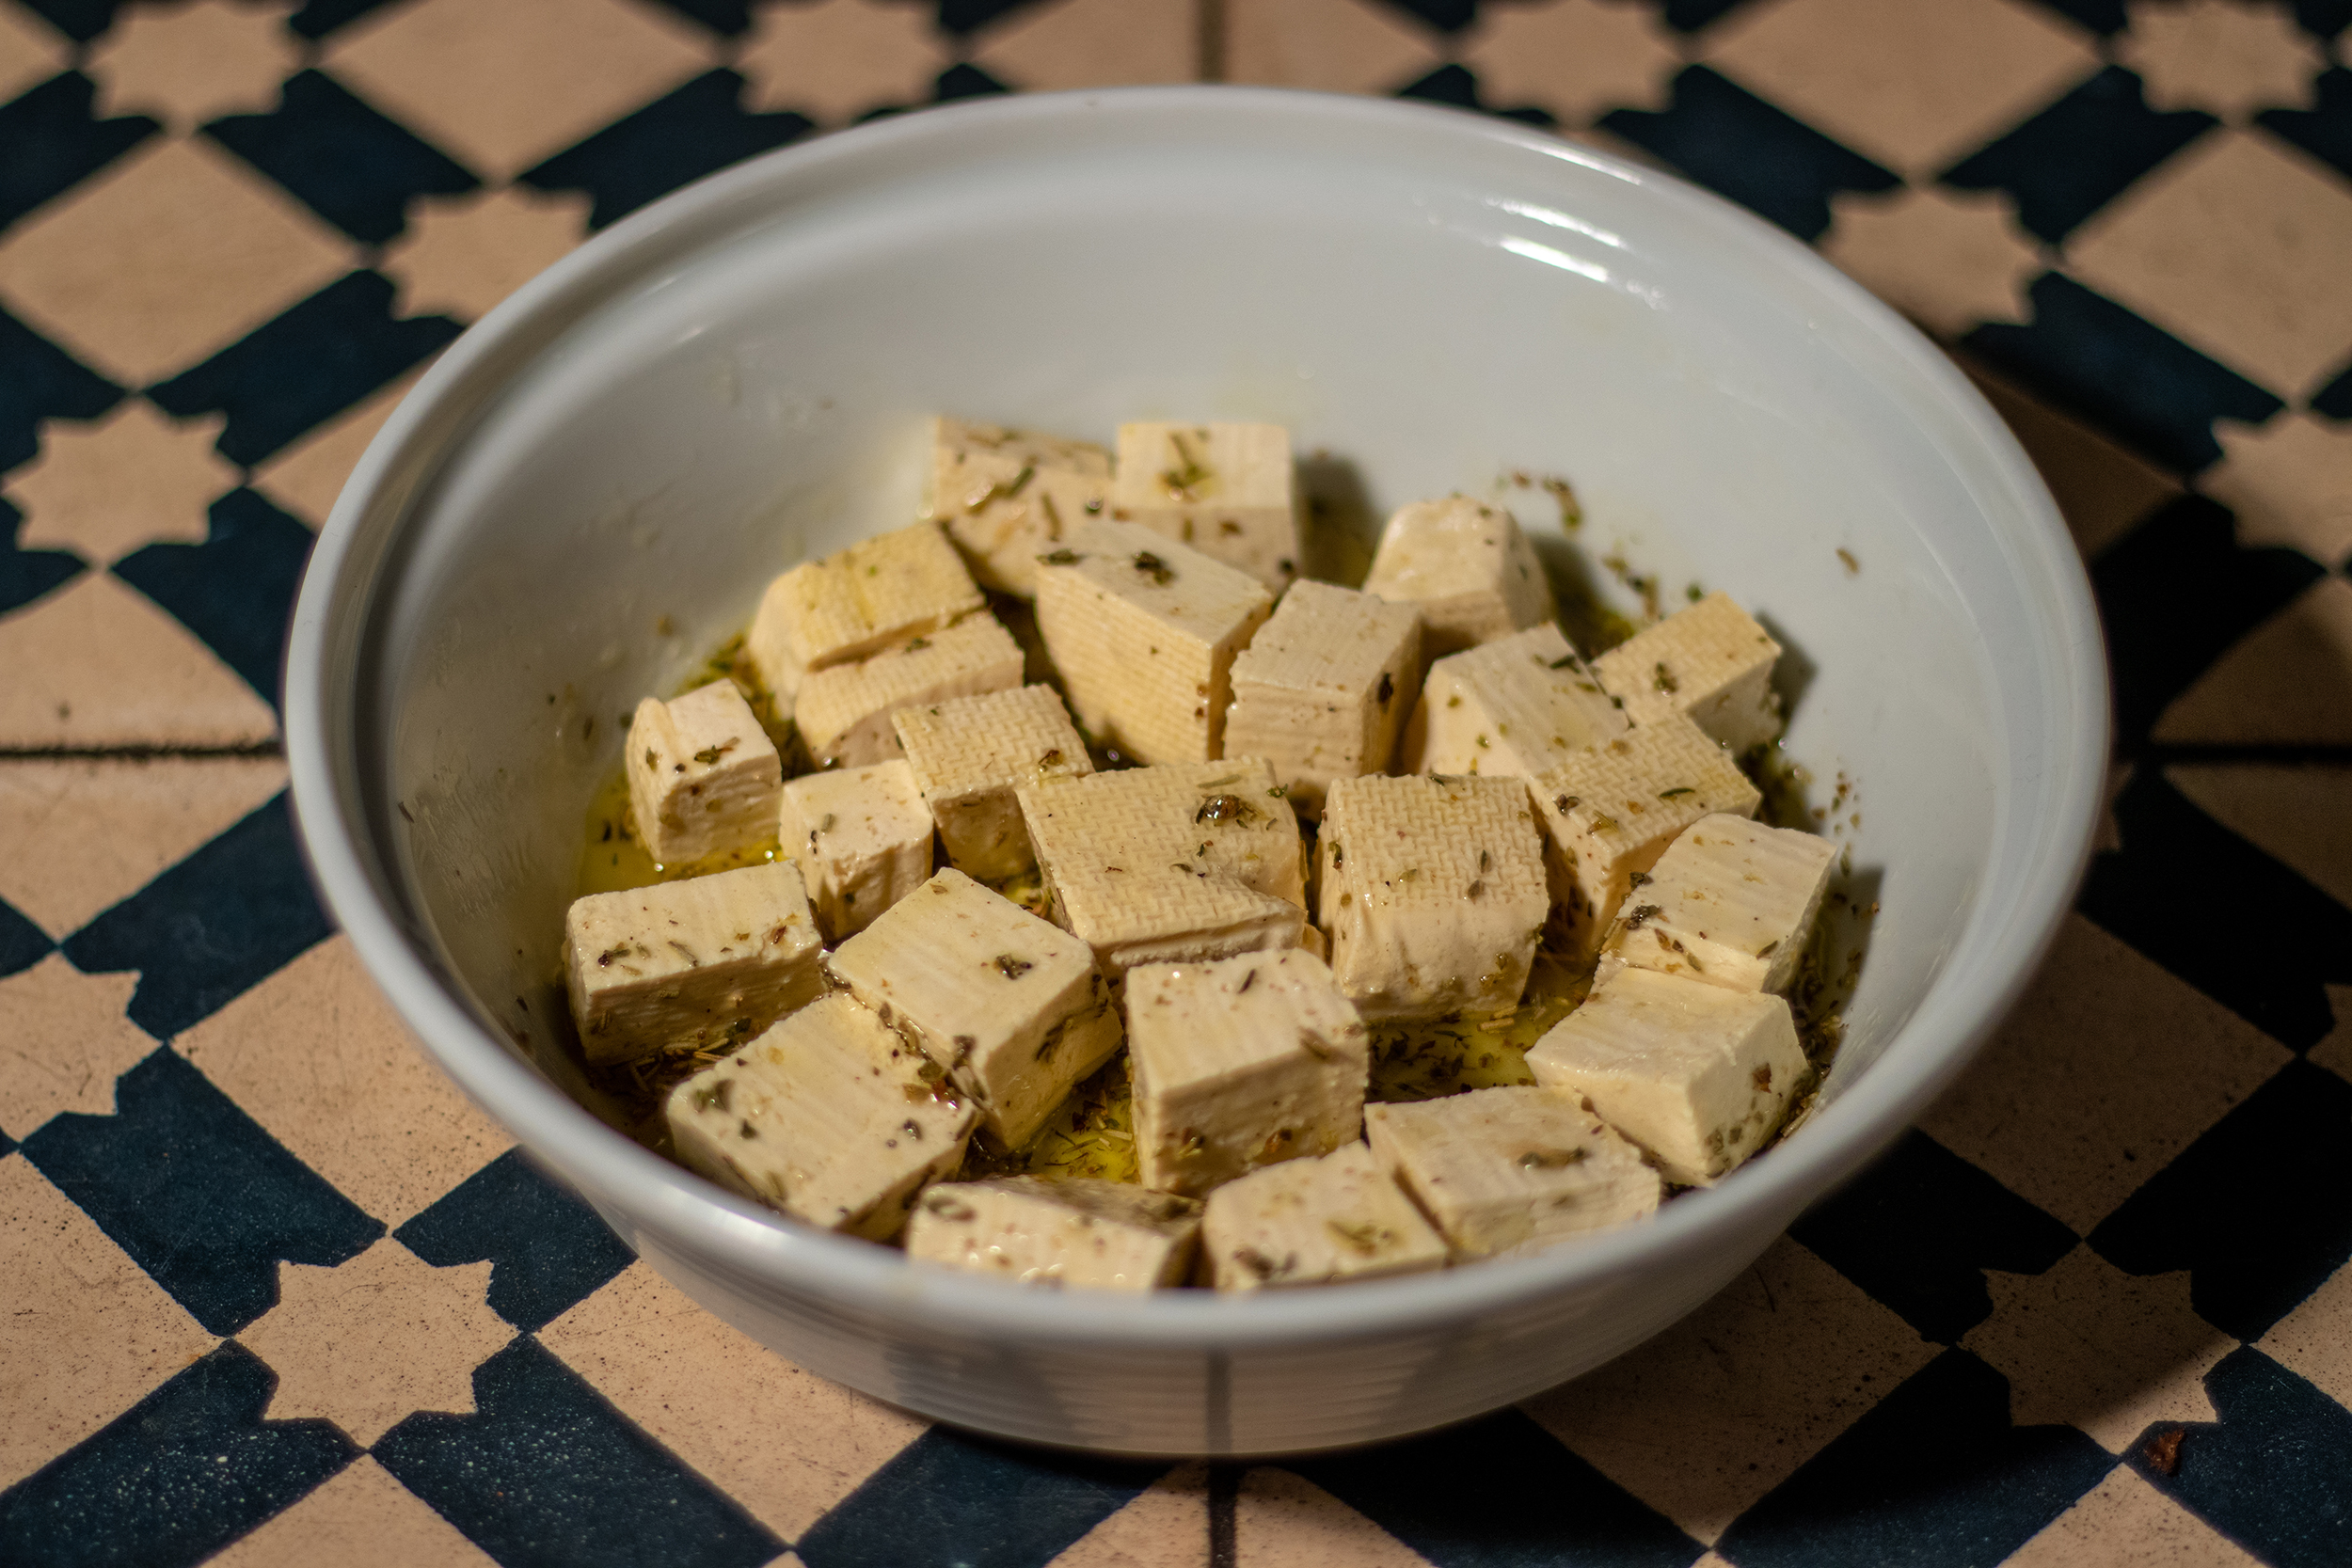
1. Dice the tofu. Then my Veta is seasoned with Mediterranean herbs and lemon. With salt and olive oil in an aromatic marinade.2. The Veta cubes are in the marinade and ready for the ovenFresh, homemade, vegan feta as part of a mezze board
Ingredients for vegan feta cheese:
1 block of firm tofu, cut into approximately 1-2 cm cubes
Olive oil
Feta marinade:
1 lemon, the juice 2 heaped teaspoons of salt 1 heaped teaspoon of oregano 1/2 teaspoon of black pepper 1 heaped teaspoon of thyme 1 heaped teaspoon of rosemary 3 tablespoons of olive oil
Preparation:
Vegan feta:
Preheat the oven to 170°C (340°F) top and bottom heat.
First mix all the ingredients for the feta cheese marinade.
Then cut the tofu into 1-2 centimeter cubes and put them in a small casserole dish.
Then pour the marinade over it, nd turn the tofu cubes in in it.
Bake it in the oven at 170° for 30 minutes. Turn it over after 15 minutes.
After the cooking time, take it out of the oven and let it cool completely.
The Veta can now be used immediately. The vegan feta cheese already tastes fantastic.
Preserving vegan feta cheese
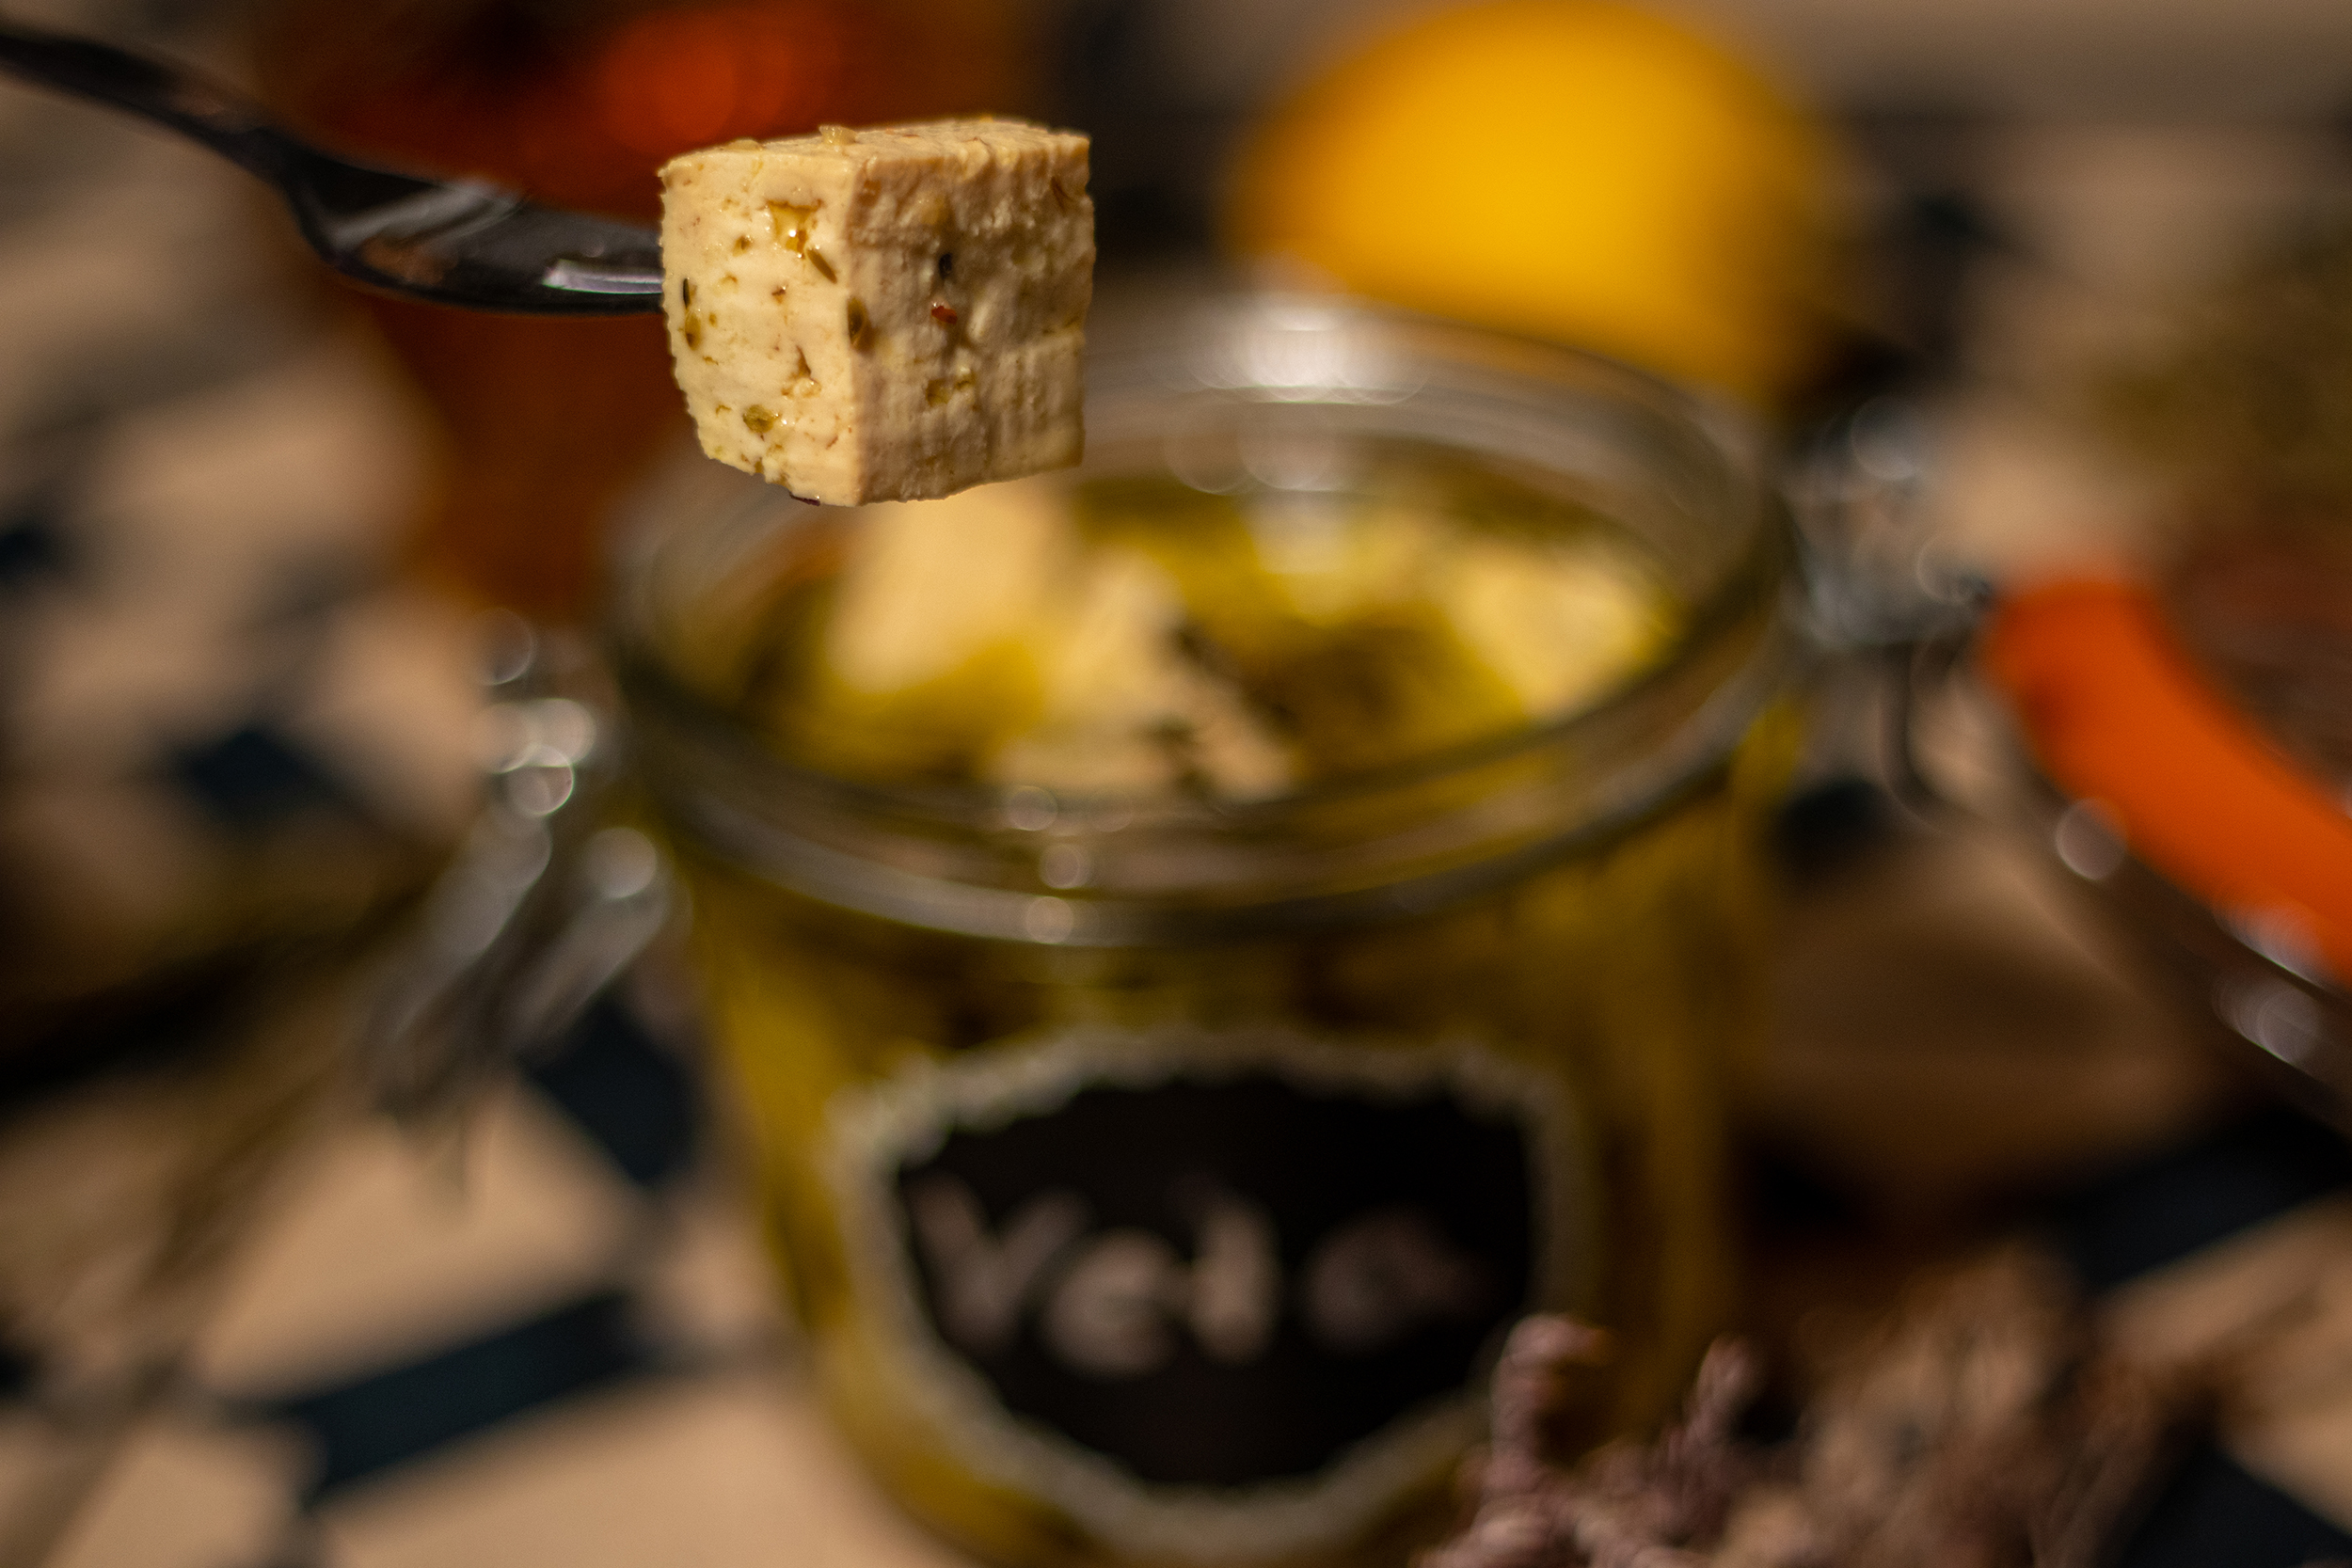
To preserve the feta in the fridge for several weeks, put the vegan feta cubes and the rest of their marinade in a small screw-top jar or mason jar.
Fill this jar with olive oil until the feta is completely covered.
Preserved in this way, the vegan feta cheese can be stored in the fridge for a long time. You can snack it or use it in salads, eat it on bread, add it to casseroles and much more.
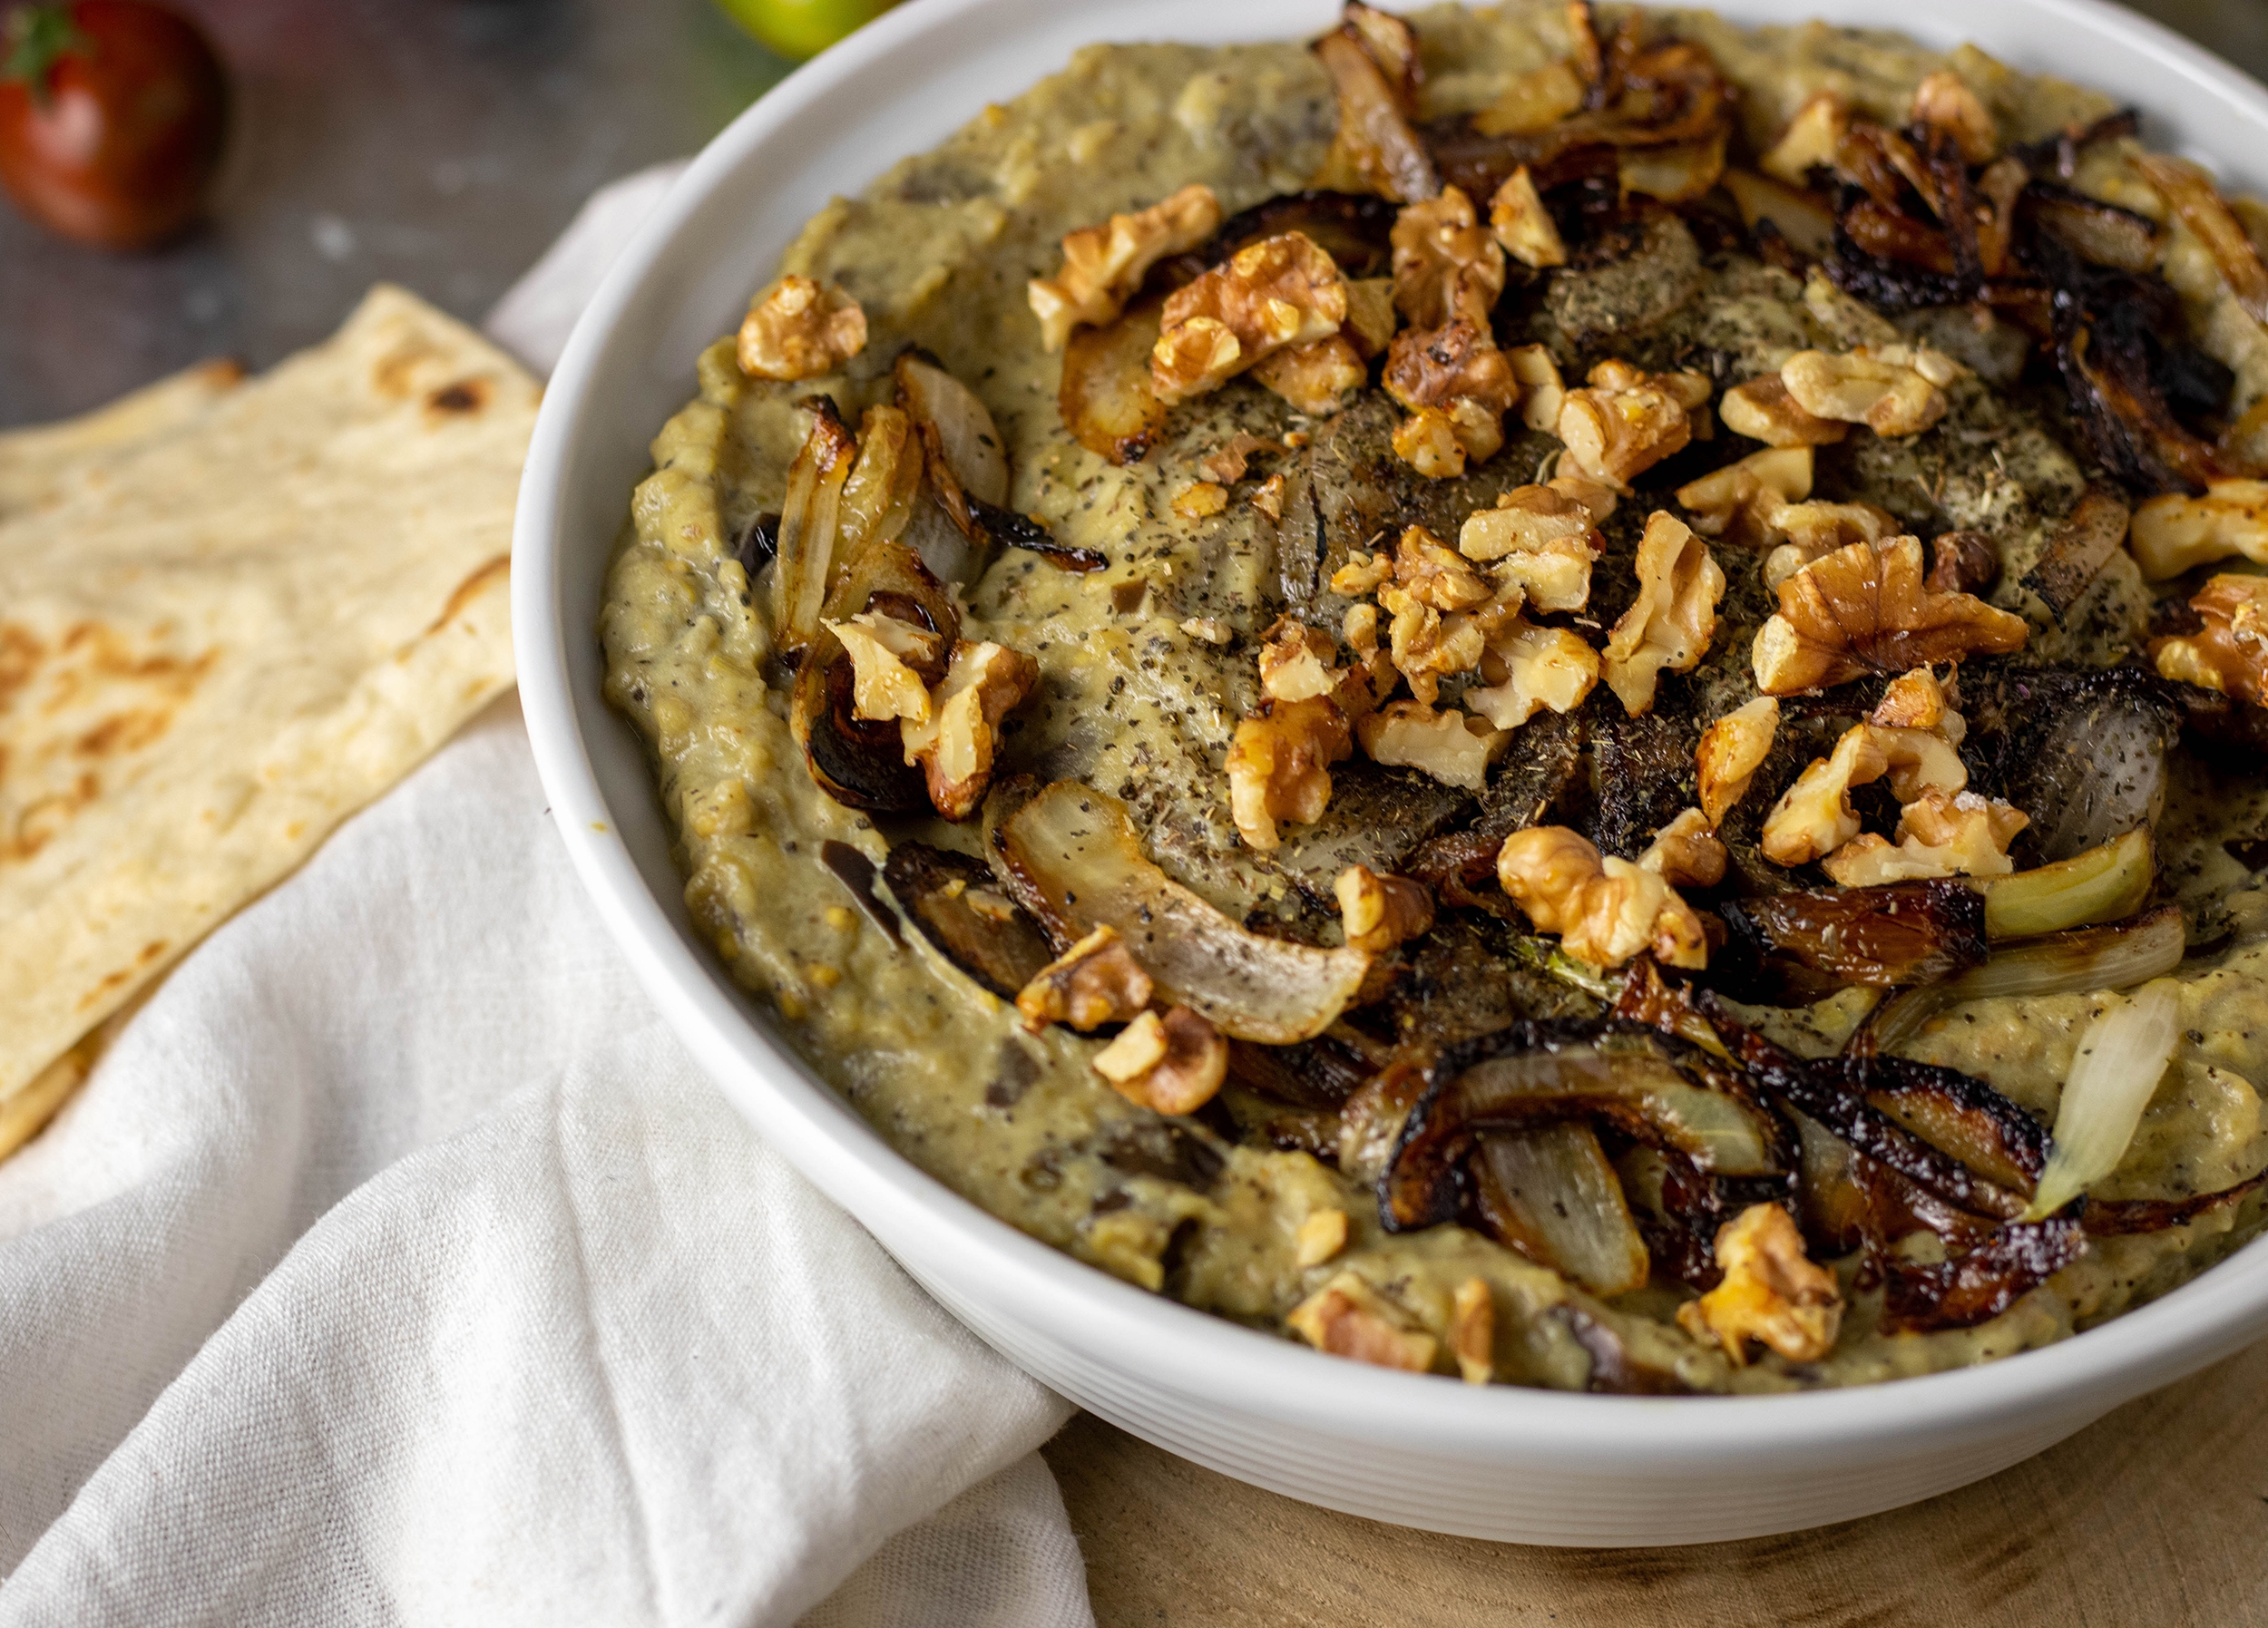
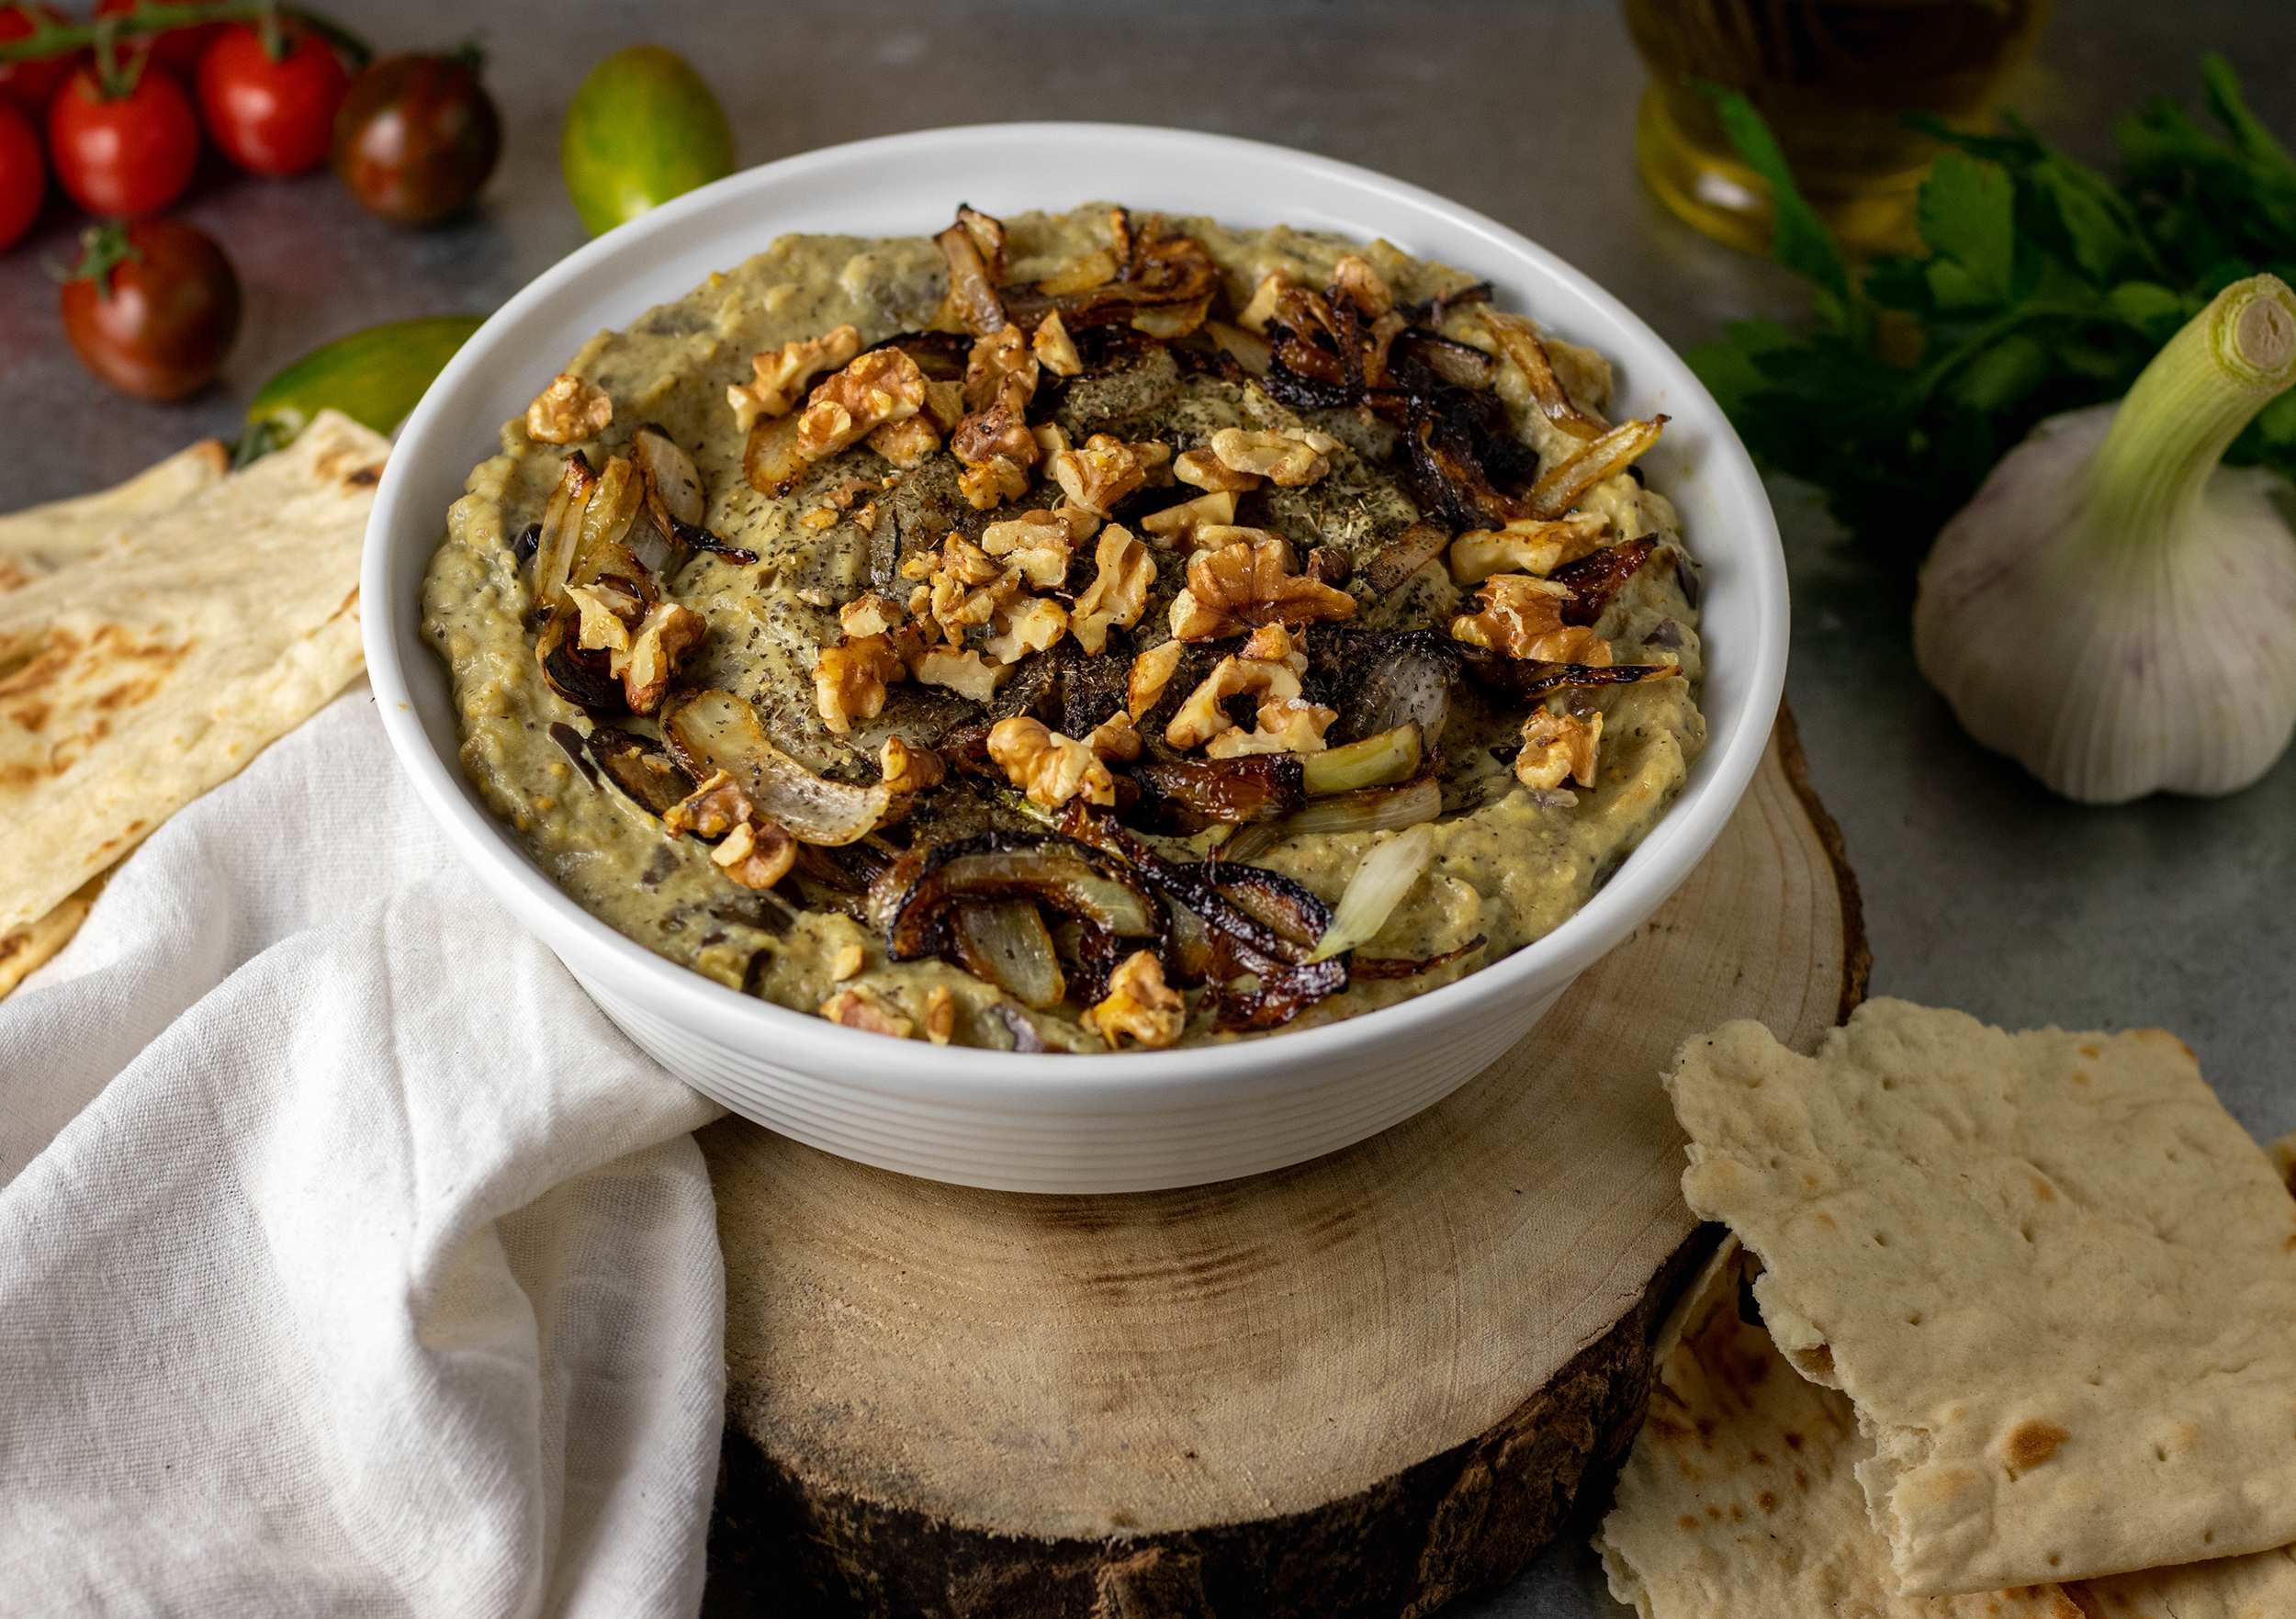
By now everyone knows Baba Ganoush, the delicious Arabic eggplant dip. But do you also know Kashke Bademjan? A Persian specialty made from eggplants and yoghurt. Deliciously seasoned with mint and saffron. Really tasty with flatbread or grilled vegetables. Topped with crispy caramelized walnuts and onions.
Fresh and delicious: Kashke Bademjan, a Persian eggplant dip
What exactly is Kashke Bademjan?
Kashke Bademjan, Kashk Bademjan, alternatively Kashk-e Bademjan or Kashk o Bademjan, is a basic Persian dish made from “Kashk and eggplant”. A full-bodied eggplant cream seasoned with saffron, onion and mint.
Kashk is a dried Iranian yogurt, which I replace here with soy yogurt. For the sake of simplicity without dehydrating it beforehand.
Kashke Bademjan, Kashk Bademjan, alternatively Kashk-e Bademjan or Kashk o Bademjan. Delicious with flatbread
What does Kashke Bademjan go with? What can I serve it with?
Kashke Bademjan is a very versatile dip that can be served with many dishes and at plenty of occasions. The easiest way to enjoy the eggplant cream is as a starter or snack with flatbread. But it also makes a great dip for vegetables. And of course, this dish also works great on a mezze platter.
Kashke Bademjan is a very versatile dip that can be served with many dishes and occasions.
More recipes from Levante cuisine
Are you looking for more vegan, Levante recipes? Then I have got some for you here:
A Persian specialty made from eggplant and yoghurt. Deliciously seasoned with mint and saffron.
Vegan Kashke Bademjan
If you don’t prepare this dish with the original Persian yogurt Kashk, Kashke Bademjan can easily be prepared vegan. You can find out how that works in this vegan recipe.
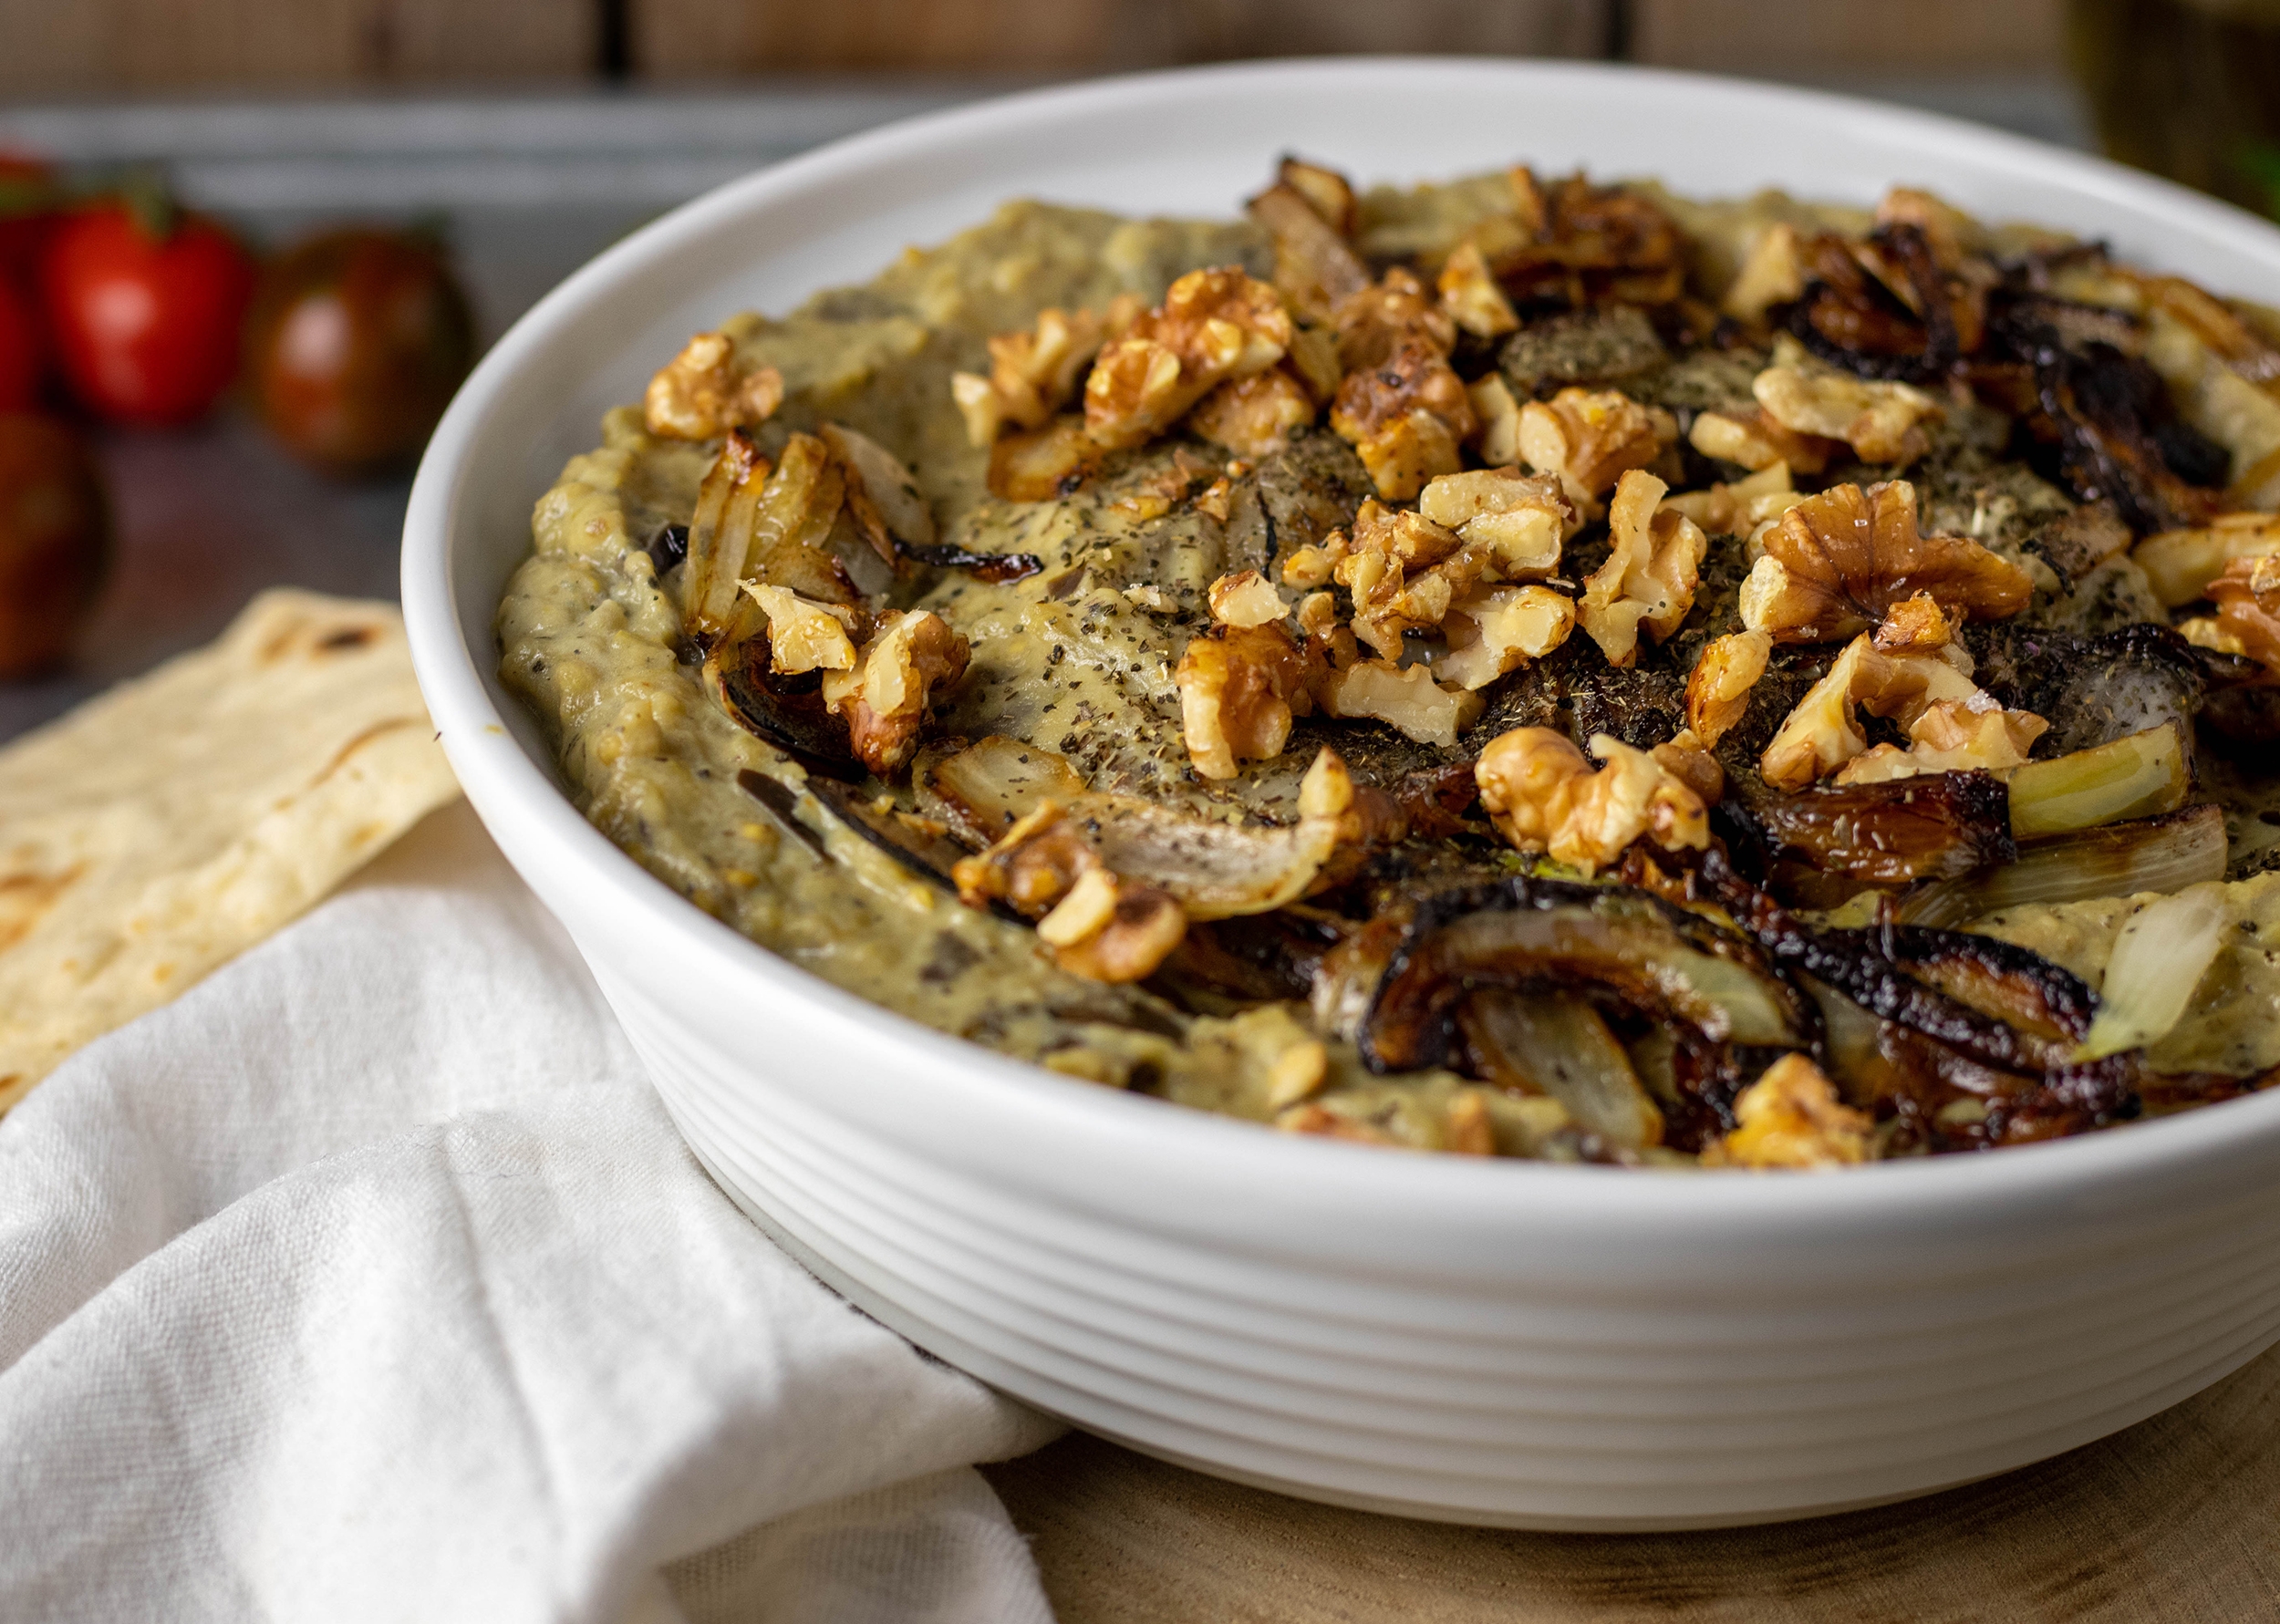
Persian eggplant cream: suitable toppings include roasted walnuts, dried mint and fried onions.
I look forward to seeing your Kashke Bademjan if you try this recipe!
Feel free to follow me on Instagram or Facebook. And I would be delighted if you make this hearty aubergine dip, if you’d post the result on social media and tag my account there. This also applies to my other recipes, of course. I always find it really great and exciting to see how my recipes are prepared in other kitchens!
Persian eggplant cream made from fried eggplant
Ingredients for about 750 ml Kashke Bademjan:
3 medium-sized eggplants 1 onion, diced 3 garlic cloves, finely chopped 1/2 tsp turmeric 1/2 tsp black pepper, ground 75 ml water 1/2 tsp saffron 150 ml vegan yogurt 1 tbsp dried mint Olive oil Salt
Toppings:
2 tbsp walnuts, roughly chopped 1 onion, in strips 2 tsp sugar 1 tbsp dried mint Olive oil
Flatbread
Preparation:
Halve the eggplants lengthways. Cut these halves into thick slices.
Heat plenty of olive oil in a pan, then place the eggplant slices next to each other. Fry covered on medium heat for about 7 minutes.
Turn over and fry again with the lid on the other side for about 7 minutes. Be careful, the eggplants burn easily.
In a second pan, fry the onion in olive oil until golden brown.
Your pan is probably not big enough to fry all the eggplant pieces at once. You can simply do this in two steps one after the other. Once all the eggplant pieces are fried, they will have become smaller. Then you can put them all back together in a single pan.
When all the eggplants are put in one pan, add the water, turmeric, saffron and pepper to the fried eggplant.
Season with salt to the taste and simmer for 10-15 minutes.
Put it into a bowl and puree roughly.
Ar last stir in the onions, 1 tablespoon of dried mint and the vegan yogurt.
Season with salt and serve.
Toppings:
For the toppings, roast the walnut pieces in a pan and add 1 teaspoon of sugar so that they caramelize slightly.
Fry the onion in a little olive oil and mix in 1 teaspoon of sugar. Fry while stirring until the onions are golden brown.
Garnish the finished Kashke Bademjan with the toppings and enjoy with flatbread.
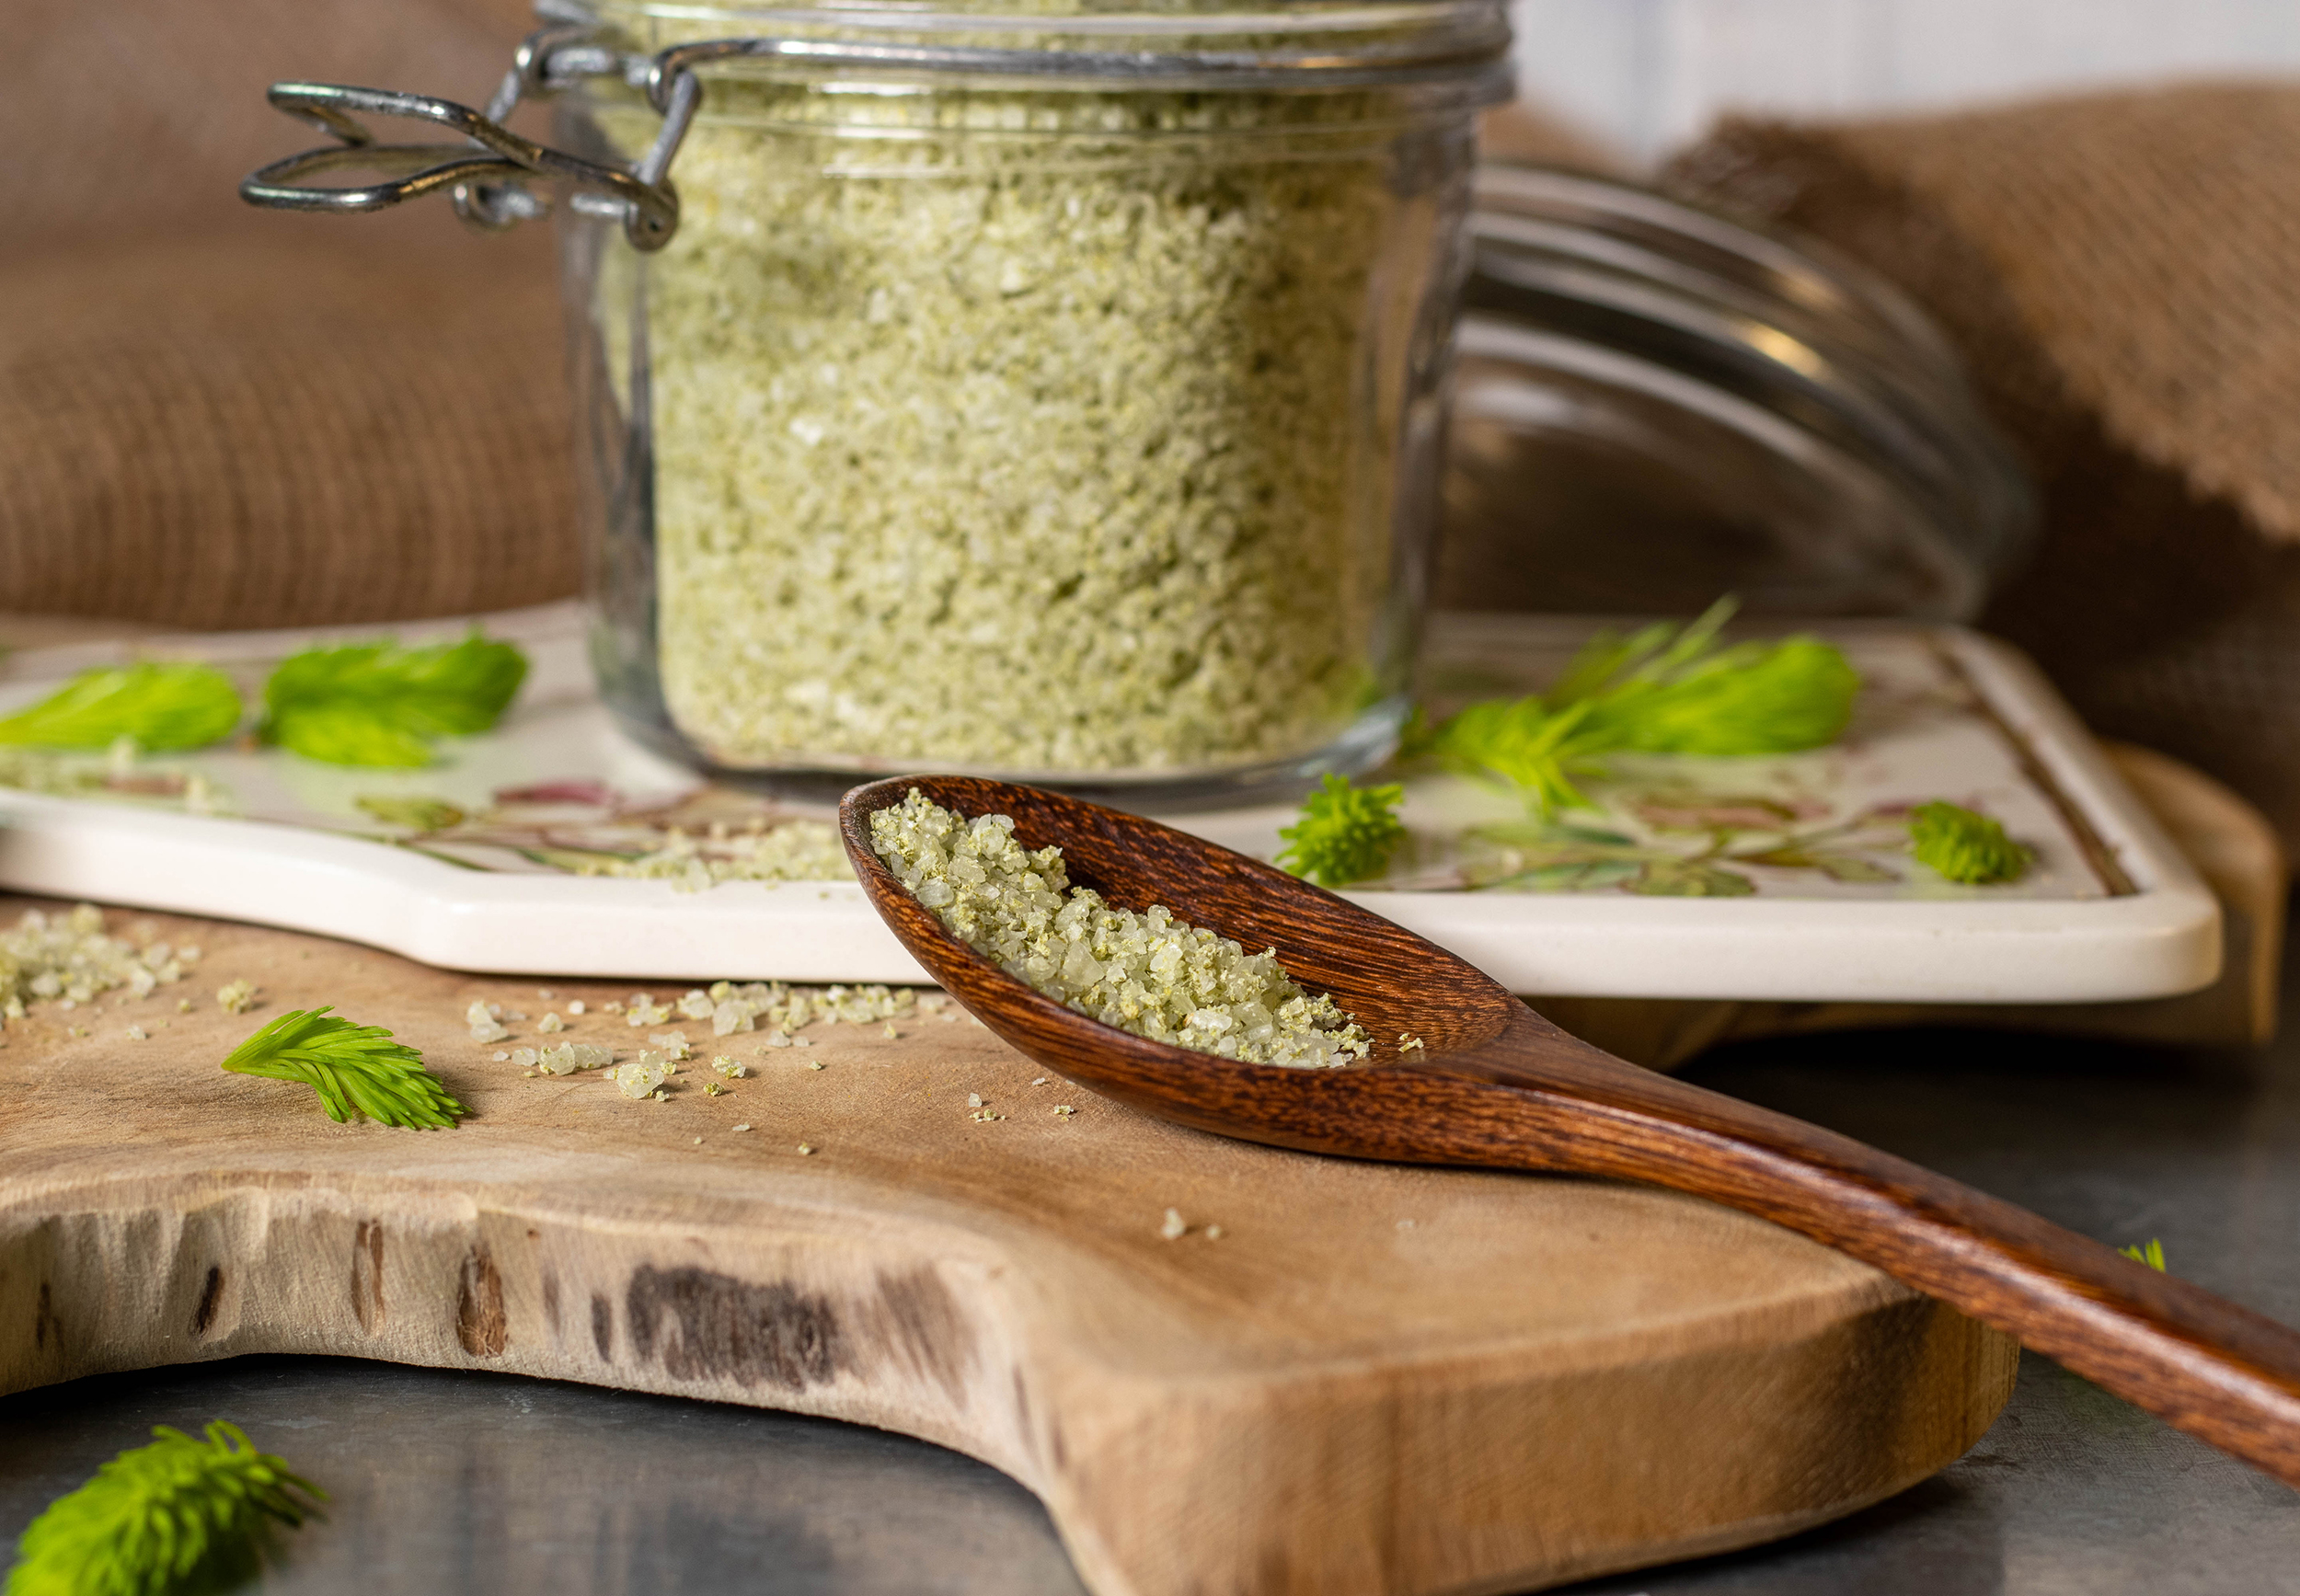
Spruce salt, May twig salt, spruce tip salt! Here is my aromatic, fragrant herbal salt made from young spruce tips. Fresh and spicy from the forest kitchen. To prepare thissalt, young spruce tips must be collected in late spring and early summer.
Slightly ethereal, spicy-scented, which goes surprisingly well with many dishes.
Spruce salt – my delicious forest salt
Spruce salt contains delicious forest aroma, which is why I also like to call it forest salt. Slightly ethereal, spicy-smelling, which goes surprisingly well with many dishes. I like to use it with vish and vegan meat dishes or as a coating for my vegan cream cheese balls. Even if you have to harvest the spruce tips seasonally, the salt lasts all year round and is therefore perfect for long-lasting, regional cuisine. A pretty jar of spruce salt is also great as a small gift from the kitchen!
My delicious forest salt: spruce tip salt
Spruce salt – very easy with just 2 ingredients!
My homemade, aromatic salt is very easy to make with just 2 ingredients and a little patience. All you need is a location with a few spruce trees, nimble hands for collecting the spruce tips and salt. And you should also plan on some waiting time for the drying. Very easy, with a great, aromatic effect.
Spruce salt – made from only 2 ingredients: coarse sea salt and spruce tips
Instead of using spruce tips, you can also make fir salt
If you don’t have a spruce forest nearby, the salt can also be made as fir salt from young fir shoots. The taste is very similar and the harvest and production are completely identical. So you can simply use this recipe.
Also beautiful to look at, thanks to its green color. The salt can also be made as fir salt from young fir shoots.
Distinguishing between spruces and firs
You can easily distinguish between spruces and firs because “The spruce stings, the fir doesn’t!” The spruce has slightly sharper needles, the fir has slightly rounded ones. With this simple mnemonic you can easily distinguish the two conifers from each other. Although it wouldn’t be a problem if you used both trees for this recipe.
Versatile, fresh from the forest kitchen
Be careful not to confuse it with the poisonous yew
You have to be able to identify the conifers you are collecting from precisely, because there is also a poisonous conifer in our latitudes. Here in Germany, the yew is the only native conifer in which almost all parts are poisonous. You therefore have to be able to clearly rule out this type of conifer when collecting.
Here is my aromatic, fragrant herbal salt made from young spruce tips
When is the best time to harvest spruce tips?
For forest recipes with spruce tips, the young spruce shoots must still be bright green and rather small and soft. The color demarcation makes them very easy to distinguish from the older parts. In addition to savory dishes, you can also use spruce tips to make a sweet, fantastic, vegan spruce tip honey.
Depending on the weather, spruce tips sprout from mid-April to early June.
I like to use it with vegan fish and meat dishes
What do spruce tips taste like?
Spruce tips smell of the essential oils of the spruce, but not as intensely as the wood or older needles. They taste surprisingly lemony, especially after preparation. There is also a sweet note, which is why they are also nice to snack straight from the tree.
Also delicious simply on bread
Tasty sweet, vegan honey made from spruce tips
If you love the forest kitchen as much as I do, you should definitely also try my recipe for spruce tip honey. A lovely way to make vegan forest honey from spruce tips.
Spruce salt, spruce tip salt!
Ingredients for approx. 300 g spruce salt:
60 g spruce tips 300 g coarse sea salt
Preparation:
Coarsely chop the young spruce shoots, then chop them with the food processor until they are very finely chopped and slightly pulpy.
Add the coarse sea salt and grind everything. The salt should be well mixed with the spruce tip pulp. There may still be coarse pieces of salt in the mass, but no recognizable pieces of spruce needles. The wild tree salt should now be a strong green and moist throughout.
Spread the moist, homemade forest flavour salt evenly on a sheet of parchment paper.
Dry the salt in the dehydrator at 50°C (120°F) for 3-4 hours. If the spruce tip salt still has damp spots, extend the drying time. As an alternative to the dehydrator, an oven can also be used to dry the salt. To do this, set the oven to 50°C (120°F) convection heat. Dry the spruce tip salt on the middle rack. Clamp a wooden spoon handle into the oven door so that the moist air can escape.
Crumble the dried, homemade aromatic salt into small pieces and store in an airtight container.
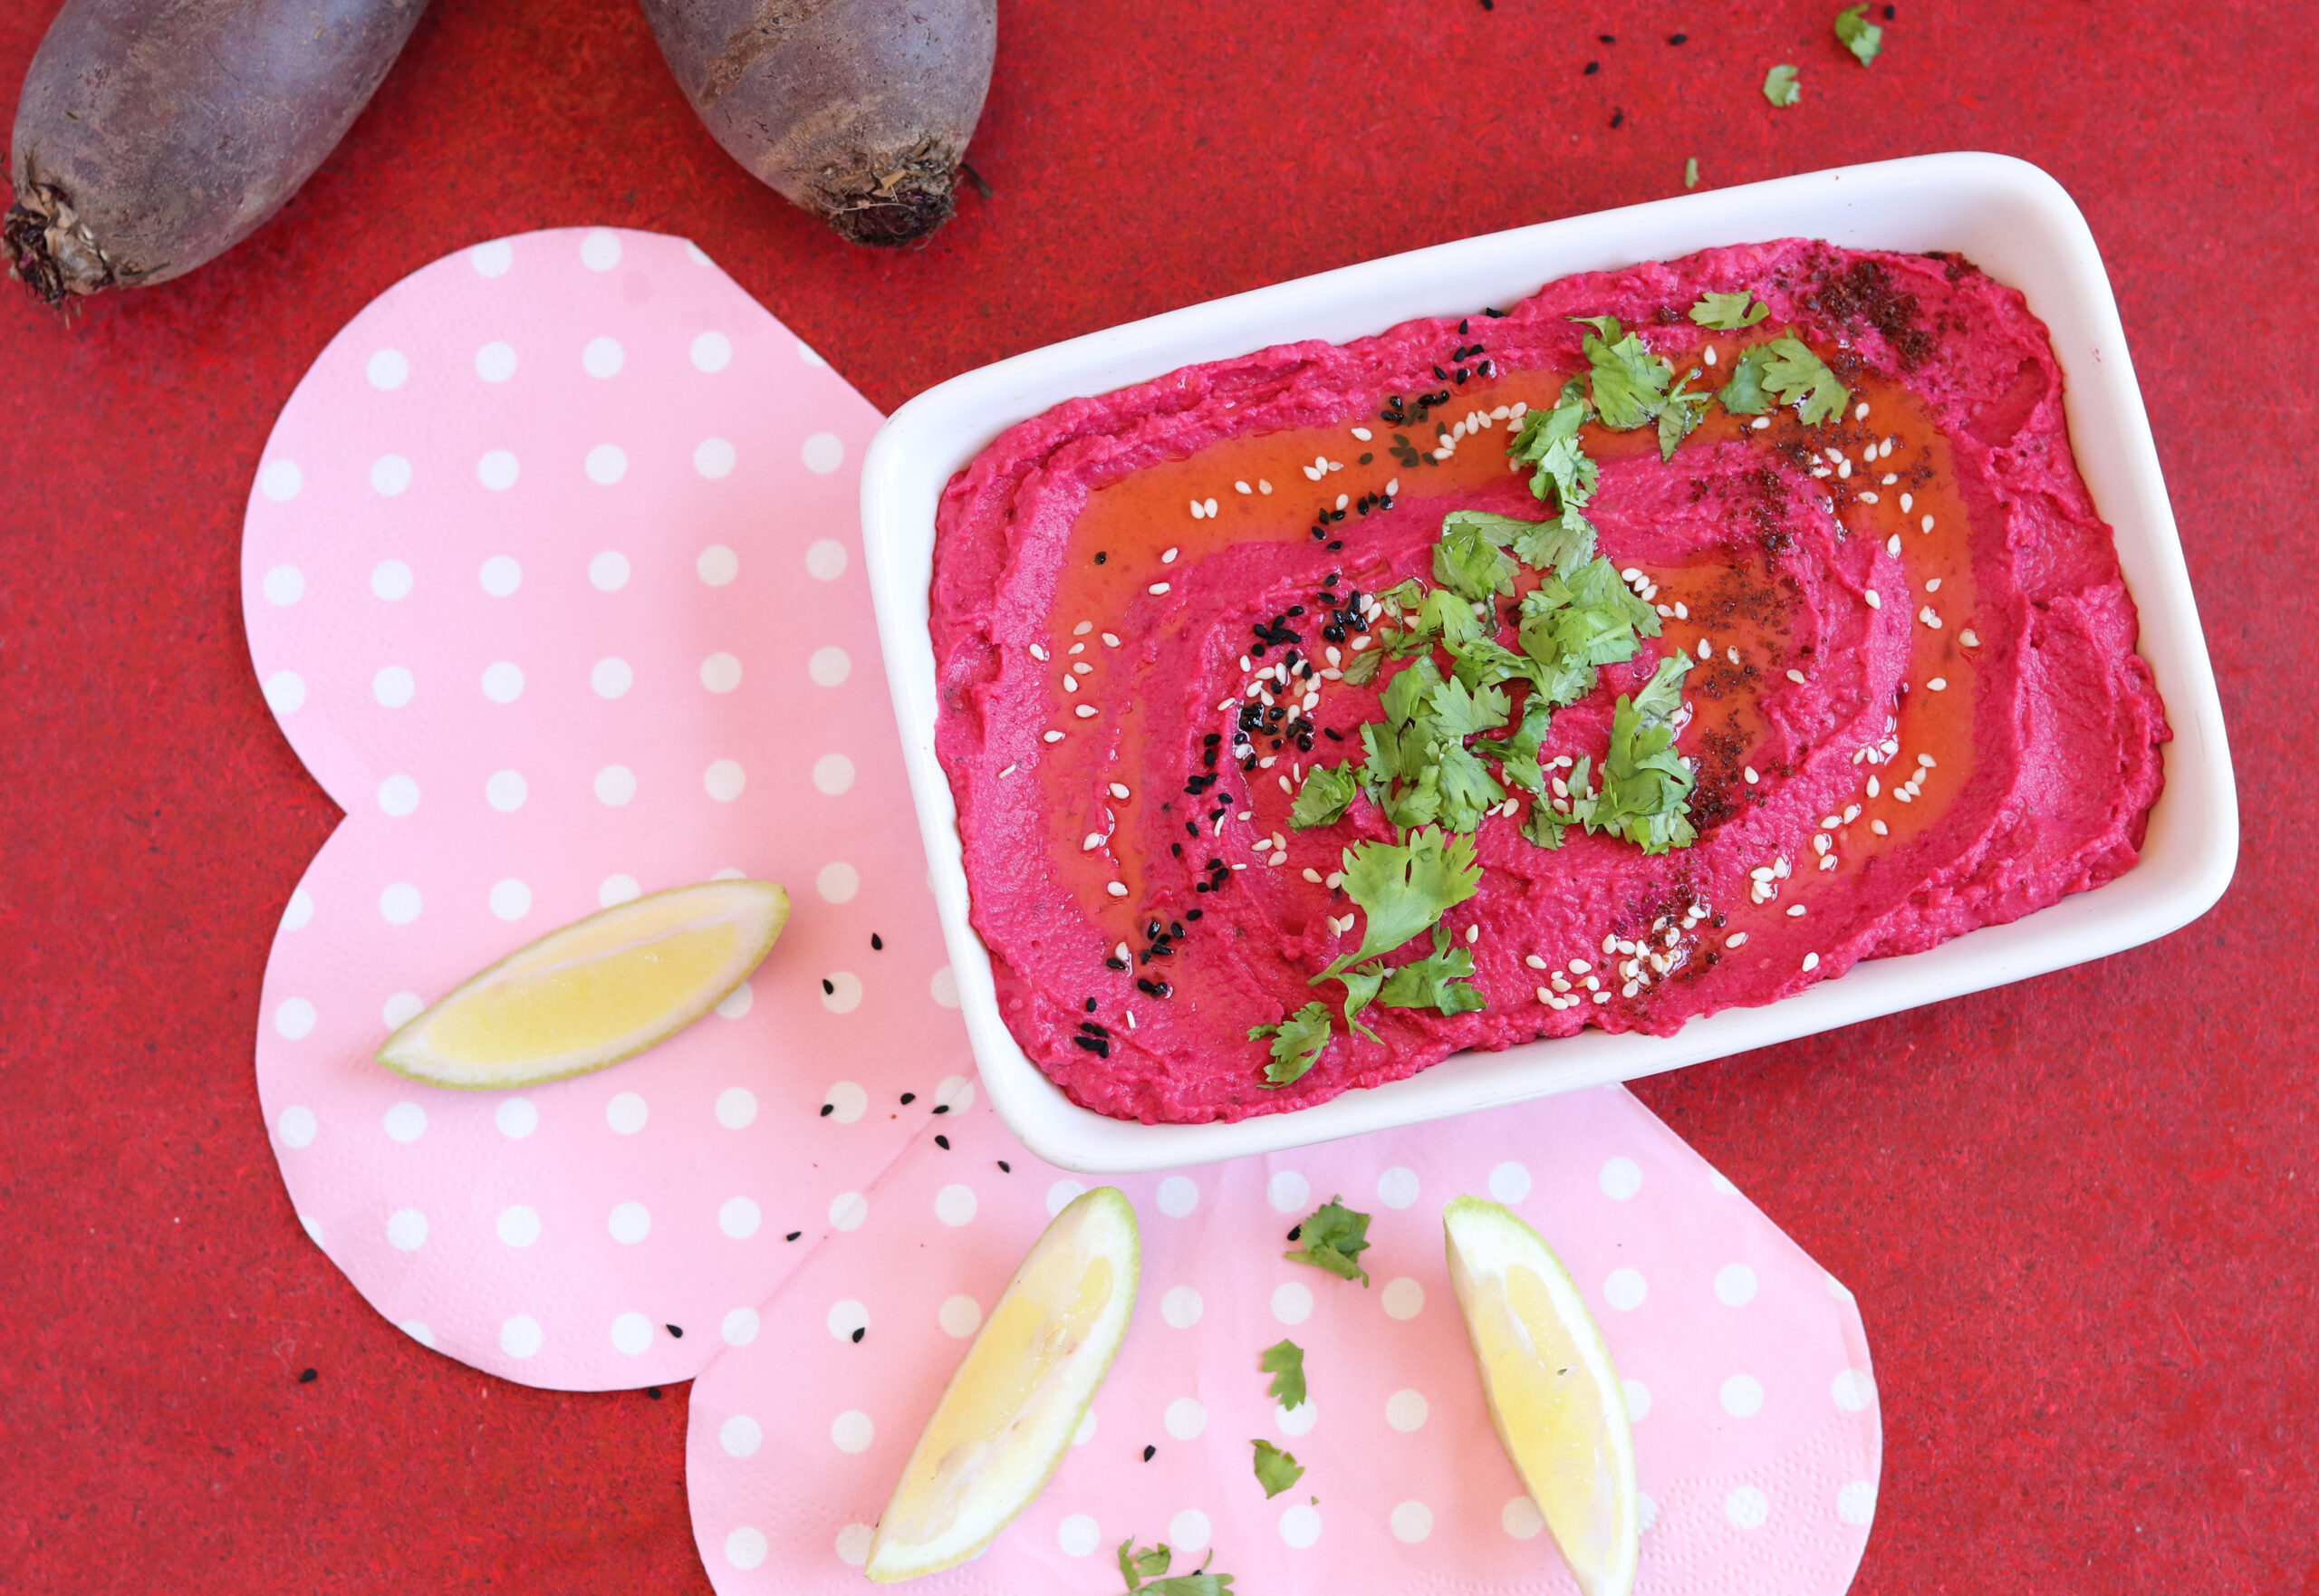
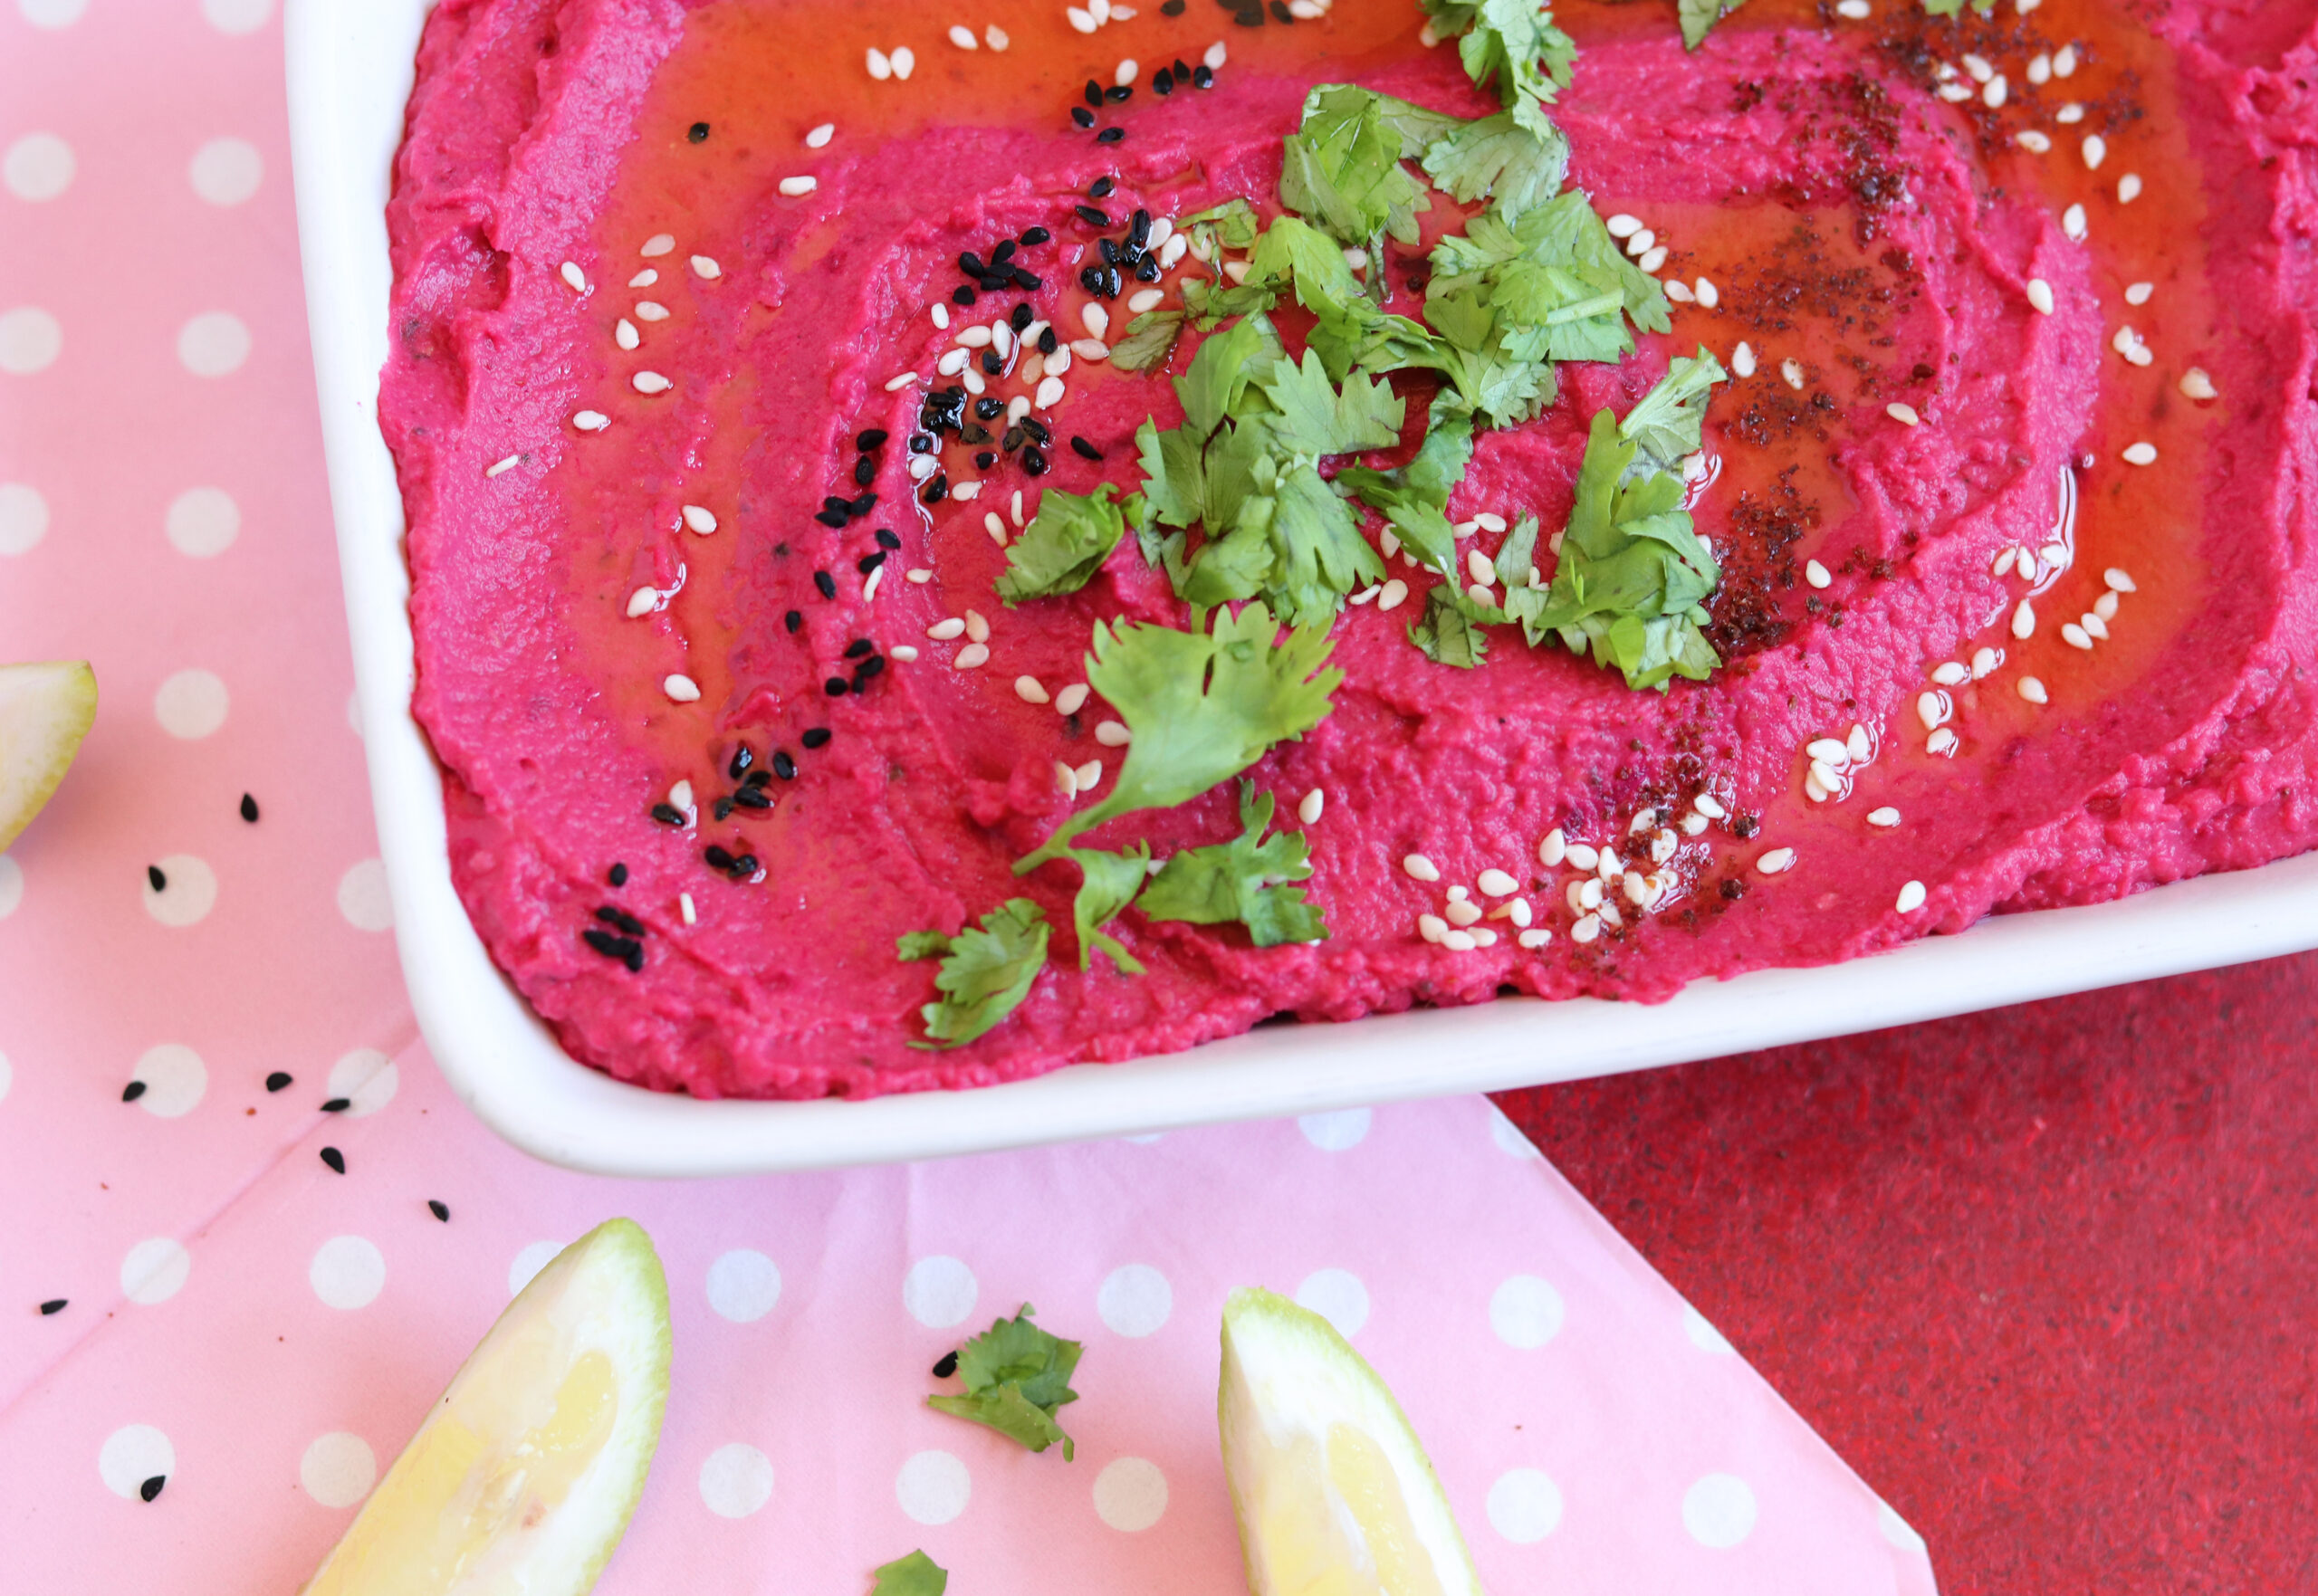
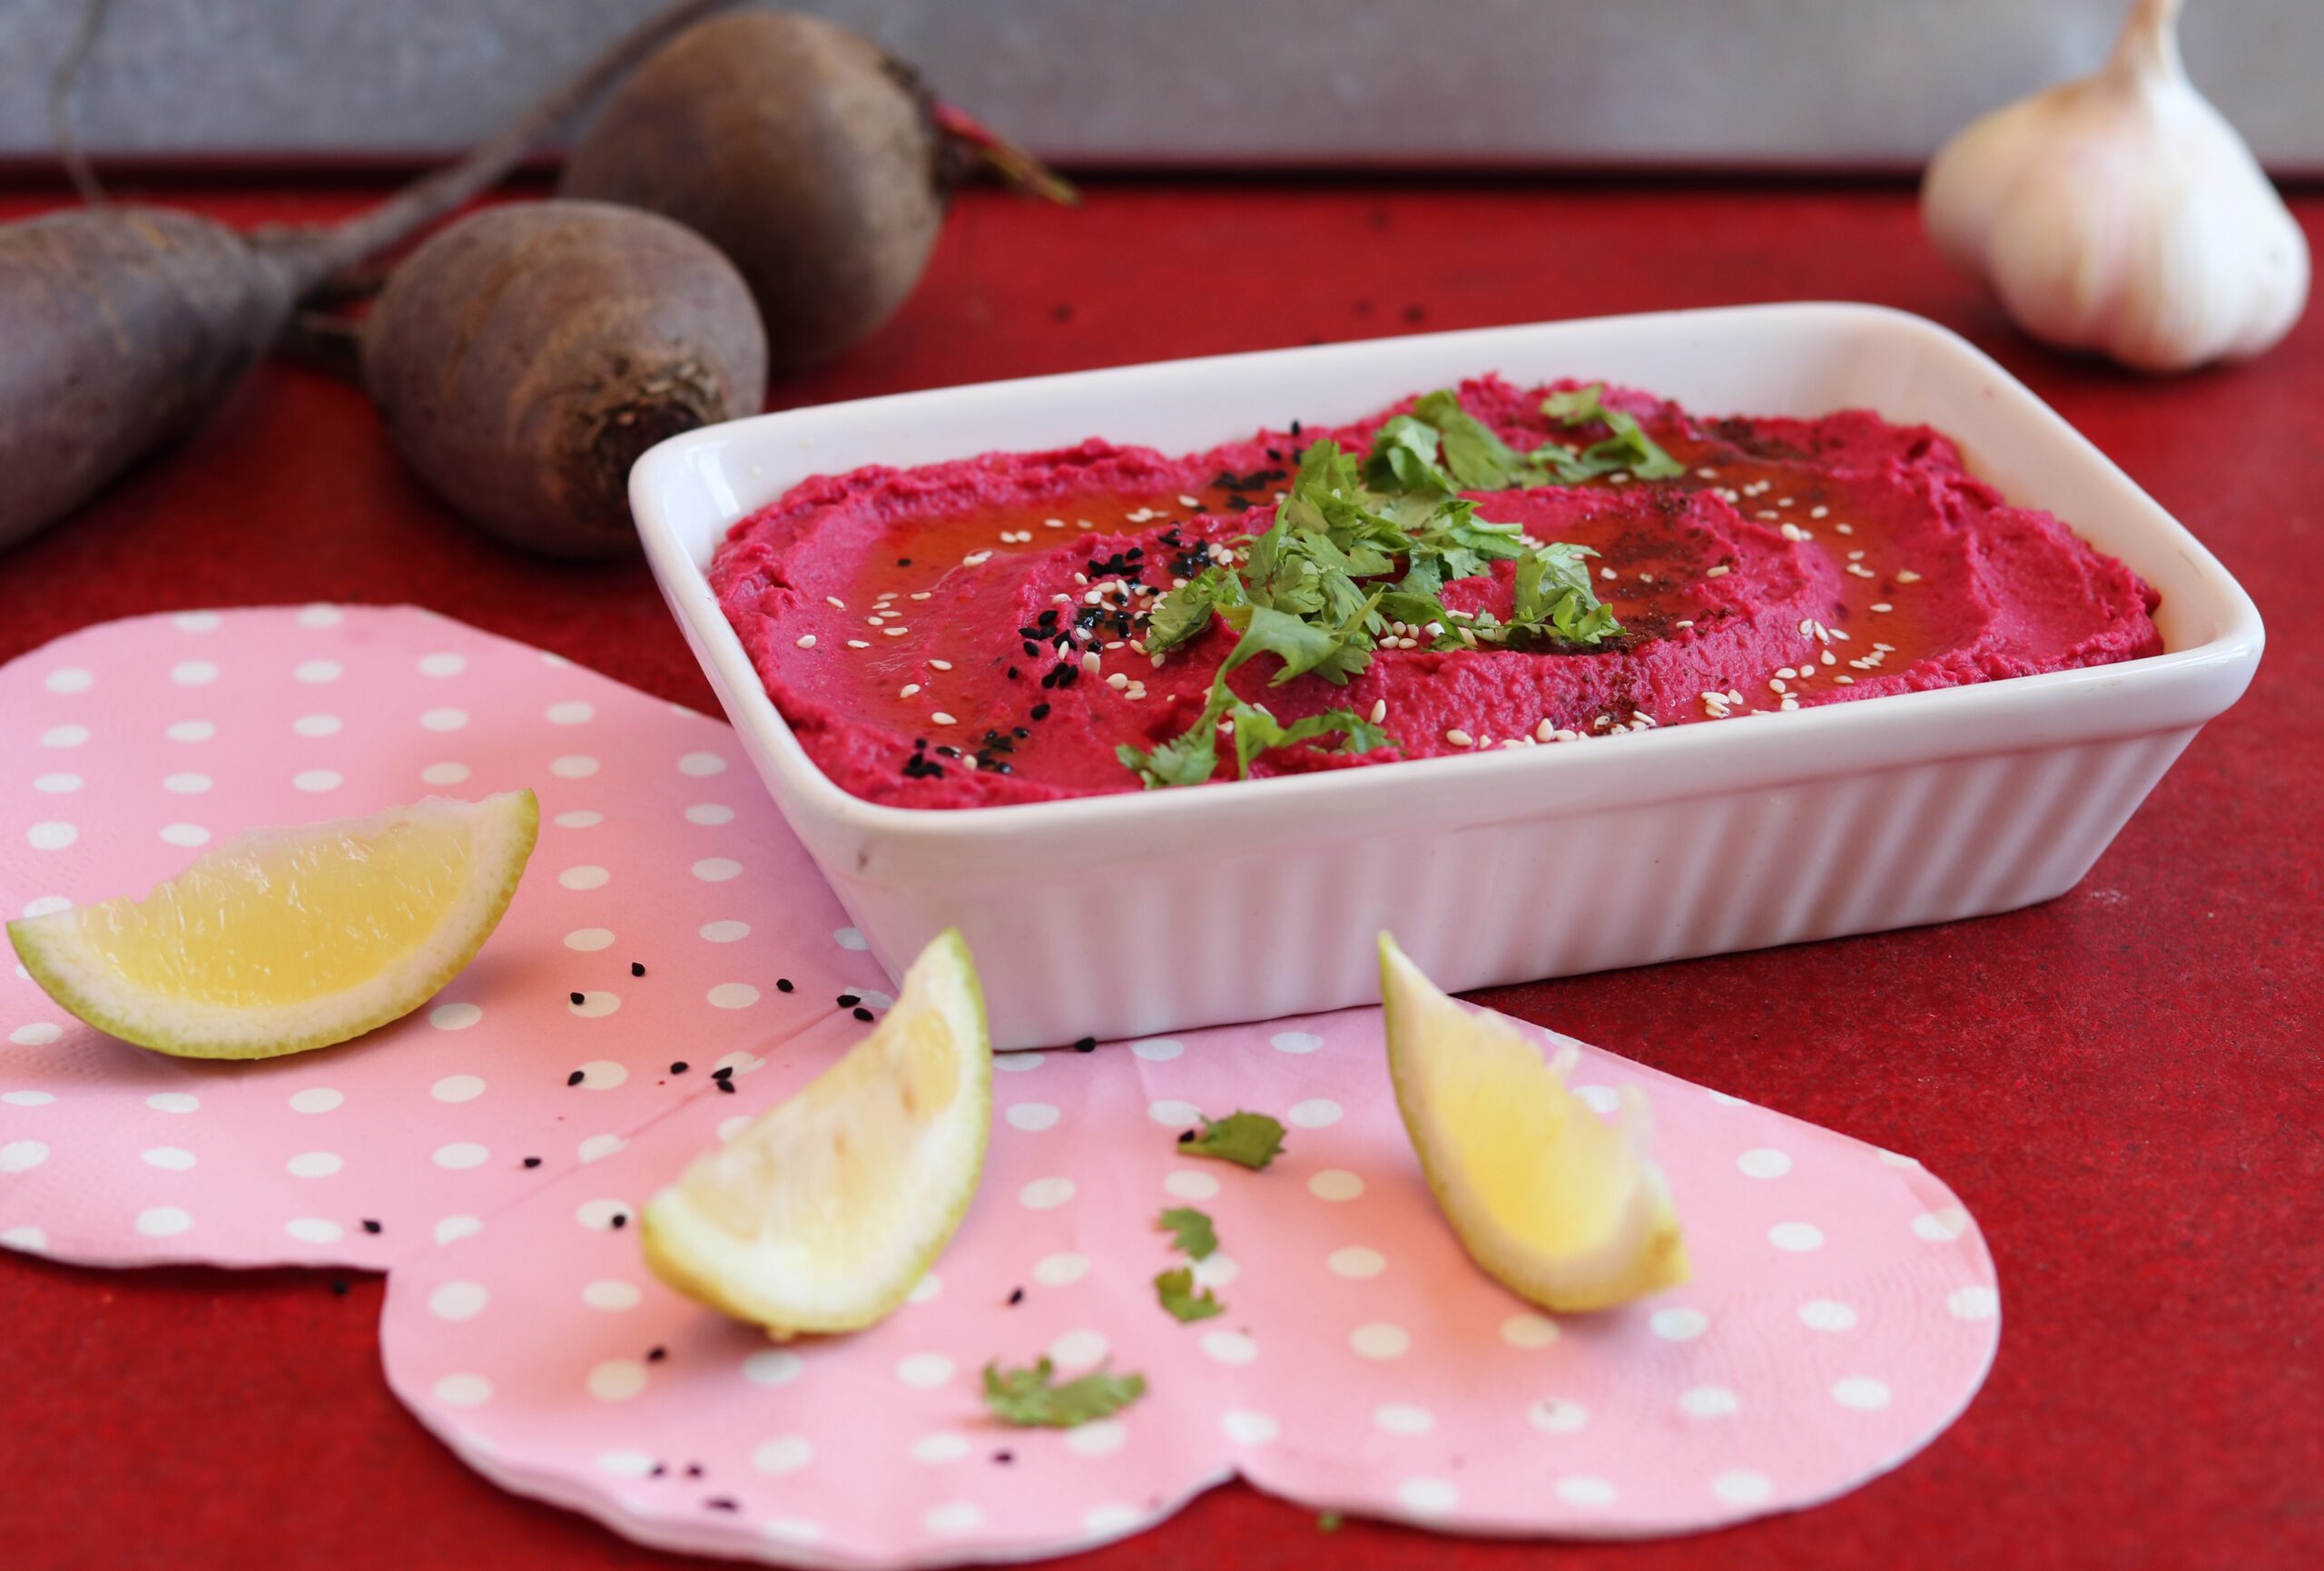
Just beautiful and nice and easy! This beetroot hummus is similar to classic hummus, but the beetroot gives it a special kick in it’s taste. It goes great with many dishes and snacks as a dip for vegetables, pretzel sticks and much more. Or simply as a fresh, delicious spread.
Also: it’s pink!
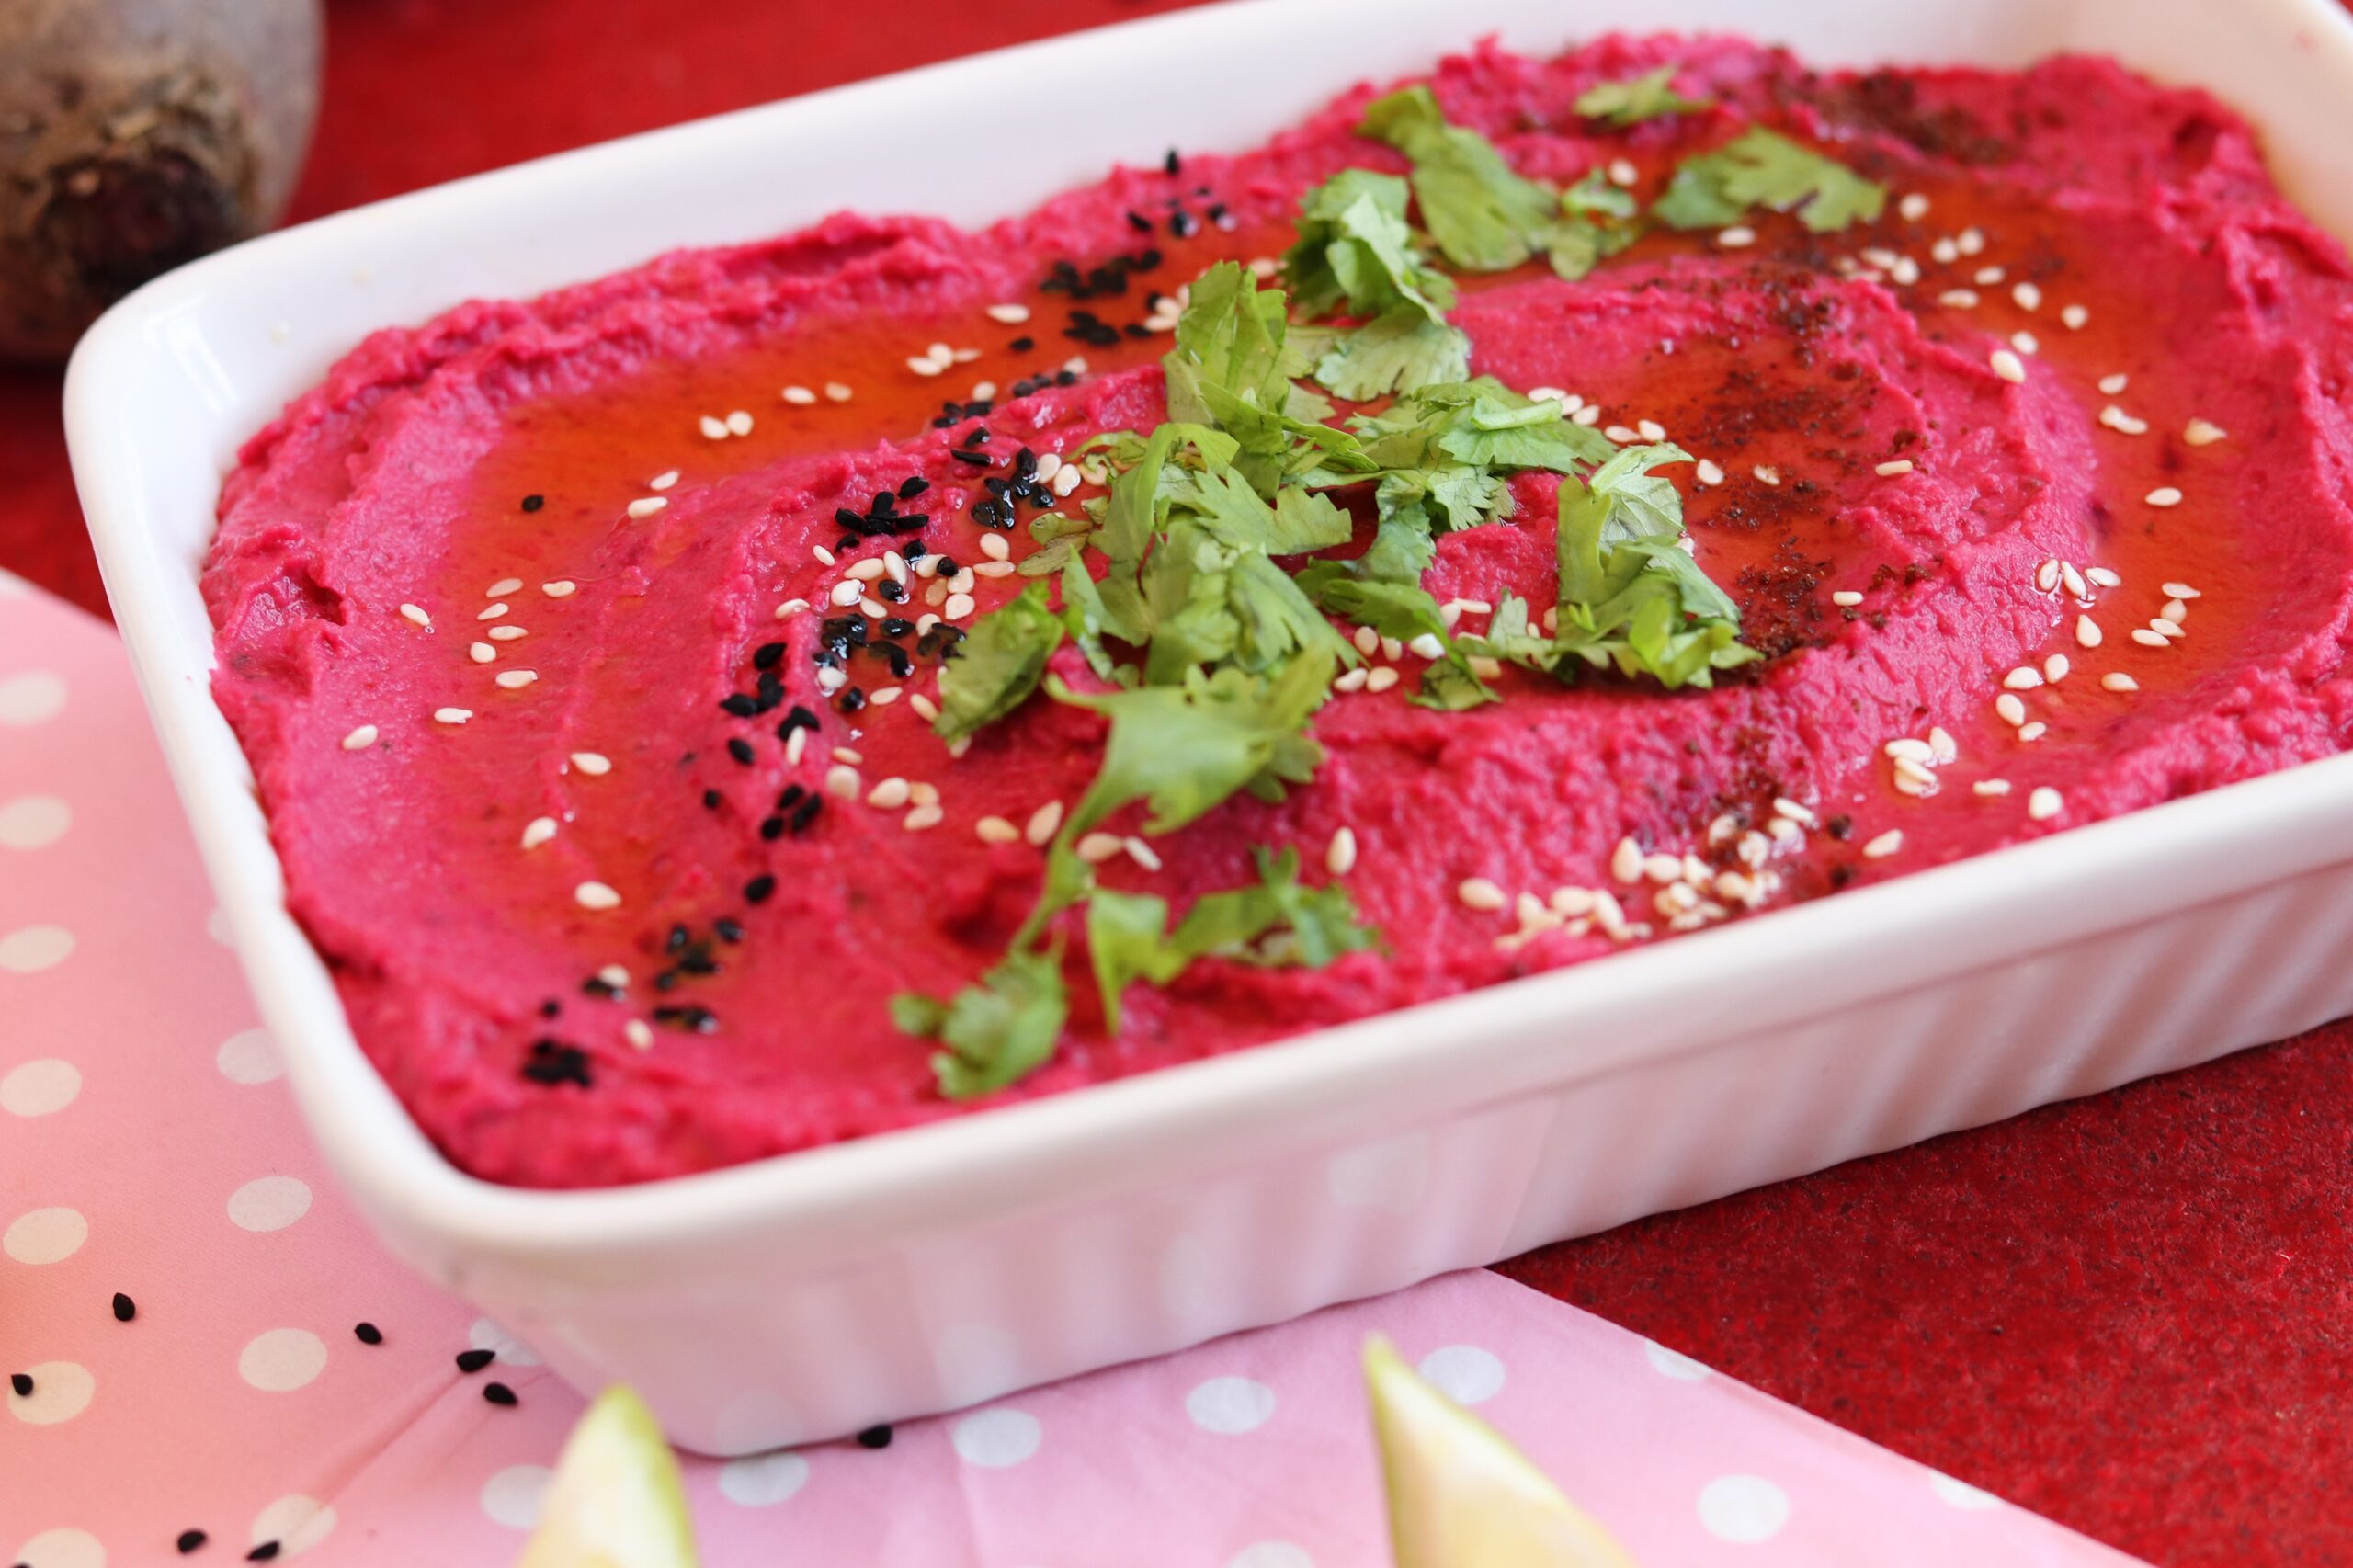
This beetroot hummus is reminiscent of classic hummus, but the beetroot gives it a special kick in it’s taste
Beetroot Hummus: Hummus with an aromatic, pink twist
This recipe is a visual and aromatic highlight. A creative and healthy twist on the classic hummus, the addition of cooked beetroot gives it a beautiful red-pink color and a slightly sweet, earthy taste. This delicious appetizer or dip is not only rich in flavour, but also packed with nutrients and antioxidants. And, my recipe for making beetroot hummus is very easy.
Hummus with an aromatic pink twist
Beetroot hummus is quick and easy to prepare and it suits many occasions
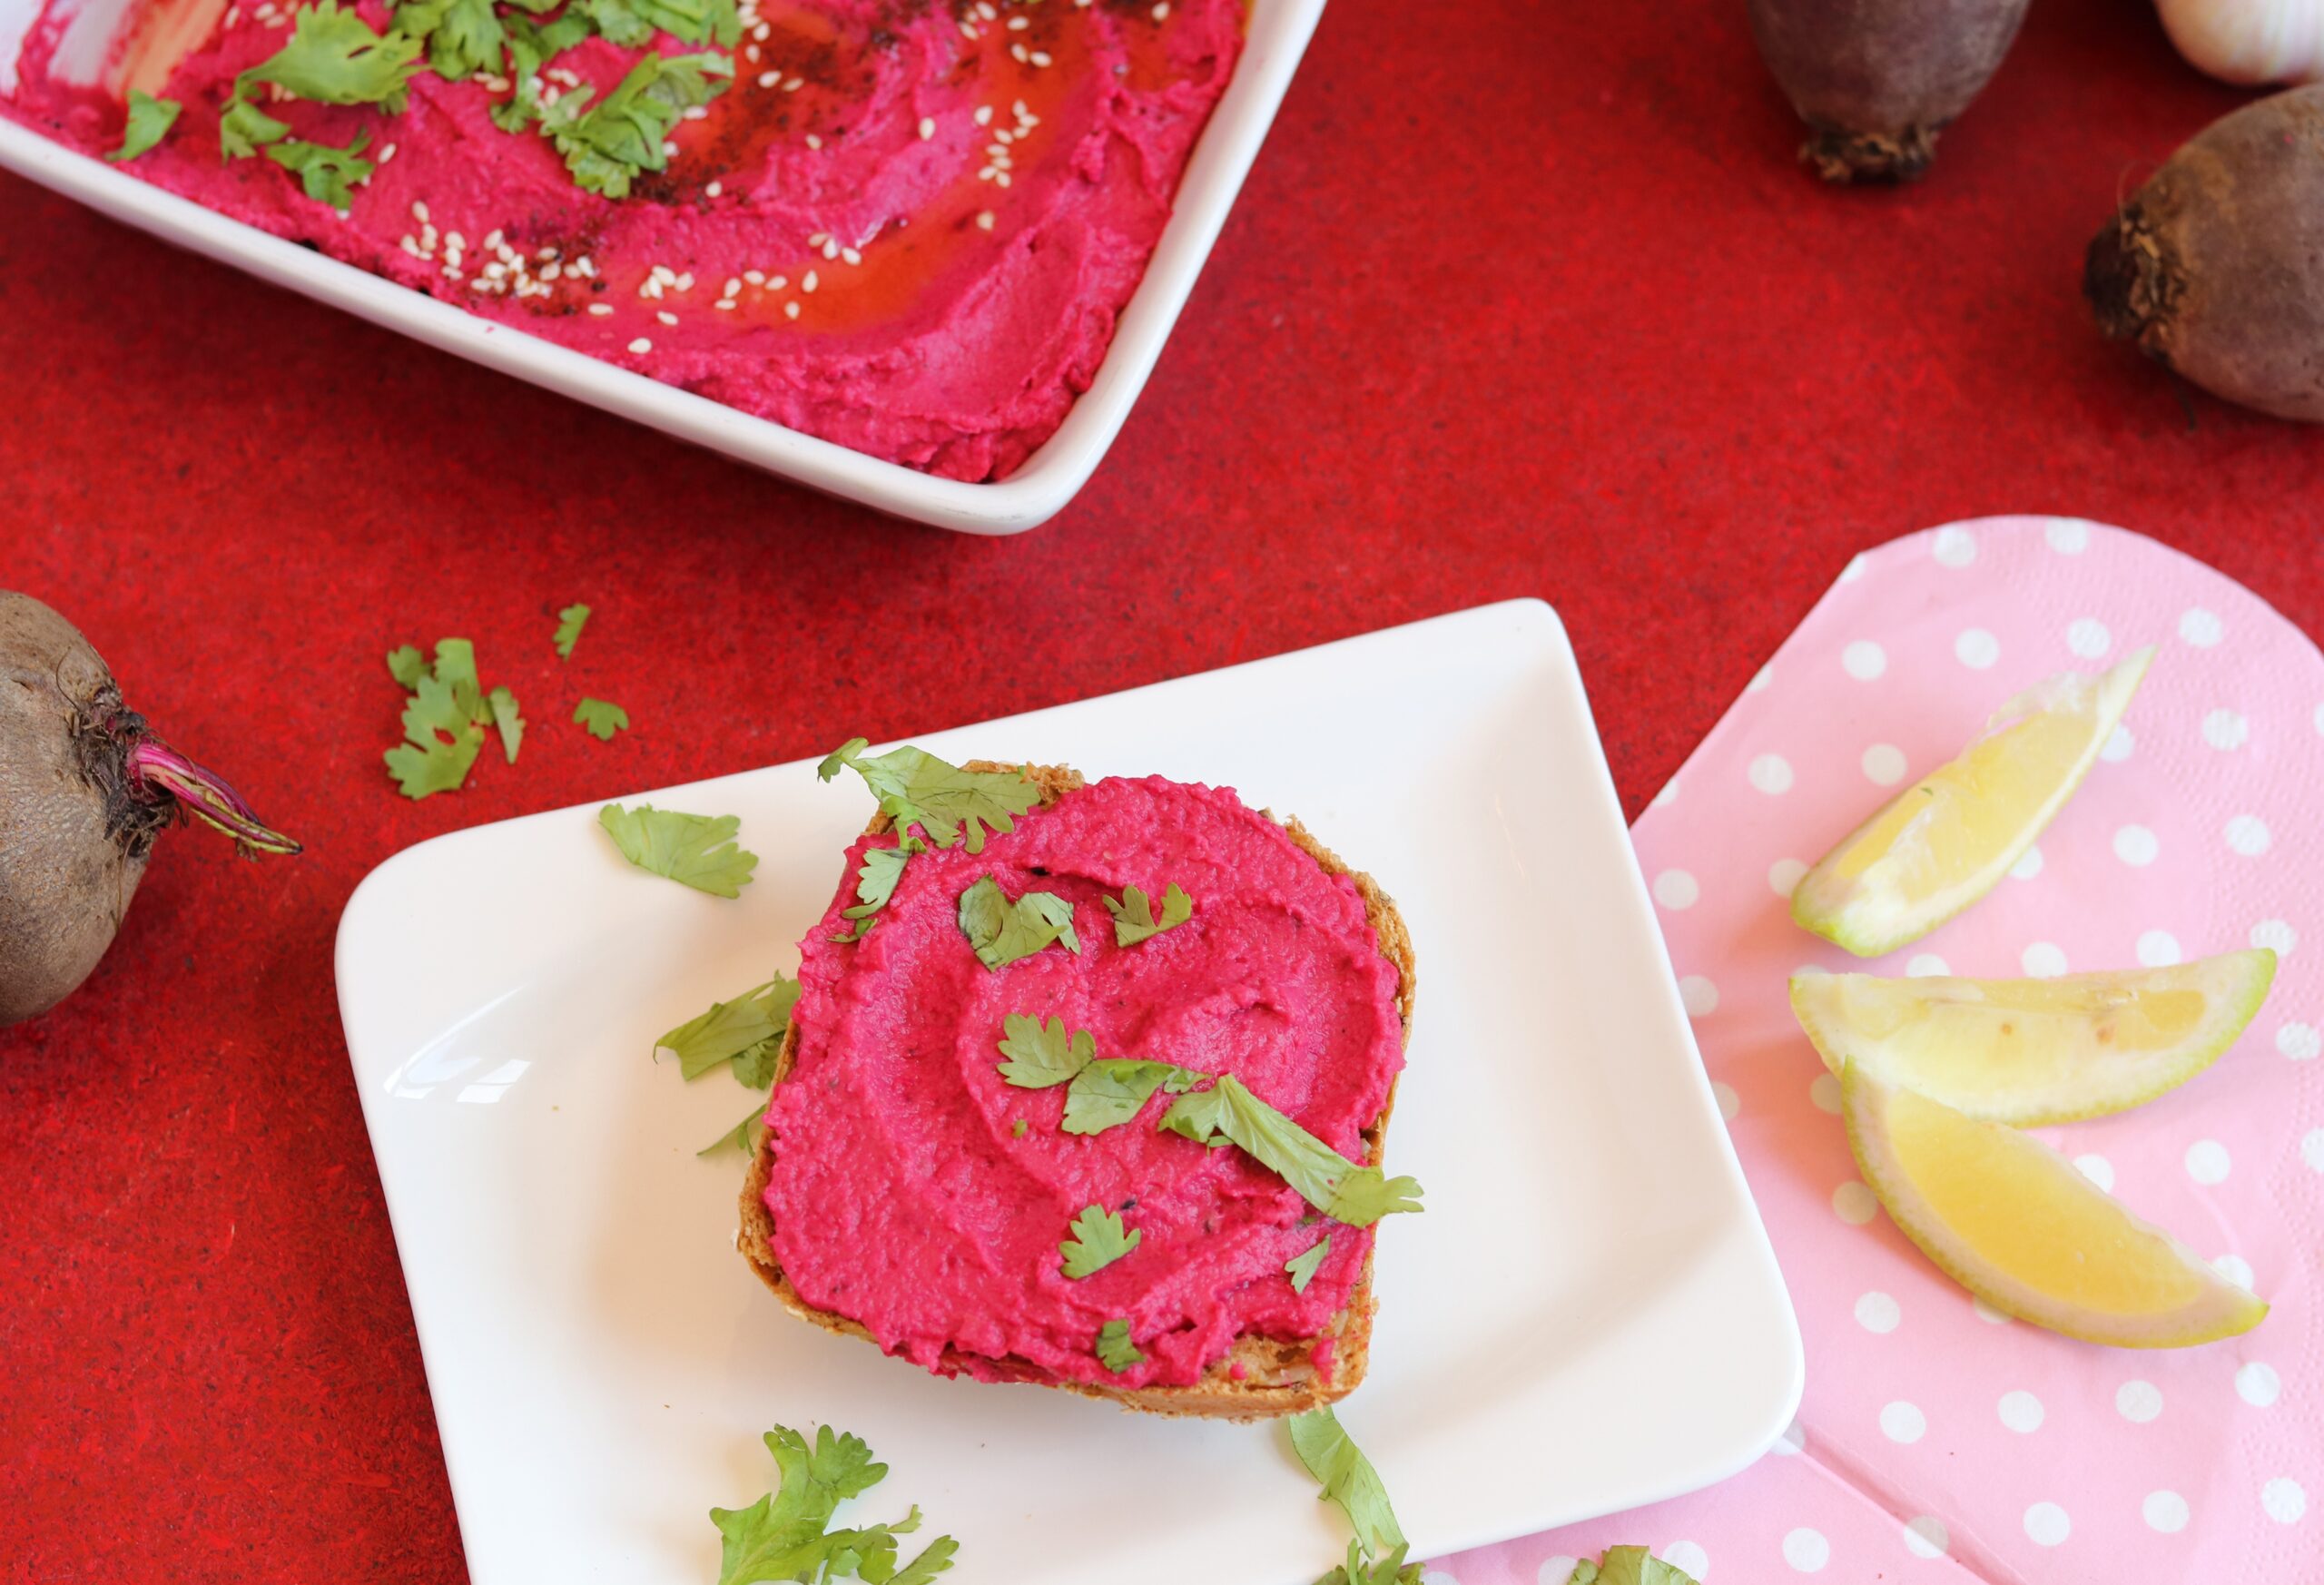
This hummus is not only a feast for the eyes on the table, but also a healthy and delicious treat for any occasion. You can use it as a dip for vegetable sticks, grilled vegetables, crackers or wedges. It tastes great on bread, is suitable as part of a mezze and you can easily take it with you to barbecues, picnics or as a snack with bread to go.
It can be prepared quickly and easily in just a few minutes. What more can you whish for?
Beetroot hummus is quick and easy to prepare and goes well with many dishes and snacks
Beetroot is a healthy winter vegetable
Due to its long shelf life, beetroot is one of the winter vegetables, so you can also use and buy it as a seasonal, regional vegetable in January. Beetroot is locally grown and available all year round.
Due to its high vitamin B, potassium, iron and, above all, folic acid content, beetroot is very healthy. For example, it is also a typical component of classic dishes such as Labskaus (Northern Germany, Northern Europe) and Borscht (Eastern Europe).
A great change as a dip for vegetables, pretzel sticks and much more
Tip: Do not throw away the liquid from the chickpeas
Did you know that you can do a lot with the cooking liquid from chickpeas? So here’s a tip: don’t pour away the cooking water from the chickpea can or jar. It is so-called aquafaba, which is a wonderful, vegan protein substitute. You can use it to make vegan delicious rhubarb meringue tartelettes or meringue for pavlova or chocolate mousse, for example.
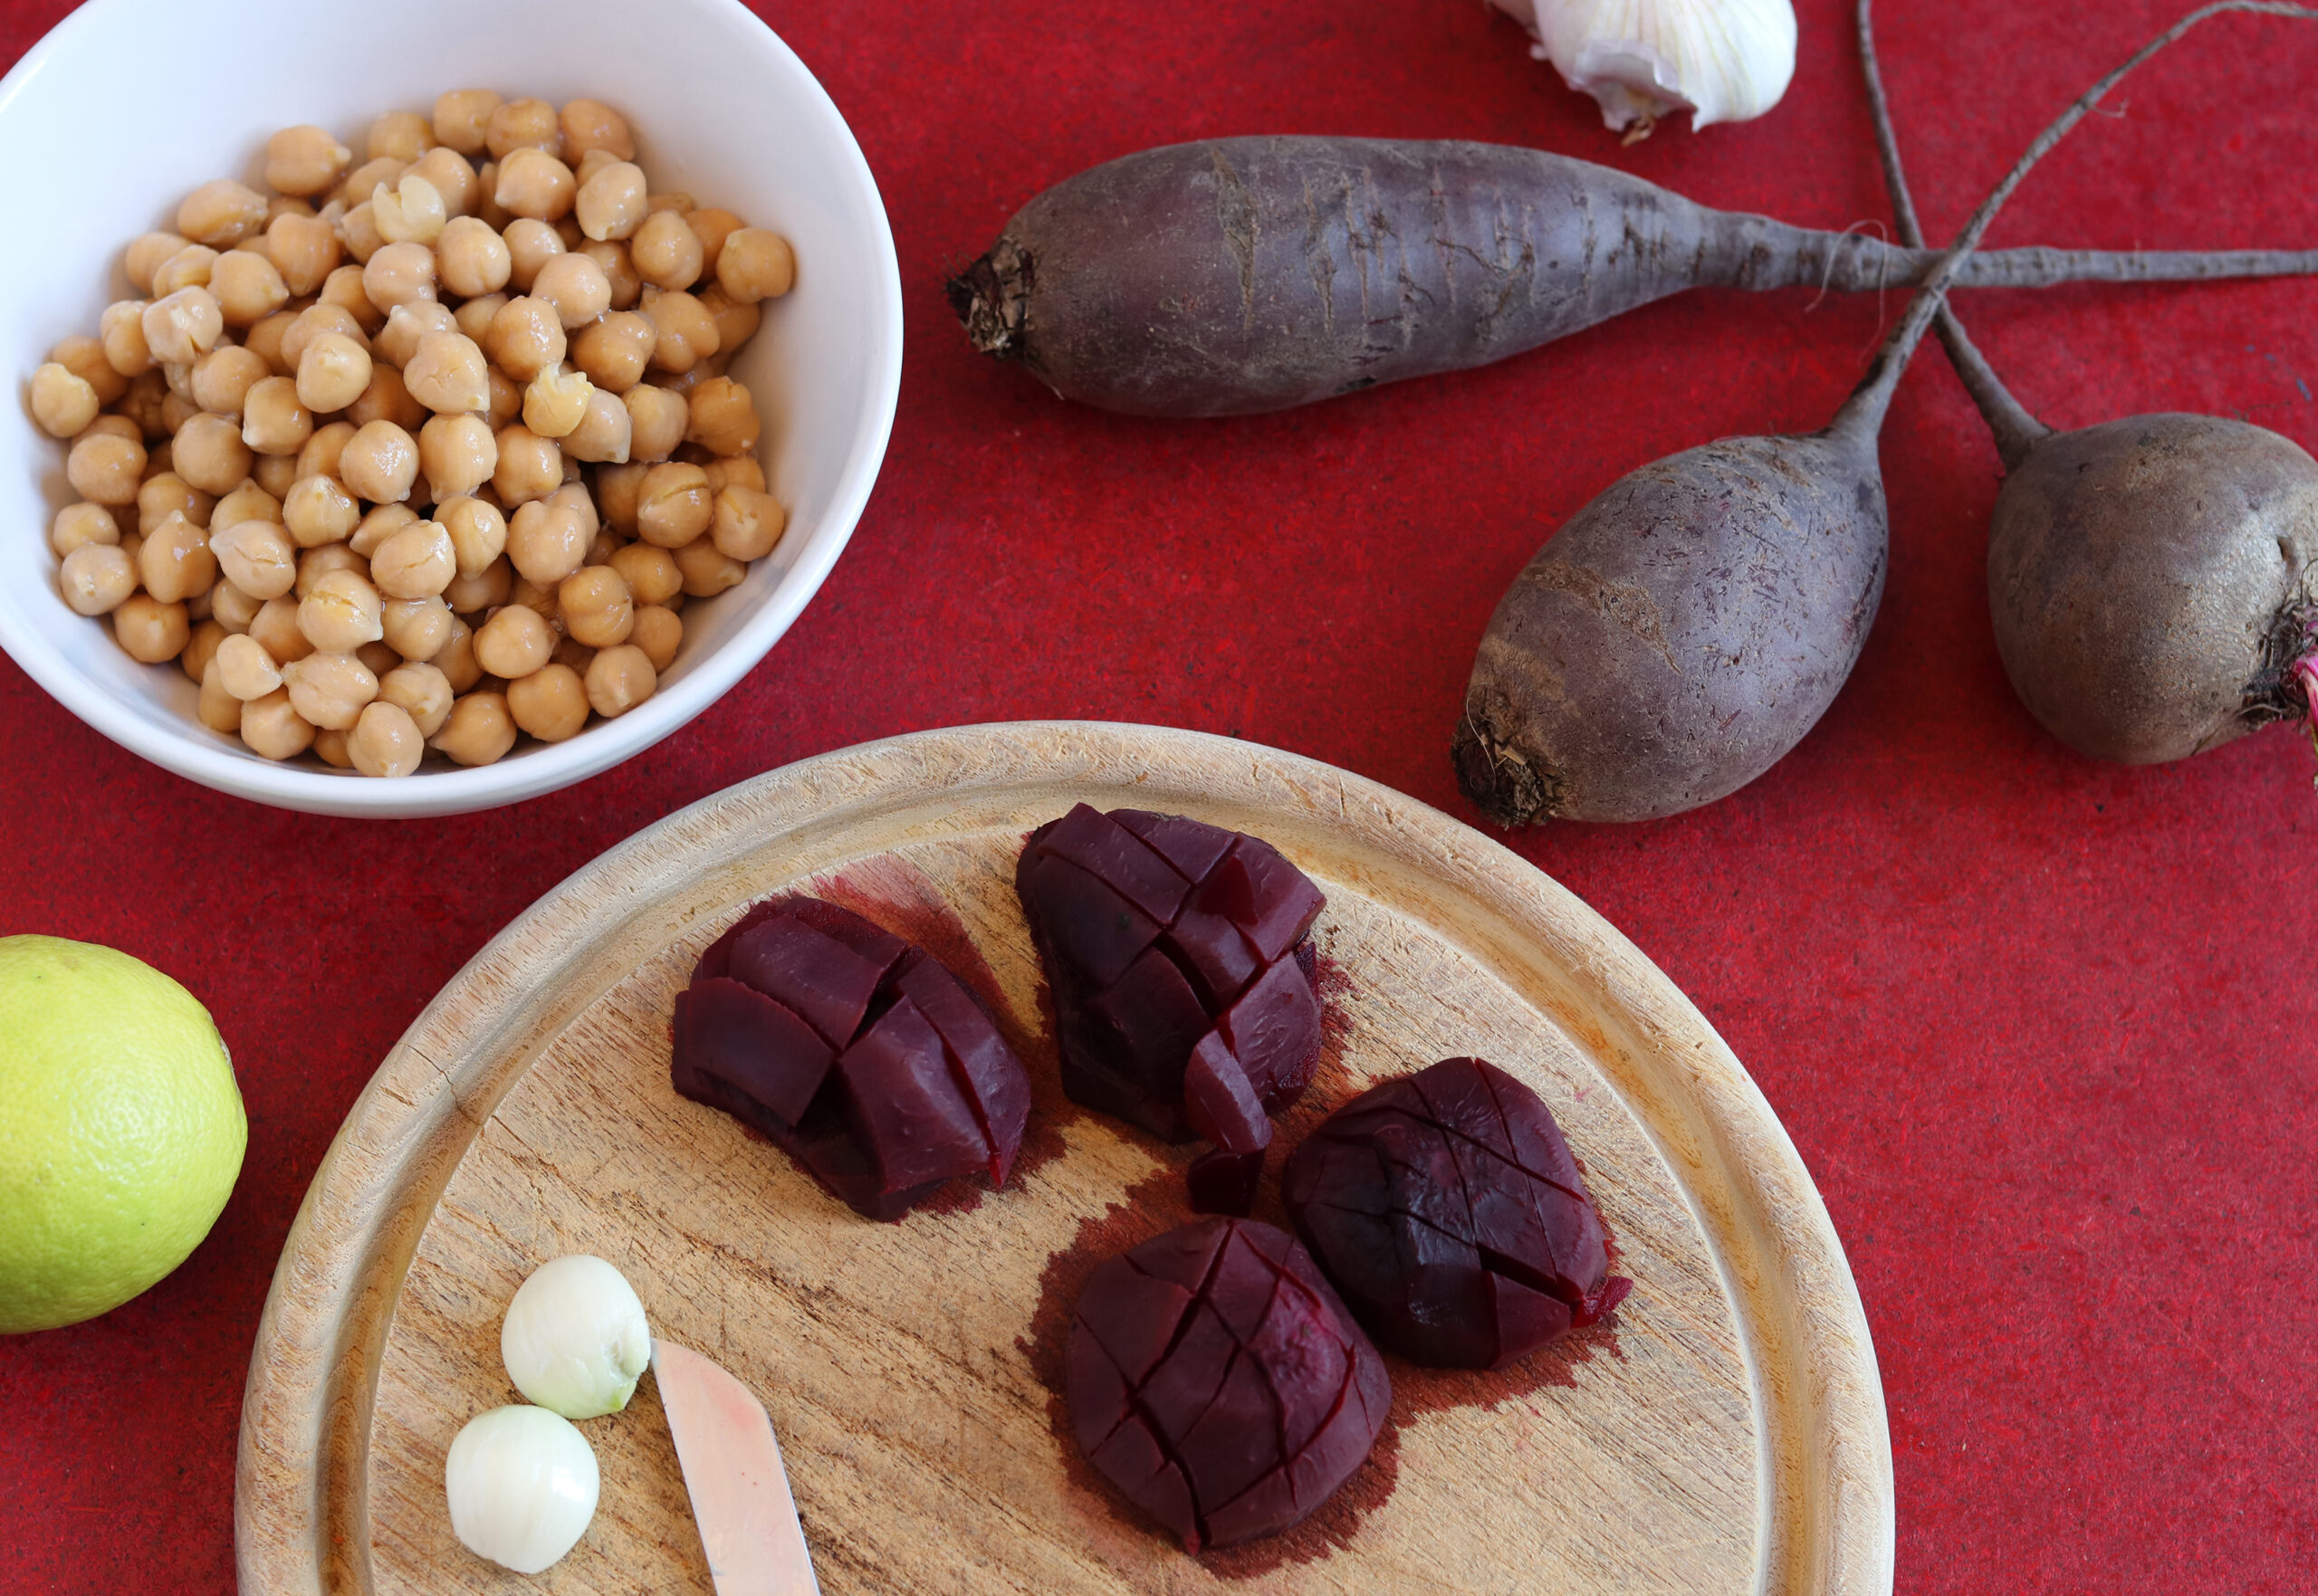
Preparation: The ingredients for the hummus simply have to be pureed together.
Ingredients for about 400 ml beetroot hummus:
2 beets 1 can or jar (approx. 400 g) of chickpeas 2 cloves of garlic, minced 1 tbsp tahini (sesame paste) 1/2 lemon, the juice 3 tbsp olive oil 1/4 tsp cumin 1/4 teaspoon black pepper, ground 1/2 tsp salt
Preparation:
Either buy the beetroot pre-cooked (packaged, not pickled) and cut into small cubes. Or you peel fresh beetroot, then simmer in lightly salted water for 45 minutes, let it cool and then dice it.
Drain the chickpeas.
Put all the ingredients in a bowl and puree until a creamy mixture is formed. You can also use a blender or other kitchen tool, that cuts and mixes.
Depending on your taste, refine the beetroot hummus with a little more tahini, lemon juice or salt.